
In recent years, the number of different mobile devices, including laptops, has increased significantly. This was made possible by reducing their prices and the gradual computerization of various fields of activity, due to which the presence of a laptop has become a vital necessity. But the laptop can not be without such an accessory as a bag. After all, it protects it from damage, and also makes it easy to transport it.
Many do not pay much attention to her appearance, but there are people to whom it is important how it will look. If all models sold in stores do not suit the owner of the laptop, then you can do it yourself.

What can be found in stores?
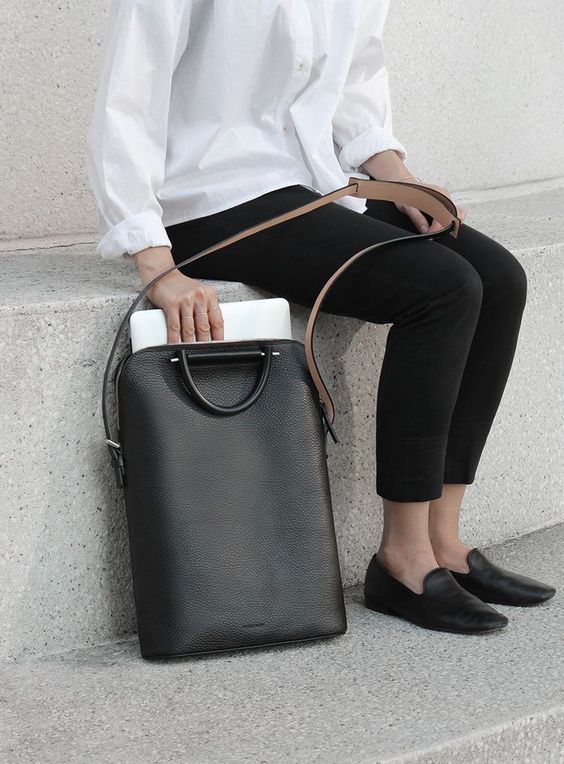
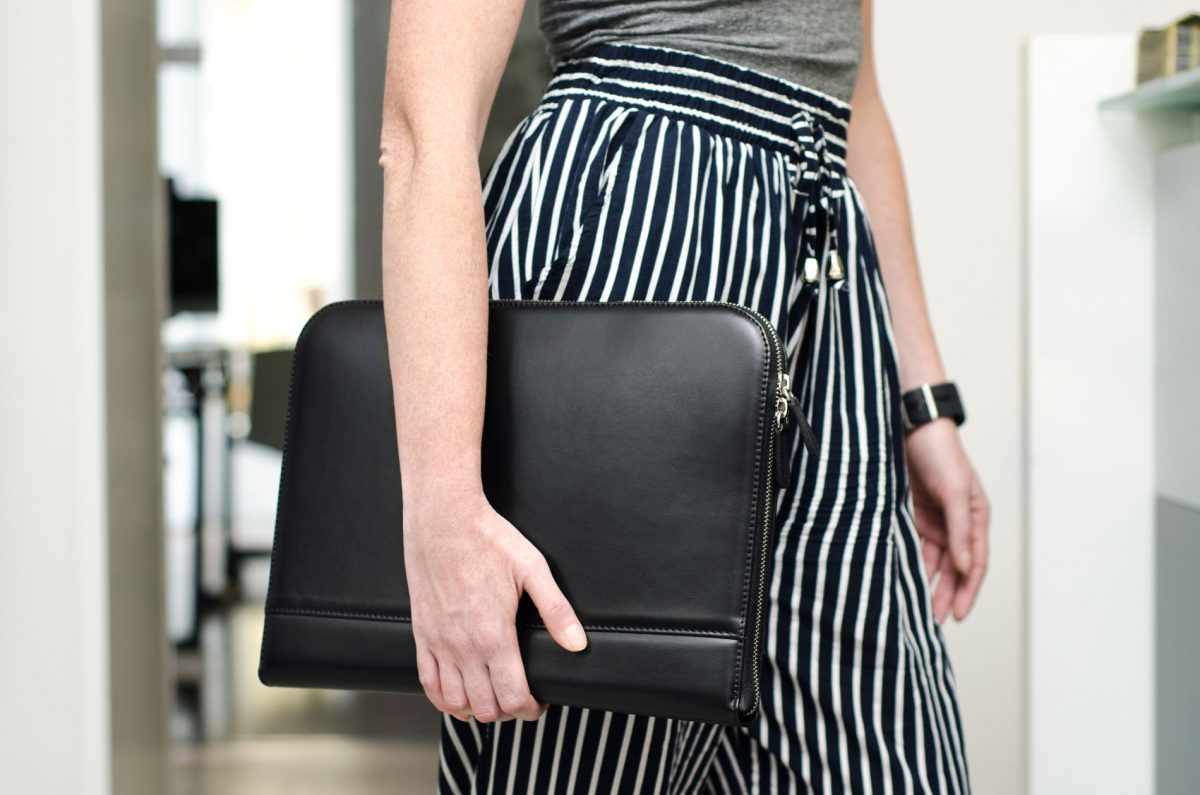
In most stores today are models that are focused only on carrying a laptop, but do not carry any aesthetic component. Most of them are black zippered bags with one or two compartments for transporting a laptop, as well as batteries and various accessories, such as a mouse.
Finding something fashionable or interesting is difficult here, for which reason the actual question is how to make a laptop bag.
What do you need to sew a laptop bag with your own hands?
If you have never done something similar, it does not matter - tailoring master classes can be found in videos on various channels on Youtube, as well as on the websites of specialized magazines for fashionistas, where you will be shown how to make almost any model. After you have decided on a model that interests you - the next stage begins - the selection of the necessary materials.
There will be no problems with this, since materials and tools are widely available and can be found in any specialty store that sells materials and fabrics for tailoring.
Recently, in magazines for fashionistas may even find for bags such a thing as a pattern. This can greatly help in creating a laptop bag.
We now turn directly to its creation.
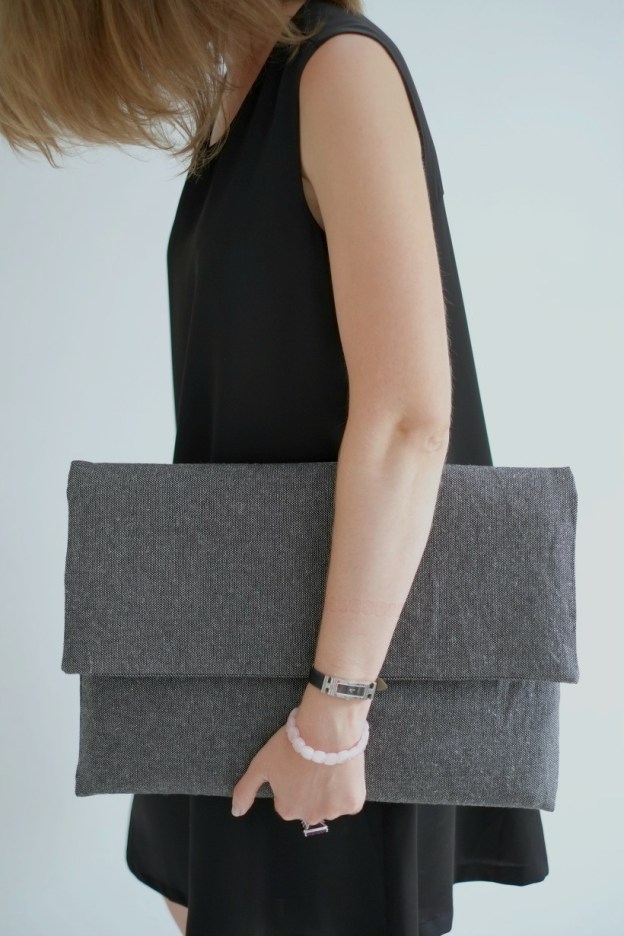
How to create a bag?
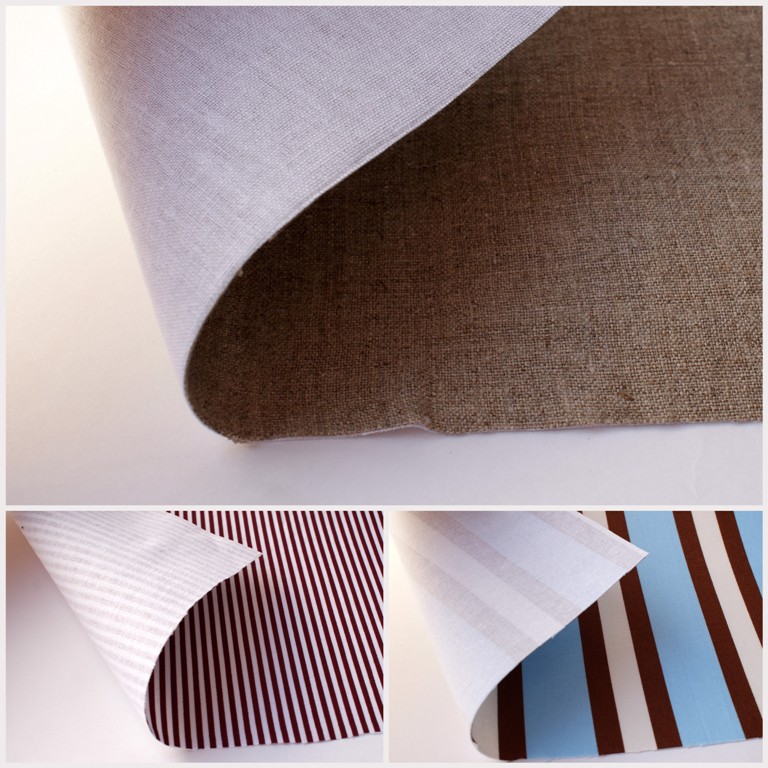
If you do not want to fantasize too much that you can create something original on the basis of an existing solution. The important point is to do such things best of some dense and durable fabrics.
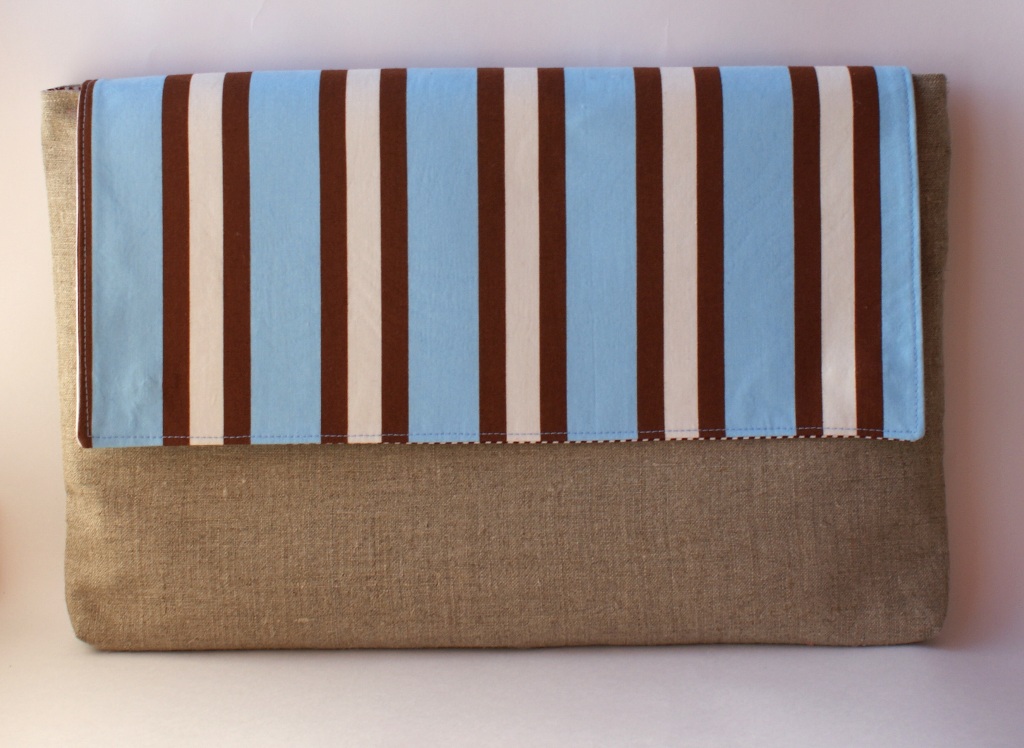
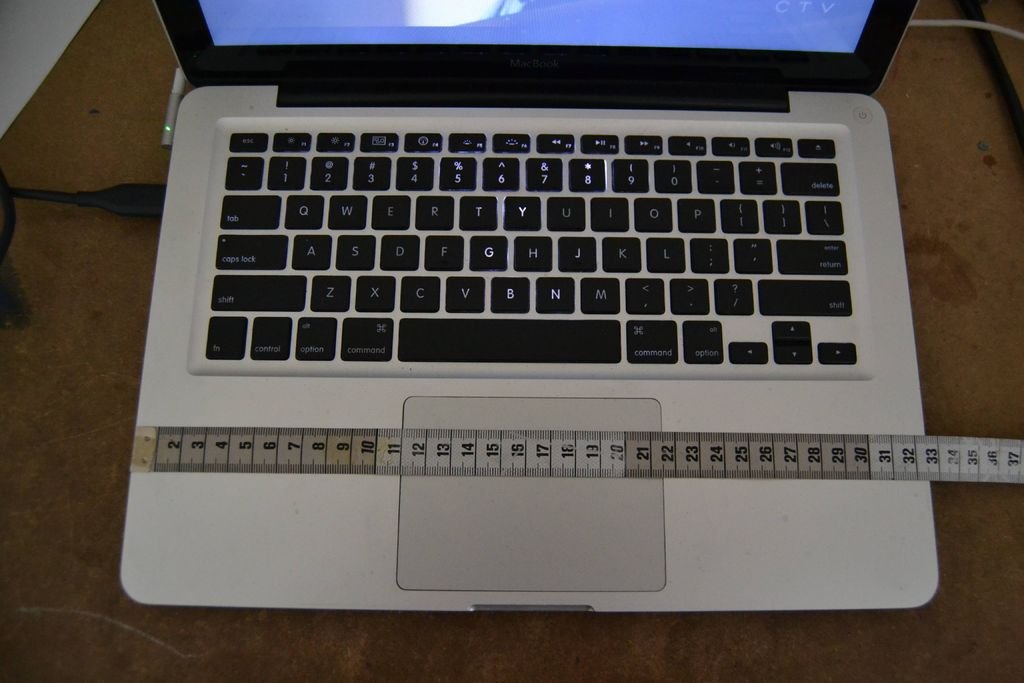
The first step is to take measurements from the device, and also the choice of pieces of fabric which will become a basis of the future bag.
For this you will need:
- fabric for the valve;
- lining and main fabric;
- dublerin or some other compactor;
- a pair of zippers or straps (depends on the selected model of the bag).

The sewing steps are as follows:
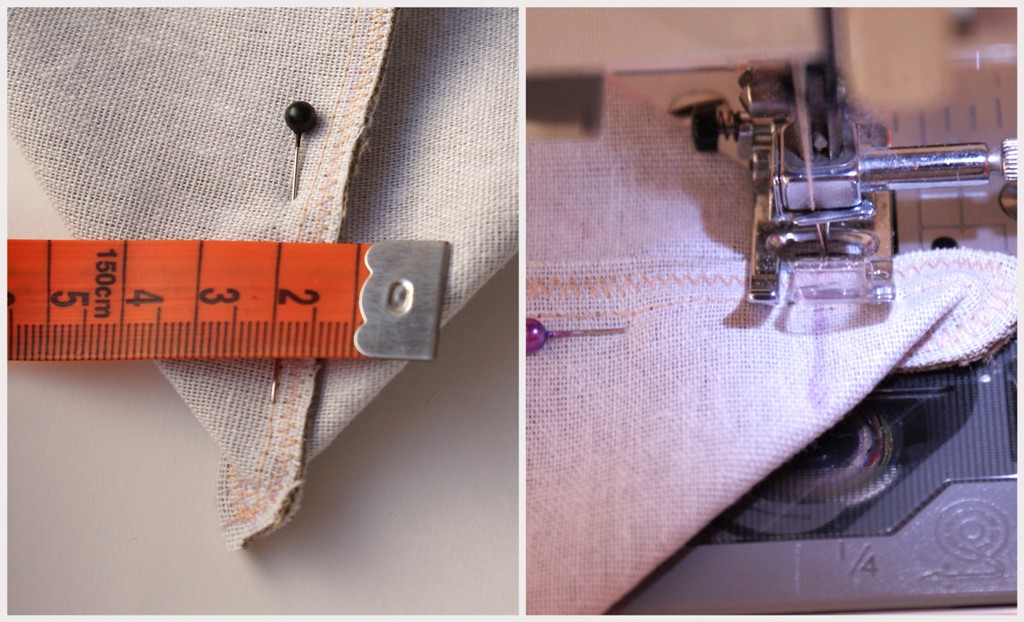
- First you need to make cutting. To do this, it is necessary to draw out the main and lining fabrics, taking into account the size of the gadget and taking into account the understresses on the seams. You should add a couple of centimeters to the free fit. The valve layout will also depend on the type and appearance of the gadget.
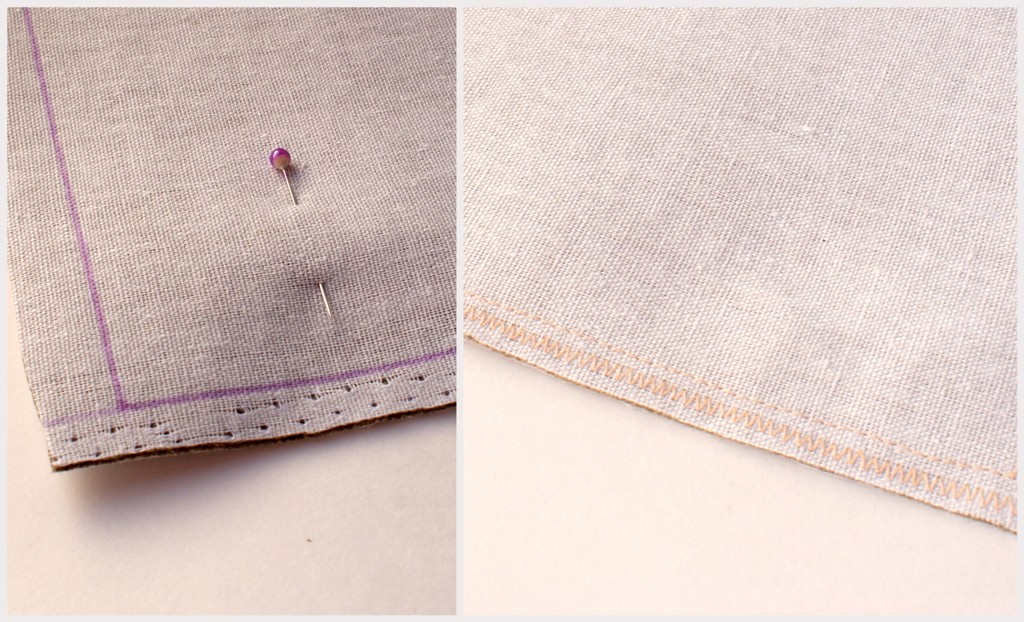
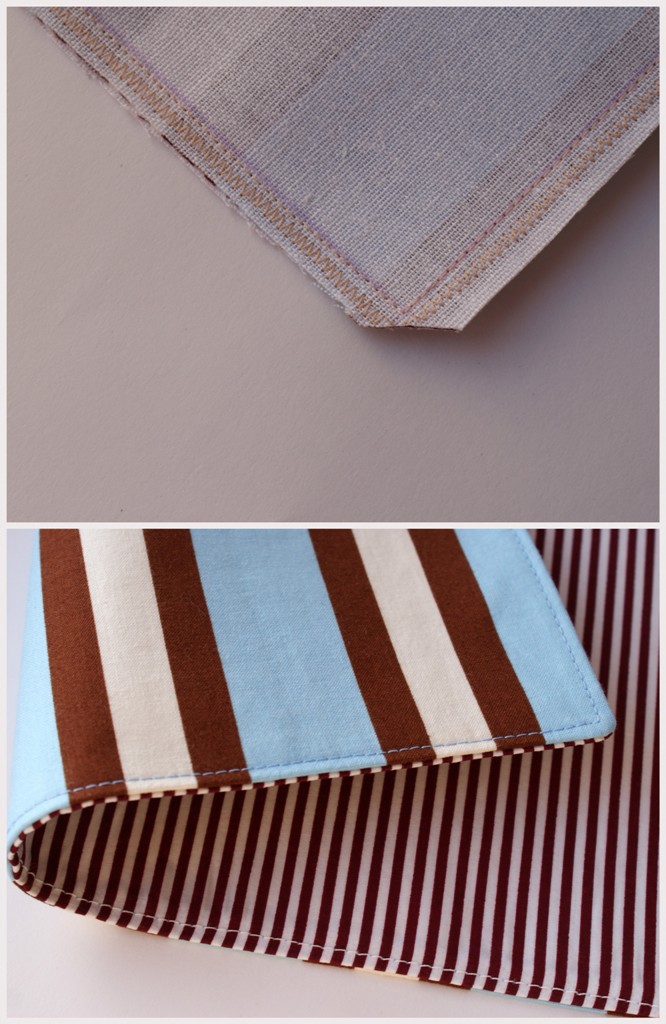
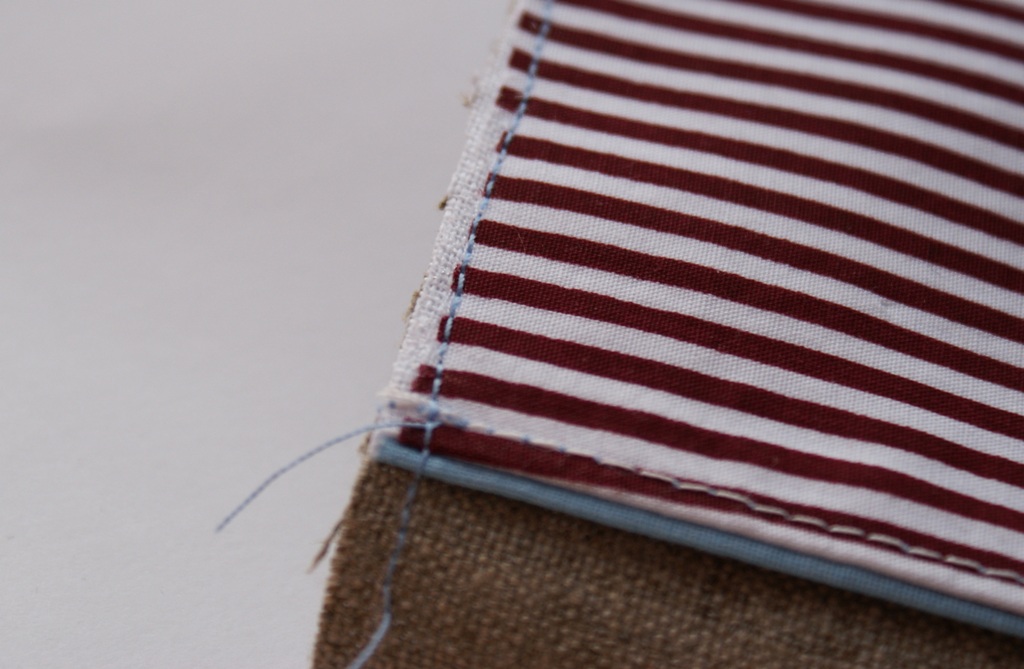
- Next step - cutting out the details of the cover. Each will need to be glued with a dulerin or a previously selected seal. Tailoring should start with the main piece. In this case, the fabric is folded face inward, stitched with a regular stitch. Now the edges need to be processed. If you want to apply some patterns, make applications or add details, then this should be done at this stage, until all the elements have been stitched together.
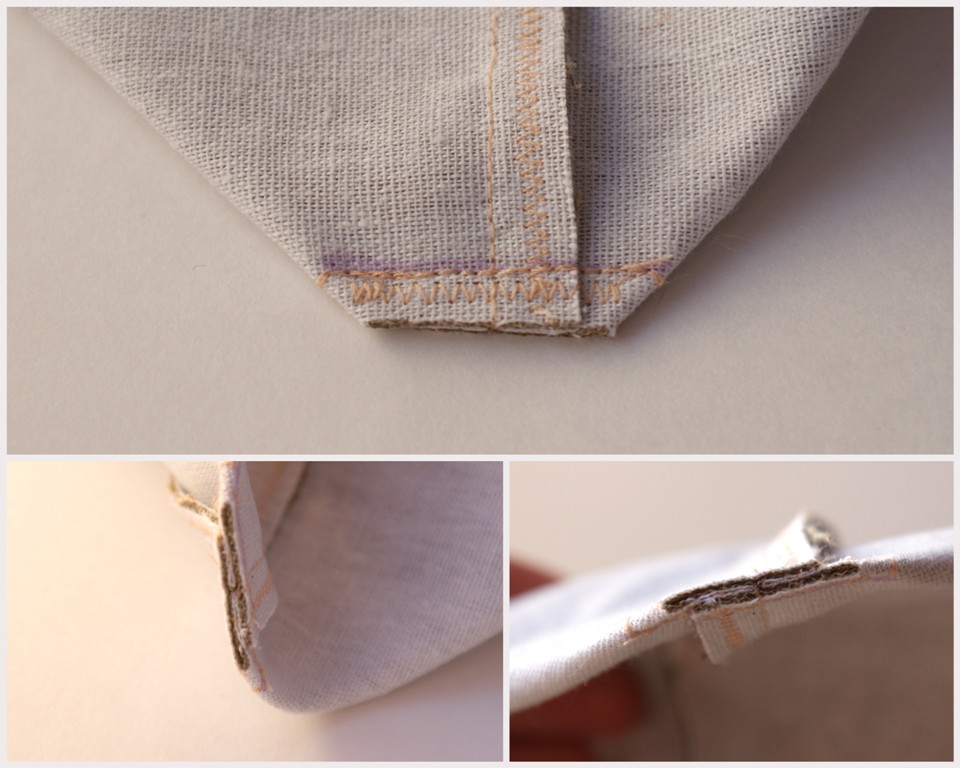
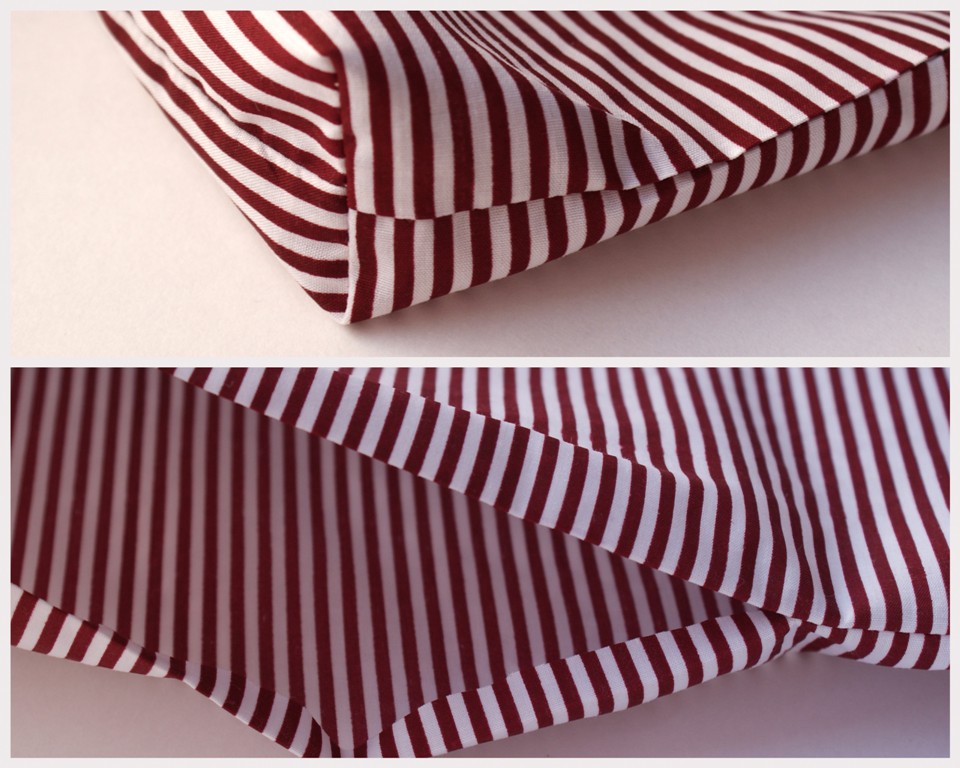
- Getting to the bottom formation: from the bottom of the sewn part, the corners are carefully inserted, after which the seam is fixed with a pin.It is necessary to measure the thickness of the gadget perpendicular to the seam and mark it with a pencil. Now, along this contour, the product should be stitched, and the excess fabric should be cut off. For the day it will be even better to lay two lines to make it stronger. In the same way, we stitch the second corner, as well as the lining. By the way, in its lower part it is necessary to leave a hole of small size.
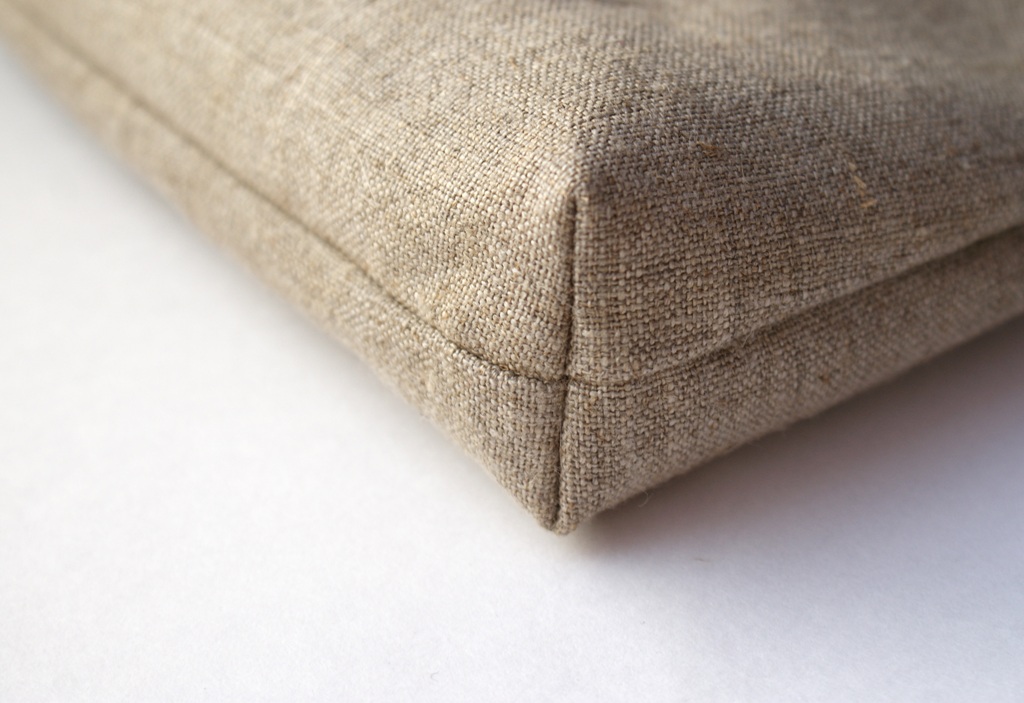
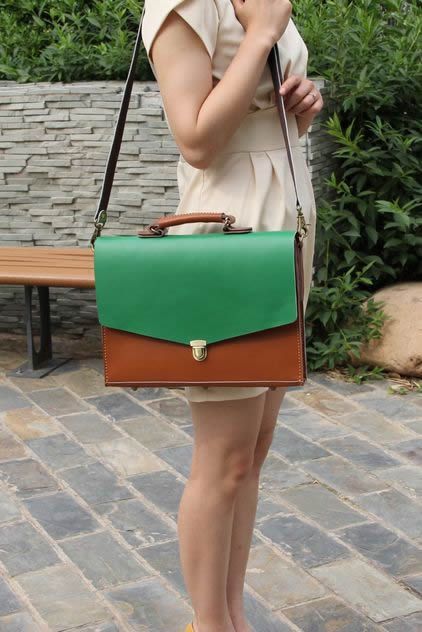
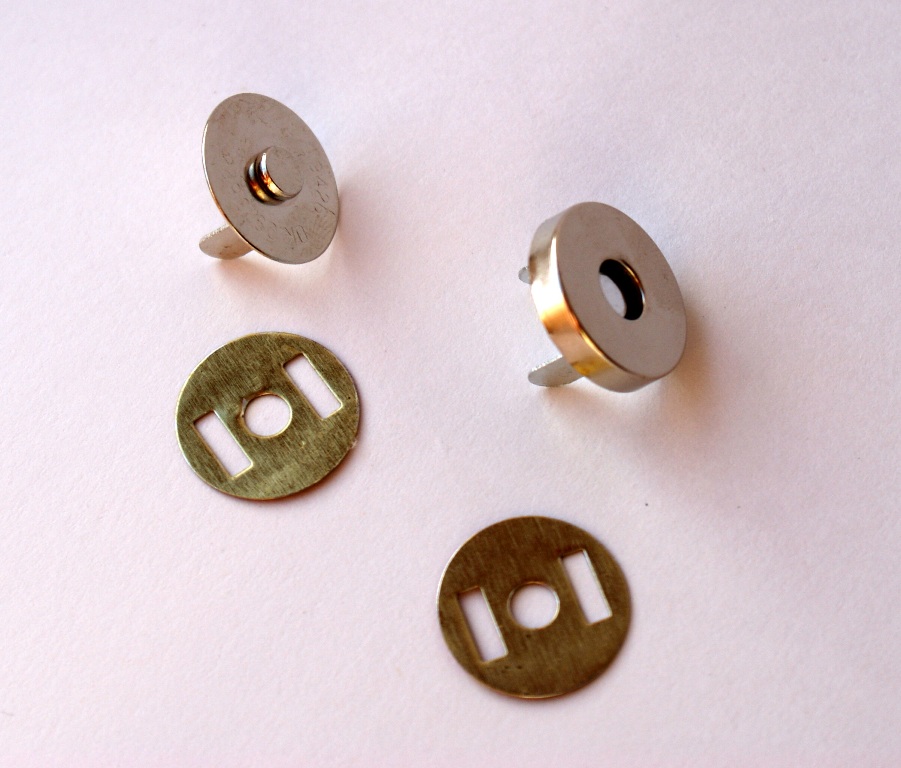
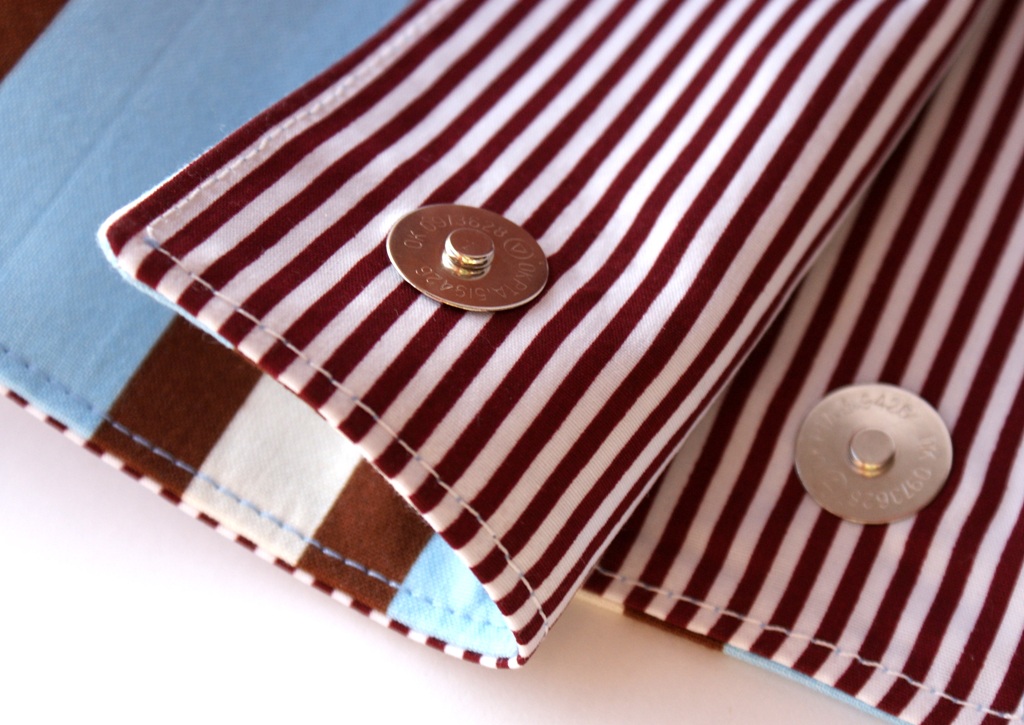
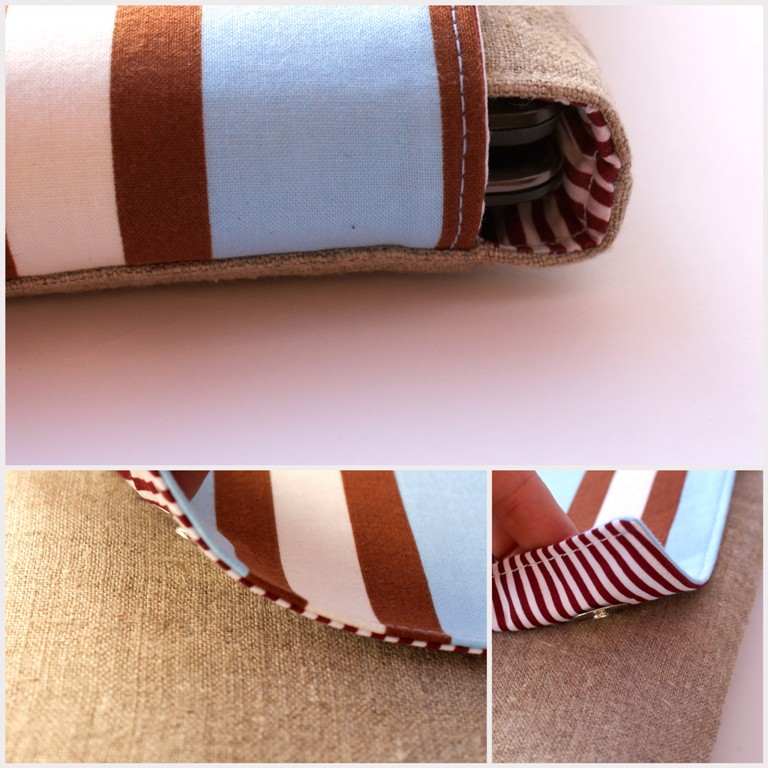
- The next step is to create a flap or bag cover. It is necessary to put the two parts face one another and flash them from 3 sides. The extra corners are cut, and the edges are processed, after which the valve should be turned to the front and do it all again. When the flap is smoothed, a decorative line should be laid on the front side along the perimeter. Now you can insert buttons on the magnets. After that, the valve is applied to the front back of the product and can be fastened with pins. To do this, you need to fold the main part and lining, then sew them. Now sew the hole that was left in the gasket and the bag will be ready.
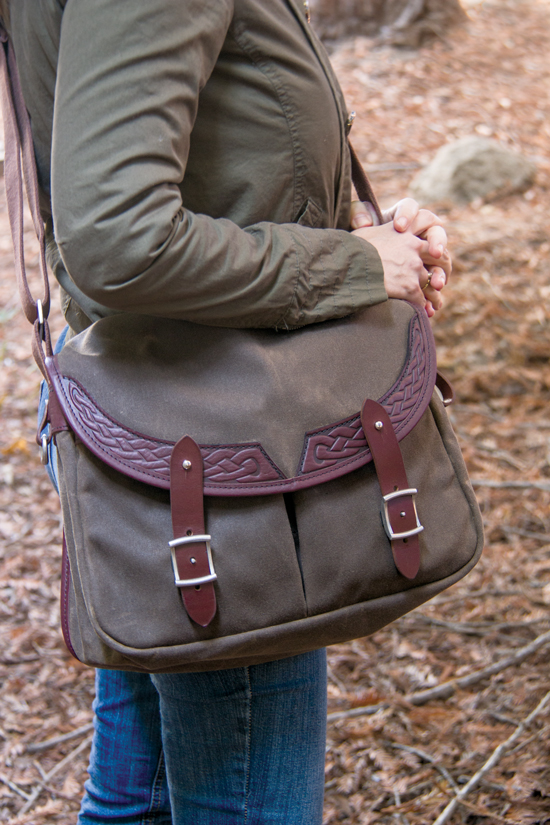
On request, you can sew handles to it, but here everything will be individually.
How can you just sew a bag with handles, see the following video.


