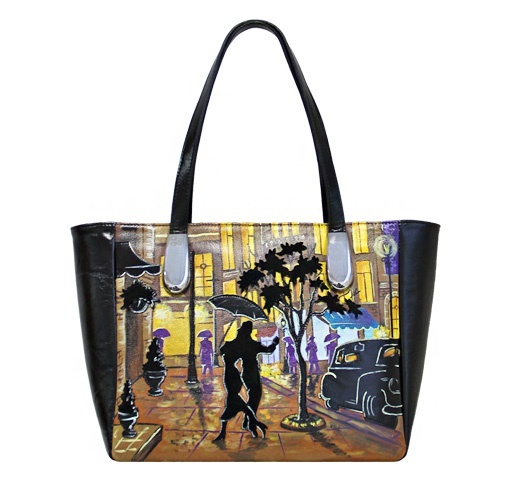
Leather bag is a convenient stylish accessory for any lover of leather products. Ordinary store products will not suit those who have the desire to stand out and be different from other people. In this case, saves sewing. Needlework will help to create a unique unique bag. And the choice of leather will give status to its owner.
What is needed for work?
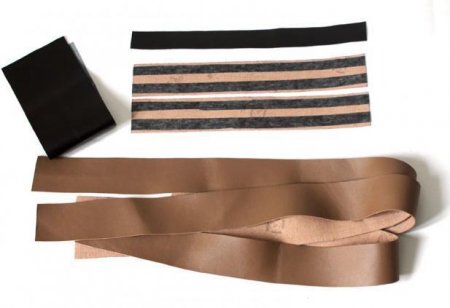
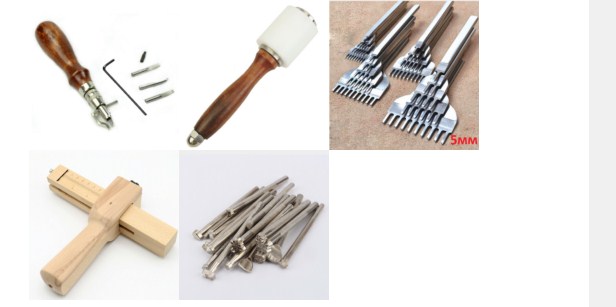
Before you start work, you need to make sure that all materials are prepared. To create a bag you will need:
- A piece of leather;
- Strong special needles for skin and for sweeping away;
- Dratva;
- Ruler;
- Awl;
- Scissors;
- Glue;
- Centimeter;
- Wooden block;
- Clothespins;
- Hammer;
- Chipboard Pieces

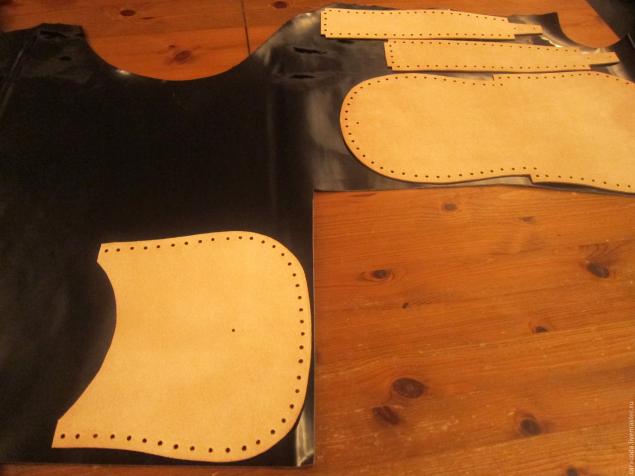
Pattern
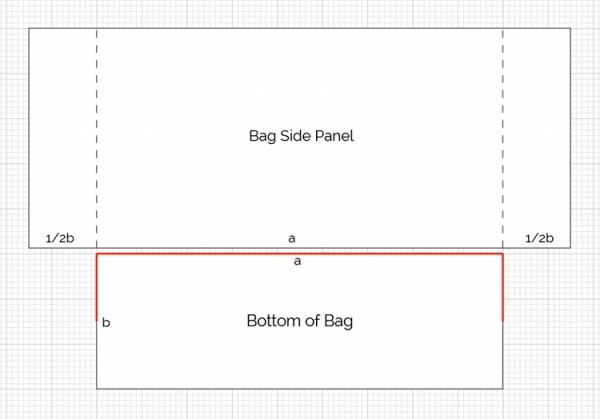
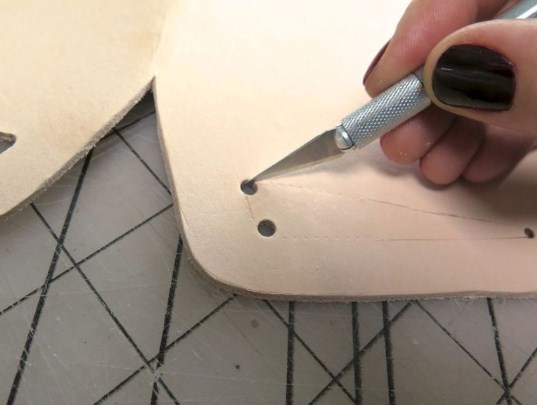
Before proceeding with the pattern, you need to determine the size of the bottom of the product, around it will be placed all the details. The width of the bottom depends on what you plan to carry in the bag.
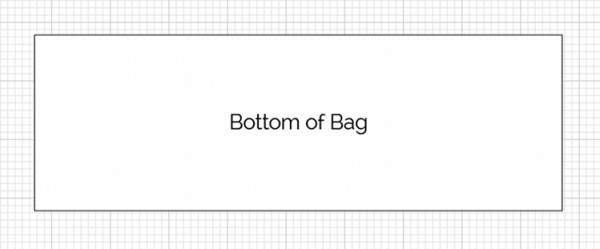
At the beginning, a rectangle of the required size is created at the bottom. Side panels are fixed. They must be equal in shape and size. The values are added as follows: the width of one side should be equal to the length of the entire product plus half the width of the bottom. Height is determined by needs.
When creating pens, it is necessary to remember that the balance of the product depends on them. Therefore, you should correctly place the handles on the sides. For the correct location of the belts you need to split the top edge on the side into 3 parts.
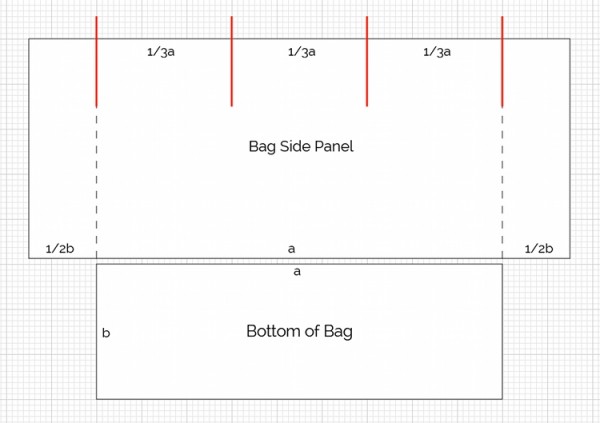
Next, you need to indicate the length of the handles. When thinking about the width of the belt and handles, it should be borne in mind that they must be combined with the product itself.

When building patterns do not forget about the seams. It is necessary to make indents for seams. You need to give 1.25 cm for each side of the bottom and side parts. Allowances are not required for the upper side of the sides, because there is nothing to sew there.

Material calculation
Quite often, the value of the sold skins determines the size of the product itself. But all the same, it is necessary to approach the calculation of the material with full seriousness and calculate everything accurately. When calculating do not forget about the details of the bag (pockets, finishing elements). Therefore, in the beginning it is worthwhile to decompose all the parts of the bag on the skin. Quite often there are defects on the natural material (holes, abrasions, dents). This should also be enough fabric.
On average, for the bag you need 1-1.8 square meters. m of material. All sizes are relative, you need to clearly define the model and correctly create the bag pattern.
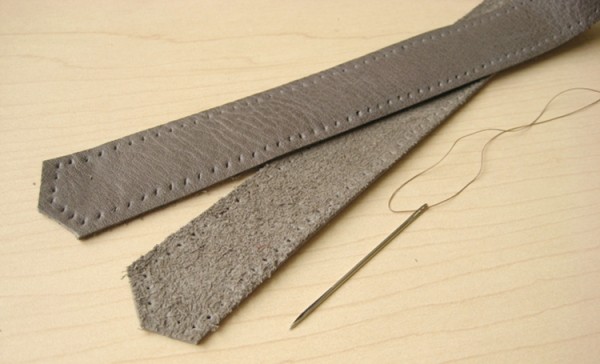
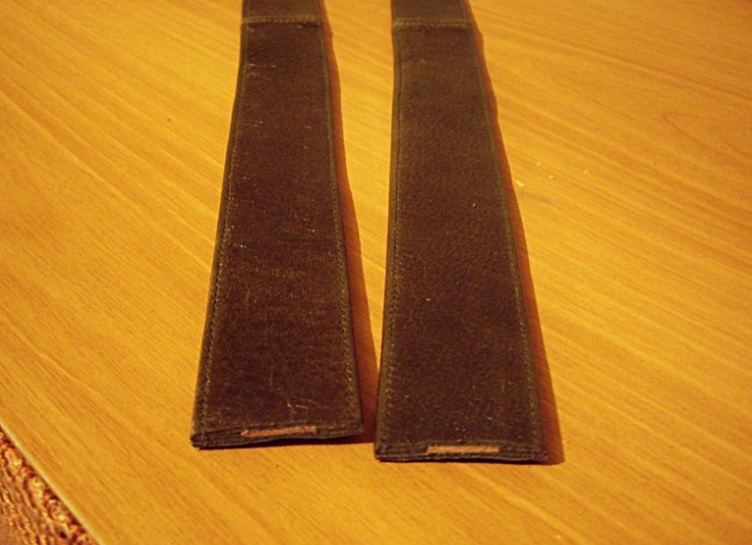
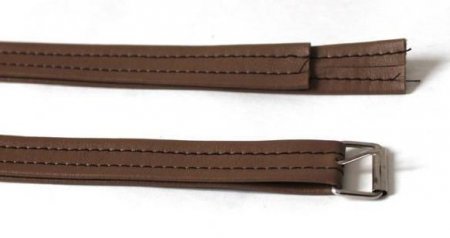
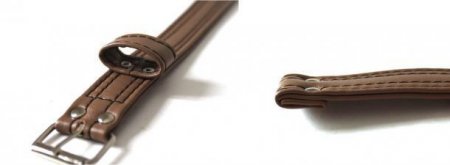
How to sew handles?
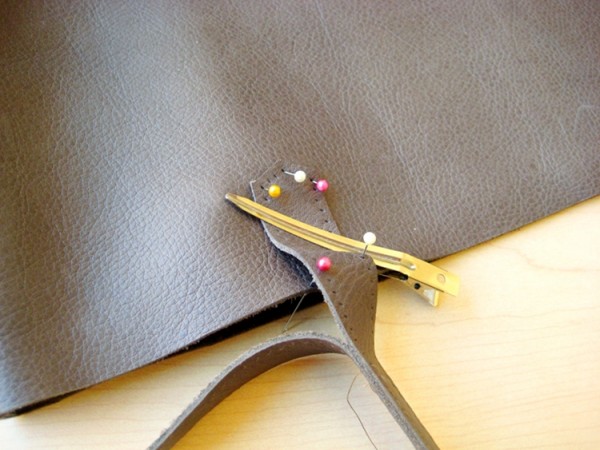
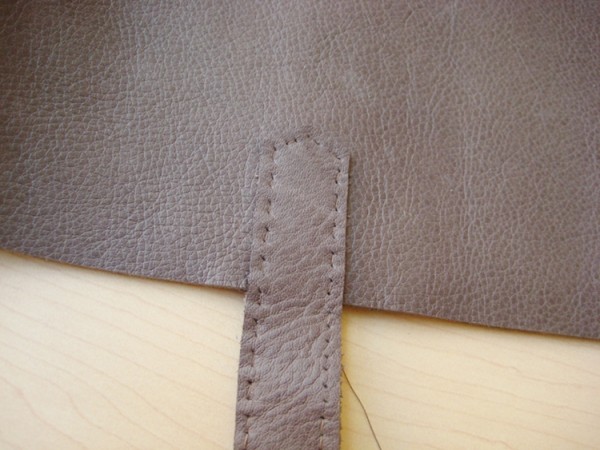
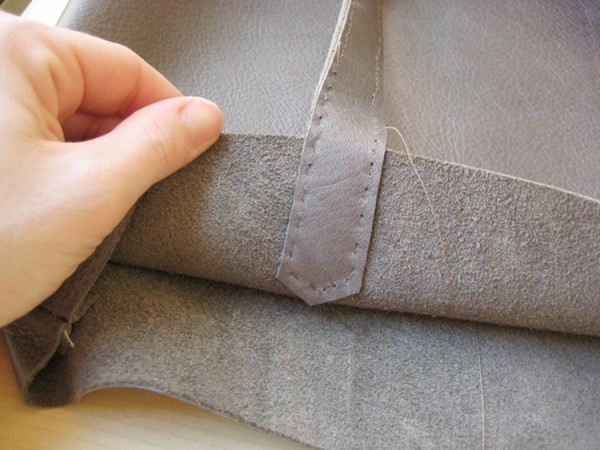
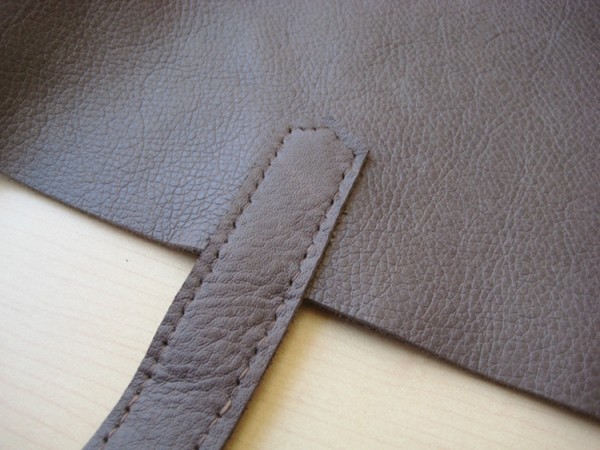
Handles need strips of leather of a chosen length and width, a needle and a thread. To fold the straps and start sewing inside with each other. It is necessary to retreat from the edges by 7 cm, at the end to lay about 7 cm to secure the straps to the bag.
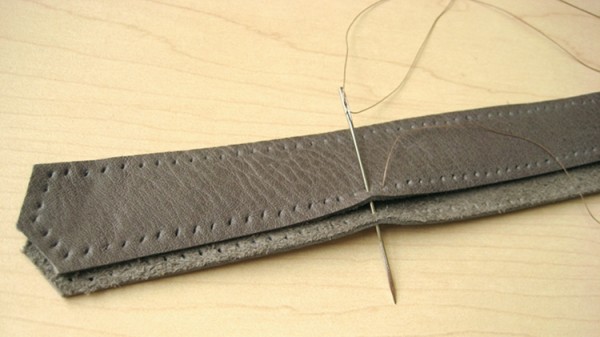
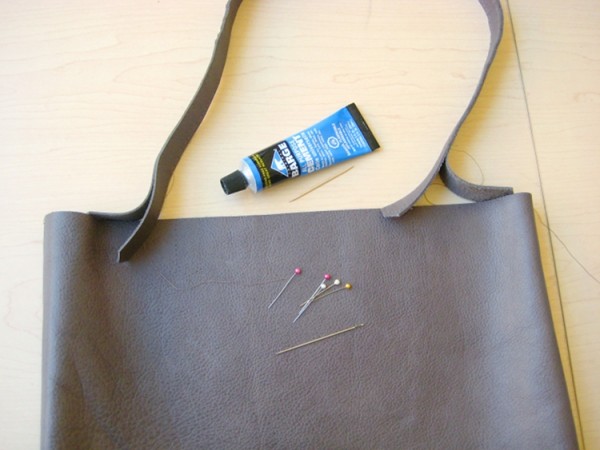
After the work is done, start attaching the straps to the product. First you need to fix the places where the handle will be connected to the bag. Place these clamp clothespin. Before sewing, you can glue the handles to the bag. The seams should be flashed twice.


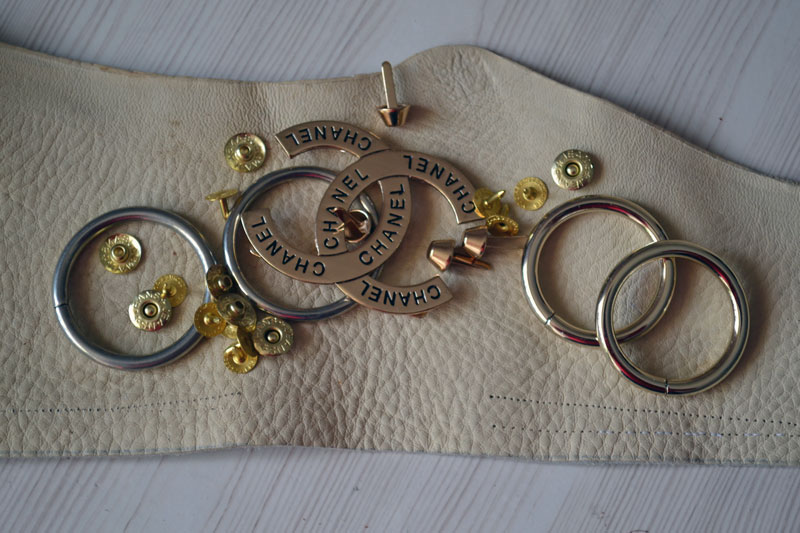
How to install fittings?
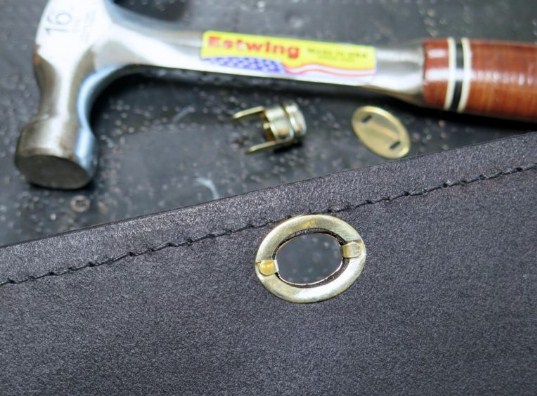
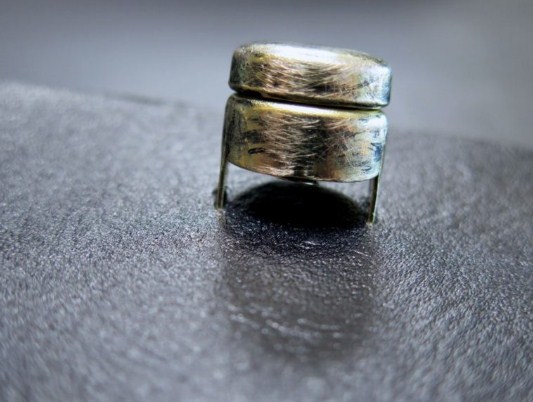
Installing accessories not only helps to decorate the product, but also allows you to hide minor flaws, if any. Such jewelry will include buttons, buttons, latches, and other rivets.
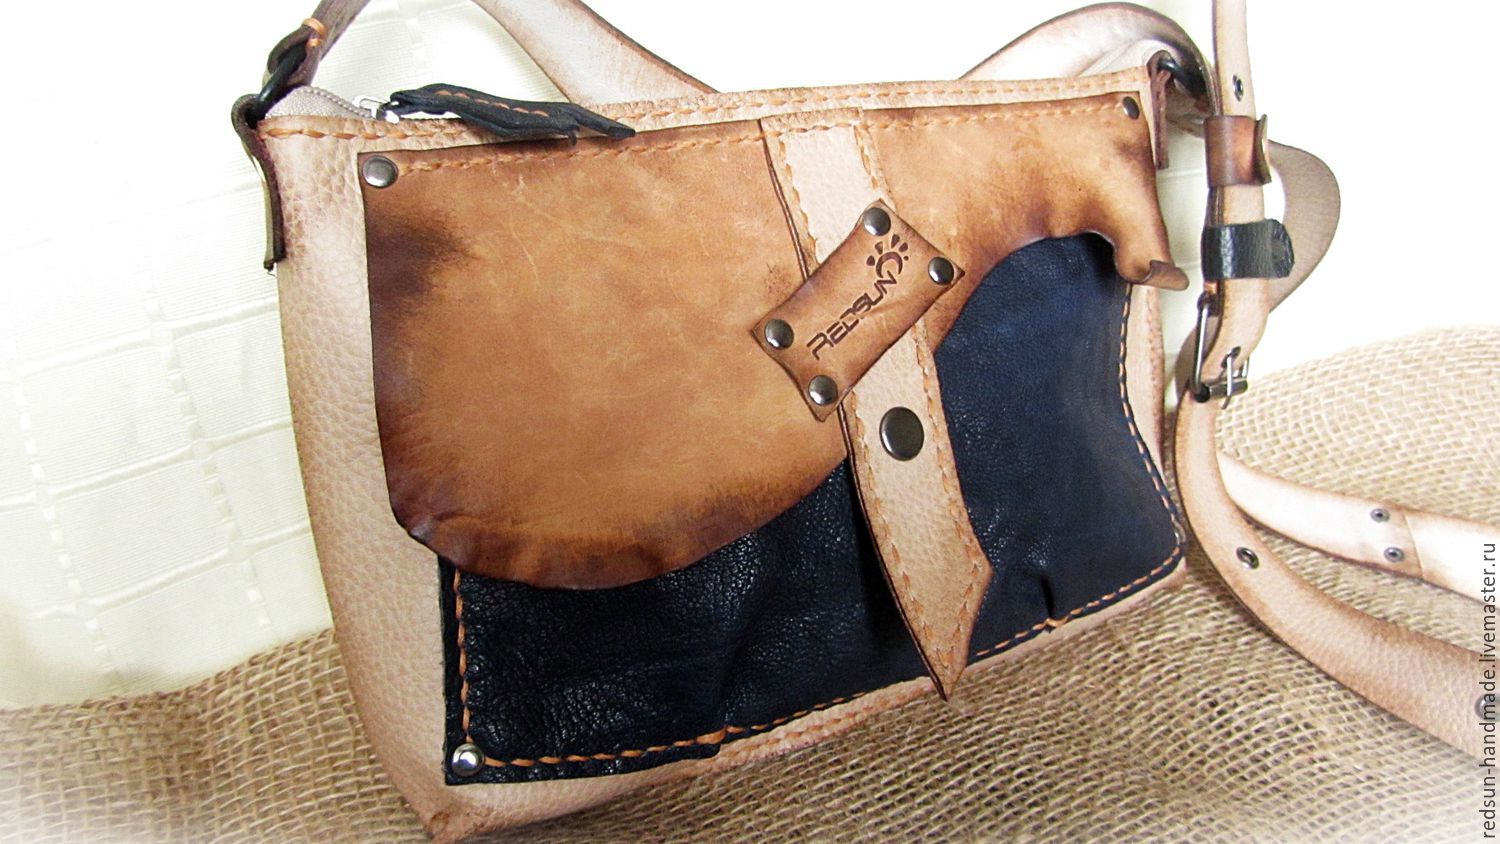

The metal fitting perfectly complements the leather product. To attach the rivet to the bag you need glue, glue fabric.

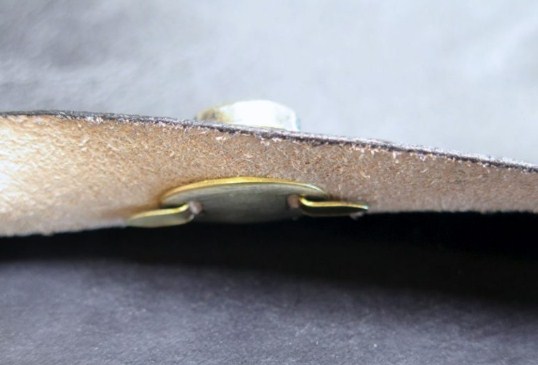
One of the most classic decorations is a small pen. Such a part can be attached with a small piece of leather sewn to the bag. Make a strip of leather about 6 cm long. Fold the line in half and place a ring in the middle.Between a strip, you can first glue it together to fix it, and then stitch it. It is necessary to fix such decoration on the bag with the help of a sewing machine.


You can also add pukli (metal convex parts) to the bottom of the bag or as decoration.
On the product such buttons are attached using a special tool. At home, you can use the awl by making small holes. To arrange in them a lump, and to spread their legs inside. For this, a rigid lining should be made on the bottom so that the bullets hold it tightly.


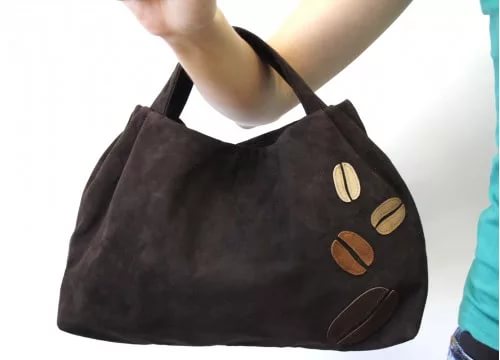
How to decorate?
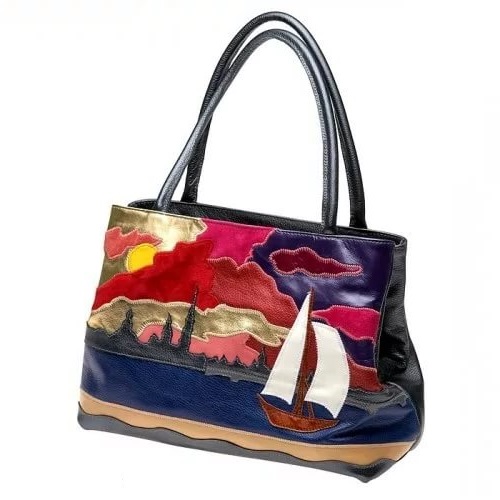
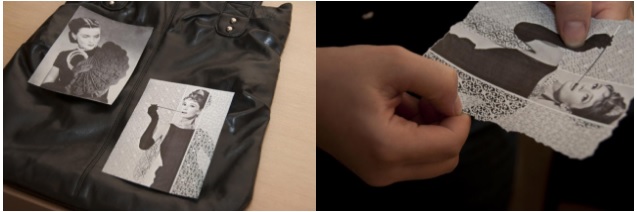
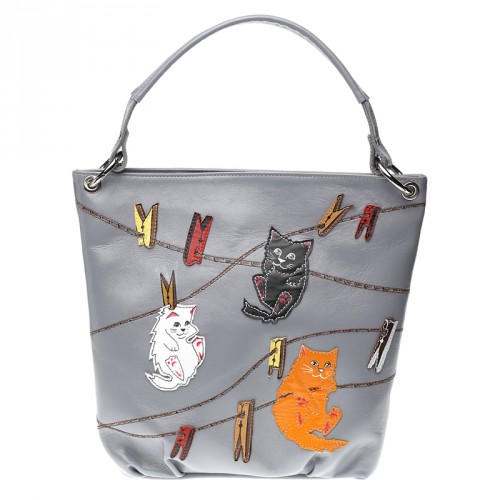
The bag can be decorated not only with accessories, but also with various ornaments, decoupage technique, and appliqué.


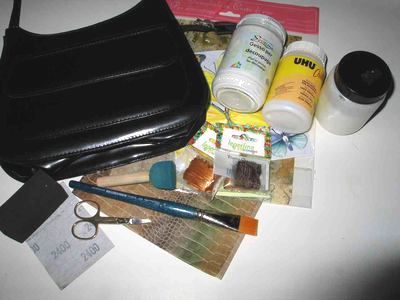
The decoupage technique will be a great decoration for everyday accessory. For this technology will need:
- decorative napkin / decoupage card / printing on photo paper;
- special glue for decoupage on leather and textiles;
- flat brush;
- contour fabric;
- a piece of chalk;
- wet wipes;
- primer on the basis of white acrylic paint.
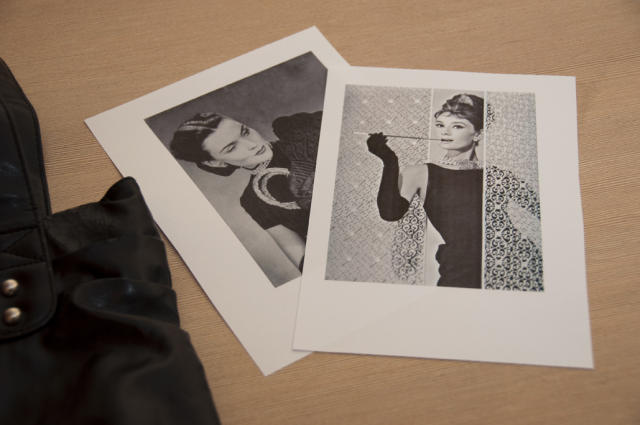
First you need to choose a place and a drawing of a napkin. Color will depend on the color of the bag.
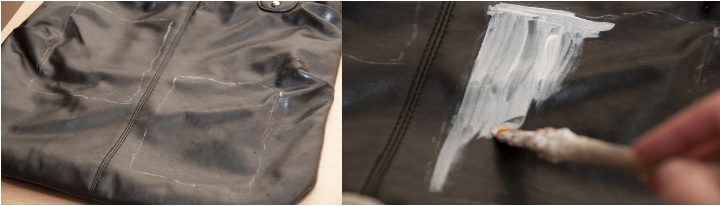
The procedure is simple:
- Make a primer, give it a little dry.
- The second layer is applied in a different color.
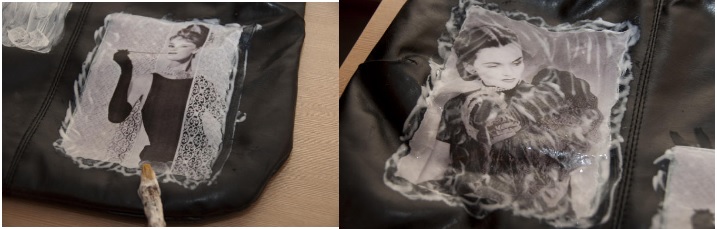
- The desired pattern cut.
- Glue the selected motif on the treated surface.
- Treat with glue for the skin.
- Let everything dry.
- Iron iron drawing through tracing paper.
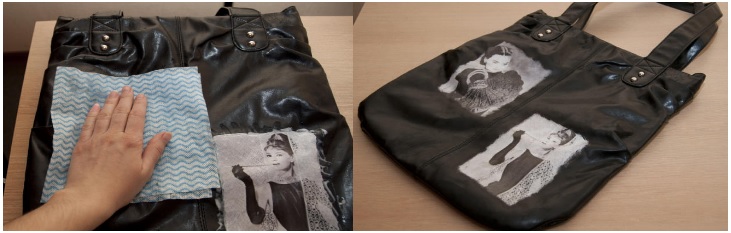
- Cover with a layer of vitreous varnish.
- Dry well.

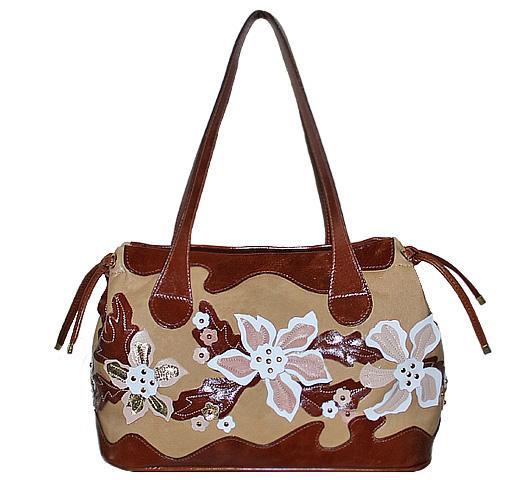
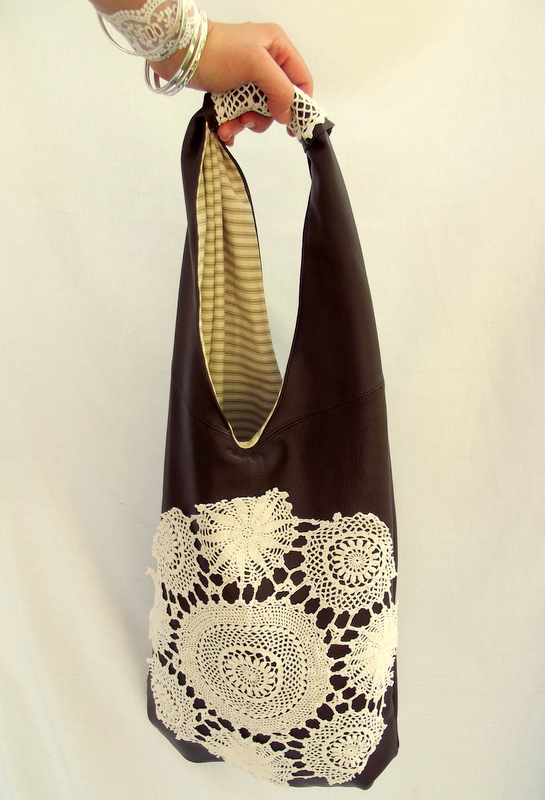
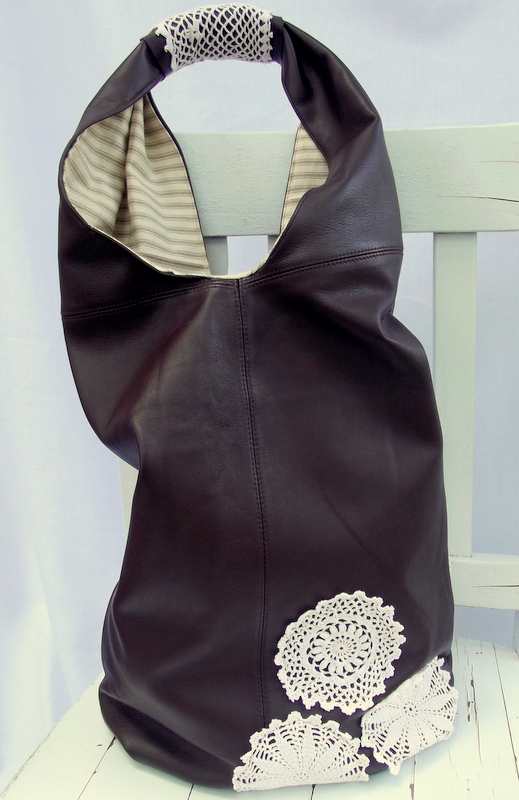
The application on the bag is a fashionable decoration that will make a bright object of any image from a simple accessory. The pattern of the application must be selected before sewing the bag. The selected pattern can be manually sewn to the bag.


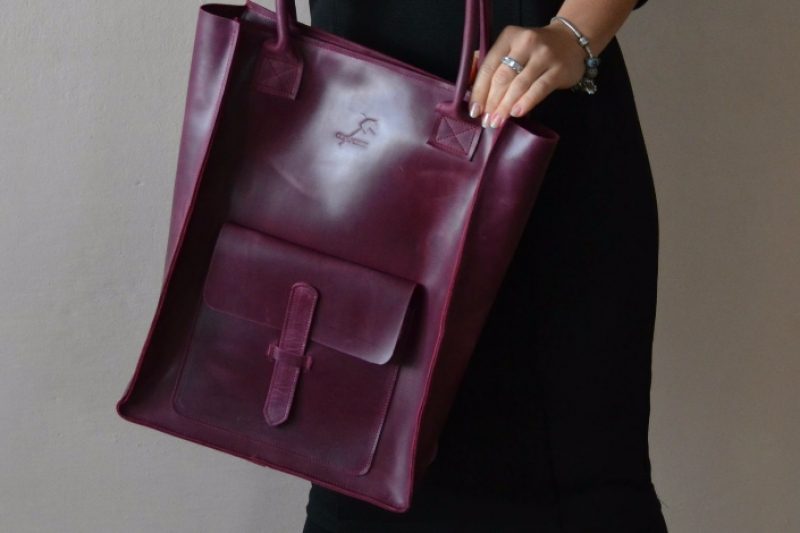
What skin is suitable?
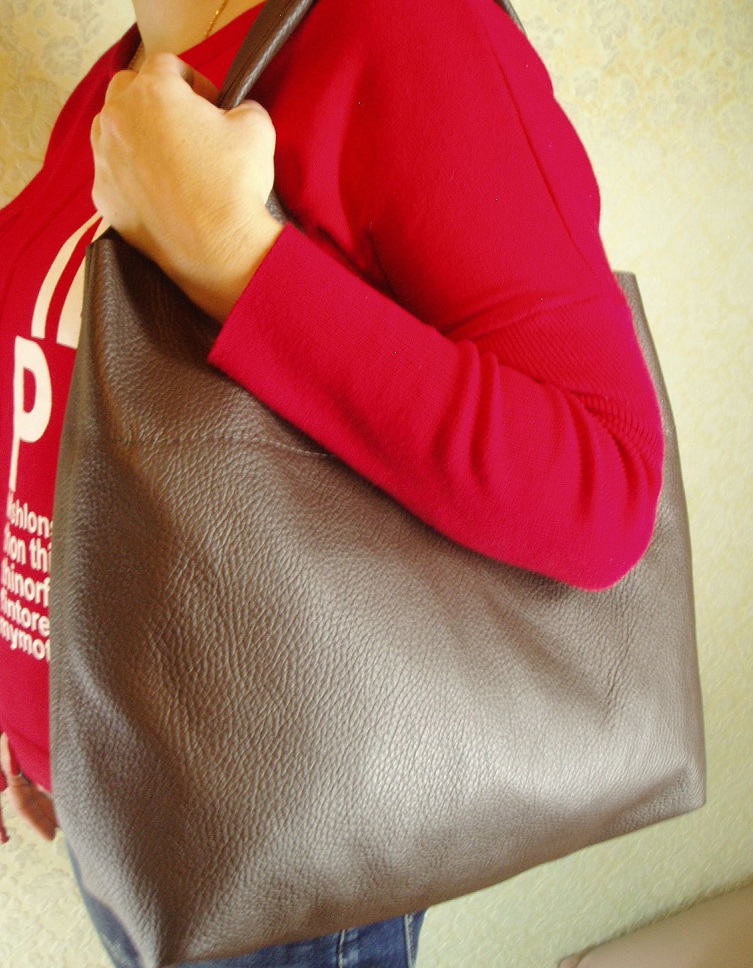
The choice of leather depends primarily on personal preferences, prices, material properties and bag model. Softness is found in many types of skin. One of the softest options is calfskin. It is considered the highest quality and valuable.
Suede - not just soft, but very durable. Soft has a husky. In general, soft leather materials are particularly elastic and finesse.
Bags made of thick leather are quite heavy, but at the same time they have a high degree of strength and a long service life. Thick material comes out of bull, buffalo, pork.
Cost-effective options compared to genuine leather are products made of kozhzam. Modern technologies create fairly durable leatherette products. In appearance, it is sometimes difficult to determine whether a bag is made from this material or not. Among the advantages of these models are the color gamut. Natural products will not give such a color space. In addition, many designers create such accessories not only high-quality, but also environmentally friendly. However, leatherette is not always durable. In the cold, this material may crack, which is not true of natural products.
In contrast to the leather substitute stand up models from natural material. Such bags add status to their owners. They have a longer service life than leatherette. But bags from genuine leather always have a high price tag and, unlike artificial models, natural bags are heavy.
Model selection
The choice of model depends on the purpose for which the bag is purchased or sewn.

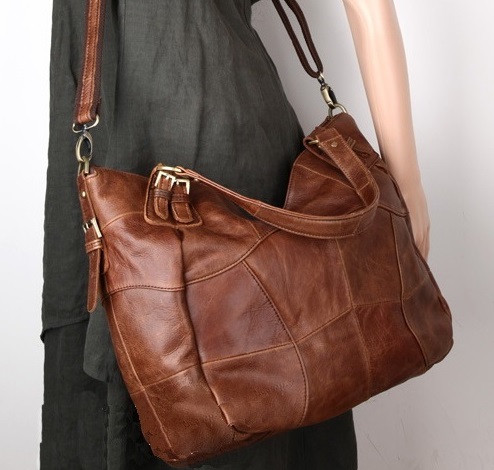
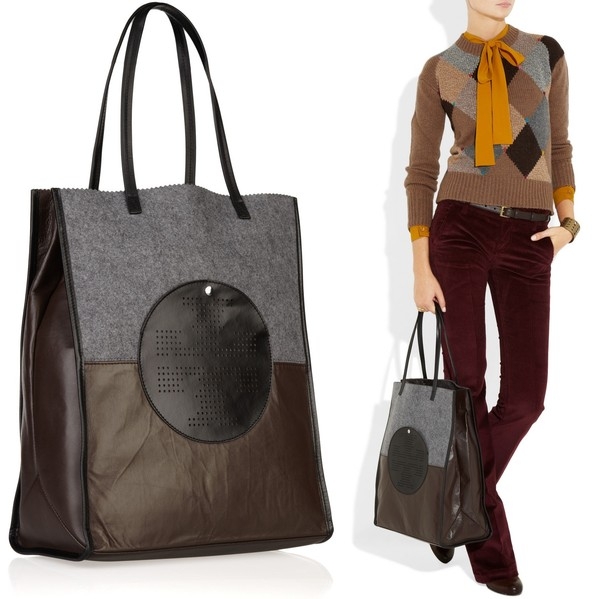
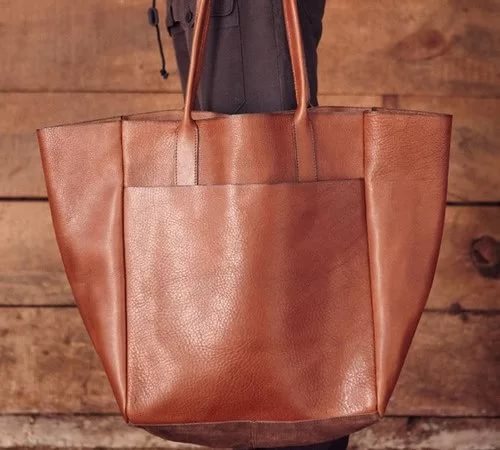
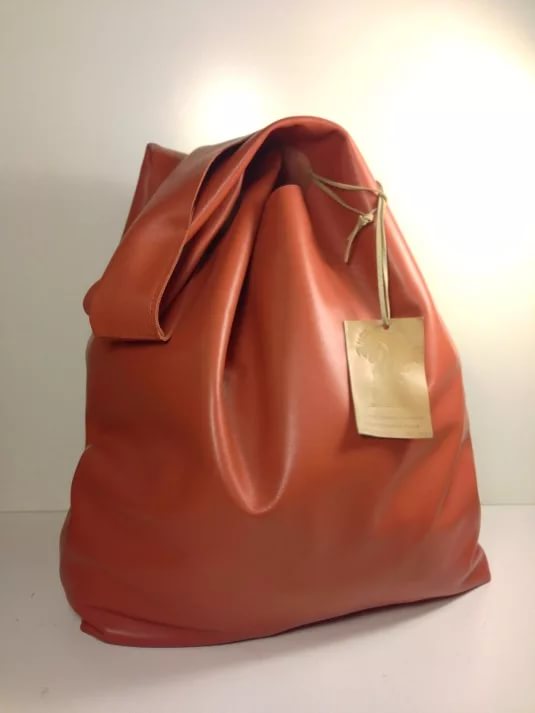
For those who often go shopping or used to carry a lot of things with you, you need a shopping bag. Such bags have a wide capacious shape. The undoubted advantage of such models is universality. They are suitable for any clothing and are ideal for everyday use.

Material depends on personal preference. Most often, shoppers are made of leather and lack zipper.
A bag or bag is a soft bag model, which, due to its shape, has an excellent capacity. The bags have a round bottom and are closed with a braid at the top. Products can be made of cotton, jeans, suede, genuine leather and kozhzama.

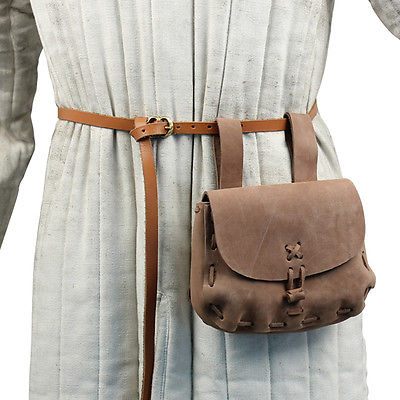
Waist bag is a wonderful and useful thing for a traveler and an athlete. Due to the fasteners on the belt in such a bag is convenient to store the necessary valuables. Freedom of hands - one of the main advantages of such a product.
Workshops on tailoring
Piece of leather bag
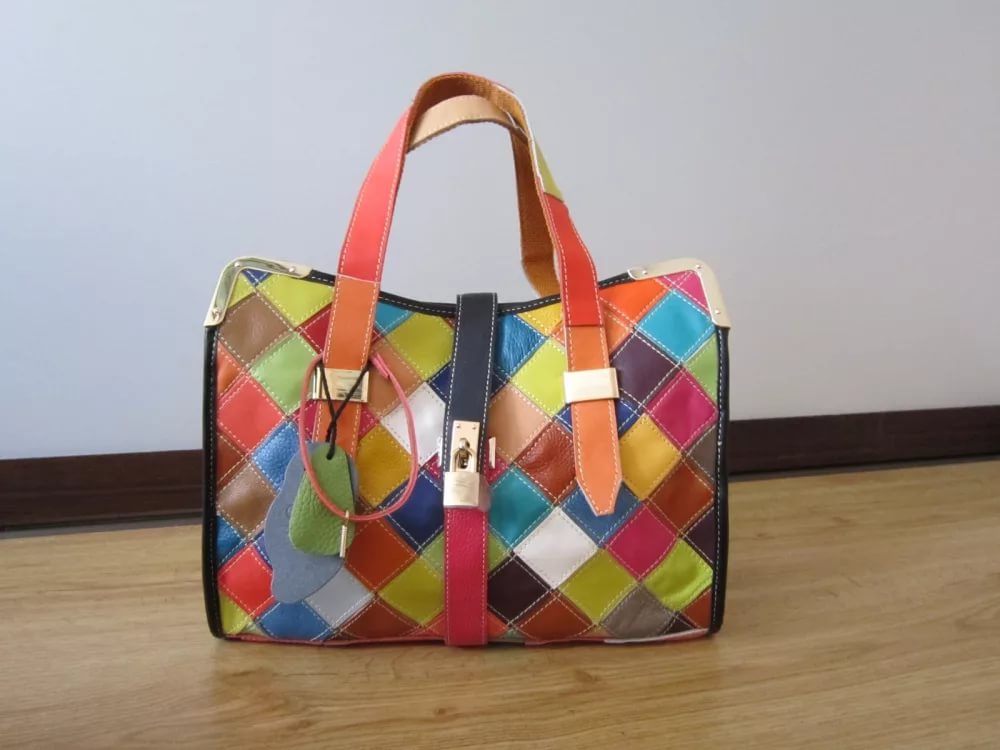
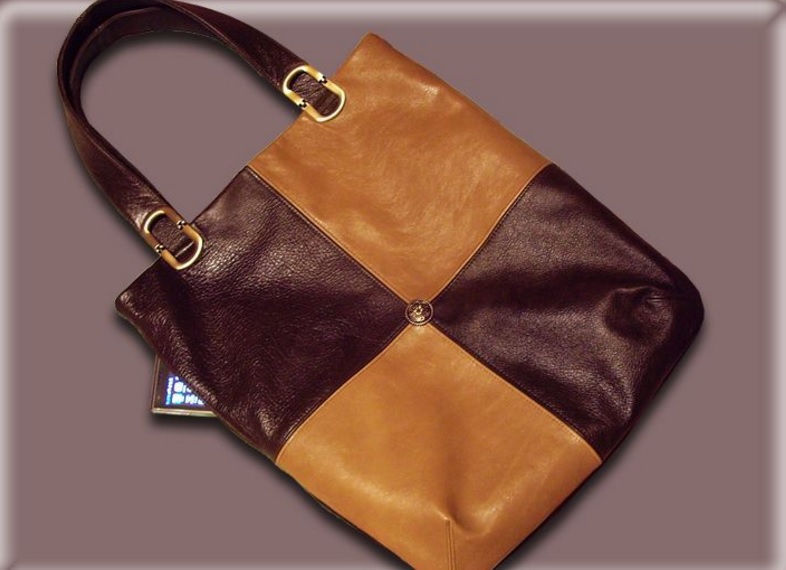
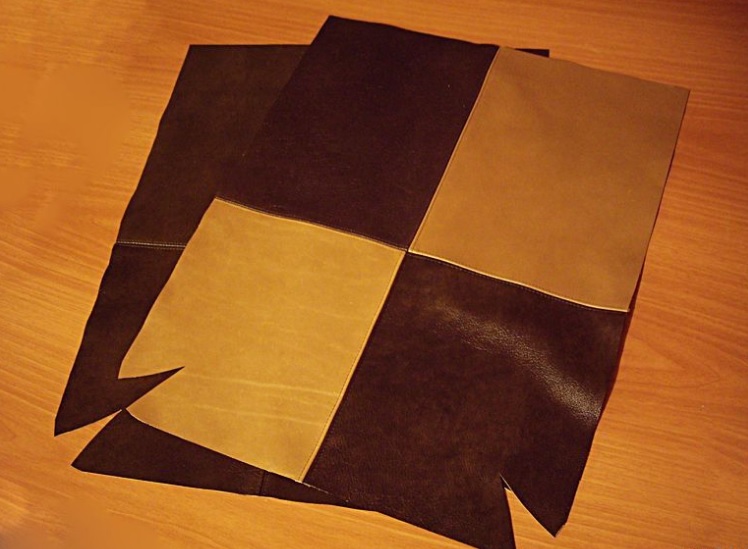
There is a large selection of bags options. The original sample - a bag of pieces of leather.
To create such a product you will need:
- Pieces of leather;
- Glue "Moment";
- Sewing machine.
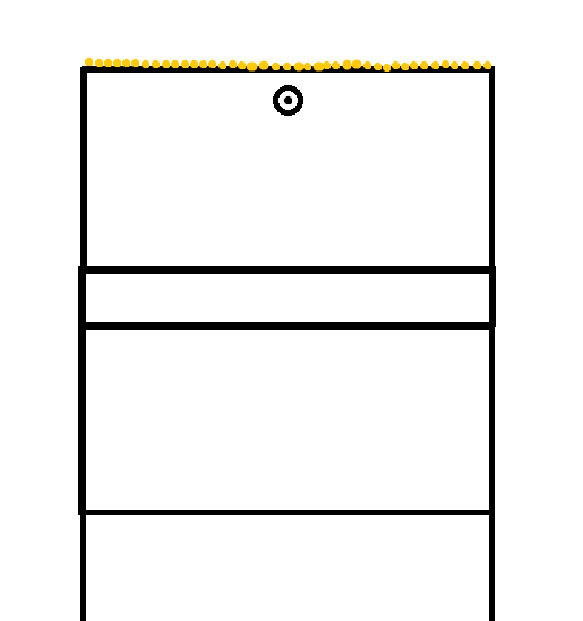
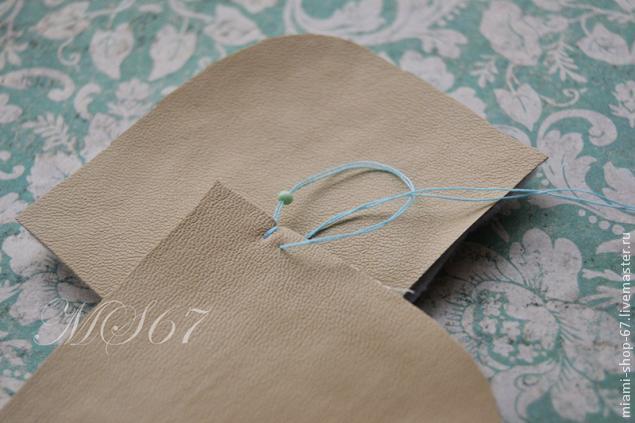
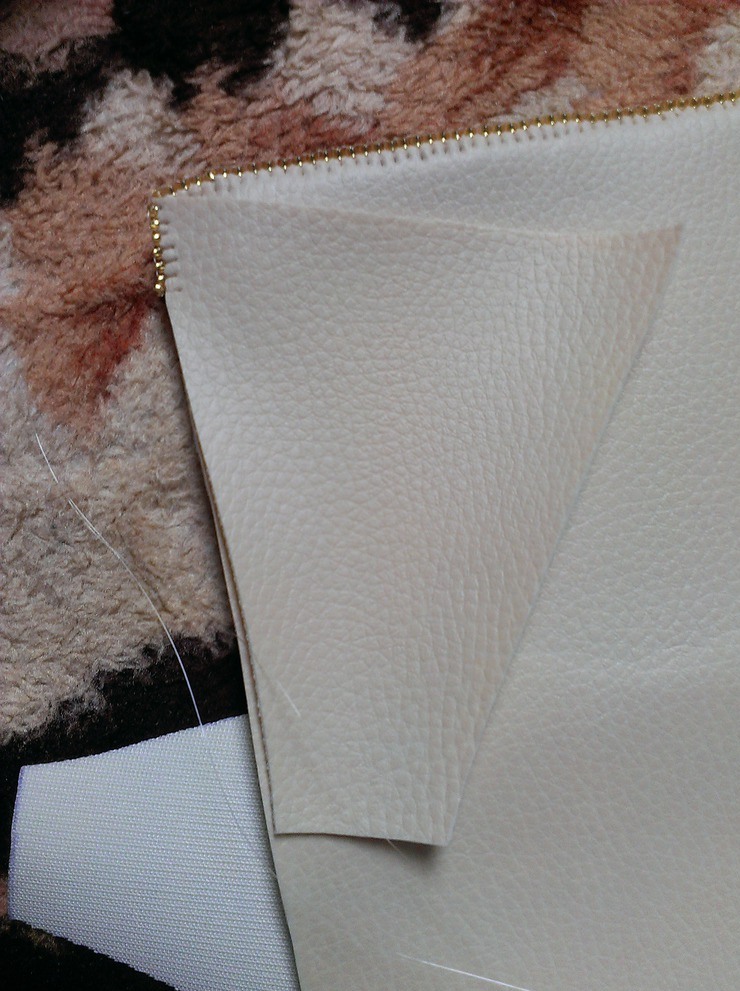
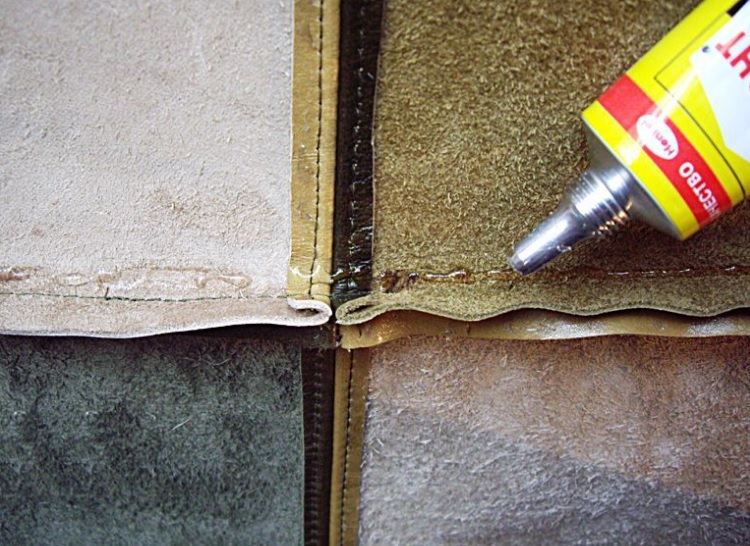
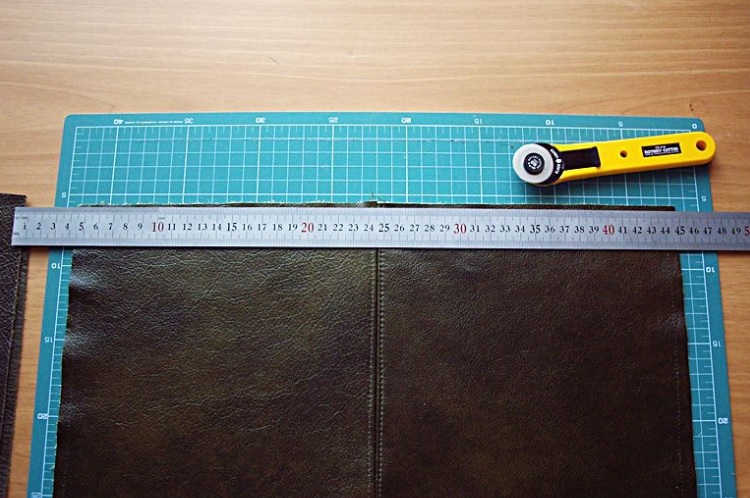
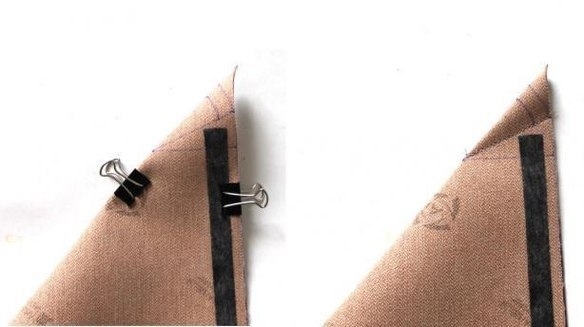
The scale of the product on the model will be 36x42 cm. The size of each piece is 38x50 cm. There will be 2 such details in one color and two in another. On each side of the detail will be removed by a centimeter to the seams, you will need 5 cm for the hem.
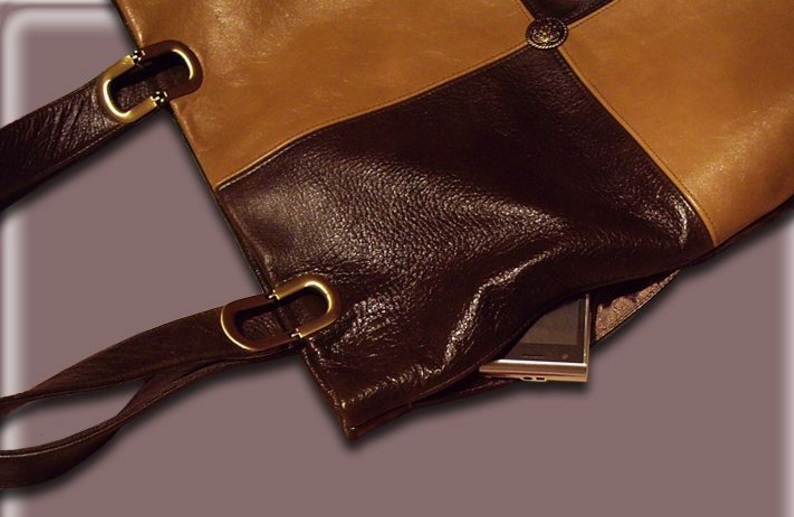
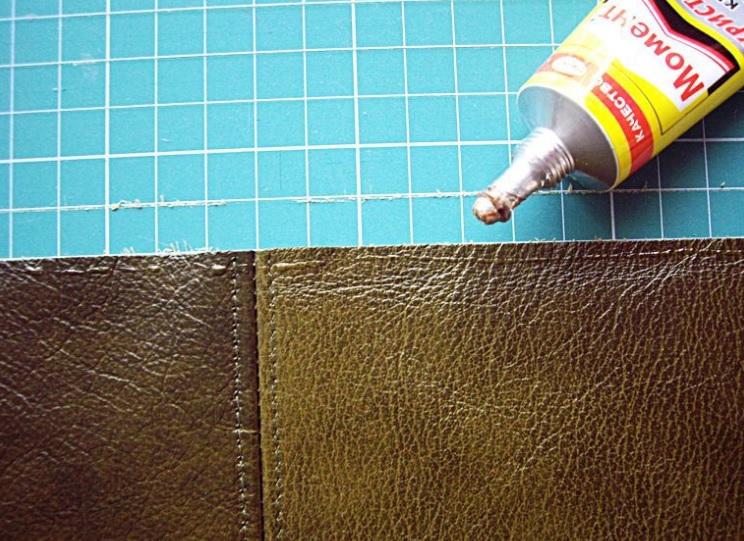
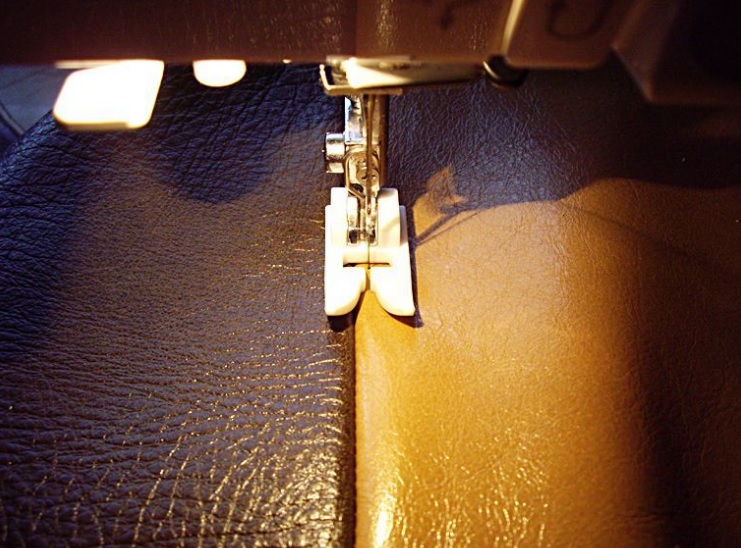
The main assistant at the initial stage will be glue. It is ideal for working with leather. Glue should be applied to the very edge of the part with a thin line. After the glue you need to grab and only then you can start sewing. After flashing, lightly knock at the seams so that their joints are flat and thin. Then again walk the glue on the non-sewn areas and again start the firmware from the outside.
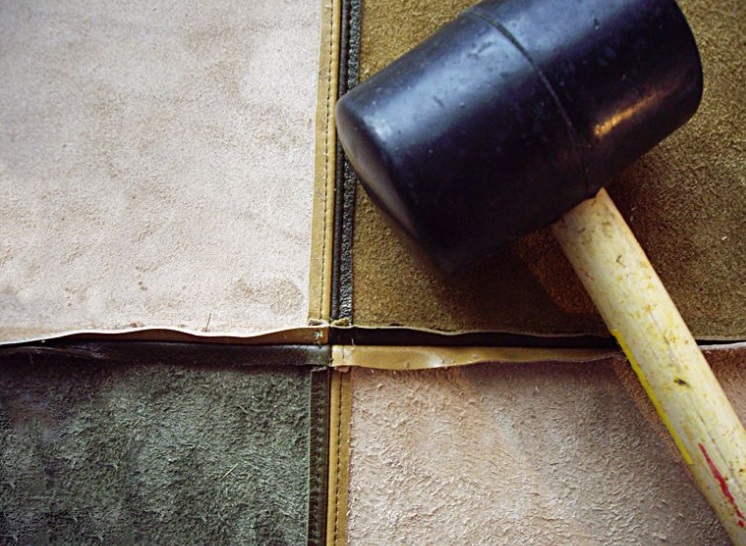
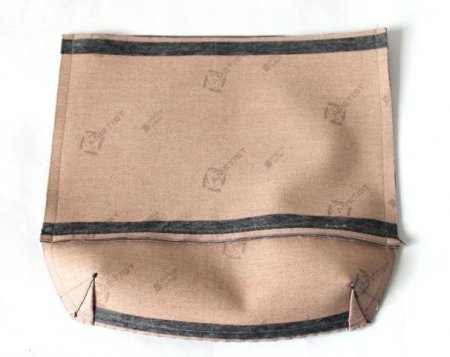
It should turn out like this:

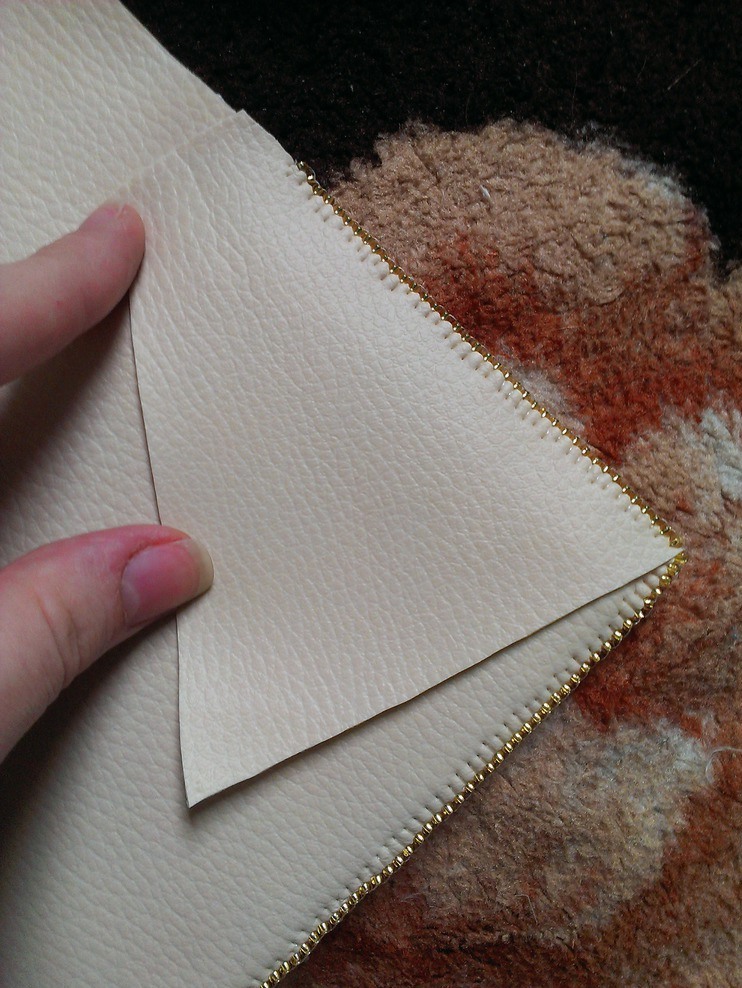
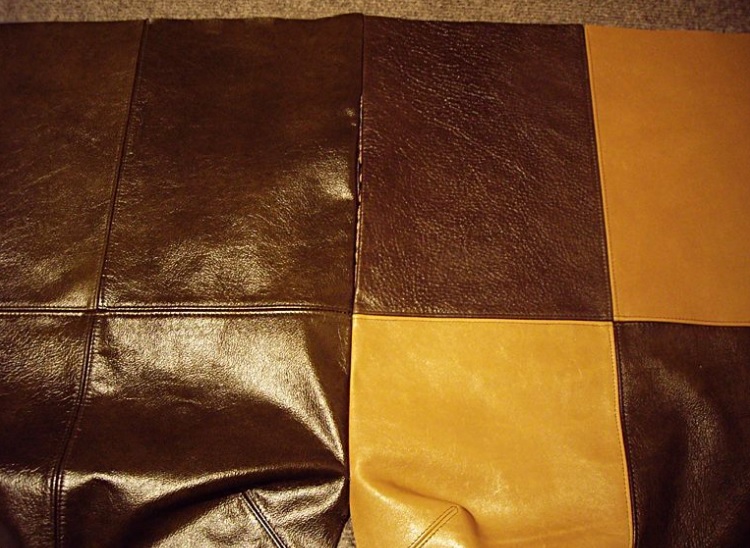
After the seams are done, you need to remember to level the details so that the lines are straight.

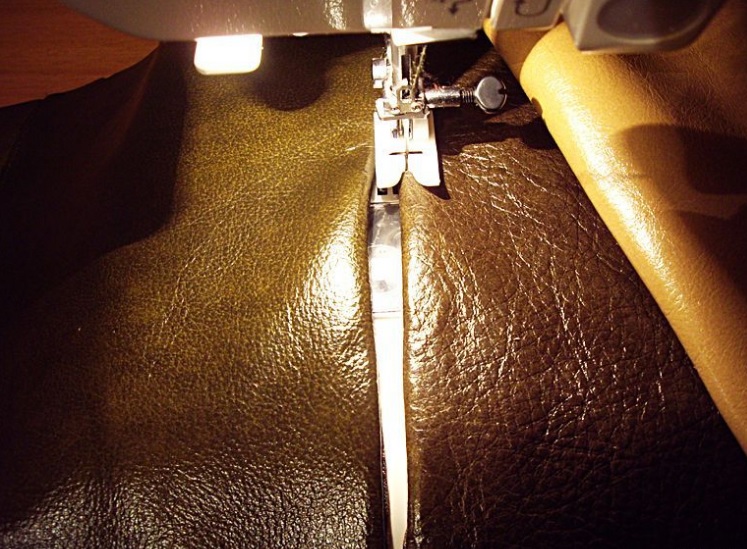
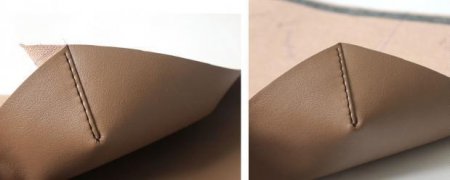
After all the work done, it is necessary to fold the two pieces together and stitch them into a bag.
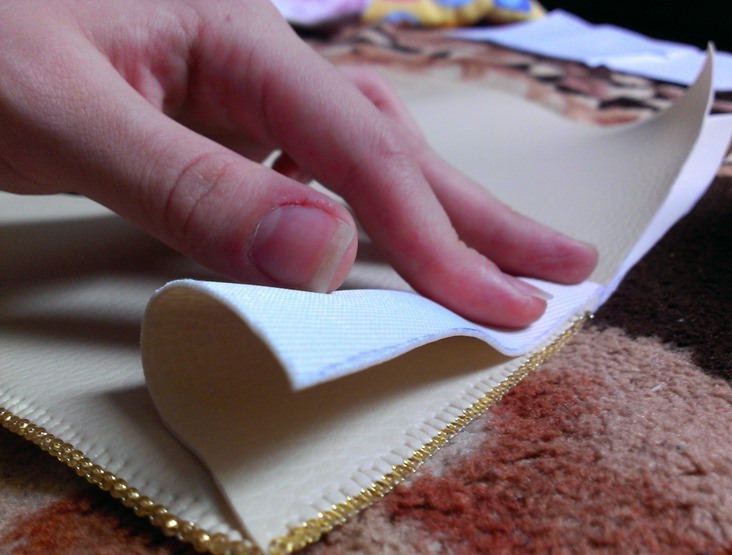
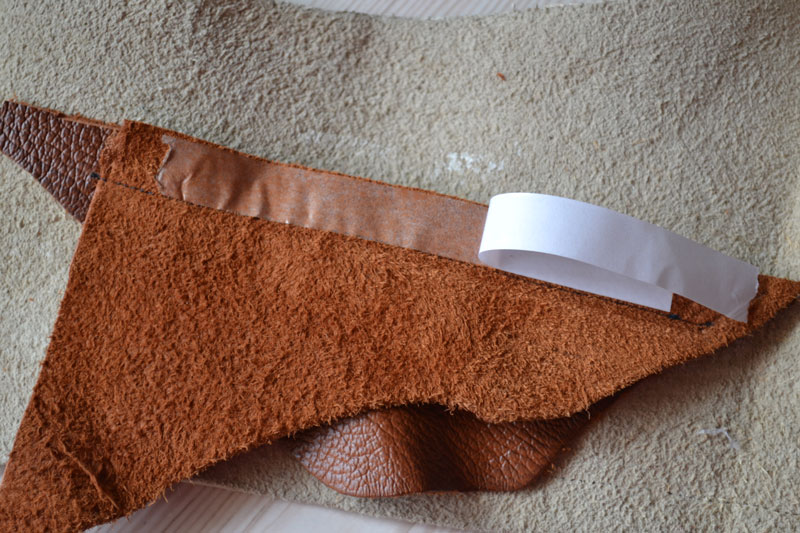
Bag handles sewn into the fold of the upper part of the bag. These creases are cut by a knife and a pen soaked in with glue is inserted inside. As the glue dries a little, you can all hemmed.


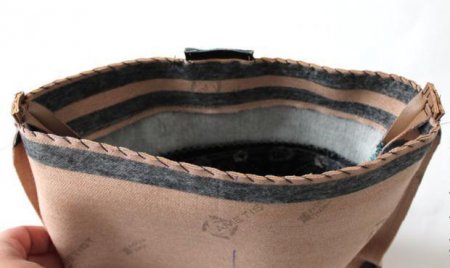
Laptop bag
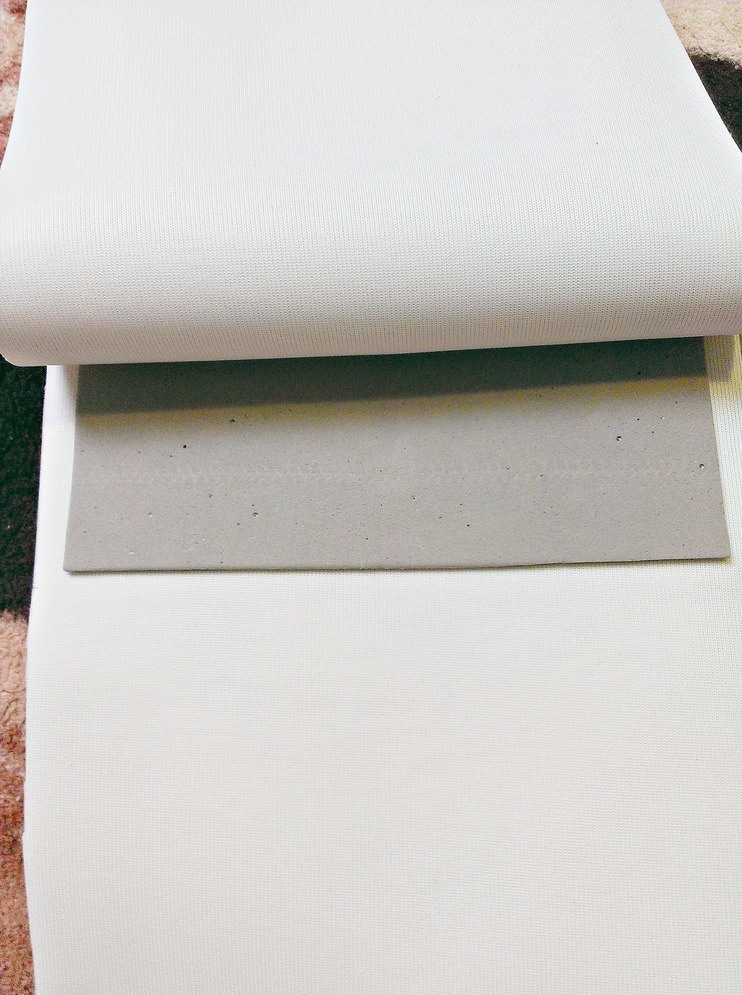
For this model, you will need the zipper and the leather itself (leatherette), as well as the lining.
Sewing a laptop bag made of genuine leather consists of the following steps:
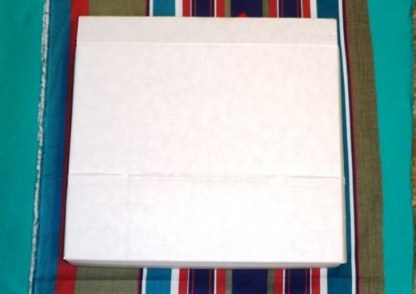
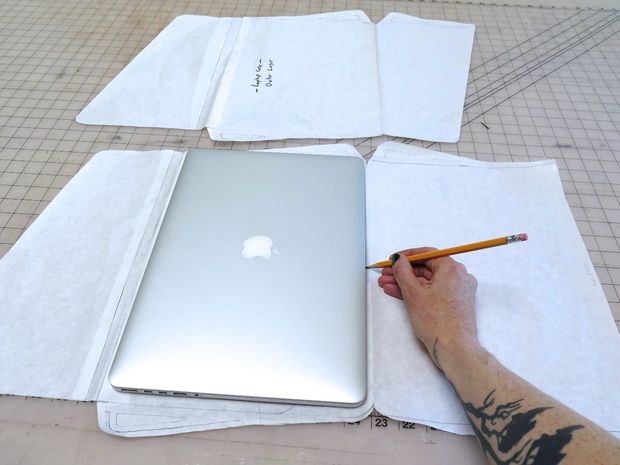
- First of all, you need to decide on the size that will fit the laptop. It is recommended to use a box from under the laptop to determine the width and length of the material.
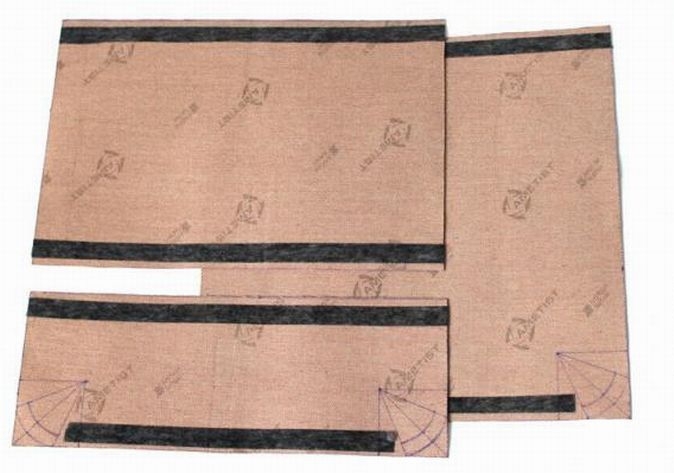
- Next, from the skin on the pattern shown below, cut out two parts, taking into account their parameters. In the first part, on each side, it is necessary to retreat 2.5 cm to the seams. The second form will be 1 cm larger than the previous one, since it will be the outer shell;
- As shown in the photo, the edges of the bottom and the front must be drawn for rounding.

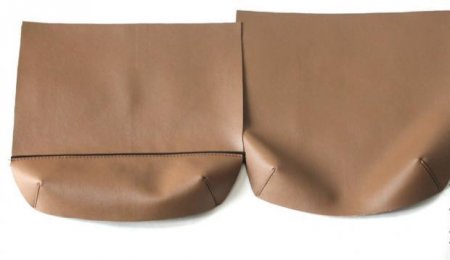
- Grind the bottom and back half.
- Then we attach the front part, laying the folds, as shown in the photo. Excess cut off.
- Making pens.
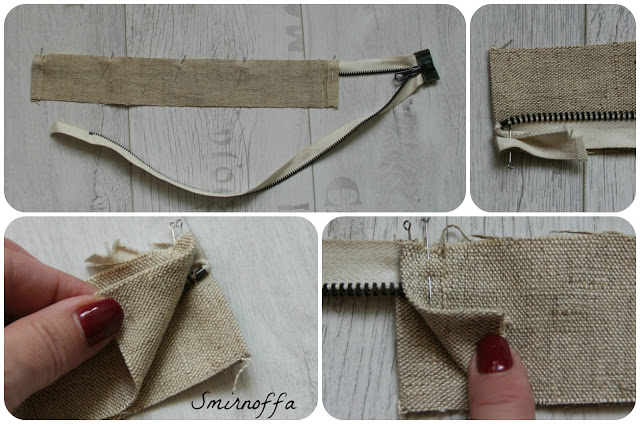
- Prepare a zipper. If it is large, we cut off the excess and melt the edge. On it should also attach a piece of skin.
- We attach lightning to the slats.
- We turn to the cutting of parts of lining fabric (the same pattern) and sew them. For convenience, we make pockets.
- We attach the lining to the slats with a zipper, while the free edge does not fall into the seam.


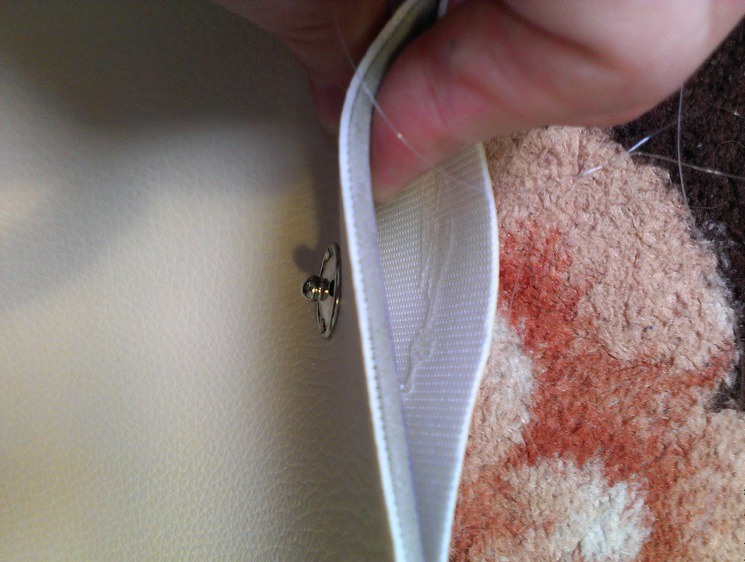
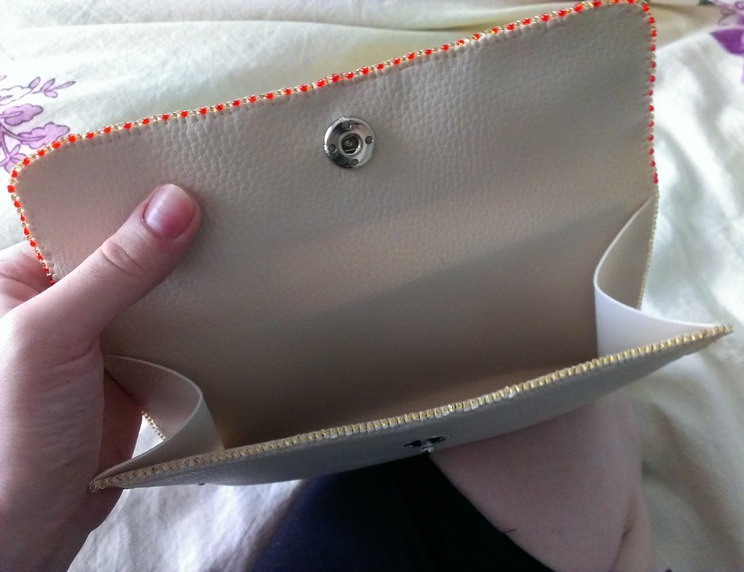
- Cut out the valve, insert the magnetic button into it and attach it to the bag. Also sew handles.
- It remains to sew the lining to the leather part and insert the second part of the fastener.


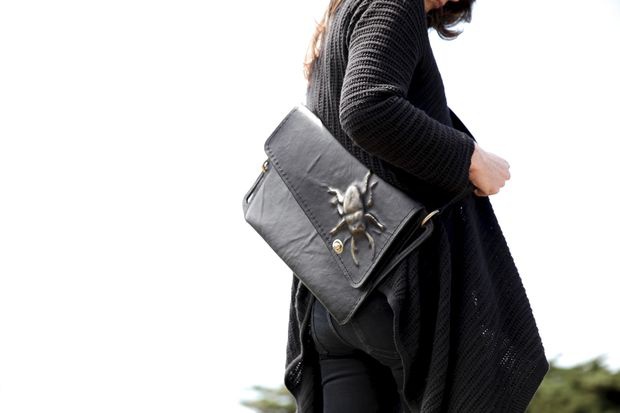
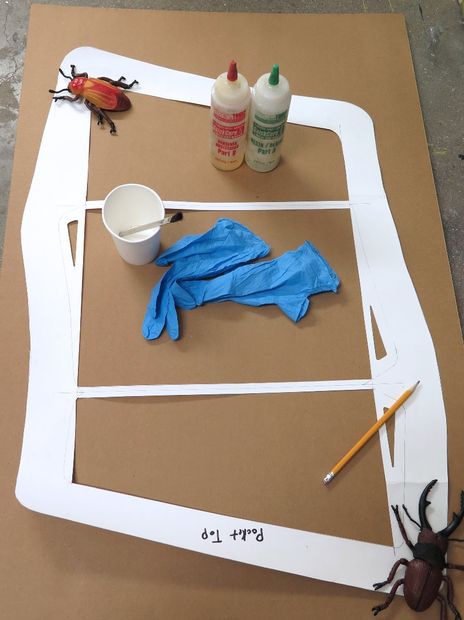
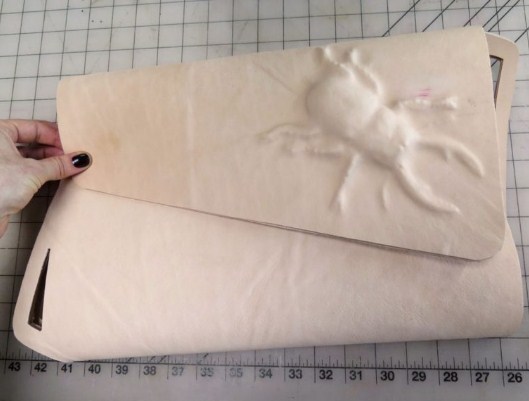
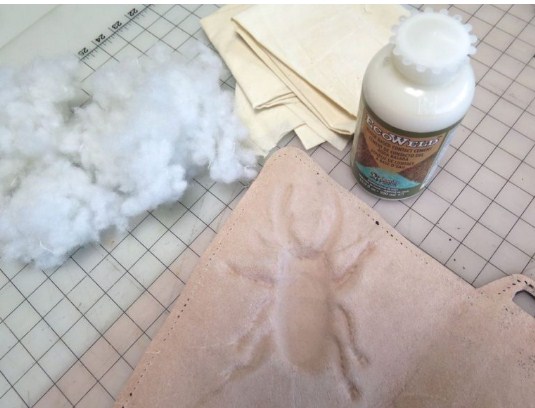
Molded case
We need tools for tanners, paints, sponges and the forms themselves - in this case, bugs (not higher than 2 cm). Of course you need a skin that can be molded.


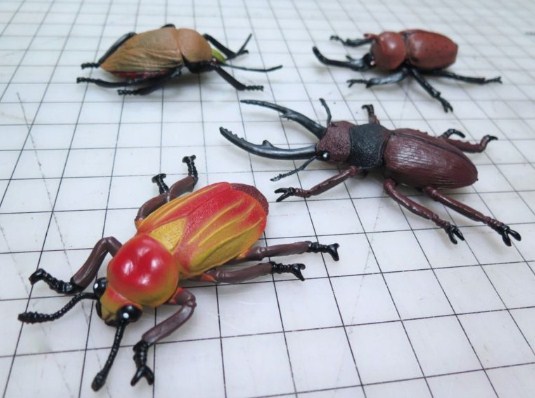
On paper, draw a pattern.
- On the cardboard we transfer the pattern and plan the location of the beetles on it, which we then glue.
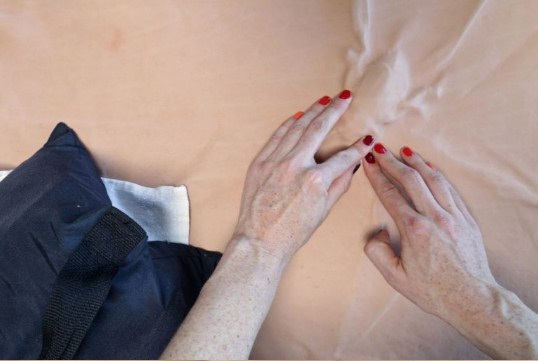
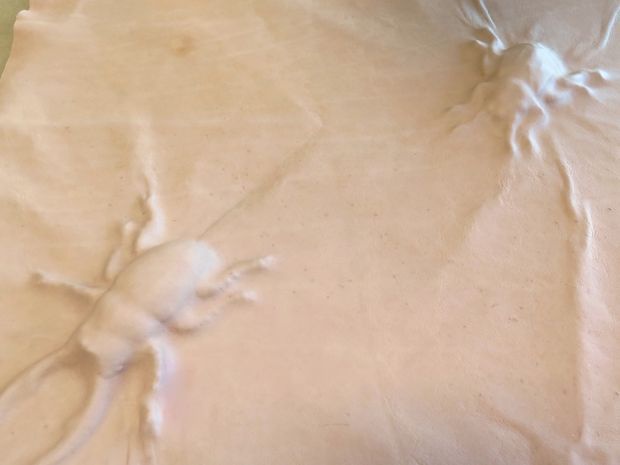
- A piece of skin with a large supply of dipped in hot water for a few minutes to soften. Then wipe, lay out on cardboard and form beetles.
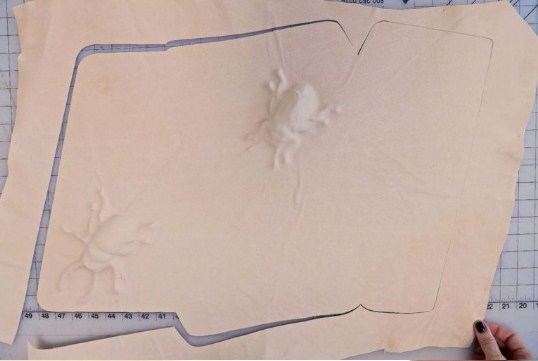
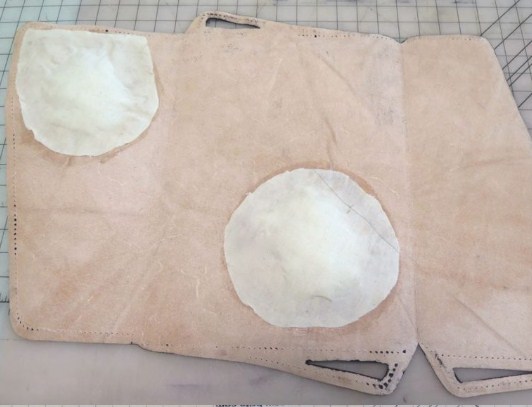
- After drying the product, we cut it out, cut out the holes for the handles and glue it onto the cardboard for rigidity.
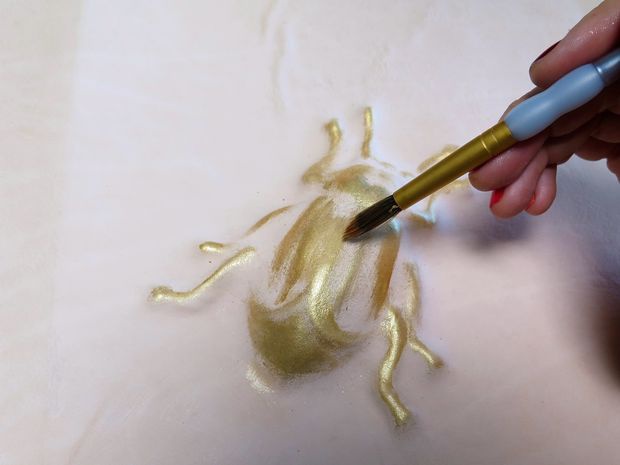
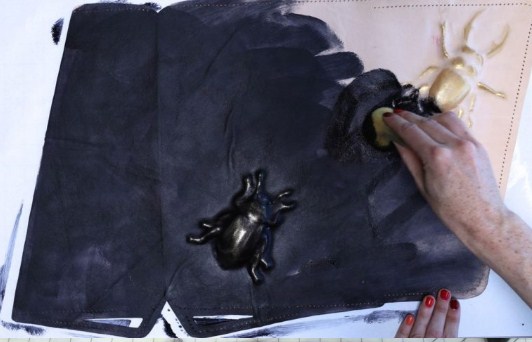
- Paint the beetles, then the canvas itself.
- We process ends.
- We fill in the voids in the bugs neatly with polyurethane foam or fill them with padding polyester and glue them with a cloth.
- We sew parts and put accessories.


Another model we offer to see in the next video.
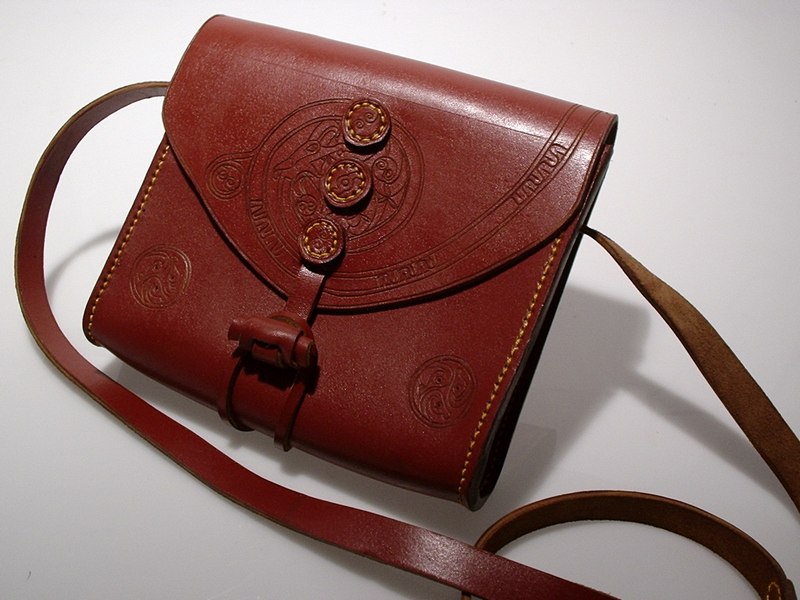
Leather Skirt Bag
For this type of bag you need an old skirt, decor, glue, thread, scissors.
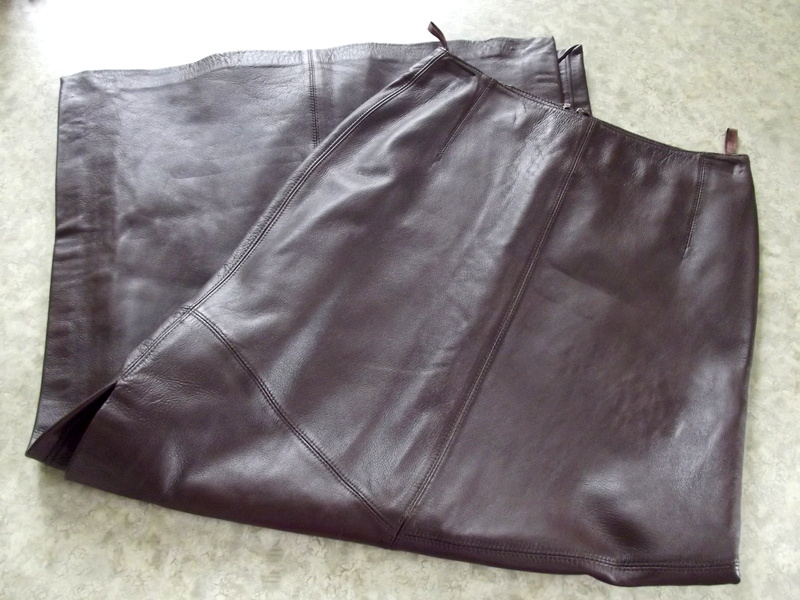
The bottom of the skirt needs to be cut open, measure 1.5 centimeters, cut off the excess. For the bottom you can use linoleum. The bottom should correspond to the bottom of the product. The bottom of the bag carve out of leather.Pieces of leather should exceed the size of the bottom by 1.5 cm. To sew the bottom it is necessary to sew three sides, retreating from each other by 1.5 cm. Insert linoleum into the unstitched one and cover the rest.
The bottom is sewn to the skirt from the seamy side. The middle of the narrow part of the bottom should be joined with side seams of the skirt. After equalizing everything and paving the line around the perimeter. After the work done, unscrew the products on the front side.
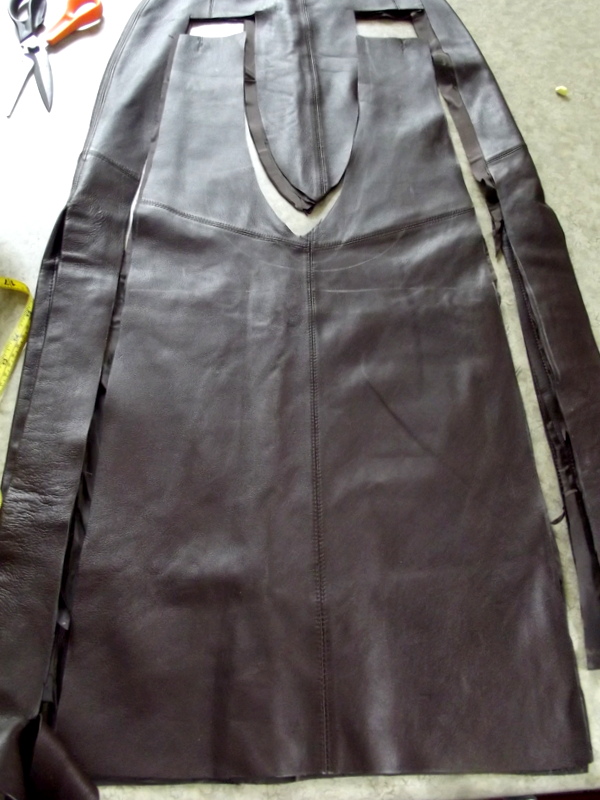

Handles can also be made of leather. The length can be determined on their own. But do not forget about seam allowances. Each handle must be rolled from the inside out. And stitch, retreating from the bend of 0.5 cm, it is better to tuck sections on them by 1.5 cm on the inner side and flash it. Handles are sewn to the bag from the back side. The seams are laid from bottom to top.
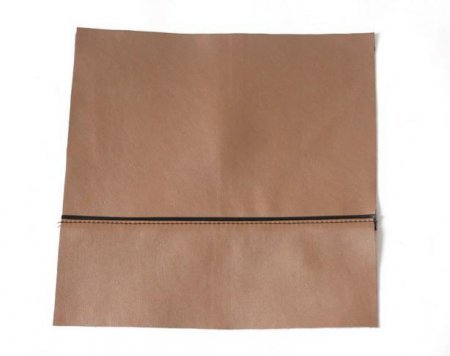
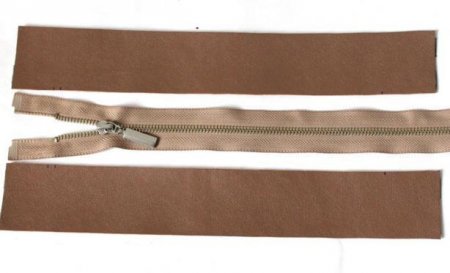
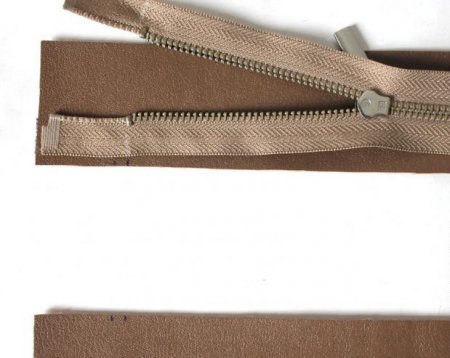
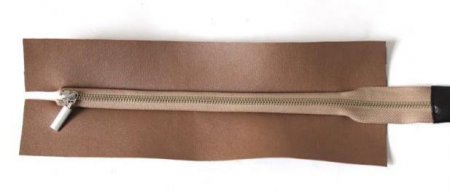
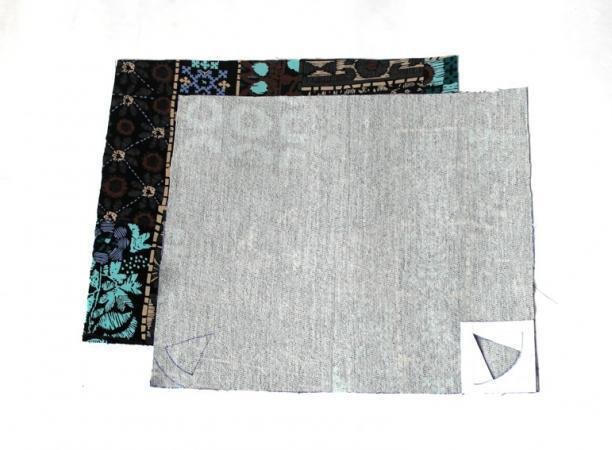
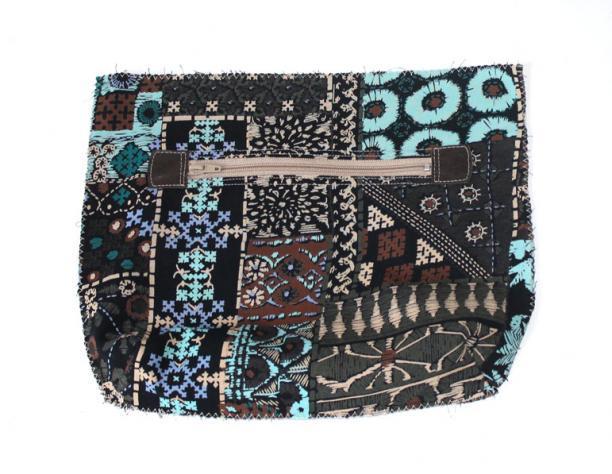
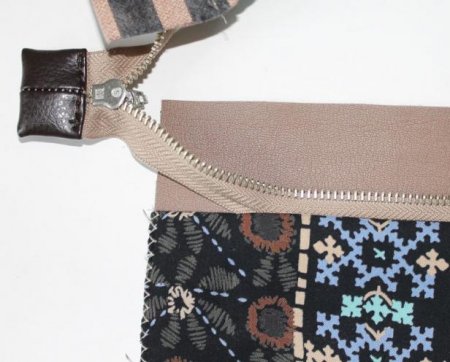
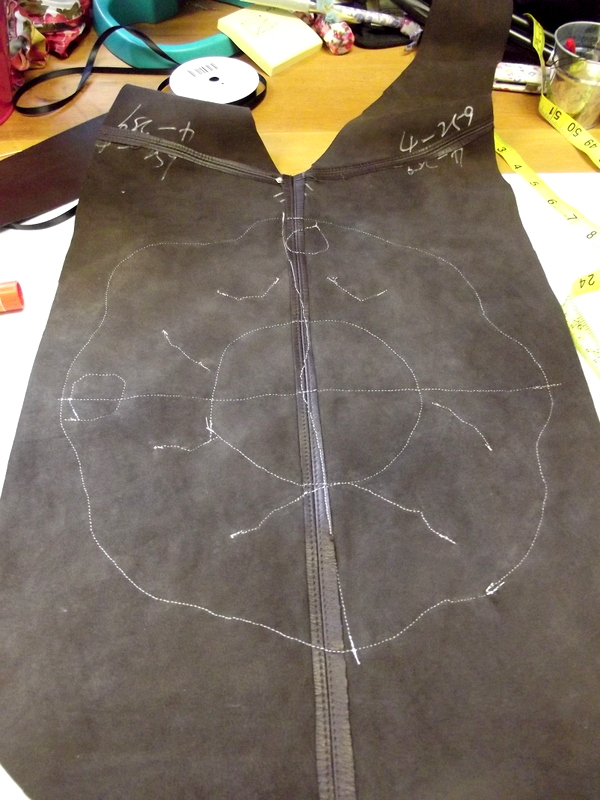
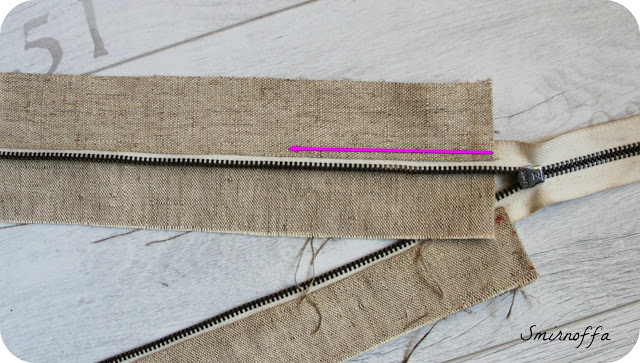
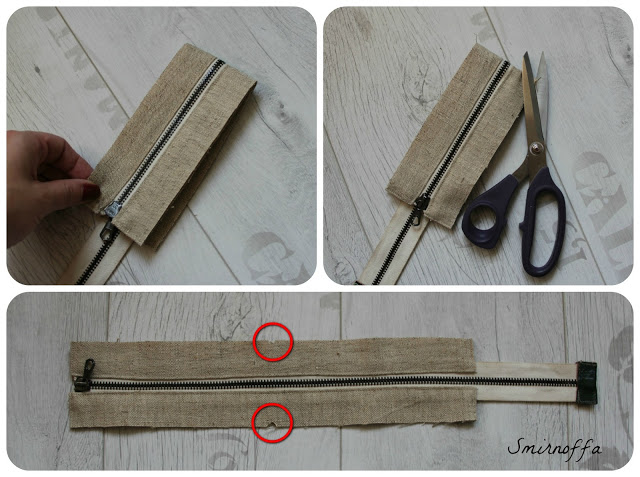
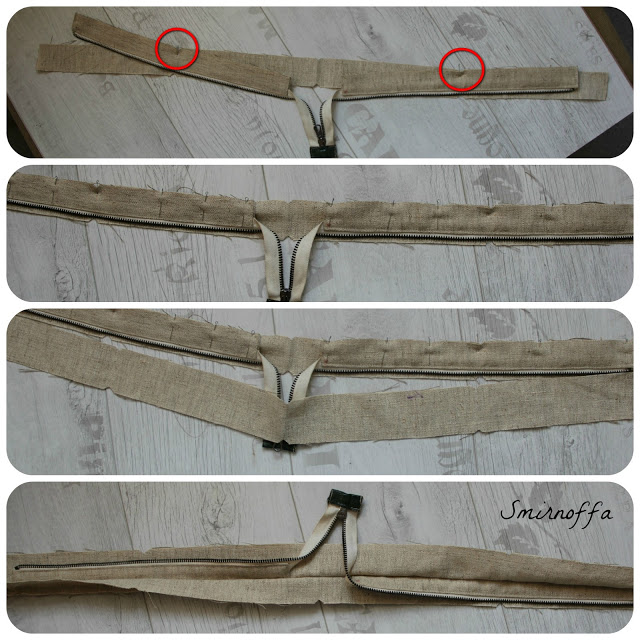
Zippered bag
Bag with zipper is built on the usual pattern of the standard model. One lightning causes fear in many.
After the lining is cut, the sides are all stitched, there is only one unwired area, which is just necessary for the zipper. The width of this area should be 15-20 cm. To handle the zipper, you will need 4 strips and 4 facing (2 upper, 2 lower) equal to the width of the bag.
The zipper needs to be sheathed with these pieces of fabric. And the rest of its end is fixed to the braid of the zipper itself. All items on a typewriter. The resulting design must be attached to the bag. This process can be done manually.


How to do without sewing on a typewriter?
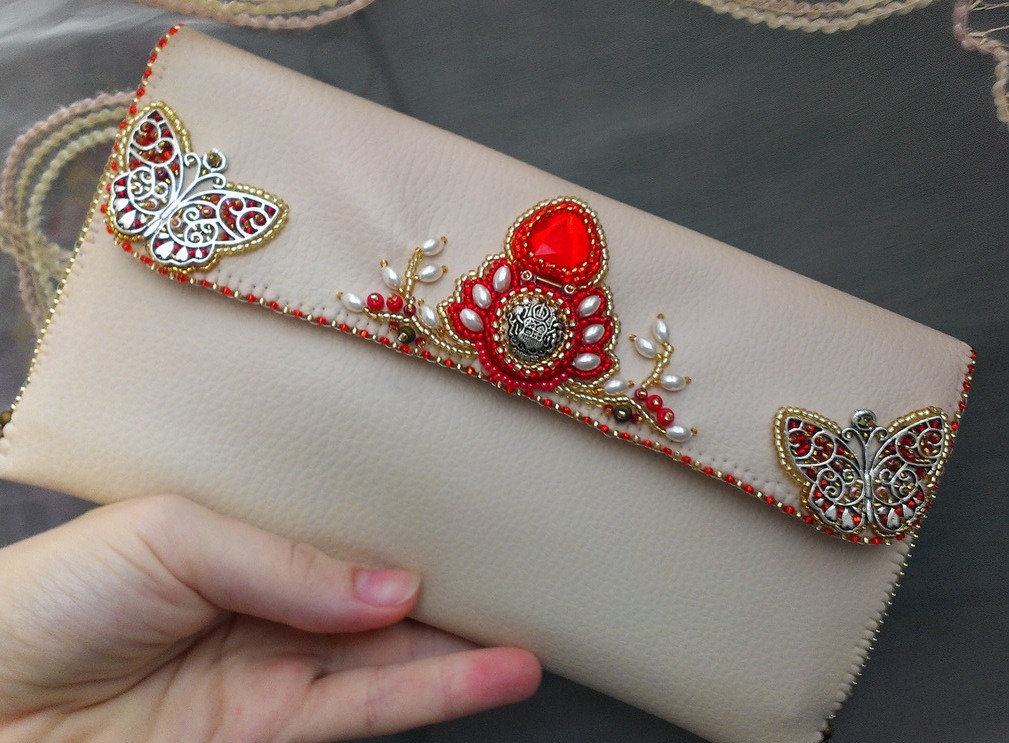
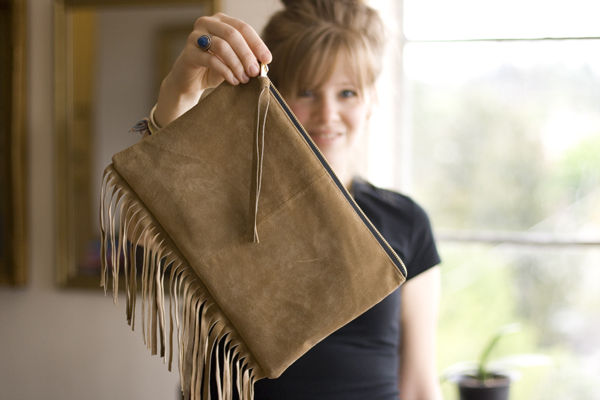
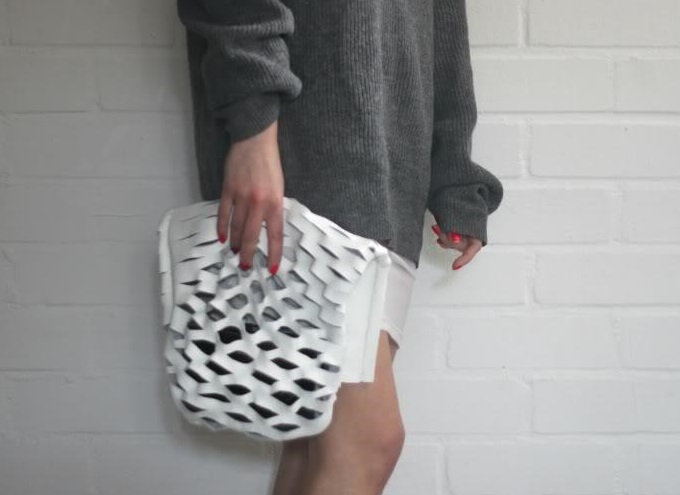
We will make an original leather clutch without a pattern and a typewriter, but with an original decor.
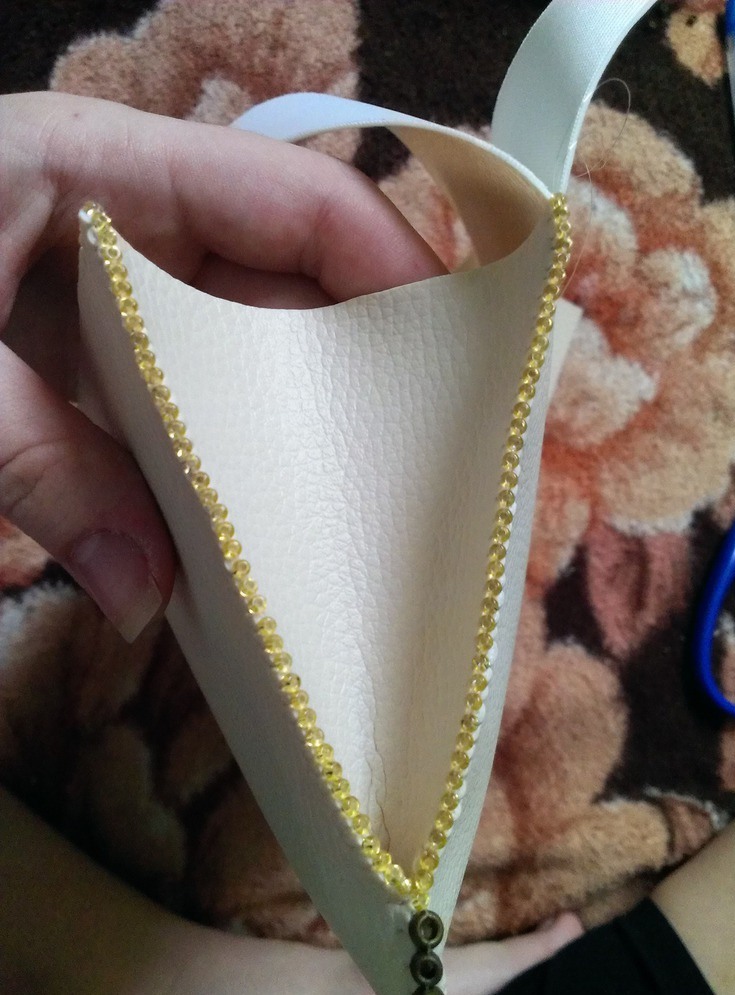
We will need beads, a rectangle of foamiran 18x9, of course the skin itself is 20x29 cm in size and a button for fastening.
- We draw a piece of skin, as shown below.
- Put the foamiran between 2 leather sheets and glue it to the inner sheet.
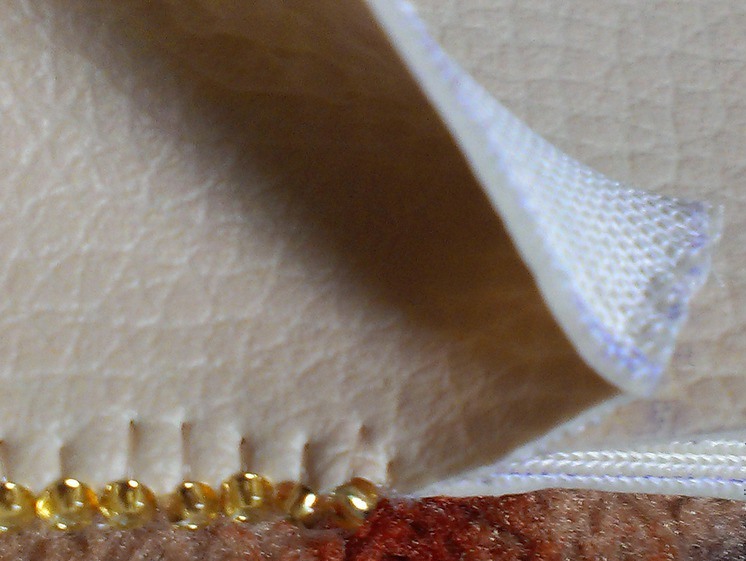
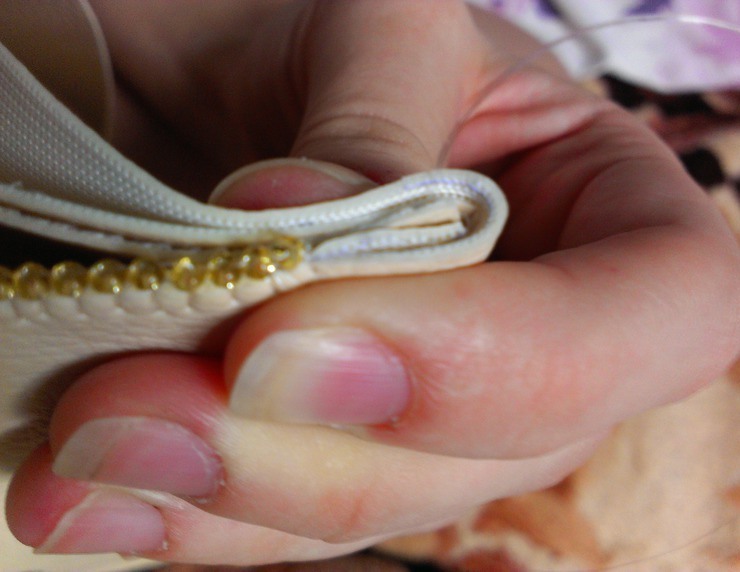
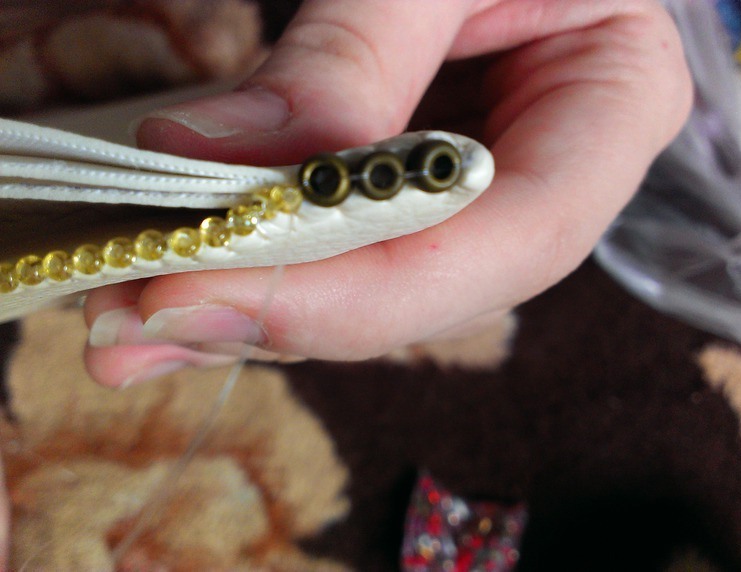
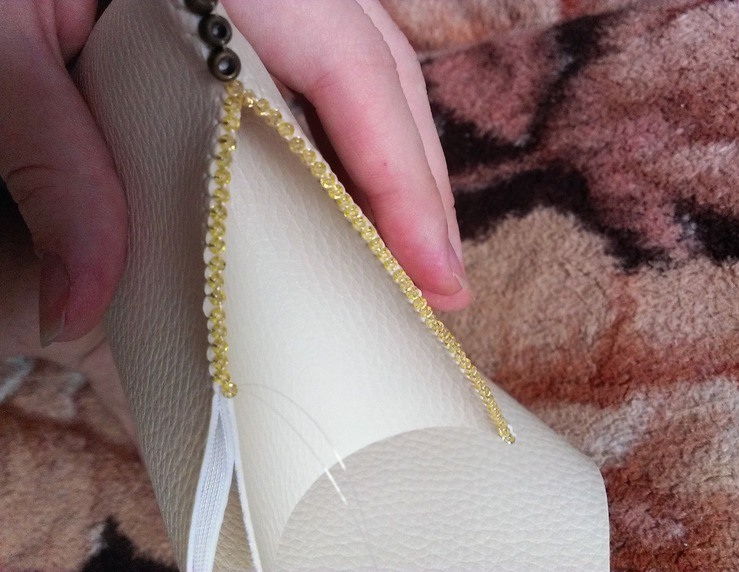
- Sew on the bottom of the button, and sheathe the edge and sides with beads.
- The sides at the bottom we bend and hem.
- At the end of each edge, all layers are stitched. Close the cut beads.
- Sew the second part of the button and decorate to your liking.