Newlyweds at the wedding decided to give a gift. There is a choice what to present to the bride and groom, and most often it is money. With a large number of guests, the question is where to put them. The best solution in this situation is a wedding box. And also this thing will serve not only the beginning of the family budget, but also reveal the creative vein of the giver.
Types and forms
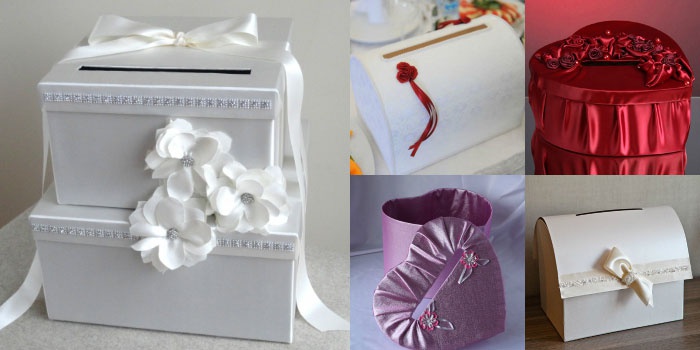
Money boxes can be made in the form of various geometric shapes: square, circle, oval. Can be made in the form of objects: house, chest, suitcase, heart. The gift is decorated in accordance with the theme of the wedding. The obligation to prepare the creation and decoration of the box stands close friend of the bride or someone from relatives. Family money box for collecting money will bring fun and convenience to the celebration for guests and donors. Wedding "treasury" can also be used as a box for the preservation of envelopes, cards, jewelry and other small gifts.
Consider a few ideas.
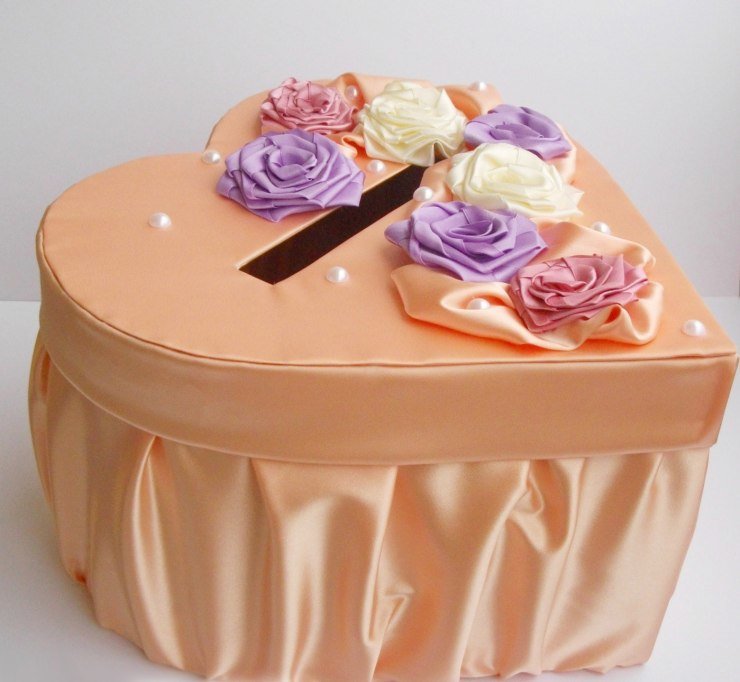
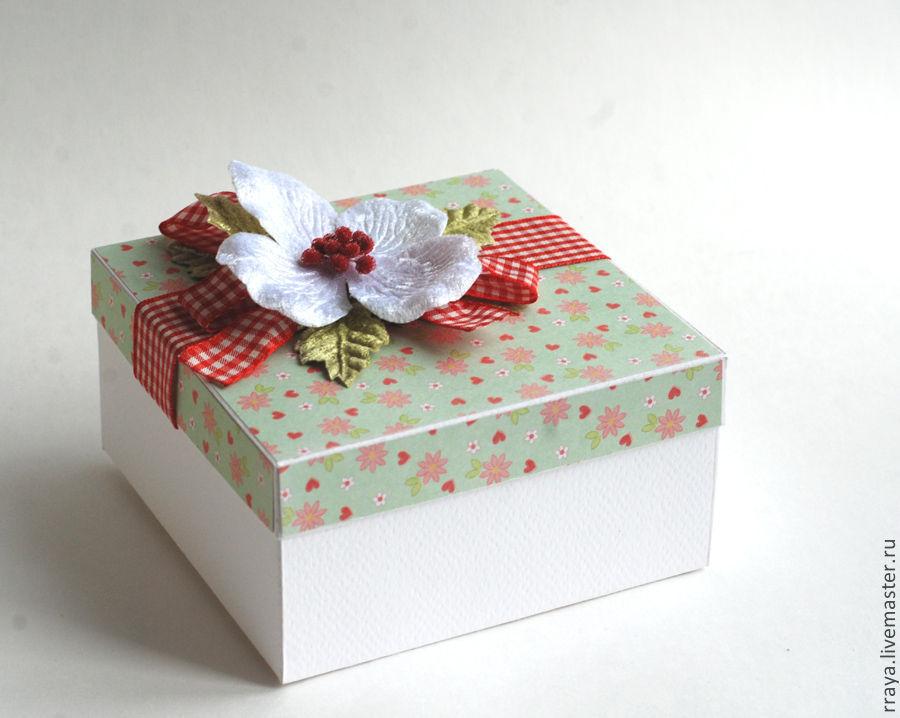
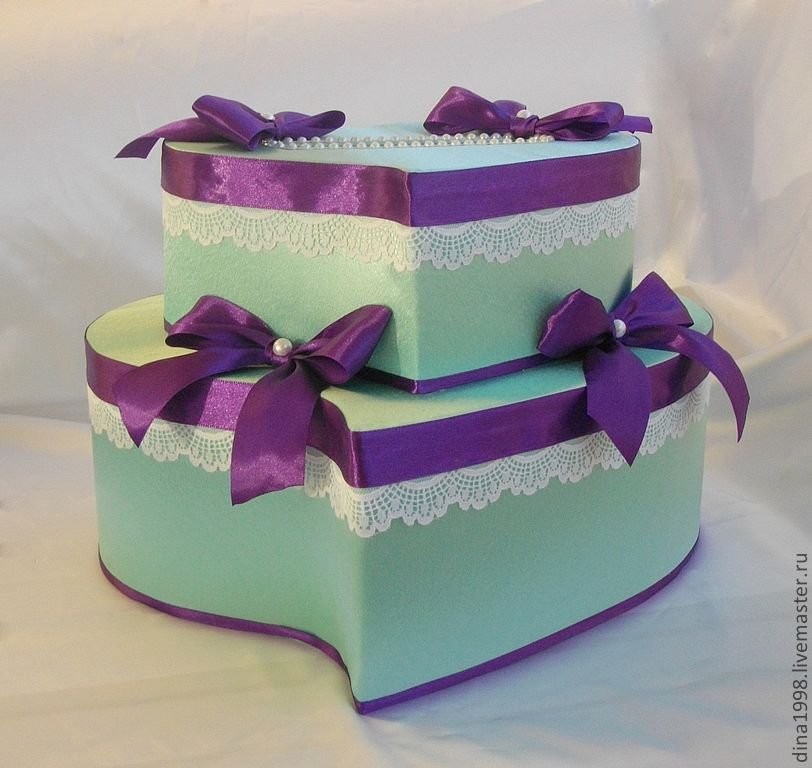
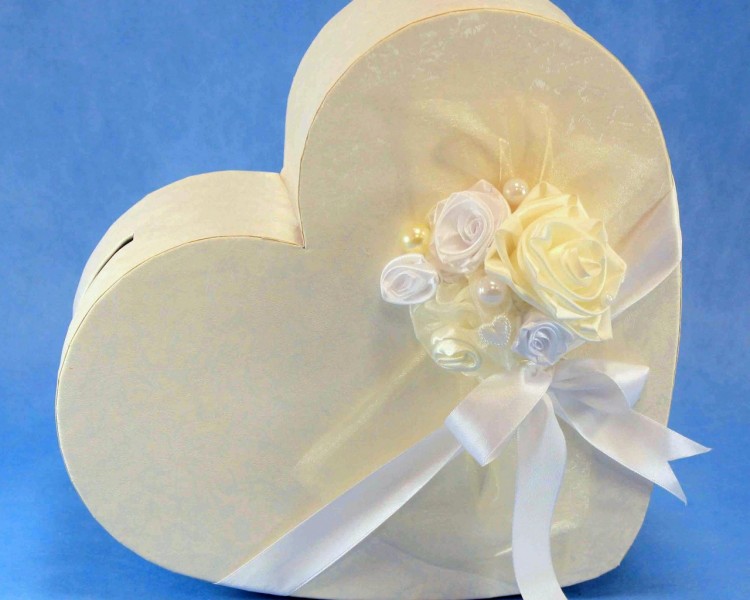
- A box in the shape of a heart. This box is made from gluing cardboard, drawing paper using a pre-made template, or is already purchased in finished form at a packaging store. The slot for notes is located on the lid of the box or on the side. On request, you can make a box with beautiful material - lace, pieces of fabric, beads, artificial flowers, sequins, ribbons.

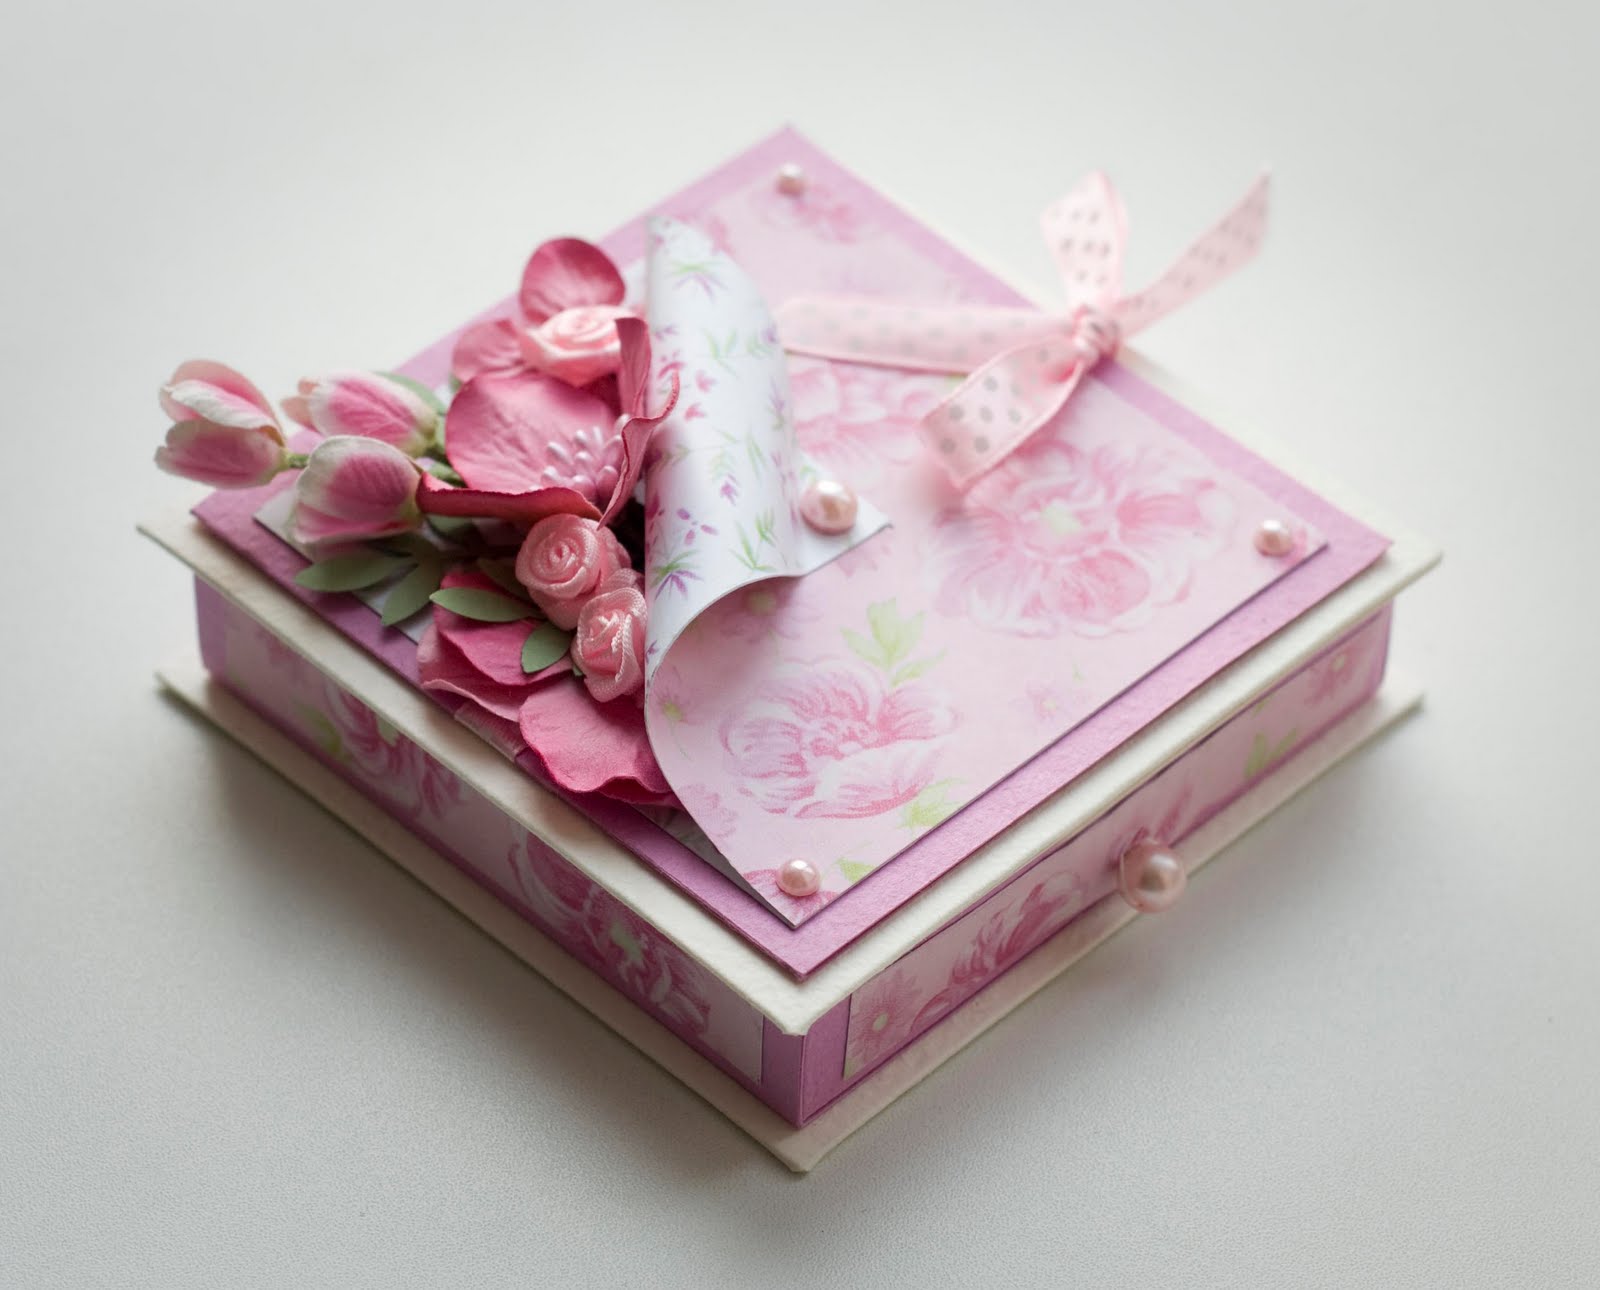
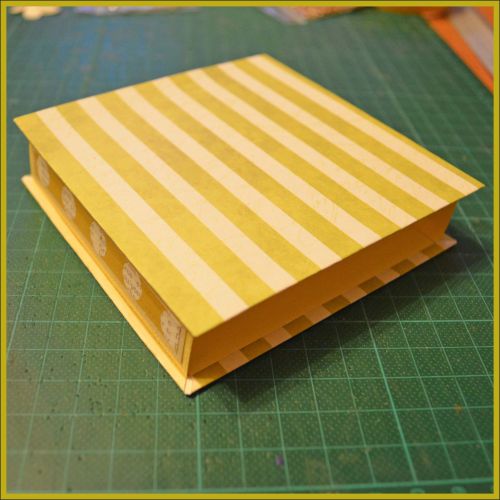
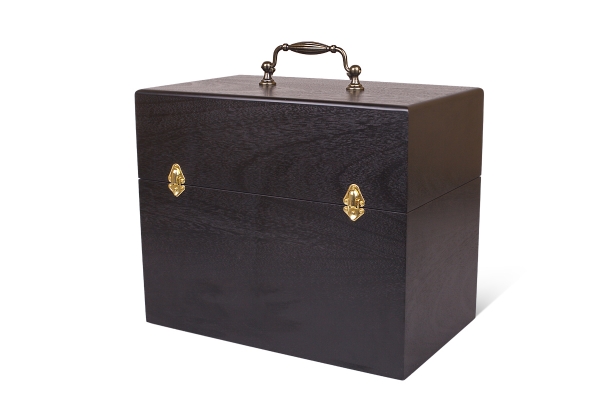
- The treasury is like a casket. Boxes of sweets and shoes are used in the basis of the creation of the box. The size should take into account the number of guests, a small box will not be able to hold all the gifts. Most donate monetary units in handmade envelopes that are larger than a standard postcard. All big things should not hang around the box. To make the slot of the box look neatly on both sides, it is decorated with ribbons or cloth, lace. If the box is small, but really like it, then using thick cardboard, you can increase the height. A rectangle is made of cardboard and glued to the box on the missing side. It is as if pulling a bag over a box. Hide places glue help various decorations.
If the desired box is large, it is easy to reduce the shape of the cut corners. Or use it as a template for cutting out the details for a new casket.
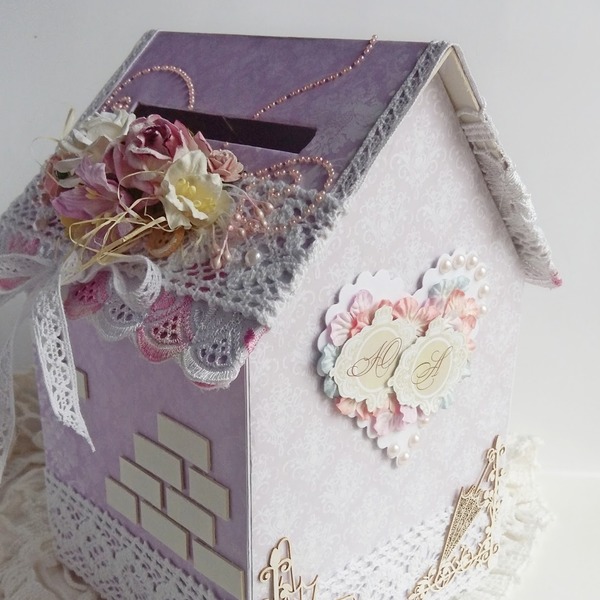
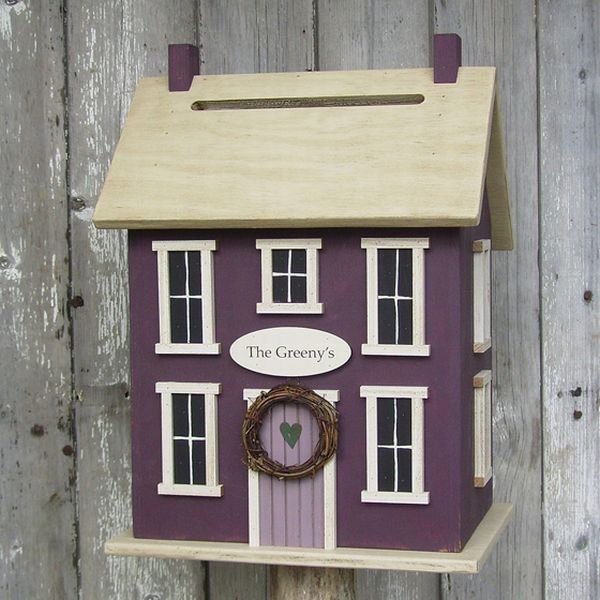
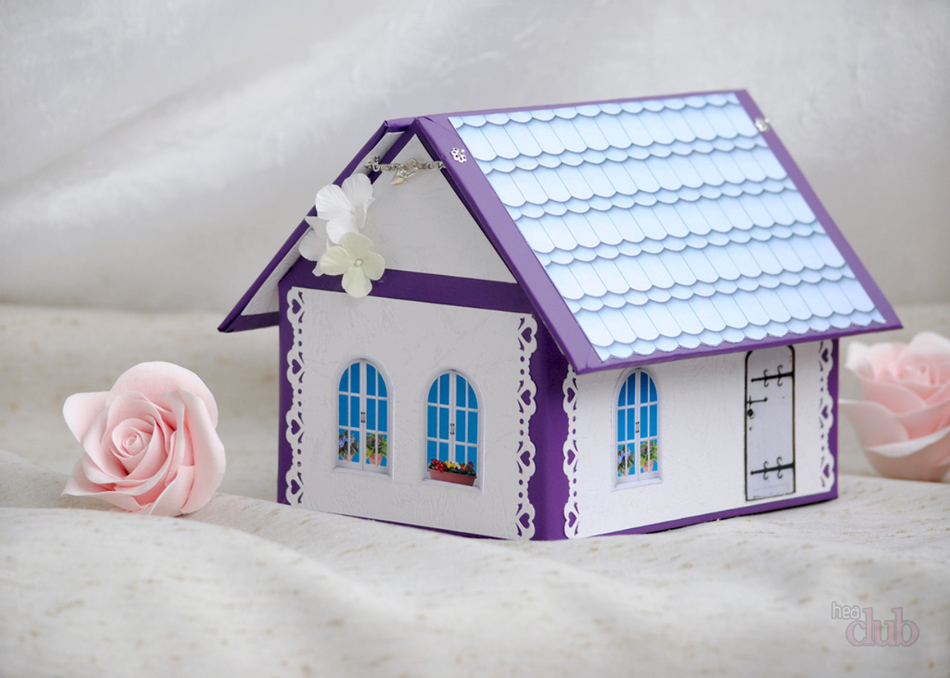
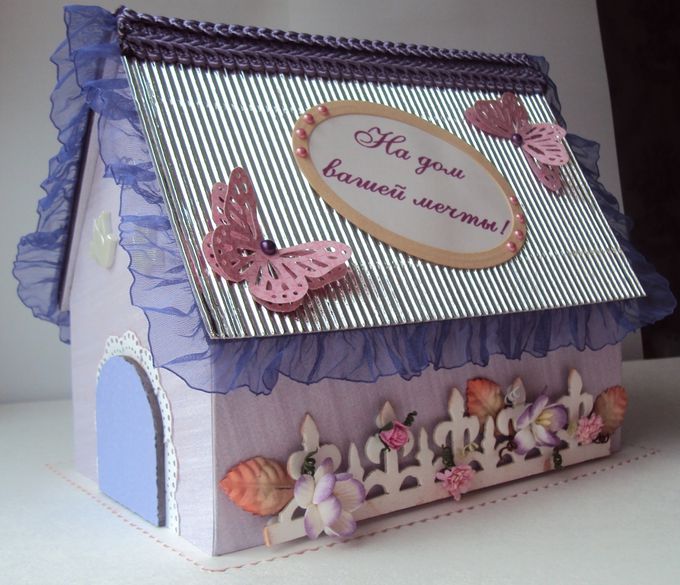
- Treasury under the house. This thematic design hints at the desired gift for the newlyweds, personifying the single life of a new family. Piggy bank is a model of the house and it turns out quite an original solution. In the future, it can be used to store toys.
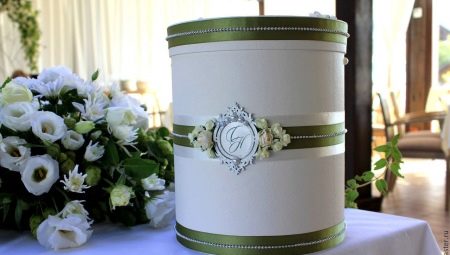
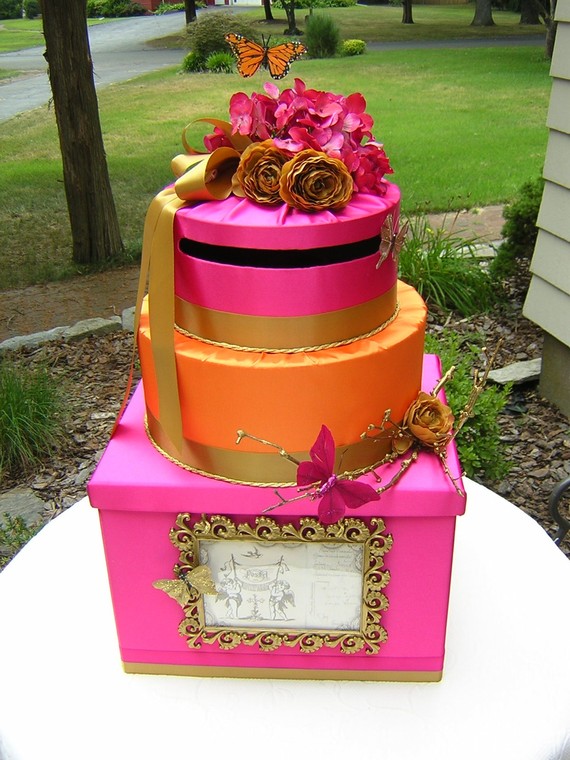
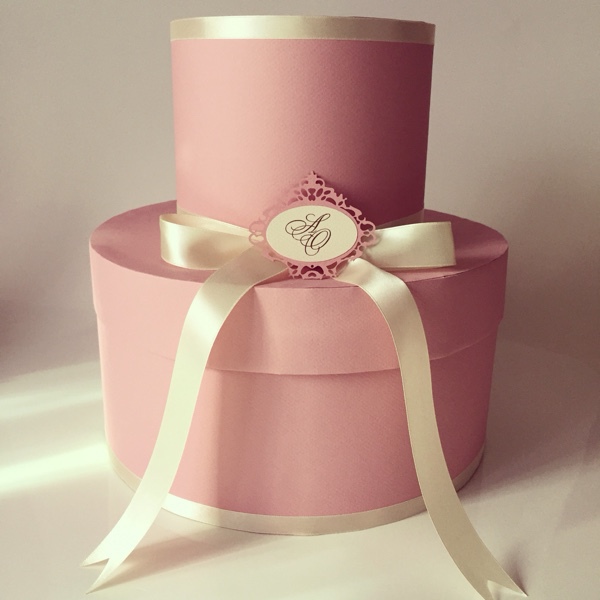
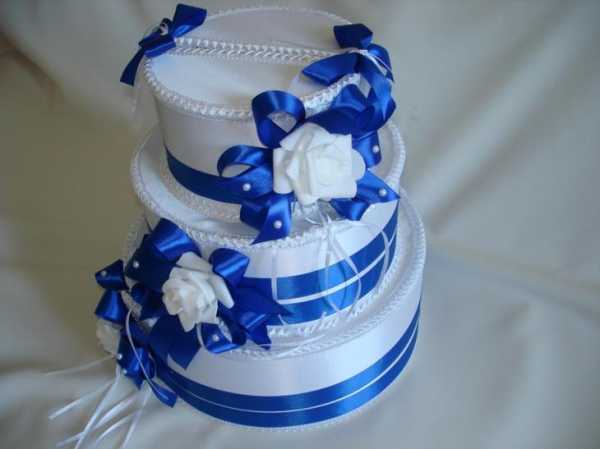
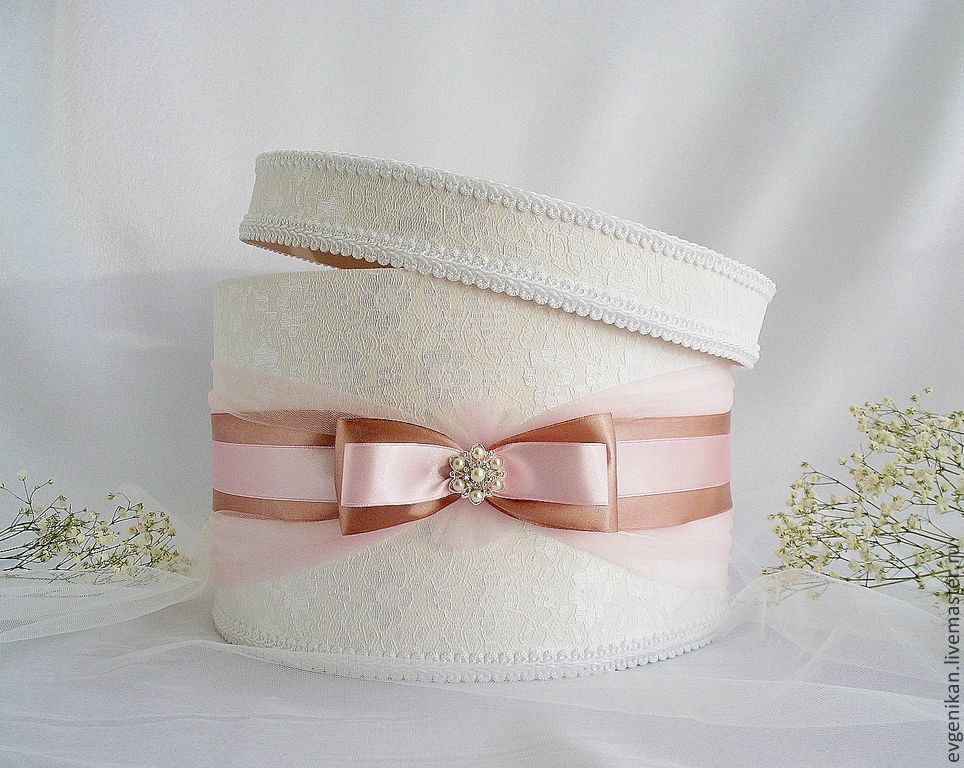
- Treasury round shape. From round boxes you can create a real wedding cake. This option is made from several boxes of different diameters, which are put on each other, simulating the look of a longline cake. They glue, then in the boxes cut out the holes on the bottom and the lid, thereby forming one large box.

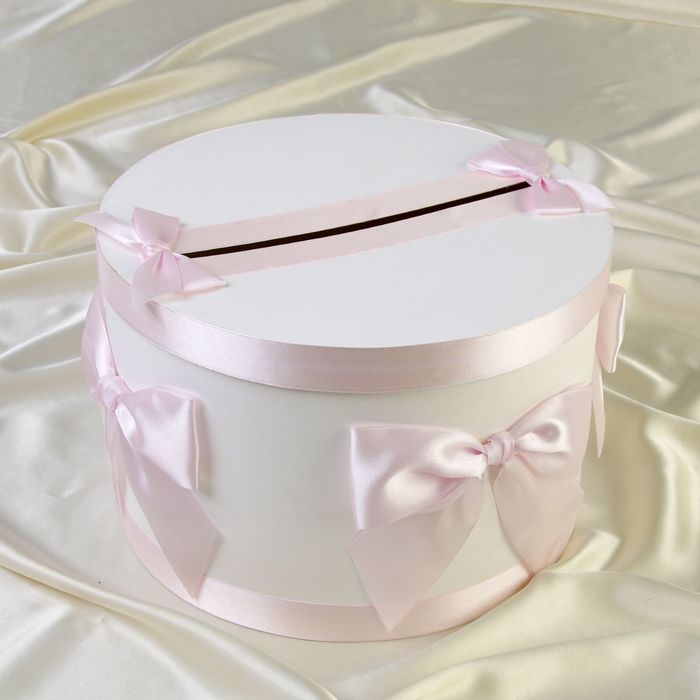
- It looks interesting treasury made up of boxes of different shapes - high round, small oval or square models. In the absence of suitable boxes, they are created independently from the drawing paper. Details are cut according to the scheme and glued together. The decor is appropriate to use colors and ribbons, you can also simulate a real newlyweds cake.
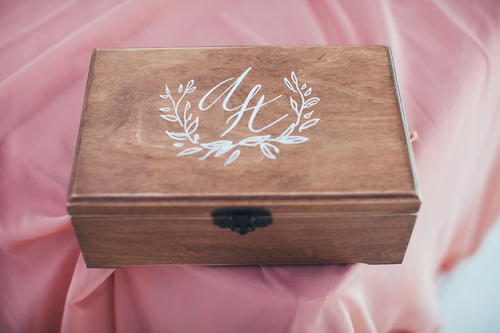
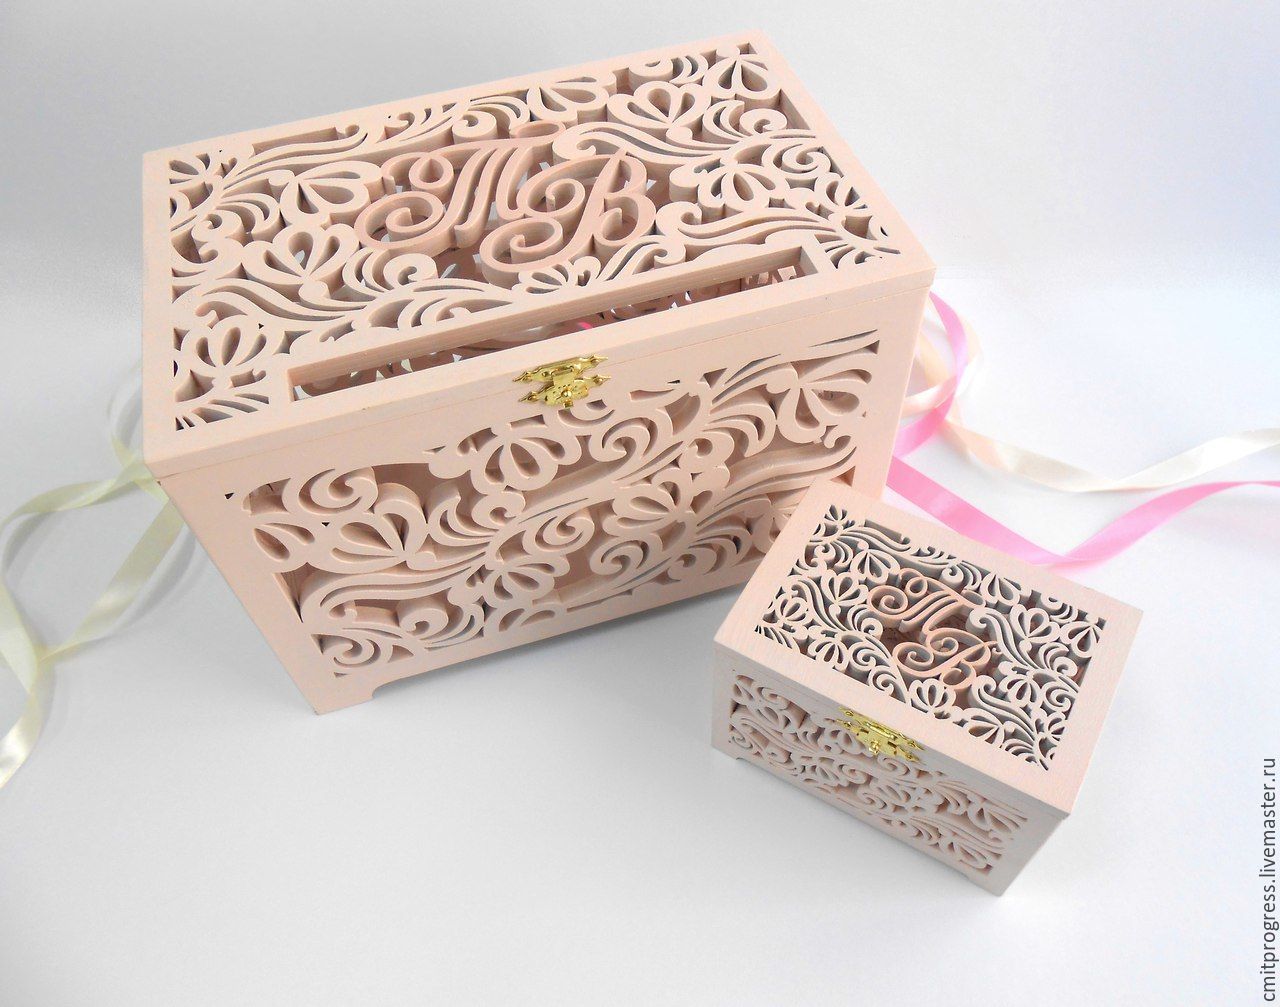
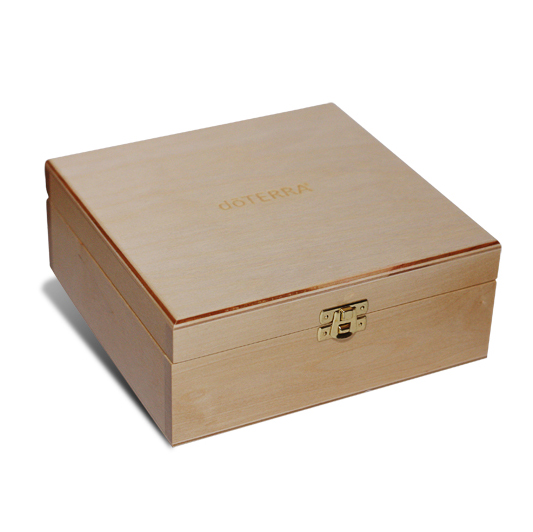
- Carved box. Making a wooden box at home is easy with the ability to handle wood. Such chests are spacious, reliable, durable in use.The box can imitate the national old chest, and the lid and sides will decorate the decoupage. Another option is to make it in the form of a treasure chest of pirates. Such a box is played up by gaming scenes to collect money.
The main thing is that the box was assembled with high quality and not cracked at the wedding from the gifts of guests. The treasury is an elegant attribute of any wedding.
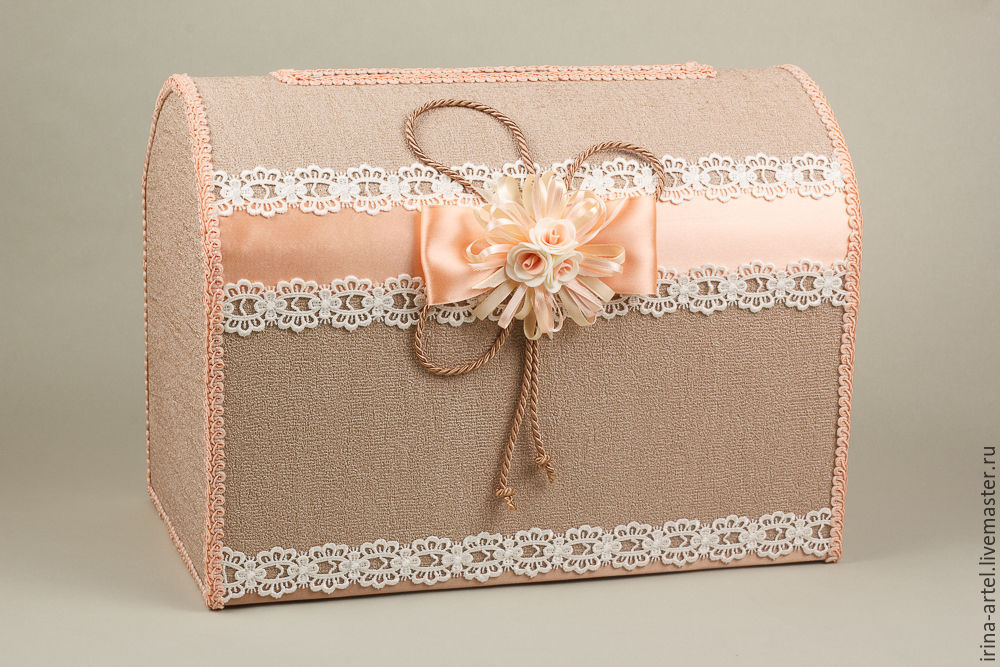
- Treasury in the form of a chest. The box can be made of drawing paper and cardboard using a pre-made template or from a tall box. If the basis is a box, then with the help of compasses you need to round the upper corners. To prevent the lid from deforming and closing tightly, the cardboard should be slightly cut with a stationery knife and folded into the desired shape. For soft cardboard, wooden sticks and a ruler will suffice. Furrows should be at the same distance.
We produce with our own hands
Master class on the creation of "treasury" do-it-yourself in the style of scrapbooking.
Necessary tools and materials.
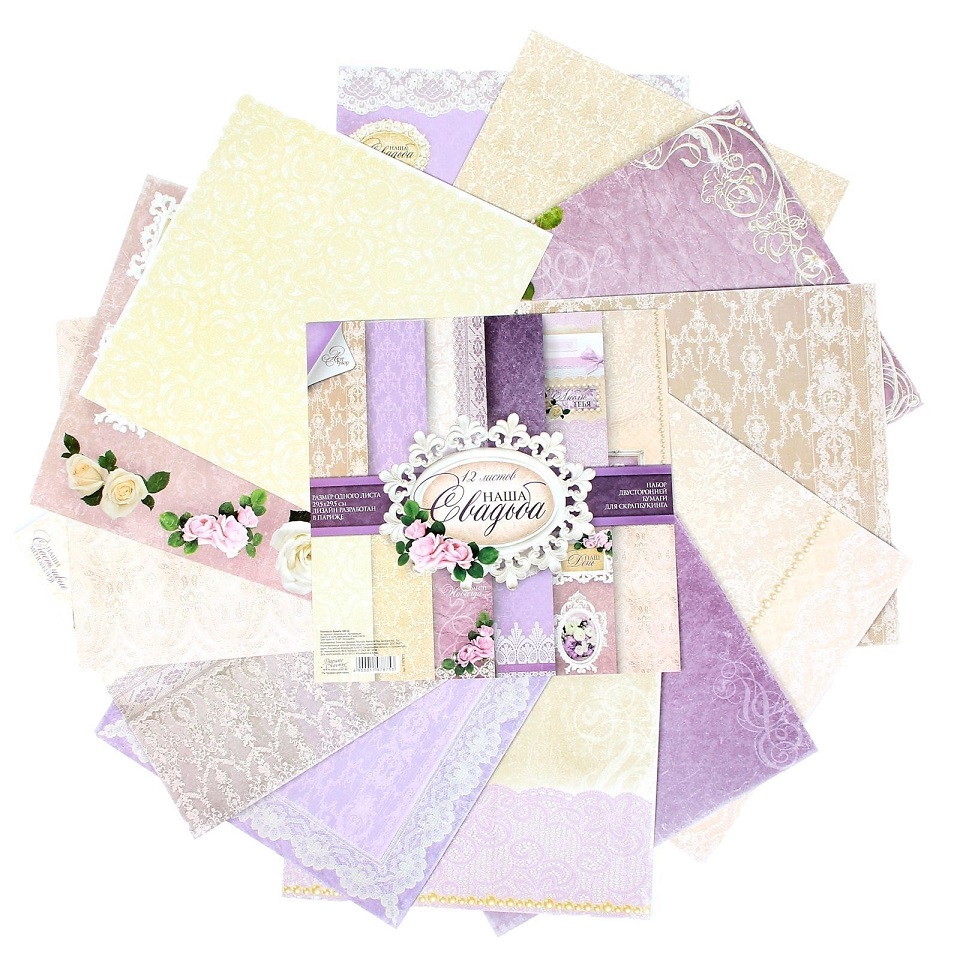
- Scrap paper of several types.
- White and colored cardboard or thick paper.
- Pencils and art paints.
- Tassels, pencil simple.
- Office knife, ruler, scissors.
- Glue.
- Jewelry (buttons, rhinestones, beads, fabric - everything that is suitable for the subject of the box).
- Satin ribbons.
Step-by-step instruction.
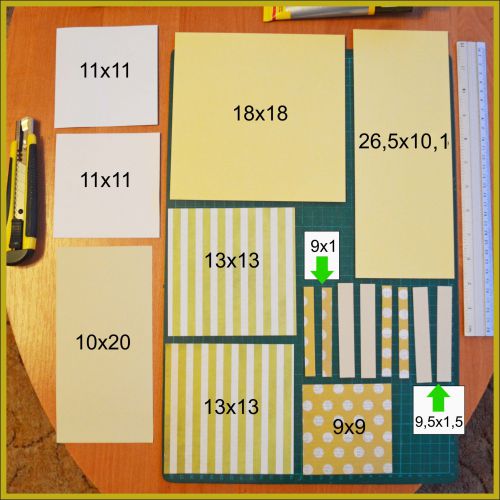
- Using a ruler and a pencil, the details are laid out on cardboard or Whatman paper. Then these elements are cut with scissors or a stationery knife.
- Scoring is applied on the largest square of 18x18 cm (the folds of the cardboard) - the lines are marked with a simple pencil or any pen by pressing.
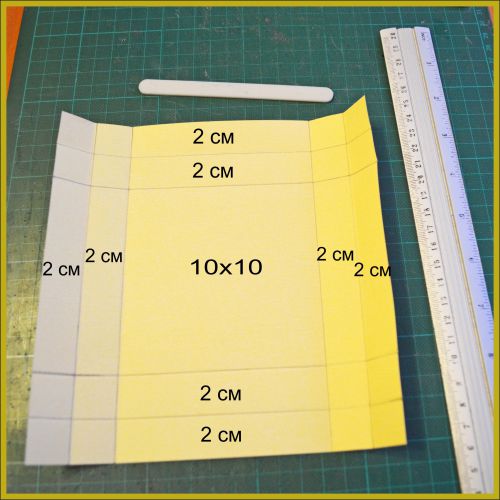
- Cuts are made with a stationery knife. The blade should not completely penetrate the cardboard or drawing paper.
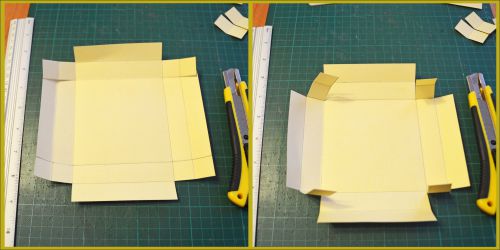
- Parts are coated with glue one by one and folded into a box shape.

- To assemble the cover, scoring is also planned, cut and glued, as well as the base of the box. The finished box is ready for decorating scrap paper.
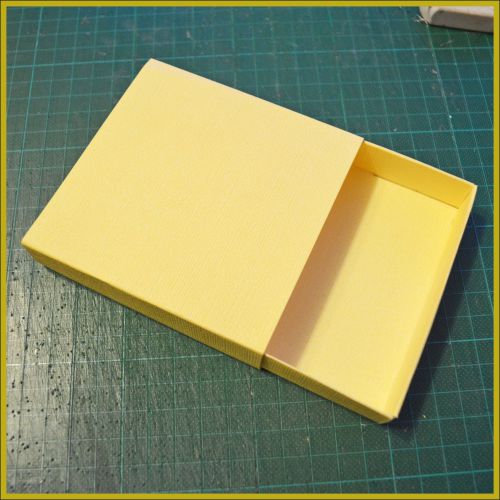
- Cut out the sheets of the same size as the box, glue, and then dry the entire product for two hours.

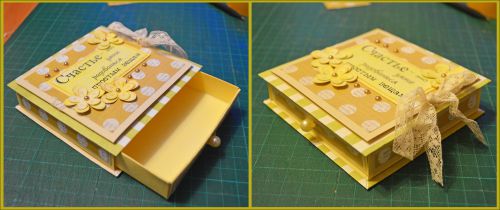
- Apply additional decoration of ribbons, flowers and other beautiful materials. Here you need to show imagination and a little humor.
For the manufacture of wooden "treasury" use:
- plywood of medium thickness;
- manual or electric jigsaw;
- ruler and pencil;
- nails and hammer;
- loops are small;
- decorative hook.
How to do? With our hands, you can do almost everything, the main thing is to light up the idea and the desire to surprise the newlyweds.
- On a sheet of plywood outlines the details of the selected size. The box in the form is a regular rectangle or square. Applicable to use a regular shoebox as a mockup.
- Using the jigsaw cut parts.
- The box is assembled by driving studs into the side walls of the box.
- A decorative hook and loops are attached to the cover and side.
- For durable service, the box is stained or varnished.
How to decorate?
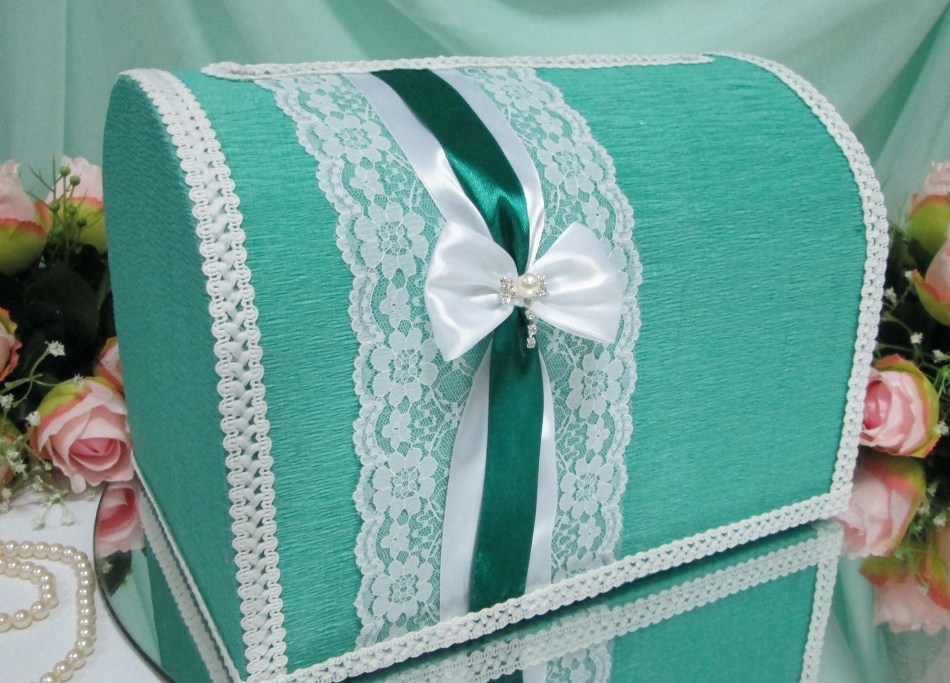
The decor for the wedding treasury is most often used in pastel soothing shades and with an abundance of lace, ribbons and beads. Lace inserts can be placed on individual elements of the box, box, or completely cover the subject. Lush bows and ruffles are laid out from ribbons. Artificial flowers give boxes a festive look. The design of the box in the chosen color palette of the wedding will be a good tone.
For a nominal box a label is attached with the initials of the newlyweds or their photos. Another option is when guests paint wishes on the box on the box. And also you can create an interesting shiny box, pasted over the entire surface with rhinestones. It will be an expensive and beautiful gift that will serve as a magnificent piece of interior decor.


Master class on making the wedding "treasury", see below.


