Round face contouring rules: step by step instructions and recommendations
The girl always needs to look perfect, no matter where she is, whether it is everyday life or a special celebration. Those who are not satisfied with something in their appearance do not have to go to extreme measures and resort to the services of a plastic surgeon. It is enough just to learn how to properly use cosmetics and hide problem areas with it. Many owners of a round face tend to visually make it better. In this they are easily helped by such a technique as contouring.
What it is?
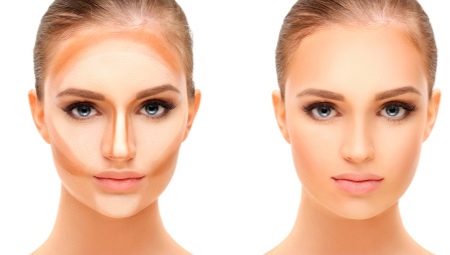
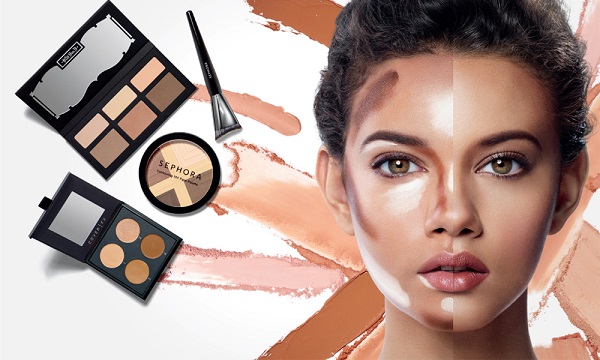
This special kind of makeup: it helps to remove flaws and make any girl attractive. With the help of contouring usually hide a big nose, forehead or full cheeks. But at the same time emphasize all the virtues of appearance, make the face more beautiful and expressive. They draw contouring with different cosmetics, both dry and liquid.
Of course, you shouldn't get too carried away, because if you apply a lot of money, it will look ridiculous and ugly. The whole contouring scheme is to visually reduce the size of the face. With the help of the game with light and dark shades, you can achieve a good result. Competently done contouring will make the effect of a thin face.
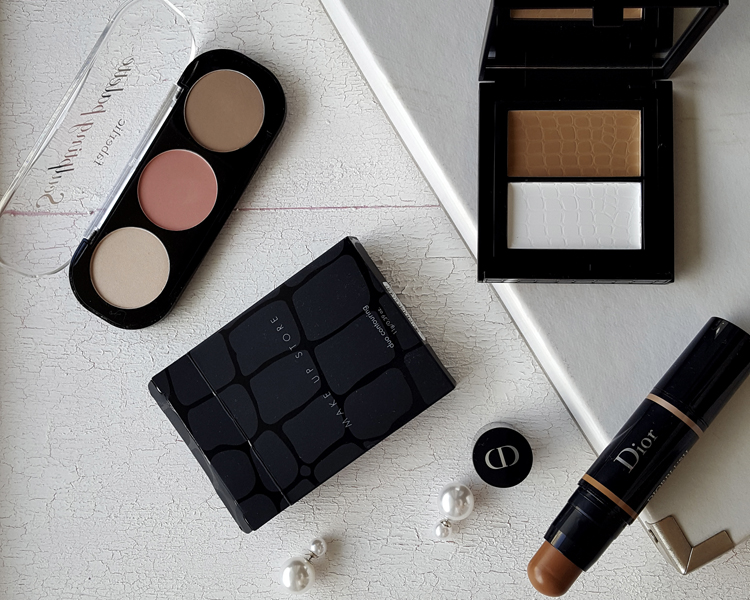
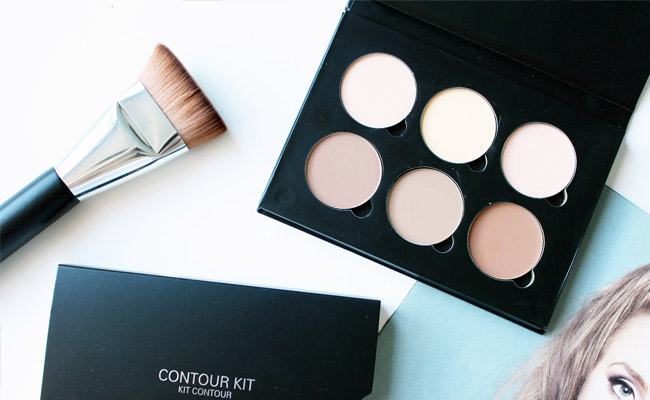
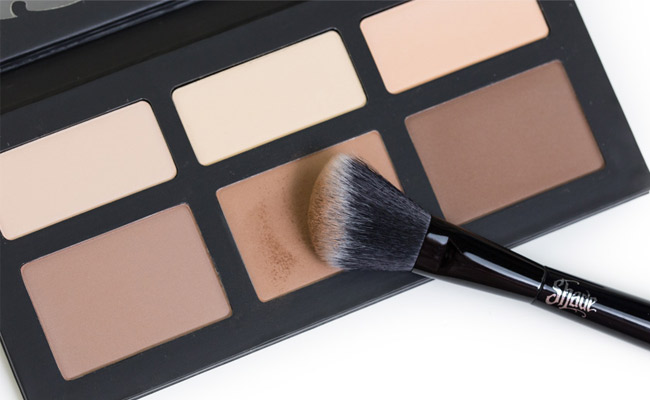
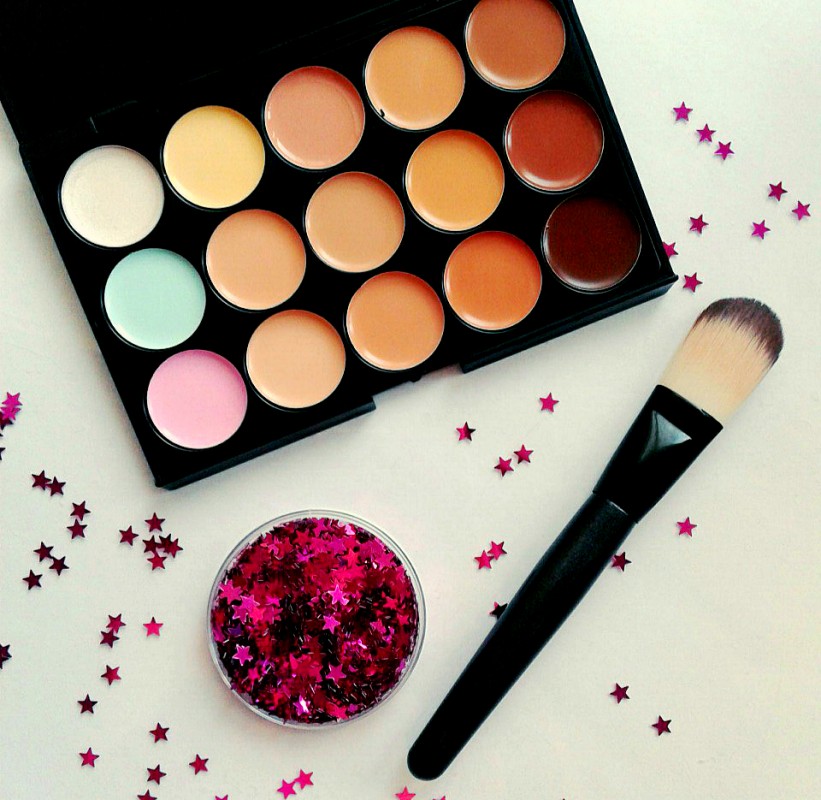
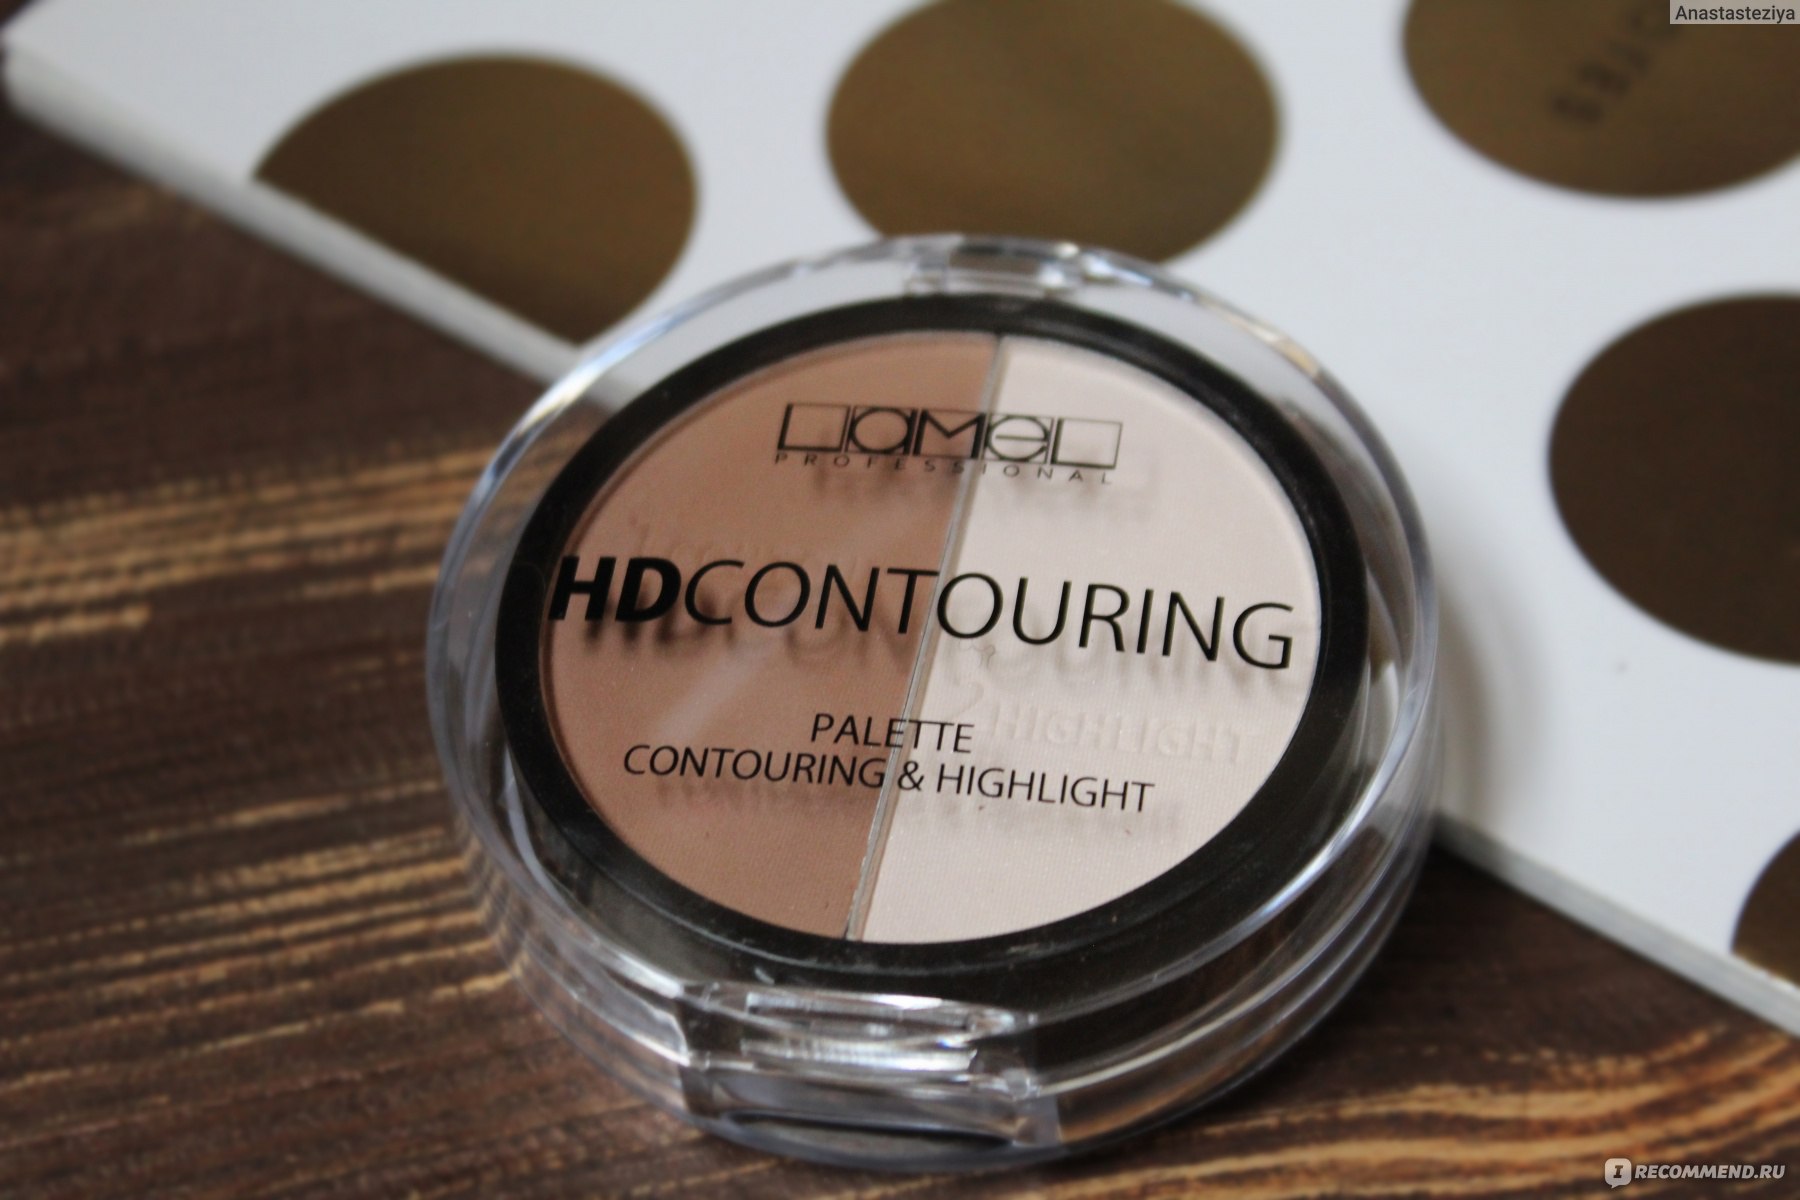
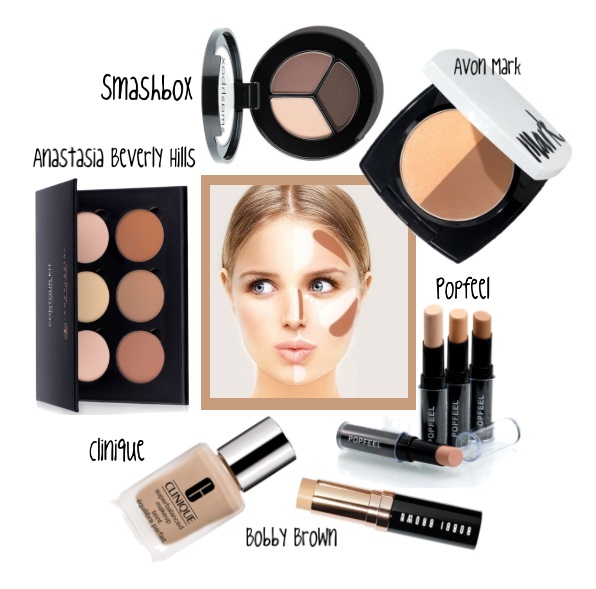
Sculpting Tools
Modern manufacturers of cosmetics most common brands consider it their duty to produce complete sets of palettes for sculpture. Previously were selected shades of different colors, which are perfectly combined with each other.
However, with a huge selection of trimmed kits, not every girl is able to choose the necessary cosmetics for herself. This or that color will certainly become ineffective. Therefore it is required to independently select colors for contouring under your skin. That is, choose three basic shades with which you can make beautiful outlines of the face.

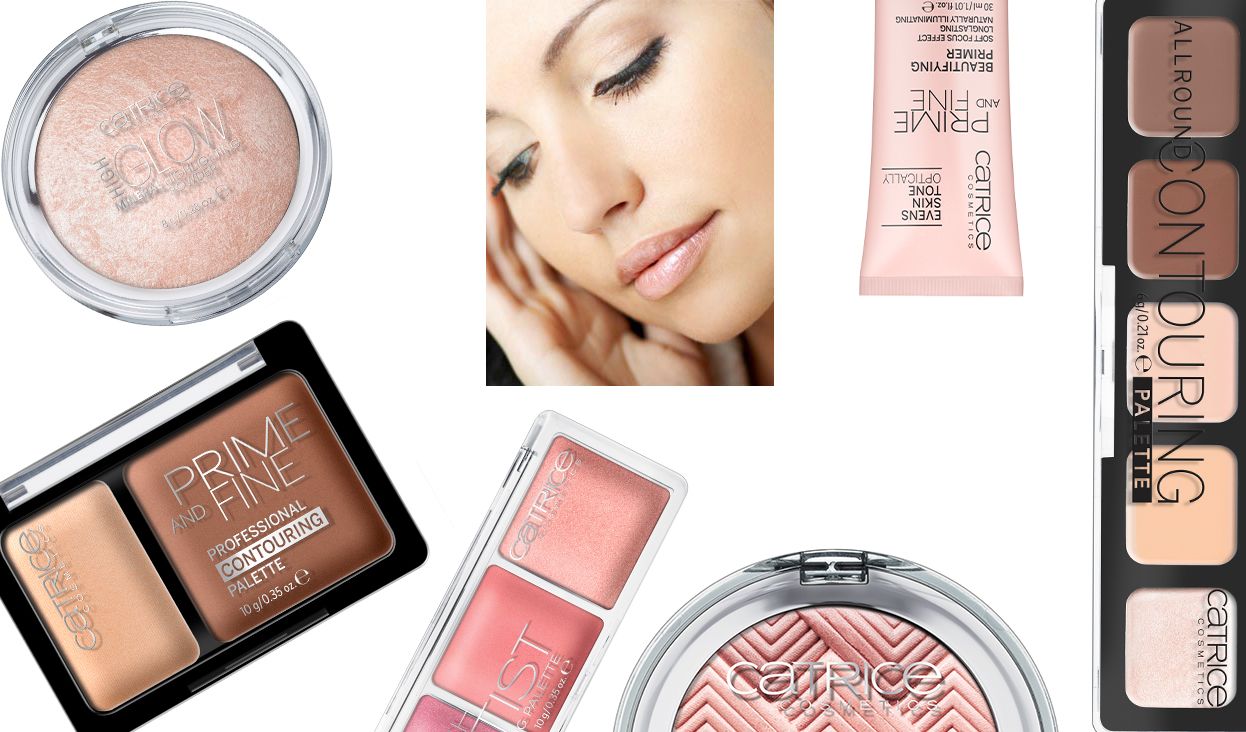
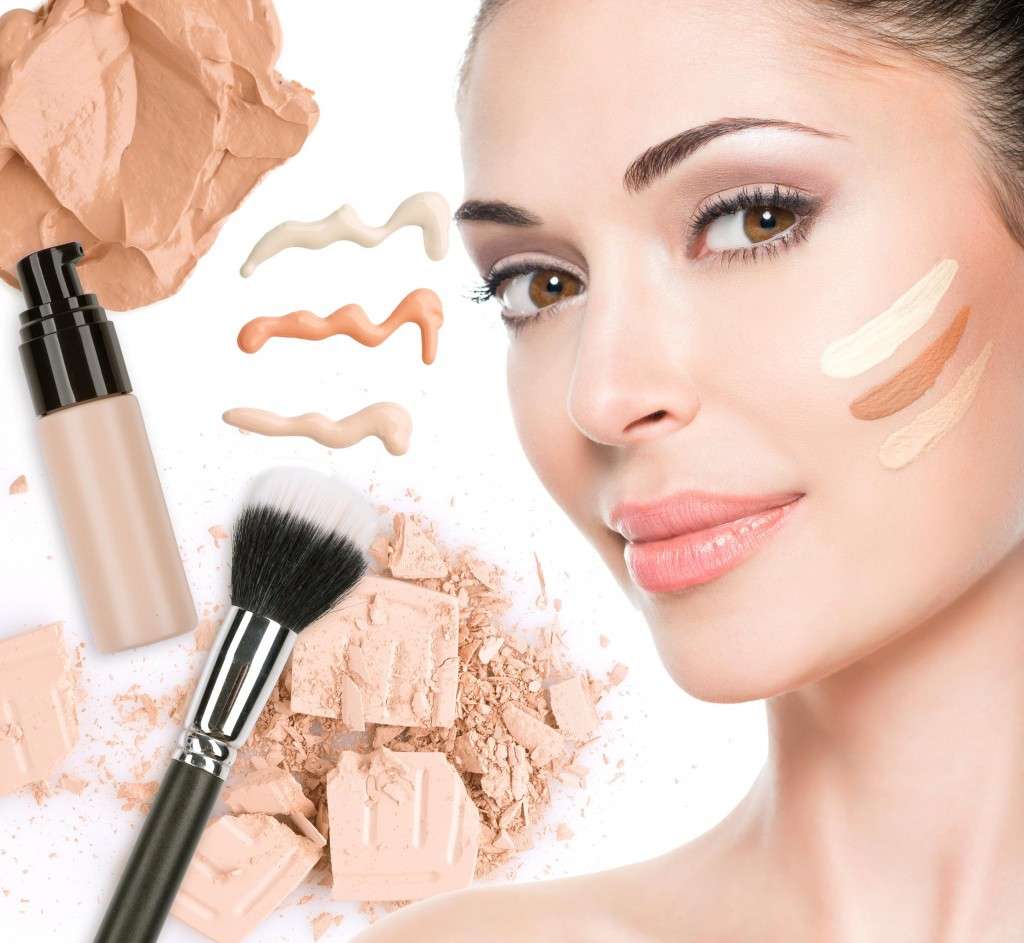
There are different types of cosmetics for contouring. May be dry or cream products. The dry ones include: powder, highlighter, eye shadow or blusher. Liquid are the foundation, makeup foundation or BB-cream, as well as various cosmetic oils. They can also be applied as a base for makeup. All these products are very necessary when creating makeup. Blush can be made blush, and highlighter - to give shine to the face.
Powder is needed in order to mate and remove the shine after the foundation. A makeup base well moisturizes and protects the skin from all applied funds.
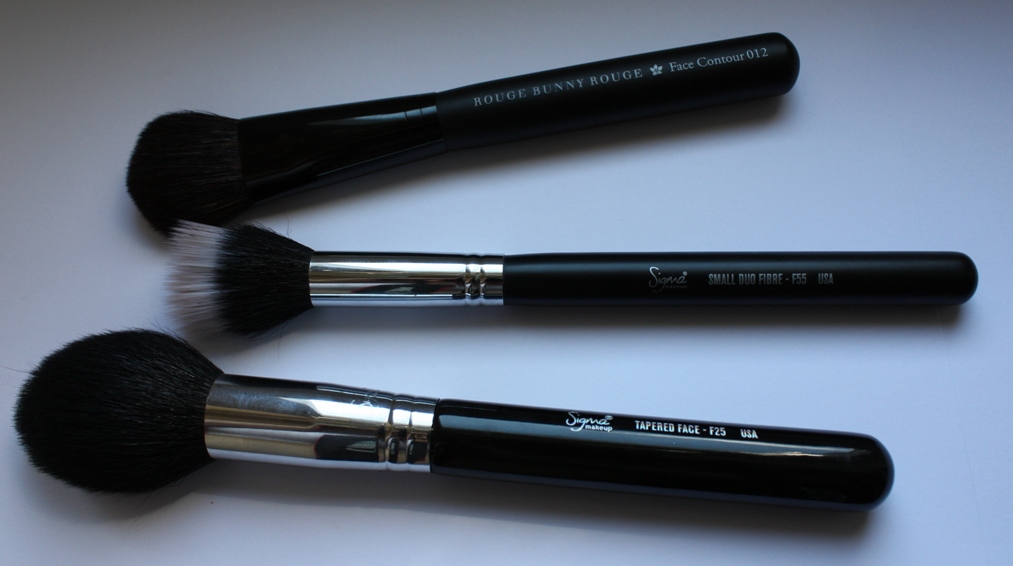
What tools are needed?
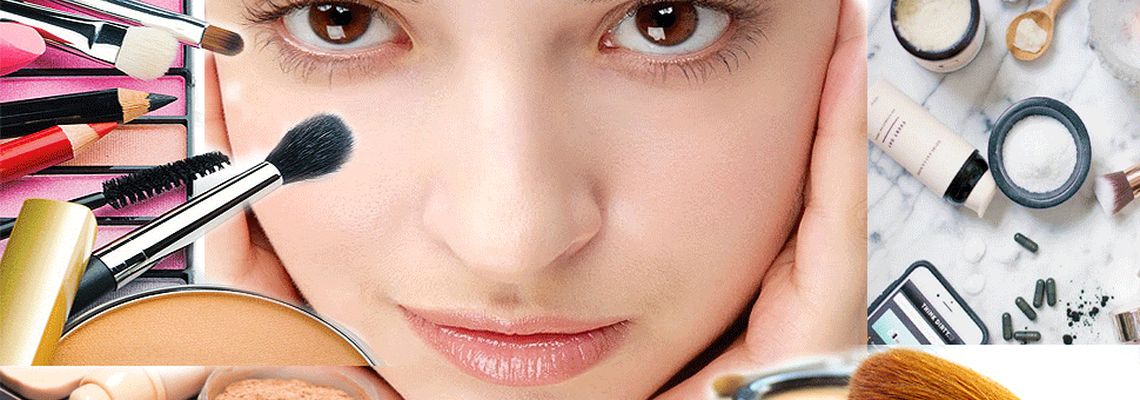
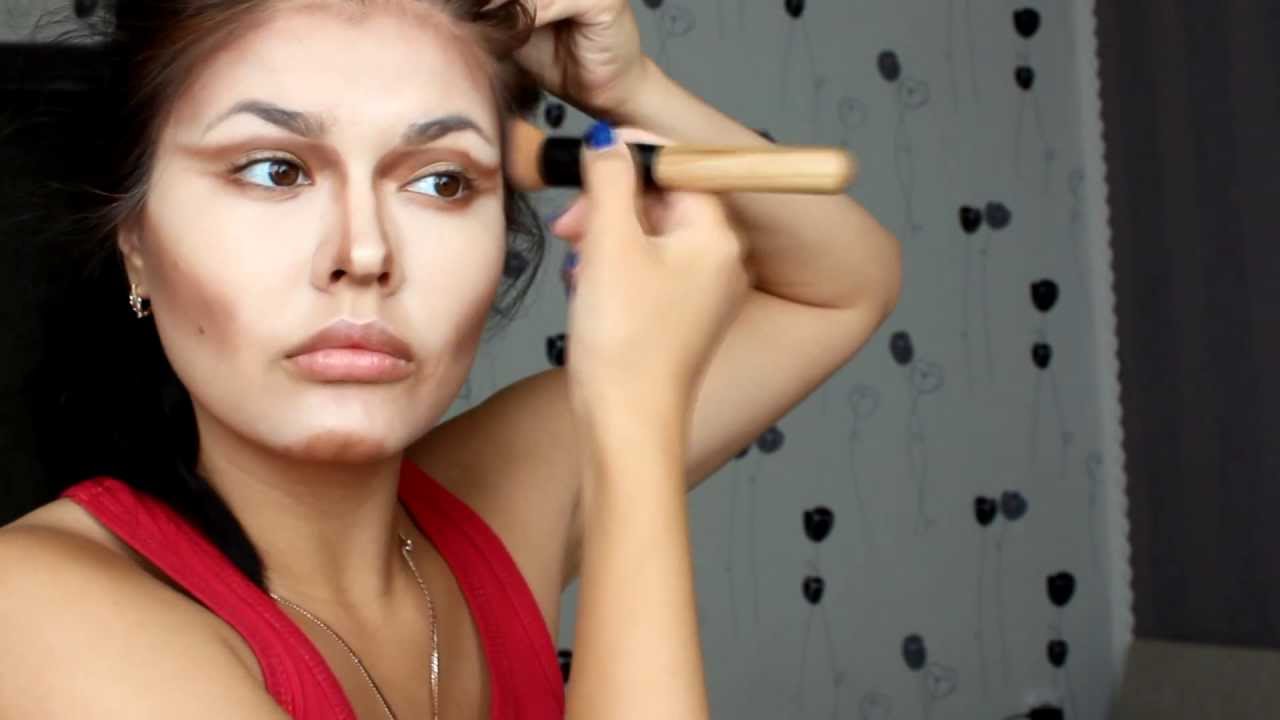
To distribute all cosmetics in the face, you will need a brush. They will help to apply evenly makeup. If the brushes are good, then they will do all the work for you, thereby blending the whole contouring.
Brushes should be of good quality, soft and fluffy, so that the villi do not fall out of the base, and in contact with the skin they should not bring discomfort.
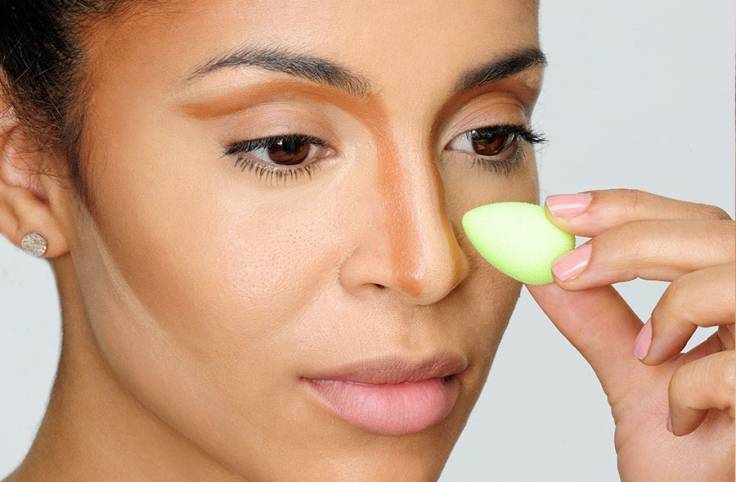
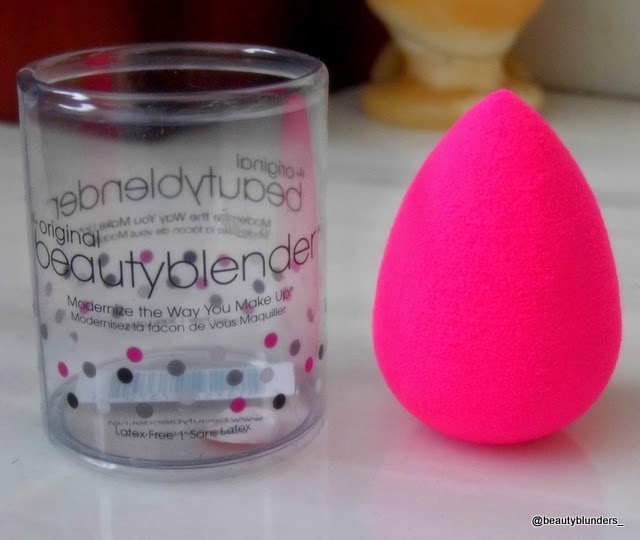
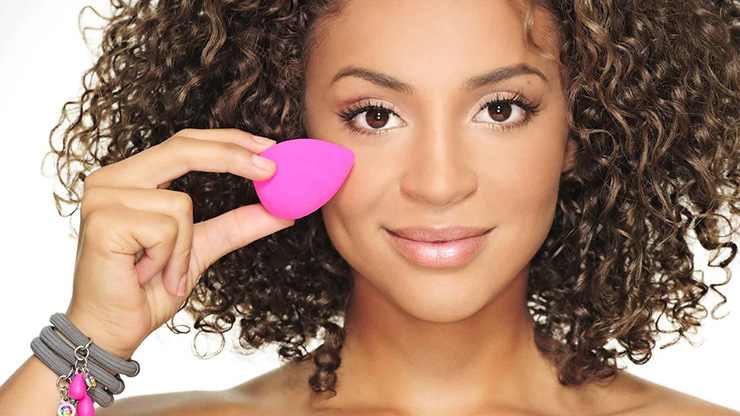
You can use a beauty blender. They are of different manufacturers and quality, so you need to pay particular attention to them when you buy. Beauty blender copes with feathering, and it can also be used when applying a tonal foundation on the face.

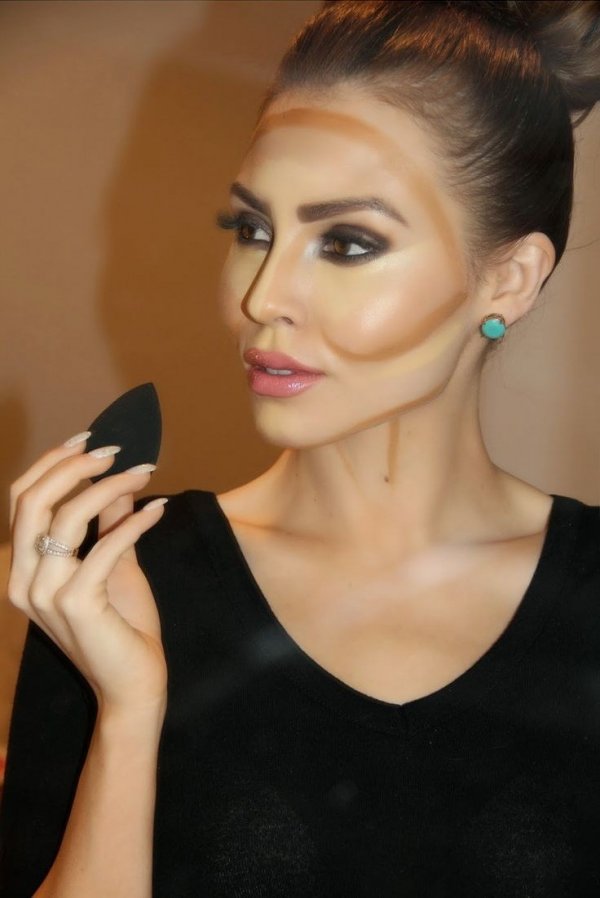
Application techniques
Sculpting and contouring is a difficult process, but you can learn everything, including these techniques. By practicing every day and performing the necessary actions step by step, you can master these techniques perfectly. There is one standard algorithm that you need to learn.
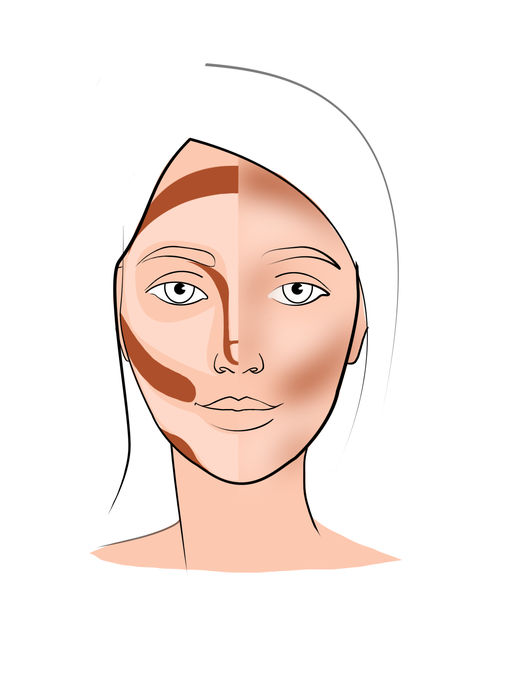
- With the help of contouring you can disguise certain parts of the face or completely change the girl's face.
- The areas on which dark shades are applied will be less visible and will make beautiful indentations on the face.
- The darkest tone needs to be a natural color, it should perfectly match your skin color.
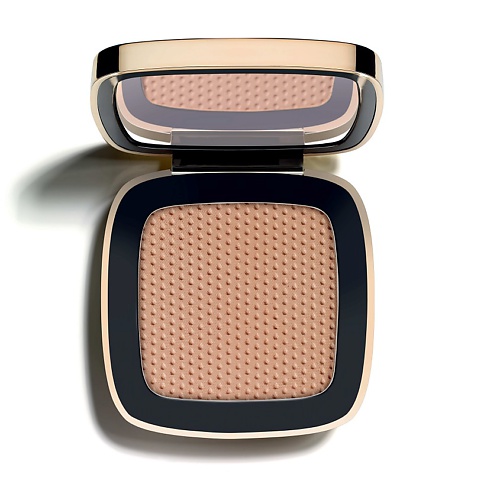
- The product is also slightly lighter. You can use the highlighter, bronzer or shimmer. Such products are needed to highlight certain areas of the face.
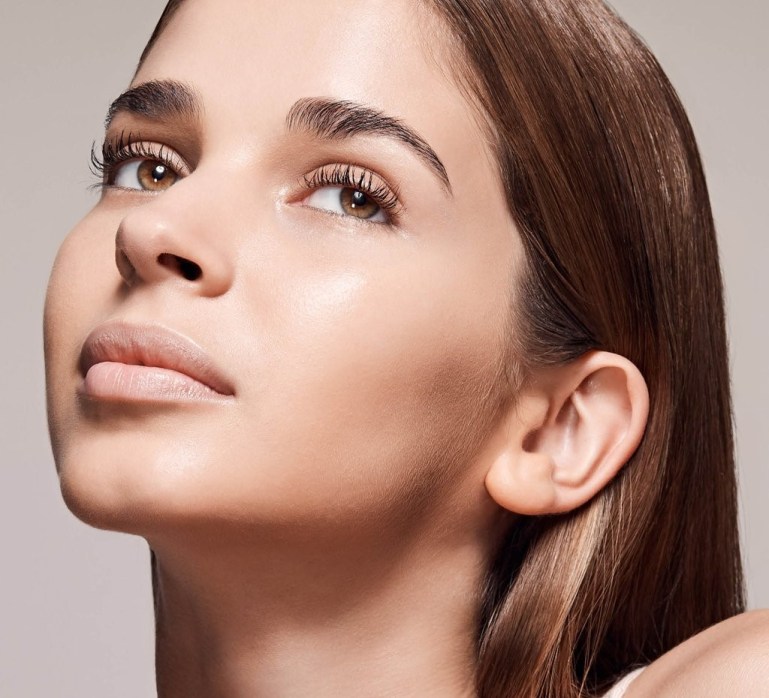
- Bronzer applied to the cheekbones, it makes them more tanned and embossed. The highlighter is applied just above the cheekbones and is applied to the corners of the eyes.
- When contouring, pay attention to the area of the temples and cheekbones. Most often these places are always obscured, this process is suitable for all types of people.
- At the very end it is worth putting blush over contouring lines. Blush will give a healthy color to the face.
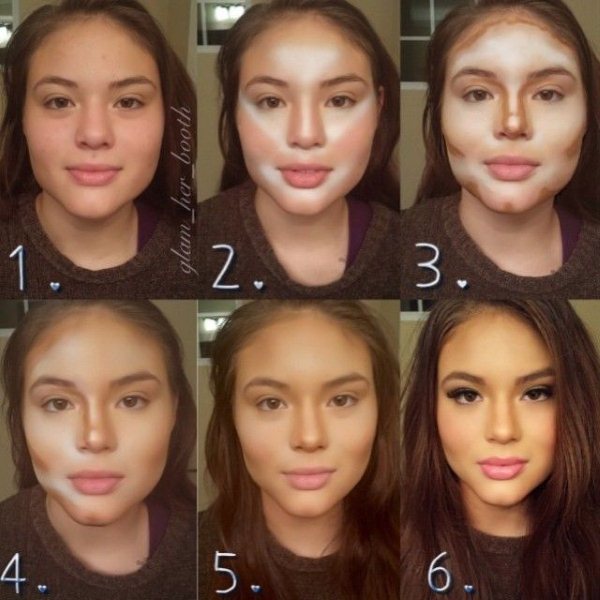
Step-by-step instruction
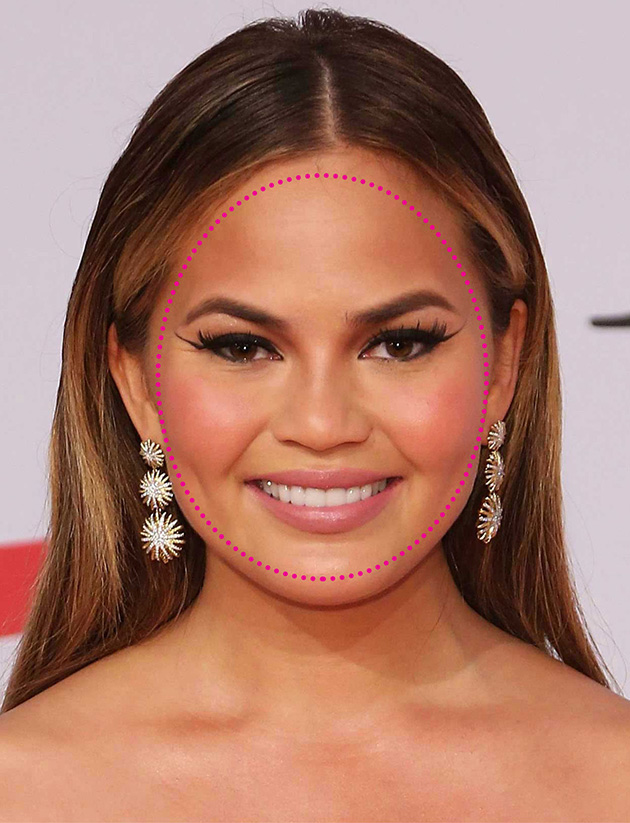
Each girl is individually individual, each has a different face shape. Some people like everything in their faces, and they only maintain their natural beauty, while others have to hide flaws. If you are the owner of a round face and you don’t like something in it - it doesn’t matter. You can adjust everything and make it as if you did not put any cosmetics.
- First of all, prepare your face by applying a foundation for makeup.
- Using a foundation or BB cream, even out the skin tone (you can use brushes during the application process or gently distribute the foundation with your fingers).
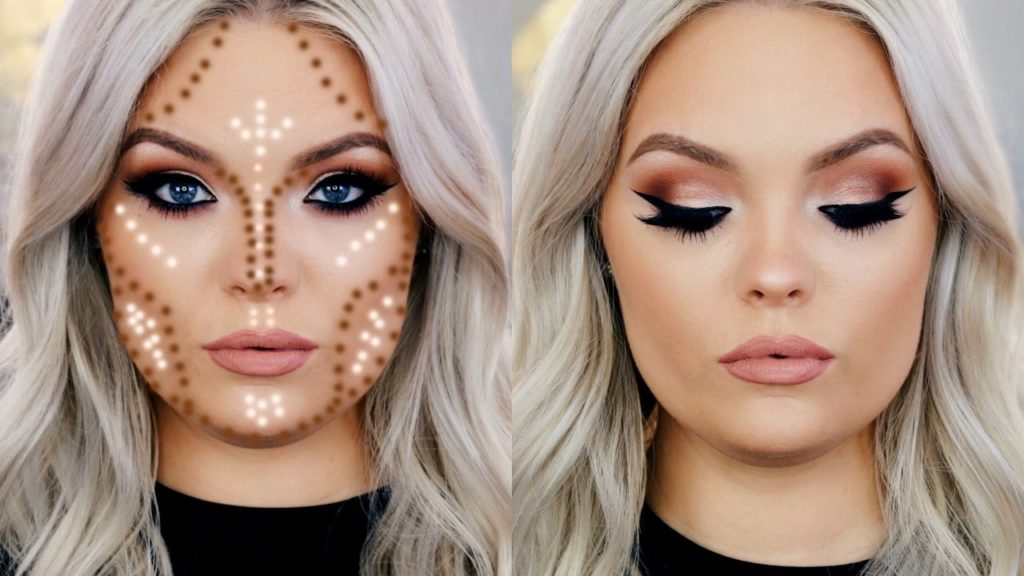
- The outline of the nose is made by the corrector, it is enough to hold two even dark lines on the sides of the nose (after applying, form a small beautiful nose).
- To make the cheekbones, you need to attach the brush so that you can make a line from the ear and almost to the lips (be sure to pull in the cheeks and draw from one side and the other).
- The cheekbones are distinguished by the corrector, it darkens the area under the pits (do not forget that the part near the cheekbone should be pigmented, and near the ear - darker).
- To reduce the forehead, you need to darken the band located near the hair, but be sure to deviate from them about a centimeter. Fill the place near the temples and work them well (this process is important for those who consider their foreheads wide).
- Next is to highlight the eyes, thereby darkening the area of the eyelids.
- Using a highlighter, it is necessary to lighten the nose, center of the forehead, the corners of the eyes, the area above the cheekbone and the area of the upper lip.
After that you need to shade all applied lines, namely, dark and light. Carrying out this process, you need to carefully make smooth transitions between shades, so that you can not see clear and bright lines.
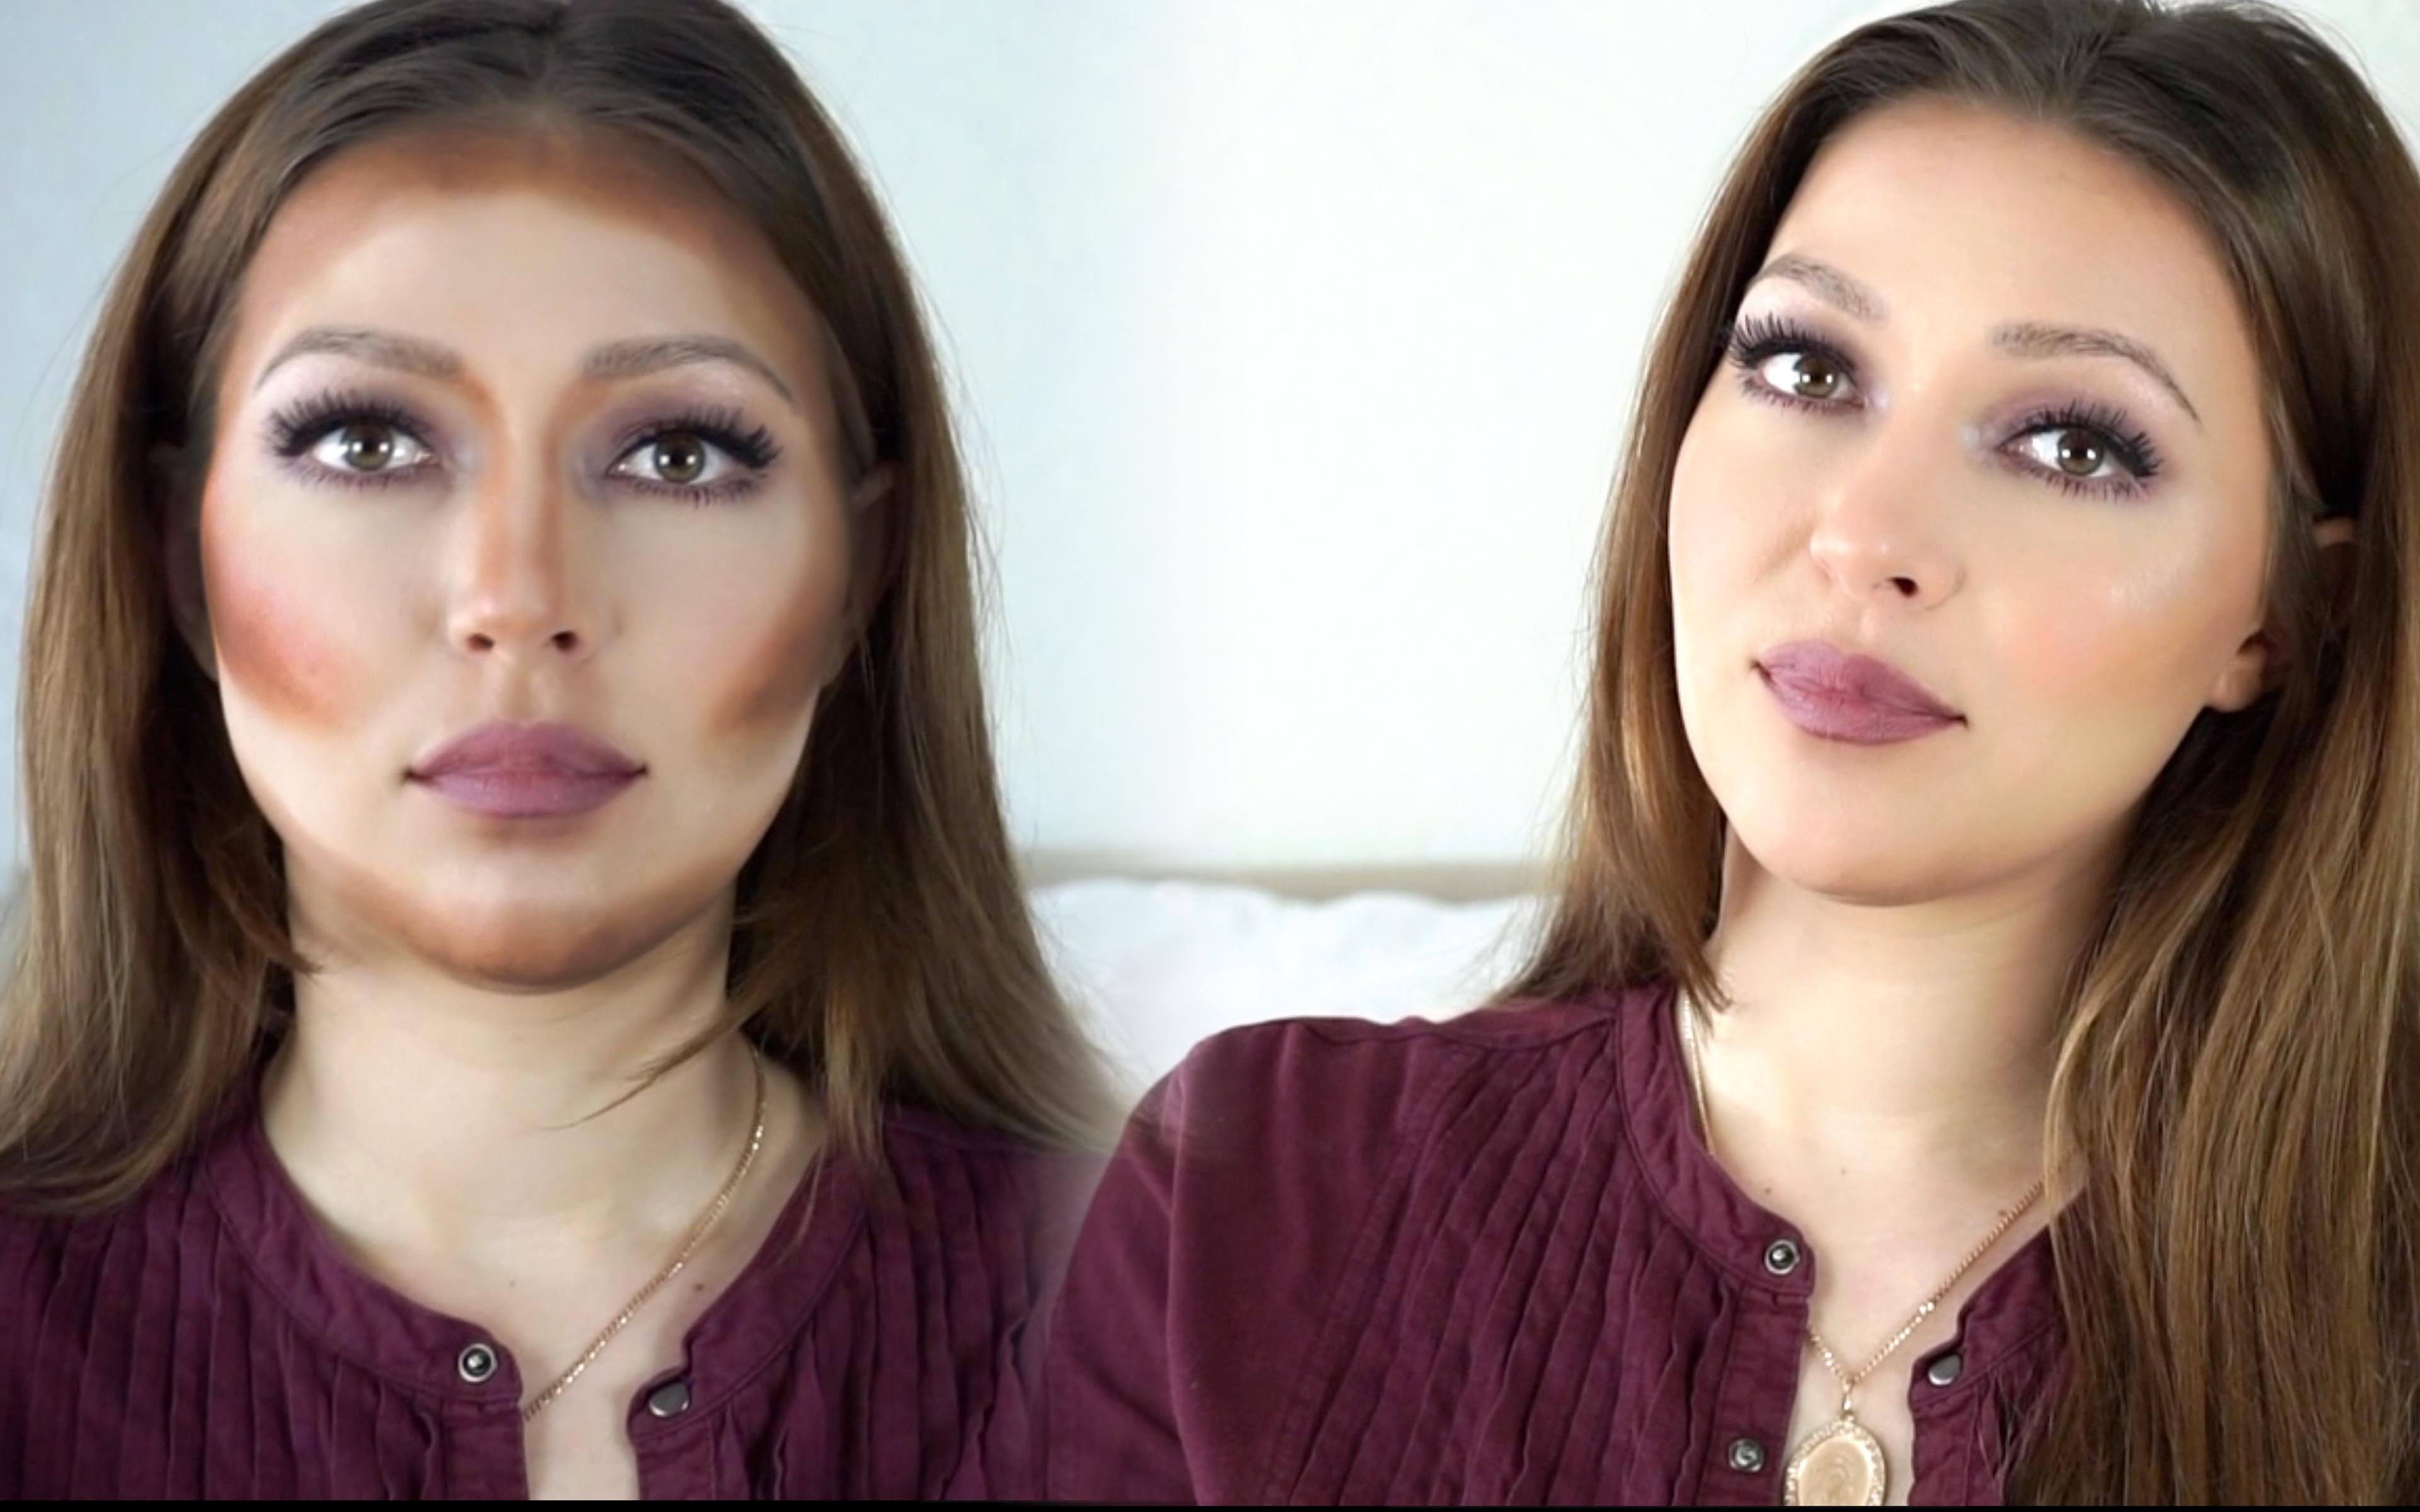
It is best to start with bright areas and smoothly move to dark. You can contour the face with the help of brushes, and you can shade it with your fingers.

Summing up, we can say that for a rounded shape, you should create a visual thinness. Zones that need to be dimmed occupy a larger part than lightening zones. This is the area near the temples, the line under the cheekbones and the lower part of the chin. It is necessary to lighten the area of the forehead, nose and its tip, chin with a highlighter.
Observing the simple recommendations given above, any owner of this type of appearance can always look attractive.
Details about the contouring of a round face, see the video below.


