Every woman can tend to perfection. At the same time, she pays a lot of attention to her nails, because well-groomed hands can tell a lot about their owner. Along with the fact that today there are a lot of tools for high-quality and durable manicure, I want to keep up with the times and use the best new products and materials. It is necessary to elaborate on how to make gel nail polish at home in stages, indicate what is needed and how to avoid common mistakes for beginners.
Coverage Features
Gel polish belongs to the nail products of the new generation. This is a hybrid coating, with both gel and varnish qualities. The material is characterized by a pleasant texture, it evenly spreads over the prepared nail plate.
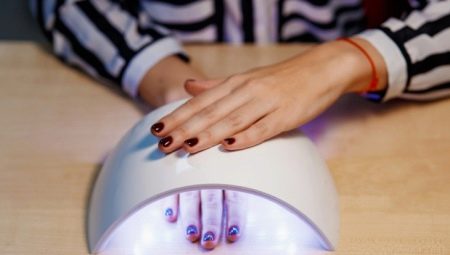
The principal difference of gel polish from conventional materialswhich women usually use at home is the need for drying in a special drying device (UV or LED lamp). Without a lamp, the varnish does not dry at all, even if the coating layer is very thin. Of course, this facilitates the work, because you can not rush to the application, fearing the formation of strips and bald spots. At the same time, in order to perform a manicure, you will have to buy a lamp, which can be complicated by a large number of offers, since it is difficult for an unenlightened woman to choose the option with the right power.
Important! Options for 9 and 12 W can not be considered, as their power is not enough to completely dry the coating, which is often the reason for rapid detachment.
The rest of gel polish is a unique material. It has a wide range of color shades and a lot of varieties that differ by the effect of texture. These are glossy, jelly, yoghurt, magnetic, glowing varieties. Opaque coverings with effect of textiles, and also temperature options which in cold darken, and in warm become light are very popular today. At great lengths they create a unique gradient effect.
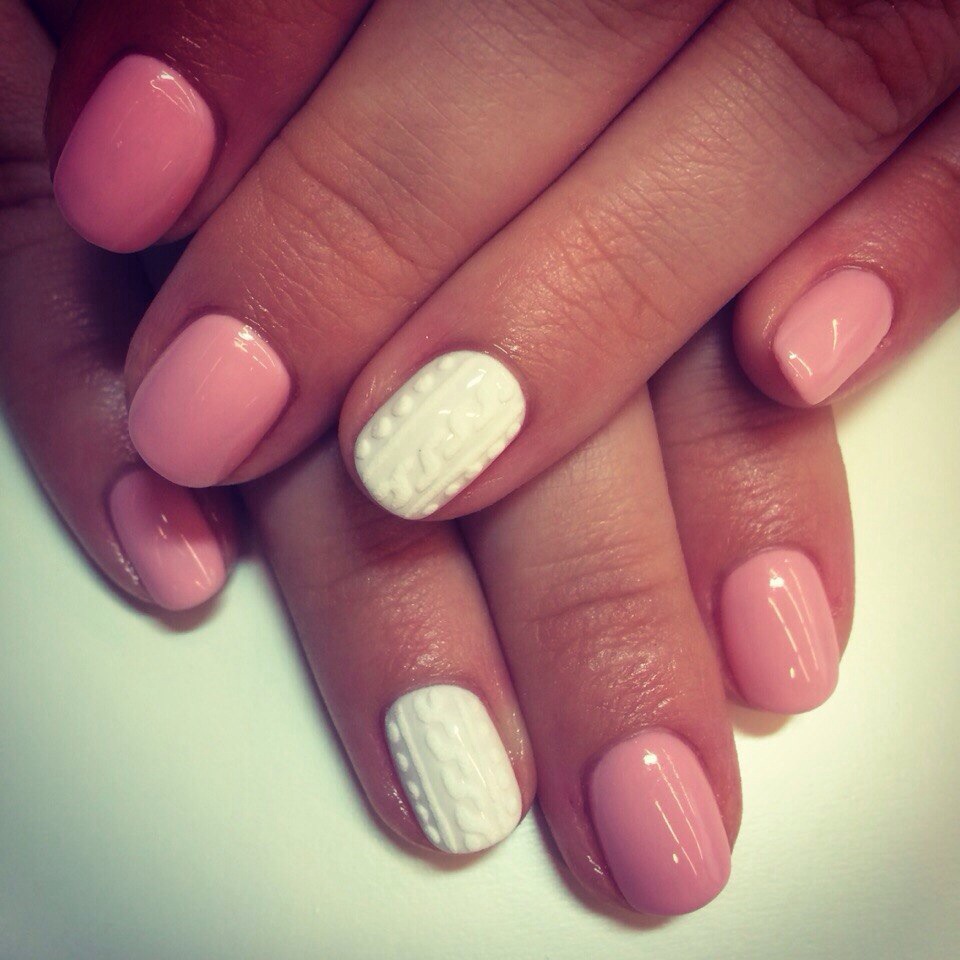
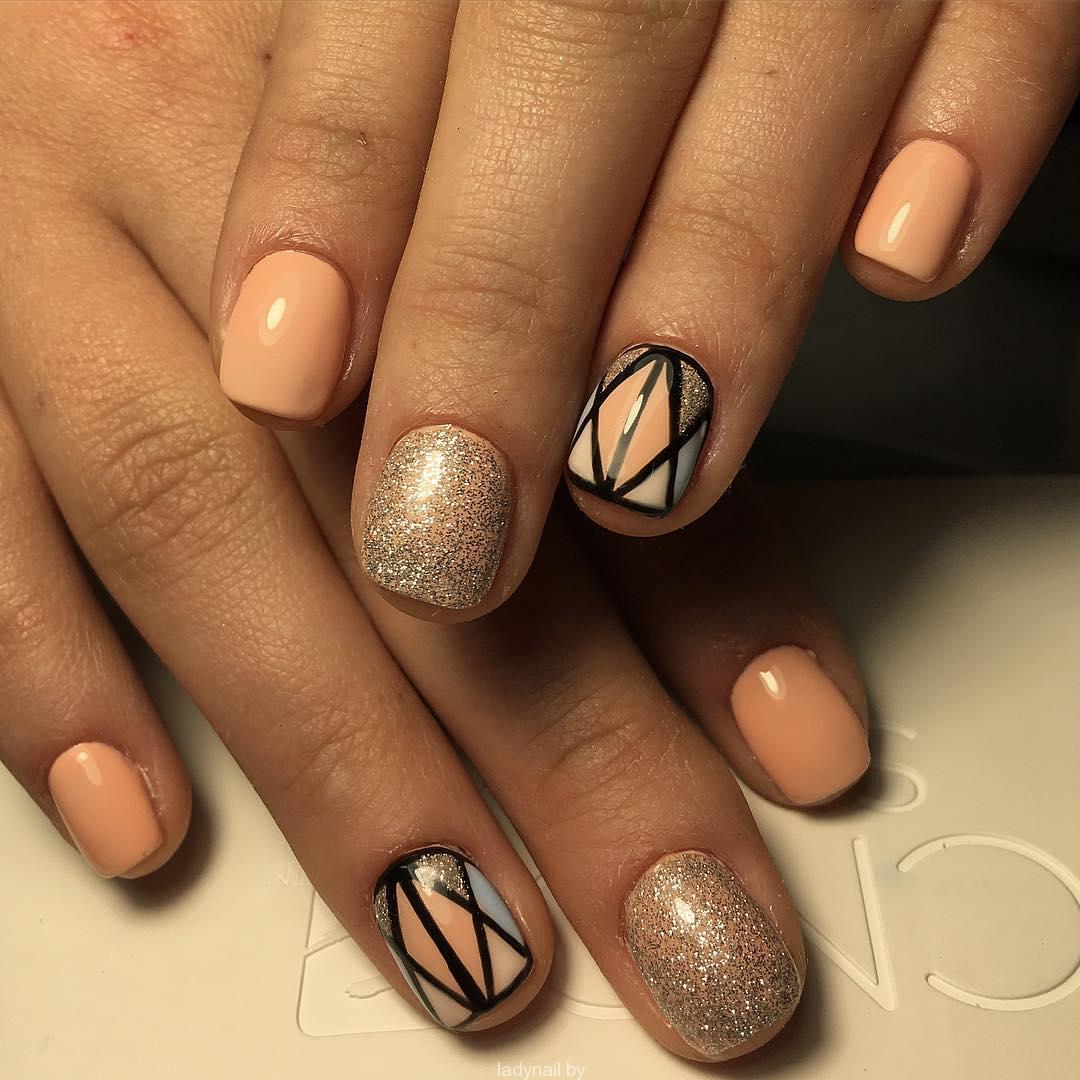
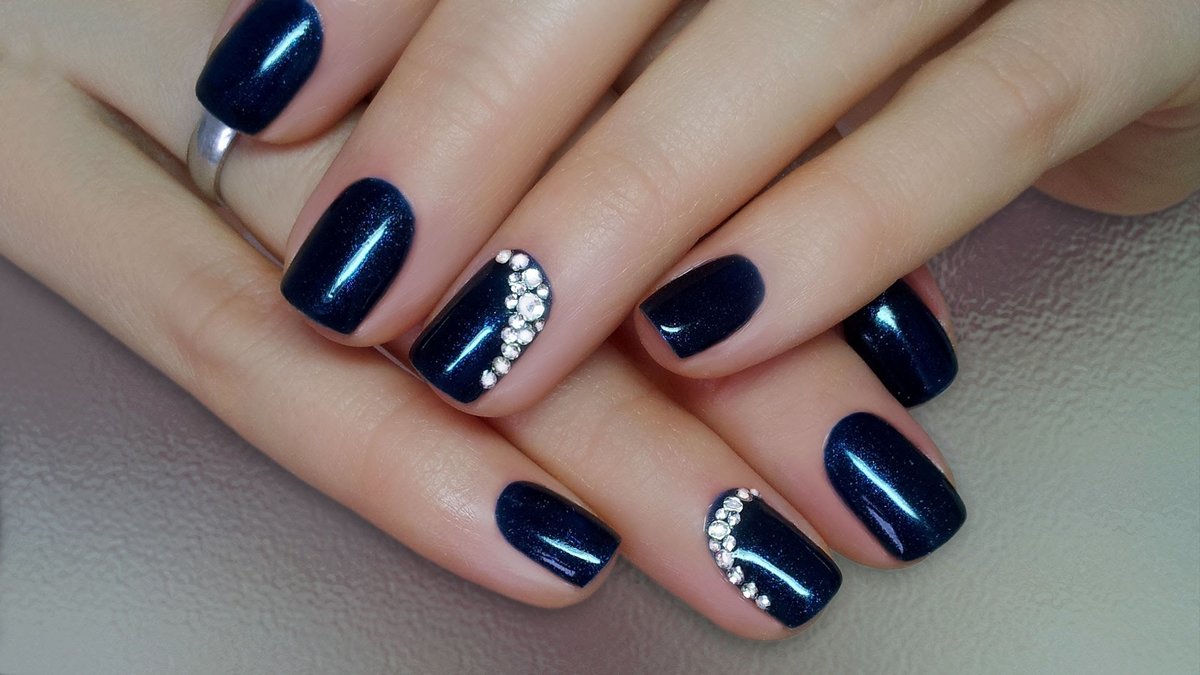
A distinctive feature of the gel-lacquer coating is their compatibility with any and all decor. This nuance is the decisive factor in the choice of hybrid coatings. However, the technique has one major drawback: it is long and can take up to three hours. But if you consider that holding the varnish will be at least 2-3 weeks, it is quite justified. This will save time on a daily update manicure ordinary varnish, which very quickly loses the freshness of appearance.

Another feature can be called the very method of performing a manicure. In contrast to the usual methods, it is necessary to apply it layer by layer, drying each of them in a drying lamp for the required amount of time. It will not be possible to reduce time or shalturit, since all the flaws will affect the rapid detachment of the materials used. You must understand that these varnishes require high-quality and accurate work. It is necessary to correct the errors before drying, then it will not work.
Instruments
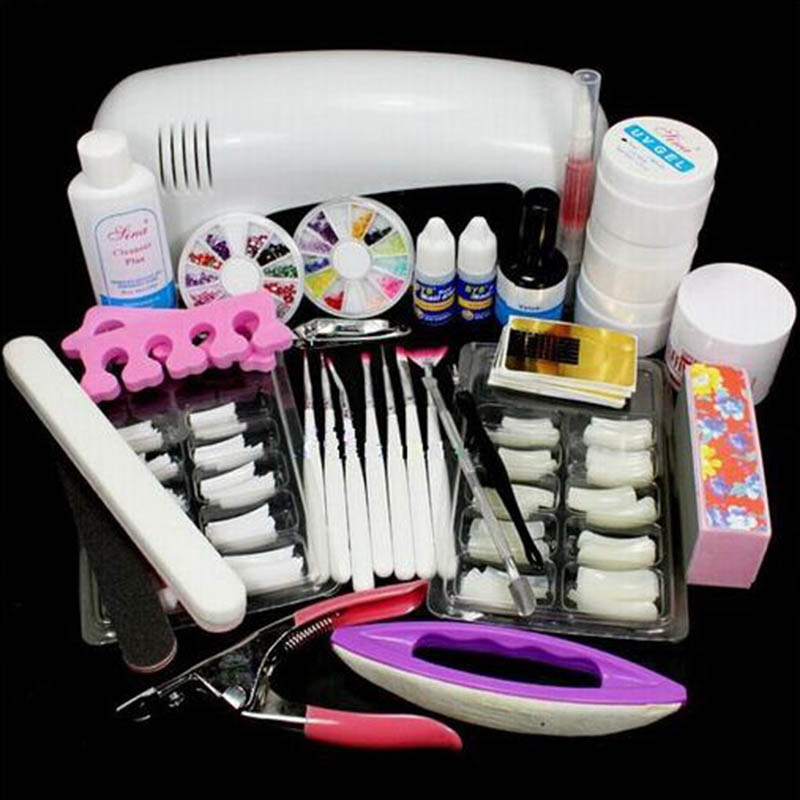
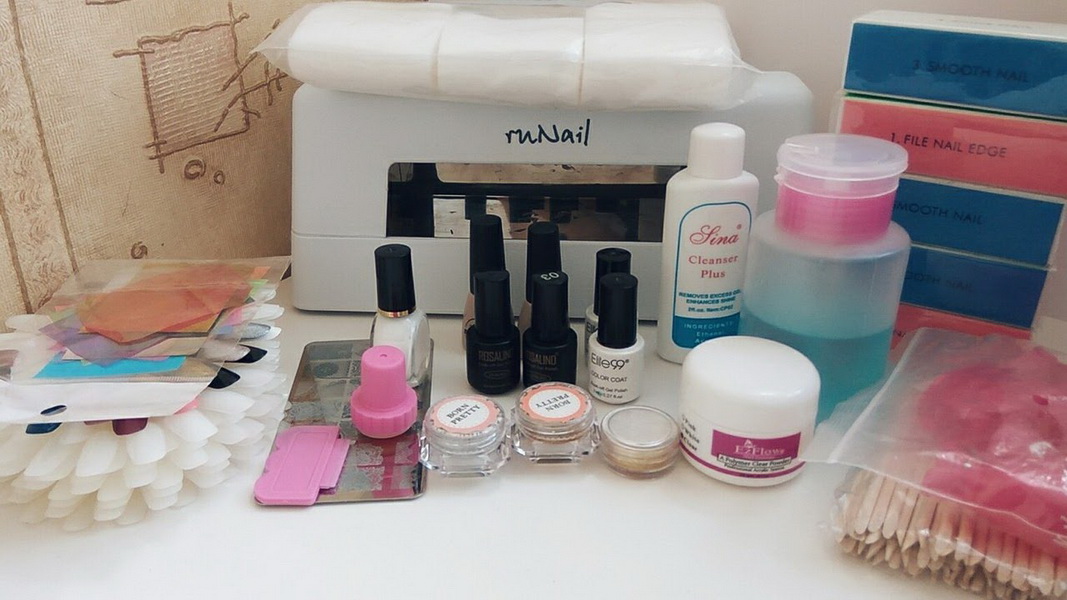
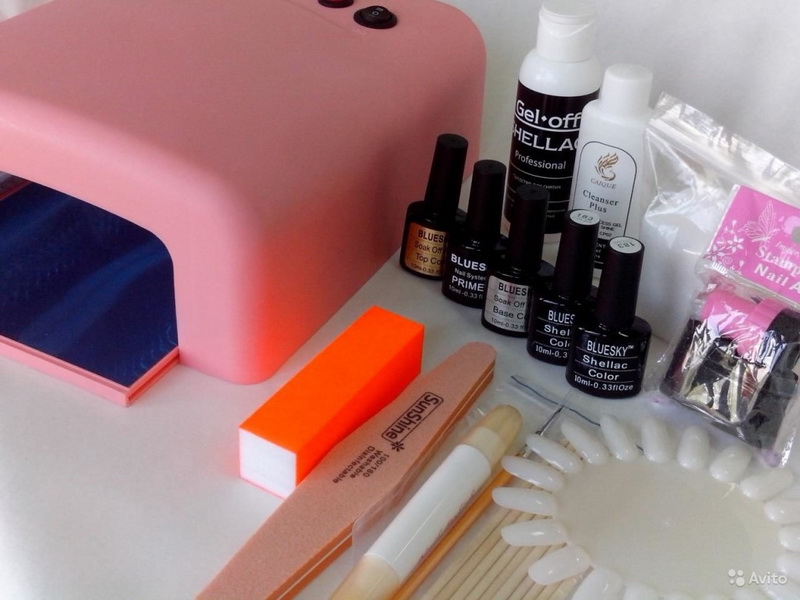
The inventory of professionals is different from what women use at home. Of course, if you have finances, you can get an apparatus, but for beginners, the usual set of familiar tools is quite enough.Since all the equipment will consist of hygienic and decorative manicure, it is necessary to clearly distinguish between two sets of tools that may be needed in the work. To prepare your nails for working with gel polish at home, you need to take care of the availability of tools such as:
- scissors and nail scissors;
- orange stick;
- cuticle removers;
- maceration baths;
- pusher;
- nail files and soft grinder;
- lint-free wipes;
- brushes for removal of sawdust;
- special degreasing liquid.
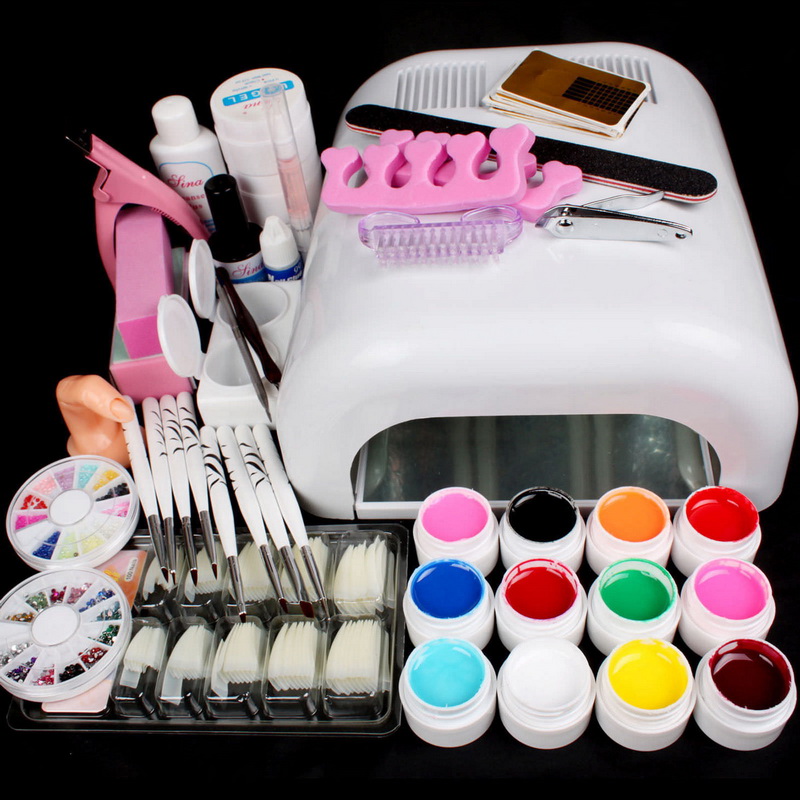
Depending on the type of its technique, the following tools may be needed to perform a decorative manicure:
- thin brushes with pile of different lengths;
- a drying lamp for 24/48 W;
- rubber hoof;
- orange stick;
- napkins without a nap.
In addition, the work may need a pusher to push the cuticle away just before applying the lacquer material. A sample list of materials will depend on what kind of design is planned. The usual standard list consists of the following materials:
- base coat;
- finish (top);
- pigmented (colored) gel polishes;
- primer;
- elements of decor.
After all the necessary will be prepared, proceed to the sequential implementation of manicure. The workplace must have a sufficient level of lighting, otherwise you may not notice slight defects. Space should be enough for the location of all necessary.
Detailed master class
In order not to be confused in the steps of the master class, it is necessary to separate the main stages of its implementation and elaborate on each.
Hygienic manicure
Hygienic manicure includes several steps.
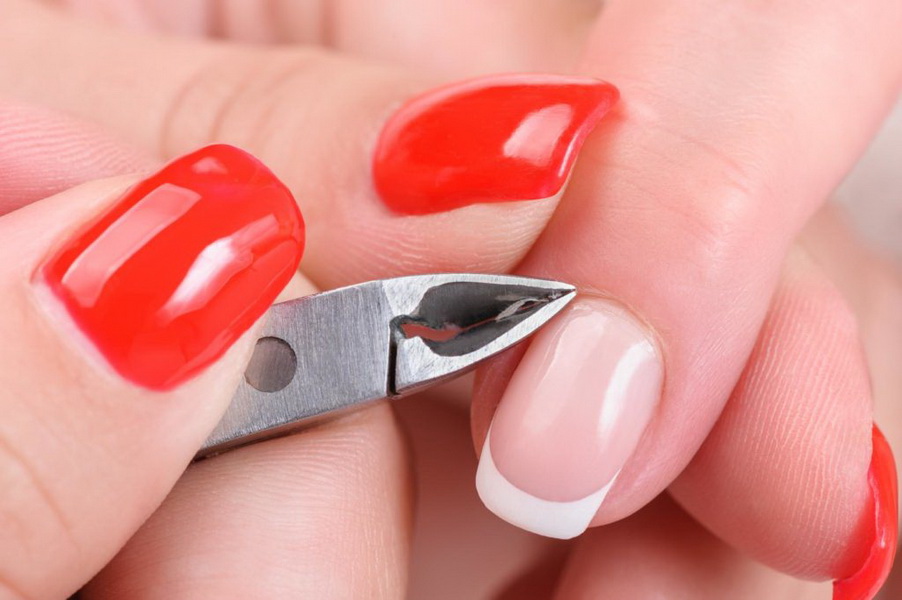
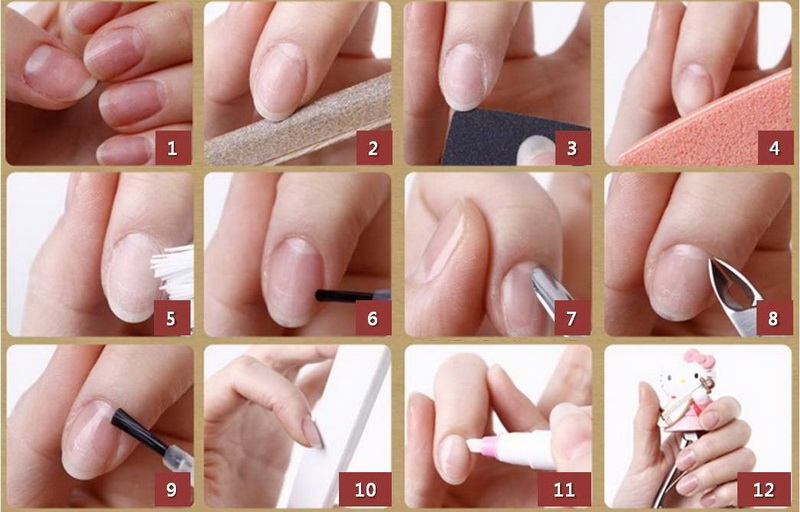
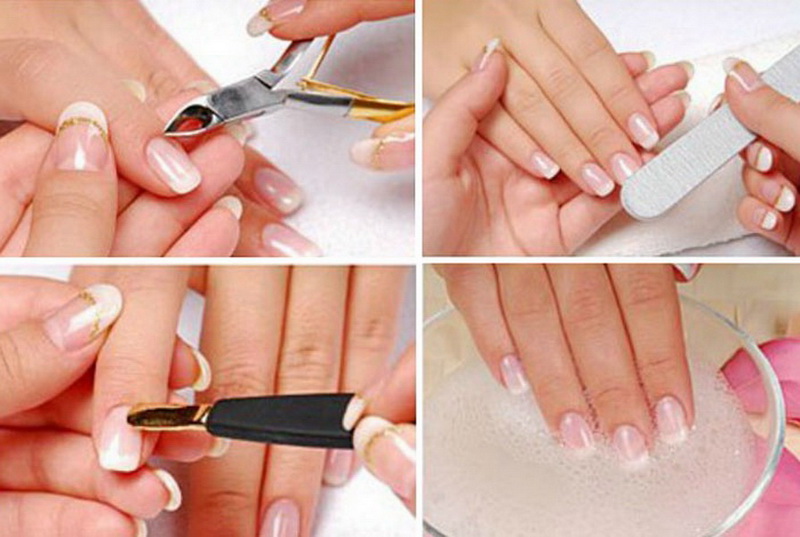
- In the salon, before starting work, the client's hands must be treated with an antiseptic. At home, you can wash them with soap, not steaming and not delaying washing hands. Level the length, sawing give the desired shape to the edge of each nail plate. This should be done in one direction in order to avoid gel polish detachment. It is necessary to use in work good, not stolen nail files.
- Take the means to remove the cuticle and put it on the skin around the nail, excluding the zone of growth. This clear substance will prepare the skin for further painless removal. It will reduce the risk of injury and reduce the stress state of the dermis, thereby eliminating the appearance of irritation.
- After applying the product, fingers are placed in the bath for 4–5 minutes. Water temperature in the tank should be +4 degrees. During the stay of fingers in it, it will decrease slightly. Do not use cold water, it is harmful to the bones. After a set time, the fingers are removed from the water and wiped with delicate movements.
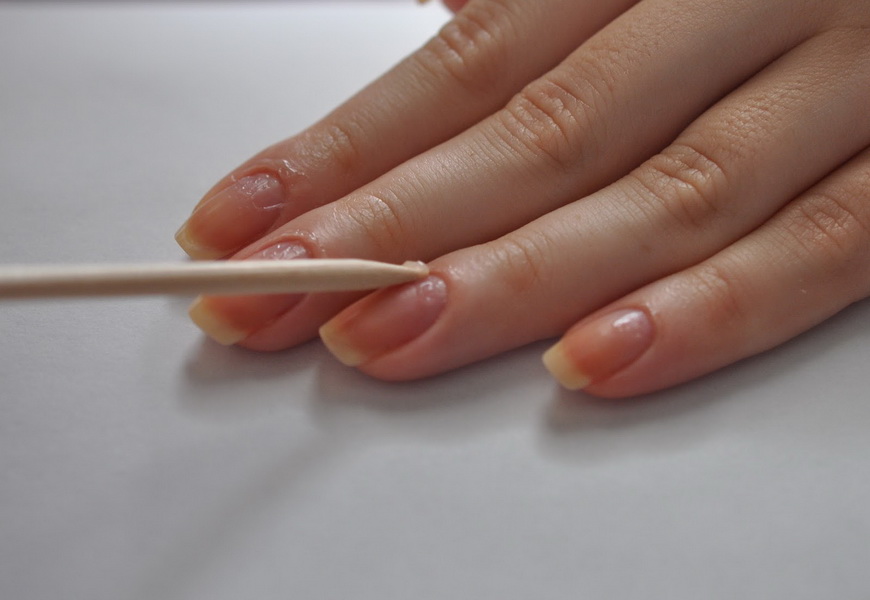
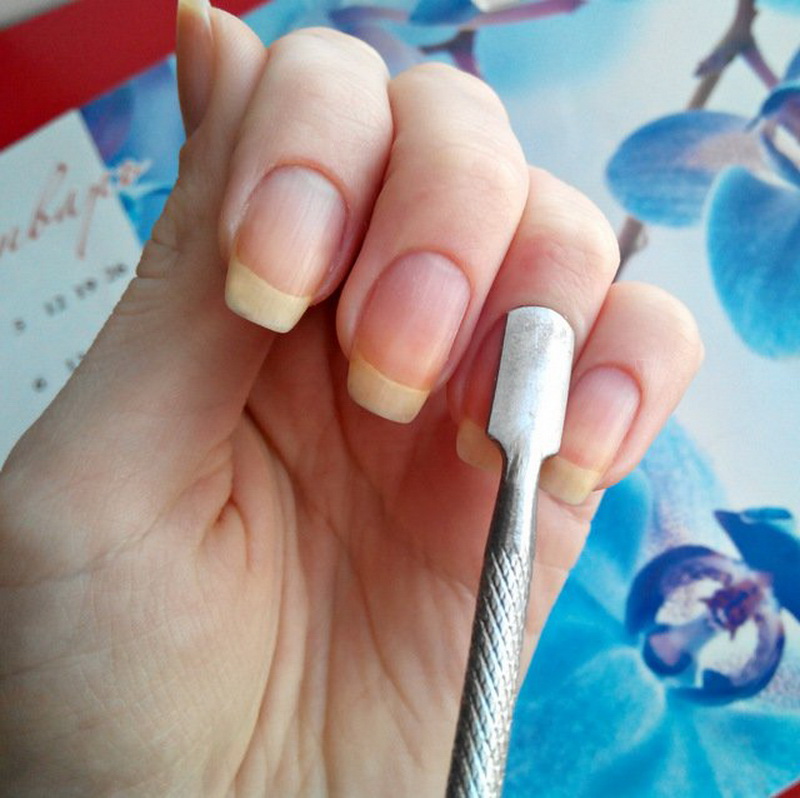
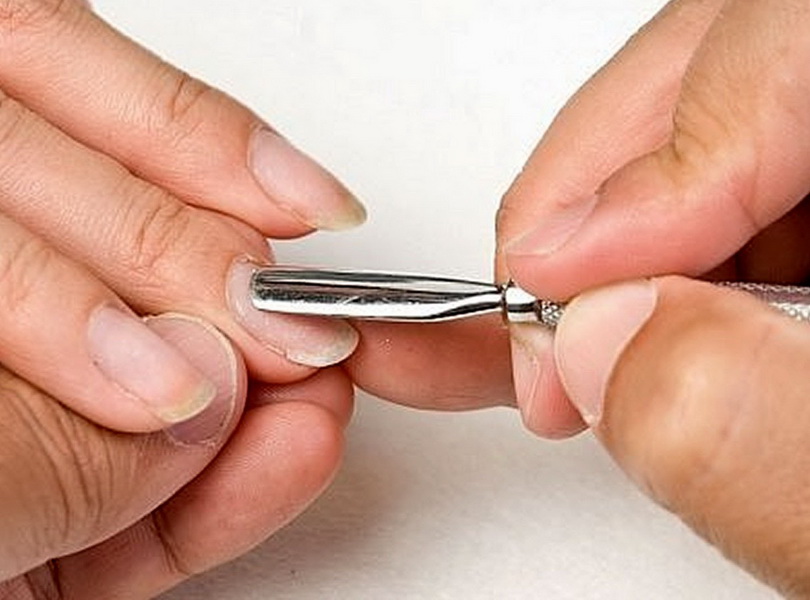
- Start cleaning the cuticle and pterygia. They take a pusher and with a shovel first they push aside, and then gently lift the skin at the base and sides, reaching the end of the finger. The upper part under the nail does not touch. Raised skin is easier to cut, which is why it is necessary not so much to move as to turn it out, so it is more obvious that it will be necessary to cut it.
- Using nail scissors or scissors (tweezers), cut off excess skin. At the same time, movements should be made in the direction of the cut (in any case, not up). If possible, try not to cut off in parts, and a solid strip of skin. This will reduce the marriage in the work, which is one of the causes of gel polish flowing over the cuticle.
- After arming with an orange stick and check the quality of scrubbing, holding it around the nail in the places of cleaning. If there are flaws, they immediately go upstairs. They are cut with scissors or scissors.

Cooking nails under the coating
Now prepare the very surface of the nail, adhering to a specific algorithm.
- Take a buff (soft grinder) and gently remove the gloss from the surface of the nail. They drive one place of the nail with a buff no more than two times so as not to thin the plate itself. Using a brush to remove dust, get rid of sawdust.Then degrease the surface with a dehydrator, removing residual sawdust with lint-free napkins.
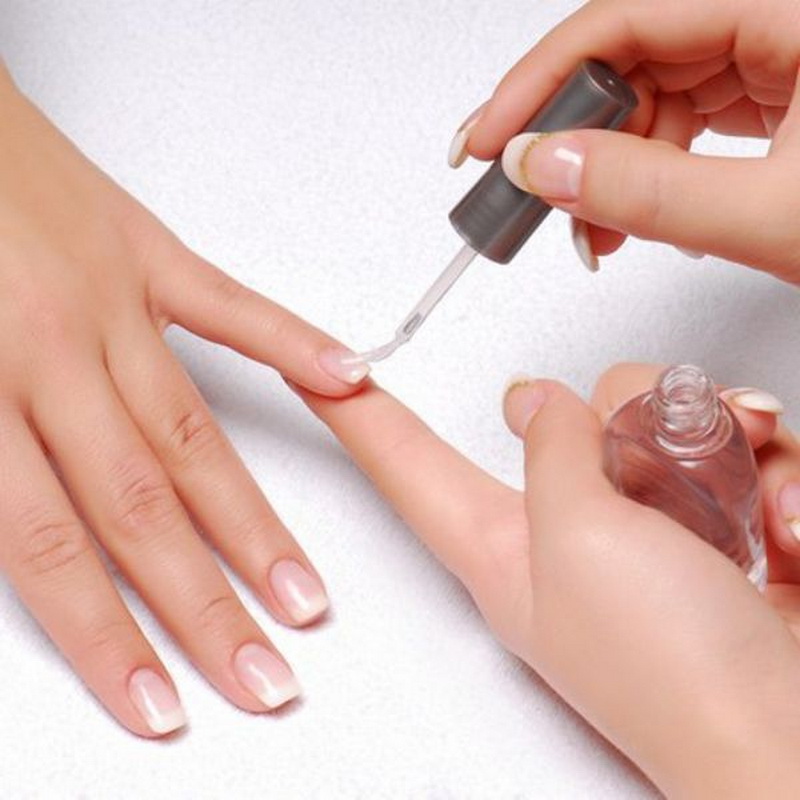
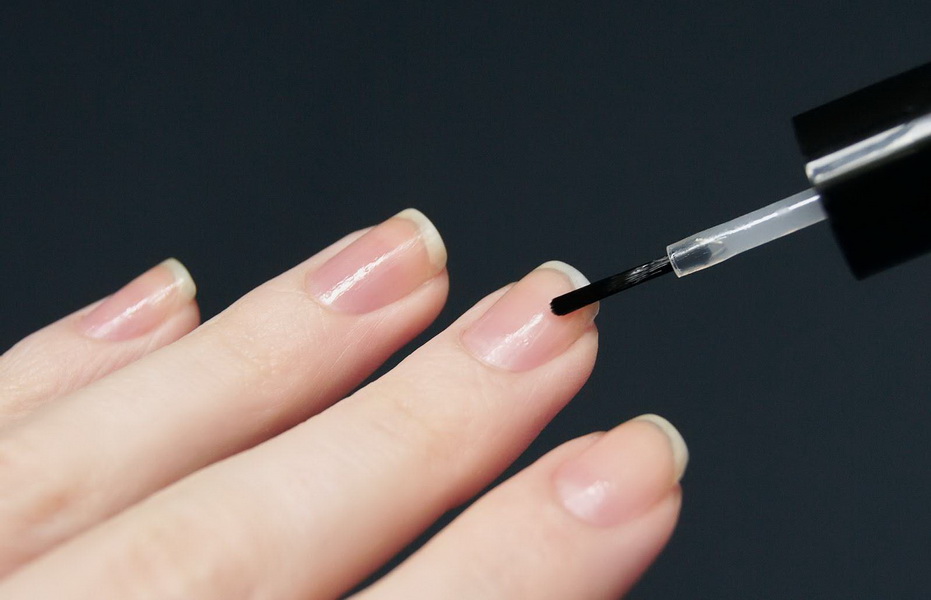
- Now you can apply a primer layer on the surface, which will increase the adhesion of the nail with all subsequent applied materials. This function is performed by a primer, it is applied in a thin layer and dried in a lamp. The timer of the device will allow to sustain the time correctly, without violating the process technology.
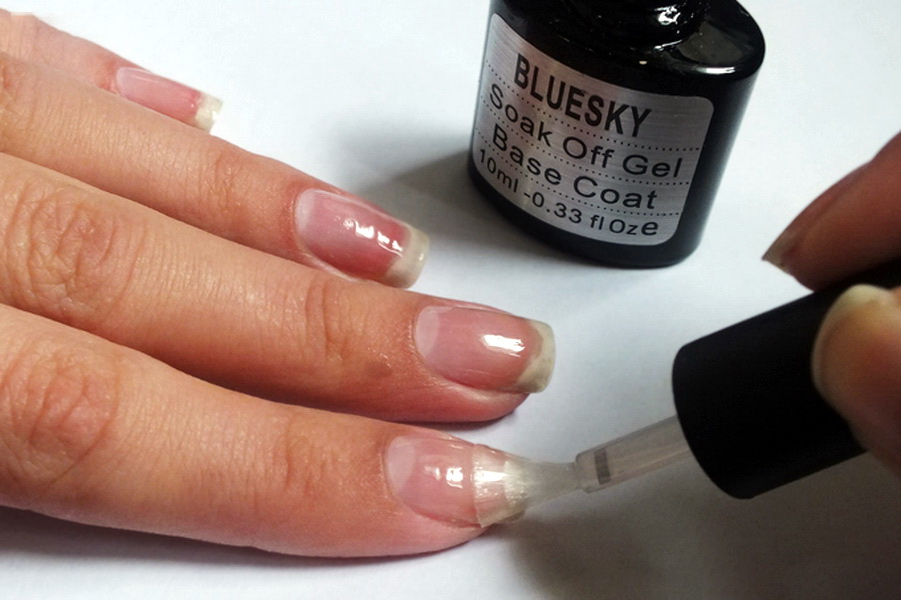
- After that, the base could be applied, but usually many women have weakened nails. Often they need help, so they have to engage in strengthening. This is a special composition that can be included in the technology and apply a thin layer on the surface of the prepared nail. It is transparent, differs in a viscous consistency and falls well on the surface of polished nails. The material is also dried in the lamp, maintaining the required amount of time.
Primary application
To properly apply basic materials, worth doing a few steps.
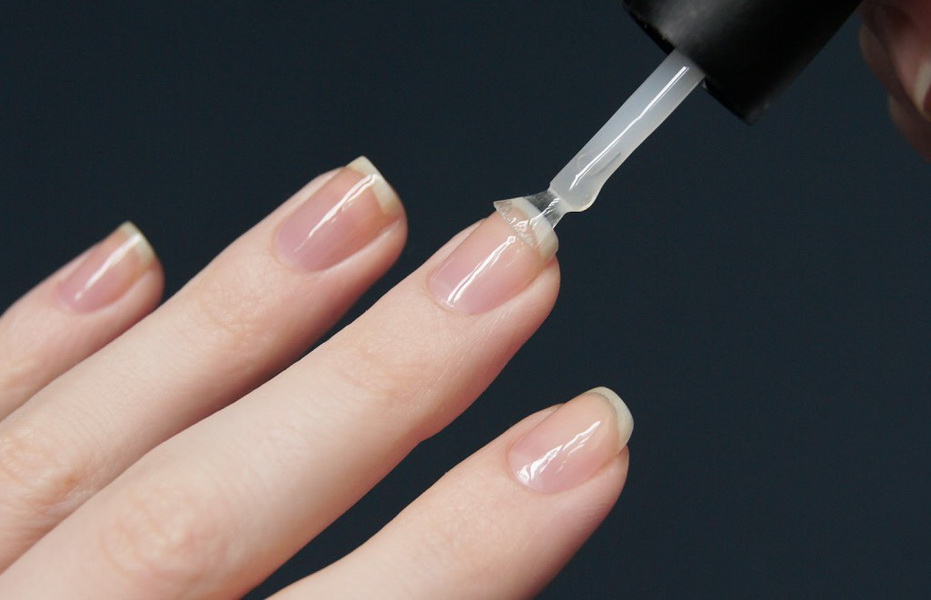
- Take the base material and cover it with the nail. The tool must be applied to the surface with a thin layer so that it does not spread outside the nail plate. To do this as gently as possible, you can pull the skin around the cuticle with your fingers and immediately place the nail in the lamp. You should not apply the tool immediately to all fingers, trying to save time. While the last one is processed, on the first one, the composition can sink behind the cuticle and the side rollers.
- According to the rules of technology, when applying each tool will have to walk on the end of the nail. This should be done carefully, making sure that the layer of the applied product was thin. So that the coating does not turn out flat, spreading out on the sides, you should turn the nail down after applying the base, and then quickly turn it back and place it in the lamp. So the arch will not smooth out.
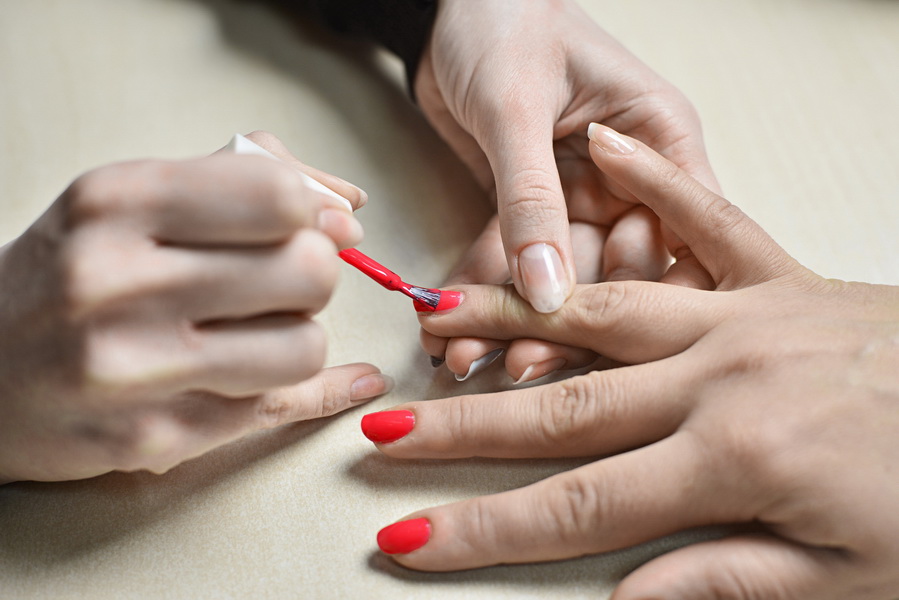
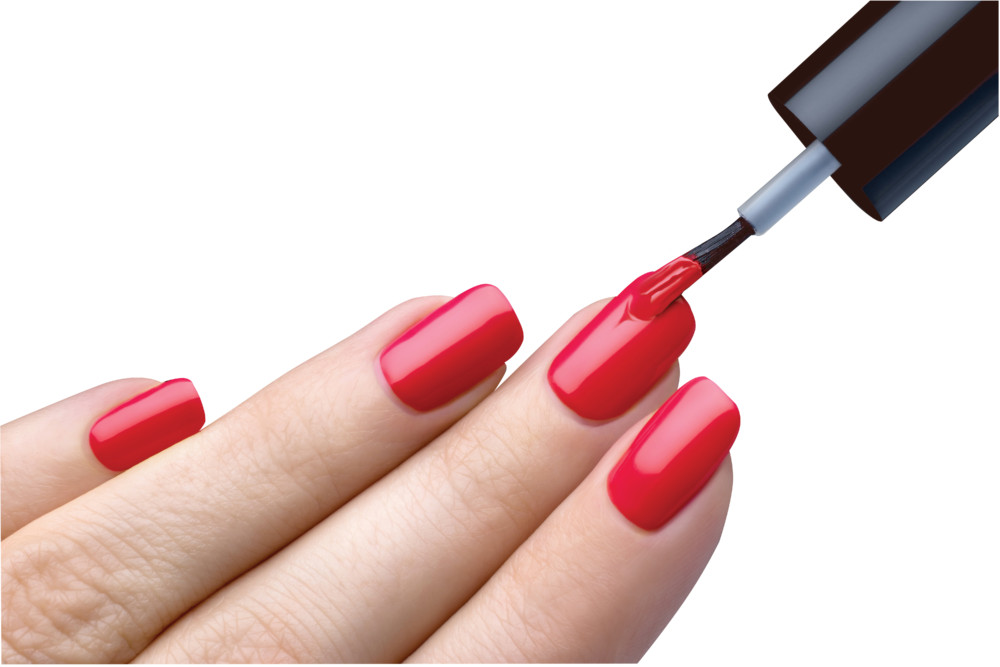
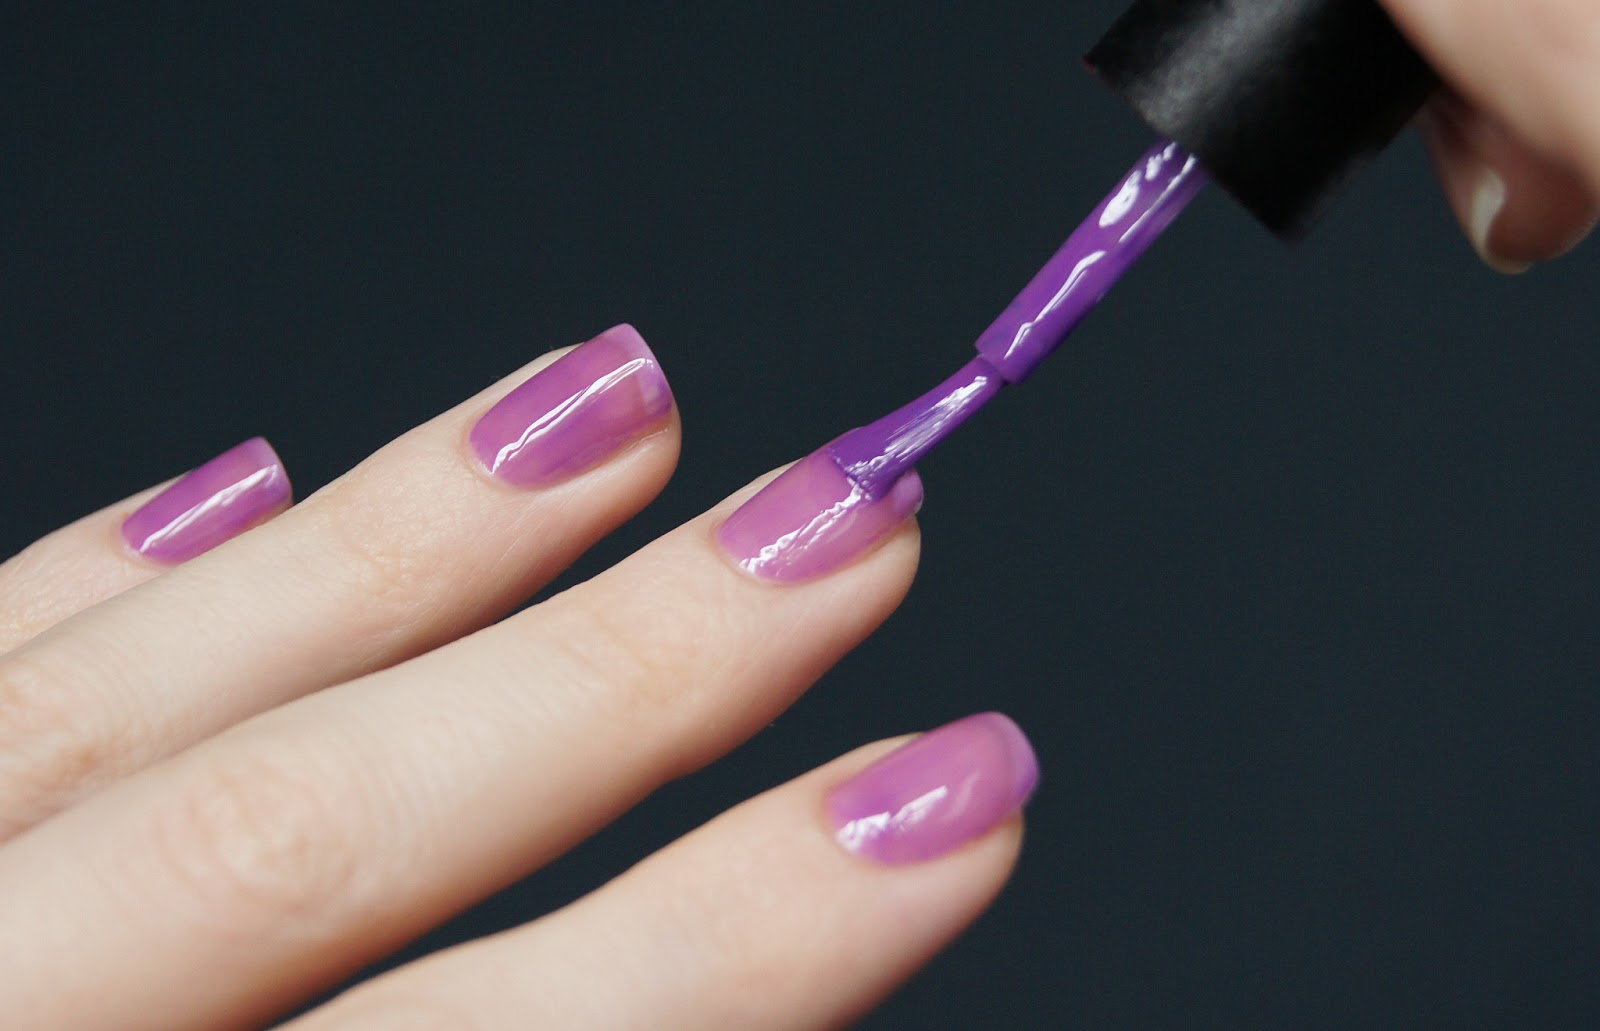
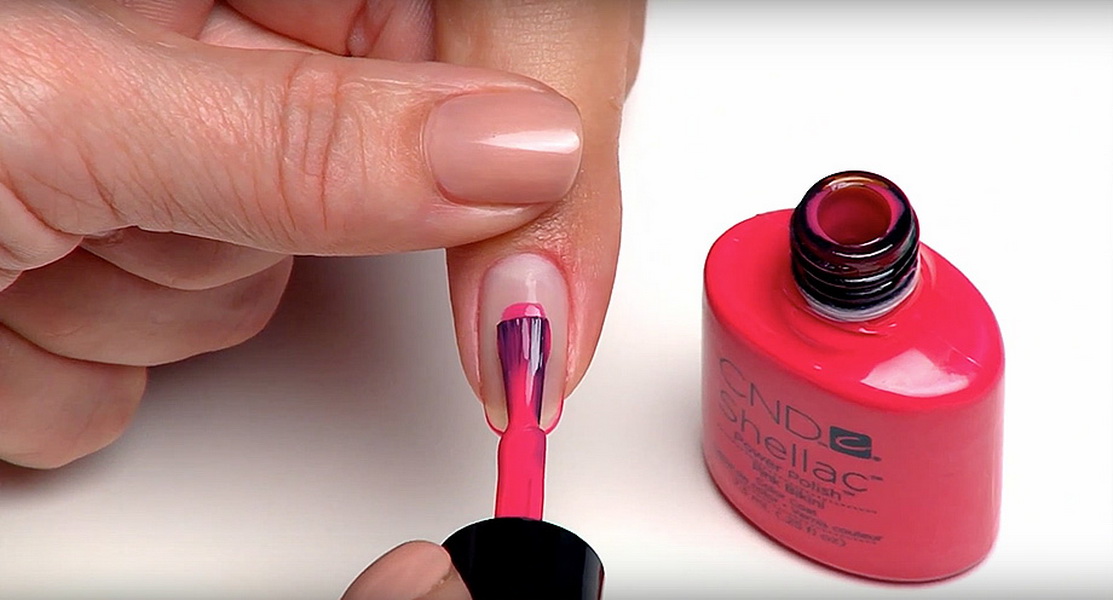
- After the base material is dried in the lamp, a pigmented varnish is applied. To make the coating look more neat at the base of the nail, this line is created with a thin brush. Crawl bottle brush will not work. On the manicure brush they collect quite a bit of paint and paint on the beautiful edge of the bottom, and if necessary, the sides. After that, paint the base of the nail or its entire area. Sometimes the master does not paint at first, but with the second layer of applying pigmented gel polish. Each professional has his own opinion on this matter, however, working with a brush at the beginning of coloring will completely cover any flaws in the work with the second layer.
- After the nail plate is stained with pigment, it is given about half a minute to spread. This will avoid bands and uneven distribution of funds throughout the plate. After that, the nail is dried in the lamp. Repeat step to completely block the original color of the nail.
- After that, the coating is decorated and covered with a layer of top. The top is applied with a light layer, covering the entire nail and treating its end. Then drying is carried out in a lamp and after about 30 seconds, the residual stickiness is removed. This should be done with nail polish remover. You need to work quickly and delicately.
Application of additional design
Nail decoration is performed predominantly before sealing with a finishing material. However, in other cases it is required to put the decor on top of it. It is necessary to consider the basic techniques of decorating nails, according to the general step-by-step instructions that you can do yourself. Rely on the principle of the work of nail service professionals.
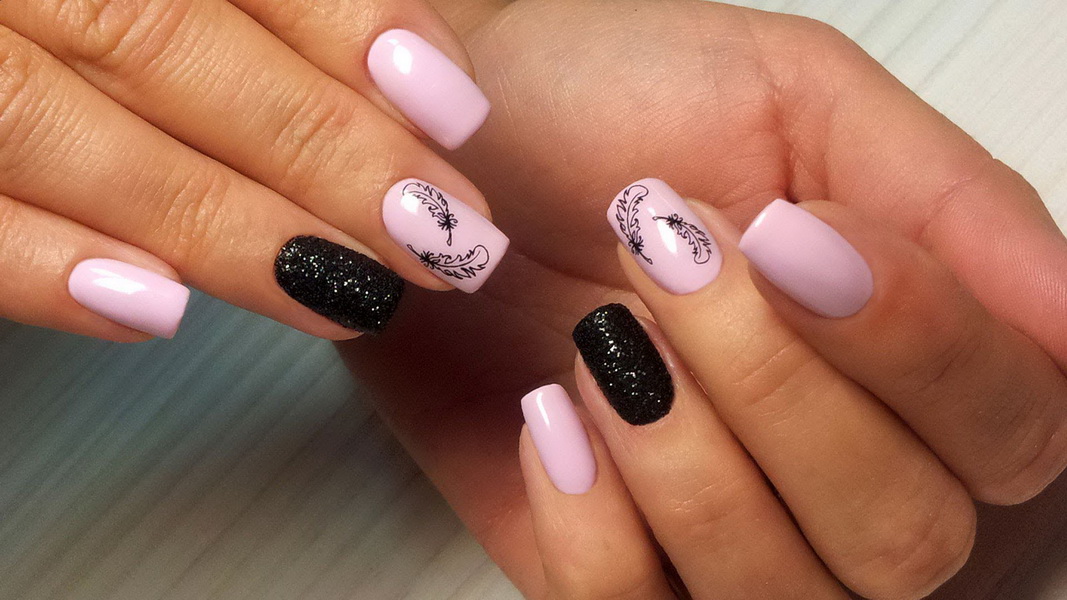
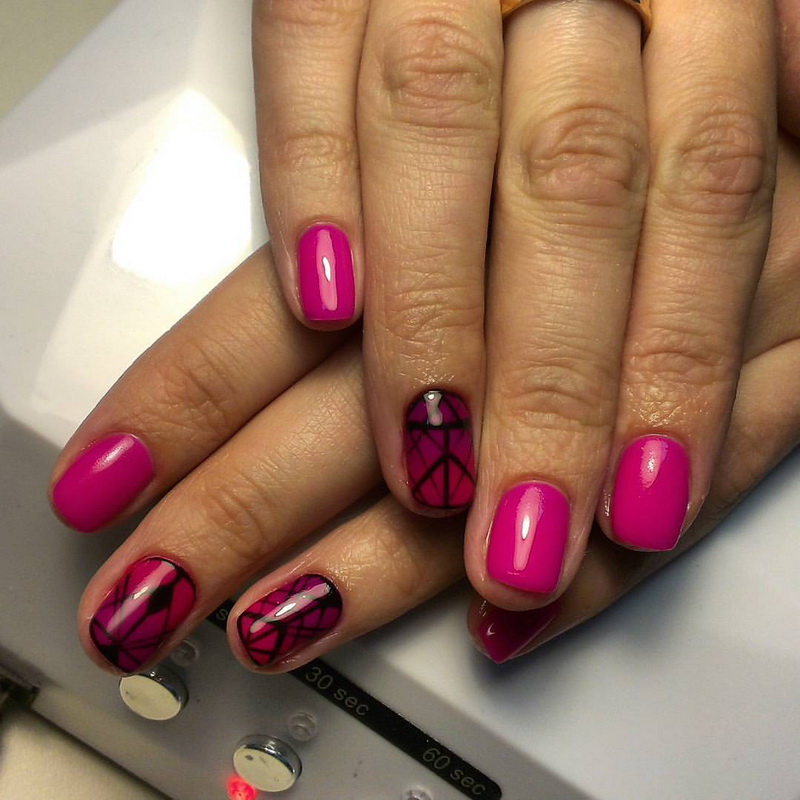
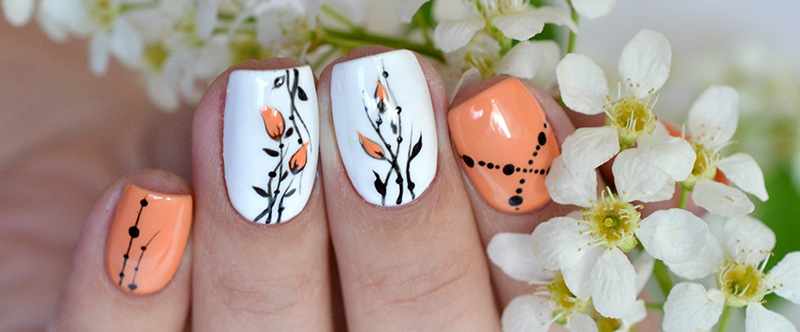
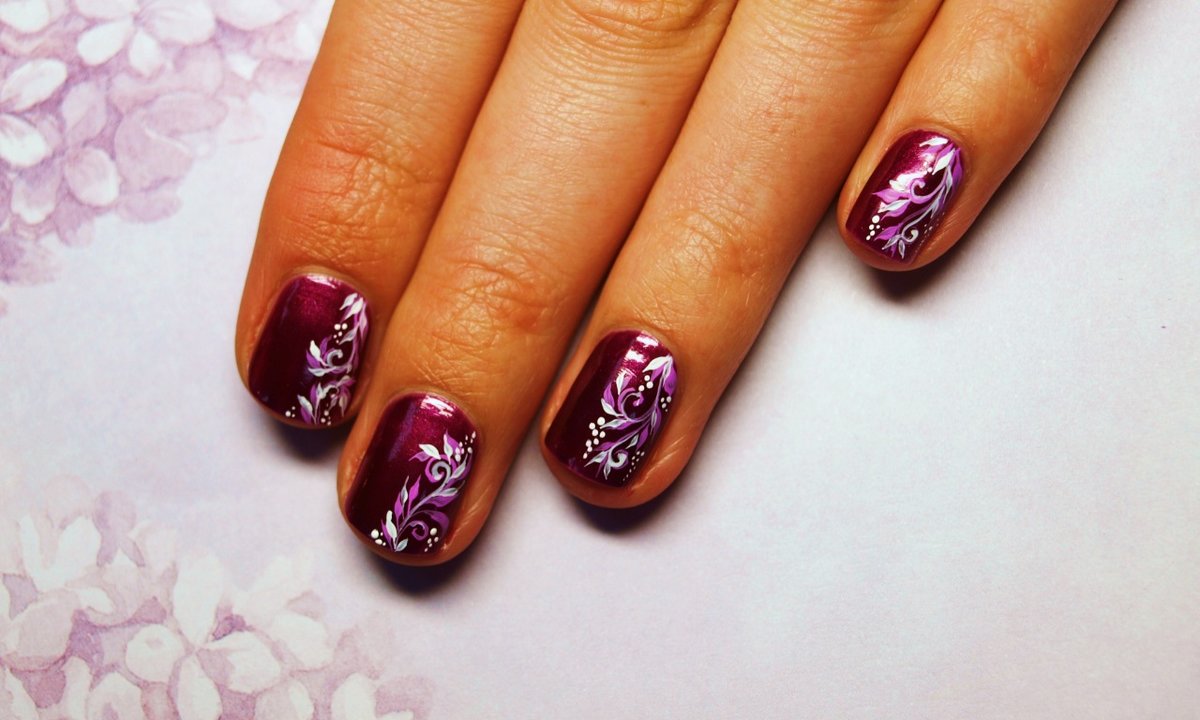
Drawings
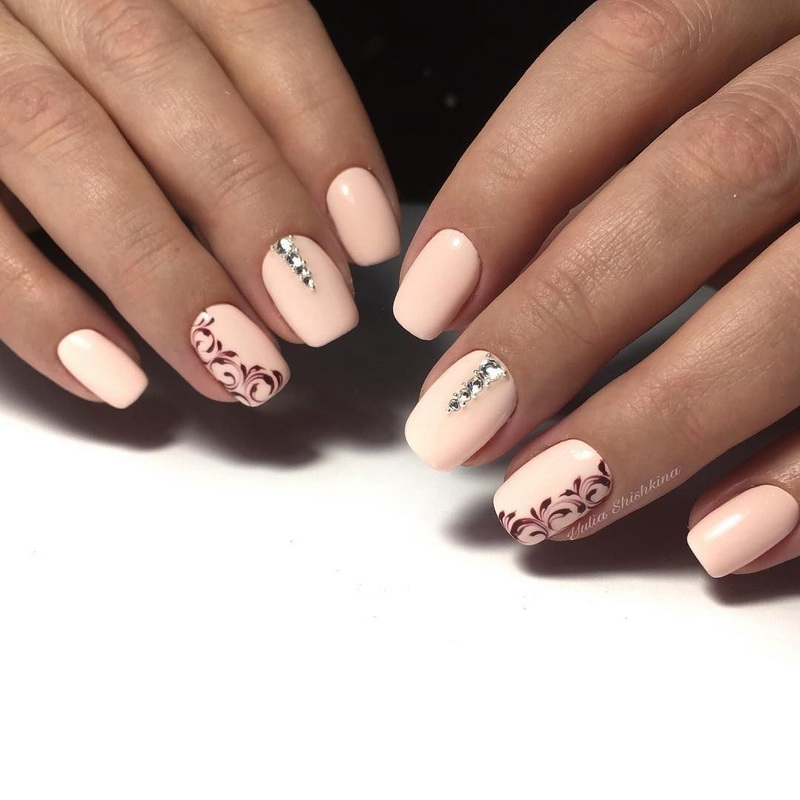
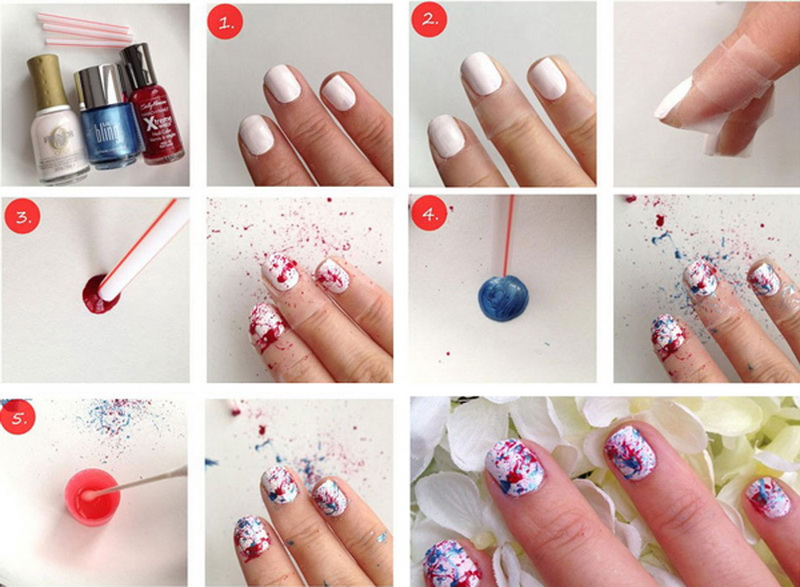
Images are applied at the stage when the pigmented gel polish is already dried, but the top has not been used yet. The technique of drawing can be very diverse (from stemping with a variety of patterns to stencils). Someone uses dots with various ball nozzles to draw, creating interesting ornaments with usual round dots of different colors and sizes.In the simplest version, it can be an imitation of French manicure, in which dots form a bow. Similarly, they first draw the contours of the hole, and then fill it.
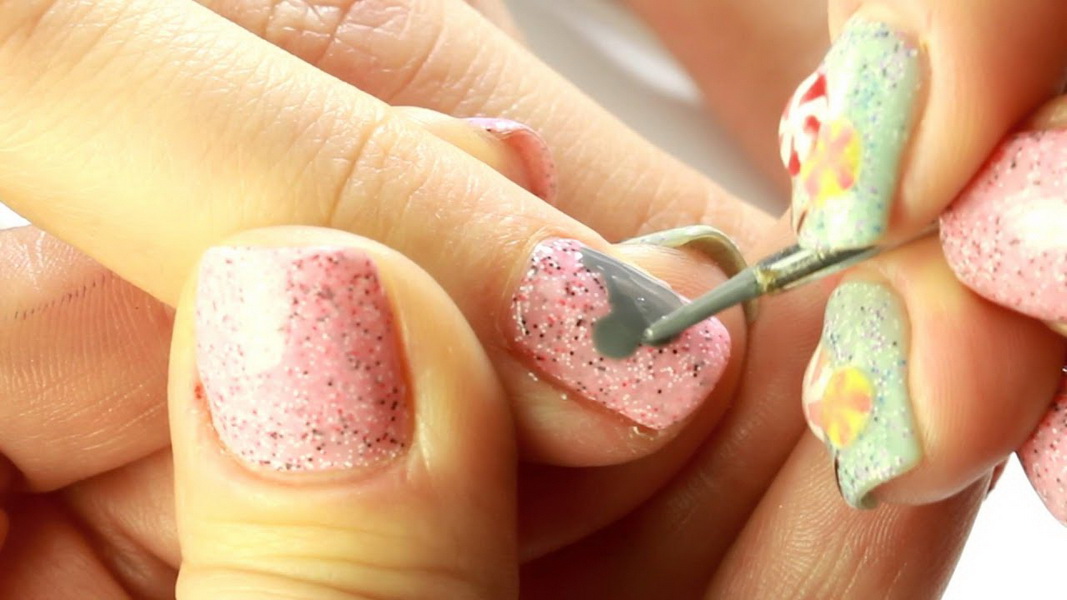
More advanced masters use in the work of the coating with a flowering effect. It does not need any special skills: pictures appear by themselves, creeping out of the usual points on the nail, lines and commas. Sometimes it is quite enough to set the dots with special paints on an undried transparent base coat with a flowering effect. As the desired result is achieved, the nail is dried in the lamp, and then the desired contours are attached to the pattern. So spots turn into flowers, leaves, dandelions, feathers and more.
You can draw on a pigmented basis using artistic water-based watercolor, diluted with top gel polish or acrylic gel-paint. If the main background is dark, first create a white underlay of the desired shape, then fill it with colored pigments, forming halftones and achieving realistic images. After the drawing is ready, it is dried (in the case of using a watercolor, it dries itself), it is covered with a top with further drying.
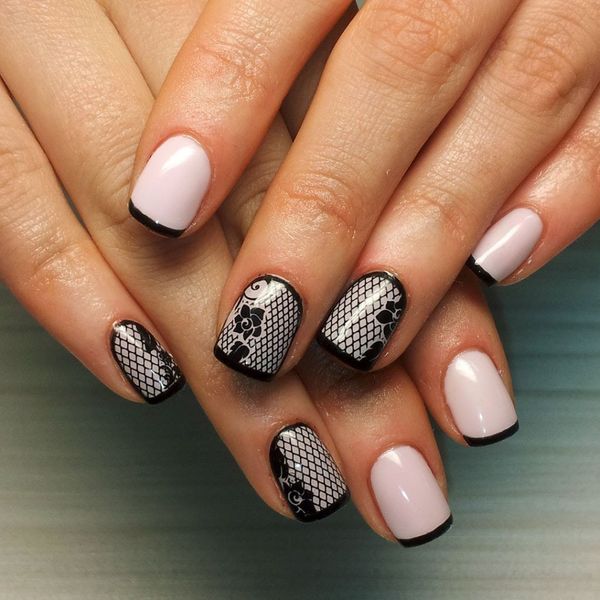
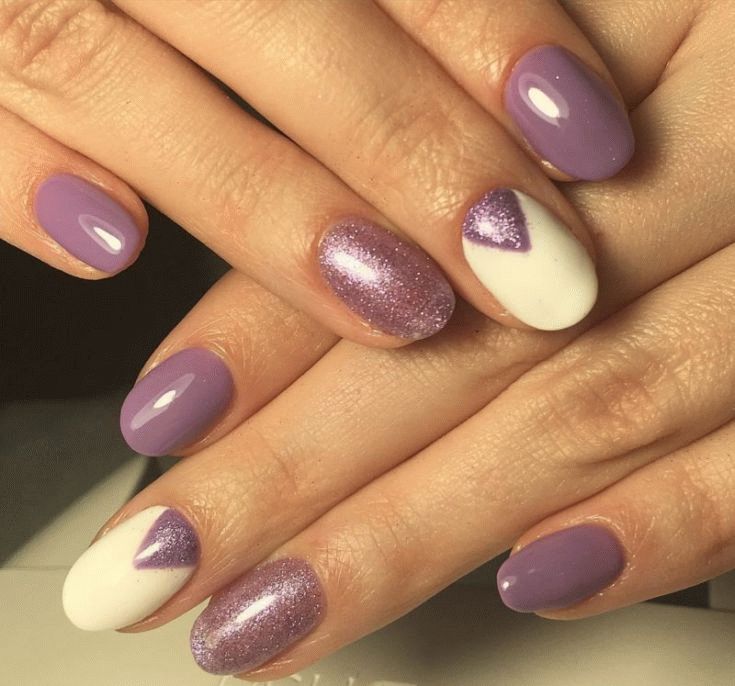
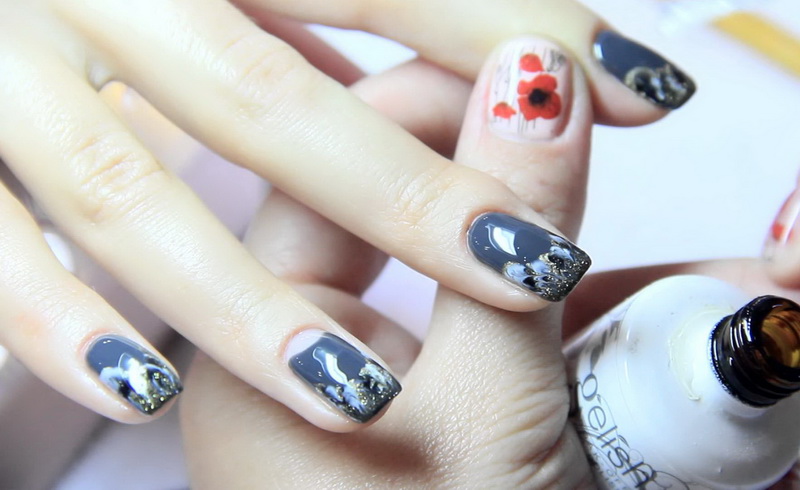
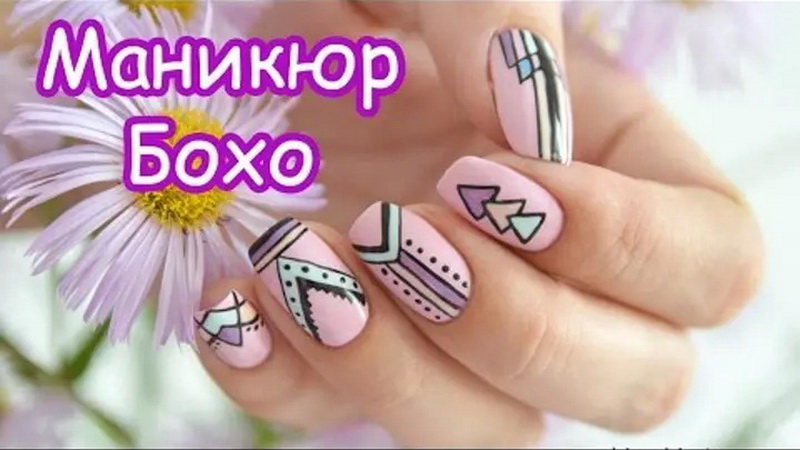
As for the print theme, it can be very diverse. These are flowers, and geometry, and cosmos, and ethnic motifs, and plants. Fashionable to use in the design of seasonal images. For example, these are butterflies, dandelions and insects for summer, prints in chamomile, drops of dew on flowers, colorful leaves and berries for autumn. Winter images can convey the beauty of frost patterns, ideas for spring can be drawn from floral and Scandinavian ones. One of the most fashionable trends today was the boho style in manicure design with its inherent brightness and confusion of ornaments. You can paint on the nails with manicure brushes, dots, cling film, stamps, as well as with the usual foil tape or a toothpick.
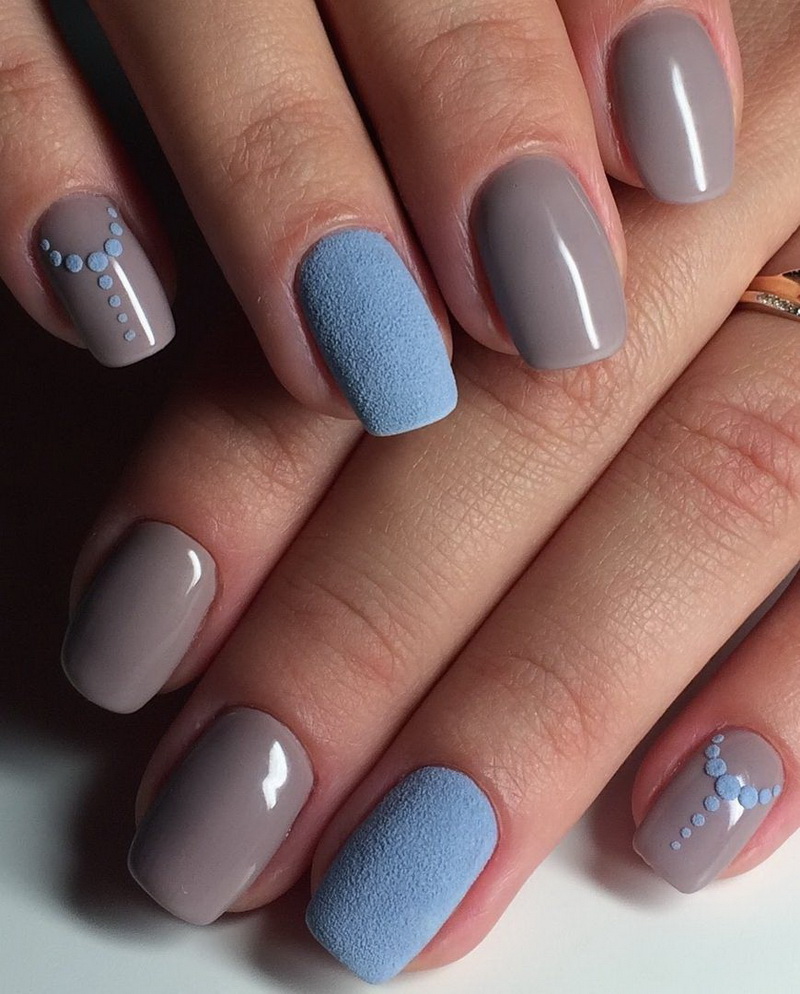
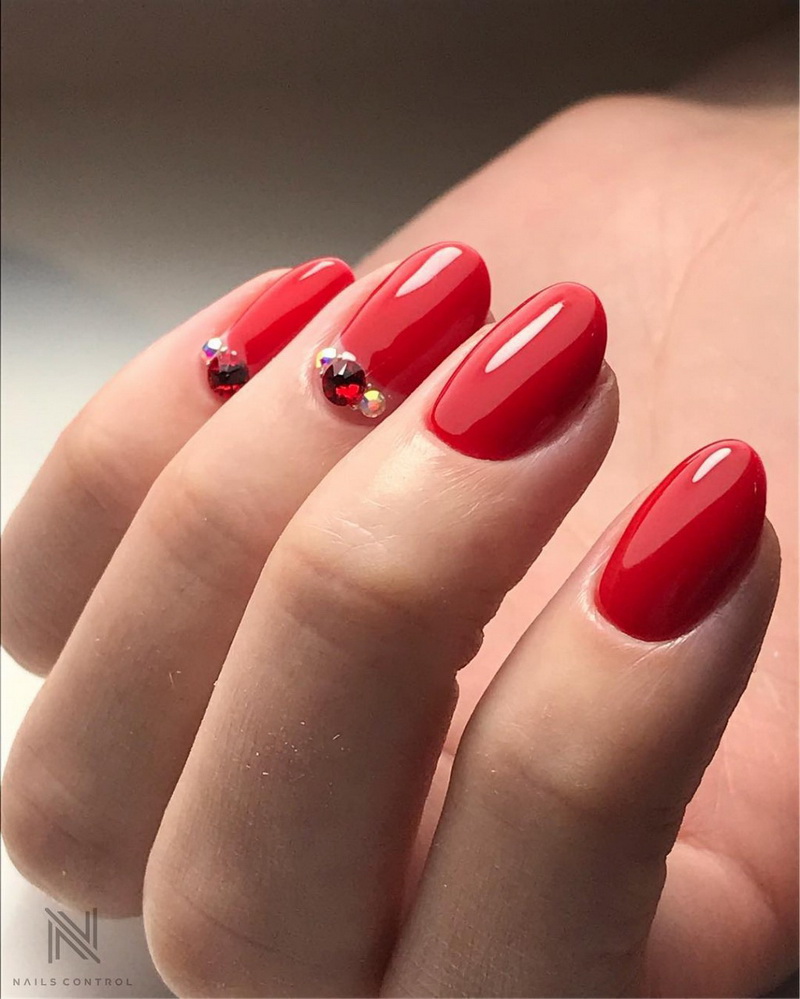
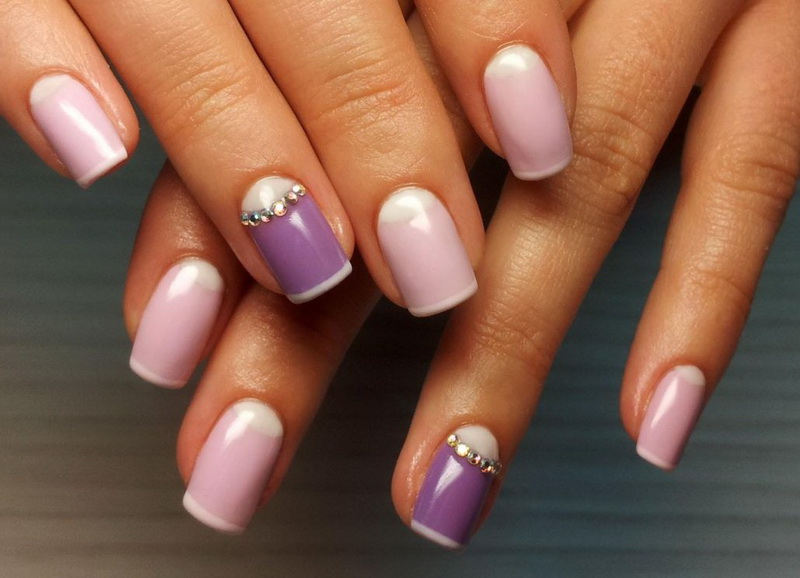
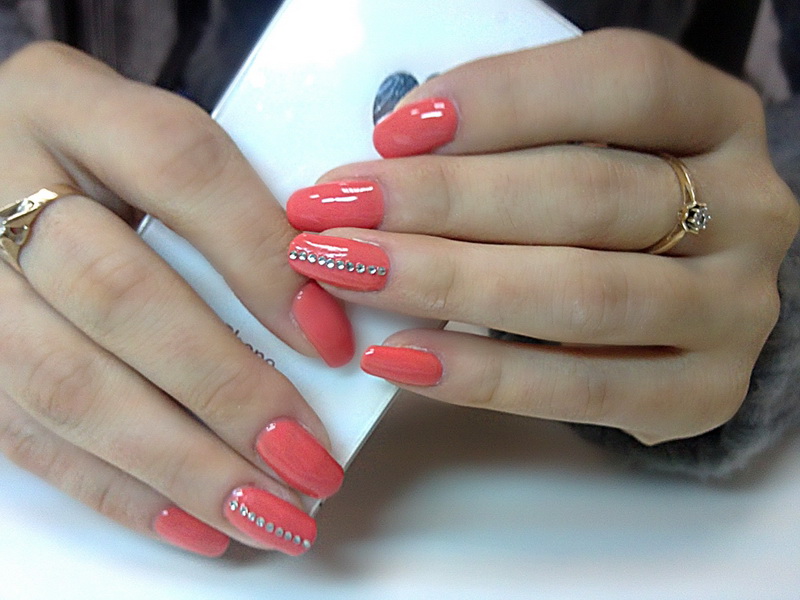
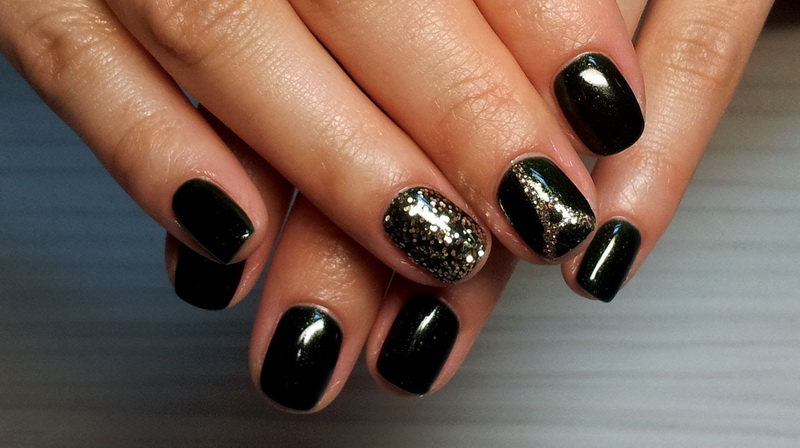
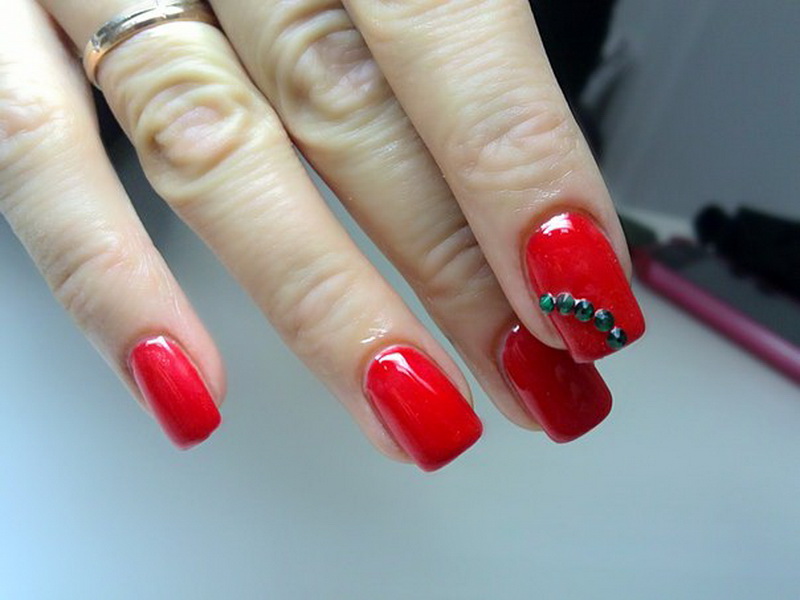
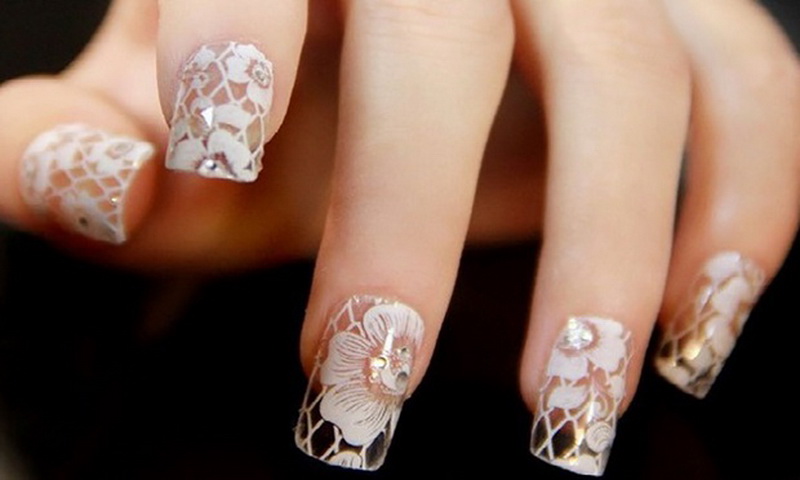
Decor
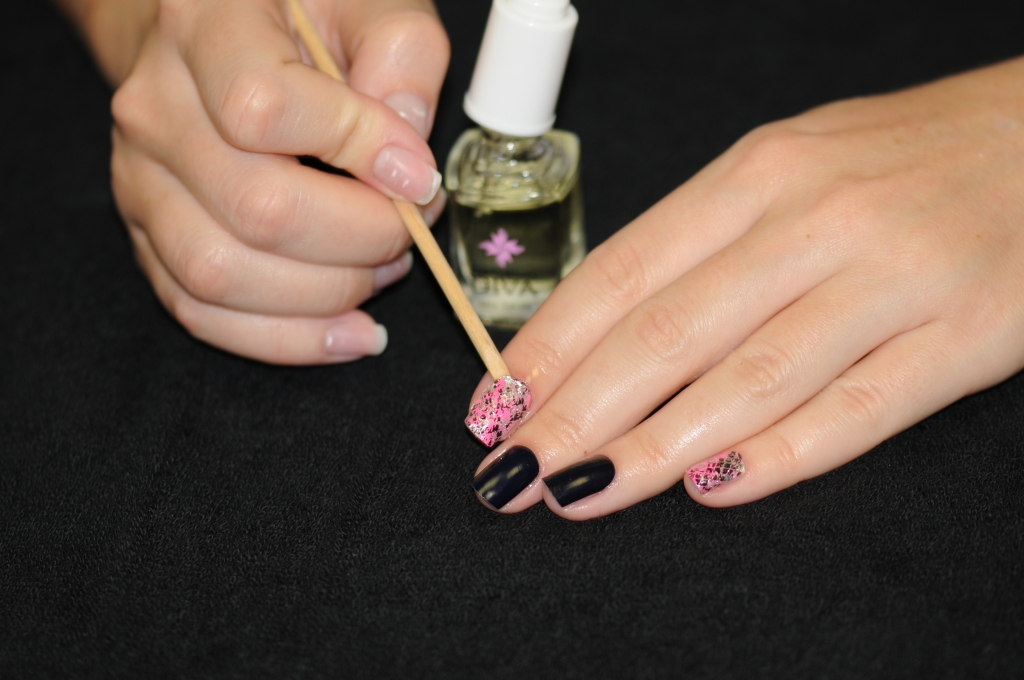
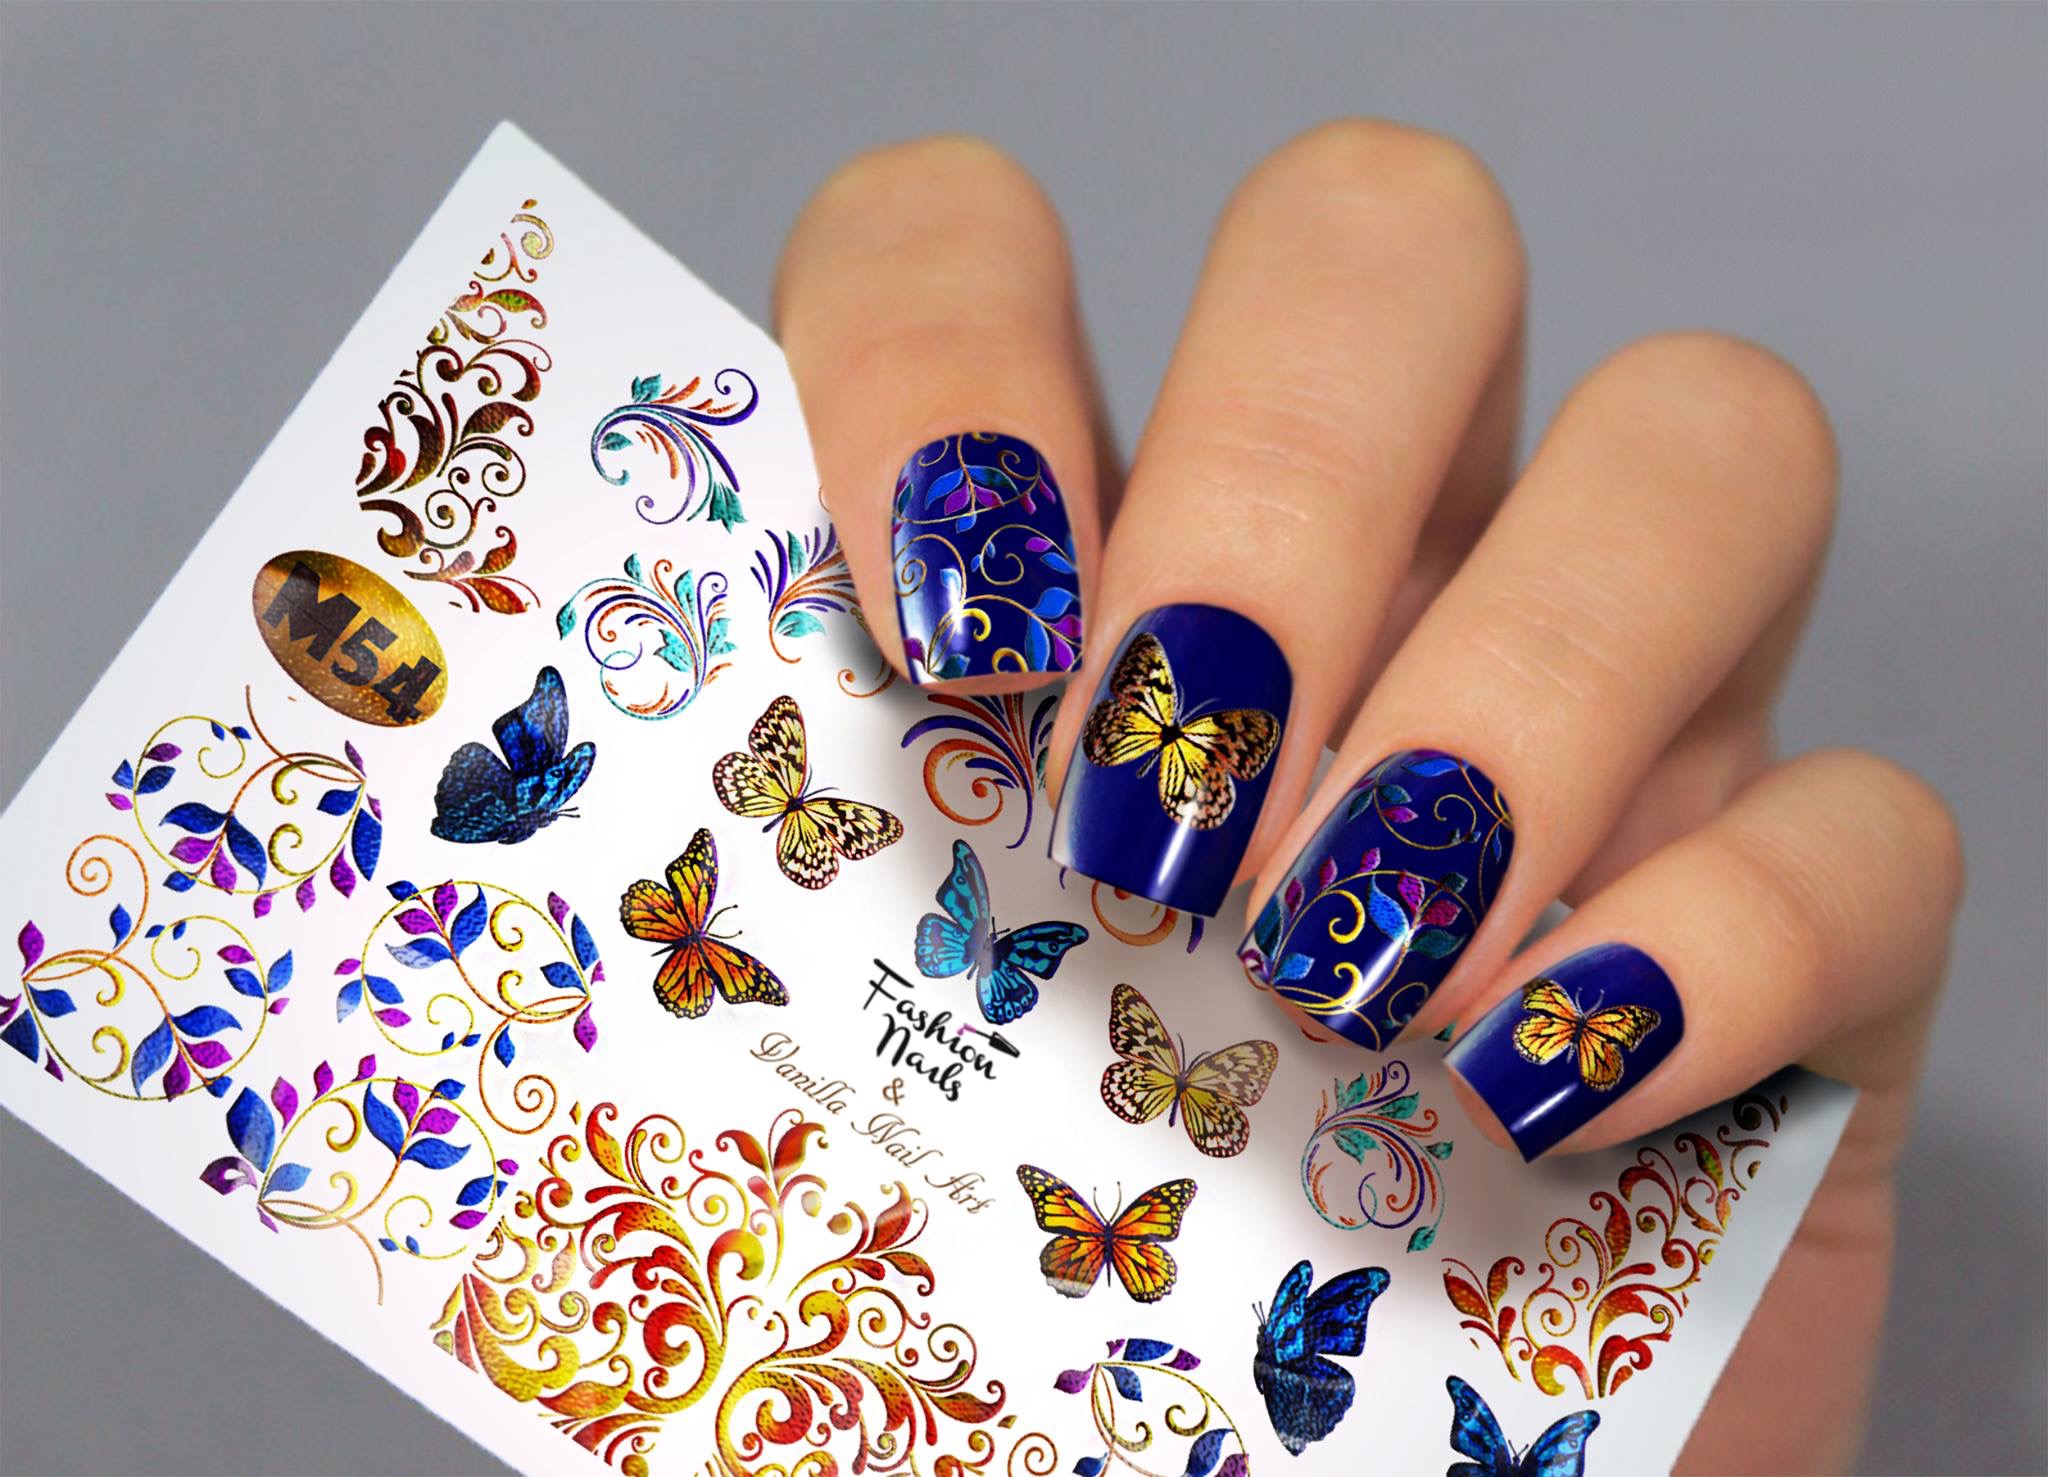
Like the drawings, the decor is not performed on everyone, but only on accent nails. You can use for this kamifubuki (colorful confetti), bouillon, rhinestones, crystals, sliders, stickers with a sticky layer, powder, fimo and rub in. In addition, a detachable or transfer foil, as well as Yuki flakes can be an excellent decoration option. Each type of decor will have its own technology and sequence of application. For example, in order to transfer water type stickers (slider design), apply a base (top, white base or ultrabond) over the dried pigment, then remove the protection layer from the sticker, drop the cut out image into the water, separate it from the substrate and distribute on a sticky layer of undried substance. After this, it is necessary to cover the layer with the image first with the base and then with the top. Each layer must be dried in the lamp.
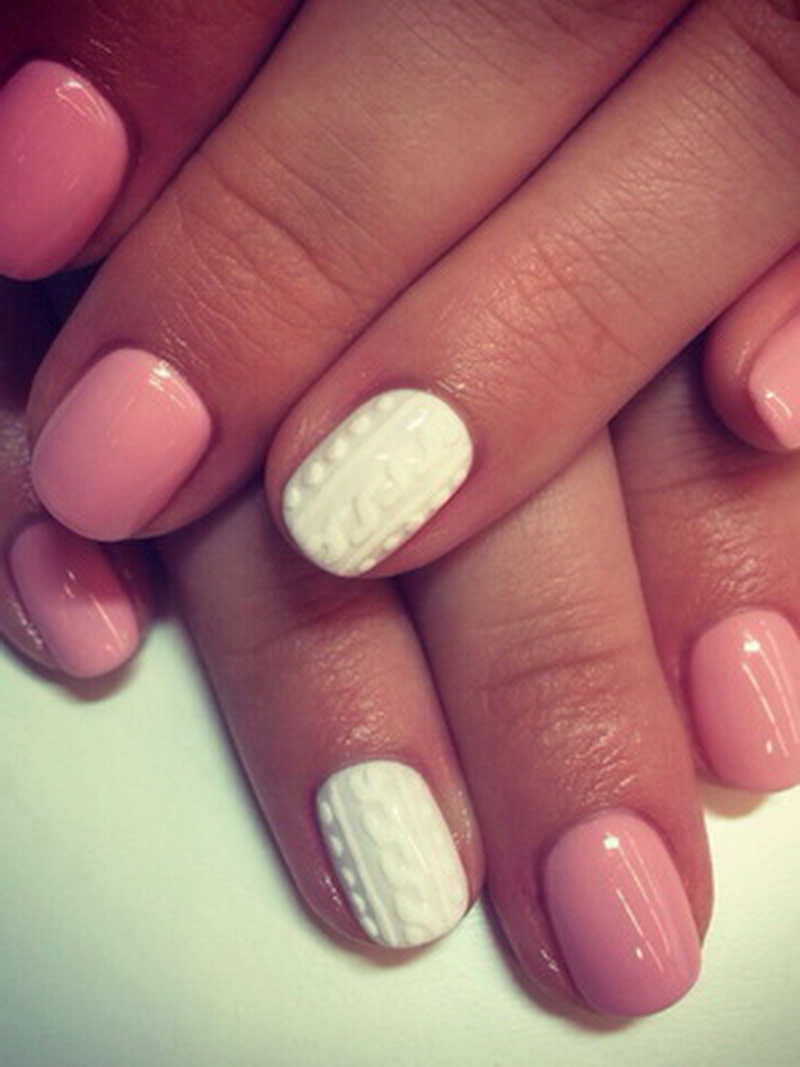
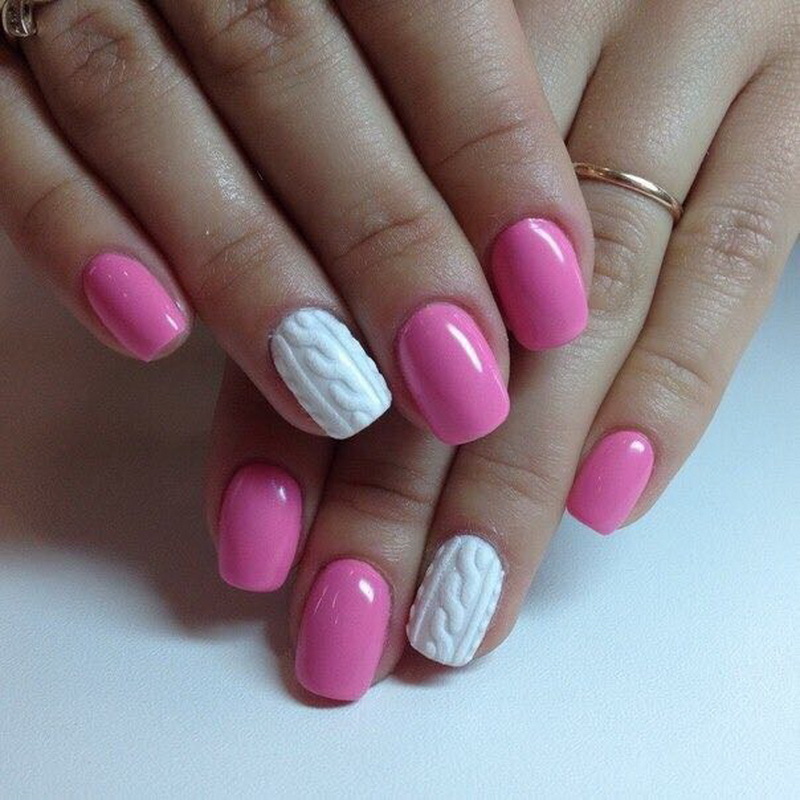
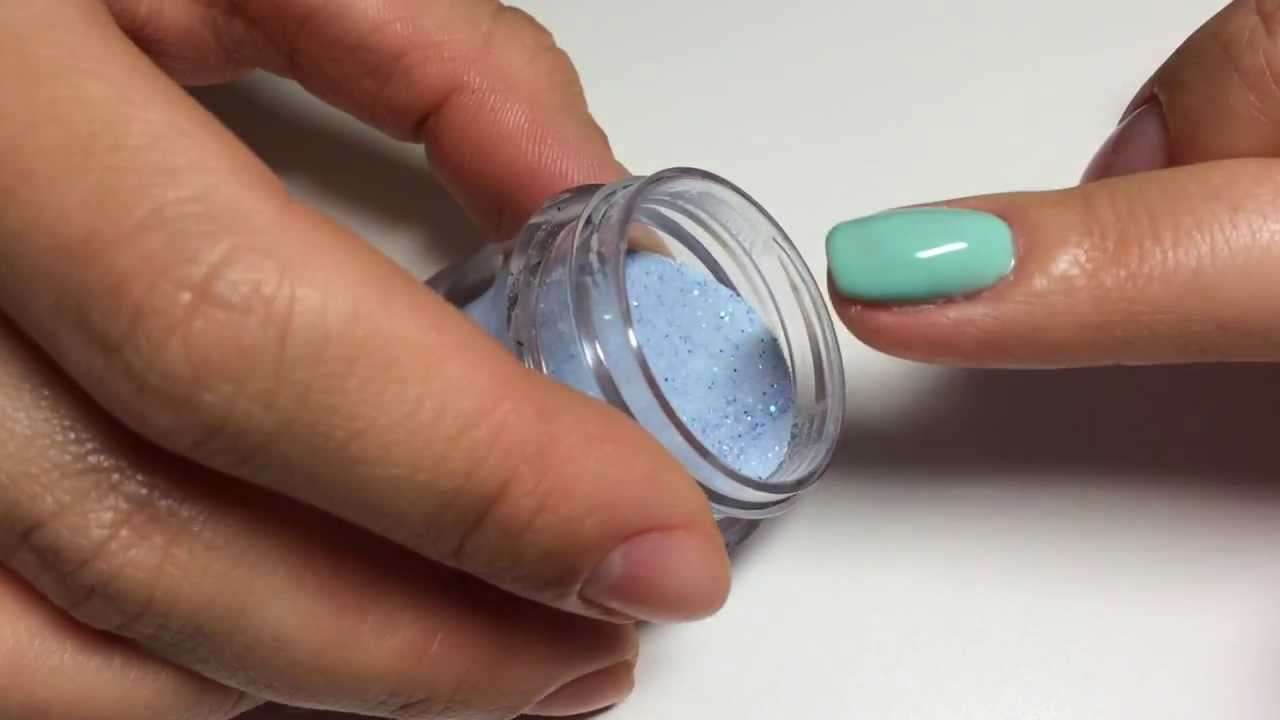
The procedure for working with powders depends on their variety. If it is acrylic sand or powder, it is applied in two ways. In the first case, put on the nail base, it is dipped in a jar of powder and dried. Masters often also polish such powders. Sometimes the powder is applied on a layer of undried base, sprinkling it on the nail. When you need to give volume to any pattern (for example, create a knitted print), it is created with a transparent top, sprinkled with powder and dried.
To learn how to work with rubbing, you have to practice using tips. This veil is rubbed into the surface of the nails on the sticky layer of the top. The longer the processing time, the denser the effect created. Apply mica flakes is also easy. They will look beautiful if you paint them, say, with a thin layer of stained glass. The foil is transferred in different ways, depending on the type of material itself. More often for it use a special glue, which is applied on top of the pigment. When dried in air, it changes color from white to transparent. As soon as this effect is present, the foil cut in the shape of a nail is applied to the nail, pressed tightly and torn off.The drawing remains on the surface of the plate.
As for rhinestones, they are glued to two types of material: modeling tool or top. It is easier to glue them on the undried top, which is covered with a layer of pigment. However, due to the volume and in order to avoid the quick tearing off of the sparkling decor, it is necessary to put the top again, only now without touching the rhinestones, otherwise they will no longer shine. The “broken glass” technique is nothing other than gluing a special nail film with a different effect onto a painted nail. It is cut into pieces, then glued to the base or top layer and sealed with a finish with mandatory drying in the lamp. Often, before cutting the film, the dispersion layer is removed from it. This decor is used only for accents, since it will look too simple on all nails.
Possible mistakes
If you break the basics of technology and make up your nails, losing its important points, it will affect the final result. It is worth noting the short common mistakes that occur in beginners.
- One of them is the insufficient power of the lamp and, as a result, incomplete drying of the applied layers of various materials. In this case, the coating is cleaved from the nail very quickly, and it can immediately slide off with a thick film.
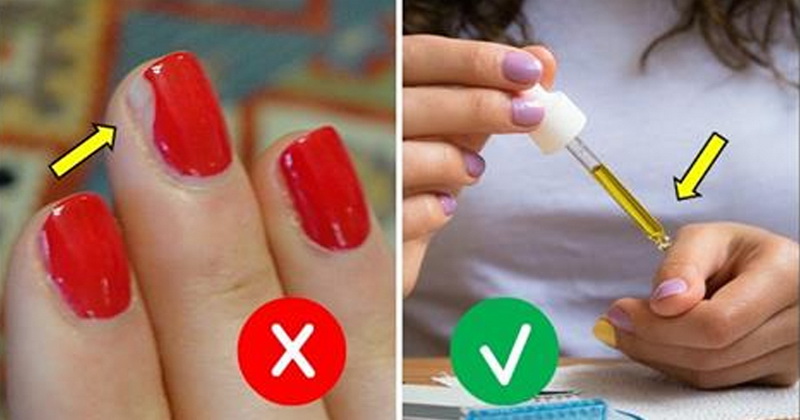
- Sometimes novices do not consider it necessary to use one of the essential components of the puff technology. Removing the base or not using a primer, you can not hope that the coating will be durable. The same can be said about such an important point as the removal of residual stickiness. If you do not remove the dispersion layer, this also leads to rapid detachment of the applied coating.
- Often the problem is in non-compliance with the rules of care for the finished manicure. To keep the coating on the nails for a long time without the need for correction, you need to follow a number of recommendations that are usually given by professional masters at the end of a manicure session. Neglecting these rules, we reduce the wear of the material and create all the conditions for its early peeling. But at the first chipped wine is often transferred to the poor quality of the used hybrid coatings.
- There are cases when beginners begin to engage in correction of the coating after drying in the lamp. However, in any attempt to correct any defect, they are faced with the problem of breaking off a piece from the base layer. They do not manage to correct such a defect flawlessly, and I often don’t want to redo it because of the long time due to the drying of each layer. However, the problem remains: painting does not save the situation, because with the chipping of a piece, an air pocket is also formed.
Tips
To gel polish for a long time kept on the nails You should pay attention to the following simple recommendations of the nail industry specialists:
- a manicure is not done when a woman has critical days or at the time of taking antibiotics; it is useless, because the varnish will not hold fast;
- in the presence of serious diseases (diabetes, kidney disease, endocrine system) gel varnish is replaced by gel;
- hands before manicure try not to steam out, because excessive wateriness reduces the percentage of gel polish and especially the base;
- they use high-quality files in their work, and also try to purchase materials from the same manufacturer (base, top and pigments);
- to make up the nail without bald spots and streaks, try to pick up a lacquer with dense pigmentation;
- drawings perform varnishes, diluting them with a top; dense and viscous compositions in this case will leave steps between the print and the background;
- in order to prevent the lacquering of the varnish on the skin around the nail, a little varnish is collected on the brush, the excess is removed, you do not forget to create a glare;
- if during the work you need to use the sliders, try to ensure that there is no water on their front side, this reduces the grip on the top;
- all layers need to be dried in the base, you cannot overdry them, as this can cause the coating to crack;
- it is impossible to apply a varnish on the cracked covering, it all the same will slip; if cracks are noticed after drying, remove all layers and apply them with a new one;
- Lacquer must be stored in a dark place (it is kept better), and in the process of manicure it is impossible to keep it near the lamp;
- on the first day after the manicure, you should try to avoid contact with water and especially steaming hands.
On how to make a manicure gel varnish at home, see the following video.


