Modern coatings for manicure have a number of features. One of them is the necessary preparation of nail plates before applying them, on which the durability of the coating and its quality directly depend. To learn how to prepare the nails for applying gel polish, read in detail below.
Necessary tools and materials
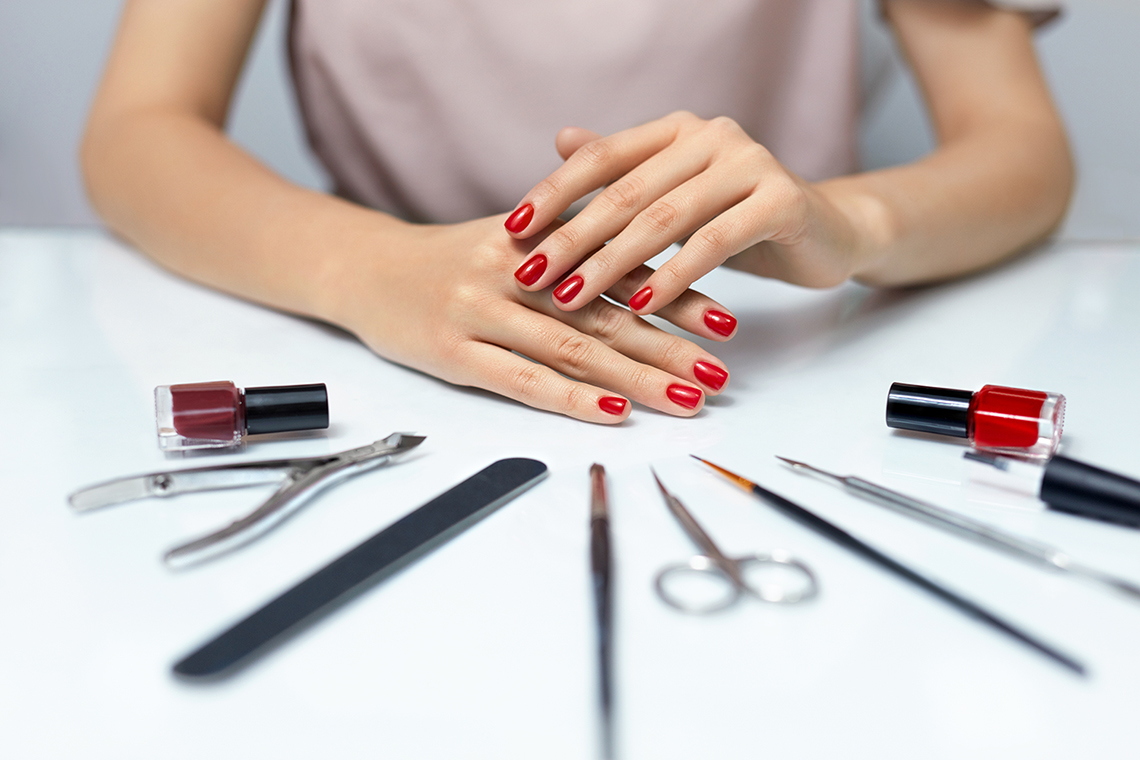
Preparation of nails for staining with gel polish may require different tools. For example, it can be a fraser or a regular basic set for home (manual) manicure. The simplest version of the implementation will need a cobbler (special tweezers), nail scissors, a pusher with a spatula and an orange stick. In addition, you will need a file and a soft polisher.
Since the work can not do without dust, you will need a brush to remove sawdust. In addition, you will need to prepare napkins for manicure, dehydrator, primer and strengthener (if necessary). It is impossible not to take into account the need for a bath for the fingers, it is also worth preparing a means for removing the cuticle and special oil.
Step-by-step instruction
Preparing nails for gel polish is not as difficult as it may seem at first glance. However, when it is carried out, it is necessary to perform each stage qualitatively, otherwise the coating will not be beautiful and durable. Consider step by step the basic stages of working with the nail plate, moving from one to another.
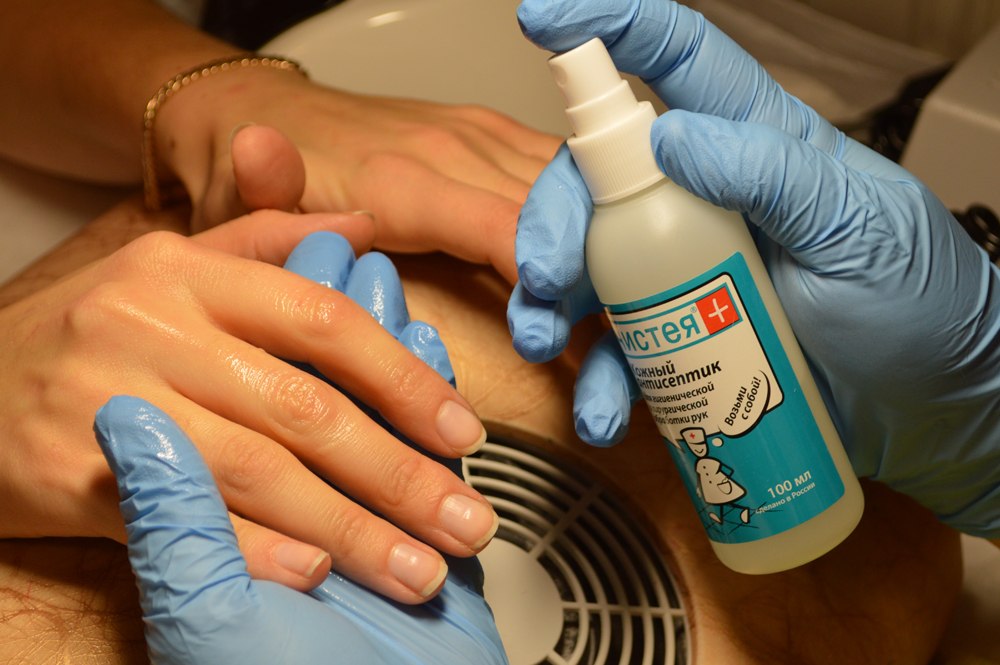
Hand processing
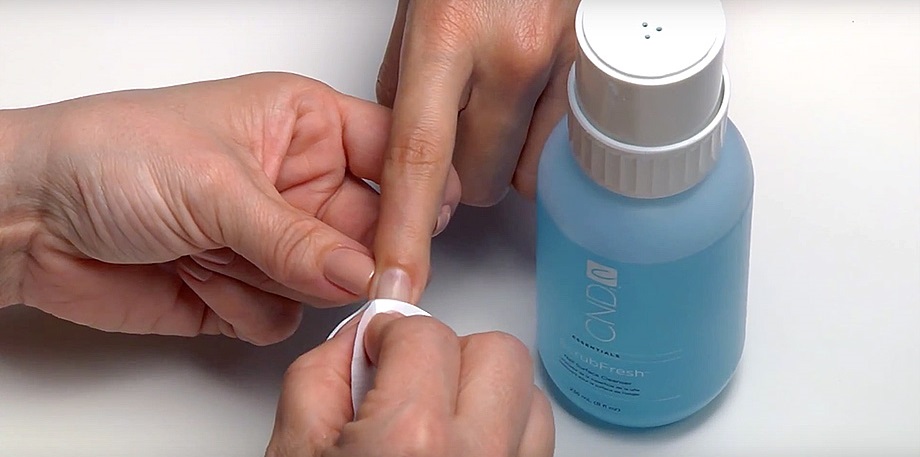
First you need to treat marigold antiseptic. It is important not to fill the plates themselves with them, because any antiseptic has a moisturizing effect. If the funds will be on the nails a lot, it can weaken the adhesion of the nail plate with all applied layers of varnish products. After processing, proceed to the hygienic manicure.
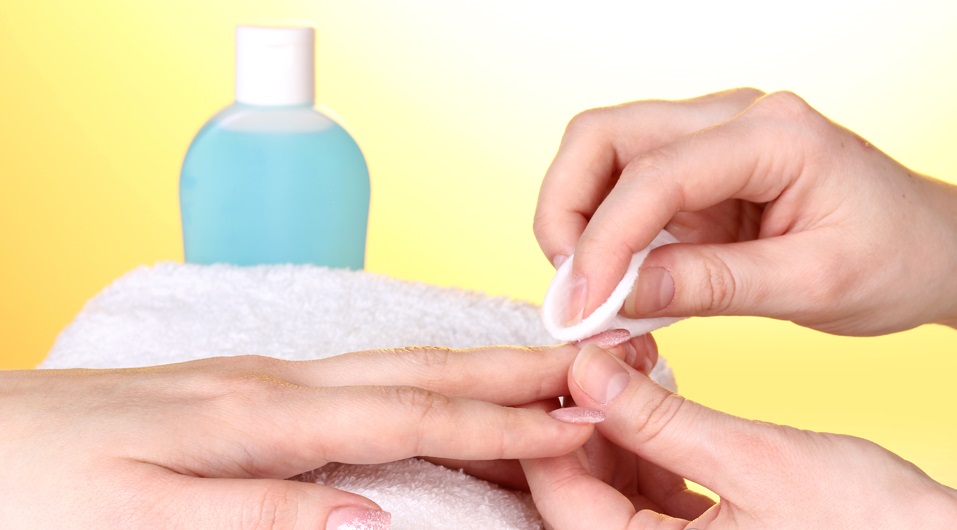
Remove old cover
Remove the old coating, soaking it with napkins moistened with gel polish remover. After that, a layer of old lacquer is hooked with an orange stick and removed. With a hardware manicure, the old coating is disposed of by means of a milling cutter, and therefore, in this case, no gel polish remover is needed for removing nail polish.
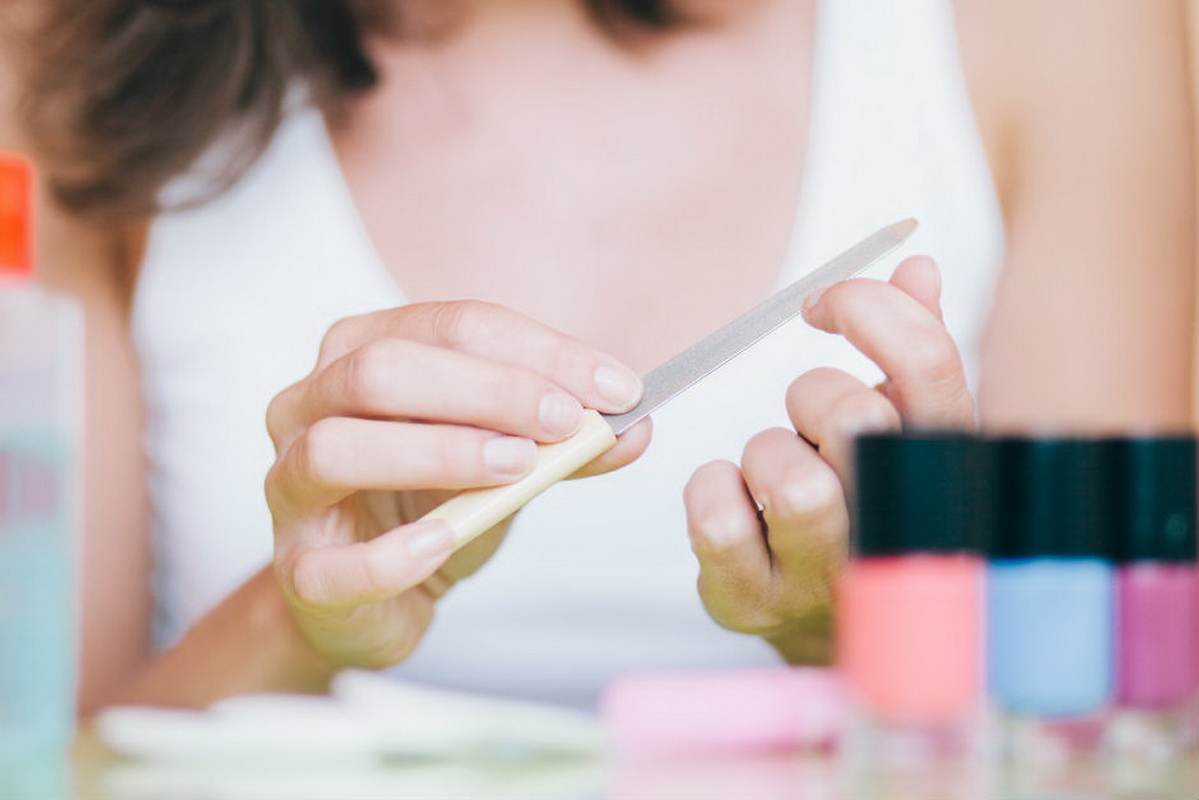
Shaping
Equate the edge of the nails, trying to make it the same on all ten fingers. At the same time, the file is driven in one direction, which reduces the risk of the formation of gel polish detachments.
The file needs to be matted: it has a smaller particle size, and therefore they will not injure the plate and the skin around it. At the same time try to use a new or working file.
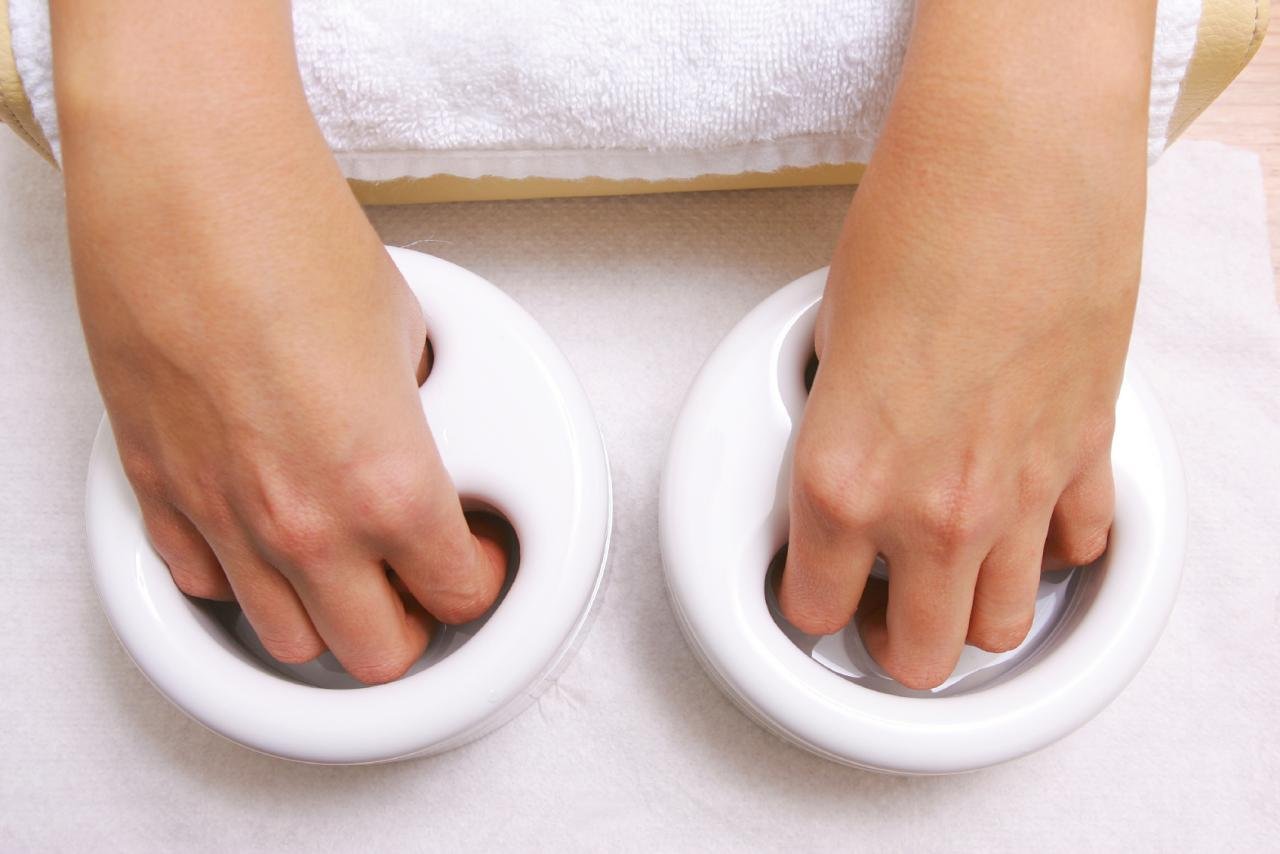
Skin preparation
First, a transparent cuticle remover is applied to the skin around the nail bed. When it is applied to all fingers of the hand, they can be dipped in warm water for maceration and softening. The composition of the tool will further facilitate the process of cleansing pterigia and remove the cuticle painlessly. For softening is usually enough for 5 minutes at a temperature of 30-40 degrees. After the time the fingers are removed from the water and wipe dry.
Scrubbing
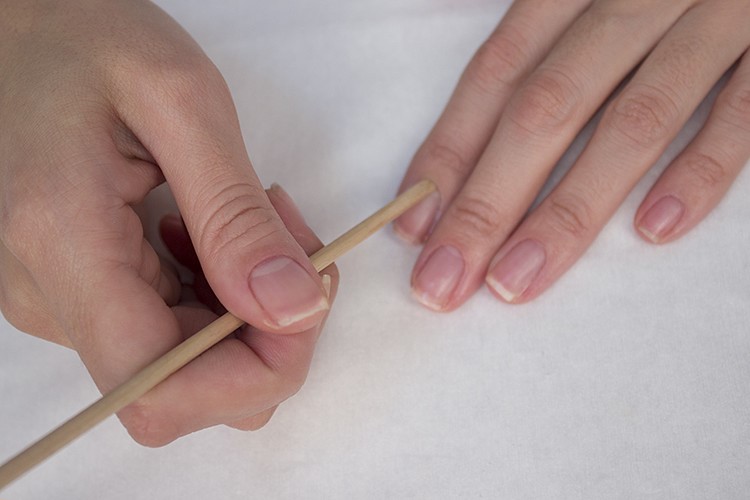
Taking a pusher in their hands, gently pushing the cuticle, lift it, turning it up. This should be done in order to make it easier to further cut off all unnecessary. After working with pusher, they take scissors or scissors and cut off what they cleaned on the side rollers and at the base of the nail.
Keep the tool at one angle so that the cutting line does not turn out intermittent, because this is what causes the lacquer to flow over the cuticle and the formation of burrs. After the cuticle has been cut, an orange stick is passed around the nail bed, checking if all the pterygium has been cleaned. All that would be superfluous, cut with scissors or tweezers, oil is applied to the skin.

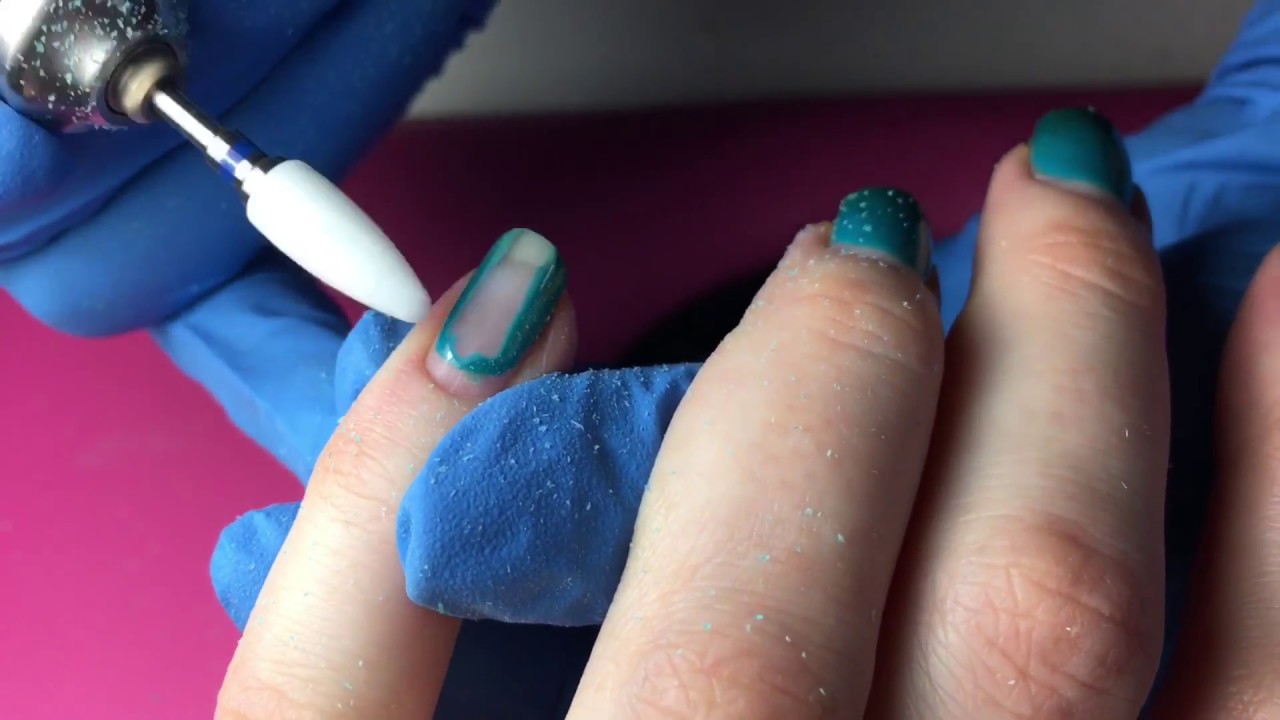
Grinding
The nail plate has a natural gloss. When working with gel polish, it has to be removed, which undoubtedly injures the plate and makes it thinner. Therefore, the gloss need to be removed with a buff, going through it in the same place no more than three times with delicate movements. It is important to get to all edges of the nail, removing the protective film. Skipping even a small area can cause gel polish detachment.
Degreasing and strengthening
After the gloss is removed, the remnants of sawdust removed with a special brush. After that, the dehydrator is passed along the surface of the marigold. It will degrease the surface, increasing the chances of the strength of the nail adhesion with the gel polish.
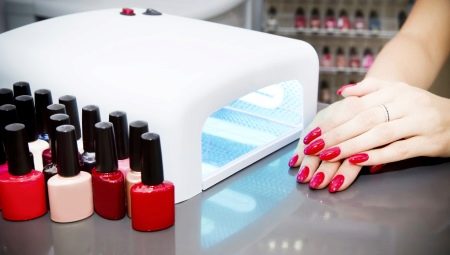
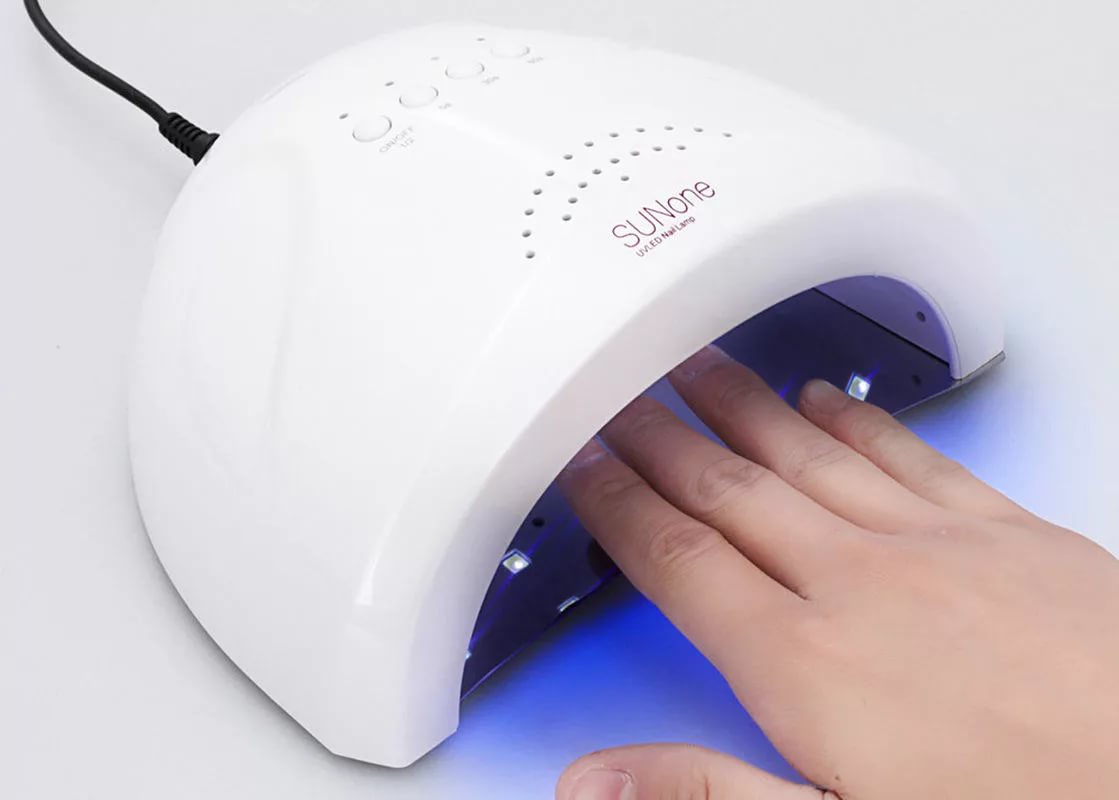
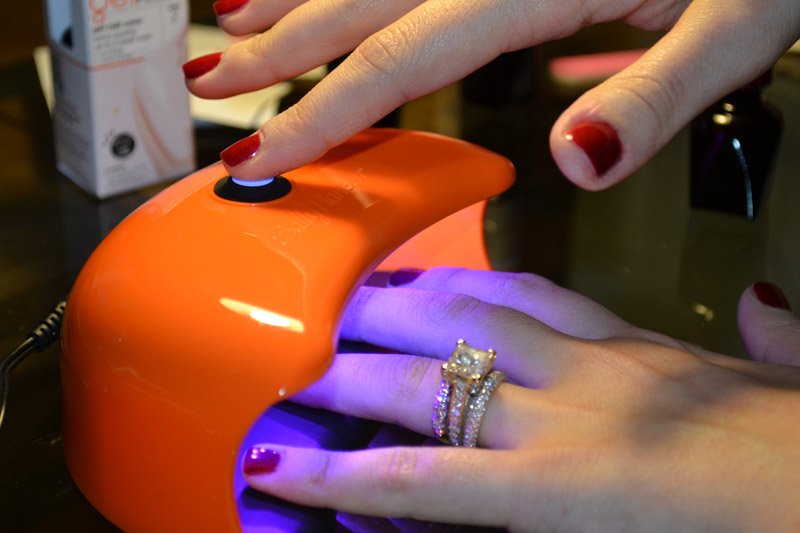
To properly prepare the nails for the application of the basic composition, it is often necessary to strengthen them. To do this, use reinforcing transparent material, which slightly thickens the plate. If necessary, also perform the alignment using a special tool. Both that and other type of material need to be dried in a UV or LED lamp. The polymerization time will depend on the type of agent used and the variety of the dryer itself.
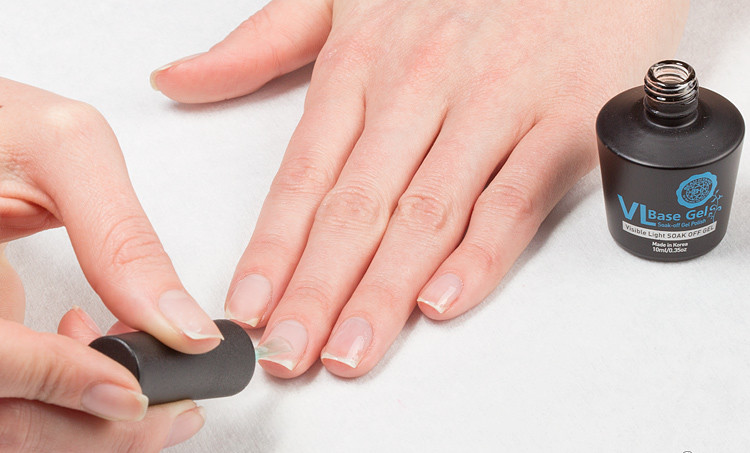
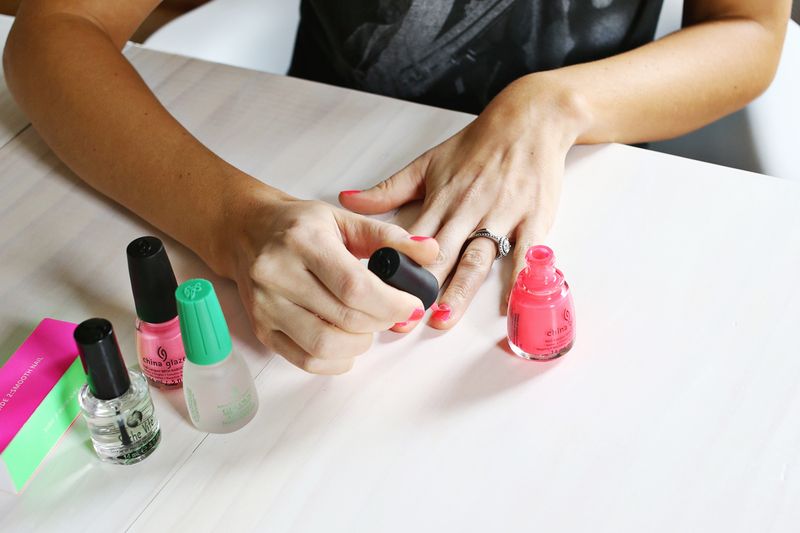
The process of applying the base
No gel polish is applied on the prepared nail without first applying the base material. It can be transparent or white, put it in a thin layer so that it does not numb beyond the limits of the nail. They also immediately create glare, which is important for high-quality manicure. When applying the base, they pass over the butt of the nail, leaving a very thin layer of product on it. The base is dried in the lamp.
Pigment and top
Now you can paint the nails gel polish. It is applied in a thin layer, followed by drying in the lamp and sealing the end of the nail. With good pigmentation, one coat may be sufficient. Once the pigment is dried, you can draw on it, stamp patterns, glue stickers. Next, the design is sealed with a layer of top and perform the final drying.
If a top with a sticky layer was used in the work, 30 seconds after drying with a nail polish remover, remove the residual stickiness.
For all the secrets of preparing to apply gel polish, see the video below.


