Manicure with a bow - design ideas and tips for creating decor

Every girl wants to look beautiful, stylish and unusual. Manicure also helps with this task. Perhaps the best option in this case is to use a bow - this is one of the simplest and most original ways to design nails. His appearance is quite spectacular and attractive.

Ideas
It is difficult to imagine now a woman or girl without a beautiful manicure. Due to the active development of the beauty industry, each woman can afford many pleasant procedures. In the modern world there are many ideas and means to make women's hands look just perfect. Choosing a design, you should think about what event it will take. Experts advise to pay attention to the design of a manicure with a bow element.
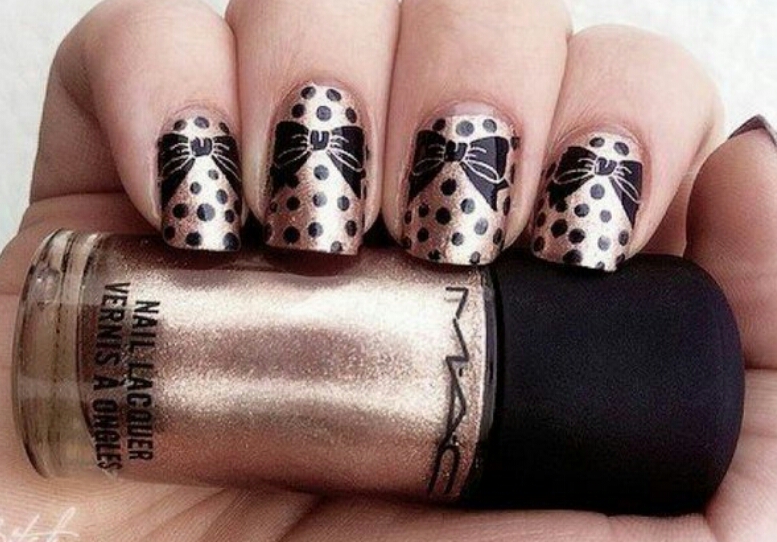
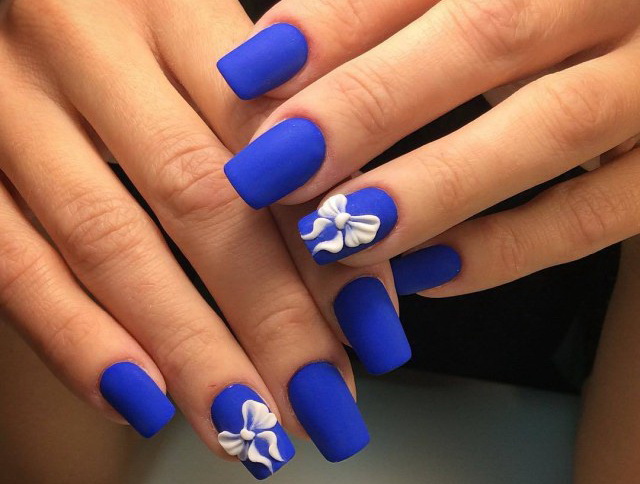
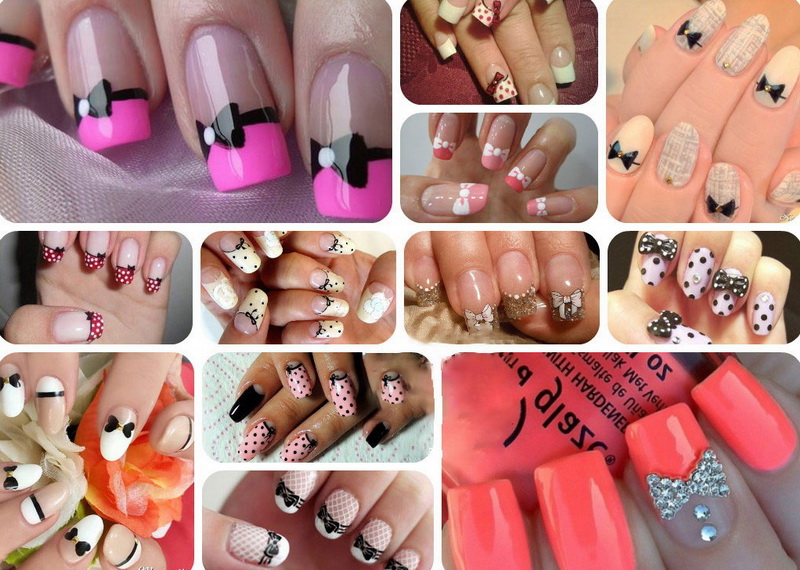
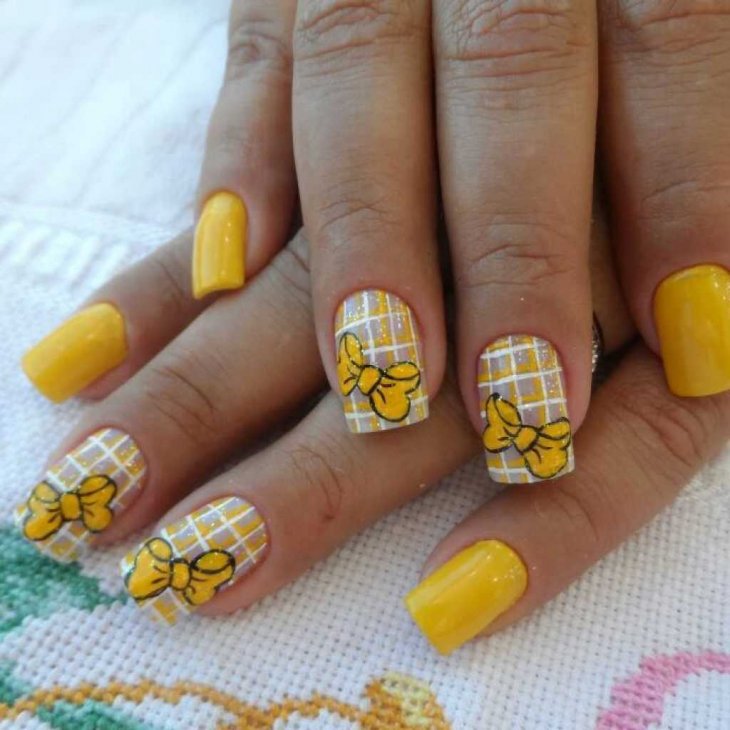
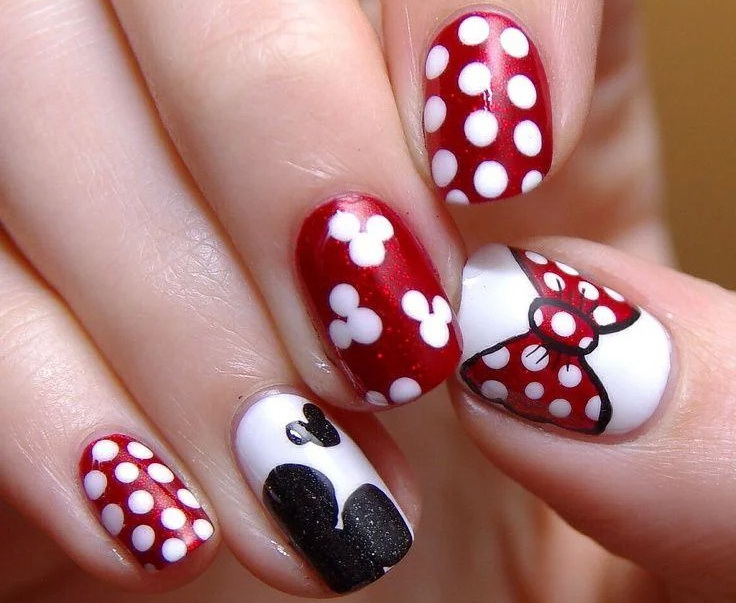
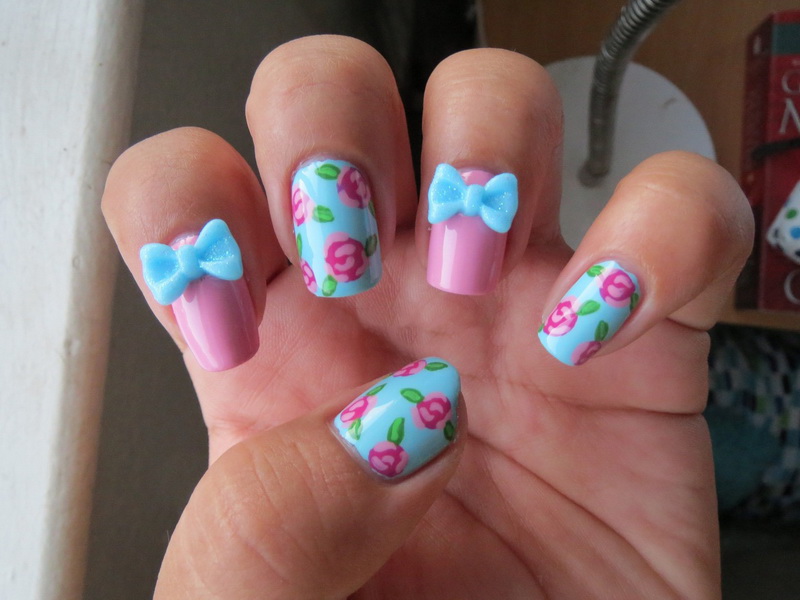
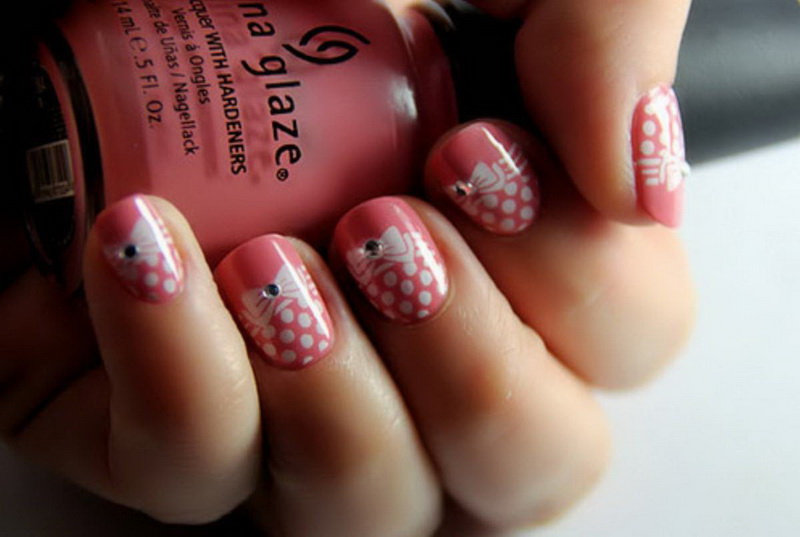
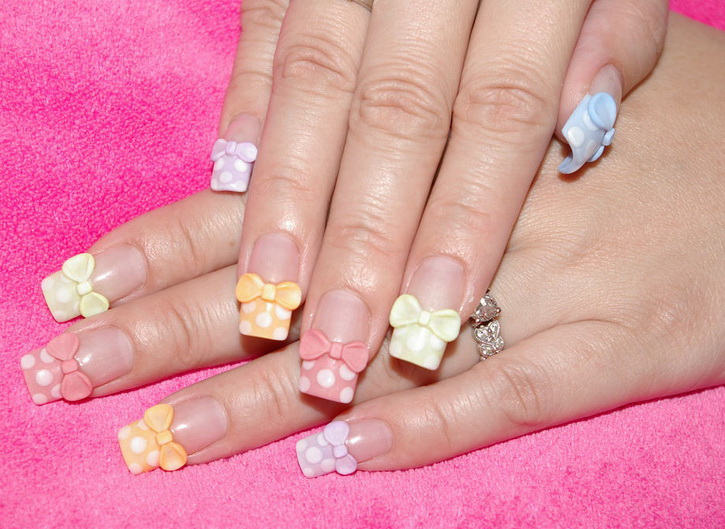
The bow in manicure will certainly create a zest. The bow is an element of celebration. He creates a special mood of his owner. It is light and airy in shape. The bow can be bright and catchy, as well as calm and neutral, small or large, can be placed on all nails or only on any part of the nail.
Color preferences also have many variations: from the calmest pastels to bright, rich, varied. The color palette is so saturated that it is sometimes difficult to decide what color is needed in a particular case. It can also be decorated in different ways, for example, in a simple form, or you can take a flat and sometimes voluminous version. A manicure with a bow pattern is distinguished by its versatility, practicality, and unusualness.
It can be created in various forms:
- in the form of a drawing along the entire length or on a separate part of the nail, on all the nails or on several of them;
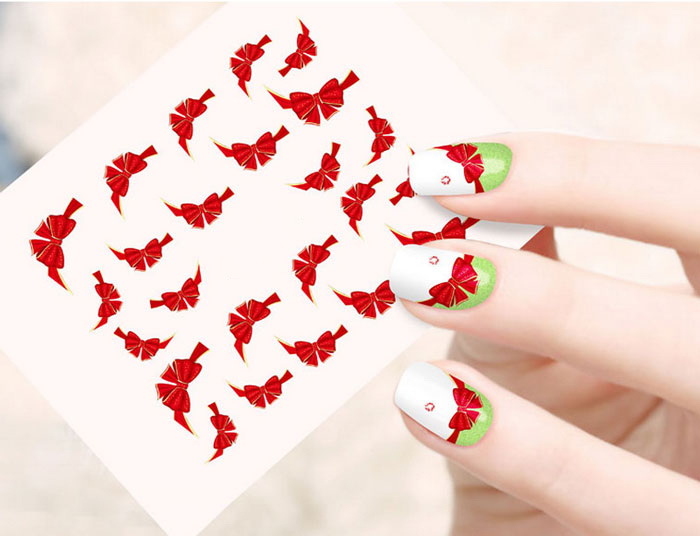
- in the form of stickers that are drawn directly on the nail plate (along the entire length or only on some separate part of it);
- made using various stencils of various forms.
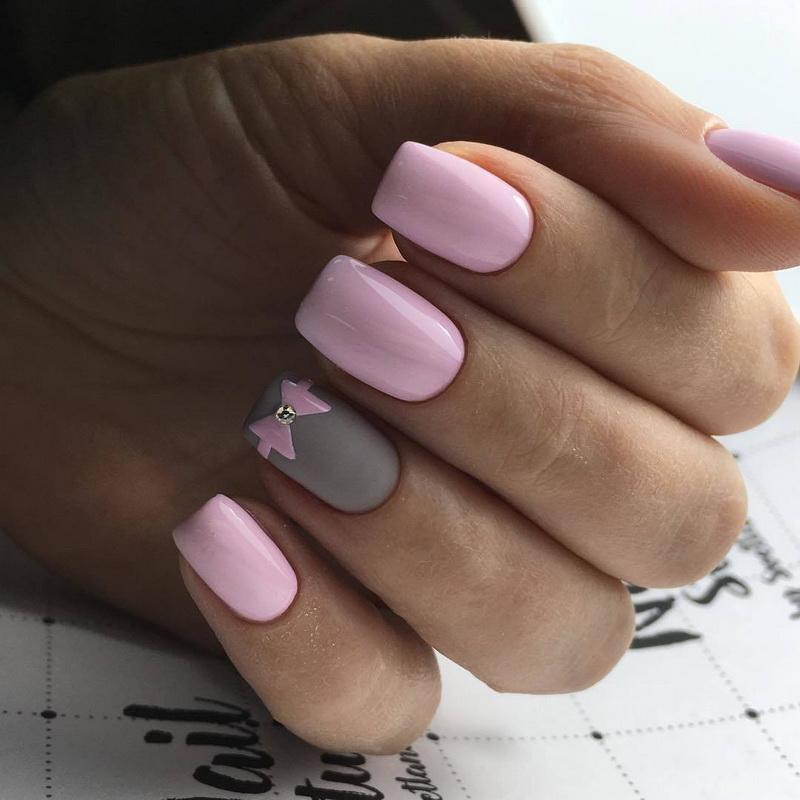
It is believed that such a design is suitable only for young representatives of the fair sex. But this is not quite true: based on practice, it is often the ladies who order the bows at the age and, as a rule, in soft and pastel colors.
The advantages of the bow in manicure:
- the bow will certainly underline and give femininity to the created image;
- easy to implement - to create it does not need a lot of time and materials;
- looks harmonious on any nails - with any length and shape, and also complements any designs well;
- to create it at home, only the thinnest brush is enough;
- suitable for a holiday, and for everyday life.
The disadvantages of the bow in nail design:
- the presence of bows can harm, creating an image of frivolity;
- To create at home, you need certain skills for the clarity and evenness of the figures performed.
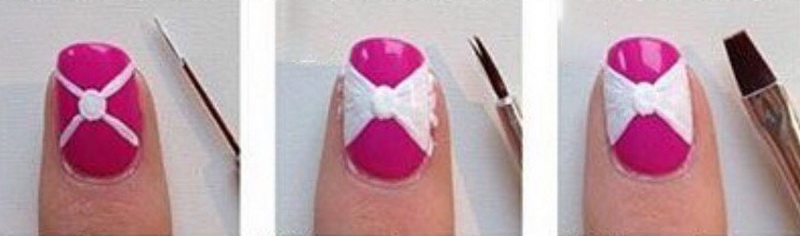
Creating a bow
It is important to determine the location where the drawing will be located. With the help of special tools - dots or toothpicks - you need to put a dot in the middle. From it you must draw the same size and shape of the triangles.
In this case, you can use both paint and varnish. The edges should be rounded and then painted over the triangles. From the edges you need to draw a small form of ribbon.
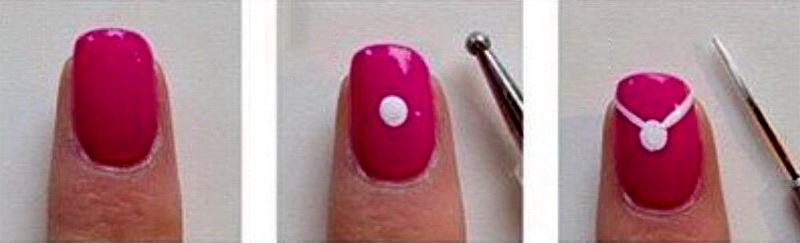
The middle of the picture (optional) should be made fatter or left as it is.From above it is necessary to cover the image with a protective coating, thereby prolonging the life of the design solution. Also when creating a bow are used and gels.
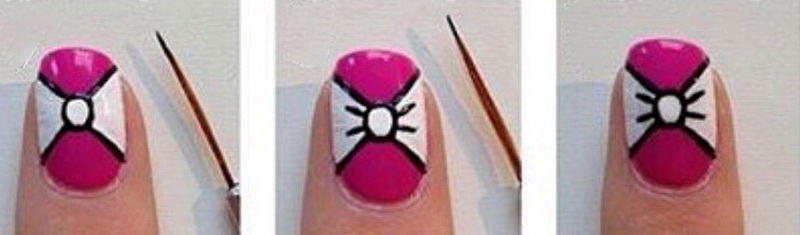
Then you need to choose a color palette to create a design. After that, it is necessary to process the nail and apply a gel of the primary color on it. Then we well dry the gel in the lamp and make sure that it does not spread during drawing.
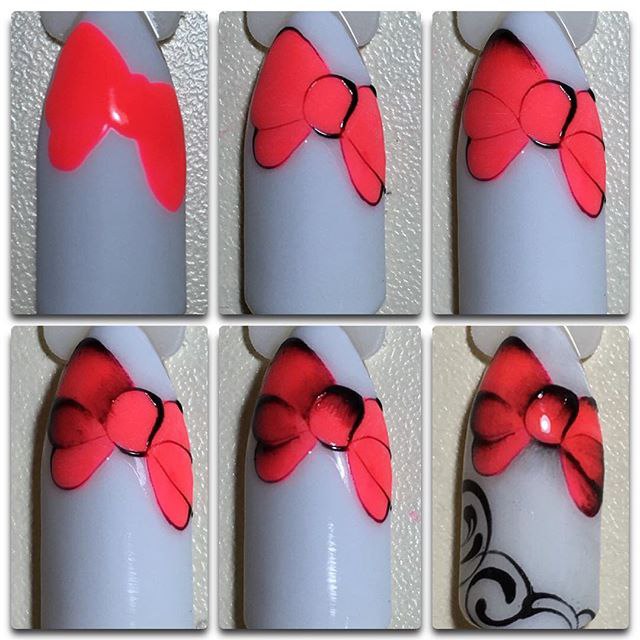
After that, you need to start creating a picture. Print the lines, fill the voids with the selected color. It is better to draw the lines in several stages: first thin, then draw again. Inside the bow can be filled with dots or made in one color. To transform the image of the pattern, you can add sparkles or rhinestones.
Optimal shape
Quite often, the bow is used on short nails, because it looks quite natural and simple to them. If you do not overload the nail, it will create the correct effect of the picture. Overly long nails design looks less impressive: you lose the feeling of lightness and simplicity of the picture. The most acceptable option is the natural length of the nail. The shape can be both oval and square.
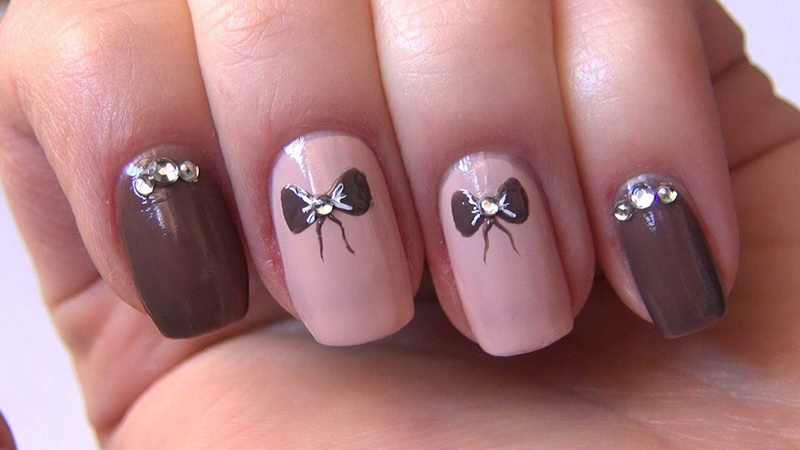
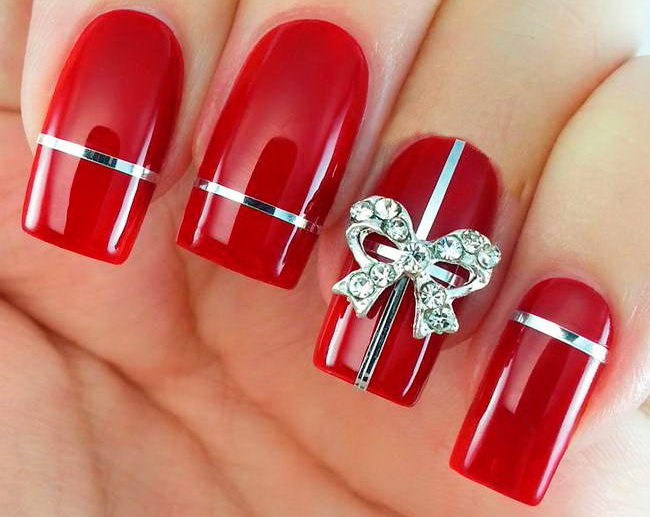
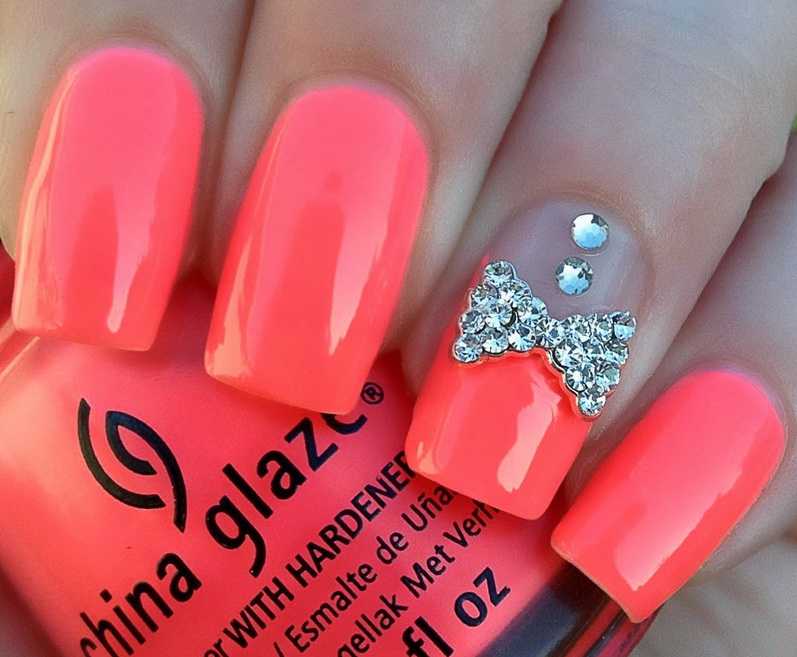
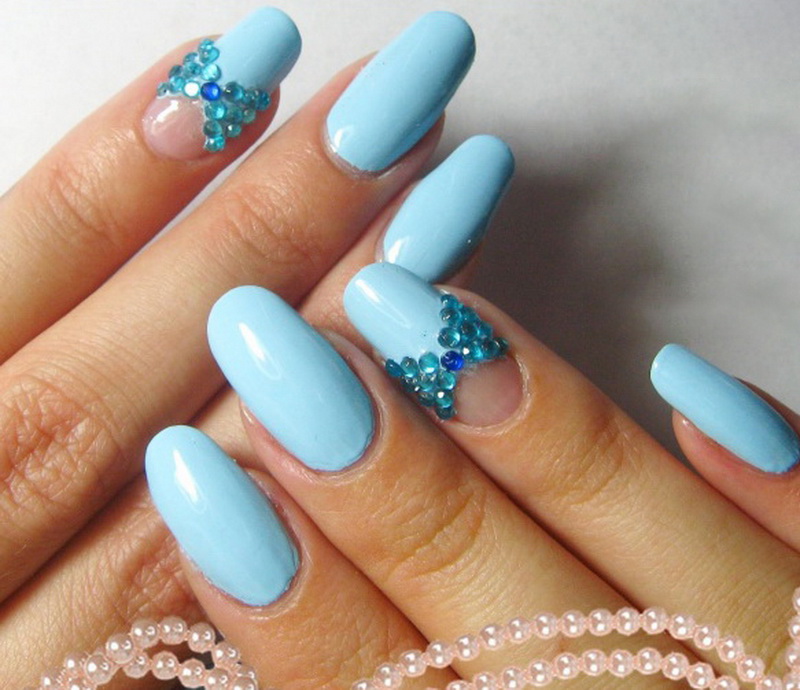
Well combined with a bow pattern. Often perform a similar design with rhinestones, which are laid out in the form of a bow. This implementation is very original and unusual, although there are exceptions, when on long nails the design will look decent and impressive. For volumetric elements of manicure you need enough space.
How to make the right design with a bow?
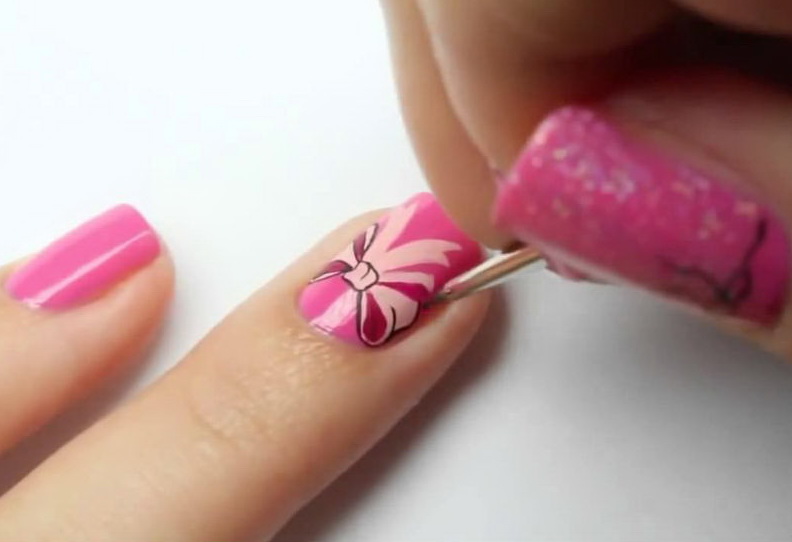
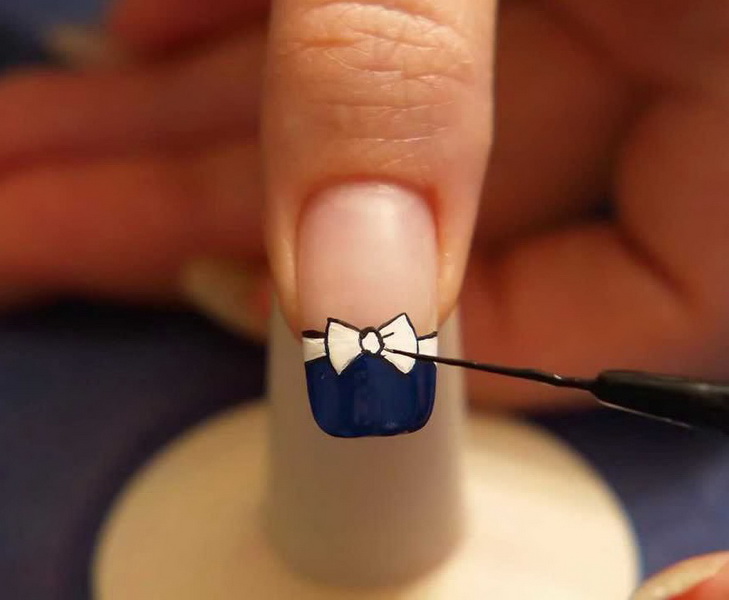
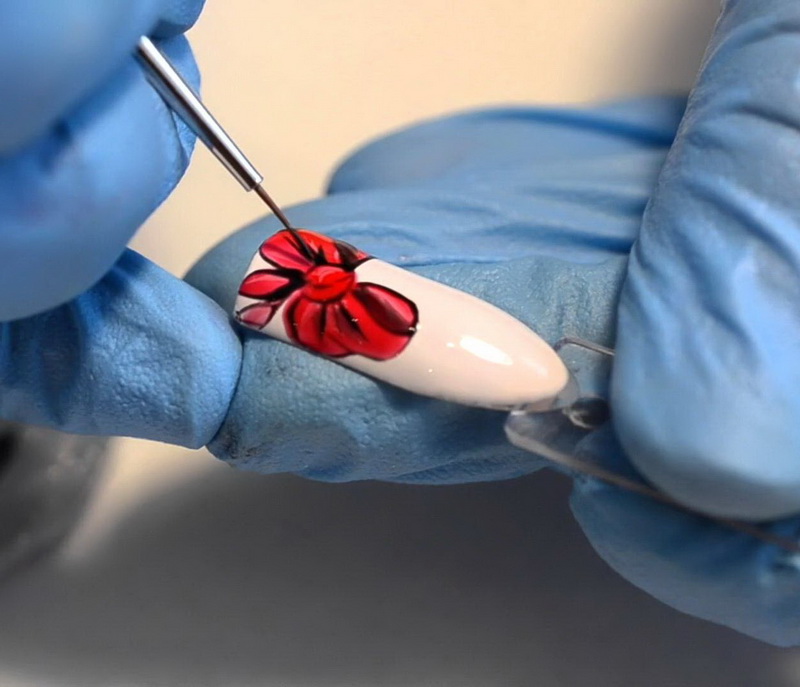
Probably the easiest way to make a bow is hand painting with a thin brush or felt-tip pen. The technique is performed fairly quickly, if we are talking about simple forms of the bow. If this is a voluminous option, then it becomes more complicated, and it is better to entrust the implementation of this technique to a professional.
Acceptable implementation of this design in different versions: monophonic, lush, with the drawing of small parts. It is very important to choose the right tone, complementing the pattern with lines, peas, curls. Of course, in the latter case, it is better if the professional again performs this technique. Bows look good in other designs, as well as on extended nails.
Novice masters usually use stickers. This is perhaps an even simpler version of the implementation of such a technique. The quality result obtained is not at all different, but somewhere it even goes along with more complex techniques. Stamping when creating bows is also in demand. It helps to quickly and accurately position the pattern in the part of the nail where it is necessary and justified by the design.
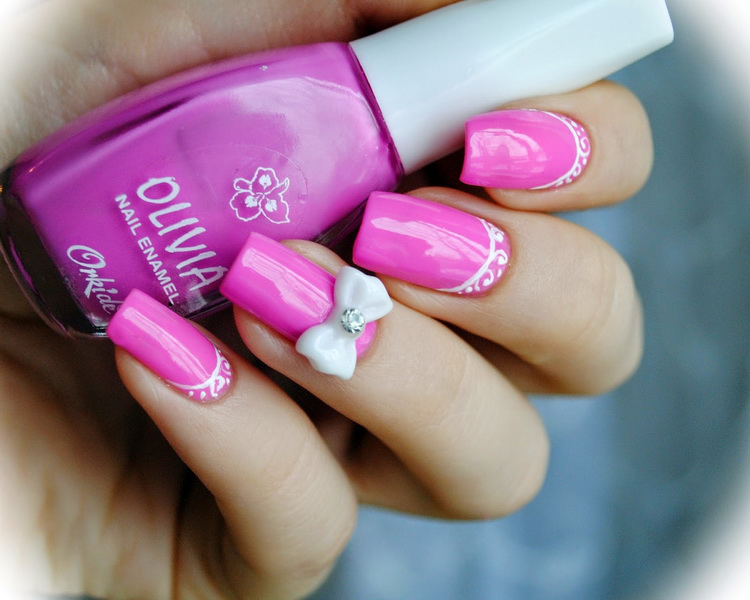
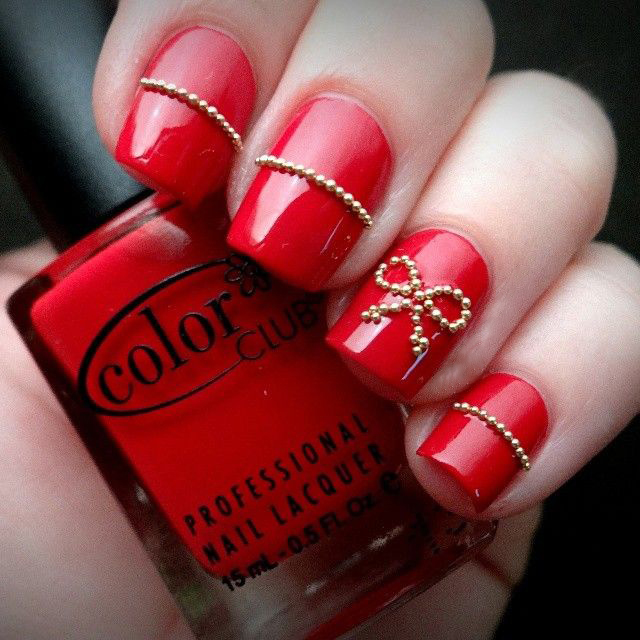
Another option to create a beautiful manicure with bow elements is the use of rhinestones and bouillons. It is preferable to do it on a gel polish coating, since on ordinary nails the service life of this technique will be much less.
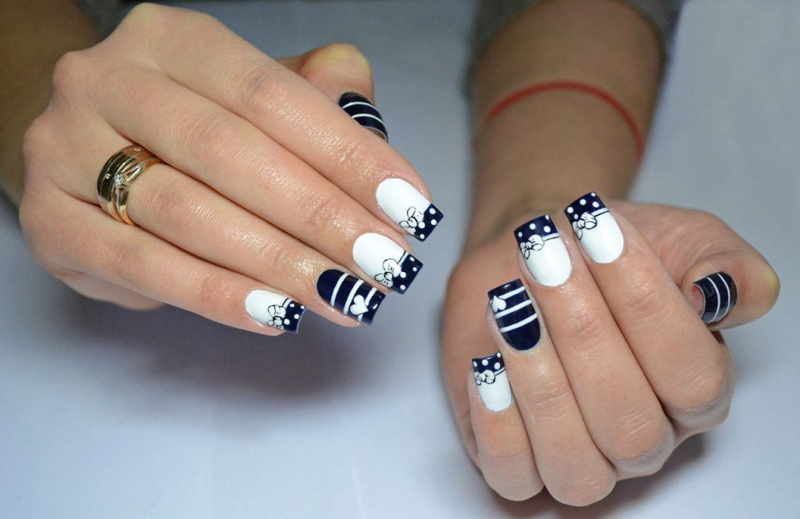
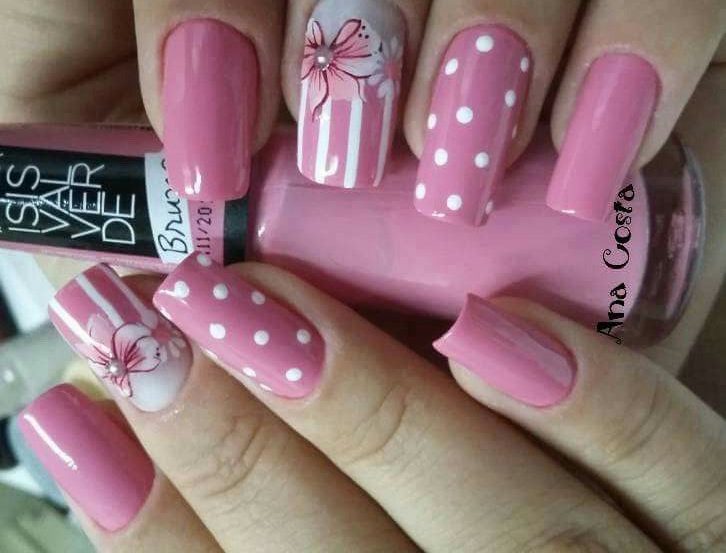
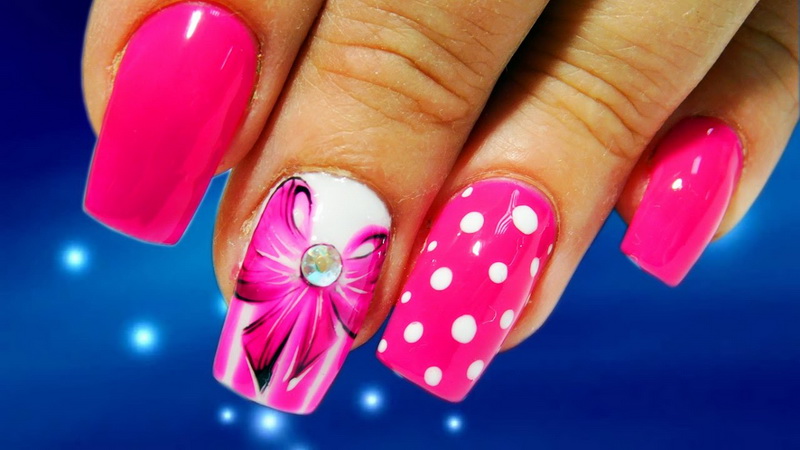
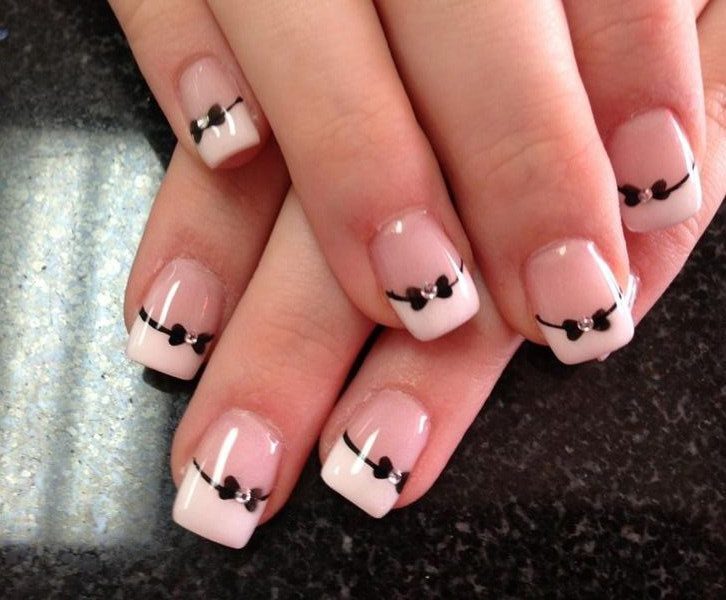
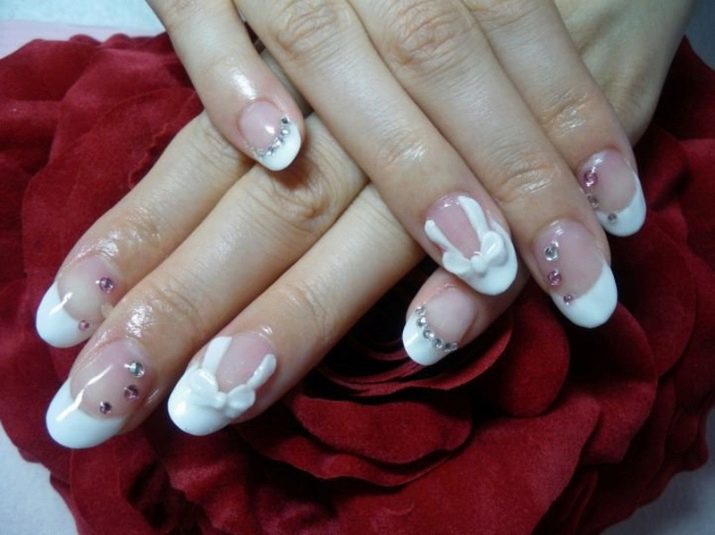
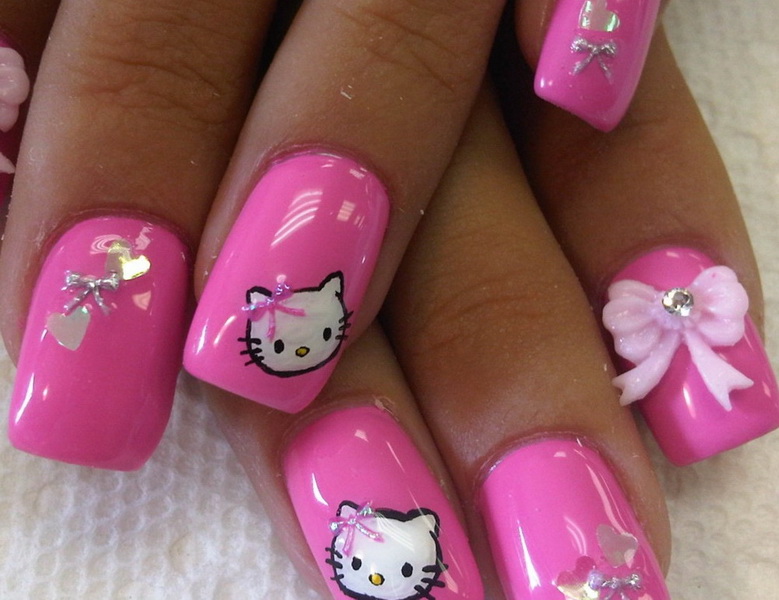
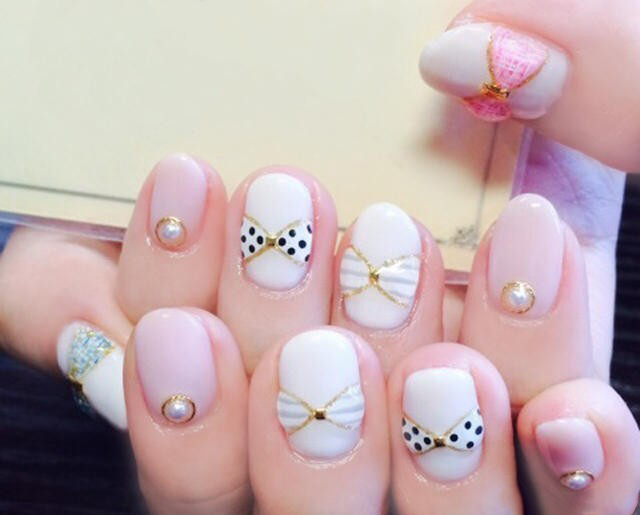
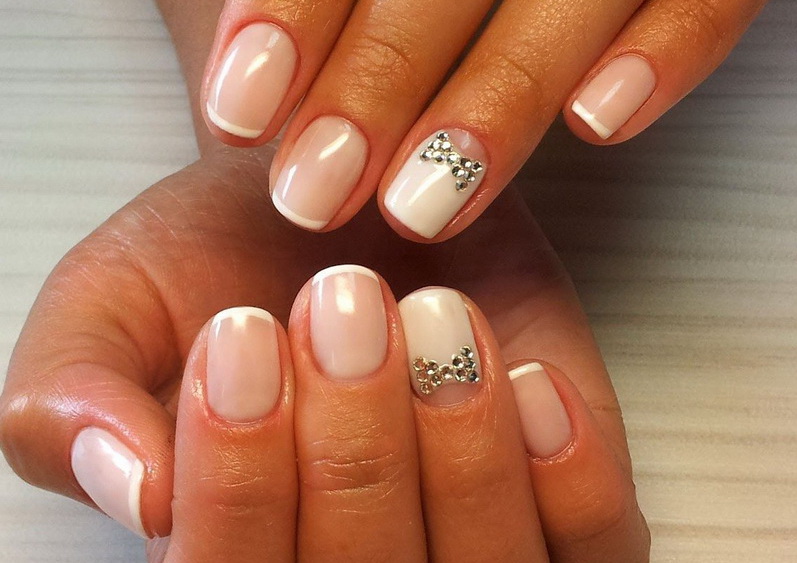
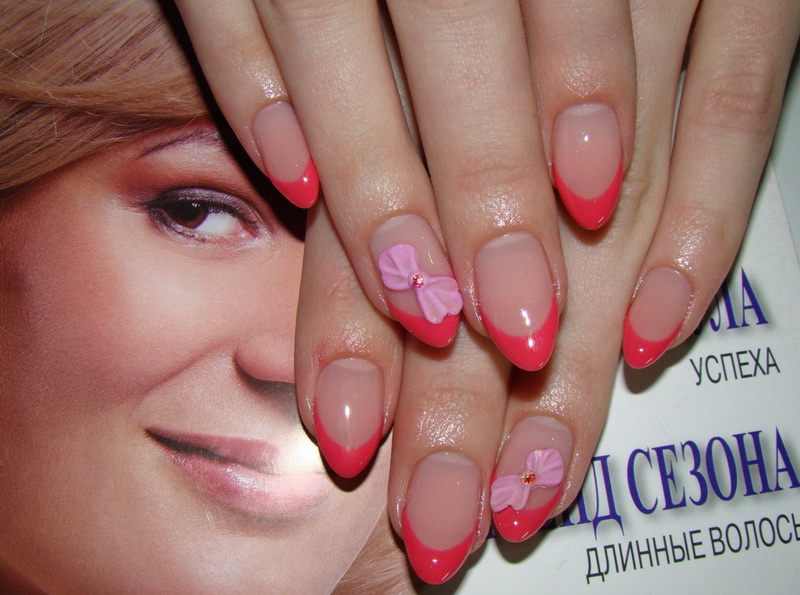
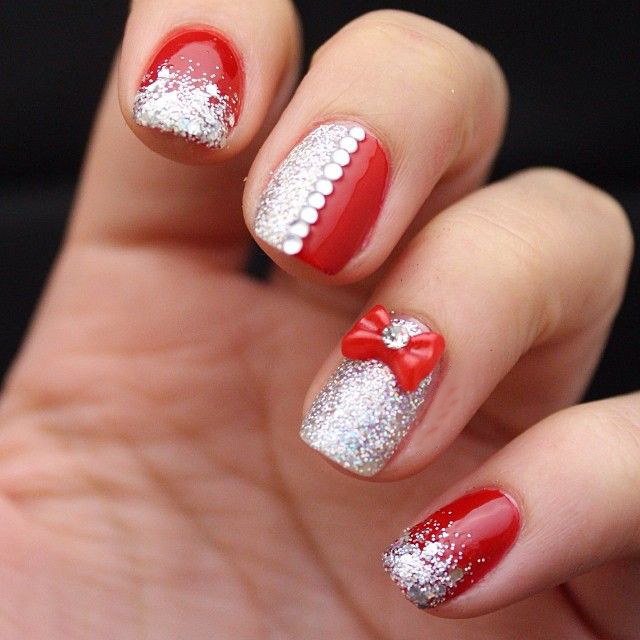
Options for creating a design. In order to create a real masterpiece on your nails, you need to use delicate colors in the design with the addition of white and pink hues. This can be a French manicure or a solid color, but with the addition of a bow pattern.
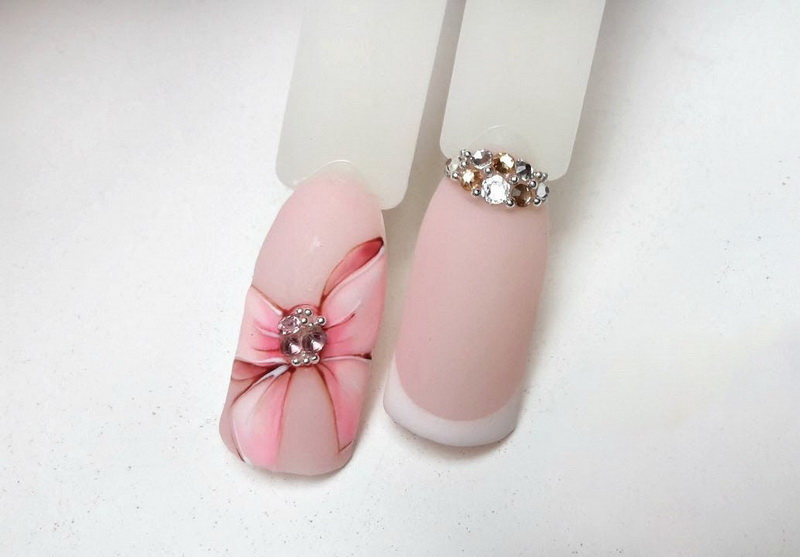
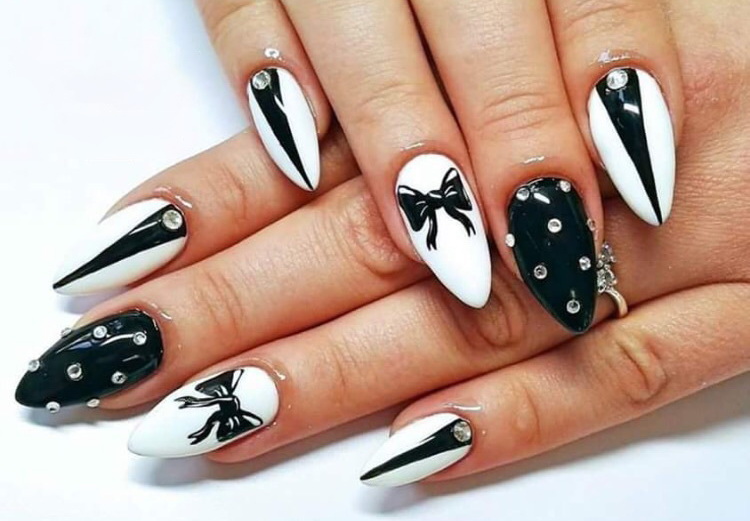
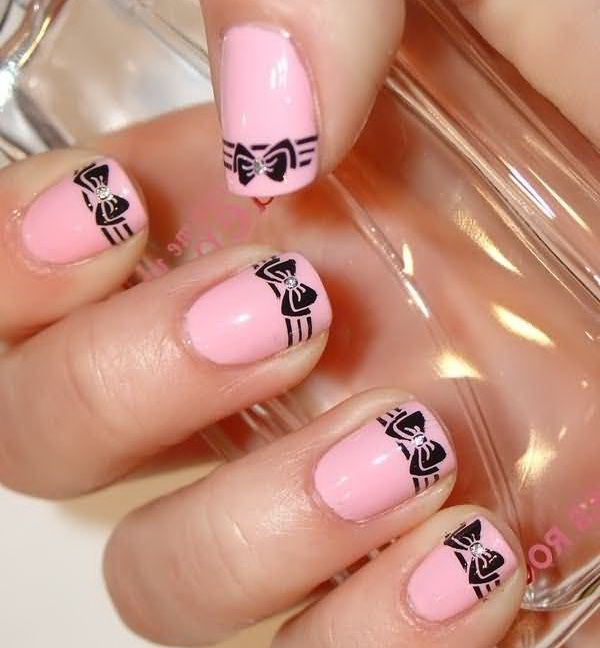
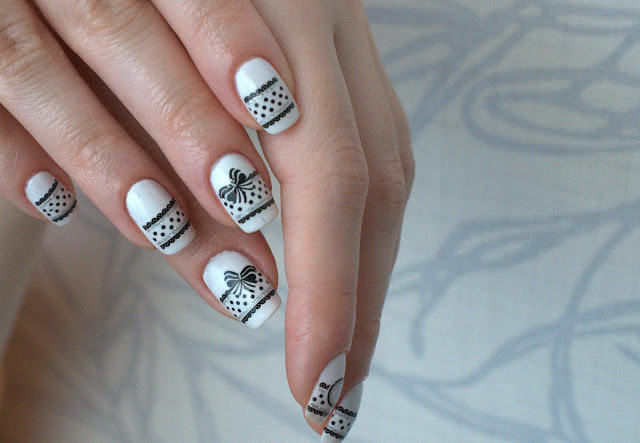
When creating a festive or evening version, shades with sparkles will do. They will look beneficial variants of the bow in white or black, with volume drawing or in a simple version.
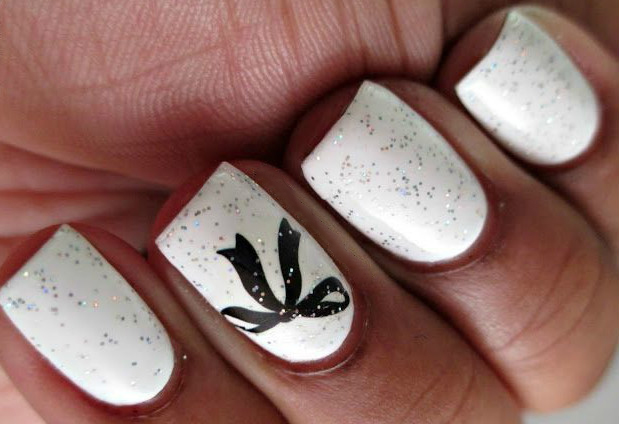
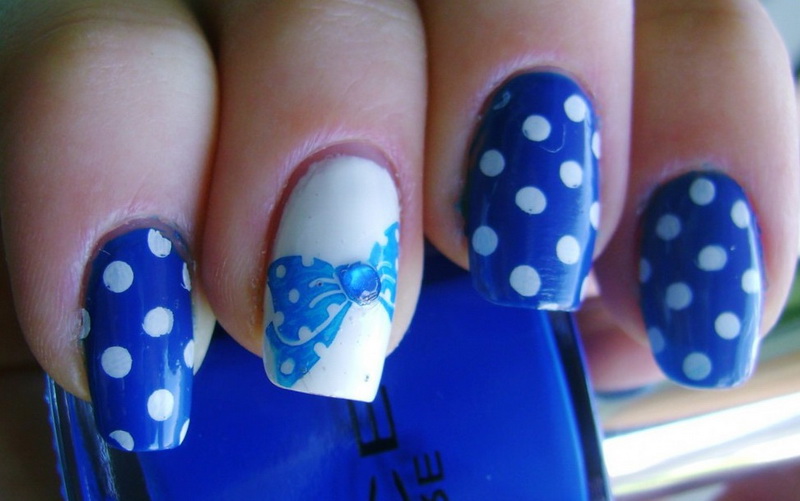
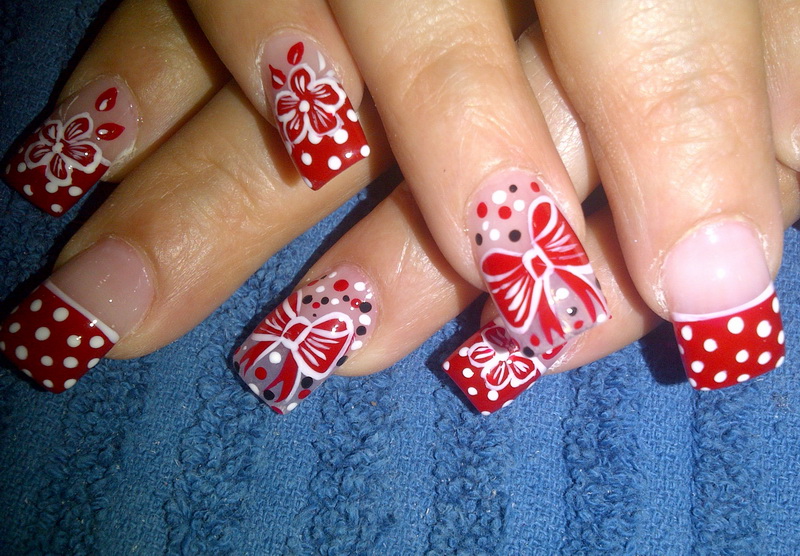
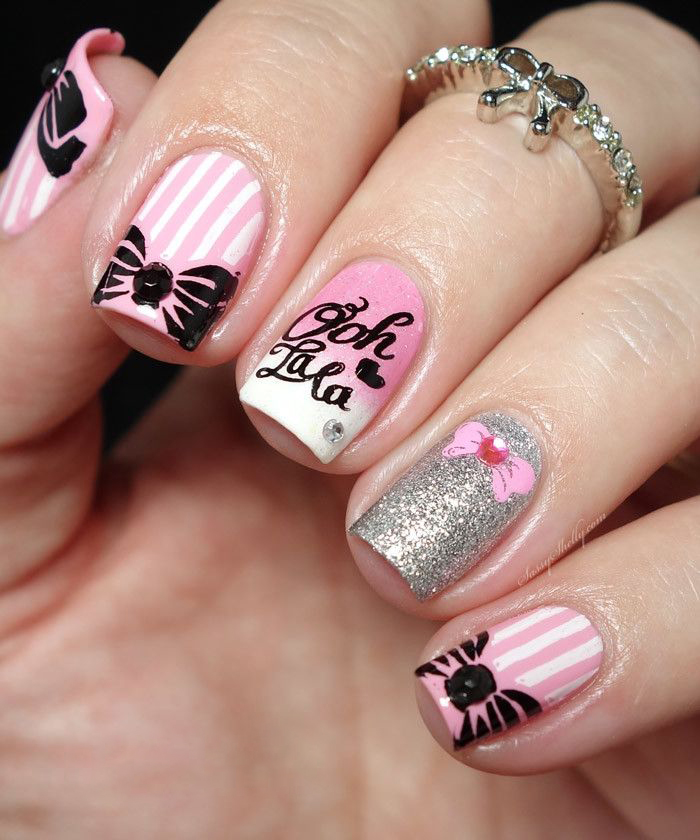
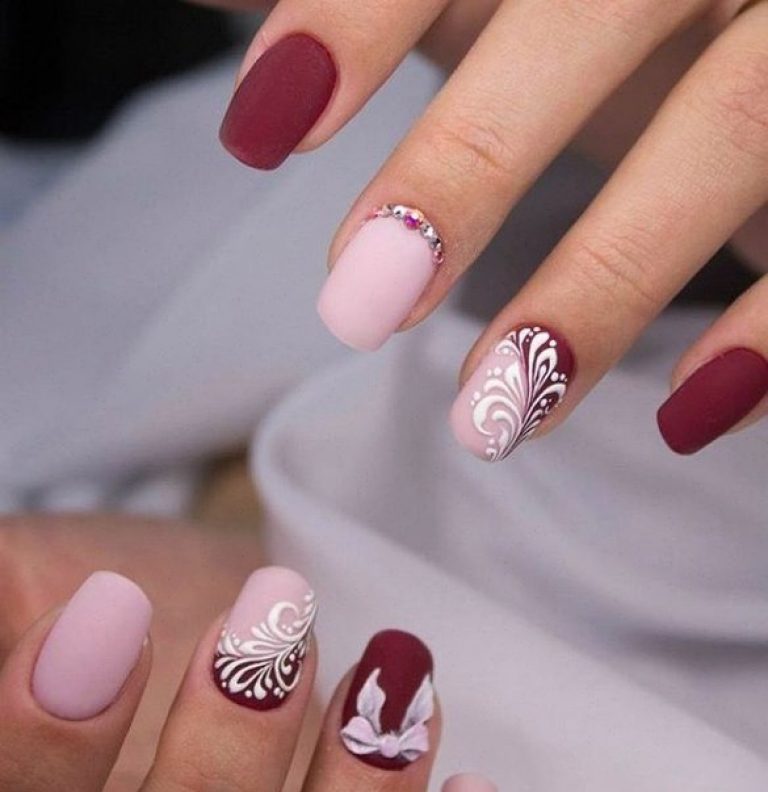
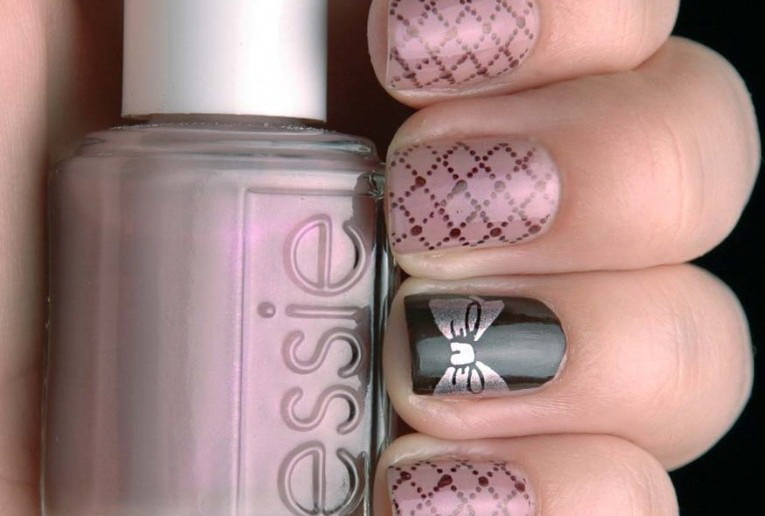
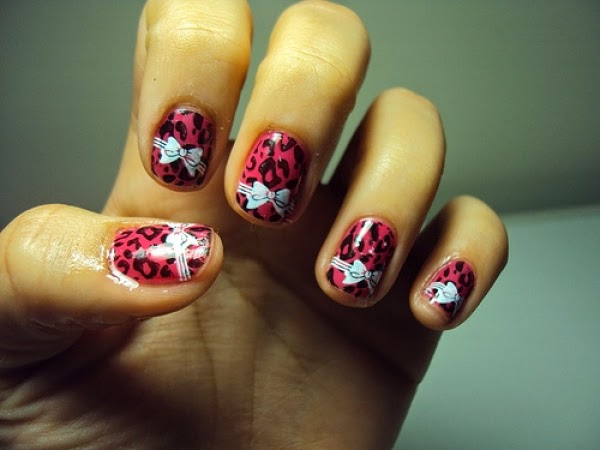
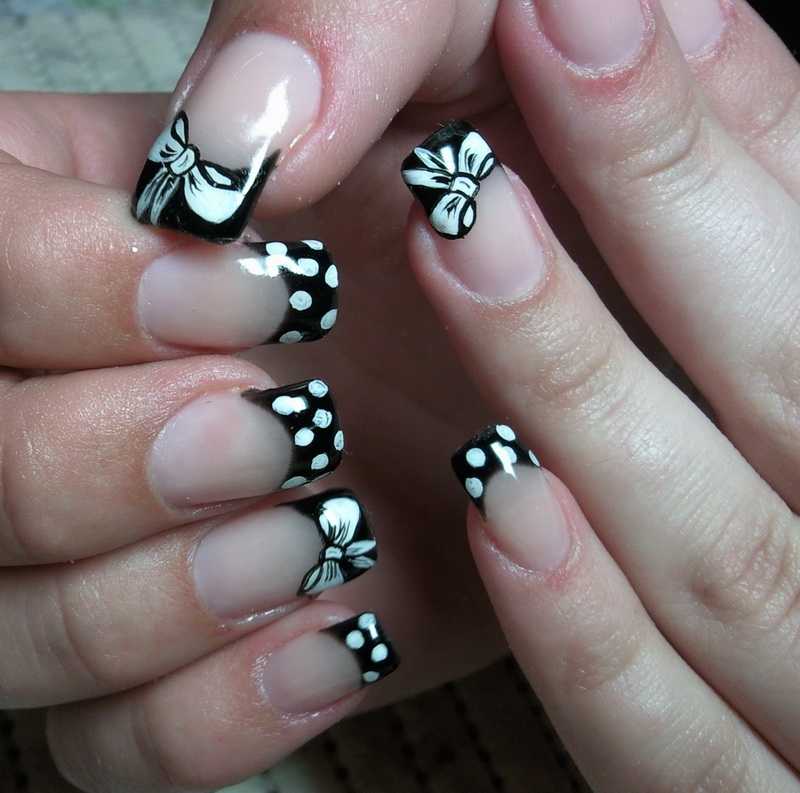
Curls or the addition of lace elements will also give charm to a manicure. The variant is possible with the use of bright and saturated shades of varnish. Contrast bows are suitable for them: white-black or red. The option of adding sculpting is possible, but this technique is more difficult to complete.
Materials and means
To create an interesting design, you need a large range of varnishes, as well as gel polishes, bases, stamps, topcoats, lamps for drying. You can use acrylic paints on extended or gel coated nails. Brushes should be used in various shapes and sizes. For decoration you need to choose rhinestones, bouillas, pebbles.
If you want to create something attractive, you should apply all possible rubbing, foil, stencils and stickers. This is not all the devices needed for work, but only a part of them. The acquisition of such a range is appropriate only if the manicure professionally. If manicure accessories are needed only for personal use, then this list will be much smaller.

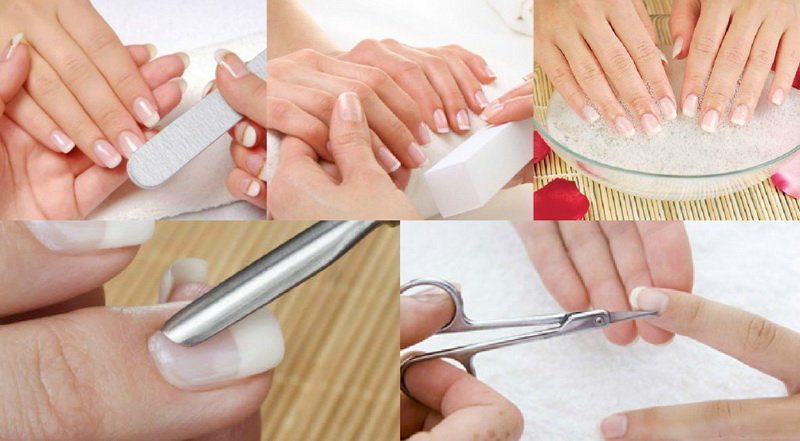
Preparation of hands and nails
Covering a manicure with gel polish or by building up nails with bow design, it is necessary to perform preliminary procedures. With the help of special nail files should be given the desired shape and size of the nails. It is also important to make a soap bath for nails - it will help soften the nails and the cuticle in order to remove the latter faster and more accurately. For these purposes, there are special spatulas and tweezers. It is important to remember about hygiene: all the tools that will be used must be treated with any antiseptic.
How to make at home?
Any novice master with the right approach can make some uncomplicated bows. First of all, you need to prepare the nail itself, then cover it with the color that was chosen for the nail design. From above you need to stick a sticker. Then cover with a base for fixing (colorless varnish).
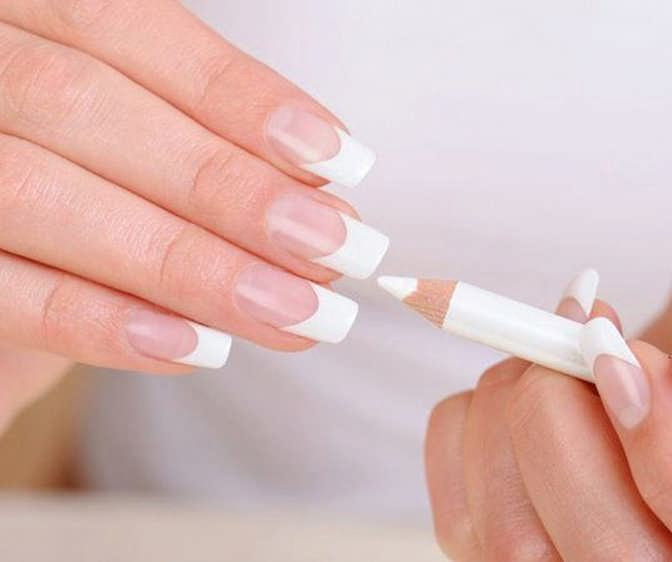

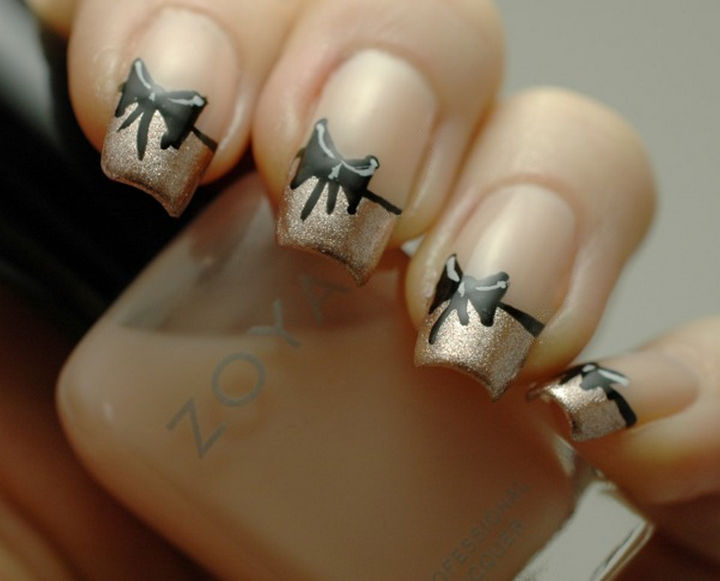
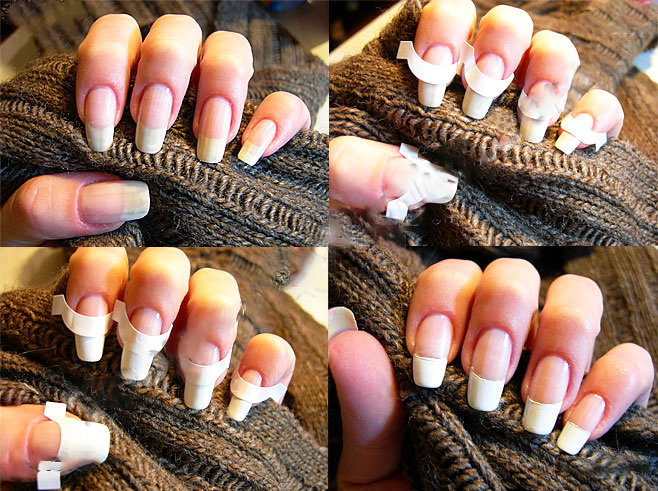
There are more difficult options, for example, with a French manicure. This is done as follows:
- First of all, the nails are covered with a delicate light shade of varnish, and time is given for the nails to dry;
- the stencil is fixed slightly below the natural smile line, covered with white or black tint;
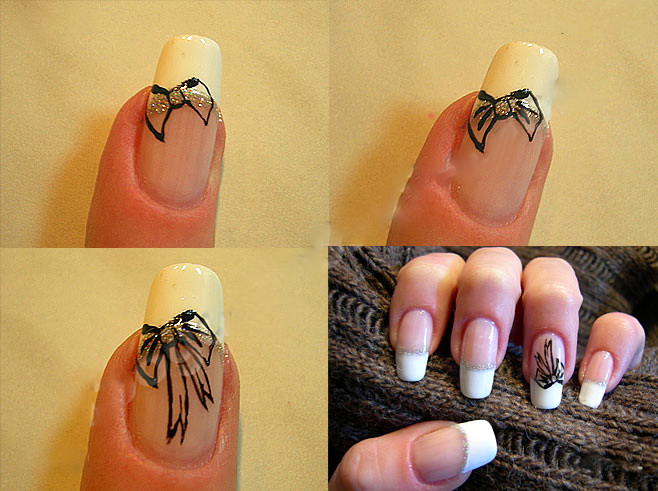
- then you need to start creating a bow: you can draw one bow just above the cuticle and make it in a simple or more complex version;
- Drawing can be done by applying a thin brush, while adding white lines, which will certainly help to highlight the drawing;
- decorate the picture preferably using rhinestones;
- the design can be done both on several and on all nails;
- after the nails are completely dry, they need to be covered with a fixative - it will help to prolong the life of the manicure; cuticle after all procedures performed must be moistened with oil.
It is possible to carry out such design by means of usual varnishes or to use gel components. Gel polishes, in turn, are worn longer and more in demand today.
To learn how to decorate a classic French bows, see the next video.


