Stemping - a method of decorating nails, which today has become quite a popular direction in the creation of a stylish manicure and pedicure. With the help of simple devices, it is possible to create truly stylish drawings and creative patterns on nails of absolutely any length without any difficulty and for a minimal amount of time.
What it is?
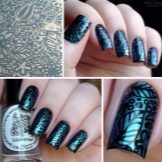
Stamping (“stamping” in English - “embossing” or “stamping”) is in its own way an interesting technology of fairly fast drawing on specially prepared nail surfaces of catchy images or patterns of a particular topic using special tools. This technique will allow you to create a unique nail design without a visit to the salon at home, which visually will not be very different from professional artistic painting.

A great desire to work with a stamping and make yourself just amazing nails. usually appears due to the following positive characteristics of this method.
- You get a very neat pattern or pattern with the clearest lines. The image itself on the nails at the same time goes exactly the same.
- From now on, you will not need to contact the master in the salon over and over again to get a beautiful manicure, which means that you can save money on trips to the nail salon.
- You can choose the color of the picture itself.
- The whole procedure of “stamping” will take not so much time, with a special skill - about 2-3 minutes.
- In addition to covering the nails of the hands and feet, the technique of stamping can also be used for drawing on any other surfaces. For example, you can easily leave a certain stamp on your phone to complement your inimitable image.
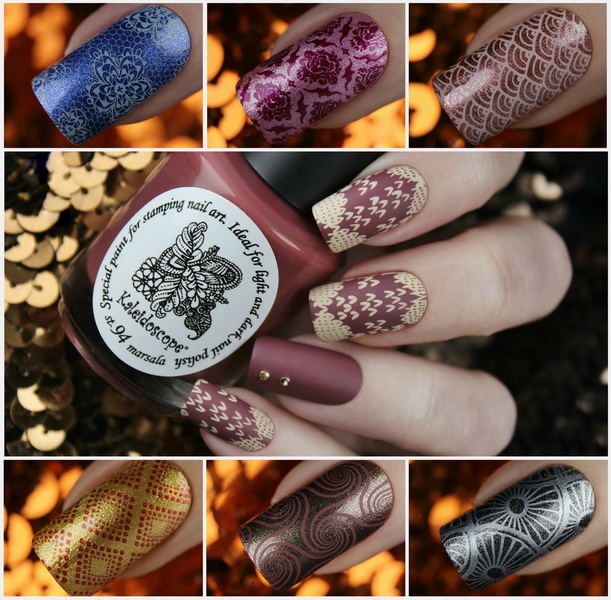
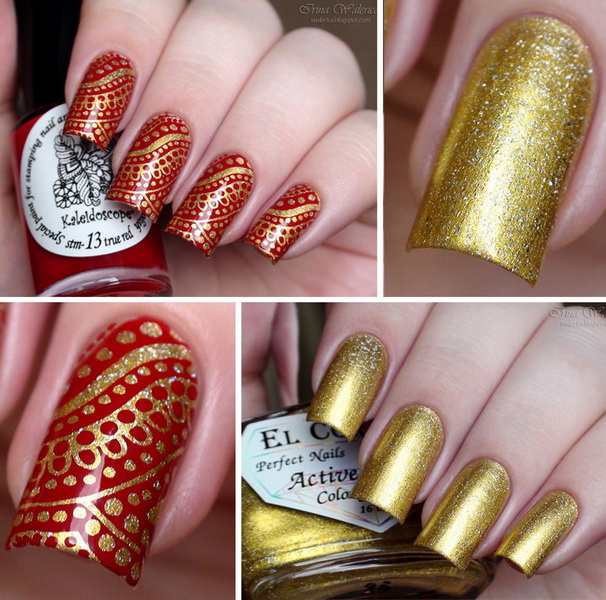
- You will be able to apply the most unusual images on your nails. Each new plate with original images will give you the opportunity to apply a new decor. And if at the same time take into account that the original design can be created in different colors, then the design options for your nails can be innumerable.
- Universality of technology. Stemping is perfect for short nails, and for rather long ones. The shape of the plate itself is not important. A large selection of images and patterns will give you the opportunity to adapt your new manicure to any unexpected situation or solemn occasion.
- You can transfer to your nails images of any level of complexity - with the help of stemping you can draw the smallest details of any pattern, which is very difficult to usually do by hand painting.

Any modern girl in a few hours of practice will be able to learn how to create simply amazing images, comparable even with the drawings of a talented nail painting master.
However, it is worth mentioning some negative features of this popular technology.
- It will be very difficult to create a beautiful and smooth design of nails with the help of a stamp from the very first time, for this reason ideally obtained patterns will begin to come out from under your hands gradually, but not immediately.
- Not all of the original plates from different manufacturers are equally suitable for use, although many of them cost a lot of money.
- Having finished transferring the image to the nail, you will have to wait a little with the top coat - until the varnish is completely dry, you can accidentally rub it over the surface of the nail and ruin the whole thing.
- Do not be surprised that you did not get a beautiful ornament, if the paint that you put on the plate with prints dried out too quickly. In this case, it is extremely difficult to manage to transfer the selected pattern to the stamp, and from there to the nail. To solve this problem, it is best to keep with you a special solvent for varnish, which will need to wipe the plate before each new application.
How to use?
To stamp your performance as beautiful as possible, you will need to purchase a separate kit for its implementation and learn how to apply a pre-selected image step by step onto the prepared surface of the nails.
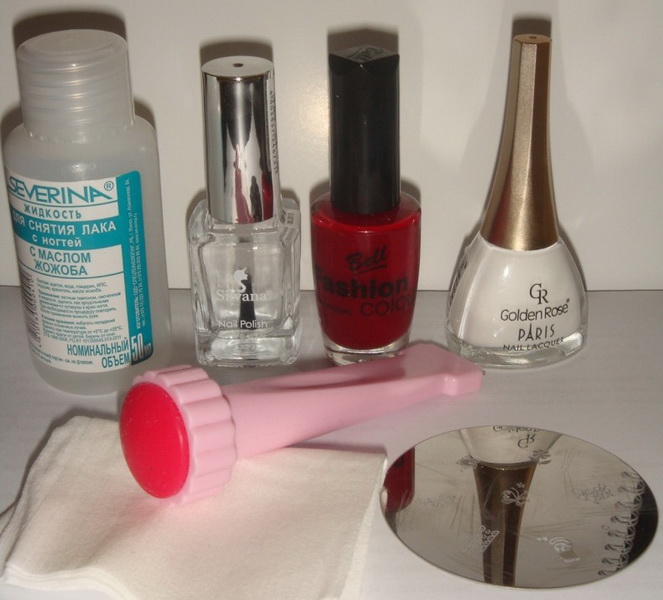
A list of special tools that may be useful to you for work.
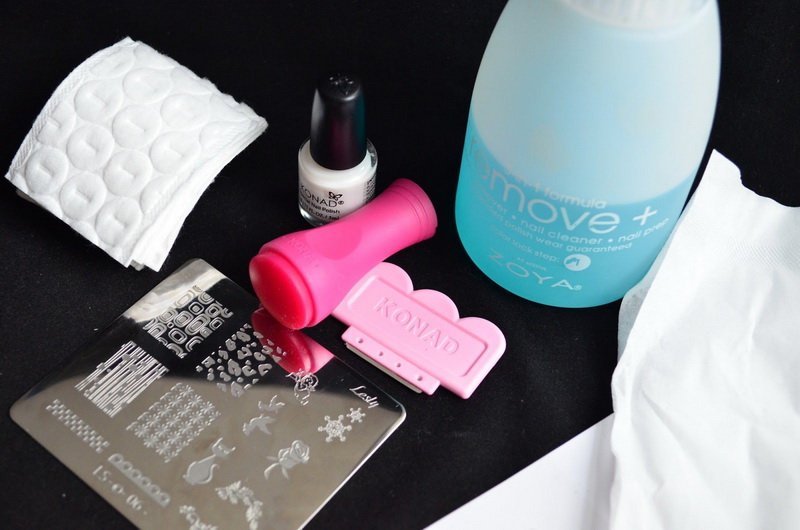
- First, you will need certain tools: scissors, small nippers, nail files made of glass or ceramics with different levels of spraying to give your nails a certain shape, buff to qualitatively polish the surface of the nails. For a background for an image or a pattern, you will need a base, a top lacquer and paint for drawing a certain color. If you decide to create an inimitable manicure with the help of gel polish, then you will need to prepare also a base coat with a finishing coat, the gel polish itself and a good UV lamp.
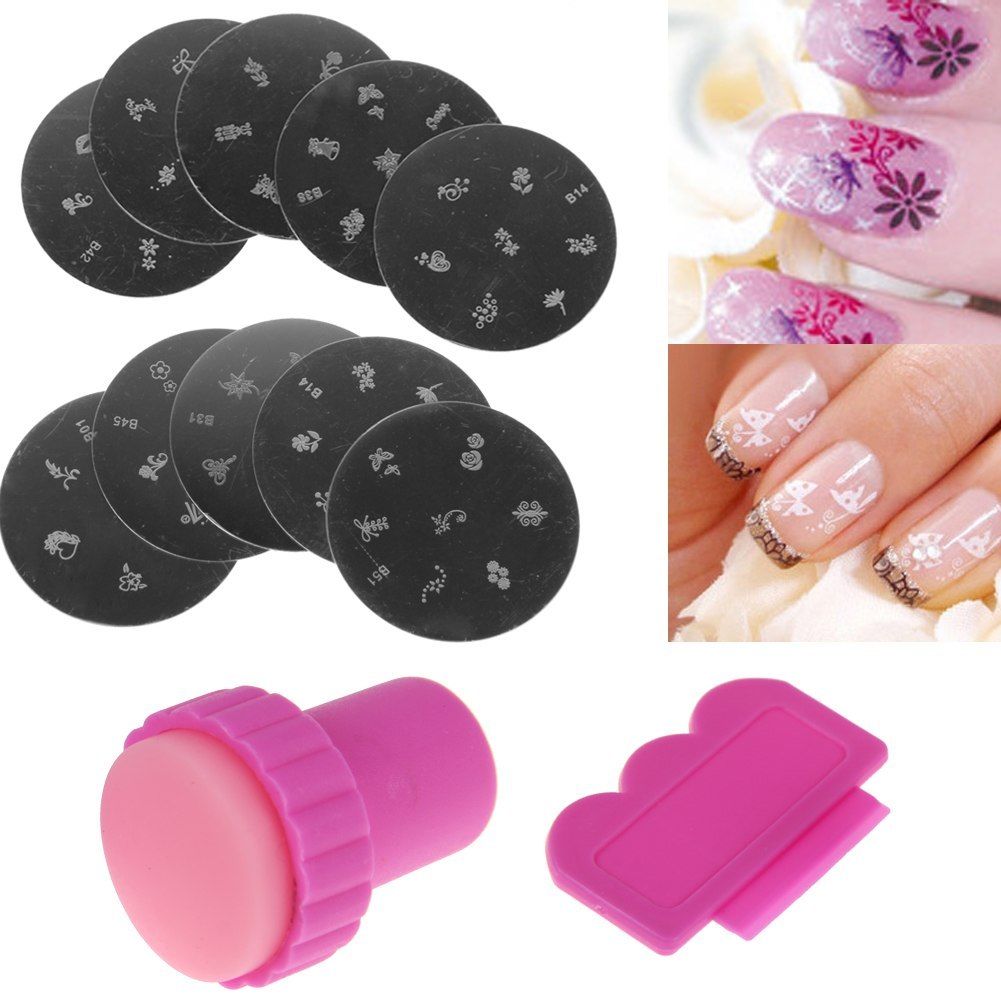
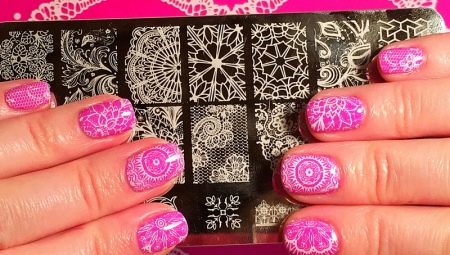
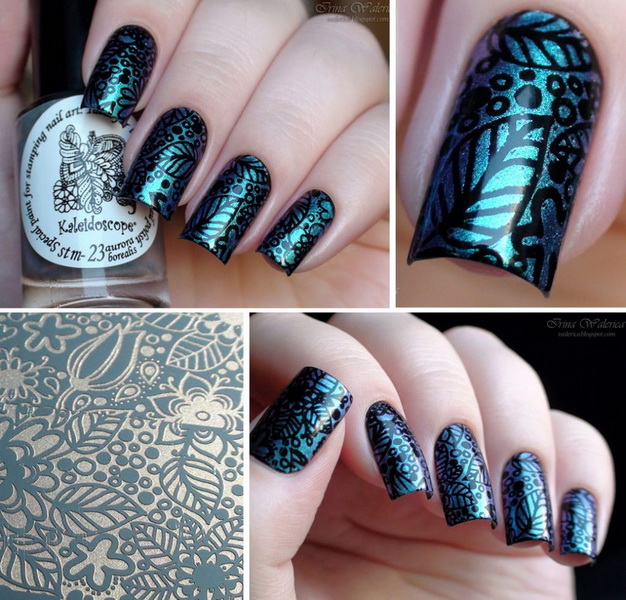
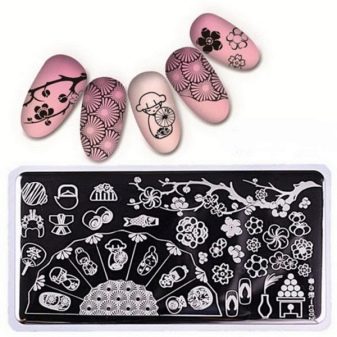
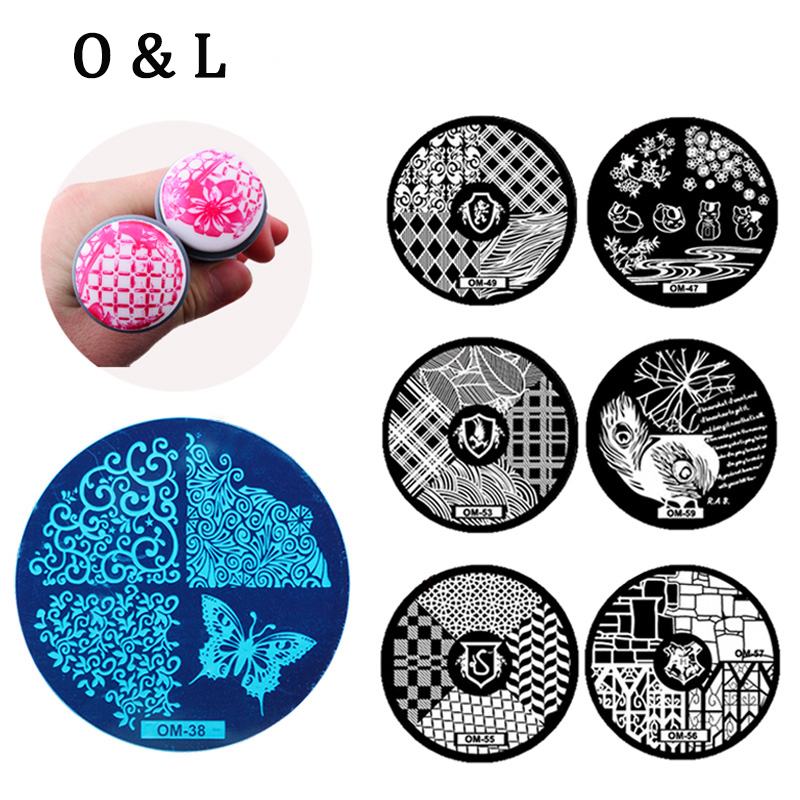
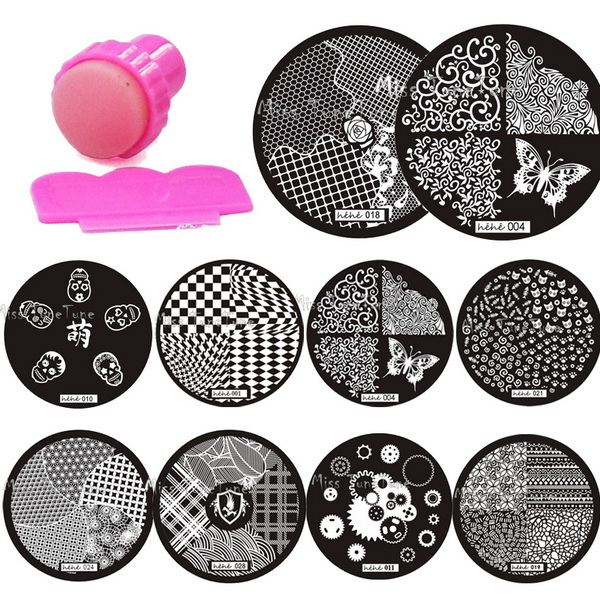
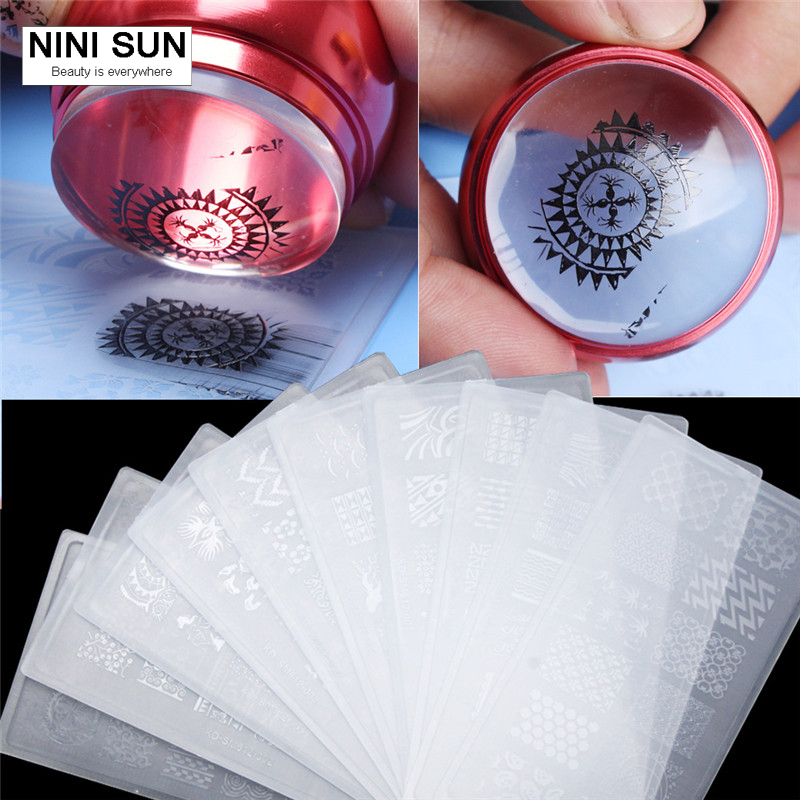
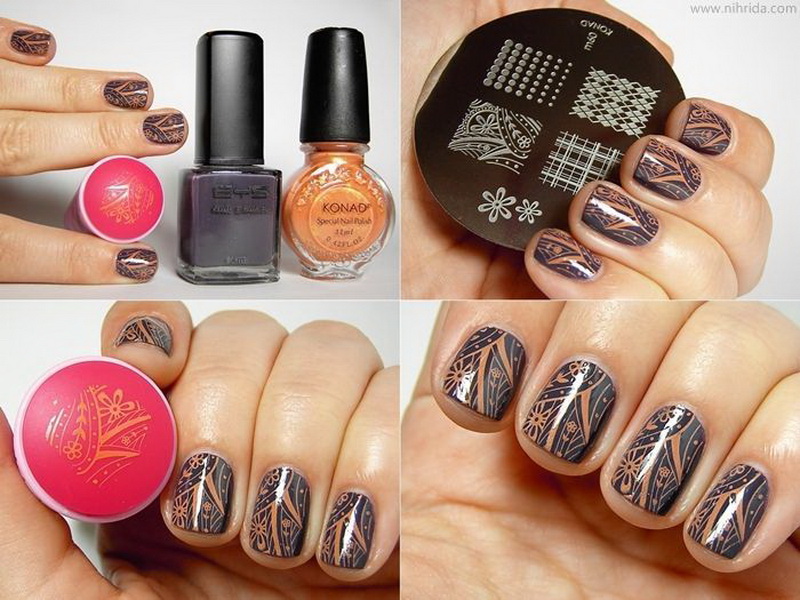
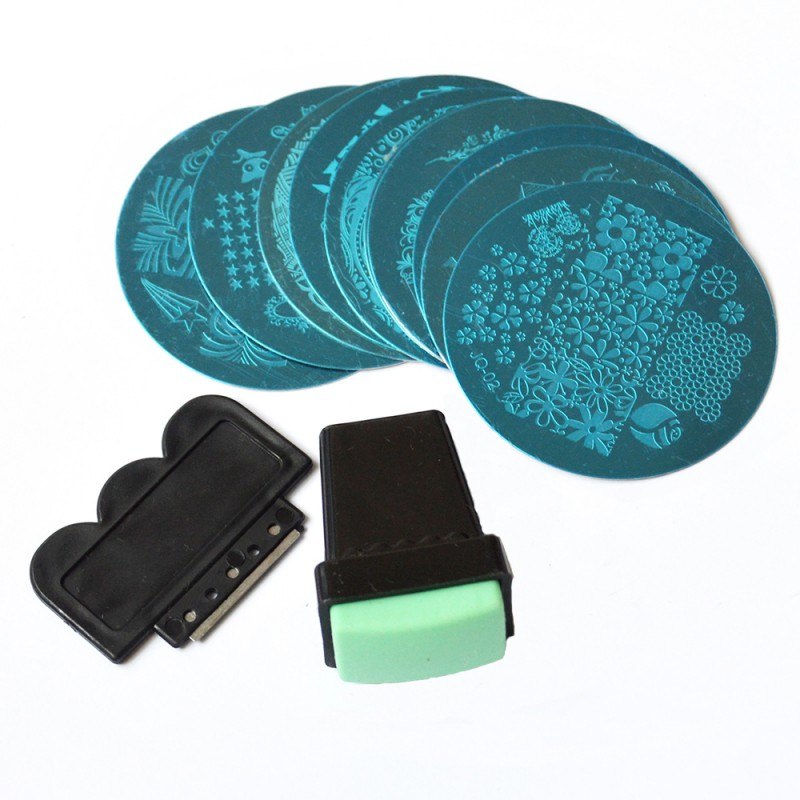
- A plate or small disk with engraving prints. Prints must be of very high quality, otherwise fashionable design will not work in the end. Usually 3-4 discs with simple patterns will already be included in the “for beginners” kit (they are offered by Konad, MoYou London). To quickly perform the desired marigold design, purchase a small plate of the subject that suits you best. It is extremely convenient to store all disks for the procedure of stamping in the holder of a special type.

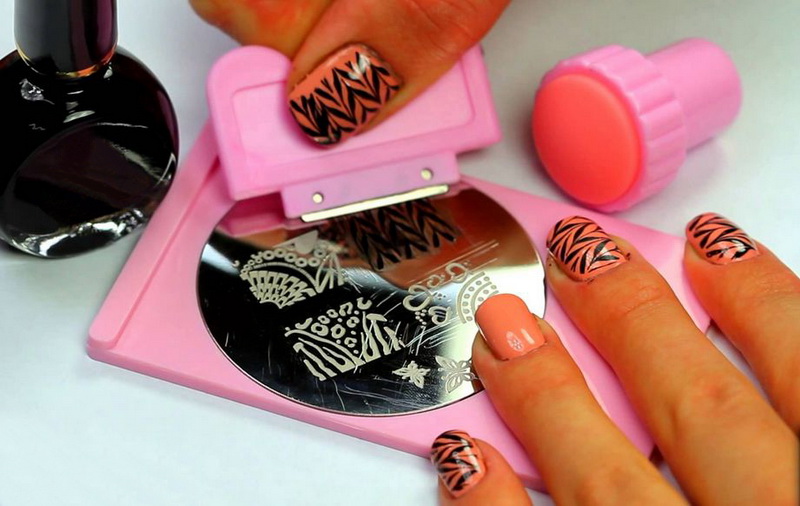
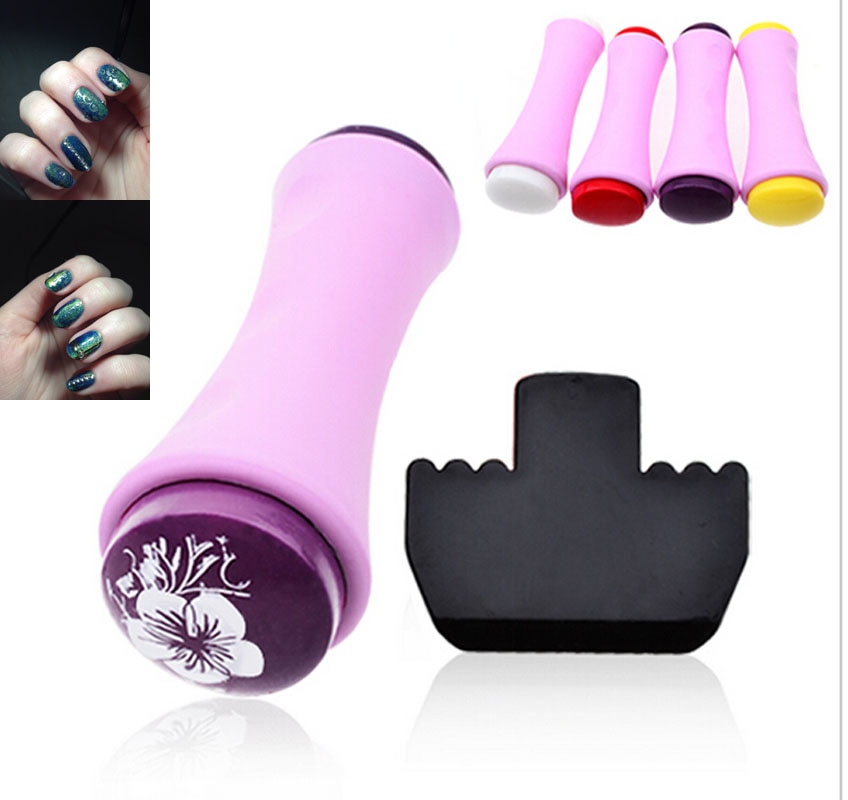
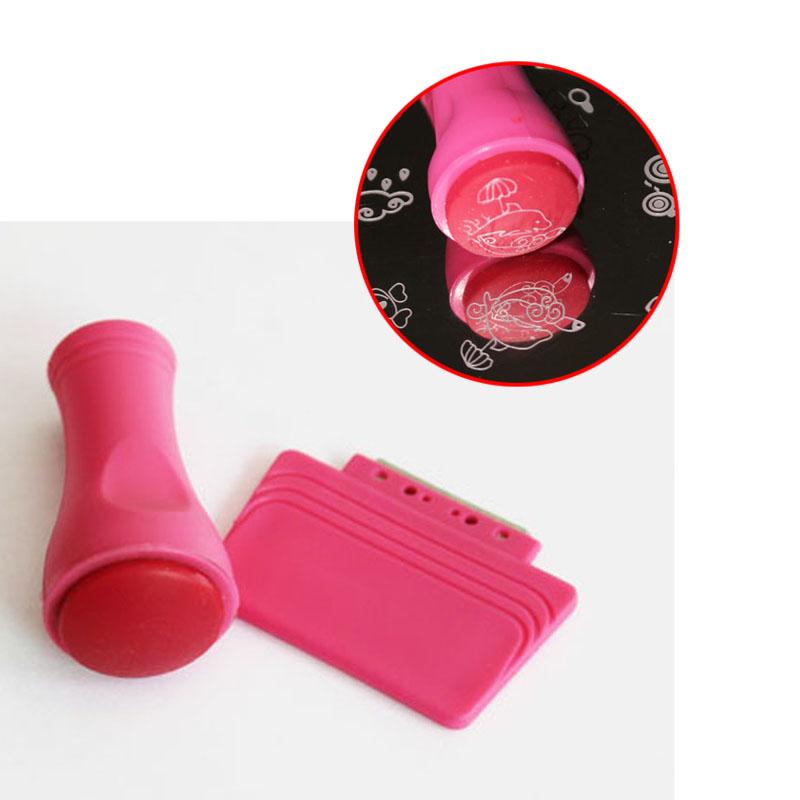
- Stamp made of special rubber or transparent silicone. Today, stamps with a transparent pillow are especially popular, because through it the image will be well viewed at the very moment when you will reprint it from the disk onto the prepared nail. This device is convenient to stamp on the nail gradually a number of elements of the same composition, with the most accurately superimposing them on each other.
- Scraper (often called just a scraper). It is needed so that as quickly as possible, before the varnish dries completely, remove its surplus from the plate or disk. In special sets you can find a metal scraper, but it can scratch the plate badly. Therefore, it is better to adapt a plastic scraper for this purpose, and an old bank card will be even better.
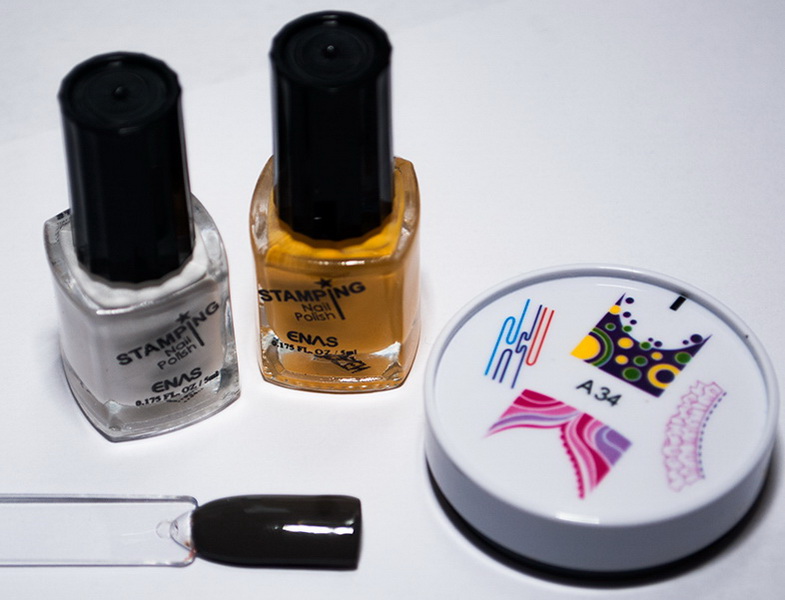
- Varnish with a very viscous base and high pigmentation. To carry out the procedure of stemping, varnishes from famous companies are selected. But sometimes you can choose completely familiar varnishes, only having a certain thickness and haze. Gel Polish for stamping will not work (only as a background).
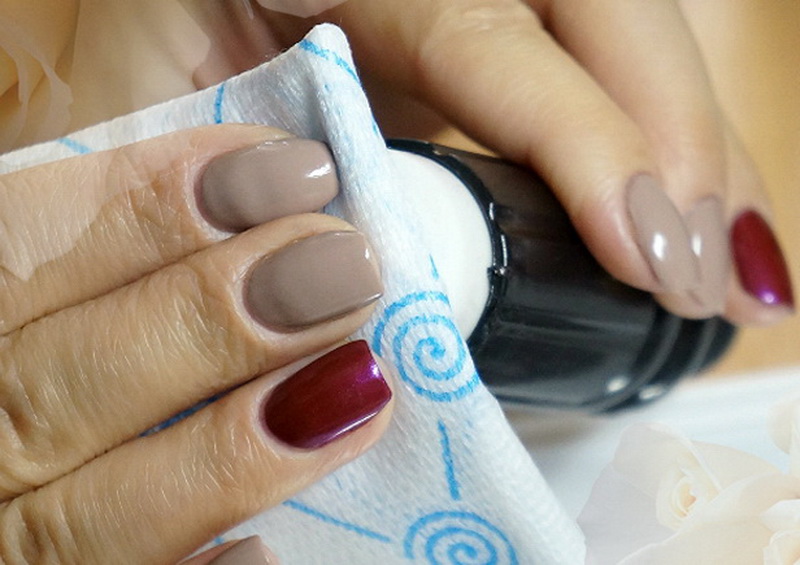
- Means for erasing traces of varnish and special napkins lint-free. Stamping devices will have to be wiped with them every time after you transfer a print of a print to your fingernail.
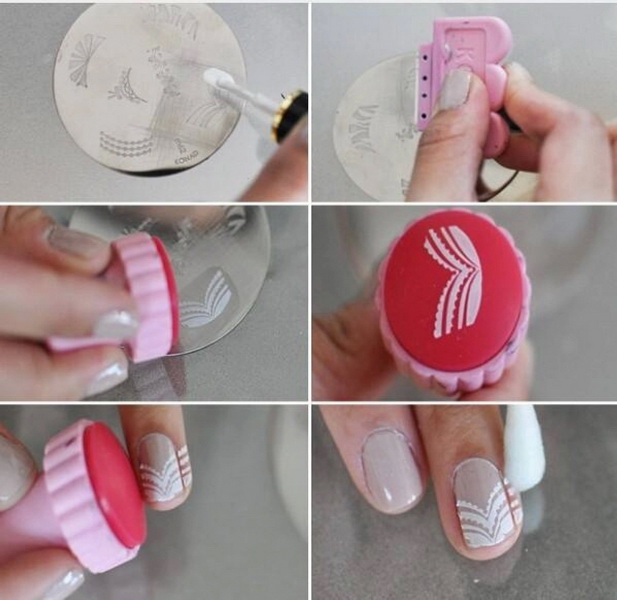
Step-by-step procedure for transferring the desired print.
- With the help of your favorite type of manicure you need to prepare the nails for the further procedure. It is necessary to give the free edge of all nails a certain shape (for example, oval, almond-shaped, square) with special files and with the help of a buff to polish the surface of the nails, removing the hardened cuticle.
- Next, apply a base coat, and then go a thin layer of background.
- After that, you will need to take a plate with extruded prints (best of all securing it in a special holder) and apply a special lacquer for stamping onto a print of your choice with a small brush.
- A scraper or plastic card is taken and with a sharp movement (using a slight pressure) it removes excess paint from the plate. The device must be kept at an angle of 45 degrees.
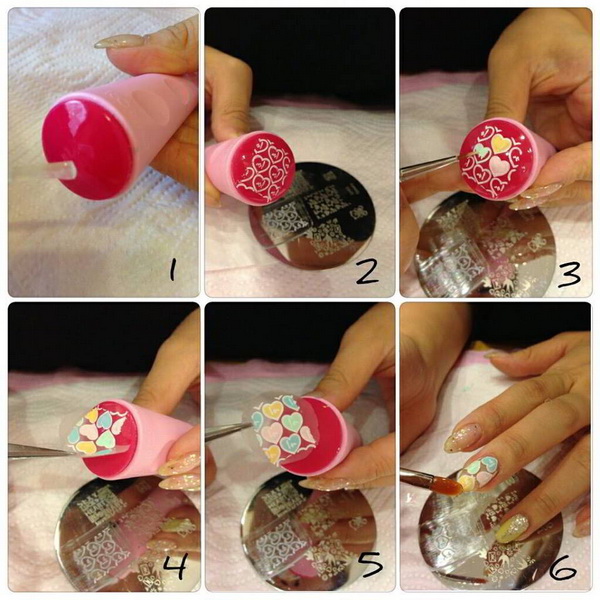
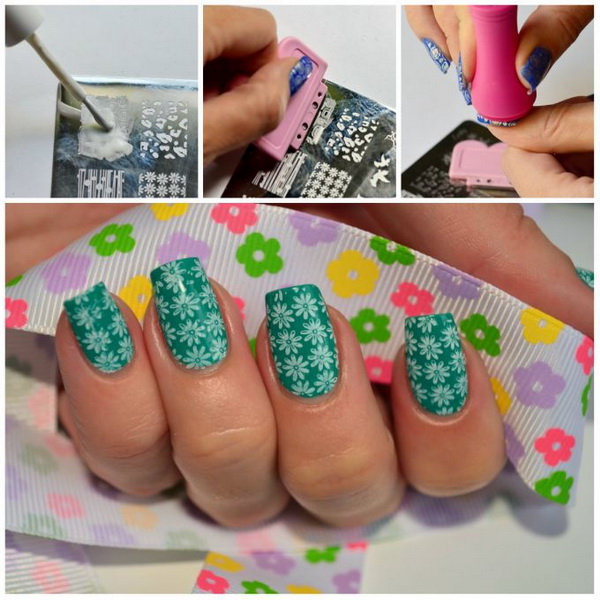
- Next print print is transferred from the plate to the nail. The rolling movement of the stamp from the print "removed" varnish trace. Too much pressure is not worth it, the movement with the need to perform only 1 time.
- Be sure to pay attention to the stamp pad. If the resulting print has irregular points and lines, then it is best to correct them with a regular toothpick.
- Rolling movement of the stamp, the resulting impression of the image or the exact pattern is reprinted on the nail. If the image came out ugly, then it can easily be removed with the help of ordinary scotch tape or a special sticky roller for cleaning clothes.
- To protect the decorative pattern on the nail, it is covered with a finish line, the brush should only move in one direction. It is necessary to be sure that the mark on the foot 100% dried out before gently put on top of it.

To move to a new marigold, do not forget to remove excess paint from all the tools with a special napkin. If you want to learn how to properly design nails using the method of stamping, you must first be well trained in transferring the prints of the available prints to suitable templates. All your actions should be as quick as possible and at the same time you need to work carefully. Varnish for print dries extremely quickly, because all operations with it must be performed on time.
Before using a new disc or plate, carefully remove the protection film from them and wipe them thoroughly with a cloth that has been wetted with a dehydrator. The cushion of the new stamp is usually characterized by increased smoothness, which prevents the pattern from being printed in high quality when it is transferred to the nail. For this reason, before you start working with a die, slightly treat it with a buff or a special fine-tipped file.

A protective coating on the nails is applied with a thin layer only once and only after the image is completely dry. Print smeared varnish can be used only once. Especially, wipe off all the tools after any use with the nail polish remover. The stamp should be pressed to the engraving for only a couple of seconds, after which the resulting imprint should be immediately applied to the nail with a slight rolling. Unnecessary or damaged items can be easily removed with a regular toothpick, and individual lines of the pattern can be selected or changed with a simple thin needle.

The pressure on the nail should not be excessively serious, otherwise the image will be blurred. If the pressure is not very strong, then the print may be pale or indistinct. On the cuticle and the skin next to it, you can apply a special cream so that the varnish does not soak into them when working. The best option is to choose a product that can be easily removed from the skin after the procedure. Conventional lacquer may be completely unsuitable for this technology, as it is too liquid for this purpose. Careful drawing of small details of the pattern can be realized only with the help of the most thick varnish. For stemping you need a coating with a high content of pigment particles. Liquid ordinary varnishes can leave stains or blurred patterns on the surface of the marigold.
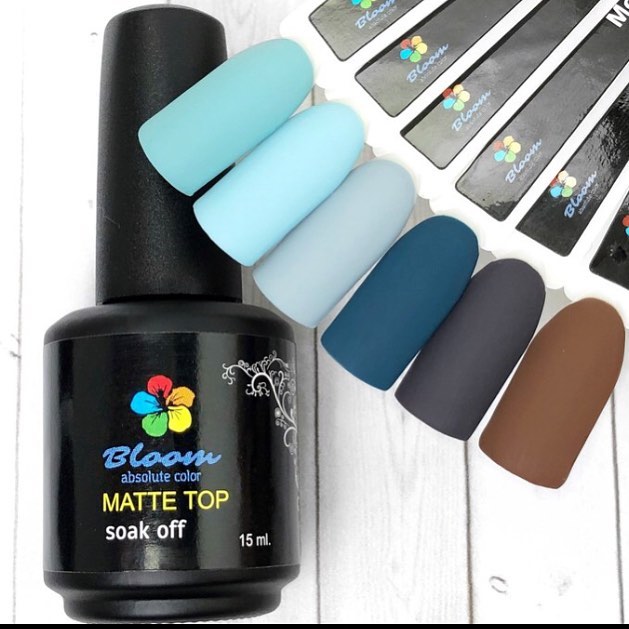
You also need to consider that the coating for stemping should be applied to the base. And therefore, experienced craftsmen most often choose a matte top, since the drawings and patterns on it look clearer. True, many women manage to apply for this purpose and quite ordinary varnish - it is applied with a completely opaque layer. It is best to get the most pigmented varnishes, thick and even weaving. Only using such a coating, the chosen picture will not be smeared on the surface of the nail.
To make the future image imprint as crisp as possible, the paint on the plate must completely fill only the deepening of the engraving. All movements are performed at an accelerated pace, clearly, as the colorful varnish for stamping hardens in 10-15 seconds. If you purchased a metal scraper, then you can’t push it very hard on the plate with the extruded prints, otherwise you will scratch the plate and spoil the fixture rather than the creative manicure using the stamping technique.
How to make a drawing ordinary varnish?
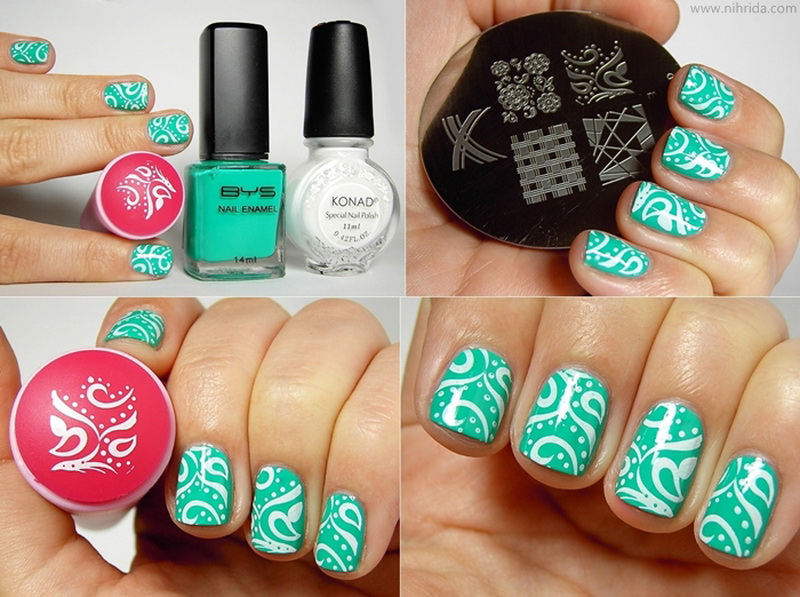
If you do not have a special varnish, then it is quite possible to use a regular product, but only if it is very thick. To make sure that the varnish is suitable for the design of patterns, you must first apply it in 2 layers on any nail. Suitable lacquer for stamping perfectly aligns on the nail, forming an opaque coating on it. If you want to apply traditional lacquer without any problems, rather than paint from the Konad brand, as well as Moyou and Enas, then choose the most thick, and even better - friable varnish filled with pigments.
The technique of correct design of the picture with ordinary varnish will require you to follow certain rules.
- First you need to wash your hands well, dry them, apply a special antiseptic.
- Nails are processed first with a soft, and then a hard nail file. This is an important step to remove the shine from the nail plate.
- The surface of the nails need to degrease quality.
- Cover your nails with a varnish for the background and give it time to dry properly. Only on a dried up background you will get beautiful and neat drawings. If the varnish base clings to the die, wrinkles and clots will appear on the base.
- We print a stamp. It is worth every time to make sure that the image is completely transferred to the surface of this device. If you notice extra varnish prints on the stamp or if the picture is not very clear, then it is better to carefully remove it from the surface of the die with a napkin and repeat all 3 steps from the very beginning.
- Give the varnish to dry well.

Do not forget that all sorts of useful procedures to strengthen your nails with the use of oils are best done at least 24 hours before working with the plates and discs. During this time, the nails will absorb all the nutrients they need and will not be too fat. In this case, the decorative base on your nails will hold much better.
When selecting colors, make sure in advance that the pictures you chose in color give a contrast to the desired base. The created nail design should ideally fit your style and color of clothing items. To cover the entire look as modern and trendy as possible, you can use trend shades of the current year.
Manicure Design Ideas
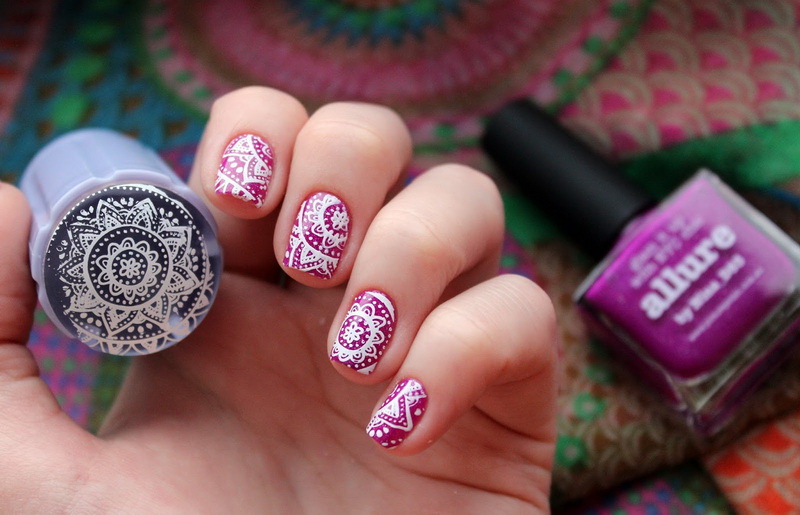
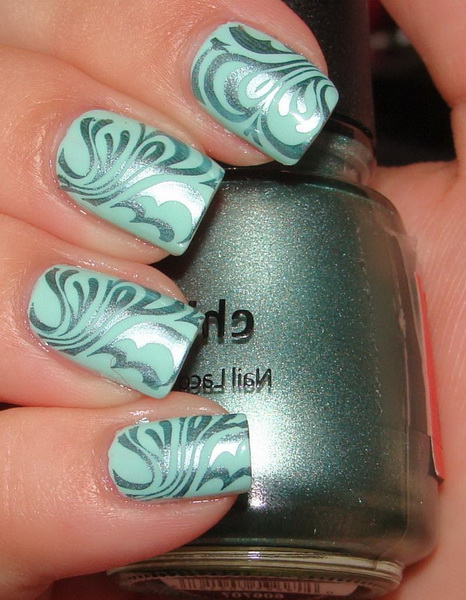
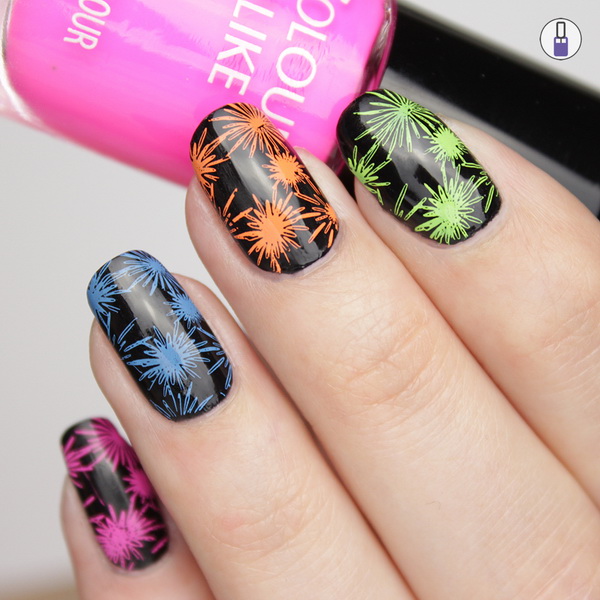
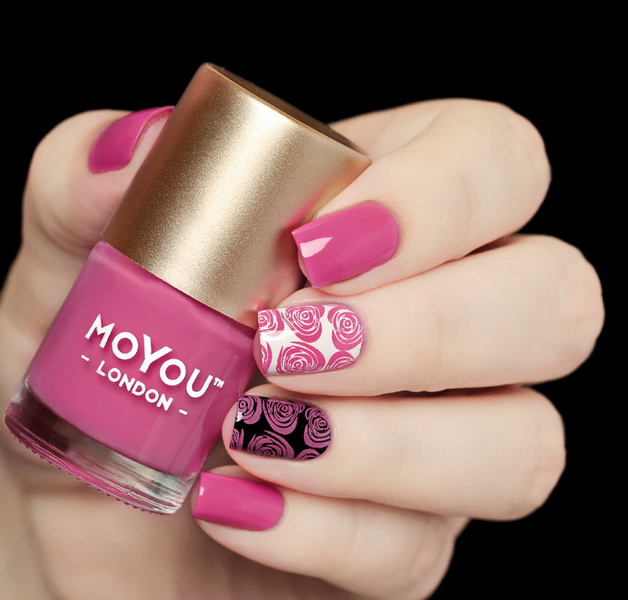
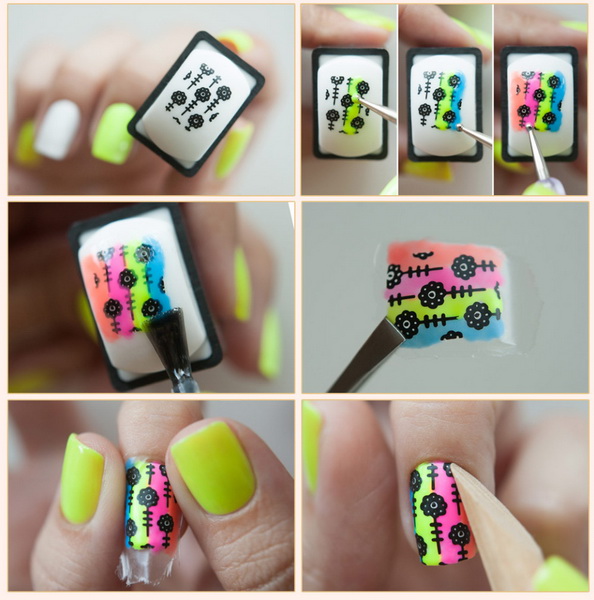
Reversible stamping is extremely popular today. This method is considered more difficult to perform than the usual stamping, but it will look amazing on the nails. In the classical variation of stemping, only 1 shade of lacquer is usually chosen, and with the help of the reversible method, whole colored compositions can be arranged, which are carefully transferred onto the nails.
Today, in stores you can find a huge assortment of different stencils for stamping, and any girl can choose the most suitable option for herself. And they can be:
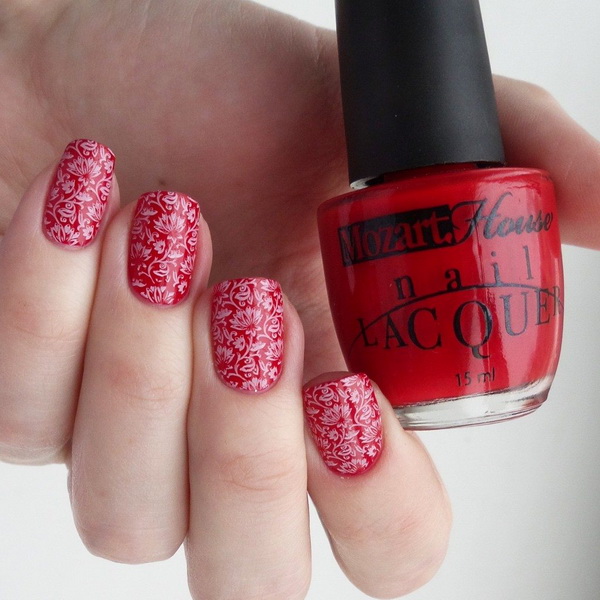
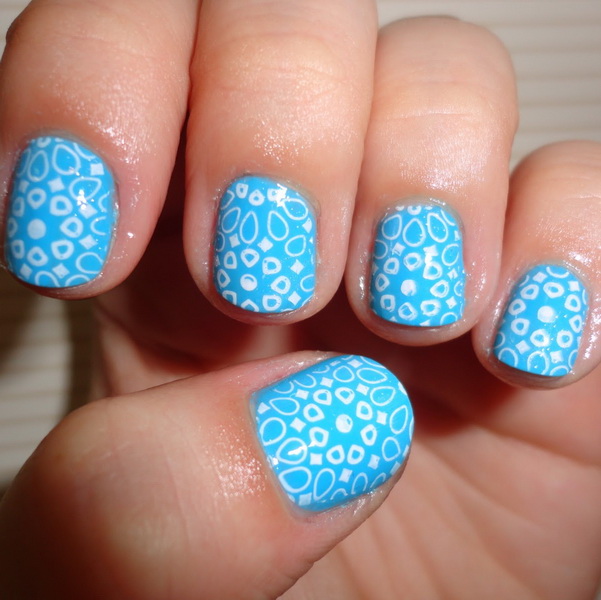
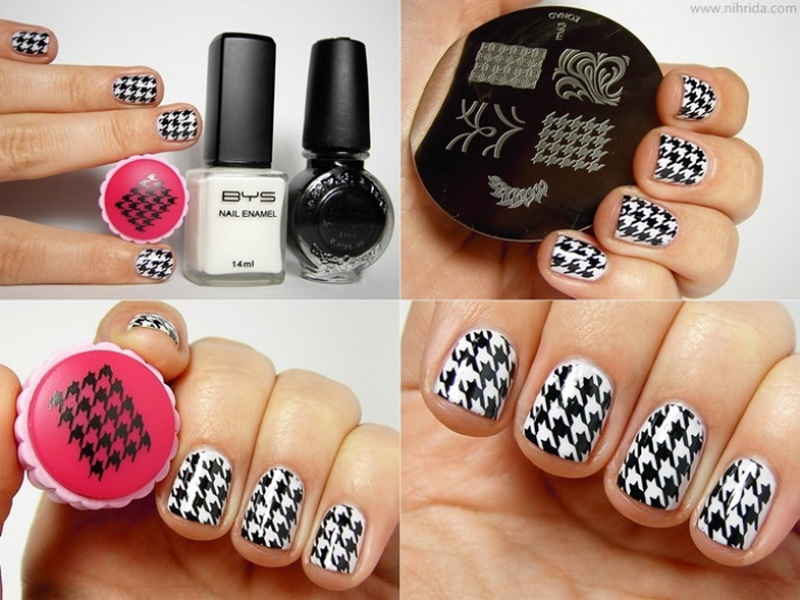
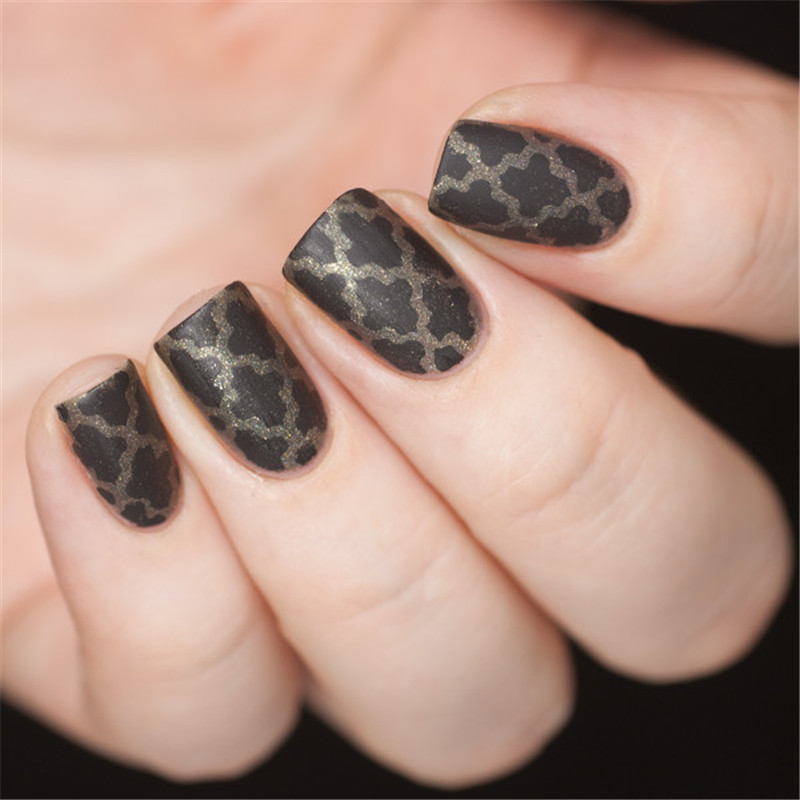
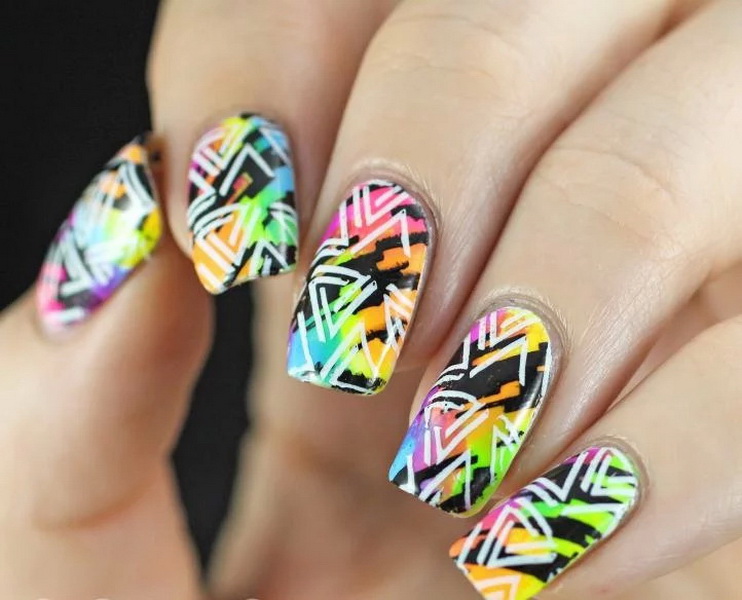
- all kinds of geometric patterns of varying degrees of complexity;
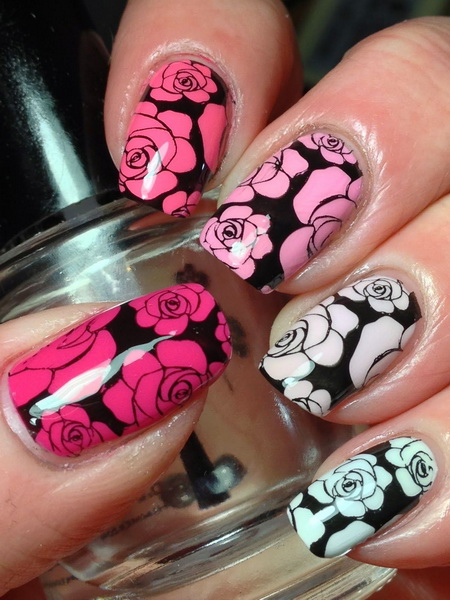
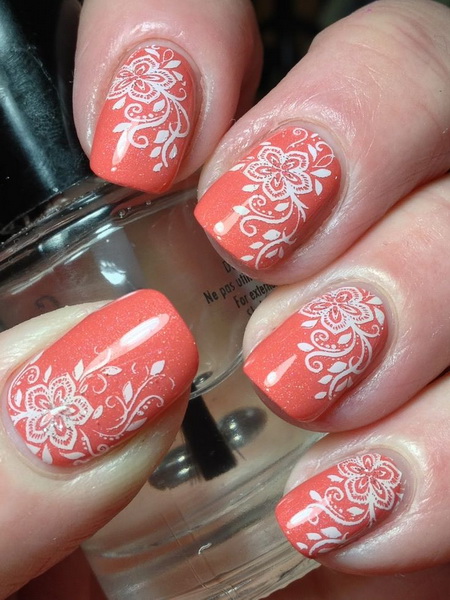
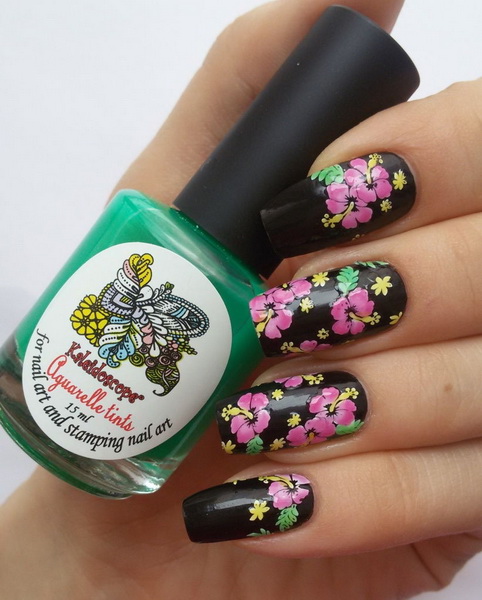
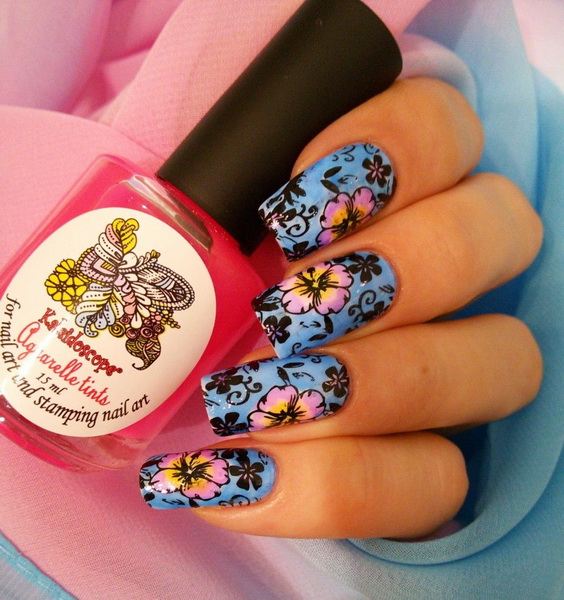
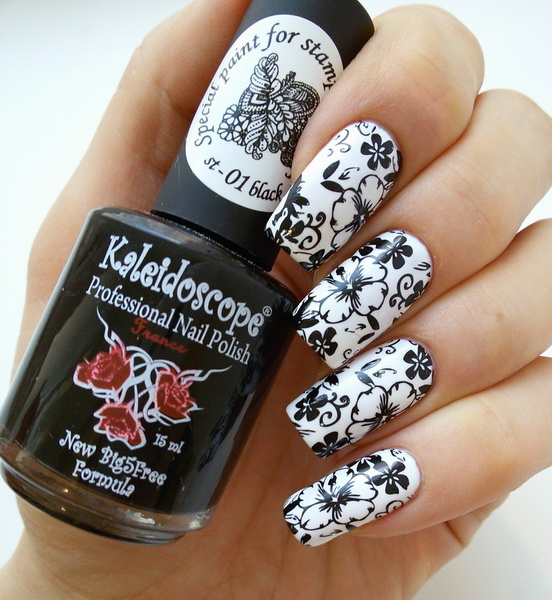
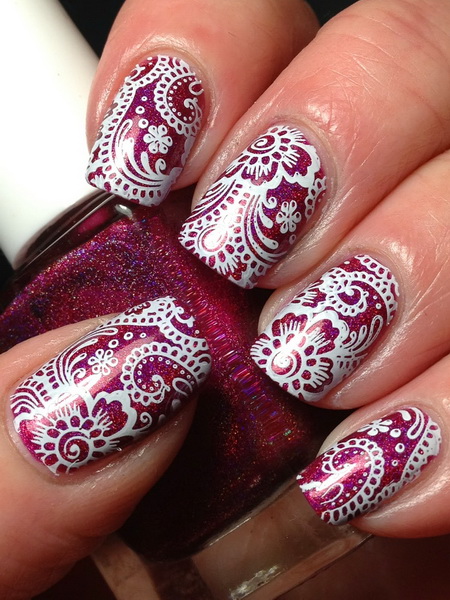
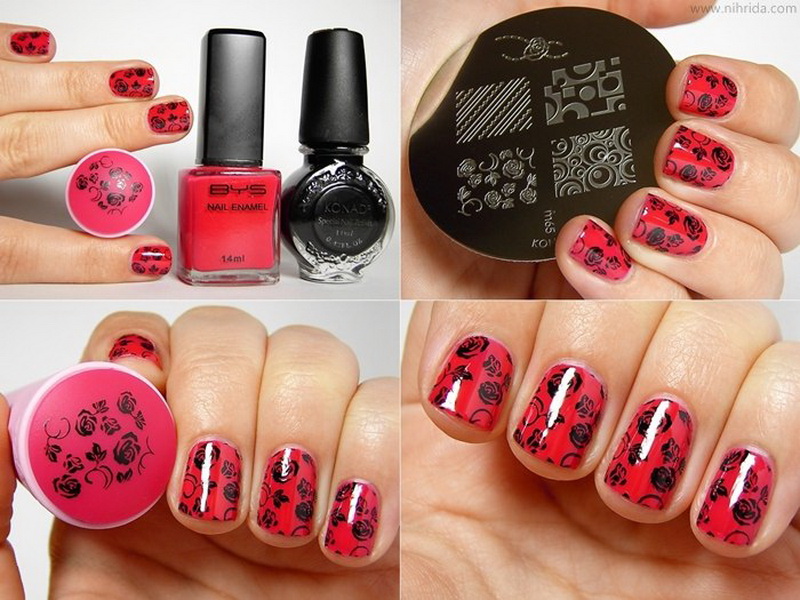
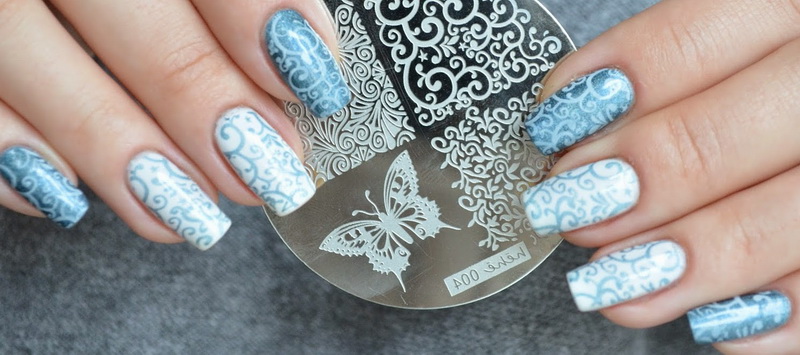
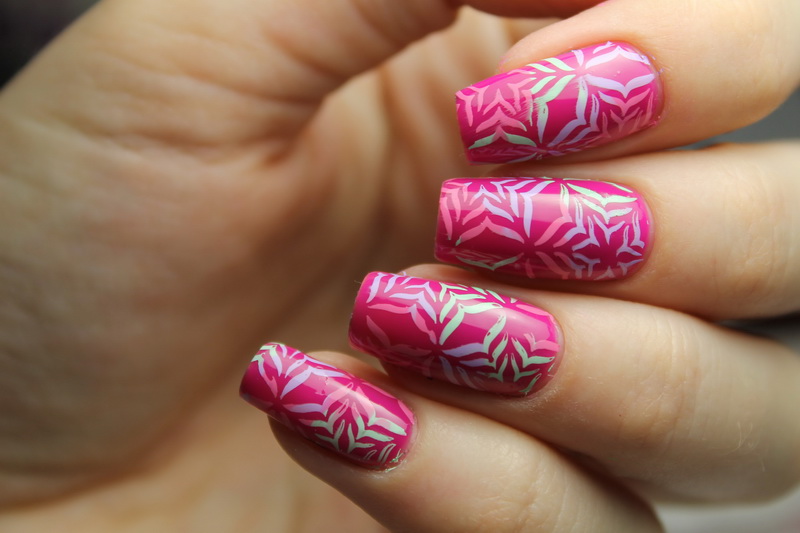
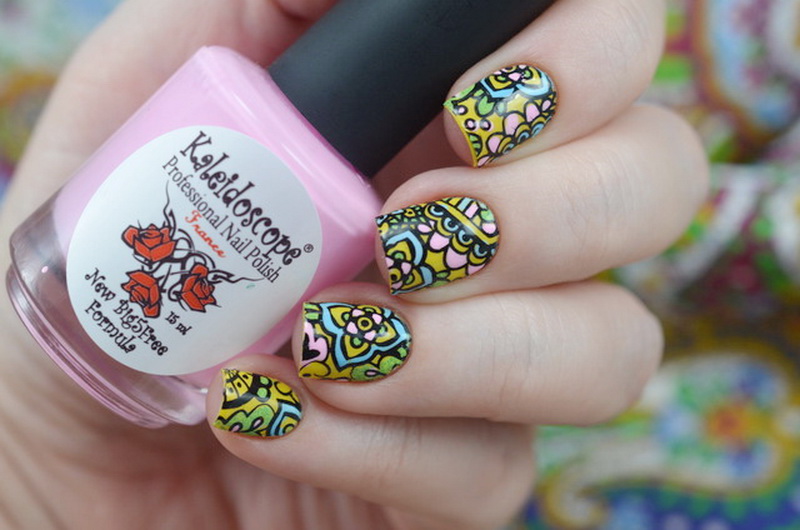
- hearts, butterflies, flowers, stars of different sizes;
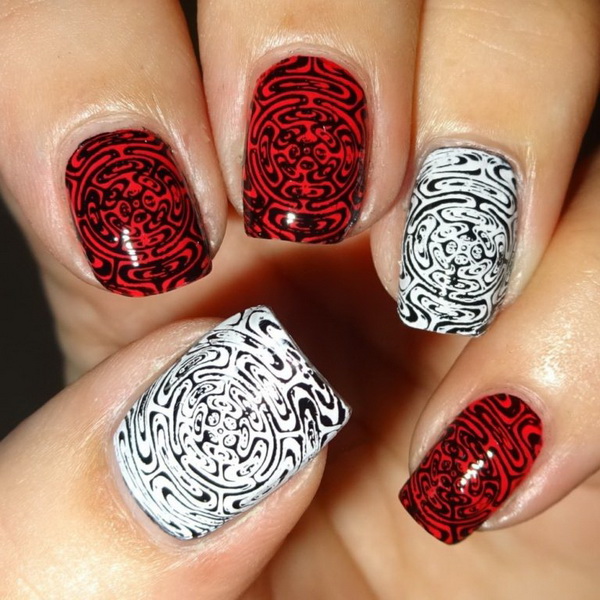
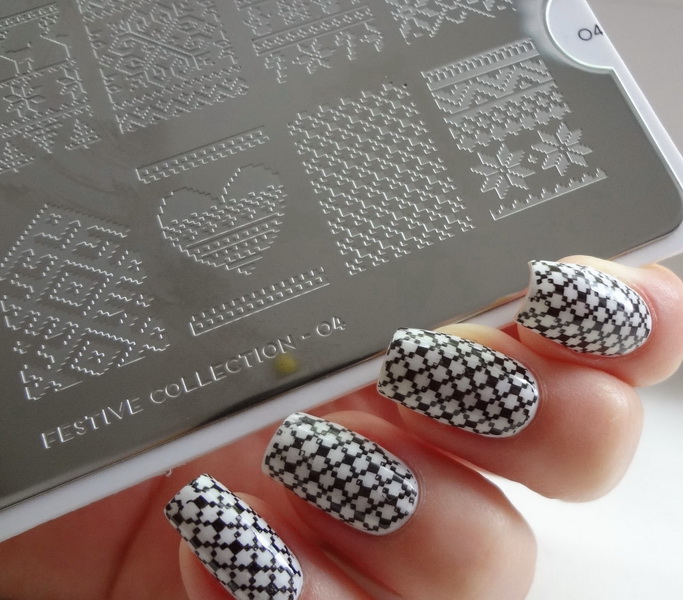
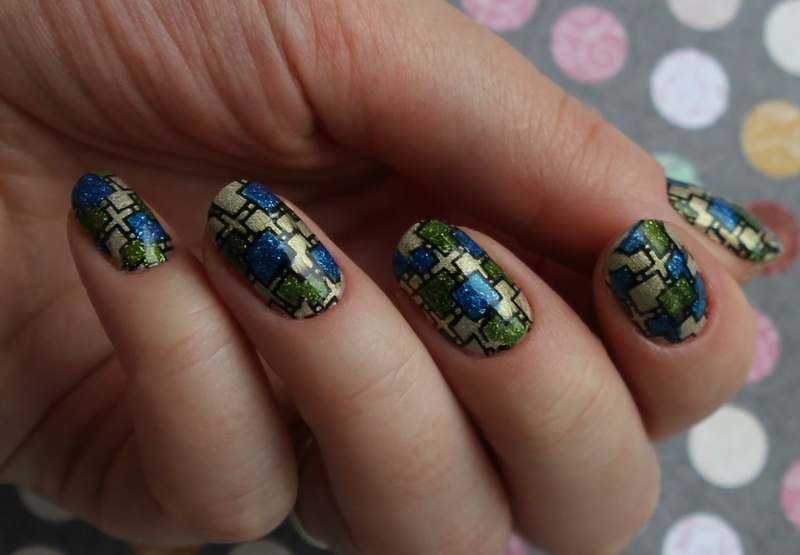
- abstract mosaic, which is especially popular today;
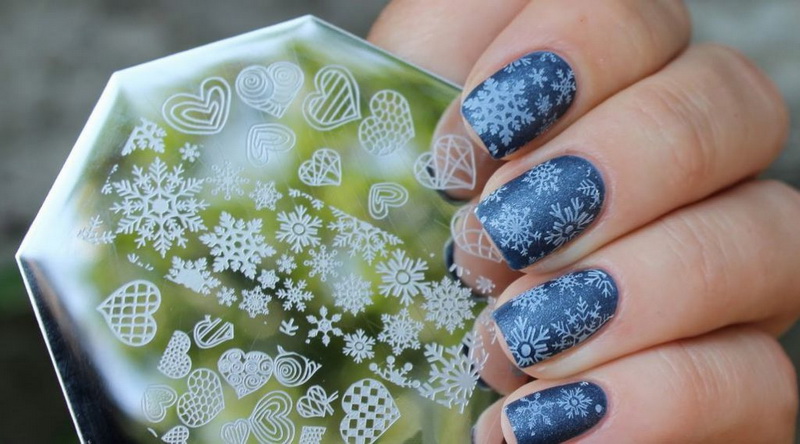
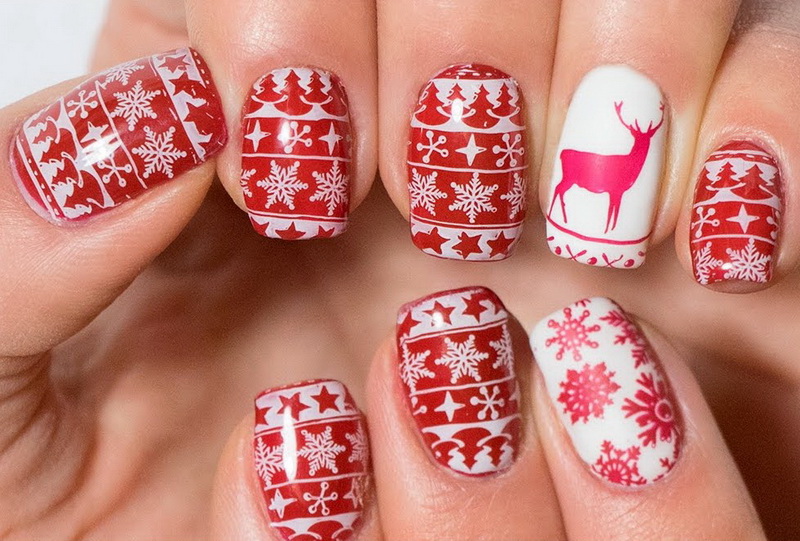
- manicure with charming snowflakes in winter will look very stylish;
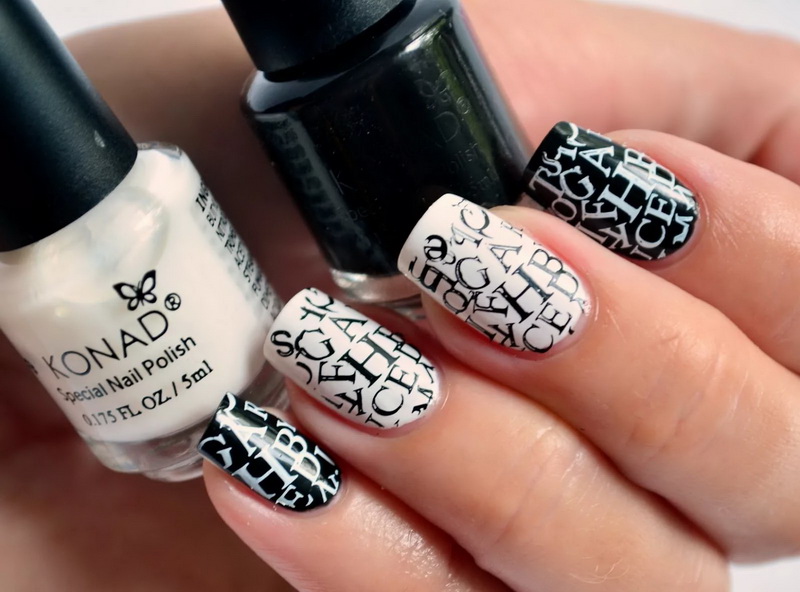
- letters and words with which you can write on your nails everything that you want, without spending a lot of time on creating a picture.
You can learn how to design a beautiful design using stepping very quickly, so you can easily help your nails to always look fashionable and effective.
How to do a stamping for your own hands, see the following video.


