Modern manicure in our time was not a luxury or a lot of the chosen. Just neat and well-groomed nails are not enough to create a sophisticated finished image. Femininity can be emphasized using different types of nail designs. You can choose a manicure according to your mood, situation or even a dress pattern Even those who are far from art classes today can succeed in creating original nail designs thanks to various tools for creating nail art.
What are nail stencils?
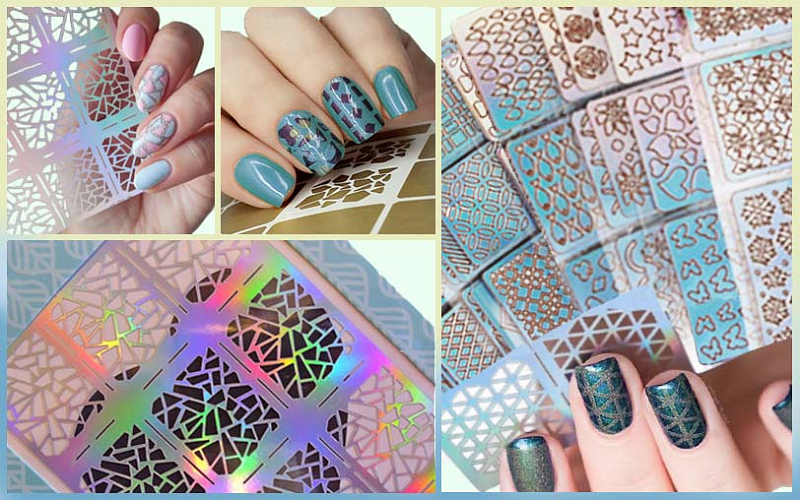
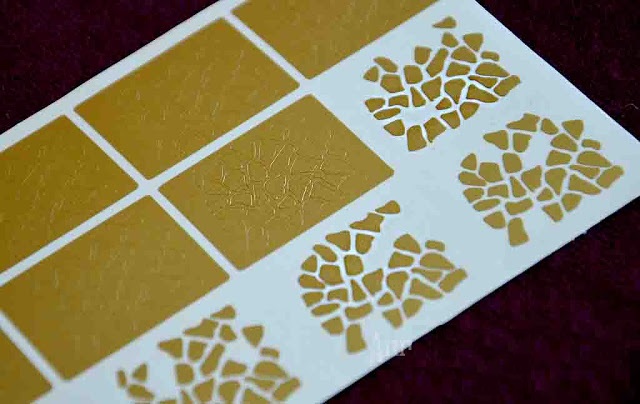
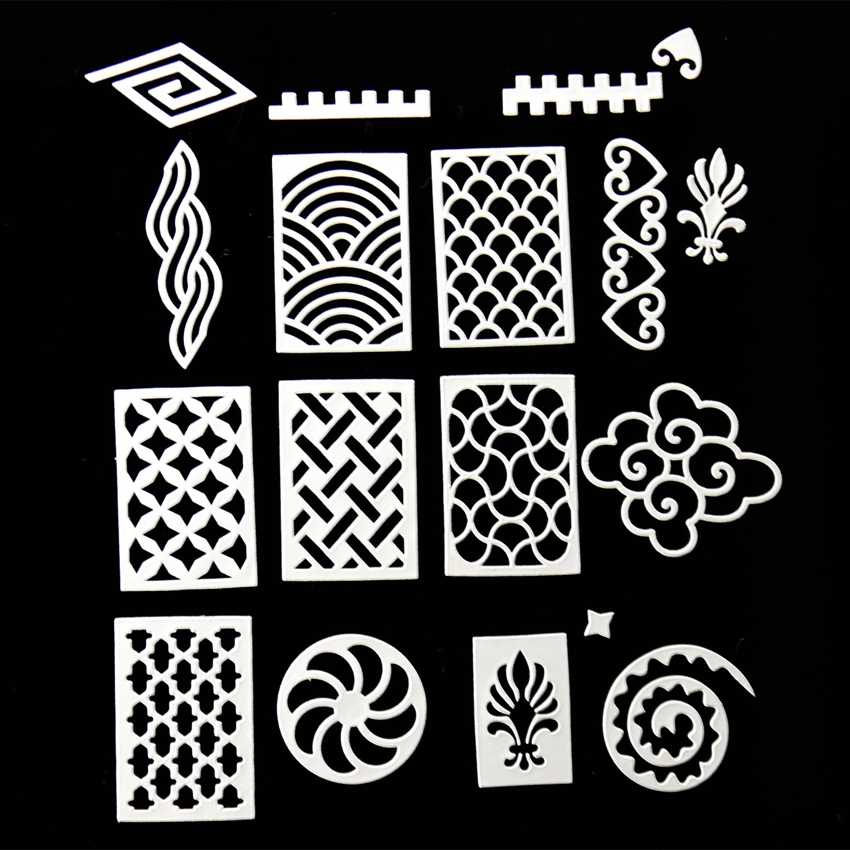
Any stencil is a blank for drawing. It is carried out, as a rule, on a dense paper basis or a cardboard, metal. Recently, stencils on film and vinyl have appeared. The stencil is a sheet of any material on which the pattern is cut.

It will be printed on the painted surface.
Need a stencil to create smooth, clear, neat drawings. It will be the same for manicure on all nails or may vary in size of the patterns. If you are not able to draw or the hand is still not sufficiently well “stuffed”, for the decoration of nails, the masters recommend using the stencil technique of applying patterns.


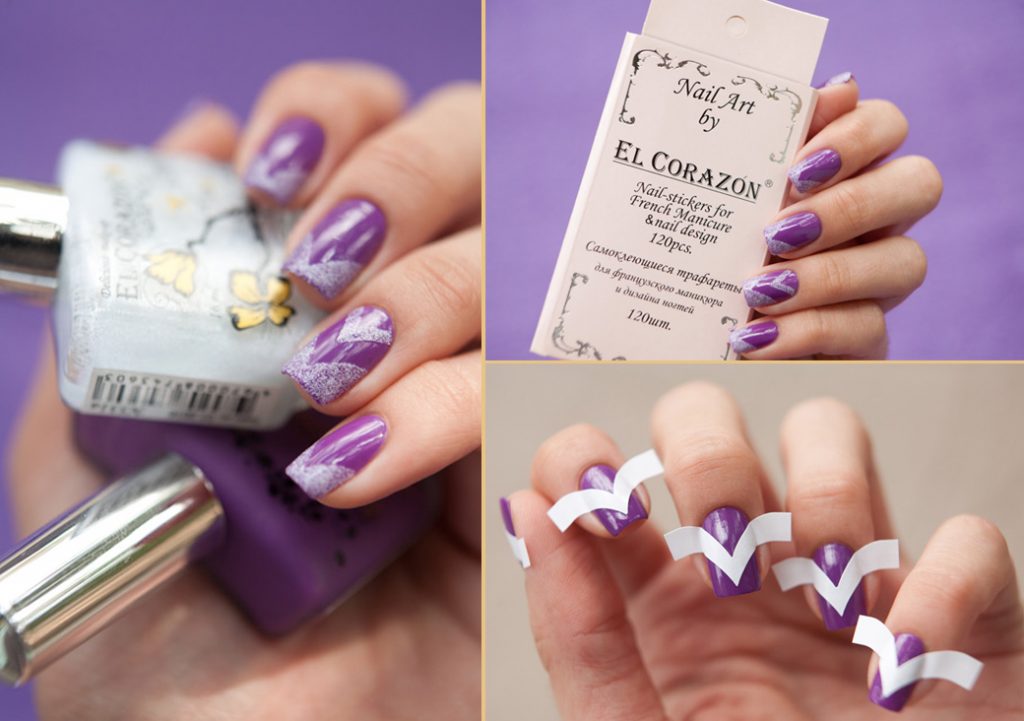
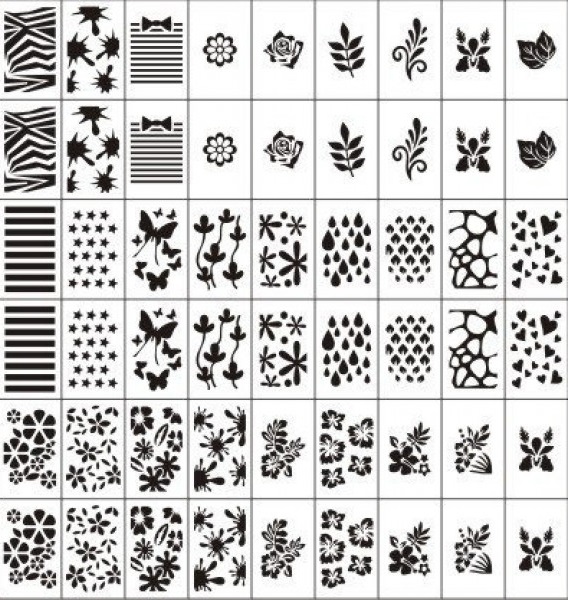
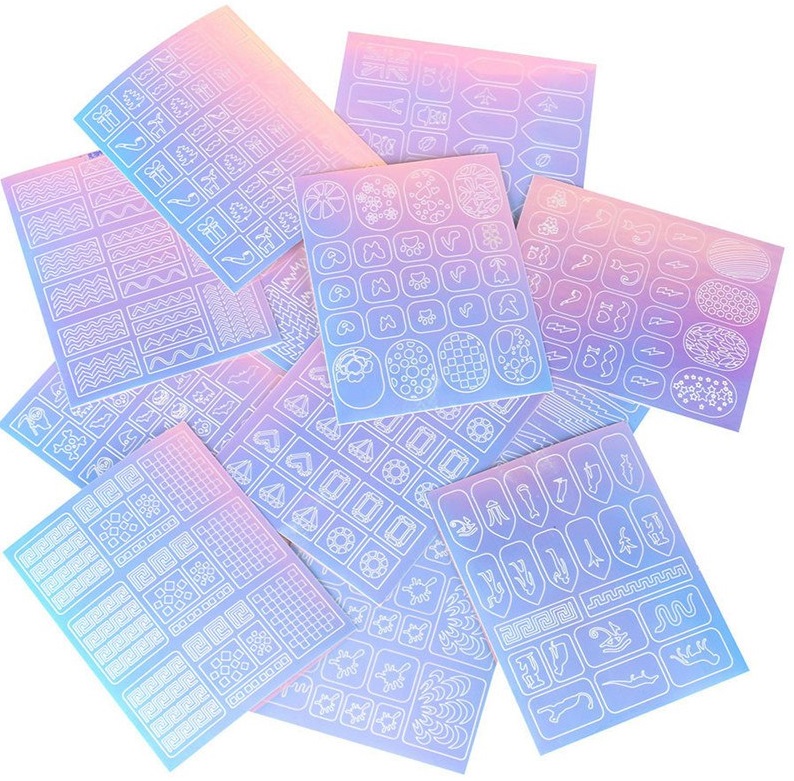
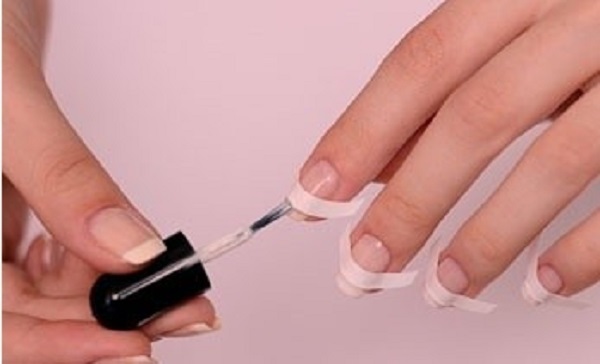
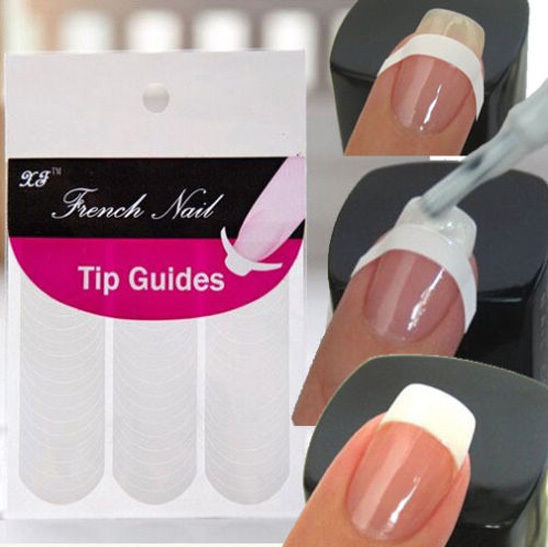
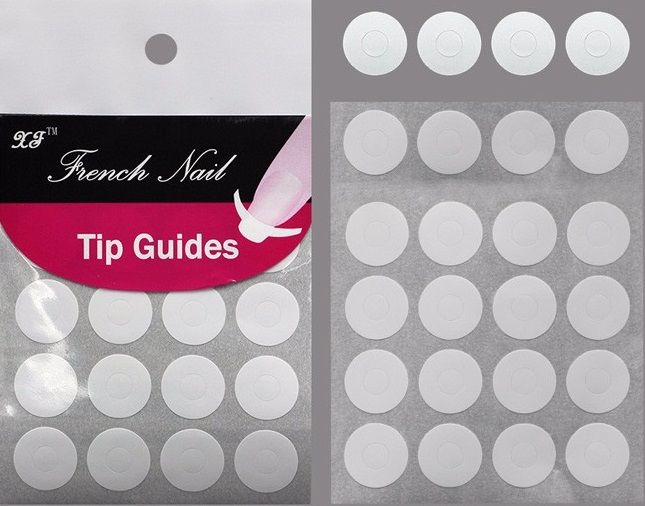
The distribution of stencils for nail design began with the use of simplest strips to create a French manicure. At the moment there are thousands of variants of drawings and patterns, embodied in a variety of stencils. You can choose simple plain figures, luxurious flowers, painting in oriental style or the whole scenes and landscapes.
There are affordable options for disposable paper-based use.and stencils for reusable use by professionals (they are much more expensive, and some skills are needed to use them). A special place here is occupied by sets for stepping. If desired, you can make stencils yourself, as will be discussed below.

Kinds
It is reasonable to choose a specific type of stencil from economic feasibility, taking into account the frequency of use and the level of professional skills. Also important in the selection is the type of pattern and the effect that should be on the nails. They can be used with the usual varnish or one of the trendy types of gel polish.
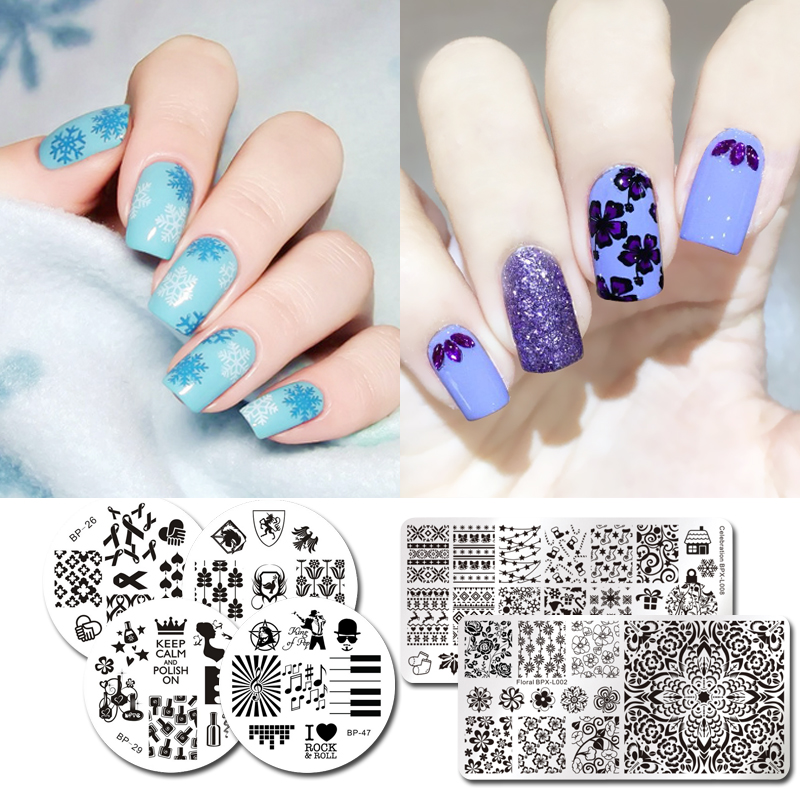
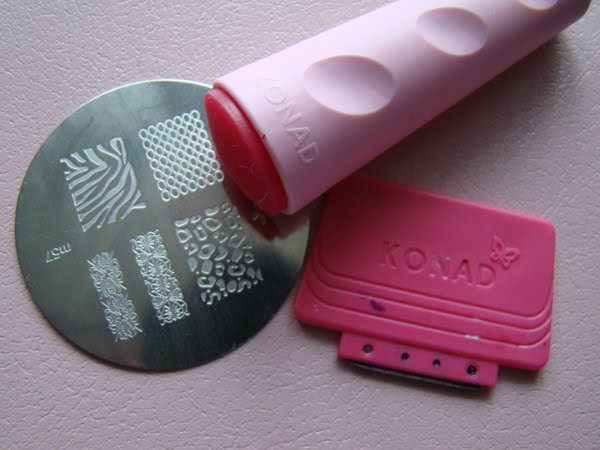
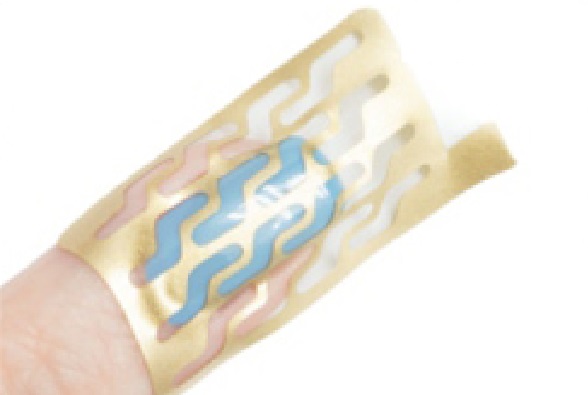
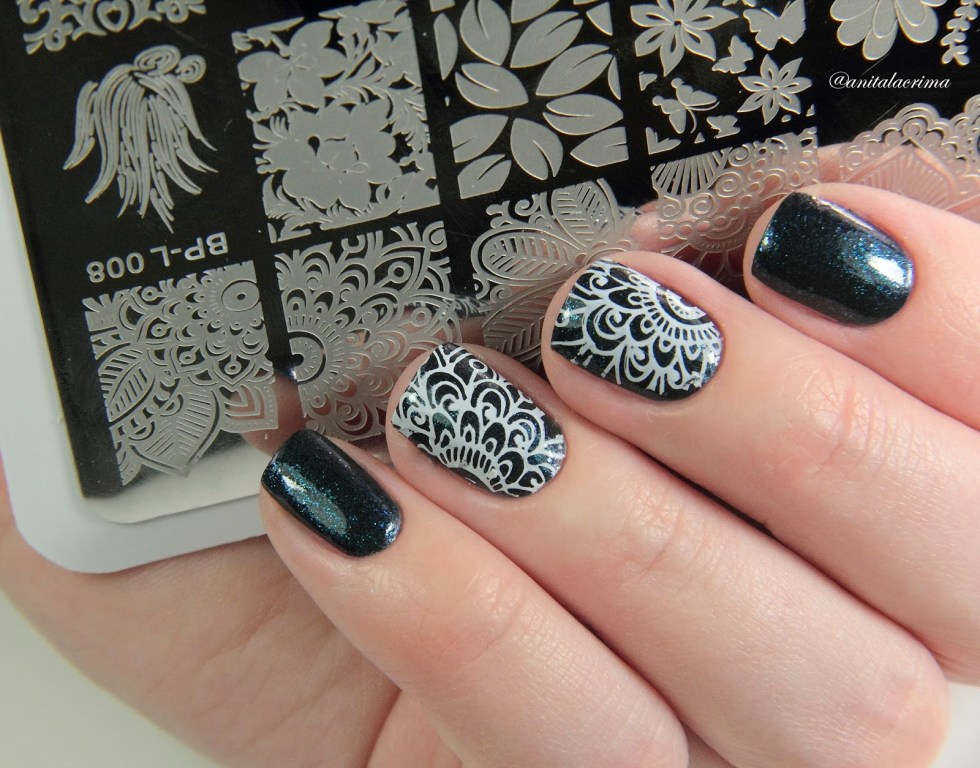
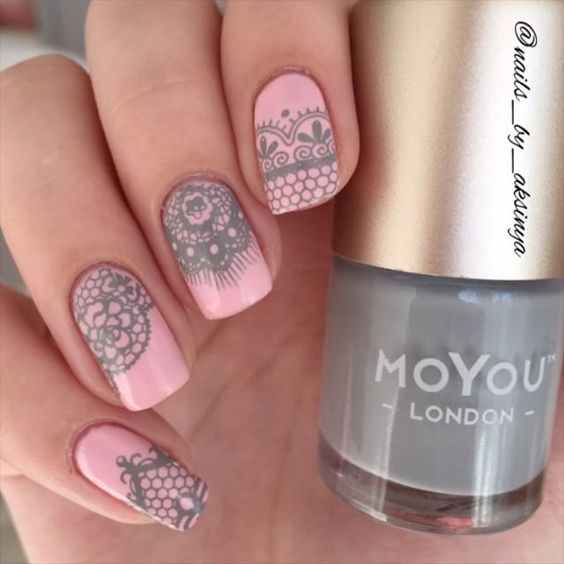
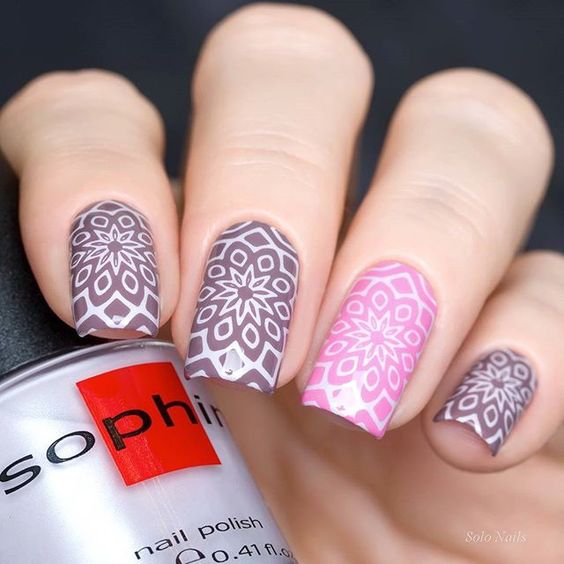
Stamped
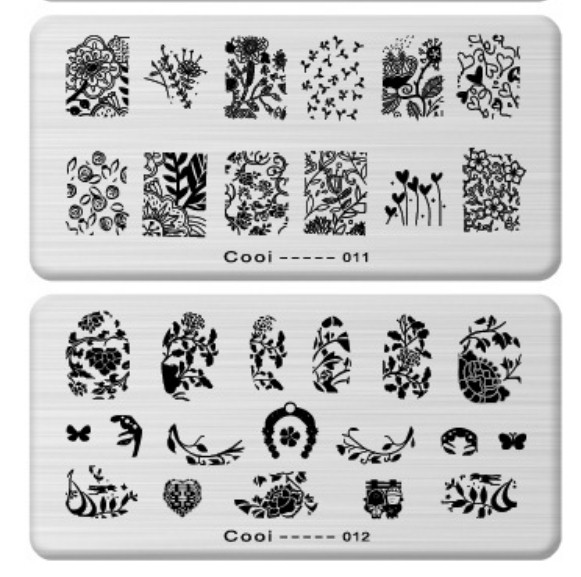
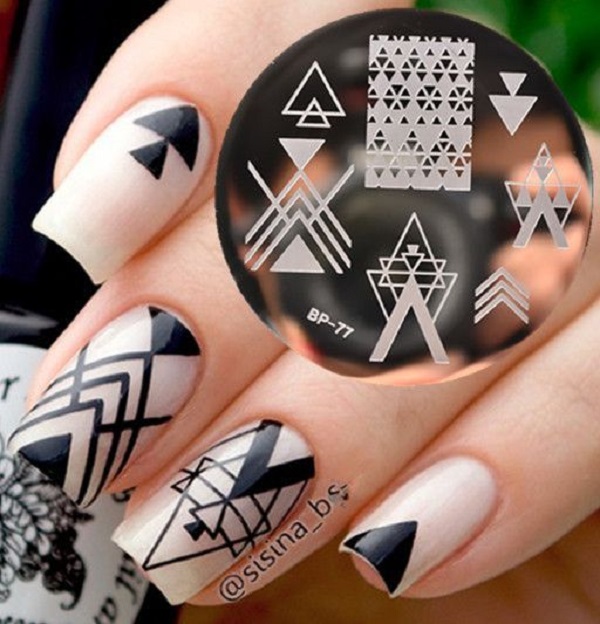
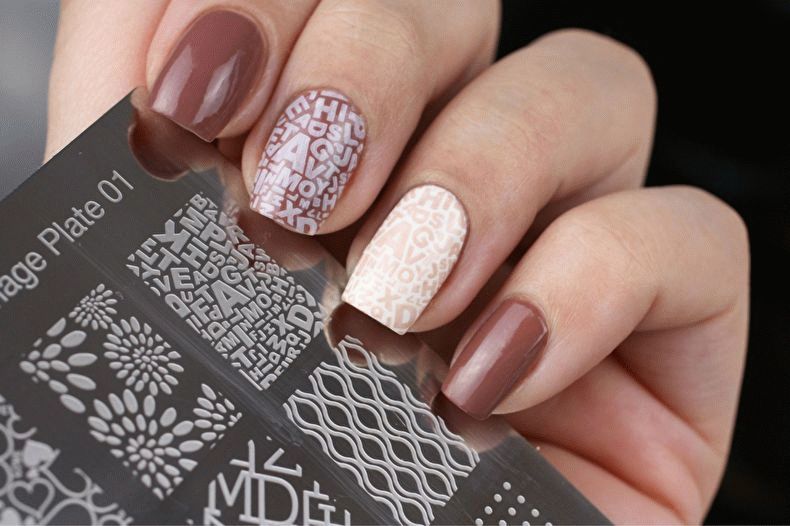
This type of stencil refers to a reusable material. A completely new species that has already gained great popularity among both beginners and masters. They are usually sold in sets in the form of metal (more expensive) or plastic plates, rubber pads (roller) for transferring the pattern to the nail and a special scraper for removing excess paint from the plate.
Possible additional items in the set.
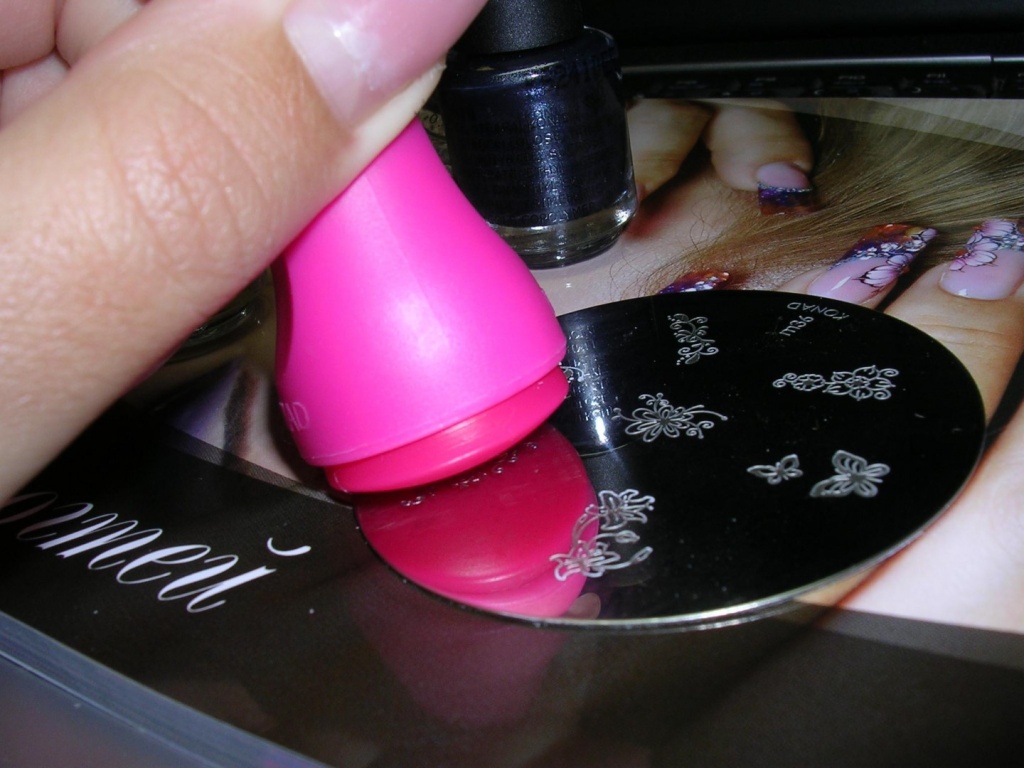
Different groups of patterns are usually applied on one large plate. (8, 12, 16 on one). The pattern is selected and covered with a special paint for stamping. Excess pigment is removed from the plate with a scraper. Then pressing the pattern is transferred to the rubber pad, and already from it is imprinted on the nail plate. The process is simple and gives a spectacular result. Be sure to fix it with a top coating.

For drawing
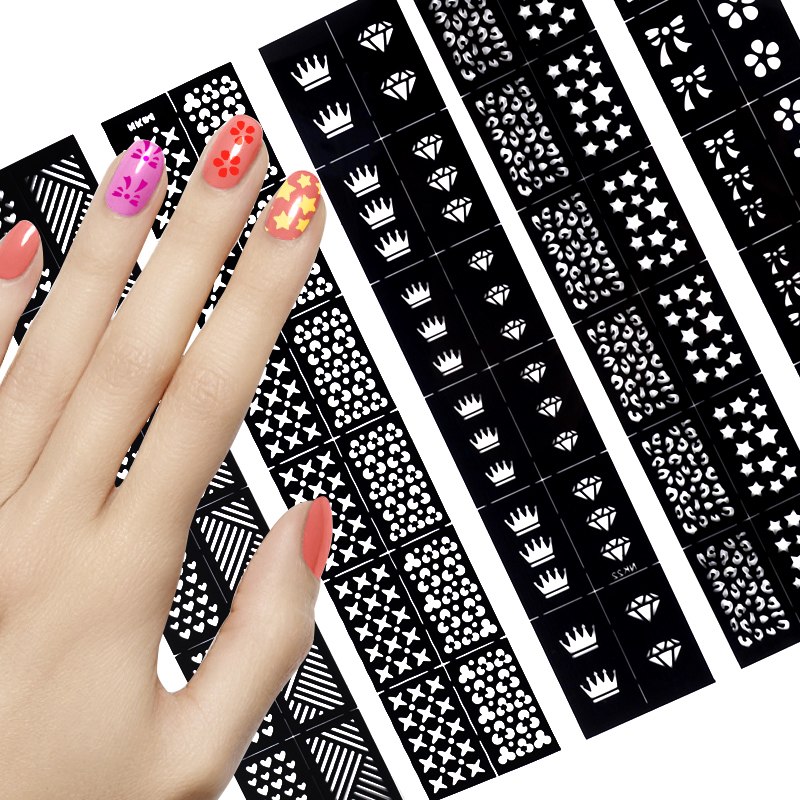
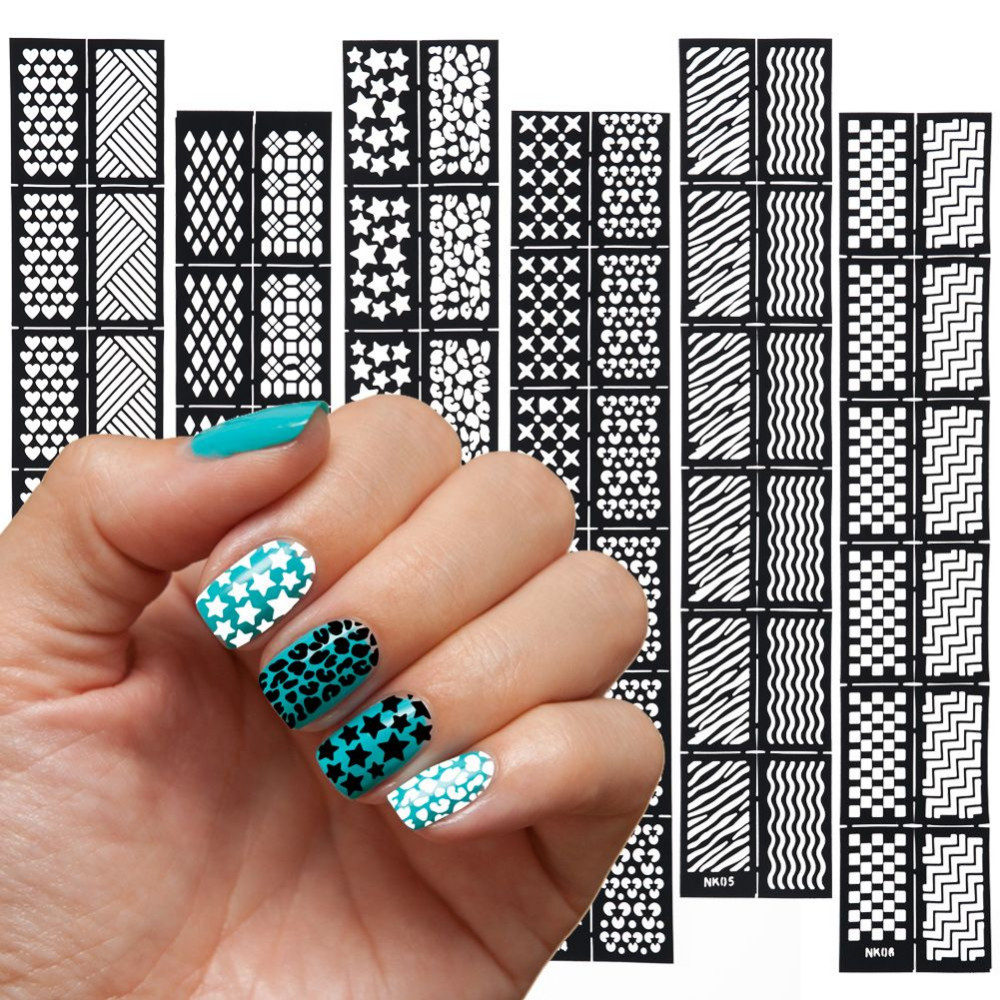
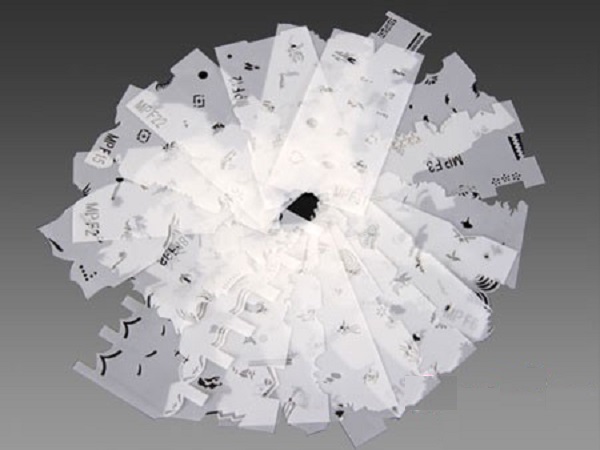
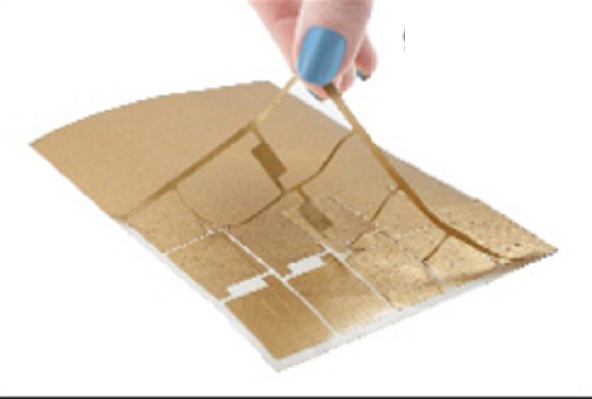
When applying a pattern with a brush, disposable stencils are most often used. They are cheap and sold in sets.Their main advantages: ease of use, reasonable price, a huge selection of options for design from simple shapes and graphic design to the most sophisticated subtle patterns.
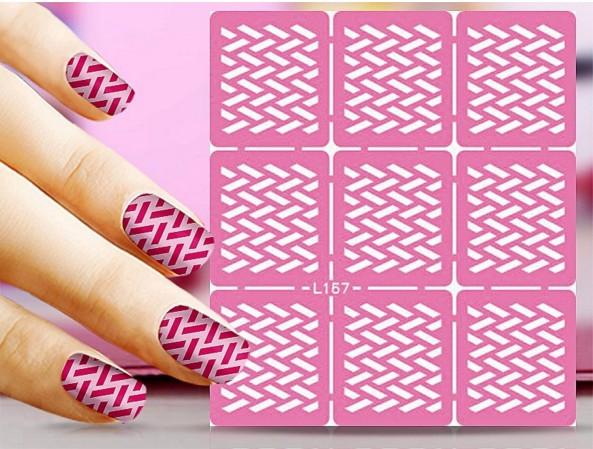
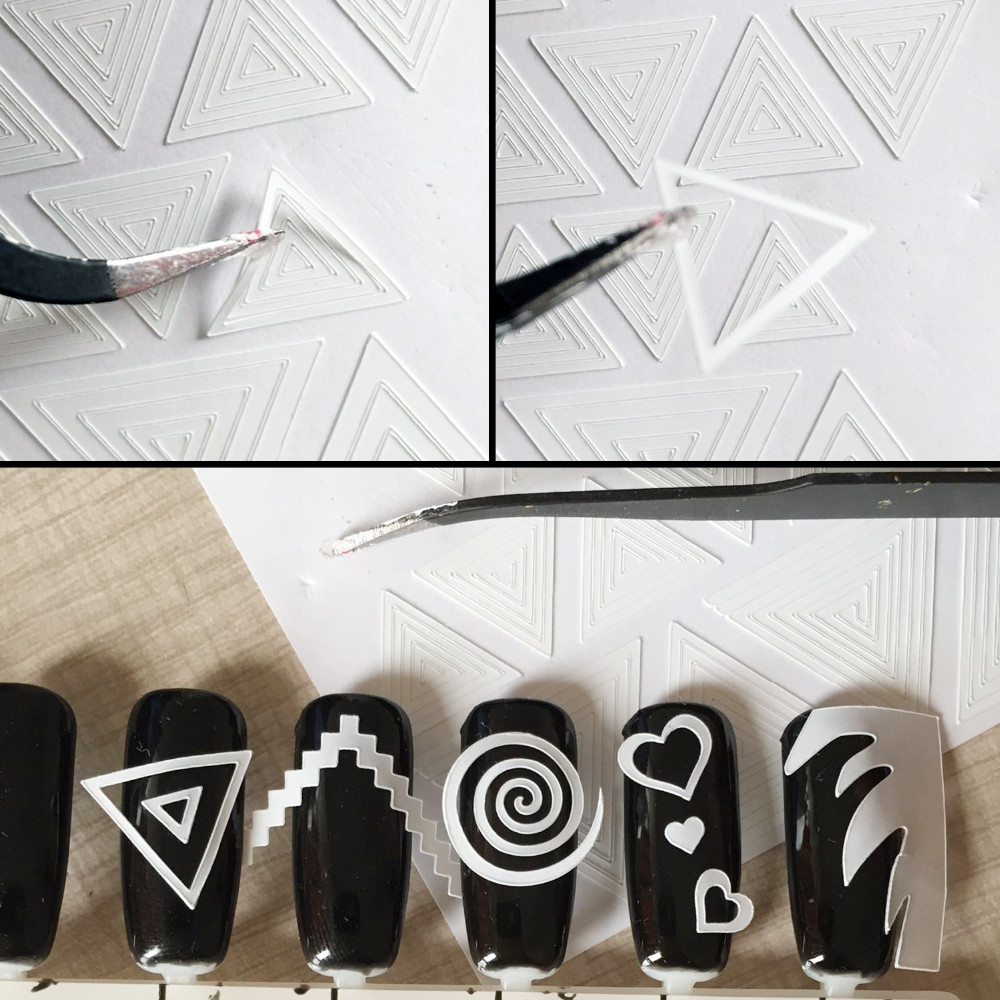
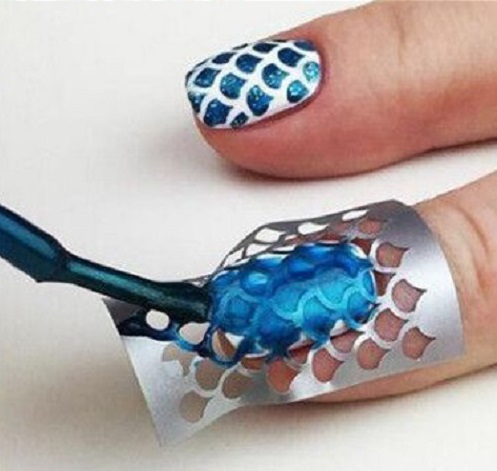
A stencil of paper is glued with a sticky side to a well-dried nail. Level on the nail with an orange tree stick. Fill the free space with gel or lacquer in a contrasting color. After drying with a quick movement, the stencil is peeled off from the nail. Before applying the pattern, it is important to ensure that all the edges of the stencil are properly glued and the varnish does not fall outside the boundaries of the outlines.
More expensive reusable options are usually used by masters in nail salons. They require a certain skill and experience in using stencils.

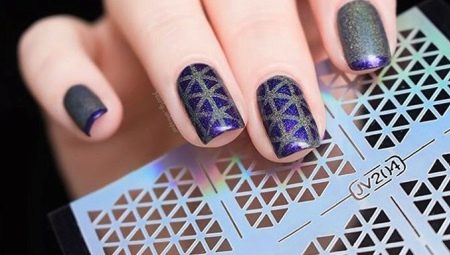
Vinyl
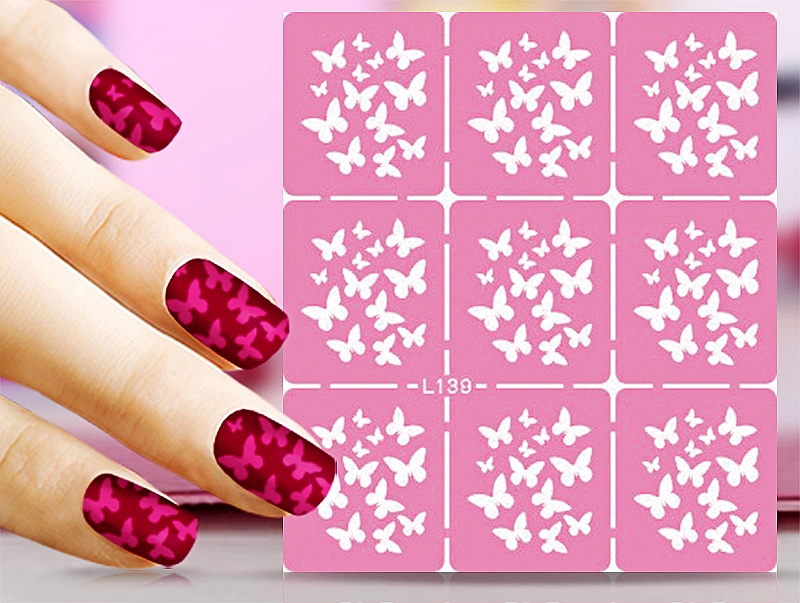
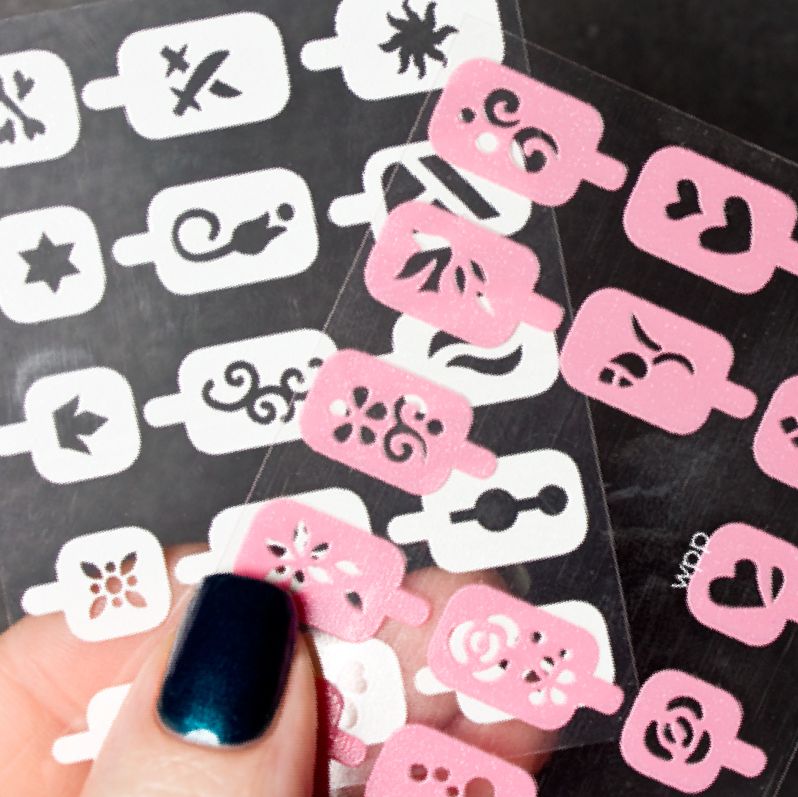
Vinyl stencils in the form of stickers are disposable options. Their cost is slightly higher, and some craftswomen manage to use them repeatedly. Compared with paper counterparts, they have significant advantages. Such stencils fit better to the nail and almost do not create opportunities for paint leaks beyond the boundaries of the stencil outline of the pattern. They are much easier to evenly position on the nail plate.
At the same time careful leveling is not required, because bubbles and folds on such a stencil are not formed.
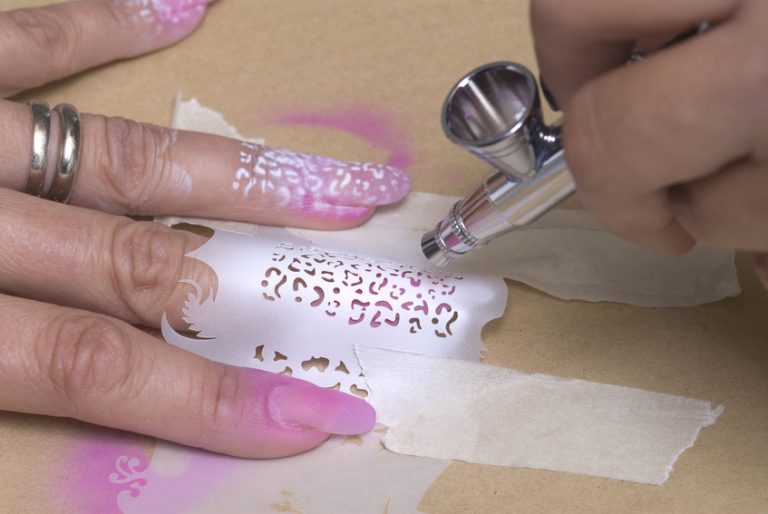
For airbrushing
These materials are used by the professionals of nail art, since the design with the coating with an ombre using the airbrush method requires a special device - an airbrush. Airbrush blanks are usually made from a thin film, less often from metal. After attaching the sticker film to the nail and leveling the surface spray paint is applied using an airbrush. After drying, the stencil is removed.
How to use?
Properly use stencils will help step by step instructions create the original design. It is applicable both to make simple patterns, and for drawing complex drawings.
Use the advice of experts to accurately and fully translate the desired pattern on the nail.
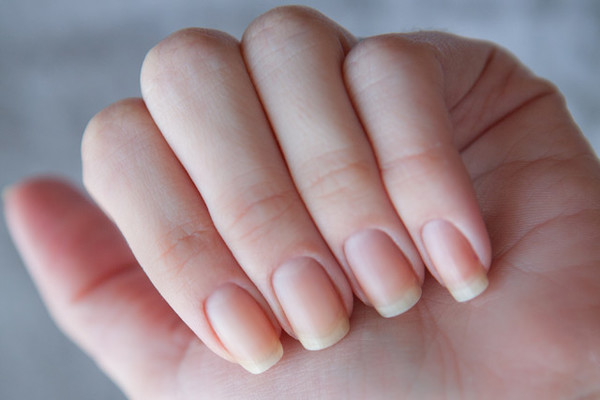
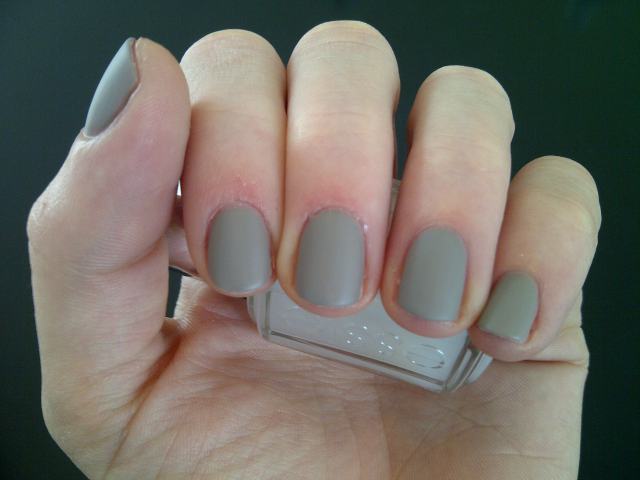
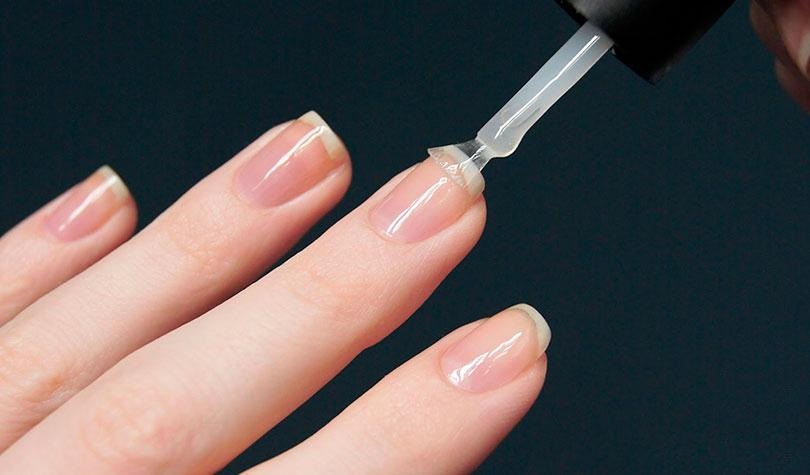
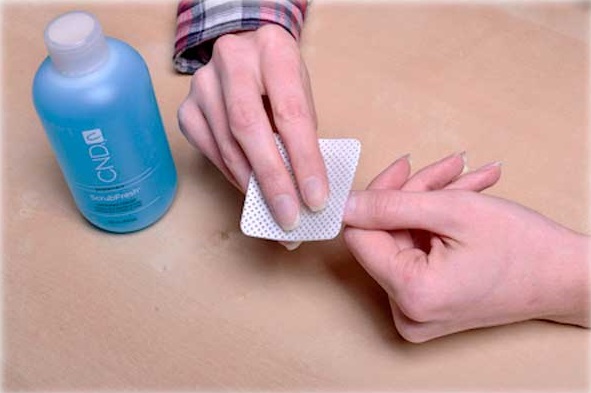
- Before you begin decorating, you should properly prepare the marigold. To do this, perform the usual manicure. Special means remove the remnants of the previous manicure. For nails and skin make a bath that strengthens the nails. The cuticle is cut or removed in the usual way. Nails file to the desired shape and size. Then the nail plate is treated with a buff and a degreasing agent is applied. A mandatory step for any manicure is to apply a colorless base coat to protect the nail and prolong the manicure resistance.
- Next, you can begin to create the actual design of the manicure and apply the selected base gel polish. Use one or two layers, each of which is thoroughly dried under a UV lamp for at least 2 minutes.
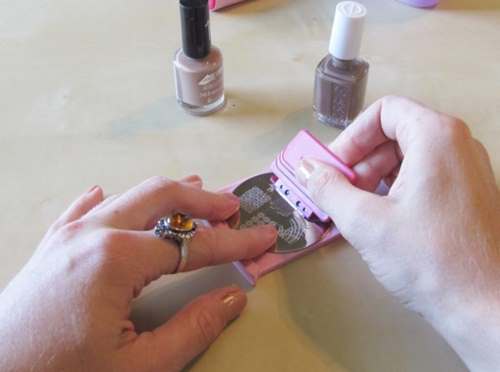
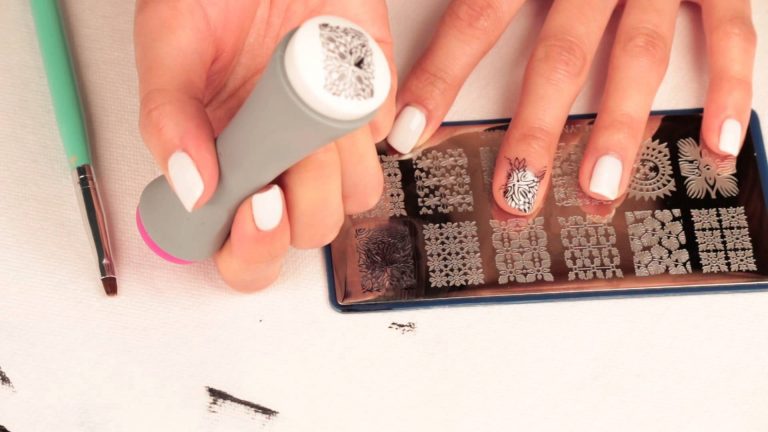
- To transfer the drawing using the stemping technique, select the desired ornament on the plate. We put on it a special tool for stemping. Ordinary gel or varnish does not work, because it does not have the desired properties and texture. Paint is usually applied with a brush. Remove excess paint from metal stamp. Then make an imprint on the rubber stamp, tightly pressing it to the plate.
- Before applying to the nail make a couple of prints on plain paper. Then transferred from the pads selected pattern on the nail plate tight pressing. Manicure will be polymerized again. For better durability, the resulting pattern is coated with a top coat, which is dried under a UV lamp and removed from it by a sticky layer.
Using conventional disposable patterns for patterning is even simpler in technique. However, to please the result, It is worthwhile to carefully get acquainted with some of the subtleties of such a manicure, which are told by the nail industry professionals.
- When using adhesive templates, gel polish should be applied as thin and uniform as possible. So he can dry out better.And when removing the template, the ability to remove paint from the base layer will be reduced to zero.
- Especially carefully you should follow the tight fit of the stencil, because the paint leaking over the edges of the picture can spoil the whole picture. Paint over an empty slot starting from the middle towards the edges.
- Align the design of the picture will help professional trick - the use of self-leveling top-end coating.
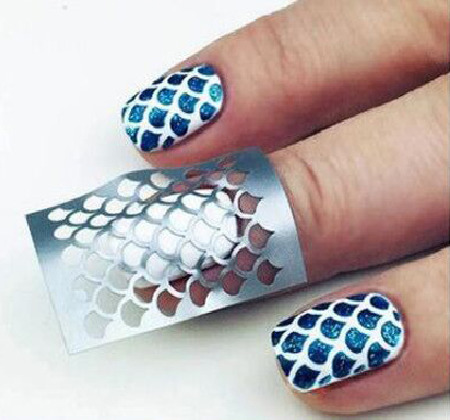
- When removing the template is best to use tweezers. They grab the corner of the sticker as close as possible to the nail plate and peel it off with a careful movement parallel to the surface of the nail.
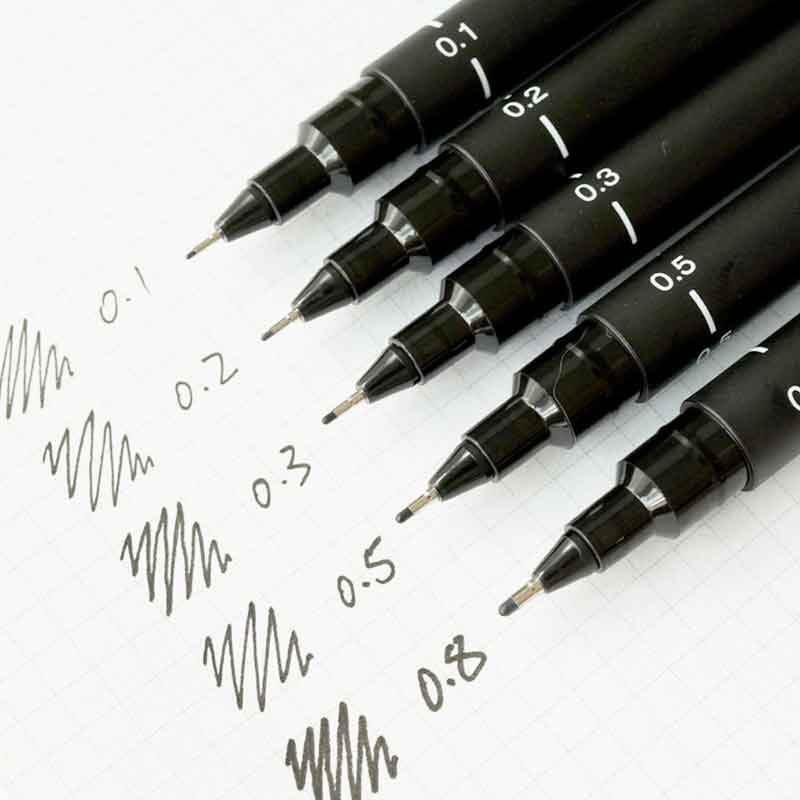
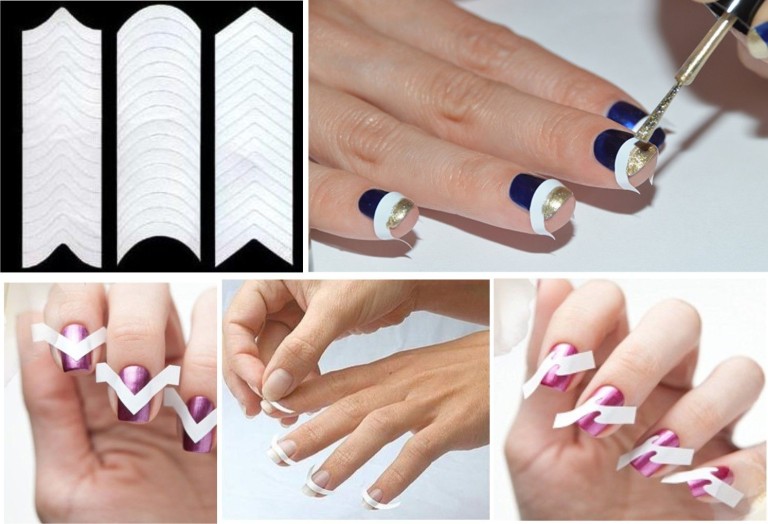
- For drawing complex patterns, grids or thin elements, it is best to use the thinnest brush of zero size or a toothpick. When creating a trendy geometric pattern, you can use regular strips of tape.
How to do it yourself?
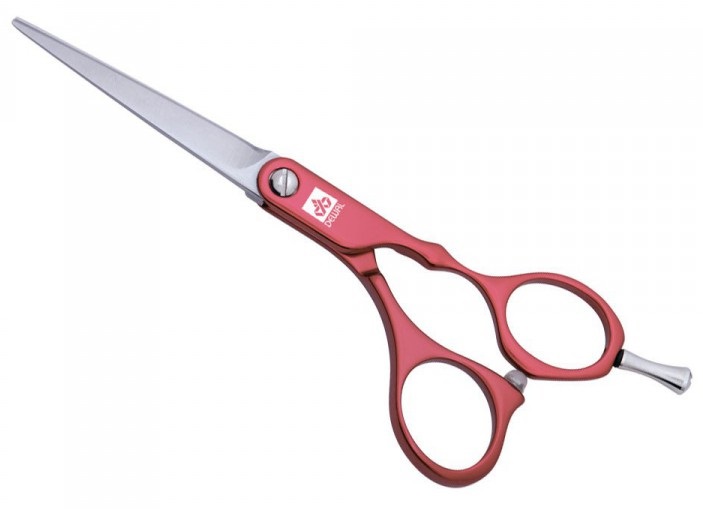
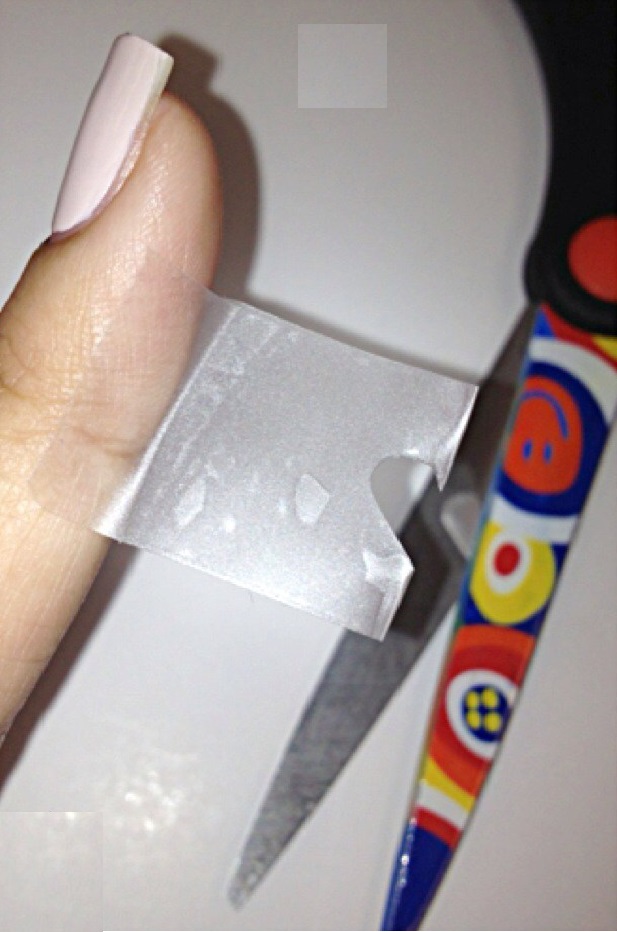
If you can not buy ready-made stencils or you want to create your own unique design that is not available for sale, you can make them yourself at home. For this, paper or cardboard, scotch tape or masking tape, pen, thin felt-tip pen and scissors come in handy.
You can find pictures on the Internet or create your own, print them on a printer using scaling and reducing.

The actual size is usually much smaller than what is presented on different sites.
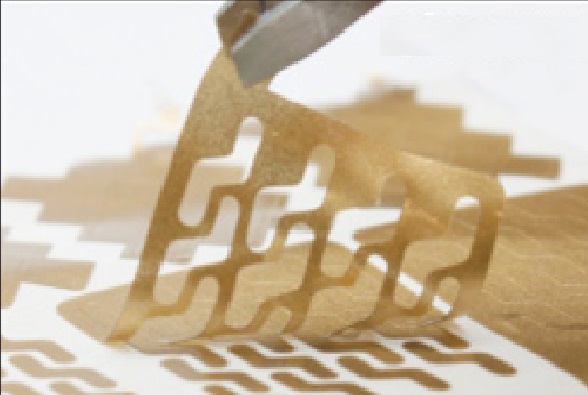
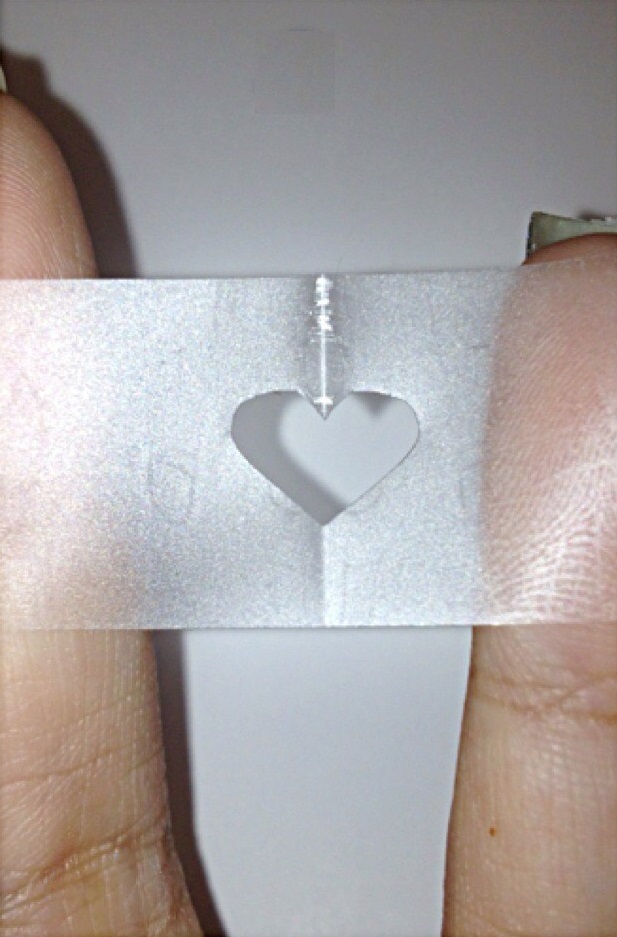
The drawing is transferred to the tape or masking tape with a marker. For the most delicate parts use a pen. Cutting templates on ready-made lines will not be difficult. Further we use such self-made templates, as well as usual shop. When applying to the nail, you will need to carefully smooth the stencil so that there are no folds or voids when it comes into contact with the surface.

Design Ideas
Stencil painting involves the use of different techniques. It is good both independently and in addition to various types of design. With the help of templates, the simplest and most popular French manicure is created, as well as its version - the lunar one.

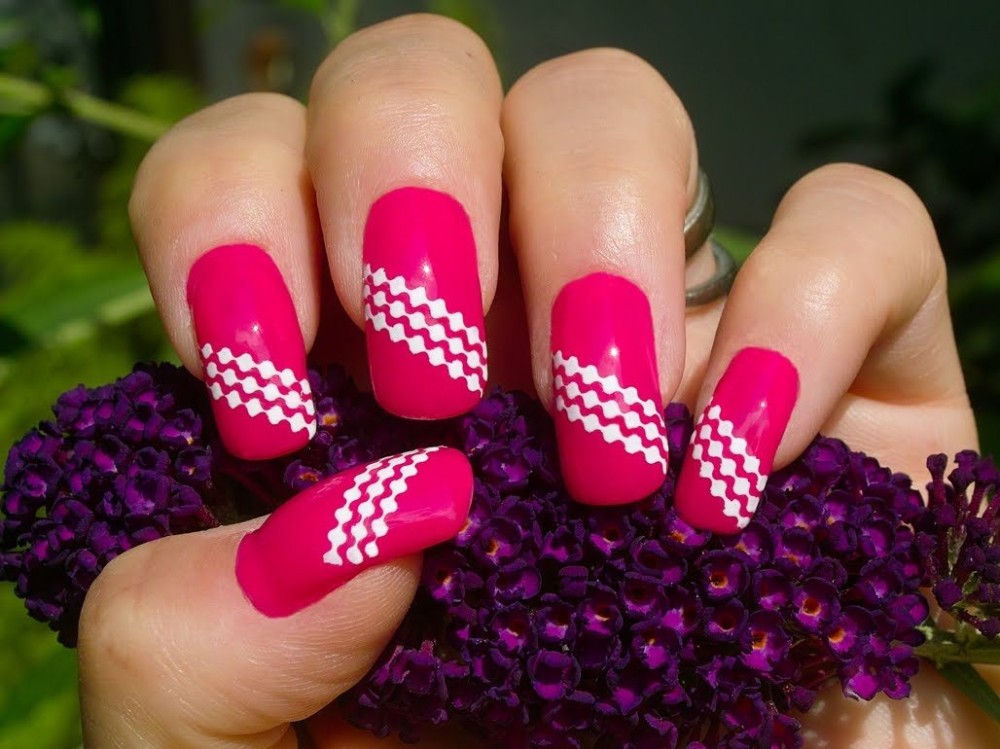
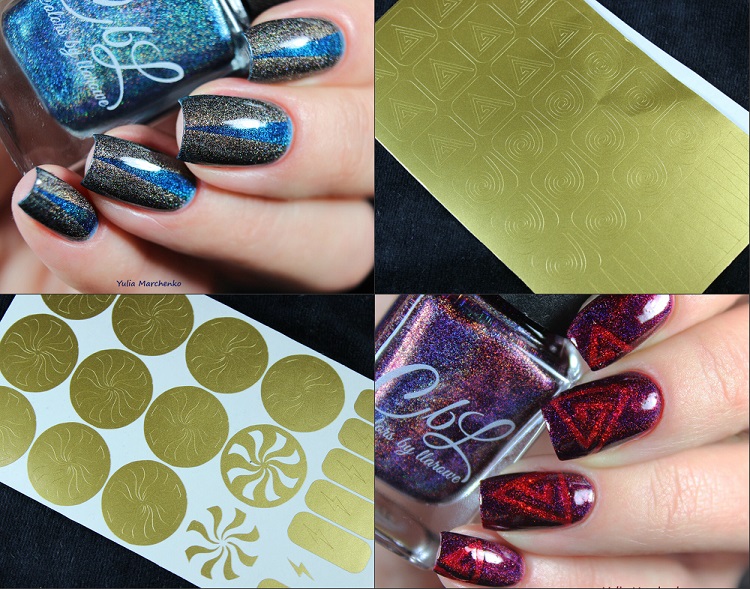
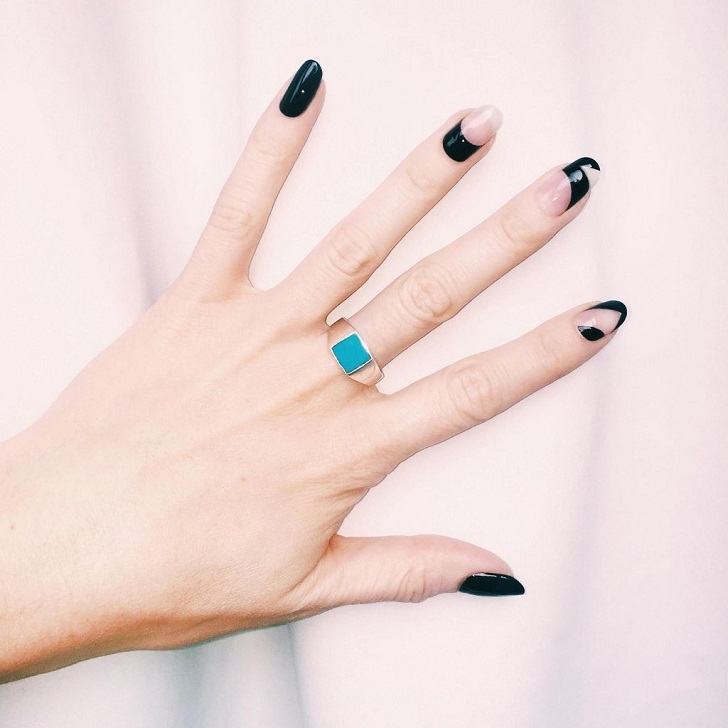
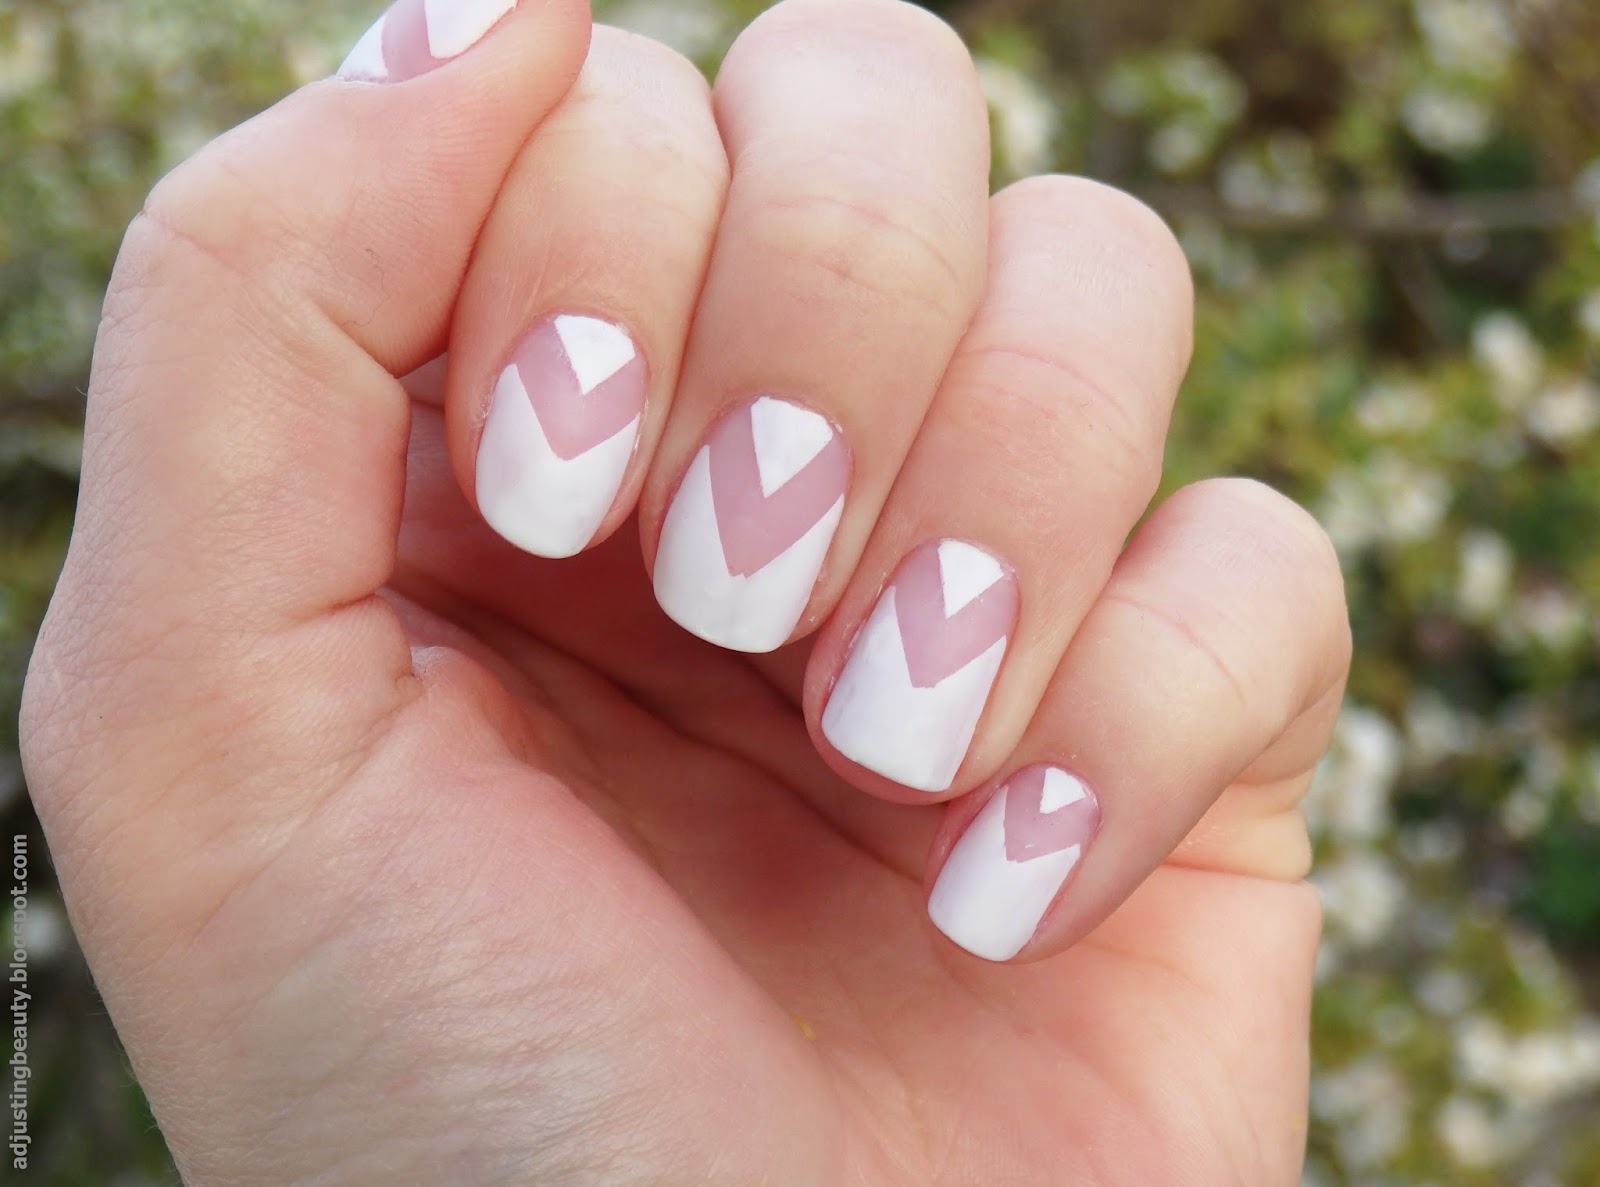
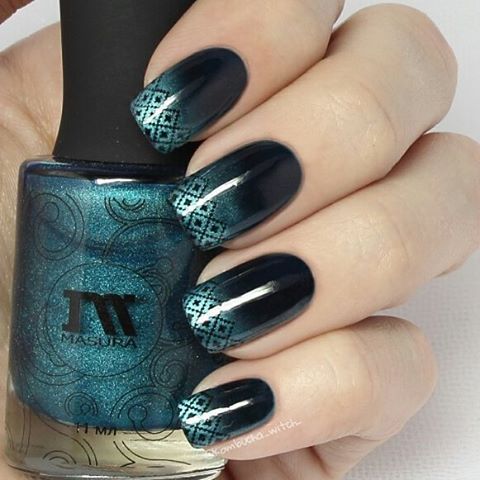
Fashionable geometric design is also easiest to implement using stencils of different shapes.
Stencil is the main device for creating a popular novelty: a manicure in the negative space technique. At the same time only one color of a varnish or gel is necessary. The stencil is not used to fill the inside with a contrasting color, as it usually happens. On the contrary, with the help of a template, the internal area remains empty. The effect of a cut on clothes is created.

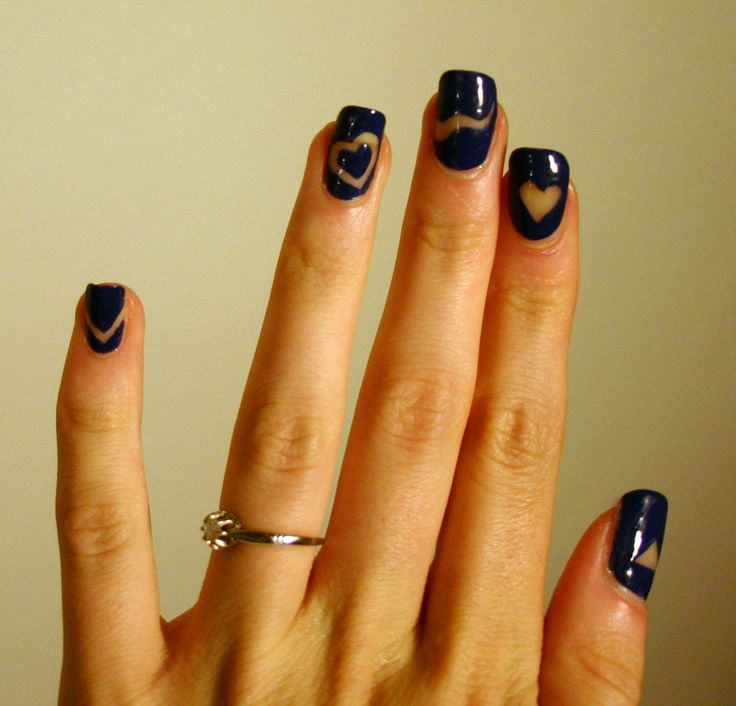
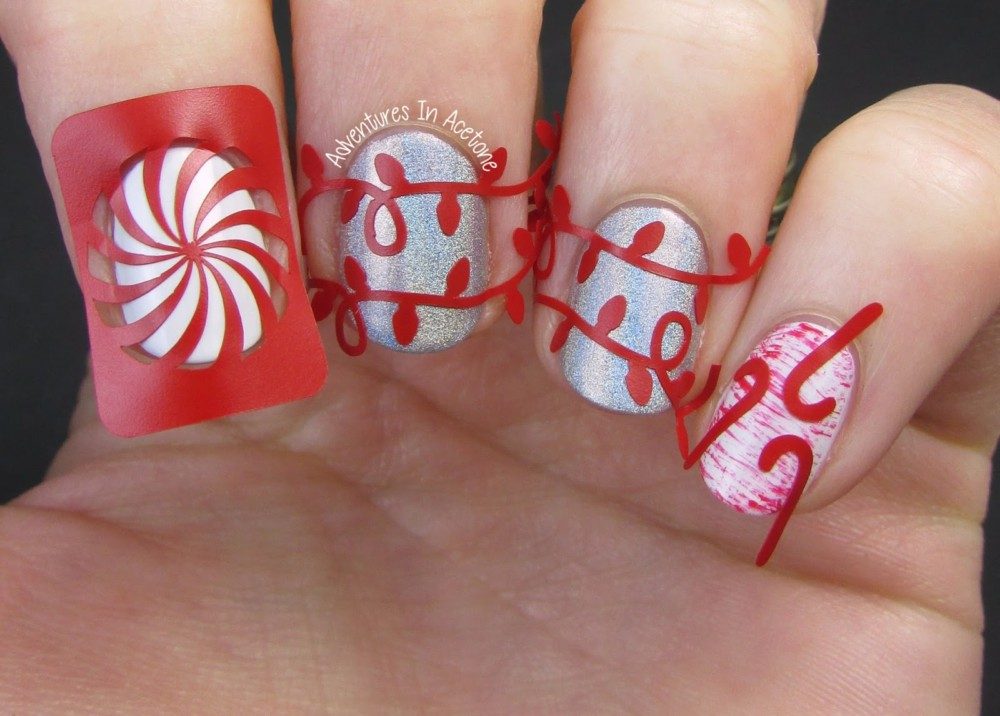
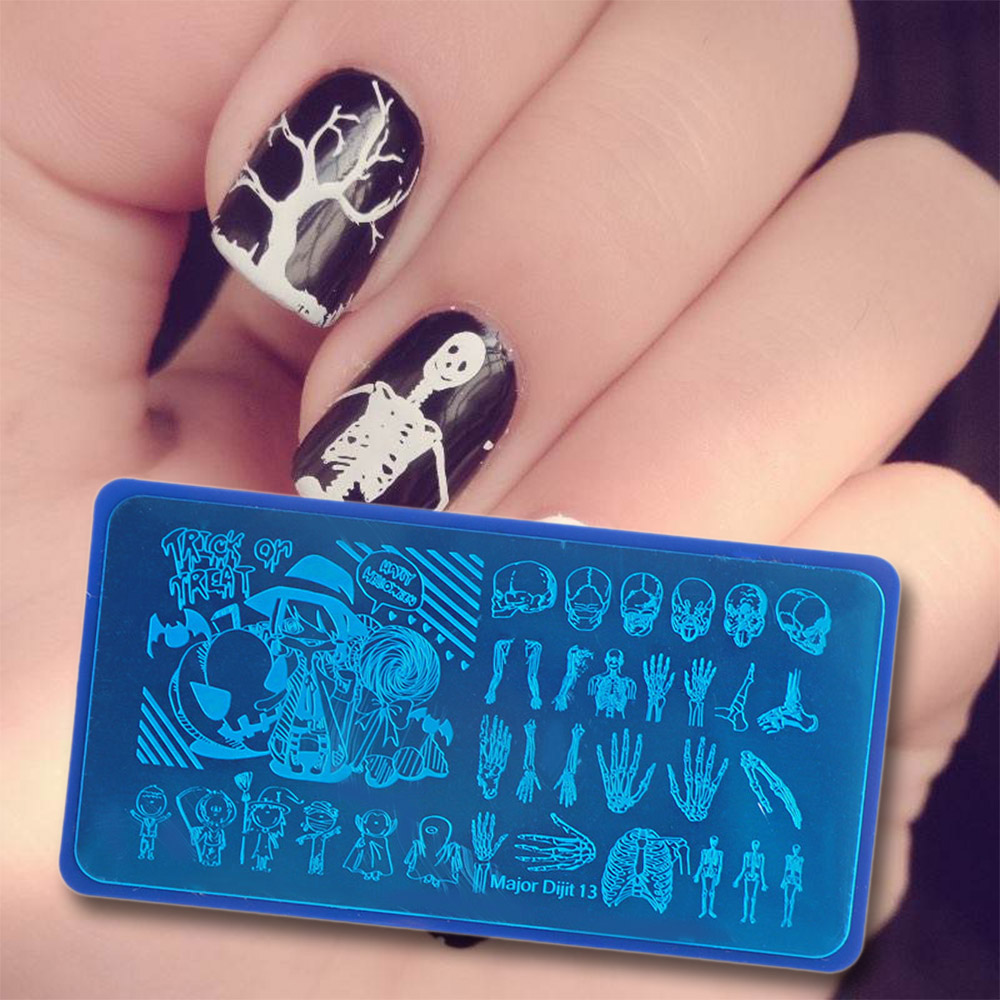
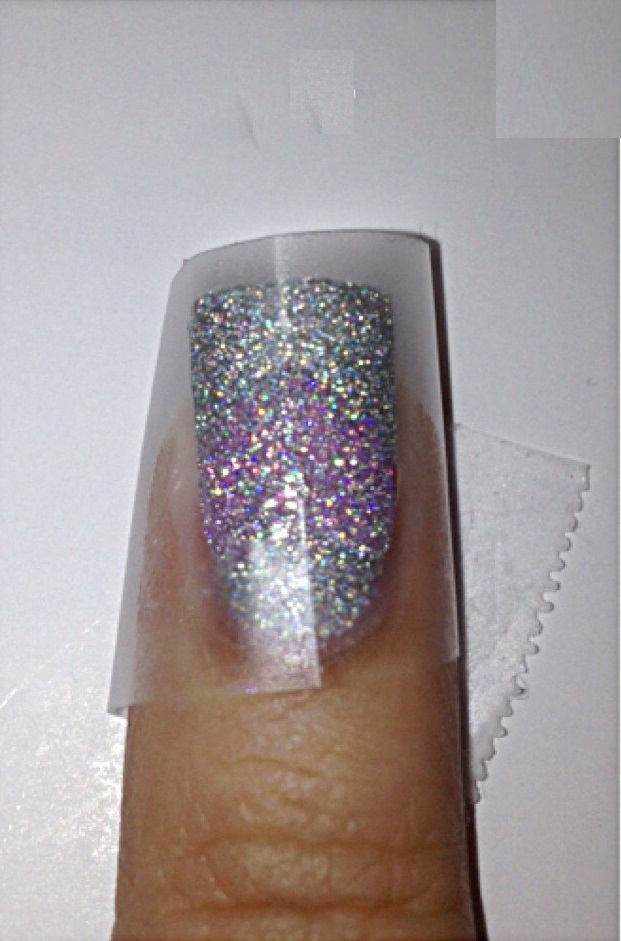
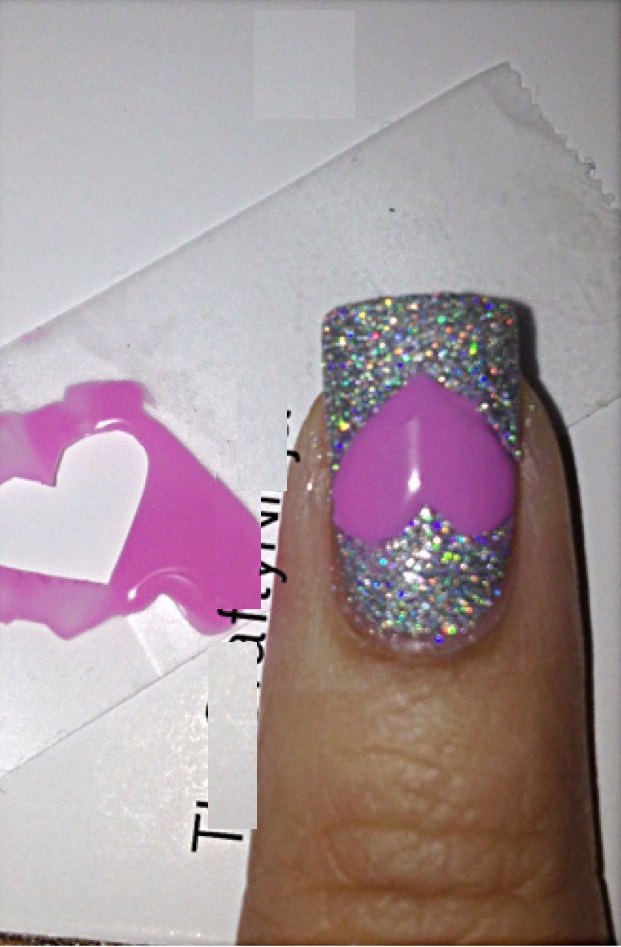
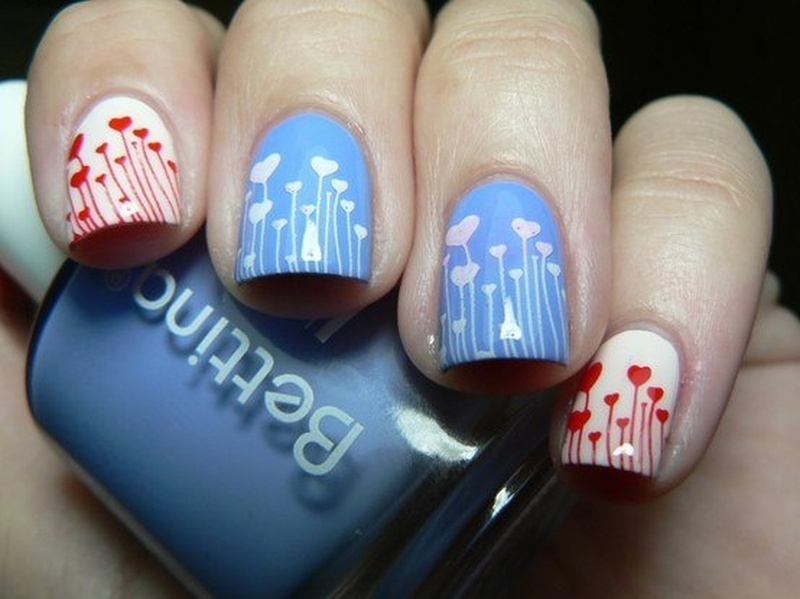
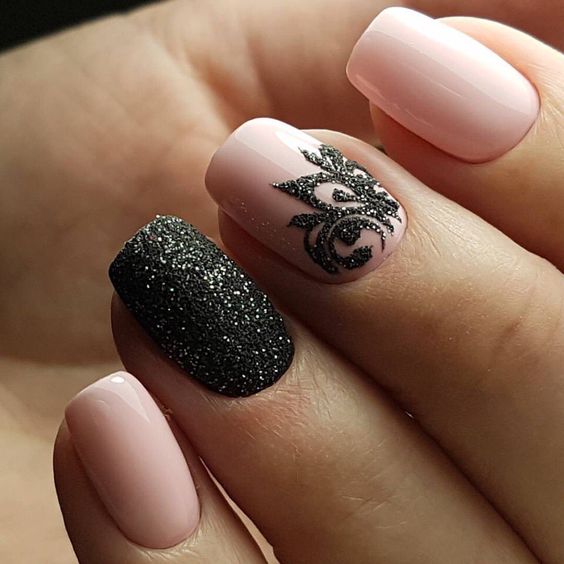
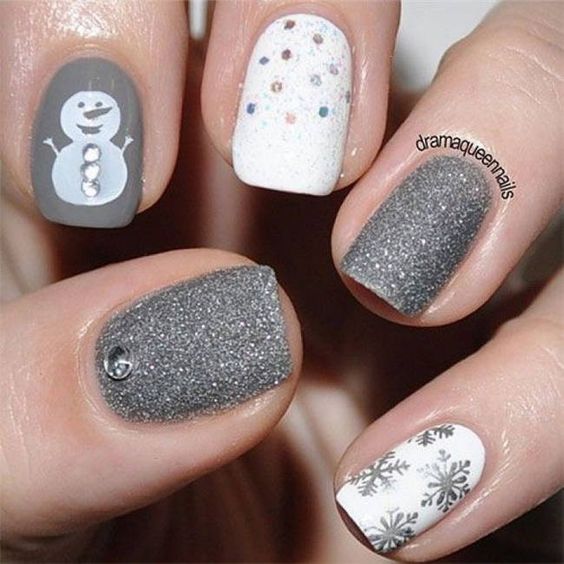
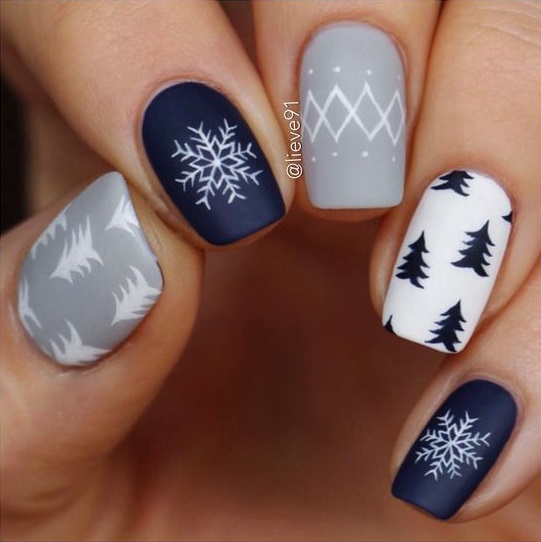
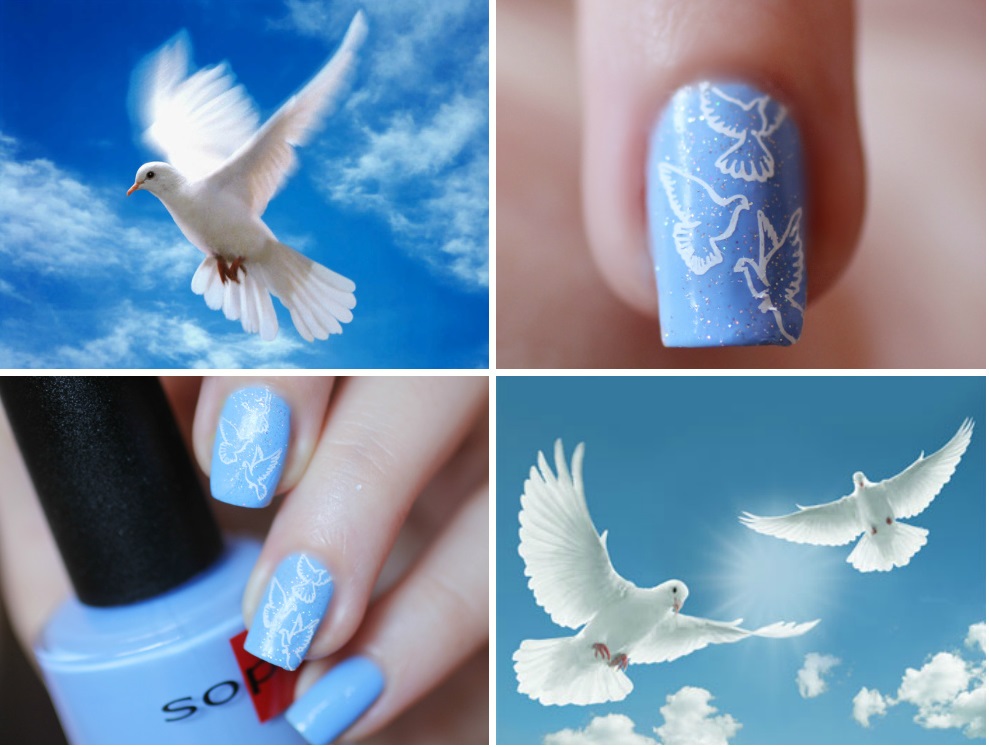
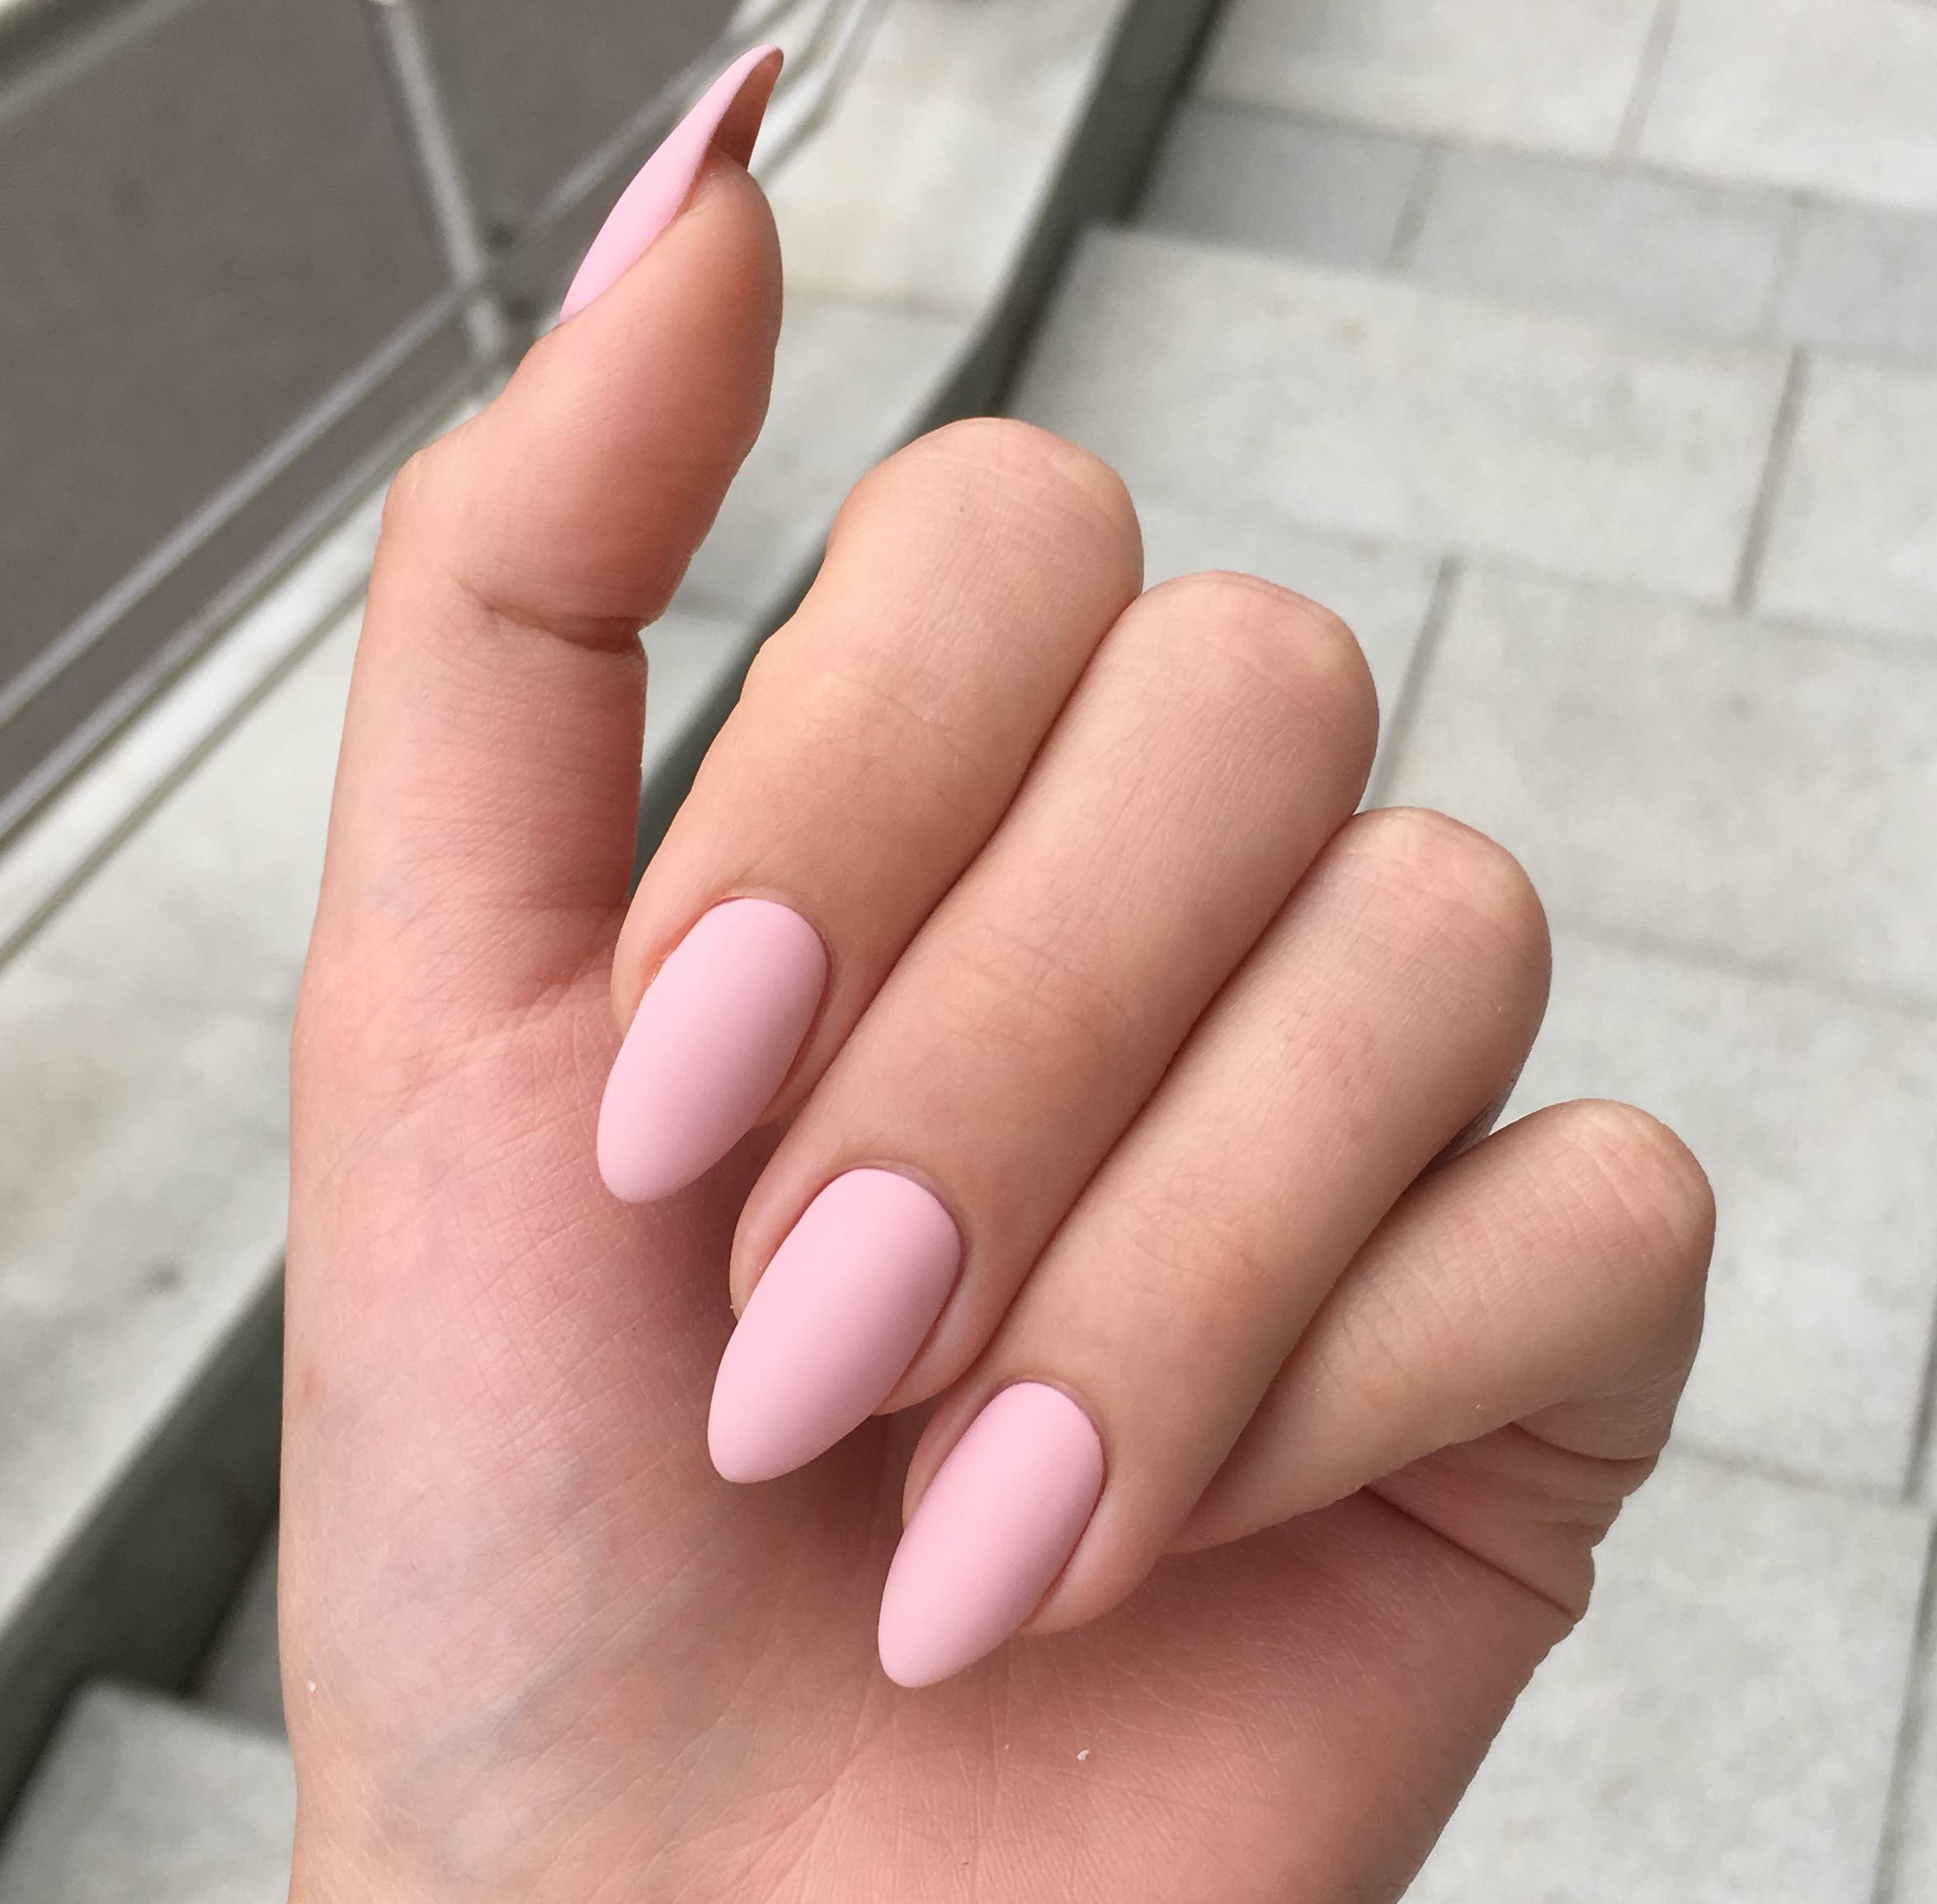
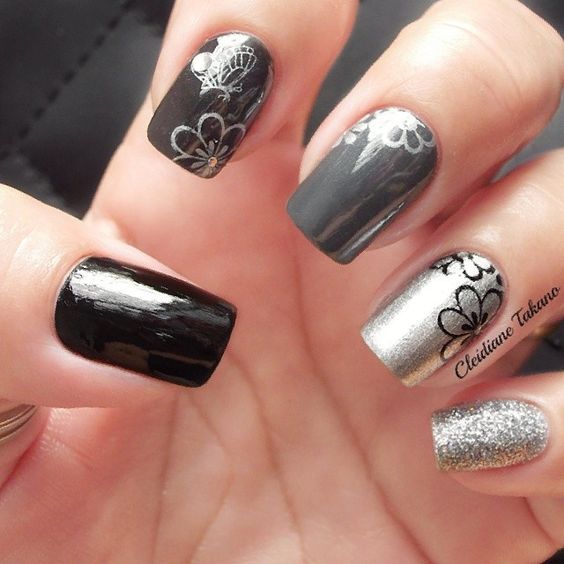
Creating a festive manicure with glitter painting and metallized materials will not do without stencil painting. It is appropriate to create gold and black monograms using various templates based on nude tones. Thematic manicure for the New Year is often created with the help of patterns in the form of snowflakes or more complex patterns: a snowman, Christmas trees, Santa Claus. Often used patterns masters and to create a design of nails for Valentine's Day. Colored hearts, kisses and doves bloom on the nails of most girls in the country.


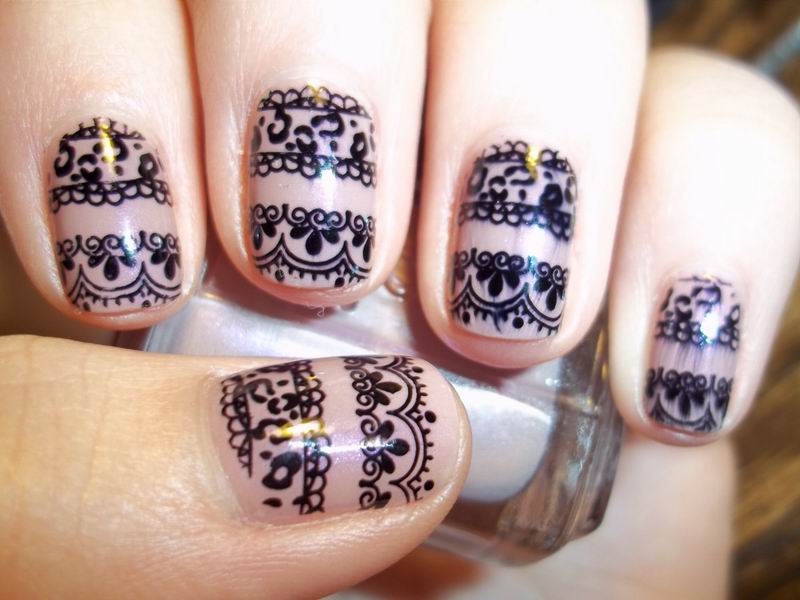
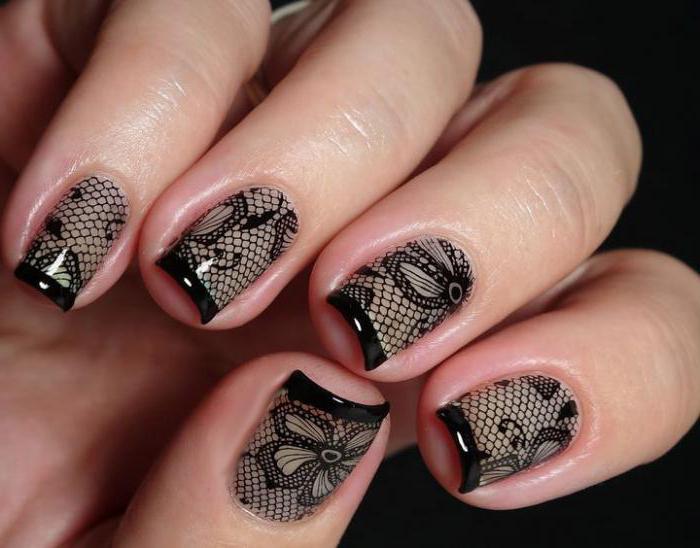
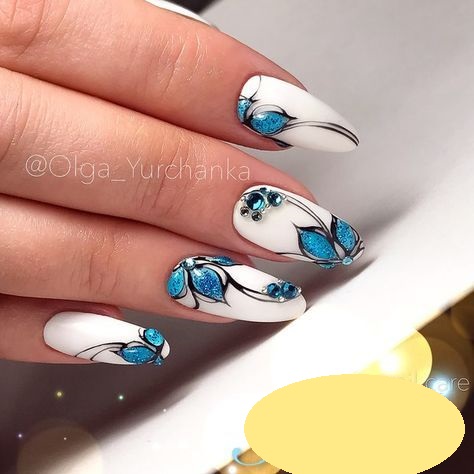
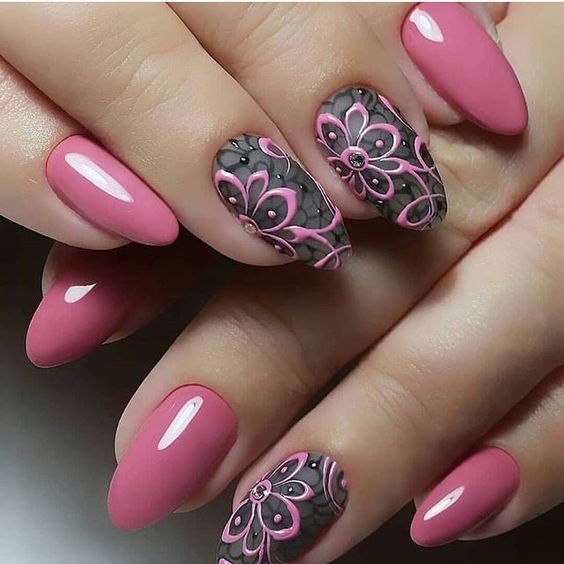
If you have not yet mastered the painting technique and are unsure of using a brush, and you really want to create a beautiful and elegant drawing, use stencils to create an ornament in the form of fine lace or mehendi painting.
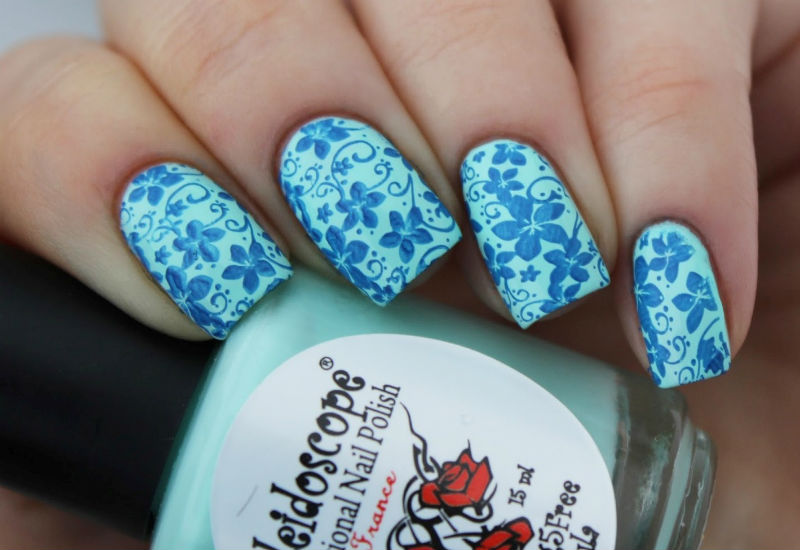
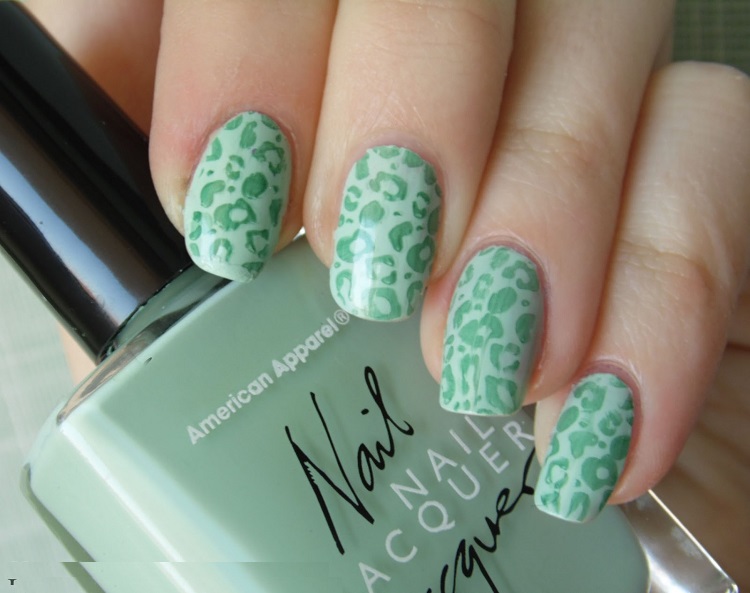
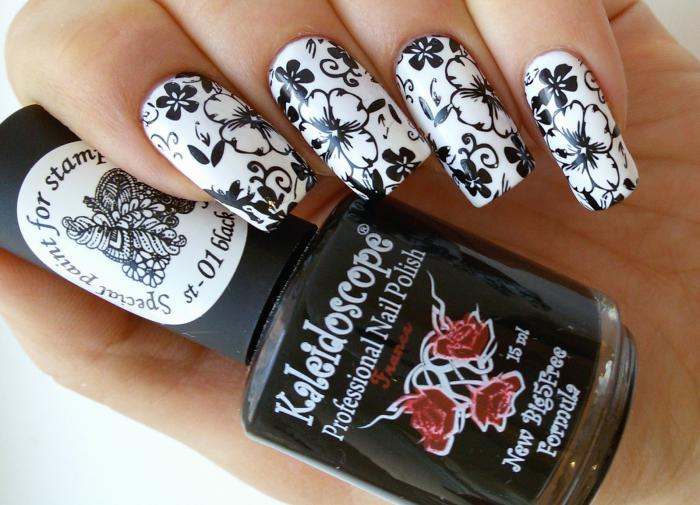
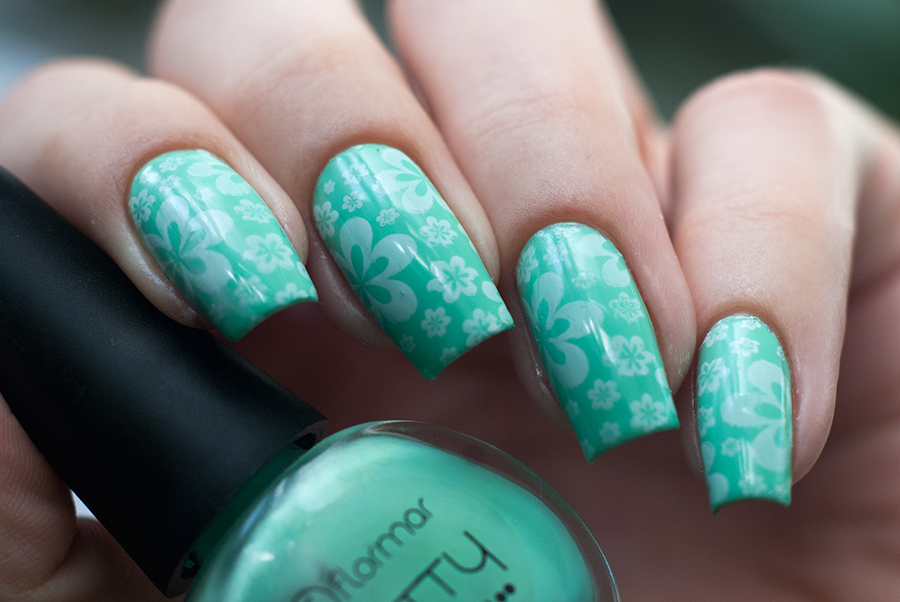
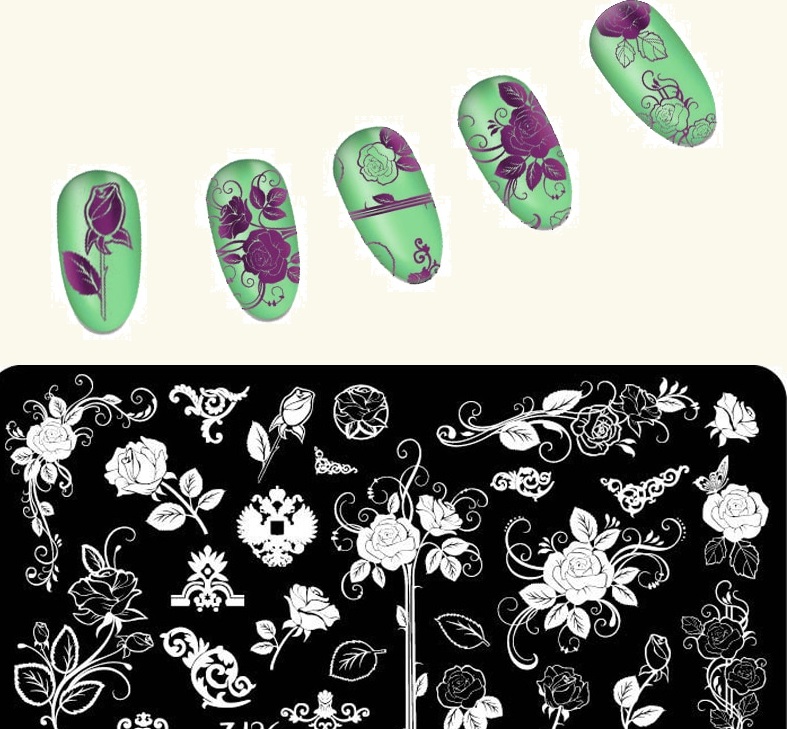
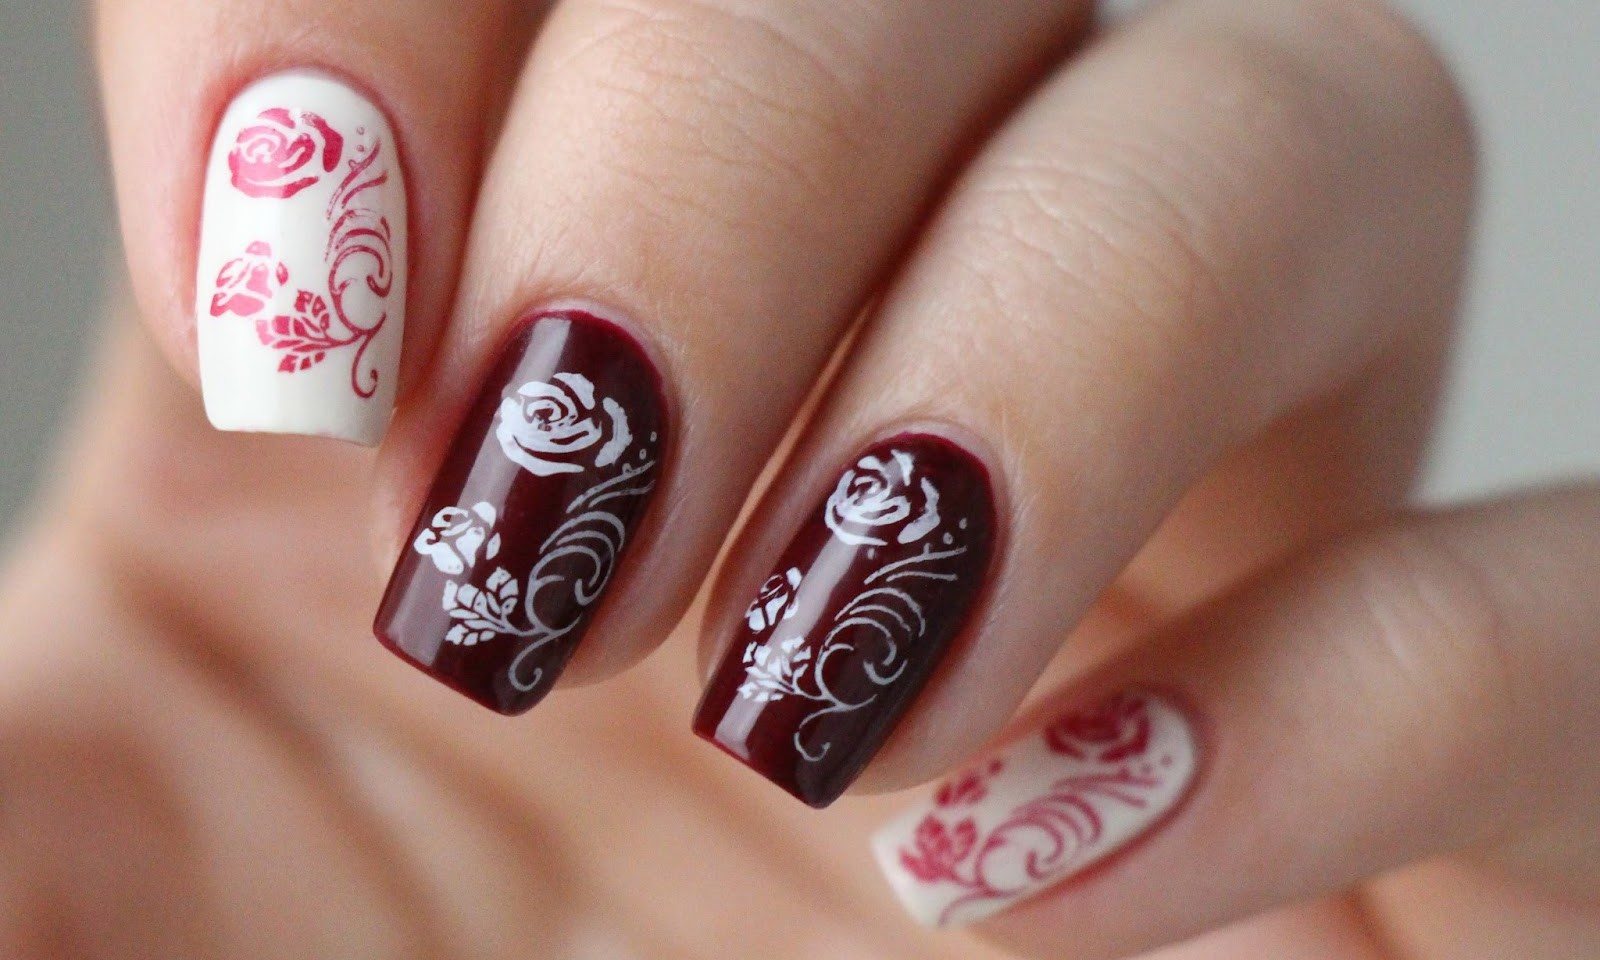
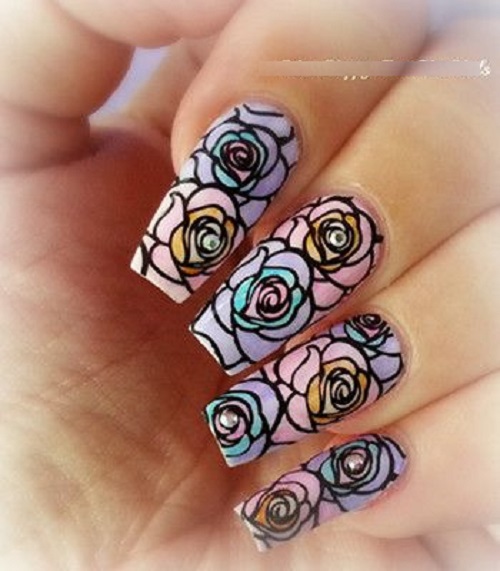
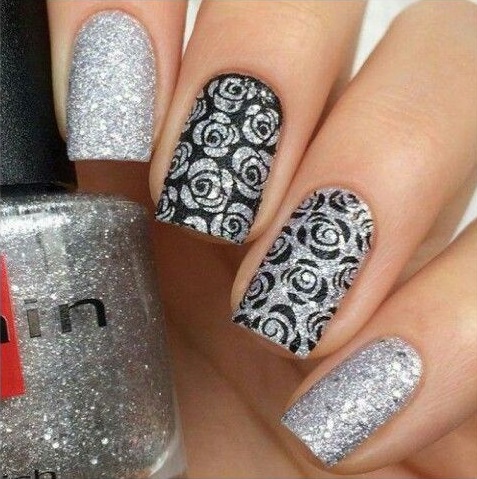
Most often, templates are used to create murals in vegetable themes. Such patterns look no less impressive than hand-painted by hand. A manicure design is created quickly. Pattern with flowers or monograms - the most popular among most women. We offer to make a pattern in the style of "stencil rose" step by step.
- First, choose a stencil with a picture of a rose. We select to it two contrasting colors of varnish or gel. It can be not only classic black and red, but also pink and white, beige with gold and any other combination.
- After the standard manicure we cover the nail plates with a base.Dry them for a minute under the lamp.
- Then we put one layer of the main color. Dry it for at least three minutes under a UV lamp. The next step is performed on each nail separately for a more accurate result.
- Apply a thin second layer of color and dry under the lamp. So that the drawing does not spread, remove the sticky layer from the gel polish.
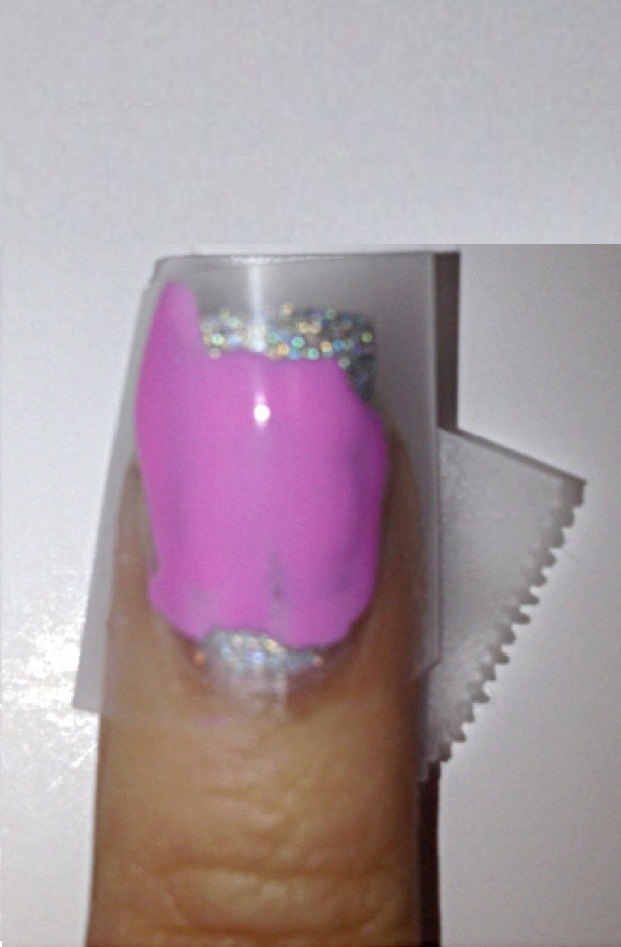
- Next, glue the selected template to the nail plate. Carefully level it on the surface. We apply the selected second color of a contrasting varnish into the free slots of the template.
- Dry the pattern and carefully remove the stencil. To consolidate the pattern we use a transparent top cover. Do not forget to dry it well and remove the sticky layer at the conclusion of the procedure.
- If desired, you can add a pattern with glitter or rhinestones. To do this, we put them on the undoed coating after applying the pattern on the stencil. After applying the topcoat, you can refresh the pattern using the “dew drop” technique. For this, dots and the usual transparent top tool are often used. Dotsom applied round and oval-shaped droplets on the leaves and rose petals. Manicure turns out volume, more spectacular and naturalistic.
Reviews
According to reviews of both masters and fans to create their first manicure options, templates are just a universal thing. For beginners, they help to make patterns neatly and to please themselves with a beautiful manicure, even with a minimum of skills. Even experienced specialists use stencils, because they save a lot of work time. Figure turns out quality.
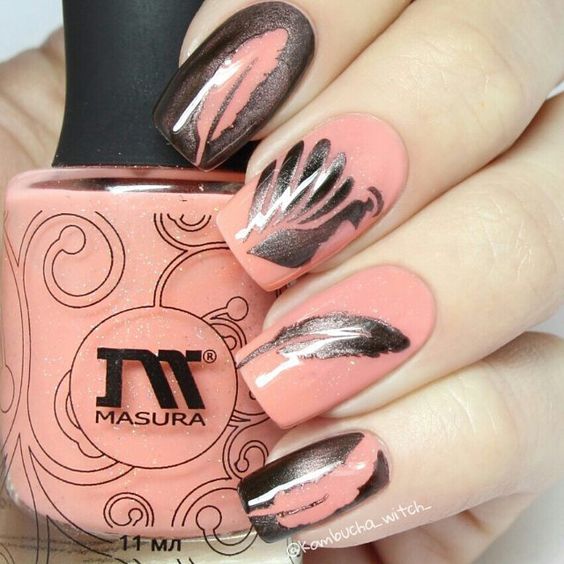
And you can add volume and naturalism to it, using a few strokes with a brush on the petals or other details of the drawing.
The template is a very affordable option for creating manicure in the most fashionable techniques. This is also noted by all without exception. You can use the most affordable options, the quality of manicure is not affected. And if there is absolutely no possibility to purchase ready-made stencils, then they can be made independently.
The quality of the future manicure is most strongly influenced by the density of the gel polish and the observance of the correct technique for working with templates. Therefore, it is important to use the advice of professionals for optimal results. To create using stencils is easy and pleasant.
They reveal the limits of creative opportunities even for beginners, and the result is spectacular.
An overview of nail polishing in the video below.


