For many, Gothic and everything associated with it is associated with gloom and depression. Nevertheless, the Gothic style of dress and makeup has long ceased to be the "property" of the adherents of the subculture and gained popularity among wider circles of young people. Modern nail designers, who turned Gothic manicure into real art, did not stand aside, which added to its appeal among fans to emphasize their individuality.
Features
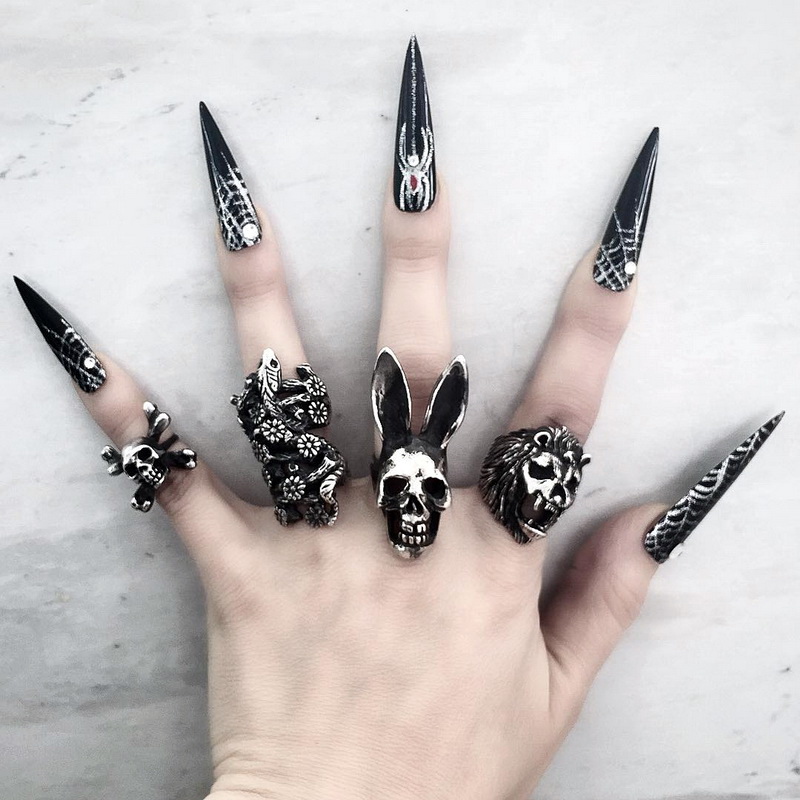
Gothic is pointed shapes, rich dark colors, stained glass windows, various ornaments and prints. All this is reflected, including in manicure. The sharp form can be used both in print and in the form of nails. Long, extended pointed nails are considered to be the most suitable for Gothic-style nail design. However, it is possible to arrange a manicure of medium length in this style, and even short nails. At the same time the tips of the nail plates can be pointed, oval and square-angular. As for the age category, this is more suitable for young people.

Gothic color palette
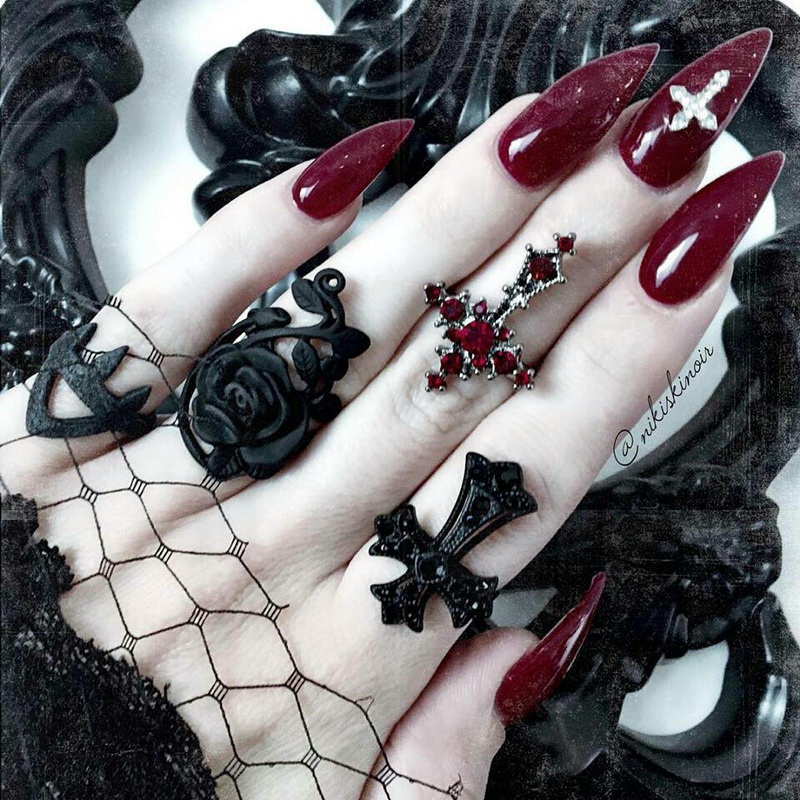
First of all, speaking of the Goths, black comes to mind. And he, undoubtedly, is the main one when making a manicure in the Gothic style, but far from being the only one. To create a nail art in this direction, such color solutions are perfect:
- blood red;
- ash gray;
- saturated burgundy;
- tin color;


- dark brown;
- white;
- metallic
Important! As blotches (in small quantities) violet, dark green and yellow colors are allowed on the nails.
Gothic Nail Art Design Examples
Manicure in this style is very diverse. Proof of this can serve several examples of nail design, which will appeal to the Goths and lovers of originality.


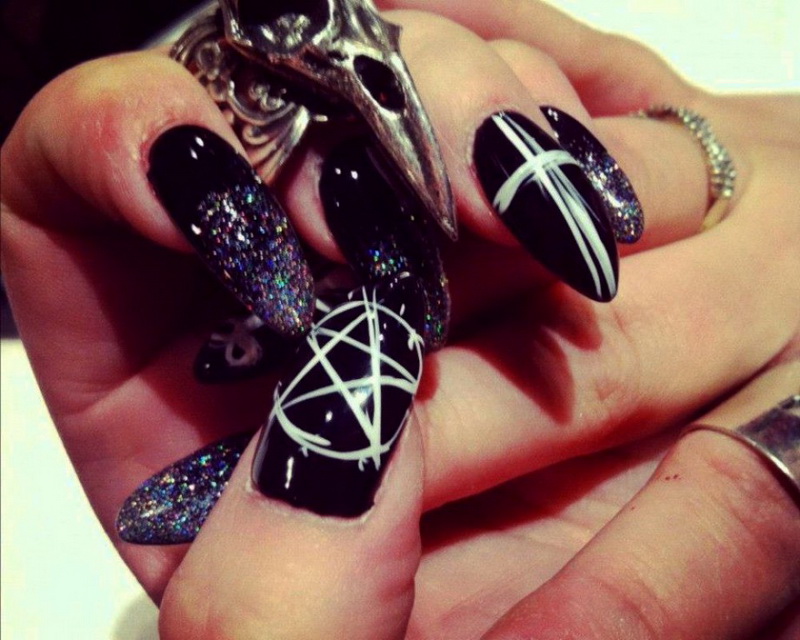
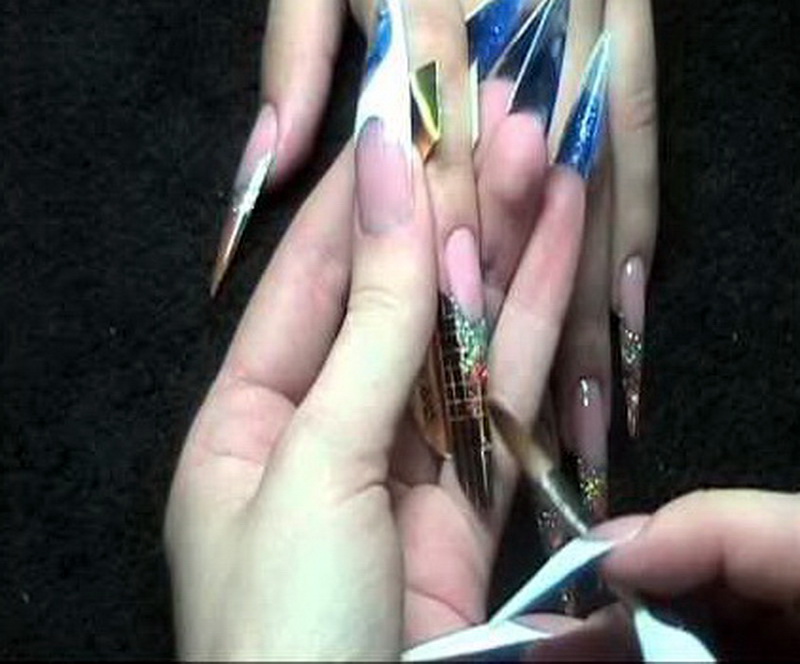
Gel stylet
This design is equally suitable for natural and artificial nails and performed by the following algorithm:
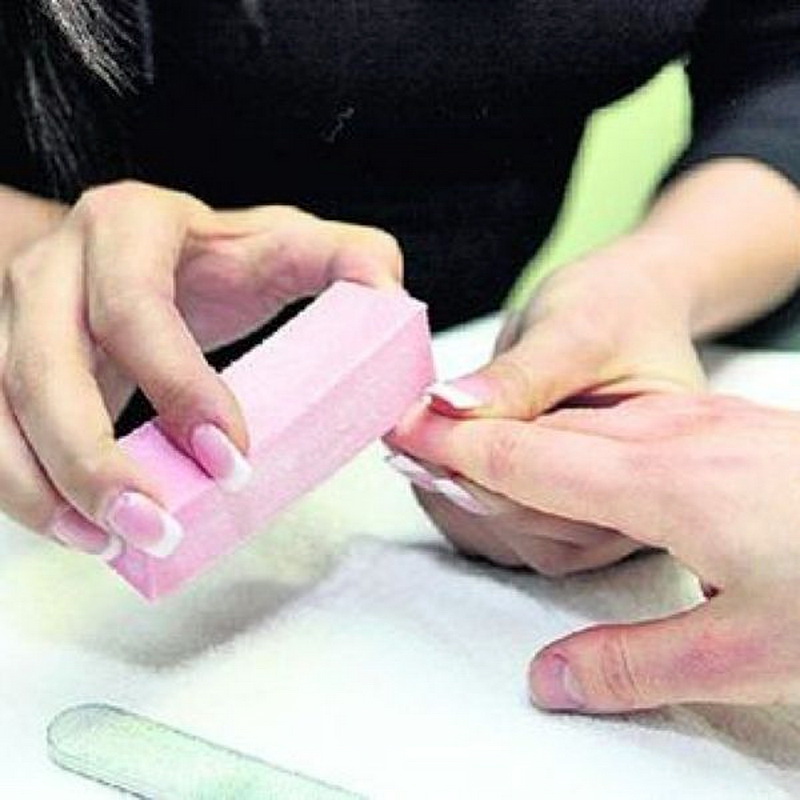
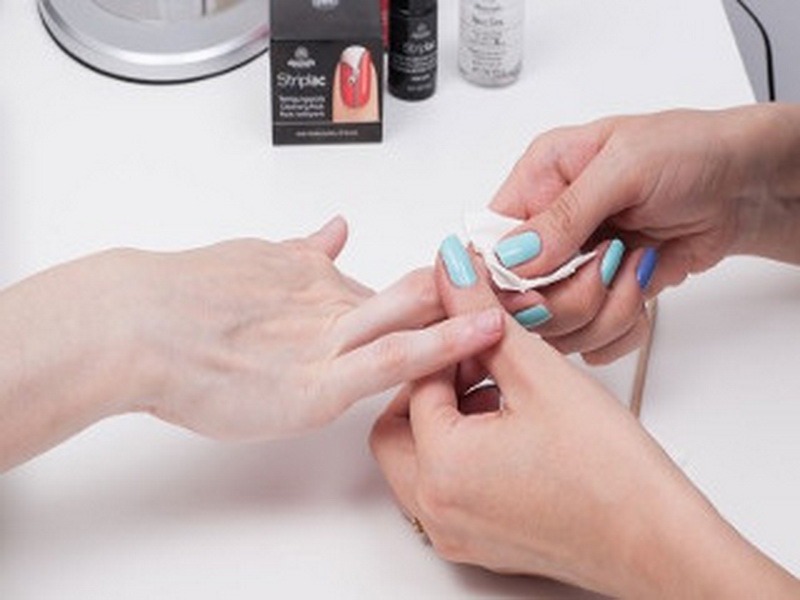
- gloss is removed from the nail plates;
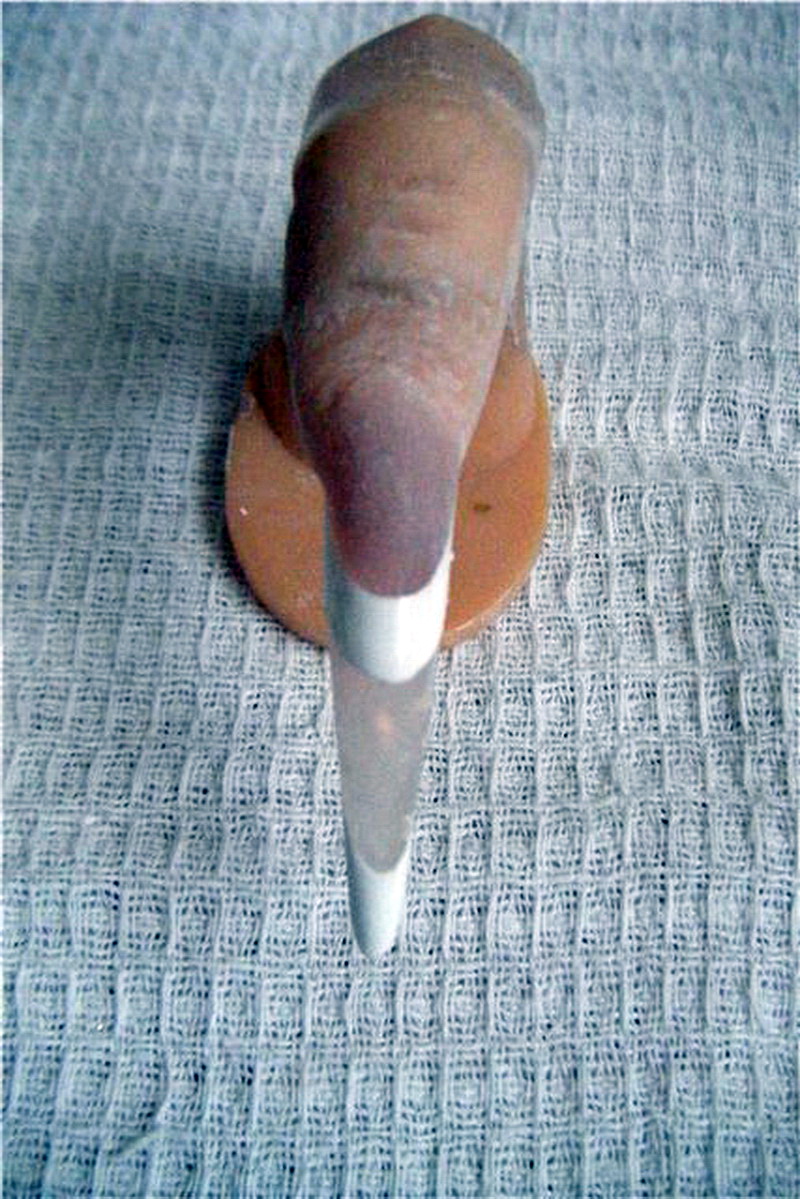
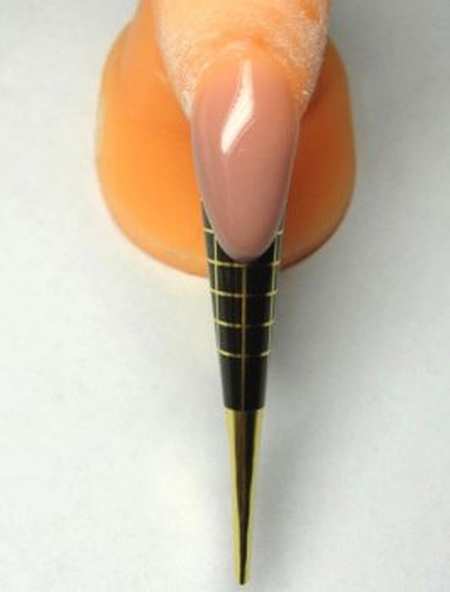
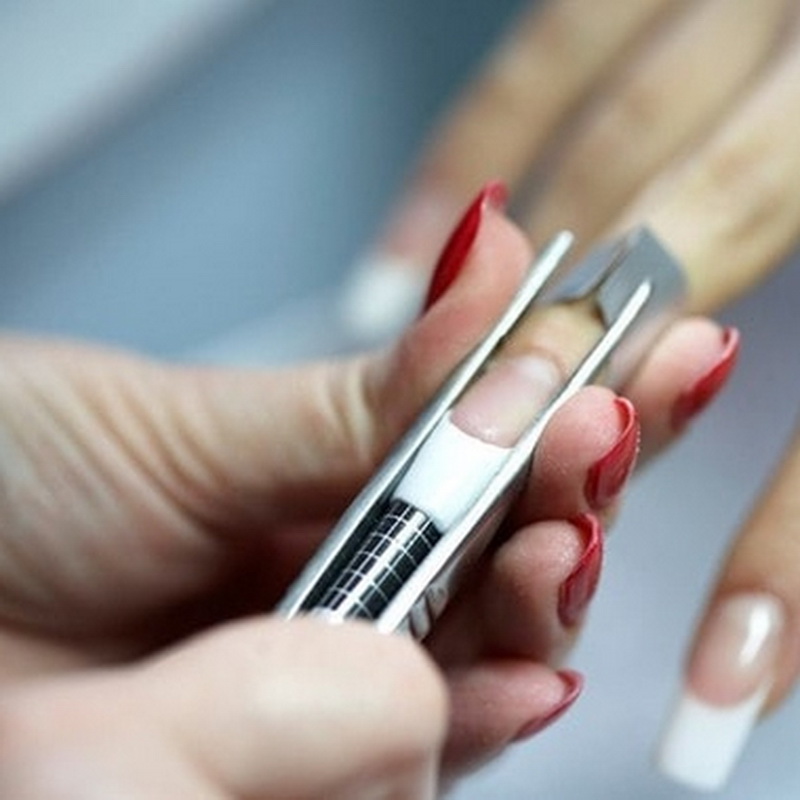
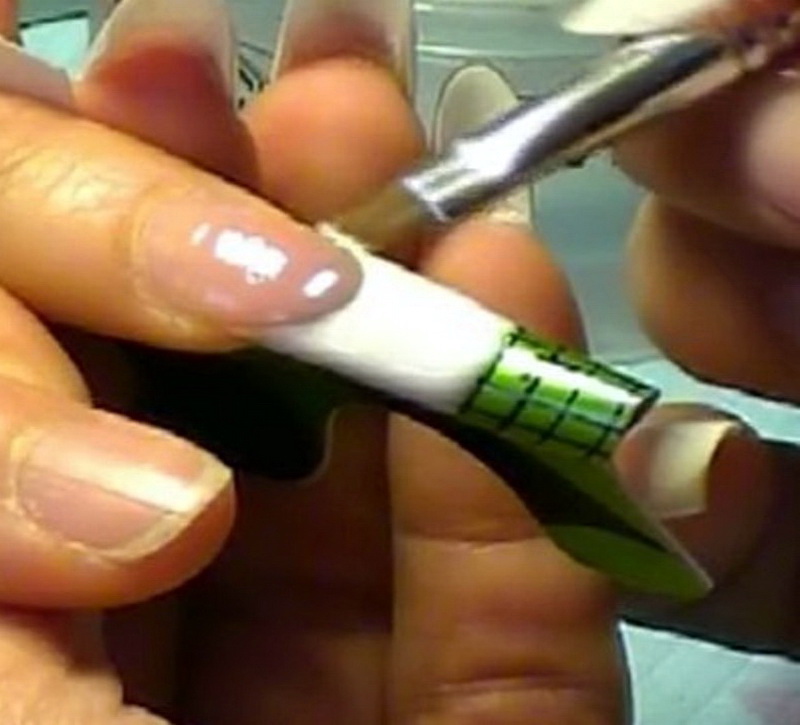
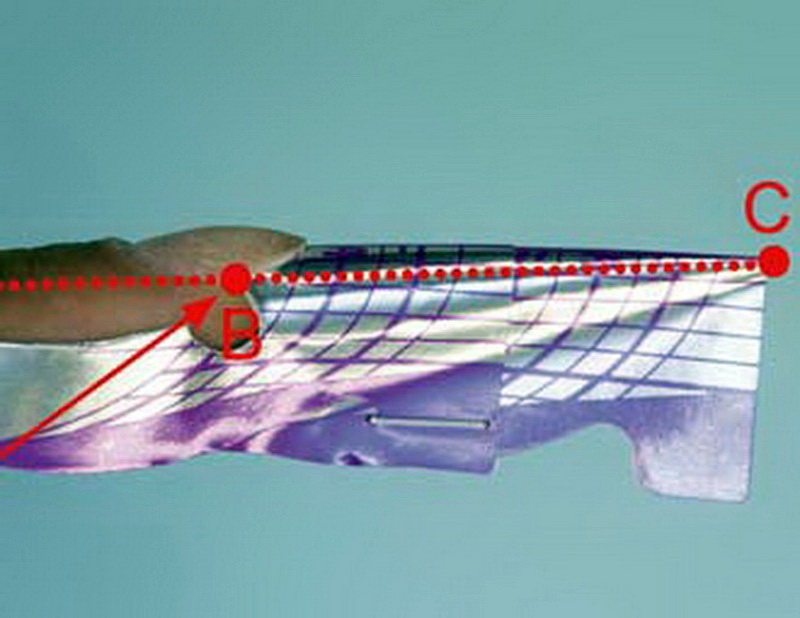
- special forms (templates) for stylets are attached to the nails and gently glue their tips;
- nail surface primed with ultrabond, then carefully dry the nails;
- apply a thin layer of transparent gel for building, extending the nail to the required length in shape; when the composition gets on the skin of the hands, it is immediately carefully removed, the gel should be applied with a rubbing brush;
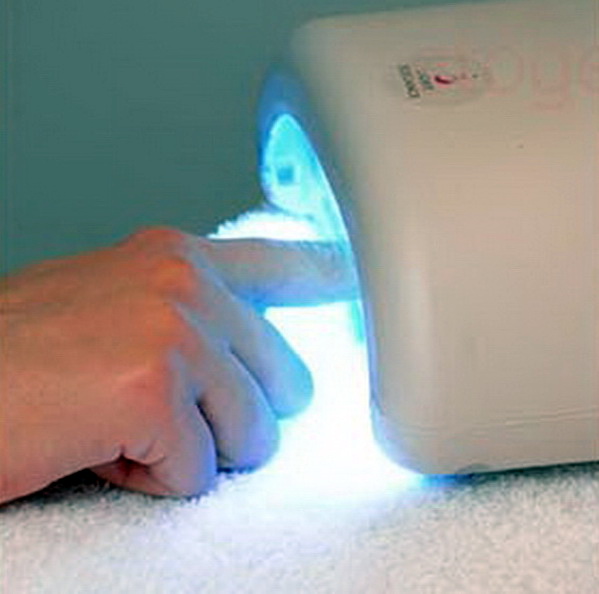
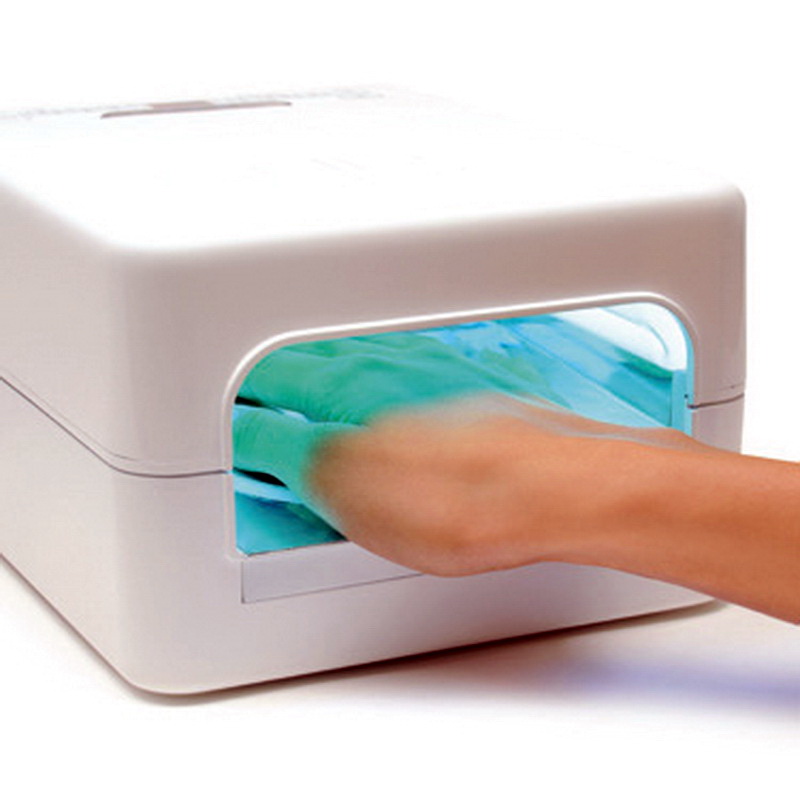
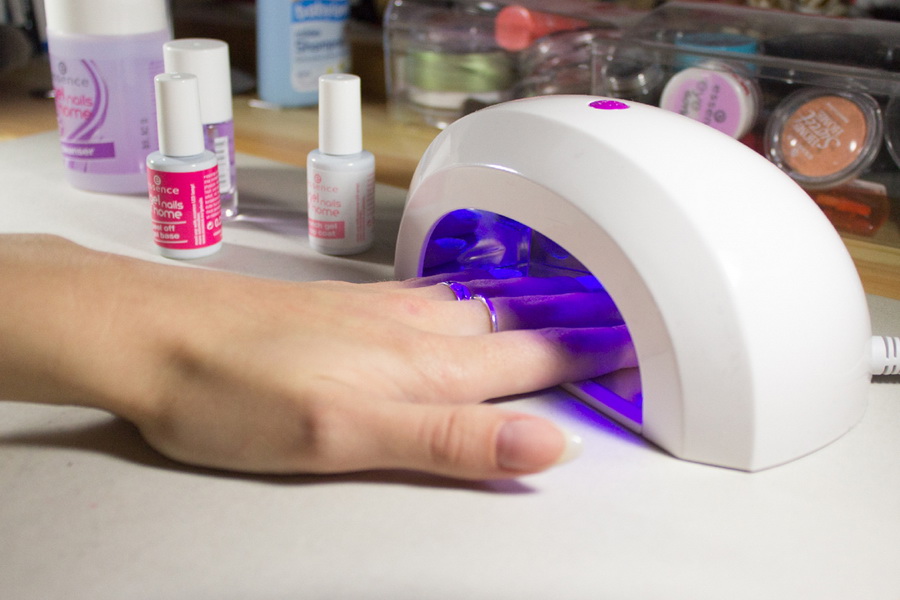
- after applying the gel coating, the nails are dried under a UV lamp for 2–3 minutes;
- securing the gel layer in the ultraviolet, the form is gently detached from it using an orange stick;
- dark camouflage cover the natural nail, slightly lengthening the contour, to subsequently turn out a beautiful jacket; camouflaging gel is applied with a thin layer and fixed under the lamp (3 min.);
- Another layer of camouflage is applied along the same contour, already more thorough than the previous one, but for this purpose they use not pure camouflage gel, but diluted with a transparent composition; after that the nails are placed in the lamp again (3 minutes);
- remove the sticky layer from the nail;
- using a milling cutter, they cut out the contour of a smile and modify it with a nail file 80x80 cm;

- transparent tips are coated with colorless gel; apply it should be a very thin layer;
- tint the smile line with black color and dry again (no more than 1 min.);
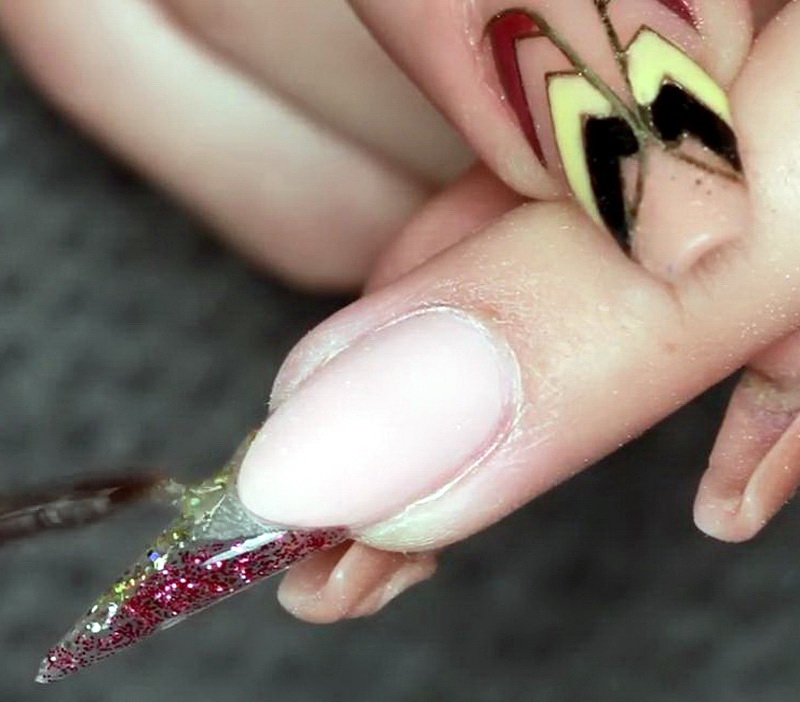
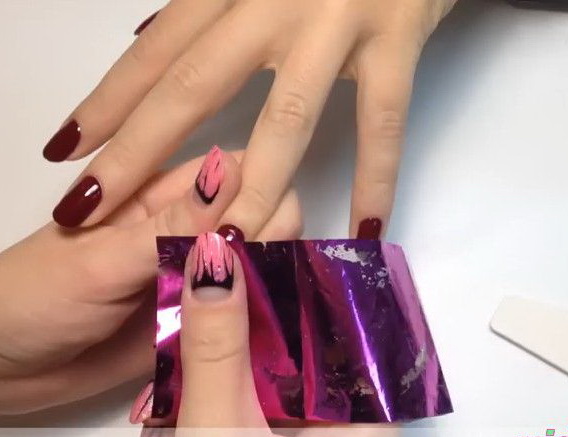
- pressing the red foil on all sides of the free edge of each nail, make prints and dry again for several minutes;
- mix pigmented stained glass dye and hexagonal glitter and coat the free edge with the resulting composition; dried for 2 minutes;
- transparent gel completely overlaps the design and put nails under the lamp for 30 seconds;
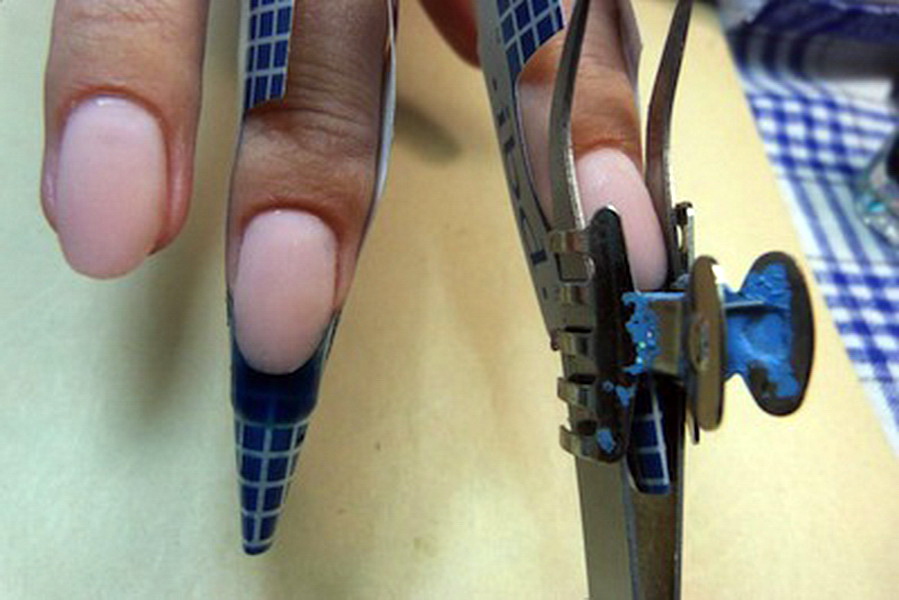
- they clamp their nails with a special clamp to tighten them, give them the desired shape, and then dry them in the lamp for another 2 minutes;
- perform filing first on the sides, then in the area of the cuticle; the spout of the stylet is sawed down, and the edges are rounded, after which the lower parallels are cut out;
- after removing the saw cut, the nail plates are covered with top and dried again for 2 minutes under the lamp.
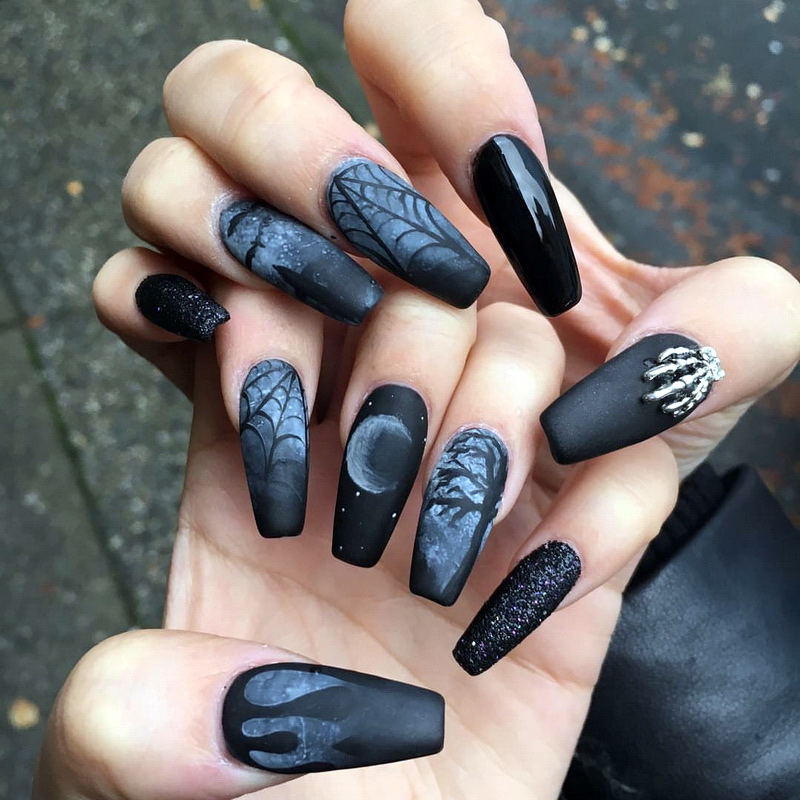
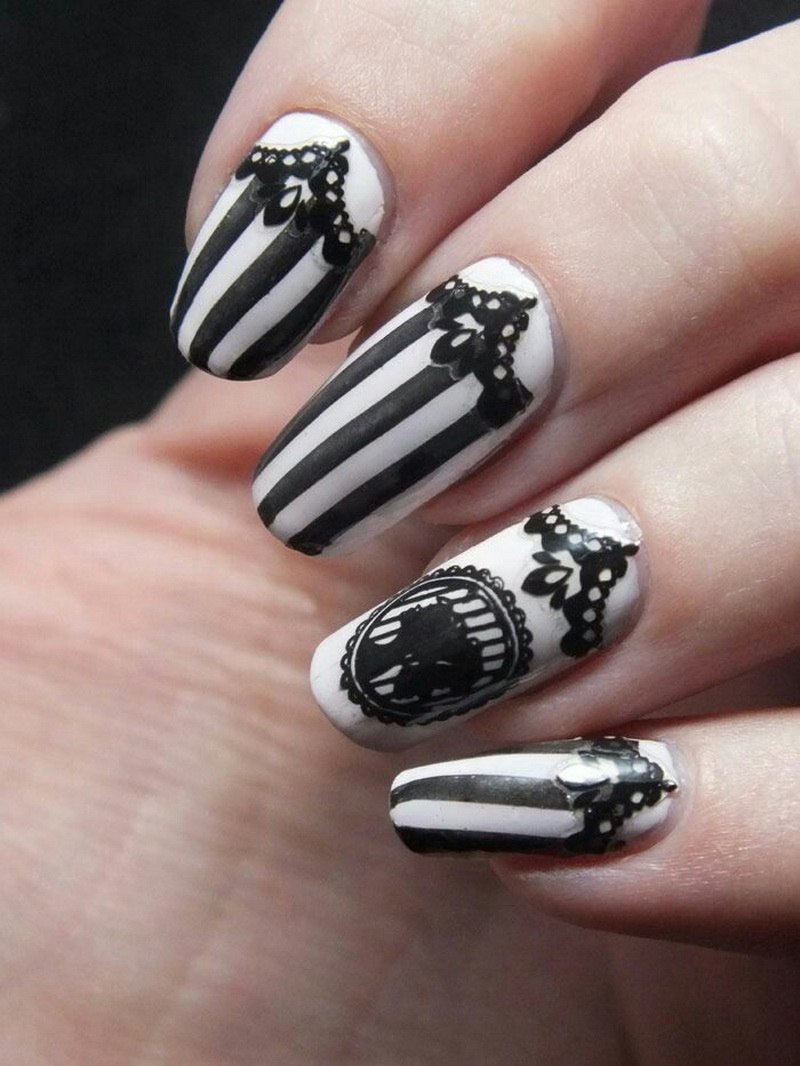
Making nails of medium length
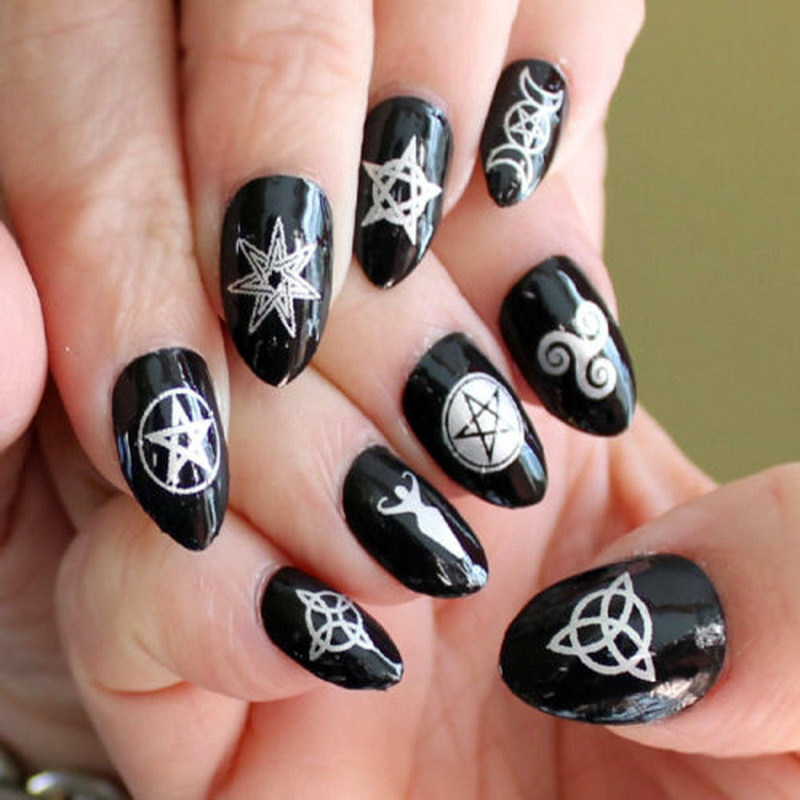
To create an interesting Gothic design is quite possible on natural nails, without resorting to their artificial lengthening. To do this, follow these steps:
- nail plates are applied with a base coat; its application allows to improve the quality of manicure and extend its service life;
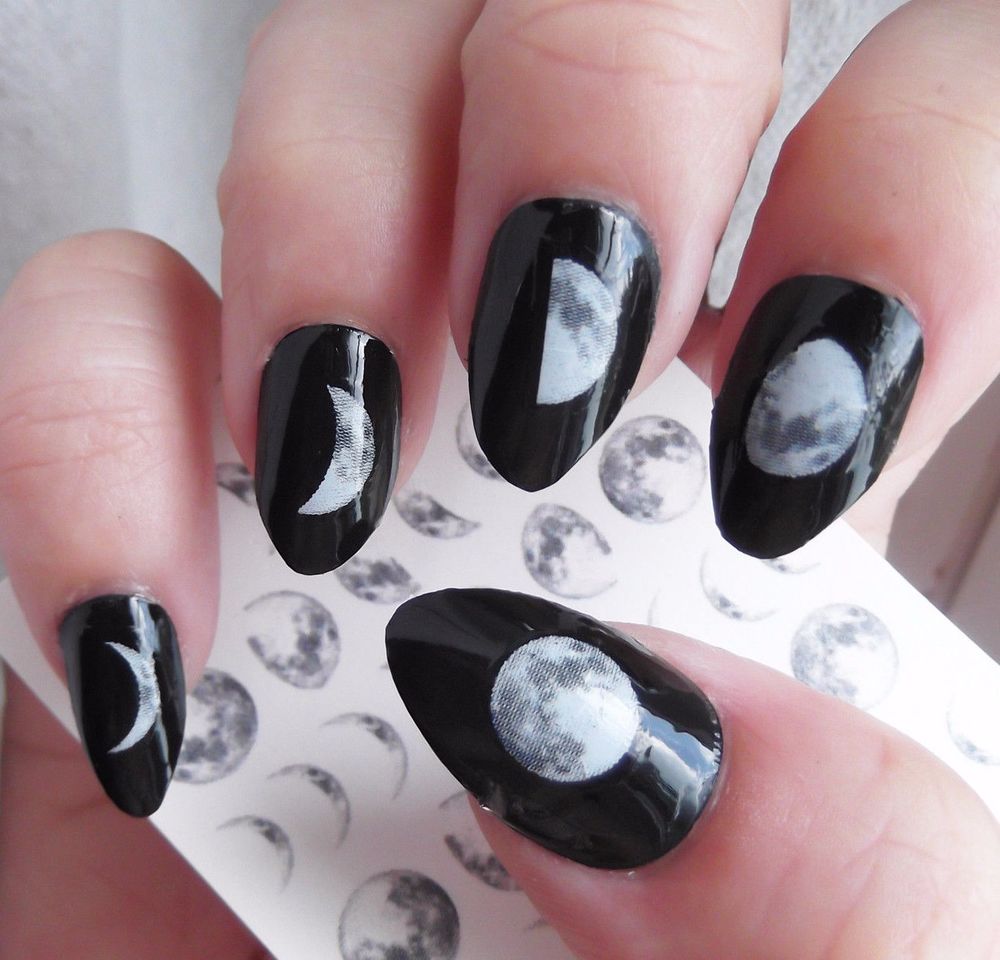
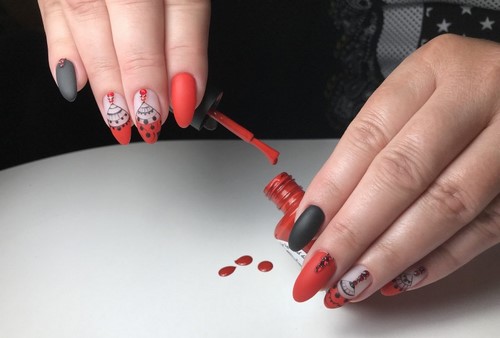
- nails covered with translucent pastel shade;
- in this case, the drawing can be applied using the stemping technique - for this, a special lacquer is applied to the plate with the template, carefully filling all the contours, after that a special stamp is applied to the template, with which the drawing is transferred to the nail plates; so as not to stain the cuticle, it is necessary to glue it with special strips;
- remove these strips after the print is applied to the nail;
- The finished drawing is covered with a transparent top on top.
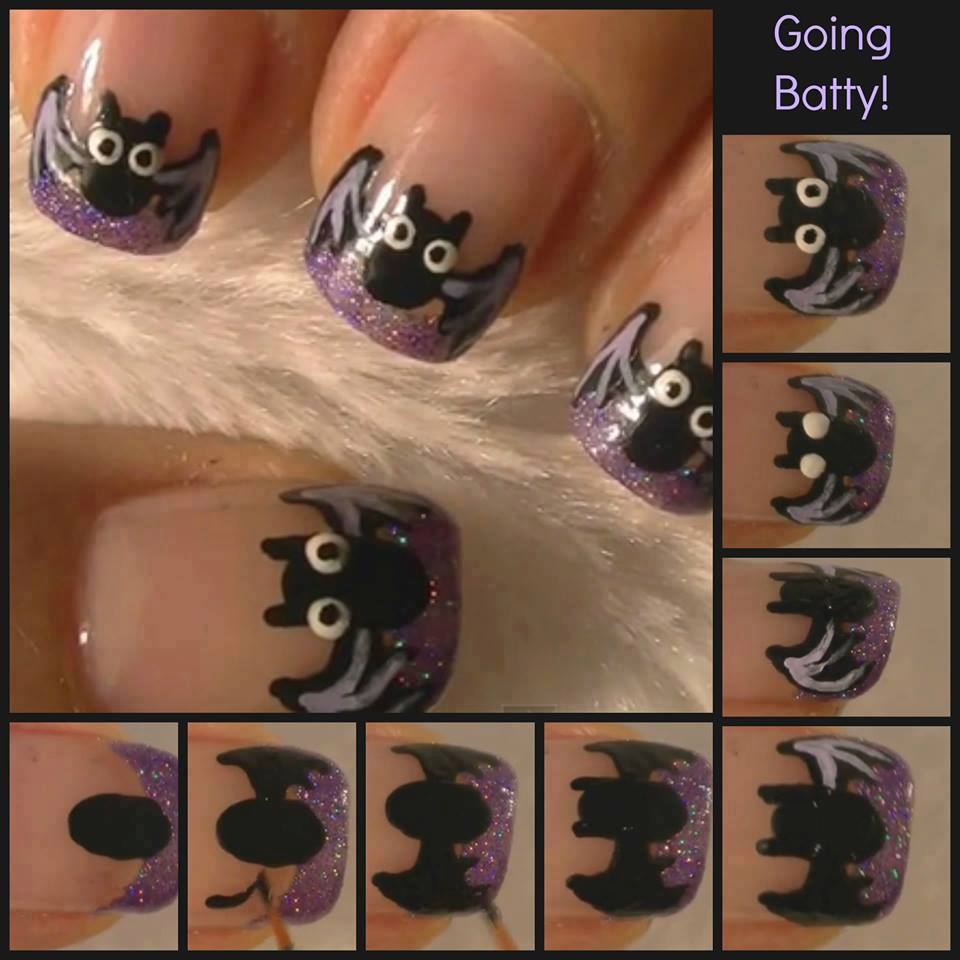
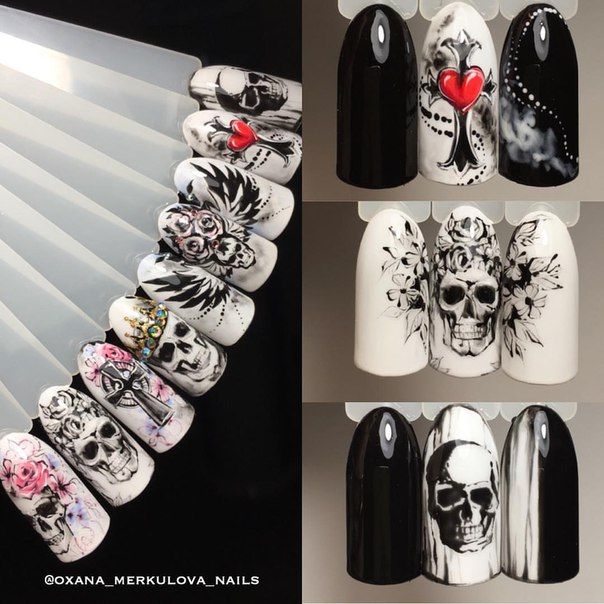
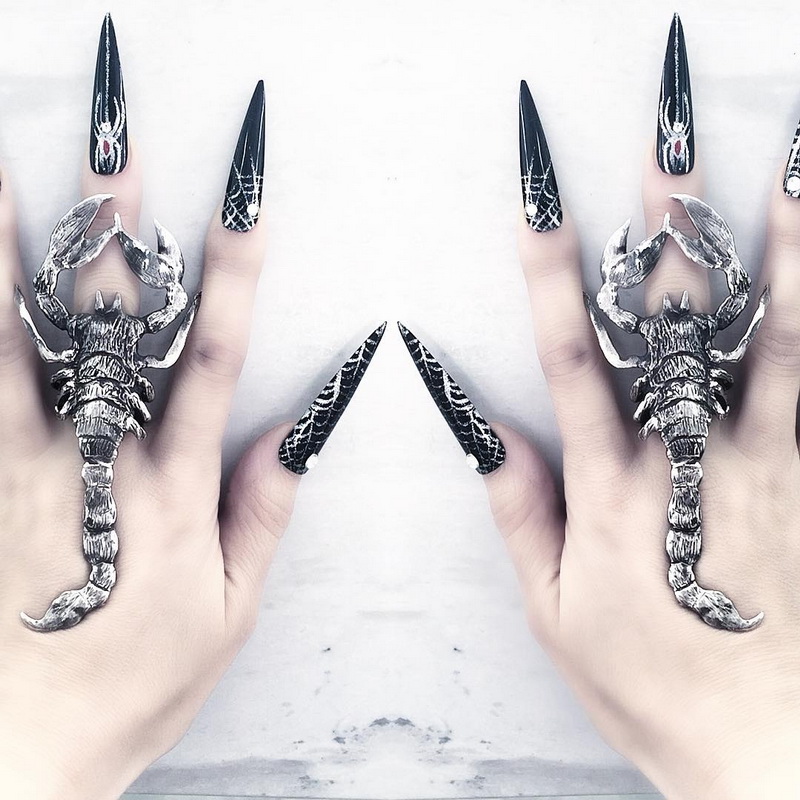
In this way, bats, a web with spiders, skulls, skeletons and other attributes of the Gothic style can be depicted.
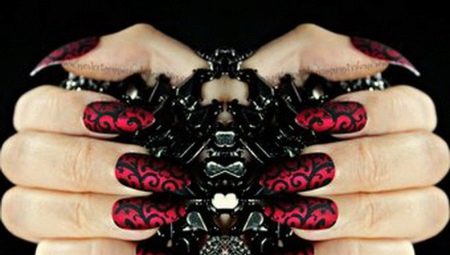
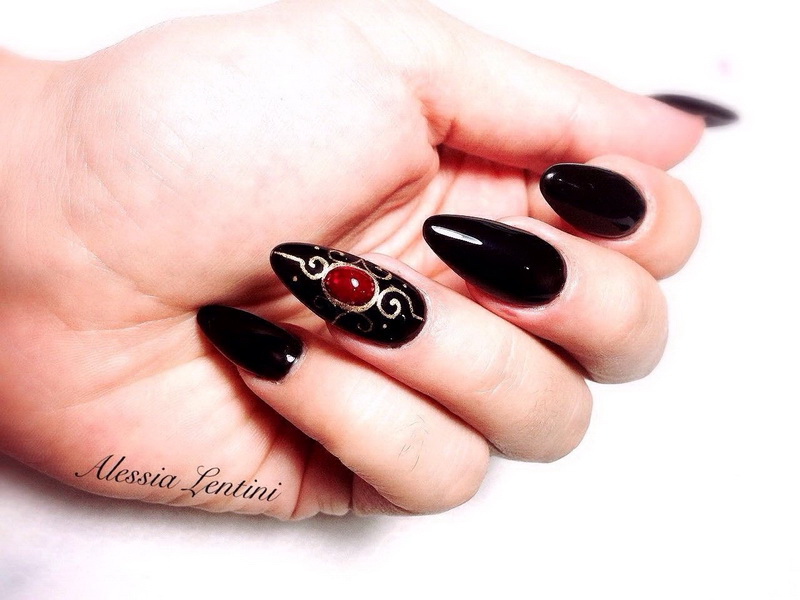
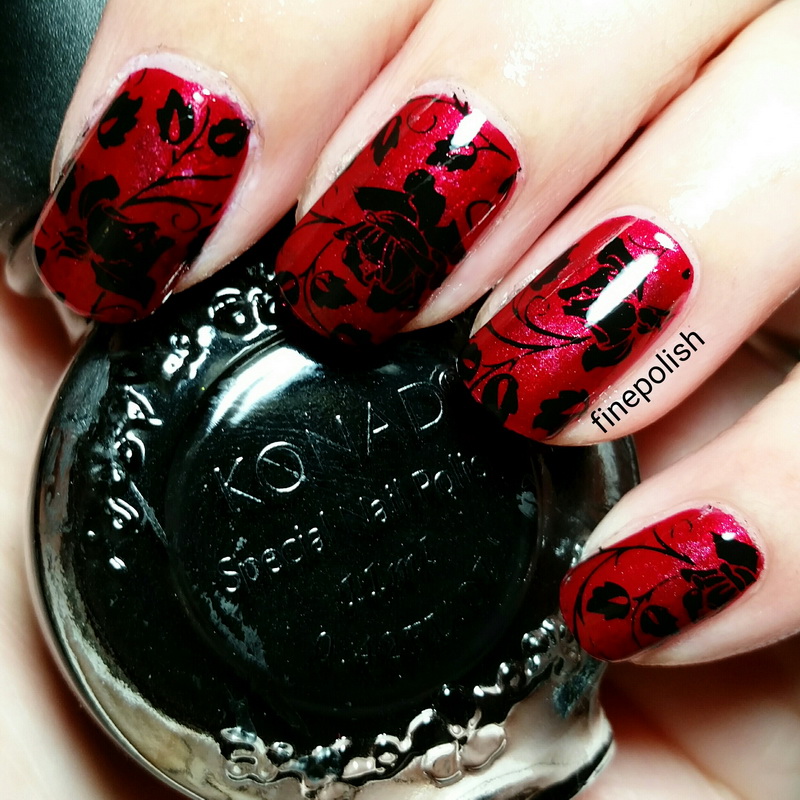
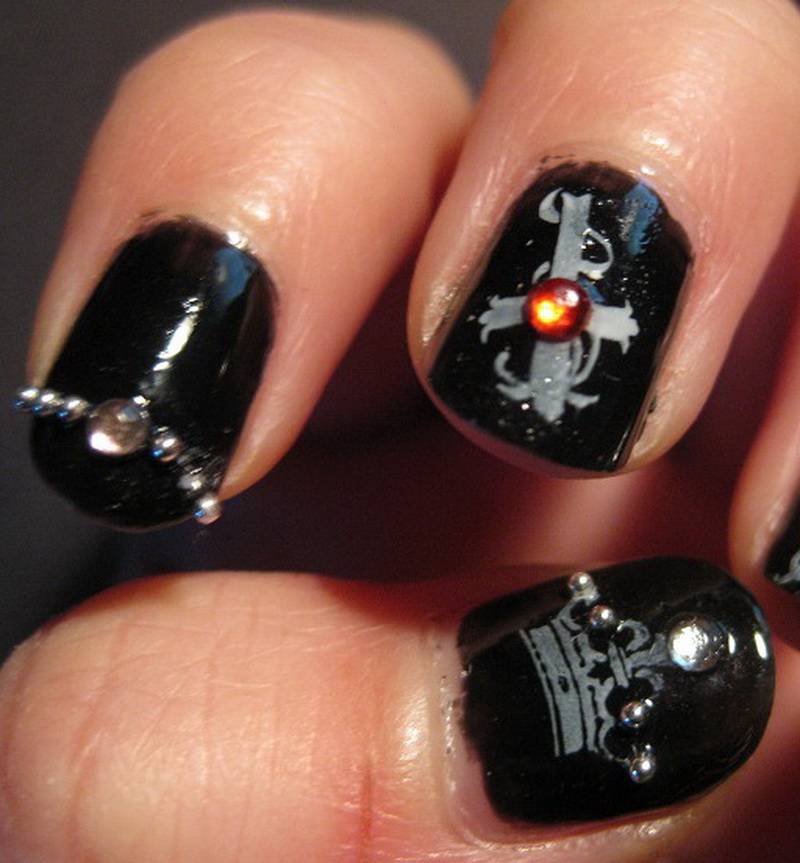
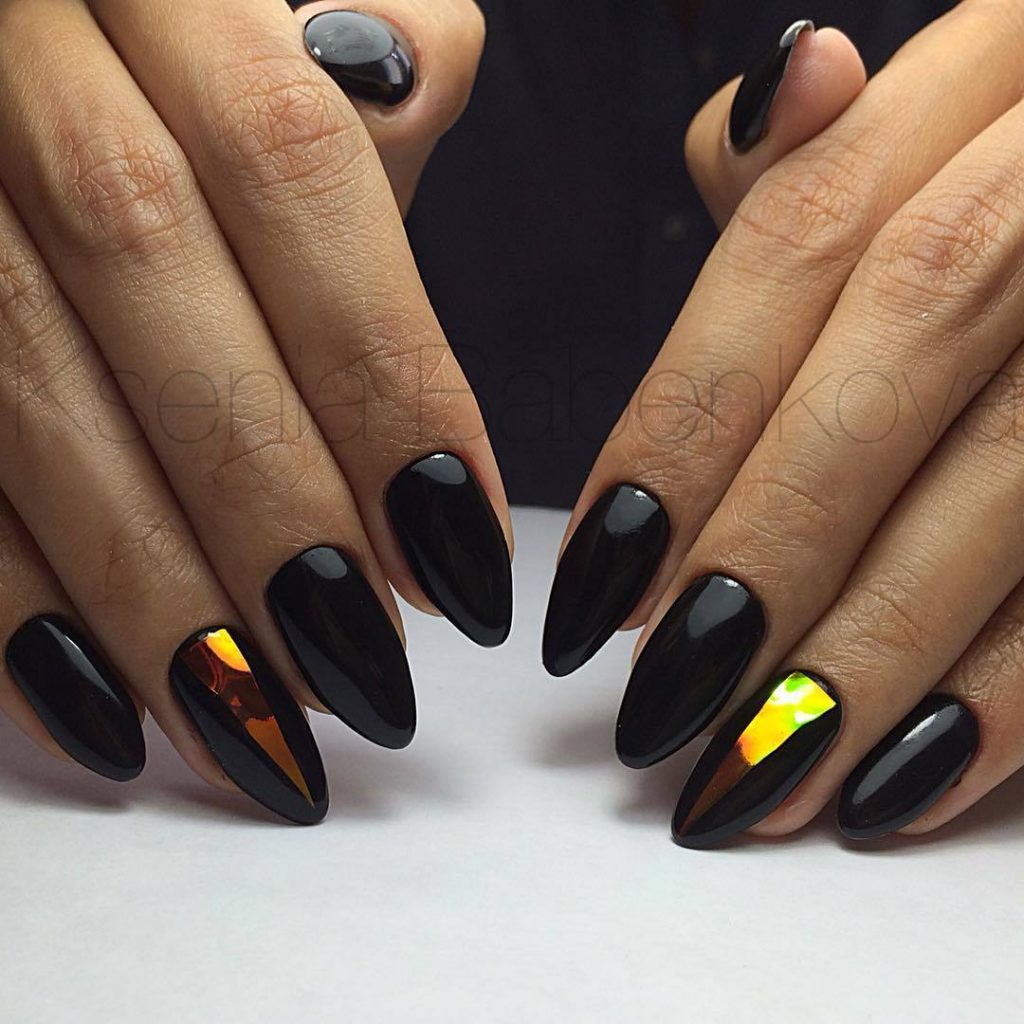
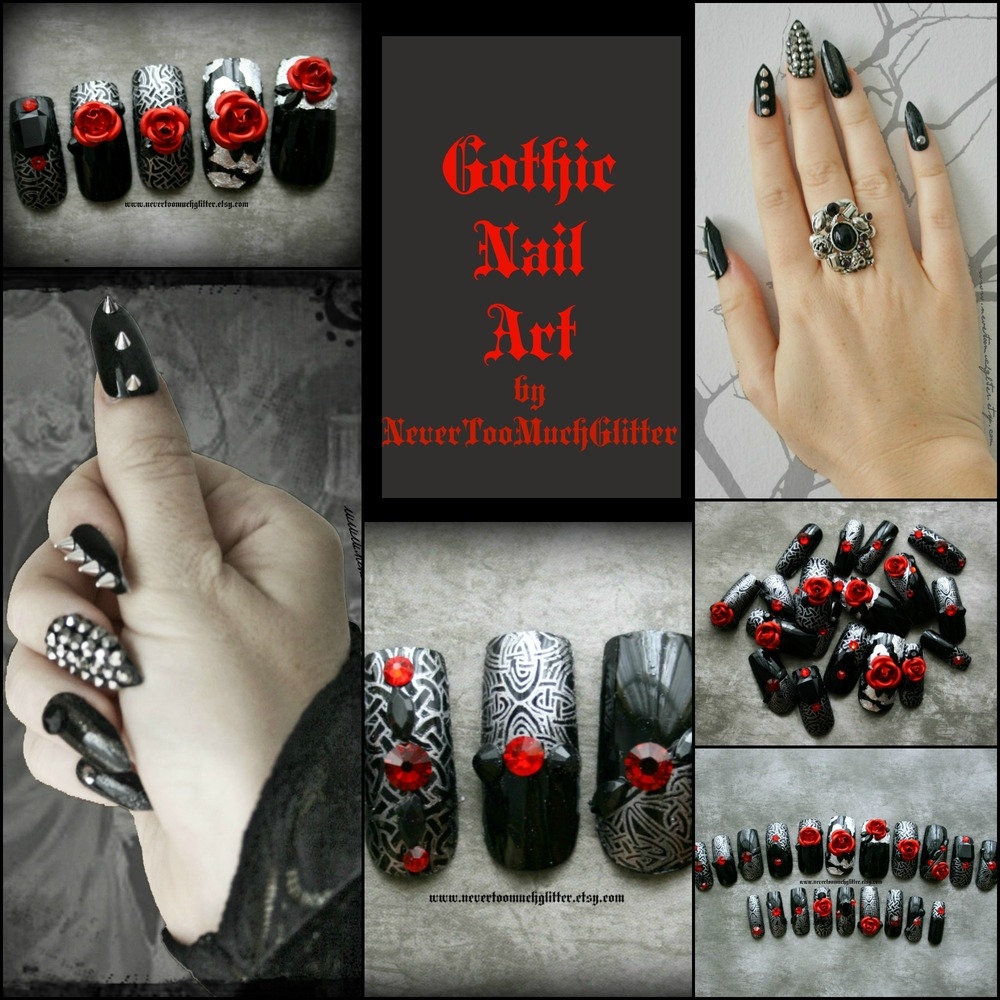
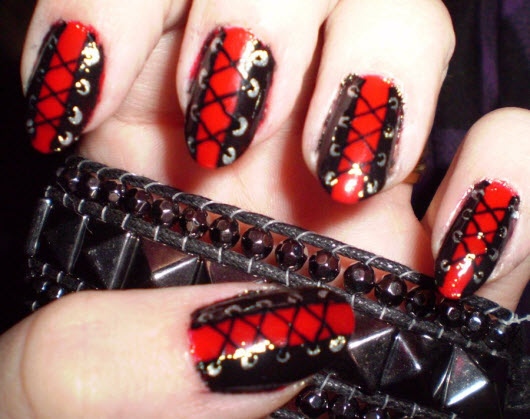
Black and red manicure, complete with stones
This is another design option that will suit gothic fans. Its creation consists of the following sequential actions:
- degreasing of nail plates;
- applying the base and drying under the lamp;
- making the tip of the nail red gel-paint (as in the usual jacket), fixing the lamp;
- Top cover - this step is necessary so that the foil, which will be used later, does not print on the red background; fixing the top in the lamp;
- drawing the picture in black gel paint; the simplest print is a circle with curlicues (here you can let go of fantasy) and another drying;
- foil stamping on the drawing;
- mixing sculptural gel, black paint and liquid stones, what should be done on the palette;
- applying the resulting composition on the nail plate; to imitate the veins on the stone, you can dip a thin brush in white paint and hold it on the still dried gel;
- topcoat and final drying.
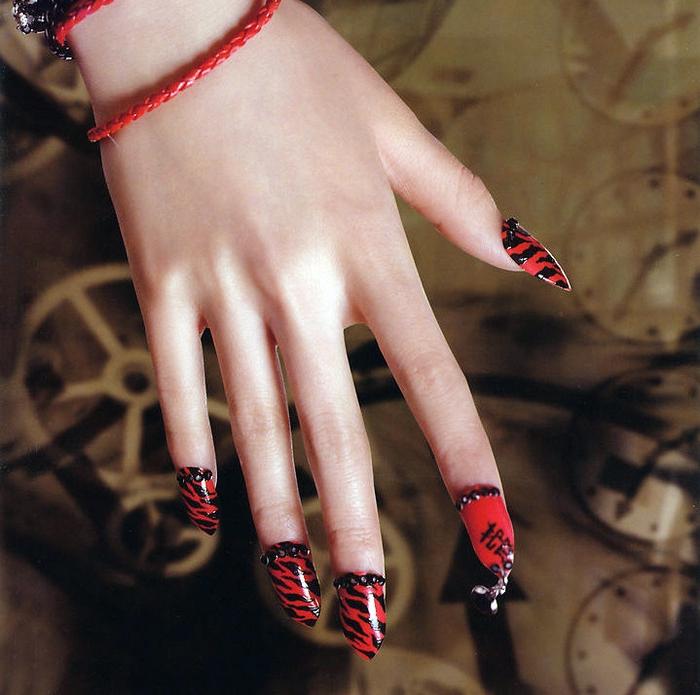
You can experiment not only with a pattern, but also with colors (from the palette that is suitable for the Gothic style), use gel polish or the usual lacquer coating - to whom you like.
How to make a manicure in the Gothic style, see the following video.


