A beautiful manicure can be done not only in the salon, but also at home, and with your own hands. For this, it is enough to use ordinary nail polish. If you perform all the actions correctly and approach the business creatively, the manicure can be unusual and will remain in its original form for a long time.
Manicure Features
When the master in the salon paints the client's nails with precise, verified movements, this occupation seems to be quite simple. But it is worth trying at home to make a manicure with the usual varnish to itself, and this can turn into a real hassle. The left (and the right hand of someone) does not obey and makes strange curved strokes, fingers appear in blots, and on the nail plate itself the varnish, in general, comes with bubbles.
With regular exercises to create a manicure at home, such problems become less.
Advantages and disadvantages
The use of conventional lacquer, compared with analogues of later origin, has its advantages and disadvantages. Among its advantages are the following:
- such a varnish is relatively inexpensive;
- to dry the usual nail polish, do not need special equipment;
- A new manicure can be performed at least every other day, creating a new design at will;
- with the use of such a tool, the nail plate almost does not suffer, because the lacquer does not adhere to it, which means that the nail does not thin out.
All this has its reverse side:
- in comparison with more “advanced” counterparts, such a varnish is a matter of days;
- Many ordinary varnishes have an unpleasant smell because of the components that make up their composition.
Preparation of tools and materials
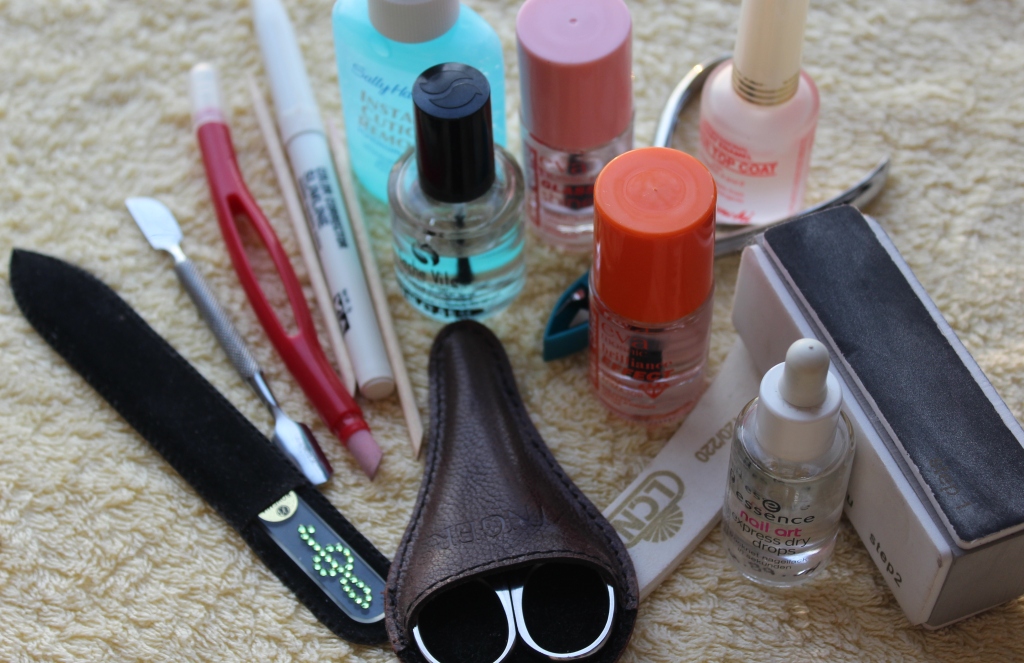
To do a manicure yourself, do not do without a set of certain tools and materials.
Prepare:
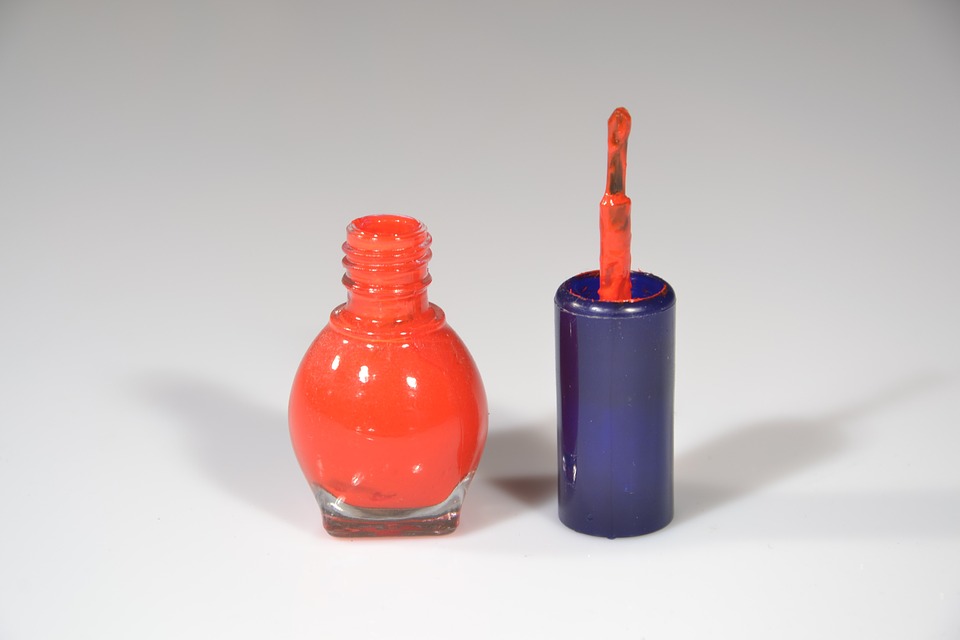
- ordinary varnish (or several, different colors);
- means for a transparent basic covering - a primer;
- means for fixing the color coating;
- nail polish remover;
- hand cream;
- cotton pads and cotton swabs;
- tassels;
- antiseptic, for example, a solution of alcohol for disinfection.
Varnishing technology
It is necessary to engage in manicure after a long time after leaving the bath, shower or after other contact with the liquid. Even if your hands are well wiped, moisture will remain in the pores for several hours. It can badly affect the final result.
To begin with, the nails themselves should be properly prepared for the decoration. It is necessary to erase from them the traces of the previous coloring and give them the shape that they like more. They can be square, oval, pointed, have rounded corners and so on.
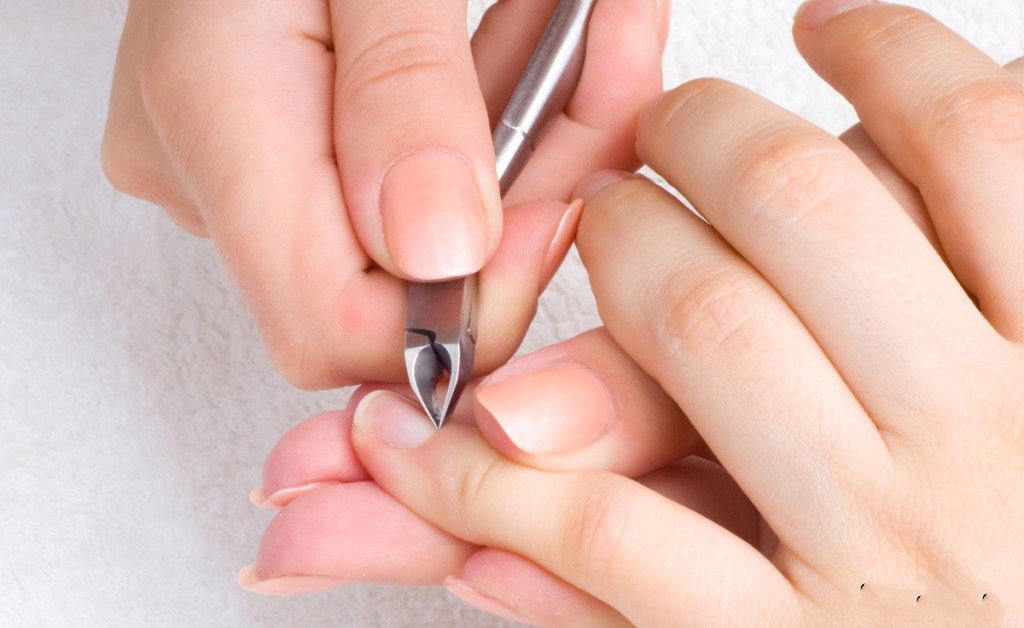
If the skin around the nails requires treatment, you will have to do it: make a bath and soften the cuticle, put it in order.

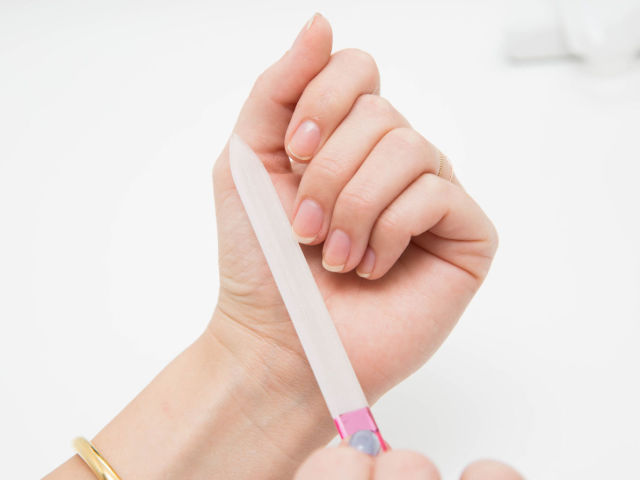
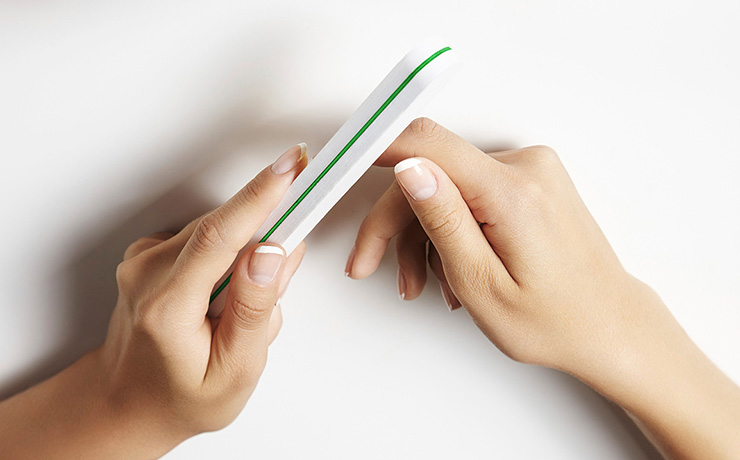
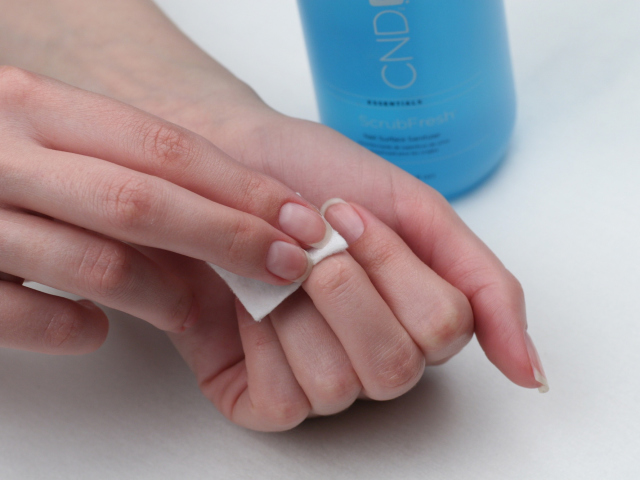
To lacquer tightly bonded to the surface of the nail, it is necessary to grind and polish the plate itself. To do this, you will need a nail file and buff. Then wipe off the dust left over after the treatment and degrease the surface.
Getting to the staining, you need to make sure that the elbows have support. You can not paint the nails, holding his hands in weight. This can ruin the whole thing, and you have to start work all over again.
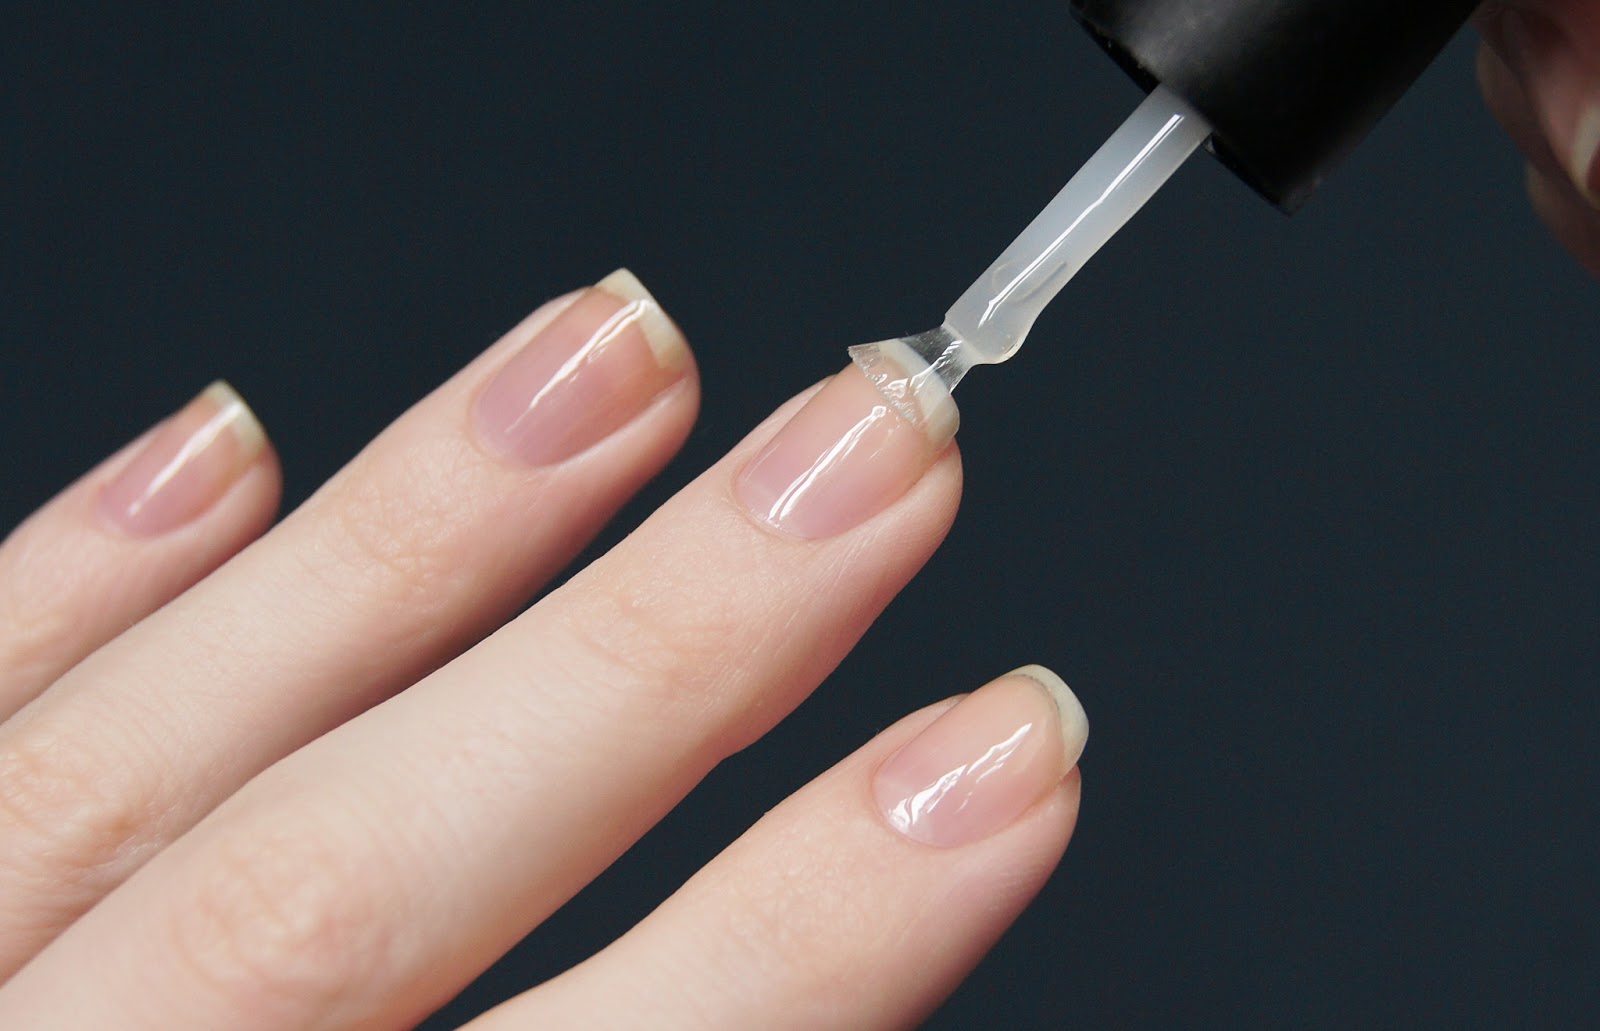
The first cause base.The base transparent (or white) layer will allow a better connection of the ordinary varnish with the surface intended for it and will not allow it to be absorbed inwards, making the nails yellowish in appearance after removing the coloring agent.
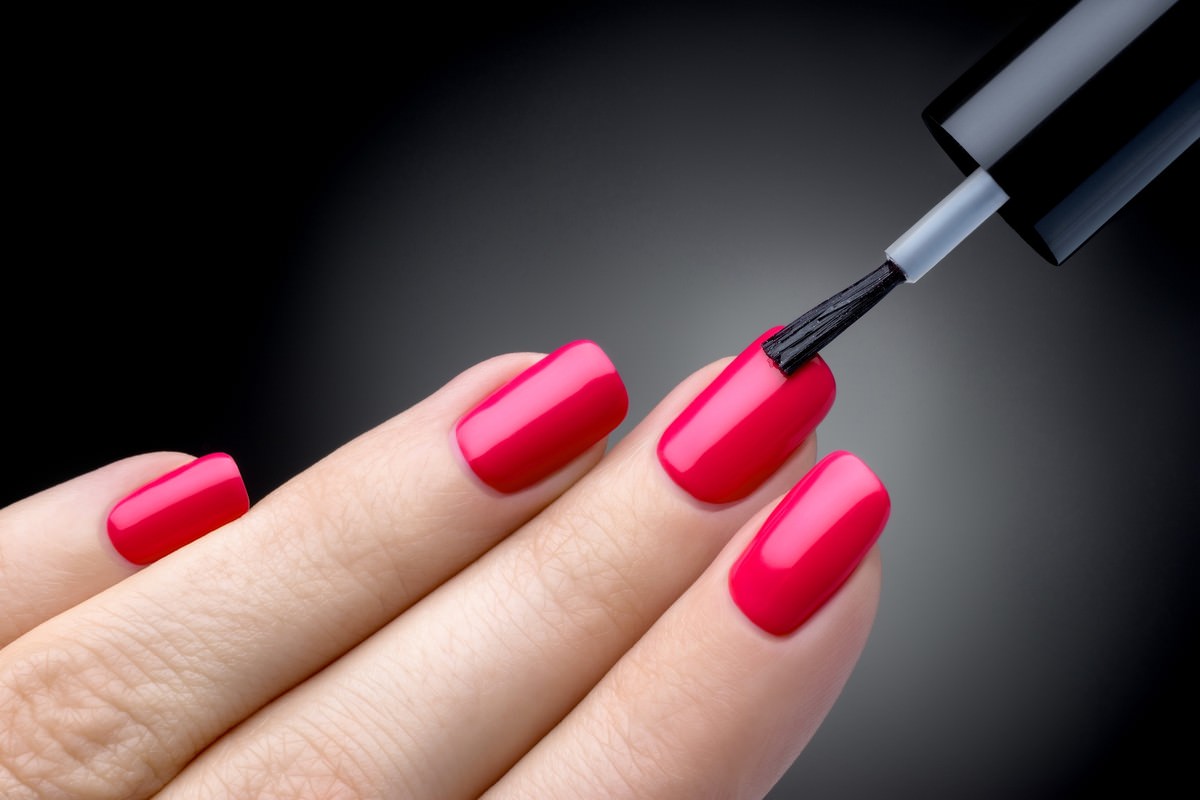
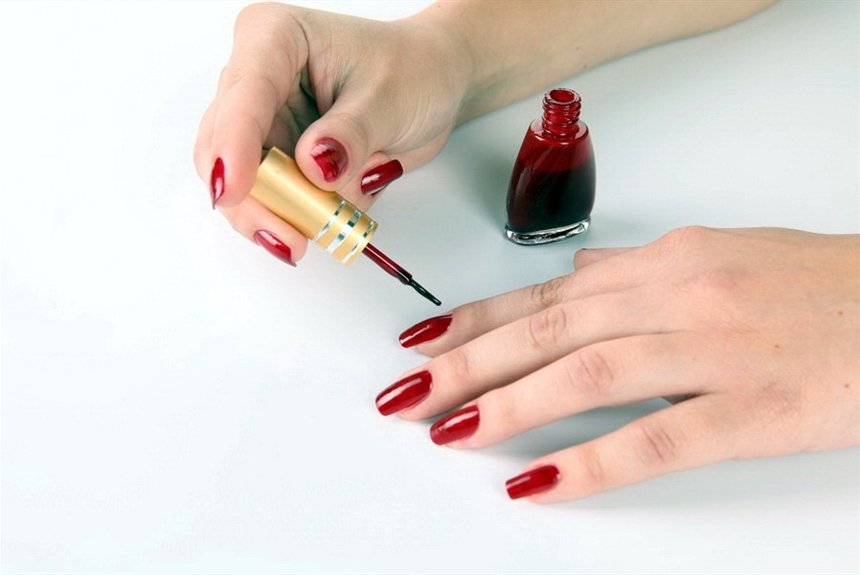
Apply a colored layer on them starting from the little finger on the hand that is working. That is right-handed - with the right hand, and vice versa. The movement from the little finger to the thumb will help not to spoil the already applied coating when painting the following nails on the hand.
A bottle of varnish is better to pre-warm in the palms, it is possible to shake, but it is not recommended to do too much: then air bubbles can form inside, which subsequently warp the varnish on the painted surface.
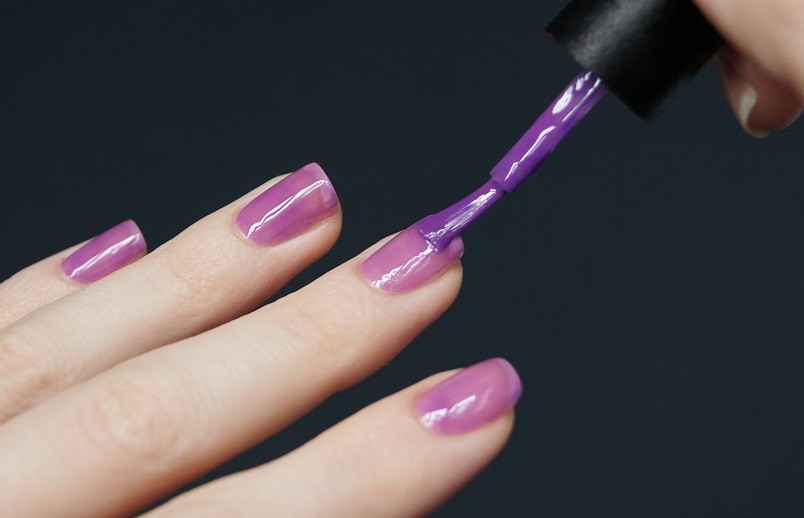
To gently make up the nails, the brush should be removed from the bottle, holding one side of it on the neck: then the coloring agent will not be too much and it will not flow where it is not necessary.
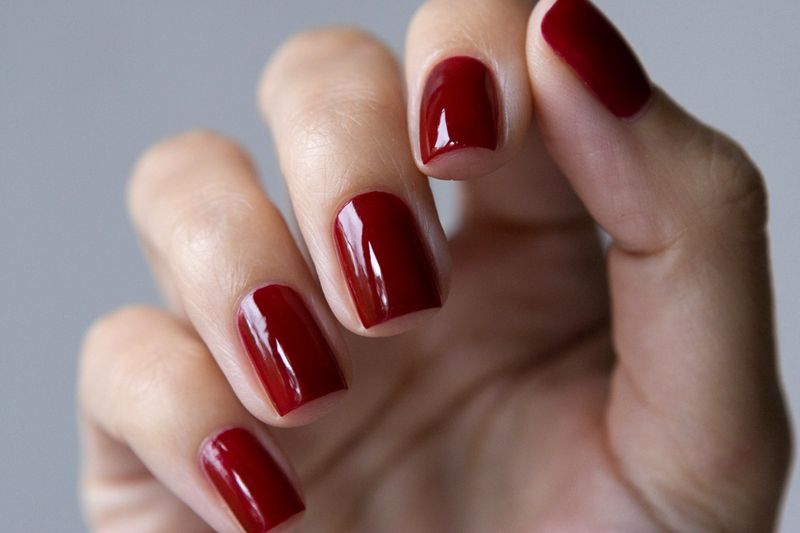
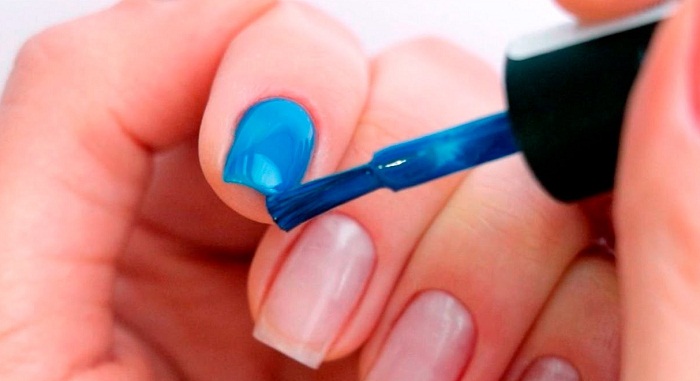
It is necessary to paint correctly: having made a smear first from the middle to the edge, and then back - towards the hole. After that, walk on the sides and in the end hold a brush on the butt of the nail to seal it.
If there is no experience and there is a risk to smear the skin or you want the nail to look more elegant and long, you can not bring the brush to the edge on the sides of the plate at a distance of about a millimeter.
After waiting a little, apply a second layer of varnish, and after drying, fix it with a finishing transparent layer, making the same movements as when distributing ordinary coloring agents. The finish will give the manicure a nice glossy shine.
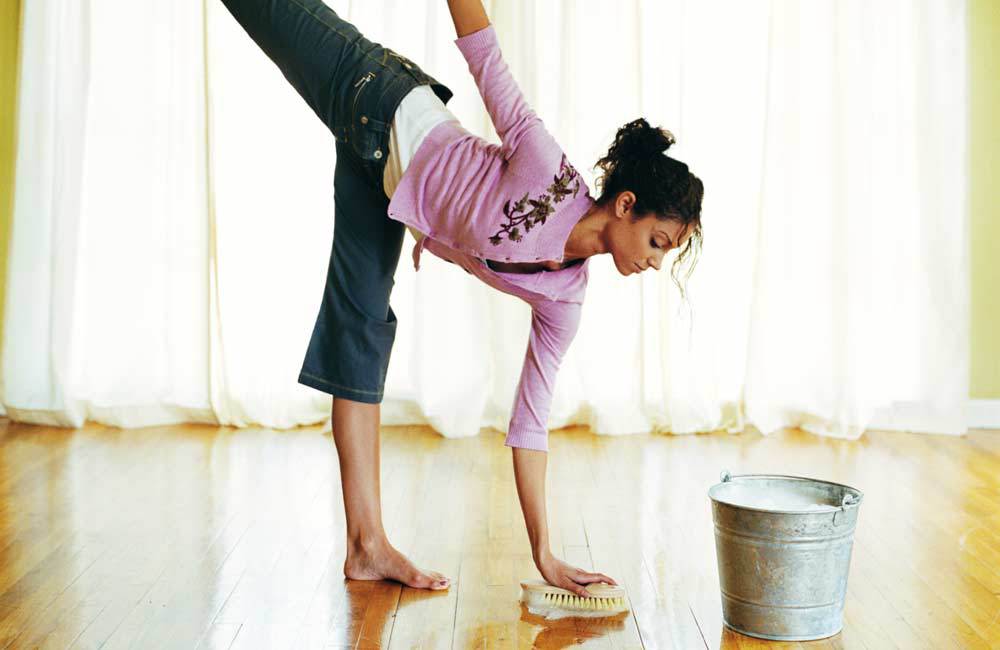
To keep the manicure longer, you should not have contact with water for several hours after the completion of the coating procedure. Therefore, ordinary women's household chores will have to be postponed: do not do the dishes, do not wash the floors, and the like.
Precautionary measures
Even if the manicure is considered a harmless process, precautions will not interfere. You need to choose a convenient place for such an activity. All items necessary for work, including a bottle of varnish, should be placed on the surface so that they cannot be touched, turned over or shaken off the table.
It is advisable to keep the window open, especially in those cases if the strong smell of acetone irritates the respiratory system too much.
While aiming beauty on the nails, it is better to make sure that children do not turn around. They do not need to have contact with nail accessories.
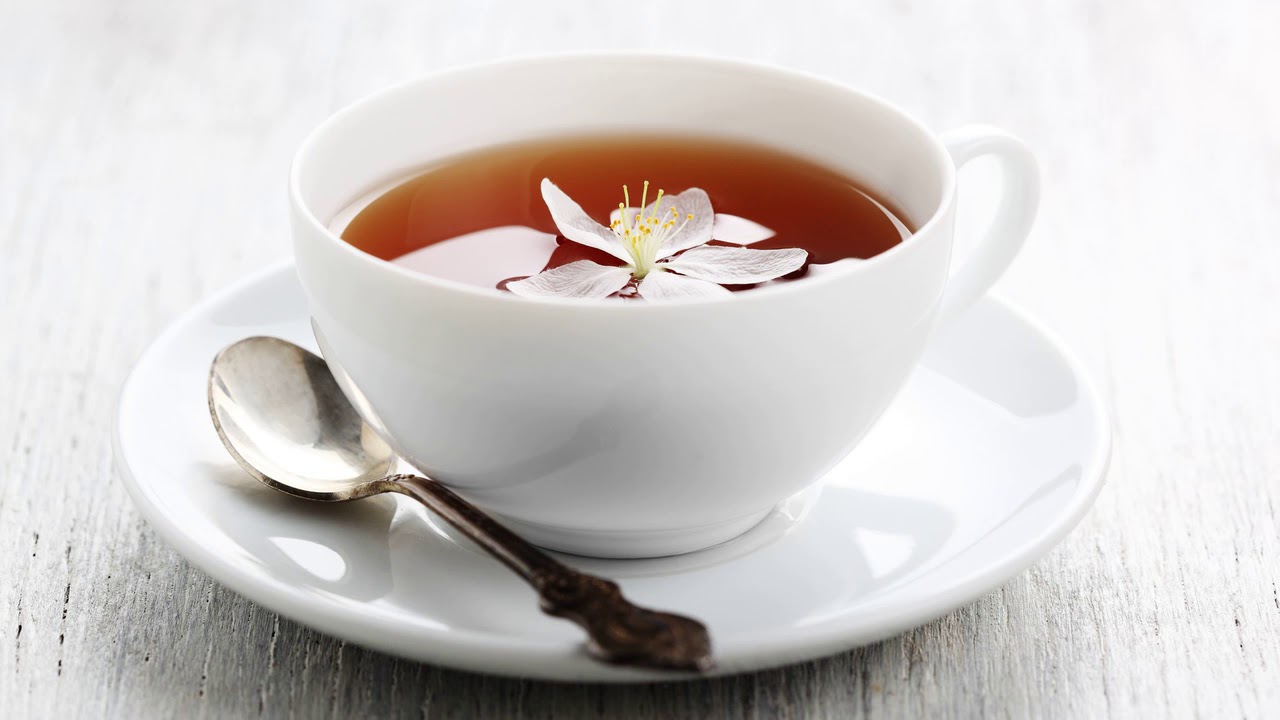
If the lacquer itself gets into the eye of a curious child, which also sometimes happens, you should quickly wash it with water or tea brewing, although it is possible that after such adventures you still have to consult a doctor.

FAQ
In the course of self-creation manicure often arise all sorts of difficulties.
What to do if dried up?
It so happens that the varnish is used irregularly. It thickens, hardens, and even the bottle itself no longer opens, because its contents are dry on the neck.
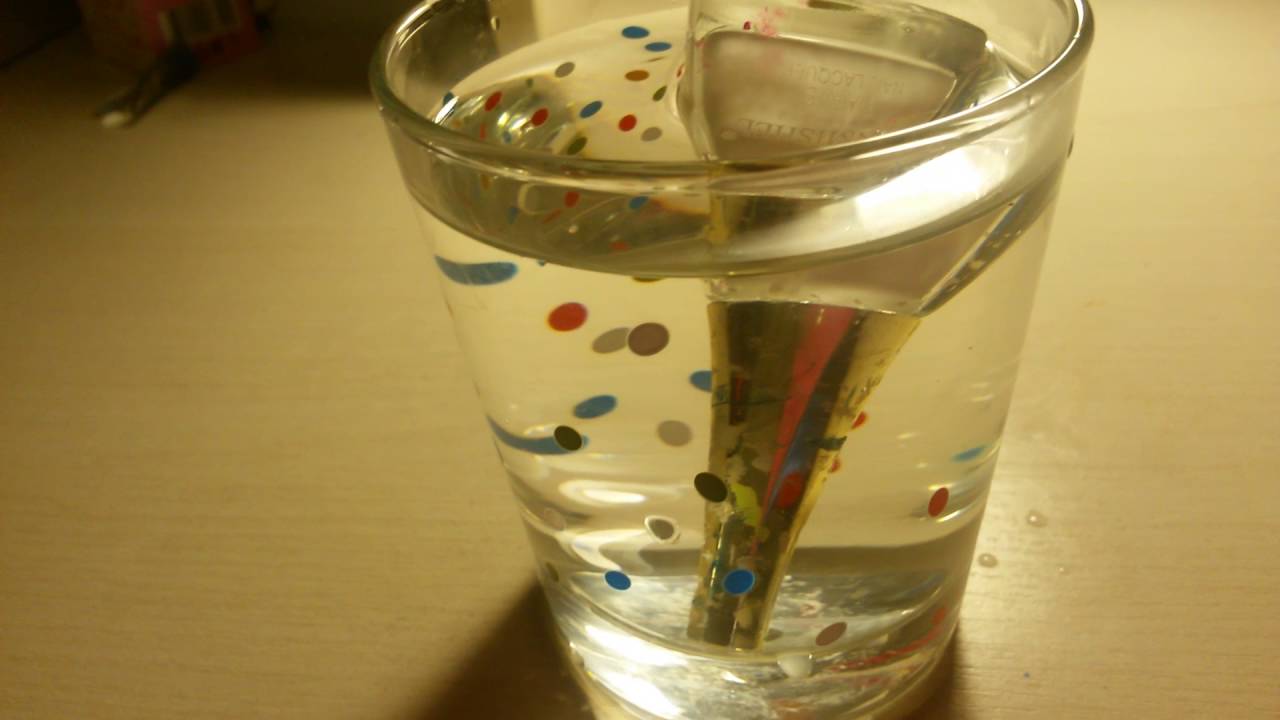
To open the bottle, you can briefly put it under hot water so that it covers the lid. If this does not help, hold the bottle under the heated liquid for half a minute. You can try to immediately unscrew the cap, but so that water does not fall into the bottle.
You can simply put the bottle upside down in a glass of hot water for five minutes. After that, the bottle should be wiped and again try to move the upper part of the bottle along the thread. To make it easier, you can wrap the elastic around it tightly. Then it will be more convenient to clasp the cover with your fingers.
Also, the base of the cover can be wetted with a solvent using a cotton swab. Nail polish remover or acetone will “eat” dried varnish and it will be easier to open the bottle.
It is also convenient to return the fluidity to the varnish itself with the help of hot water, although in some cases it can only be made liquid by a solvent. A large amount of this tool should not be immediately added.It is better to act in stages, seeking the desired consistency of varnish.
There are also special products on sale that can be used to dilute the coloring agent. Such thinners themselves look like transparent varnishes. You can use them, based on the instructions for use.

So that you do not have to “revitalize” dried varnish, it is better not to create situations for it to dry. Do not store these bottles in the refrigerator, as well as in the bedside table at the radiator or under the window. Both too high and too low temperature equally badly affects the coloring compositions. It is necessary to find a cool dark place for the bottles.
After using the lacquer, the neck of the bottle should be wiped with a nail polish remover. This will not allow the cover to stick.
What if it doesn't dry?
The problem with ordinary varnish is its slow drying. It takes ten to twenty minutes to wait for each layer to set securely.
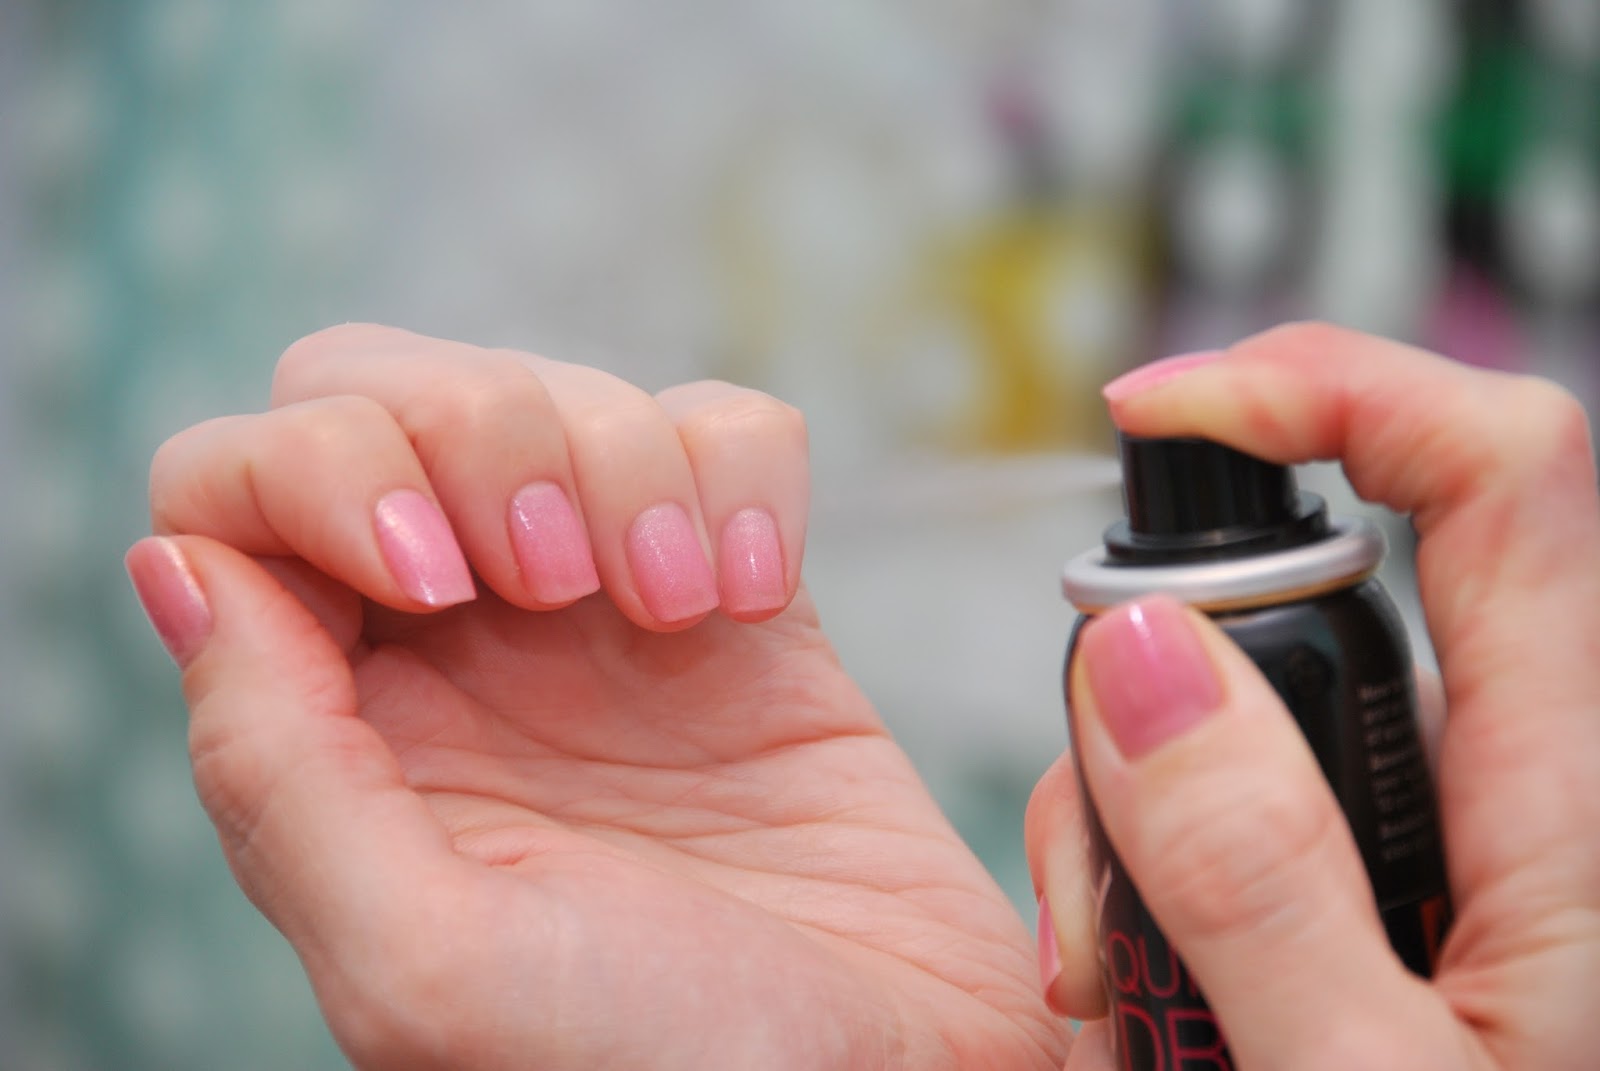
To not have to wait long, you can use special sprays or liquids that are distributed on the nails with a brush. This allows the varnish to dry in a minute.
You can apply to the nails a drop of vegetable oil within a couple of minutes after applying the varnish. It speeds up the drying process in half.
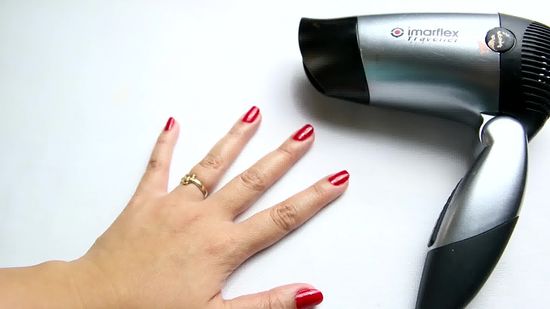
You can even use a regular hairdryer. It includes without heating. To prevent the varnish from warping, do not hold the device too close to your fingers.
How to erase?
Sometimes when applying nail polish on the nails, it bubbles. This may be due to the ingress of water into the dyeing composition, or perhaps the decorative item simply expired. Then the varnish will have to be erased and applied again. You can use to remove the cotton pad soaked in a special liquid.
Some make of improvised means nail corrector. A small piece of foam rubber is rolled into a small bottle with nail polish remover. It is enough to stick a finger in the foam rubber impregnated with liquid. After that, the varnish will be removed with a slight movement.
It often happens that the varnish is not erased from the skin around the nails. This may occur due to the inexperience of a girl who paints her nails herself or because of the use of various devices in creating drawings and decorative fingerprints.
Wipe off the blotches from the skin helps nail polish remover. You can soak a cotton swab and rub your fingers with it. You can use a special corrector, the core of which is impregnated with a varnish remover.
You can also use a flat brush, which is moistened with a solvent and run it over the skin. After that, the brush should be wiped on a lint-free cloth and repeat the procedure until your fingers are clean.
Design Ideas
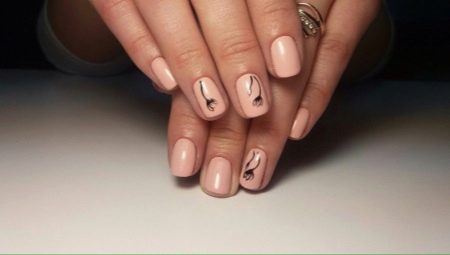
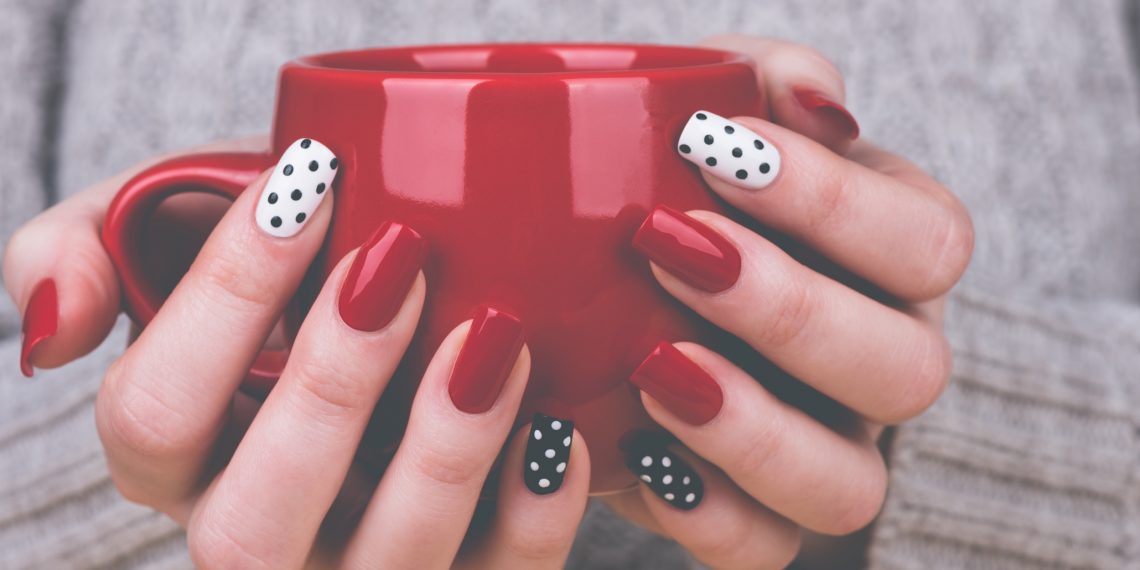
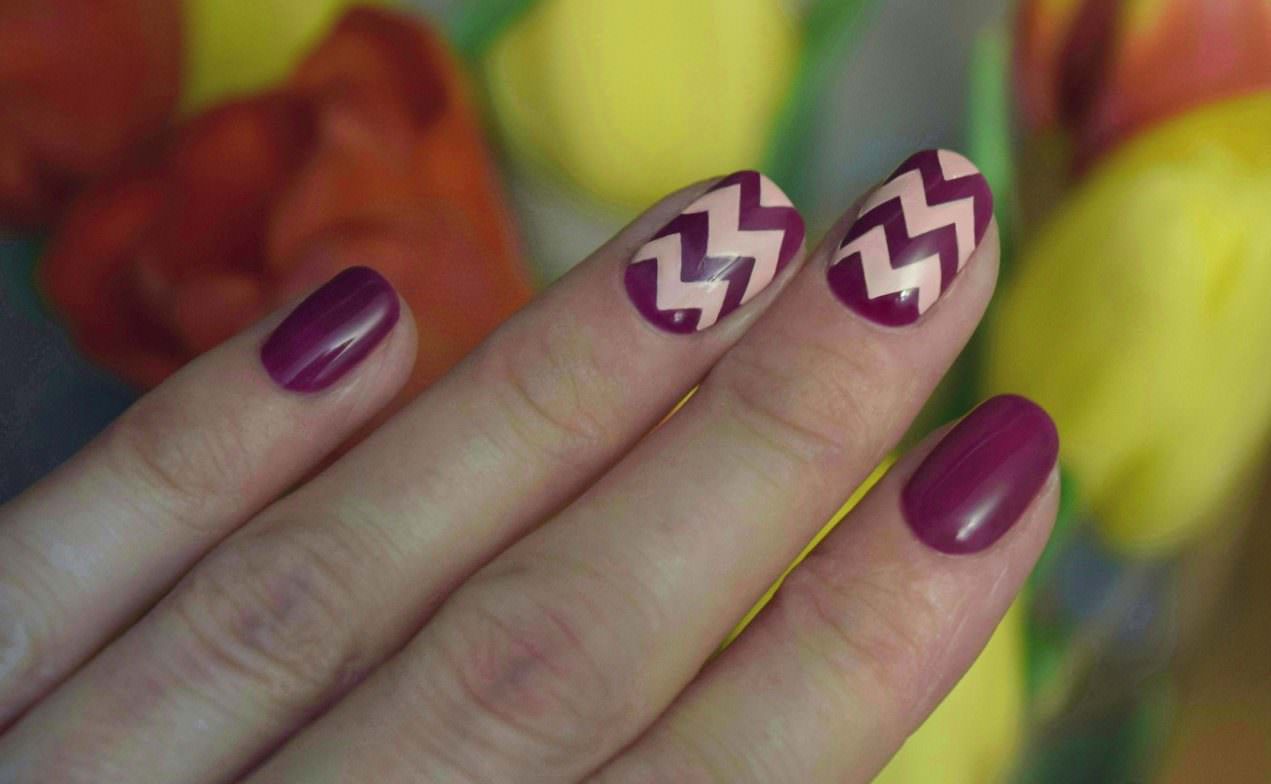
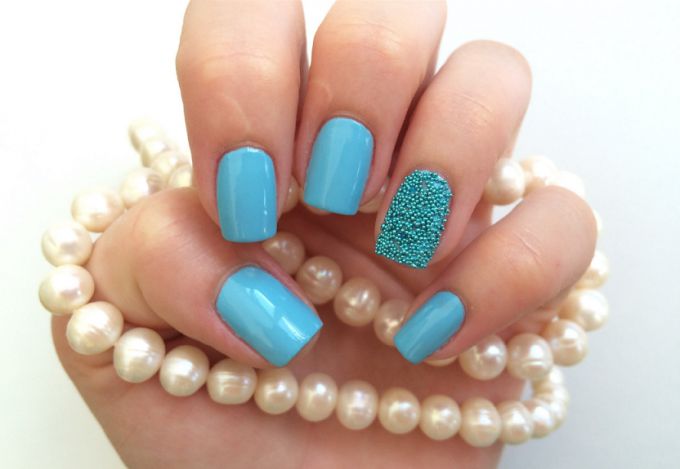
Regular varnish allows you at home not only to gently make up your nails, but also to make an unusual design on them.
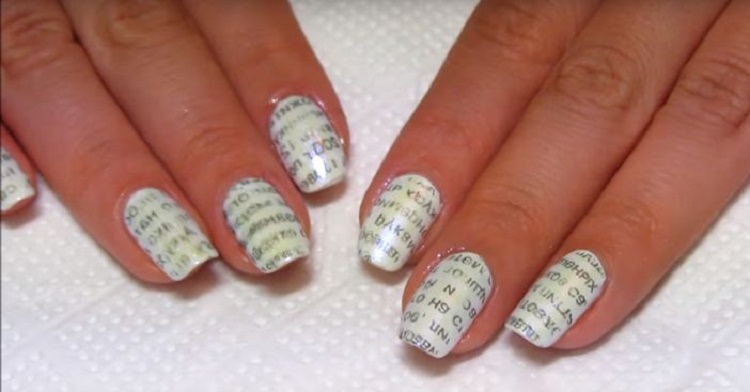
An interesting option is to use a newspaper. First, the nails are covered with a base coat, then with white lacquer. When it dries on the nails, in alcohol for ten seconds, wet the pieces of the newspaper with the letters and immediately tightly applied to the nail plates. From above cover with a transparent varnish.
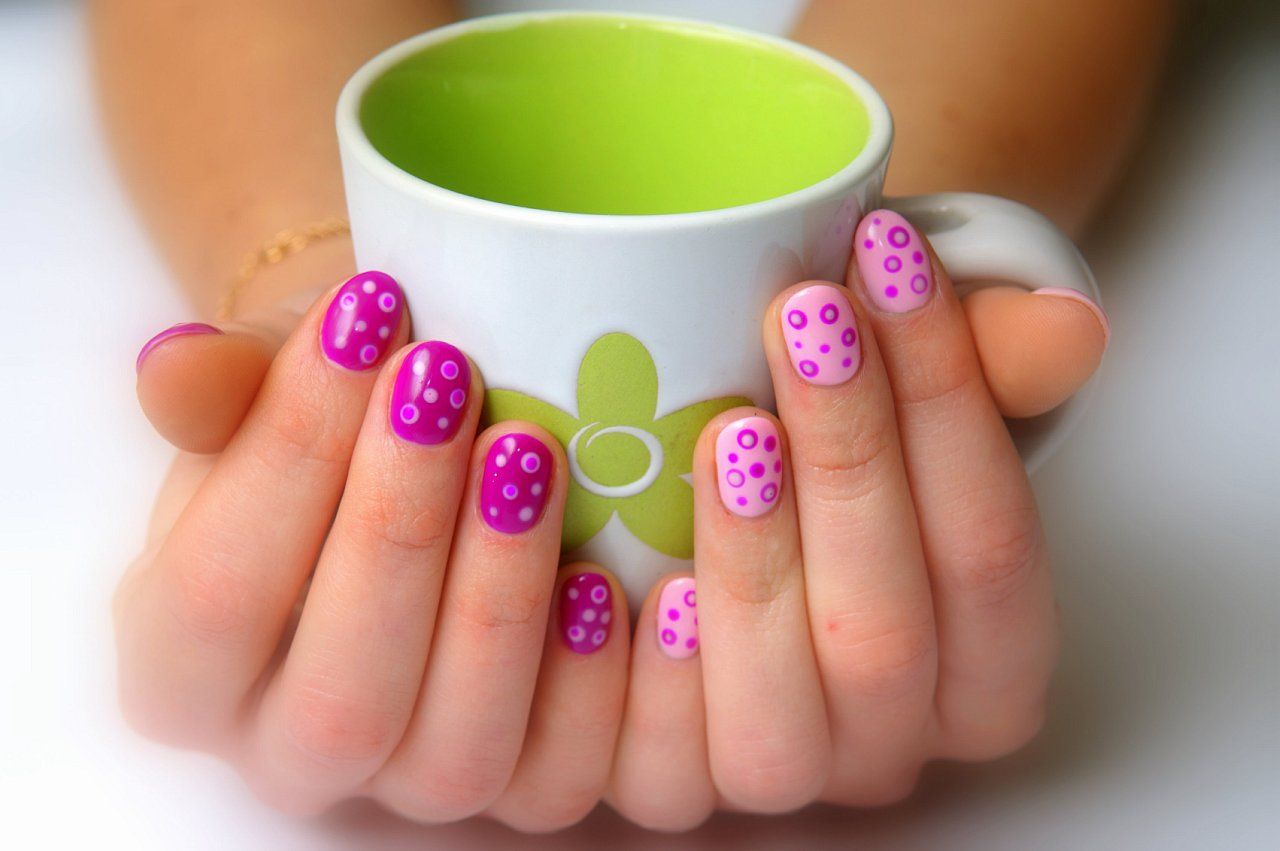
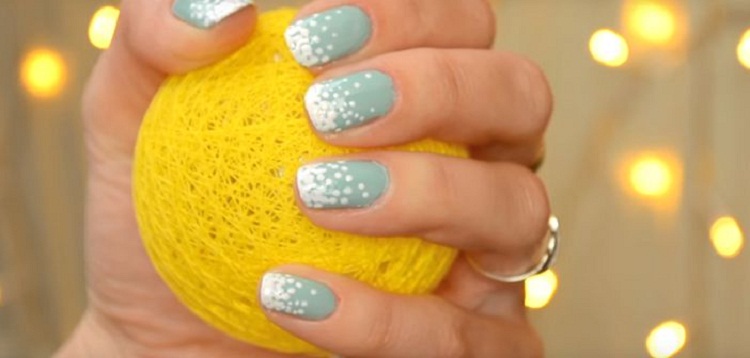
A toothpick can easily draw on painted nails. To do this, take a lacquer contrast to the main color and apply dots with a stick. You can distribute them differently on the surface. For example, at the very edge to make them a lot, gradually reducing the amount towards the hole of the nail.
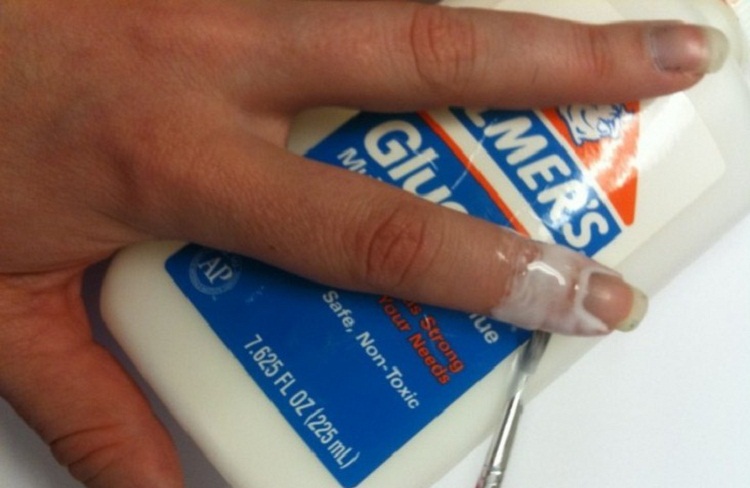
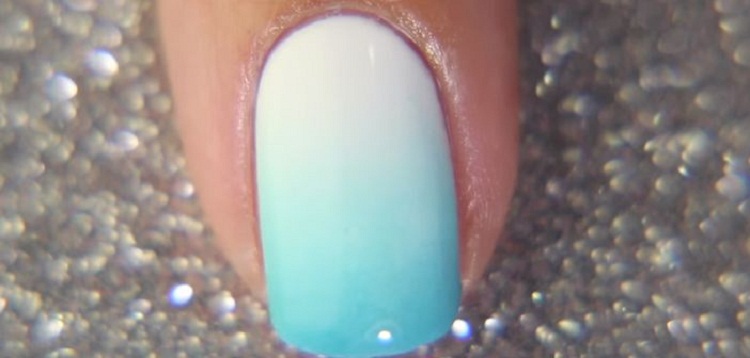
You can create the effect of transition from one color to another. To do this, on a regular kitchen sponge is applied in a row of several strips of varnish of different colors. The skin around the fingers should be closed, for example, smeared with white glue or wrapped with food film (it remains to make a hole under the nail). Now you can make prints, then cover the top of the nails with a transparent layer and remove protective agents from the fingers.
The ideas of manicure design with ordinary varnish, see the following video.


