This kind of “nail art”, like kiwi on the nails, is the original version of the manicure, which is perfect for bright and self-confident girls. This nail design is especially popular in the summer season when you want something unusual and colorful. This kind of manicure, emphasizing the tan, will be a great addition to the summer look of each girl. To many, this technique of drawing will seem complicated, but it is not.
With proper technique and accuracy, everyone will be able to draw a kiwi for himself or someone on the nails. It should be noted that the implementation of such a pattern is simple, but painstaking and requires preliminary training on tips.

Features
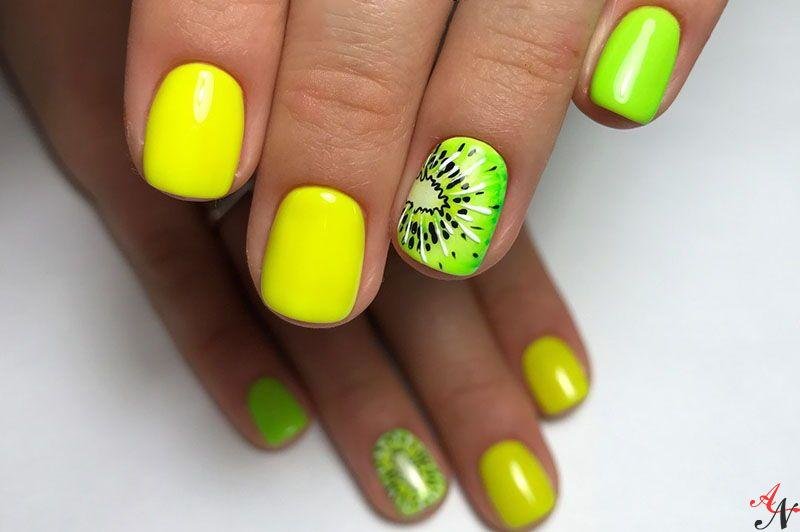
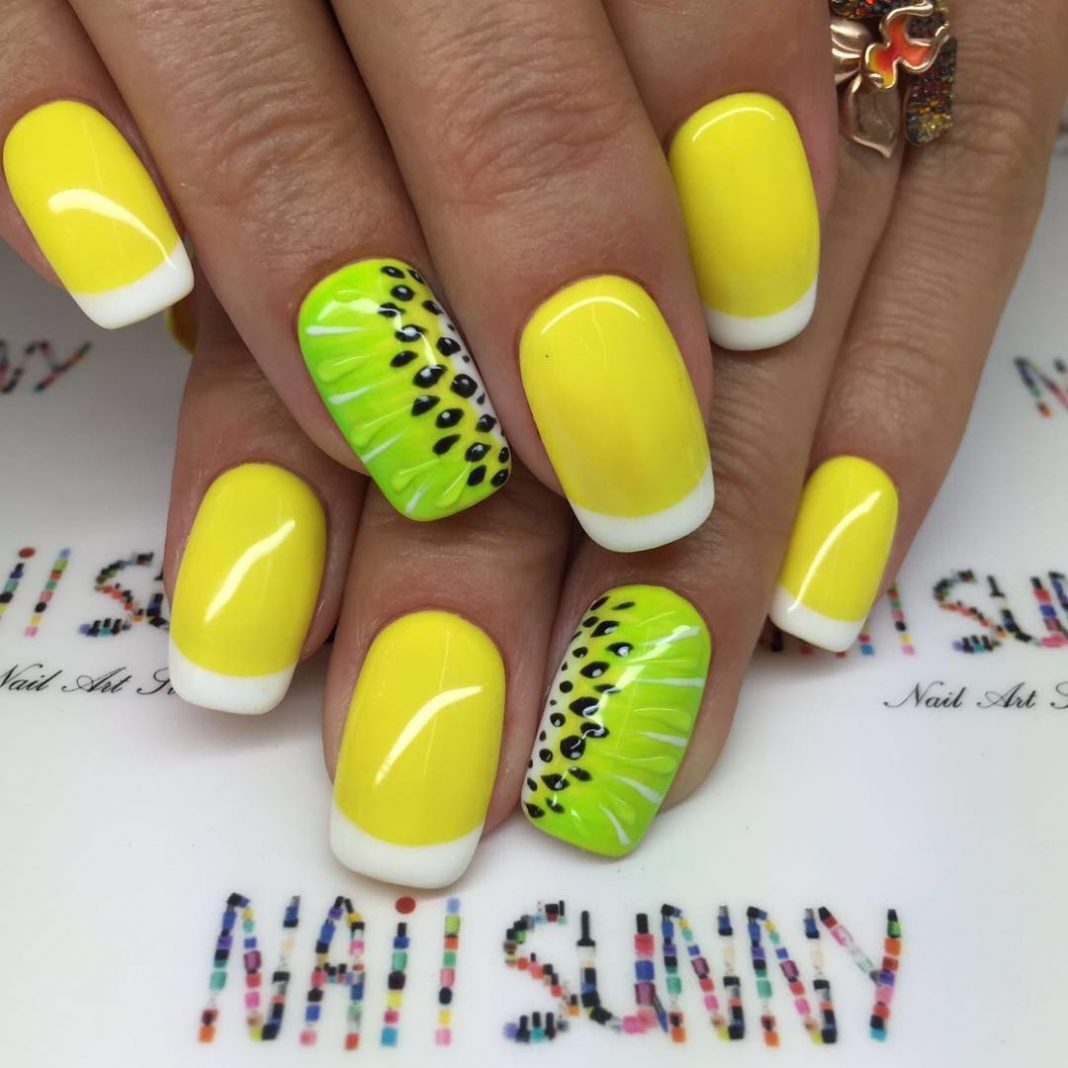
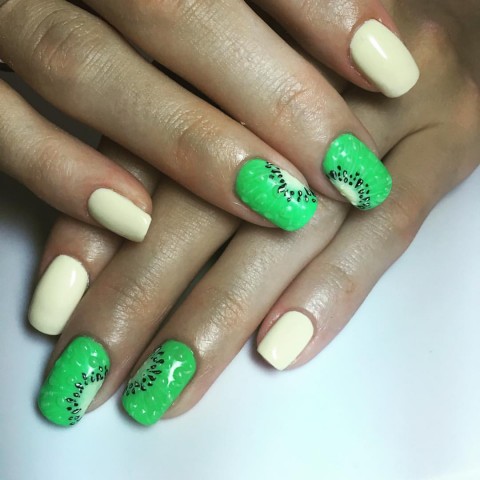
Manicure design options are limited only by the imagination of the master or client. Not everyone will like to paint kiwi on each nail, as this is a matter of taste. Often the image of the fruit is made only on a few nails, all the others are covered in a monochromatic color or french is done. If you choose the option with the French manicure, you can make it not a standard white, but, for example, bright yellow or, conversely, black.
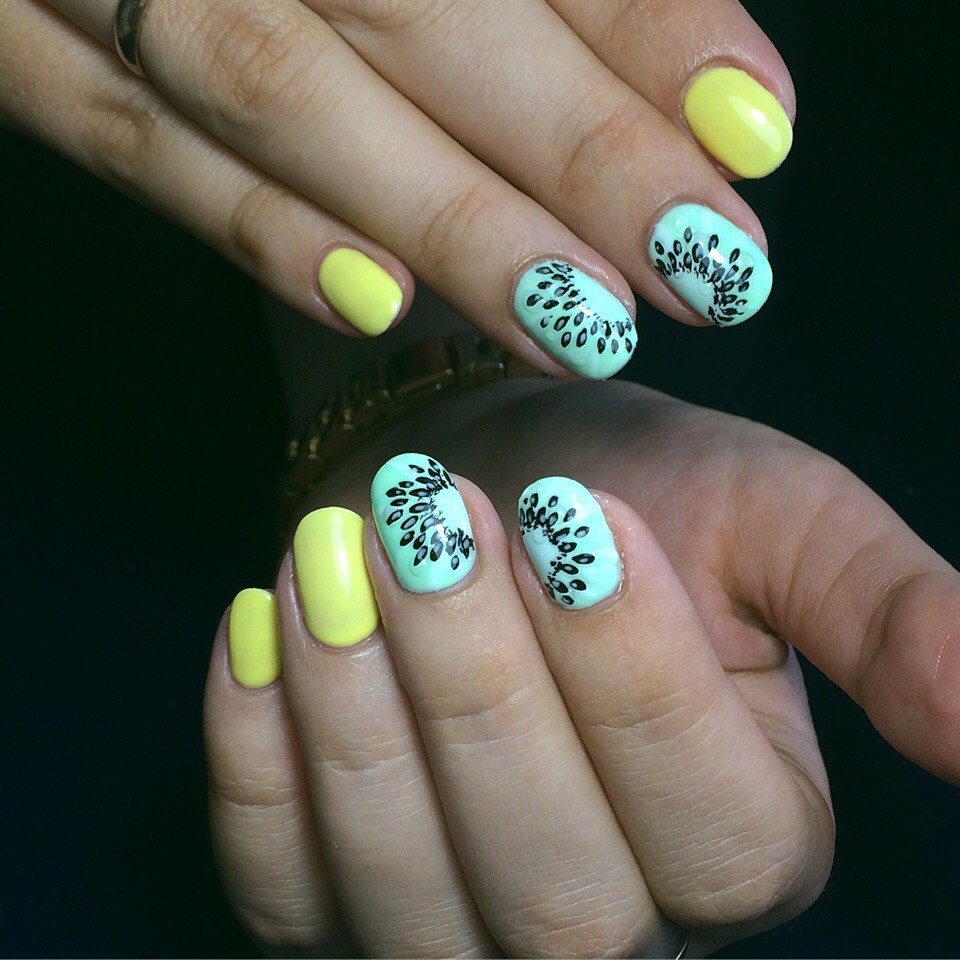
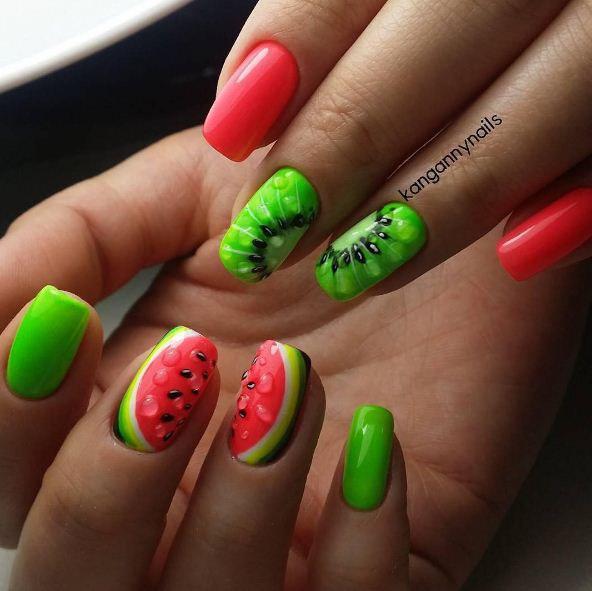
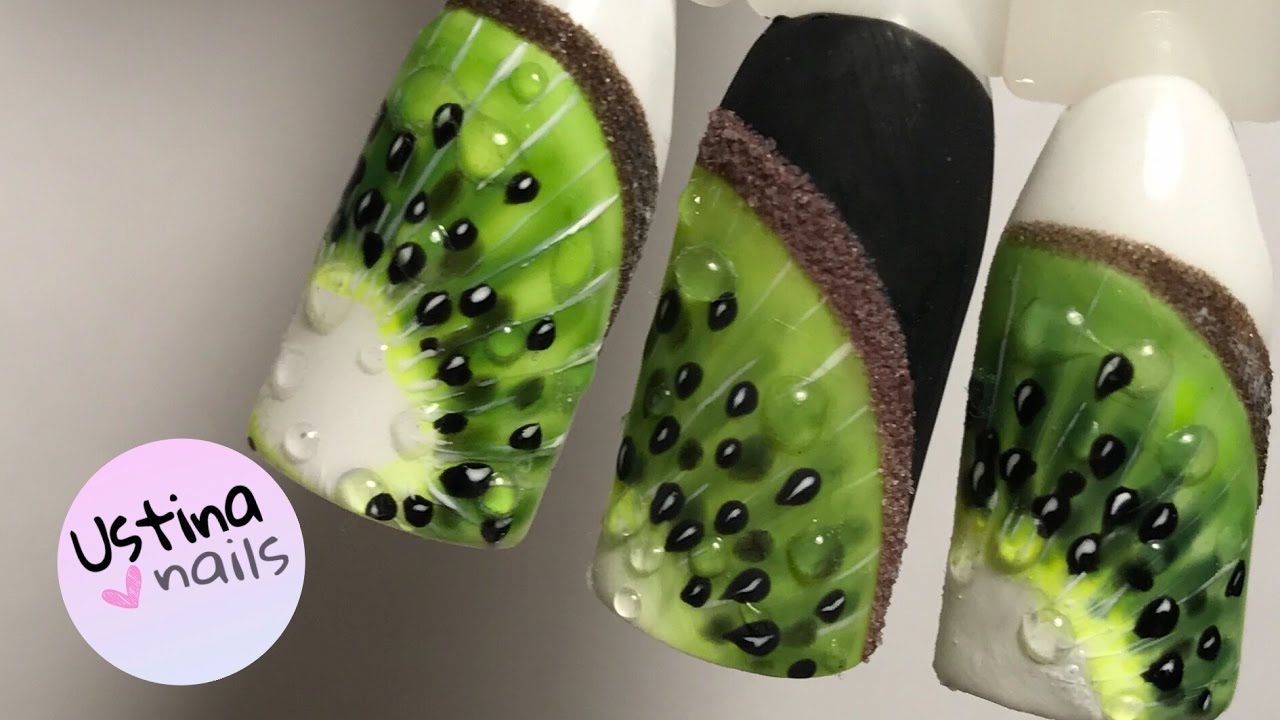
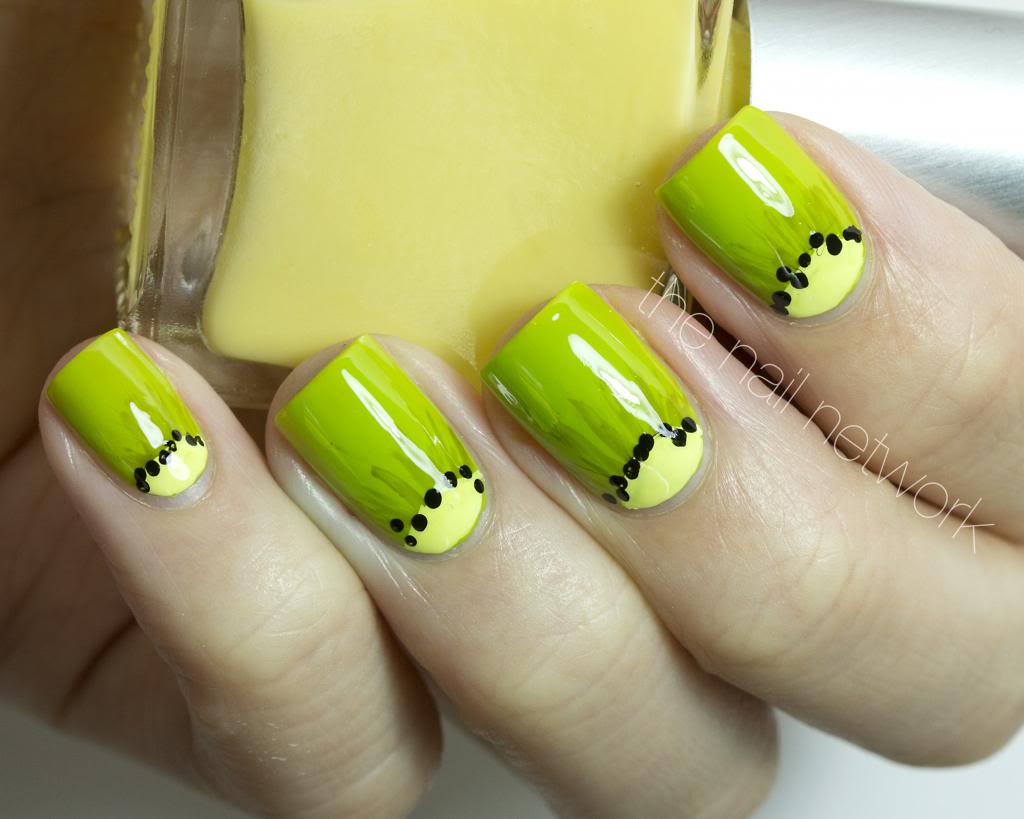
Another original way is to apply the picture not on the whole nail, but on its part. Beautifully and interestingly these fruits look with droplets.
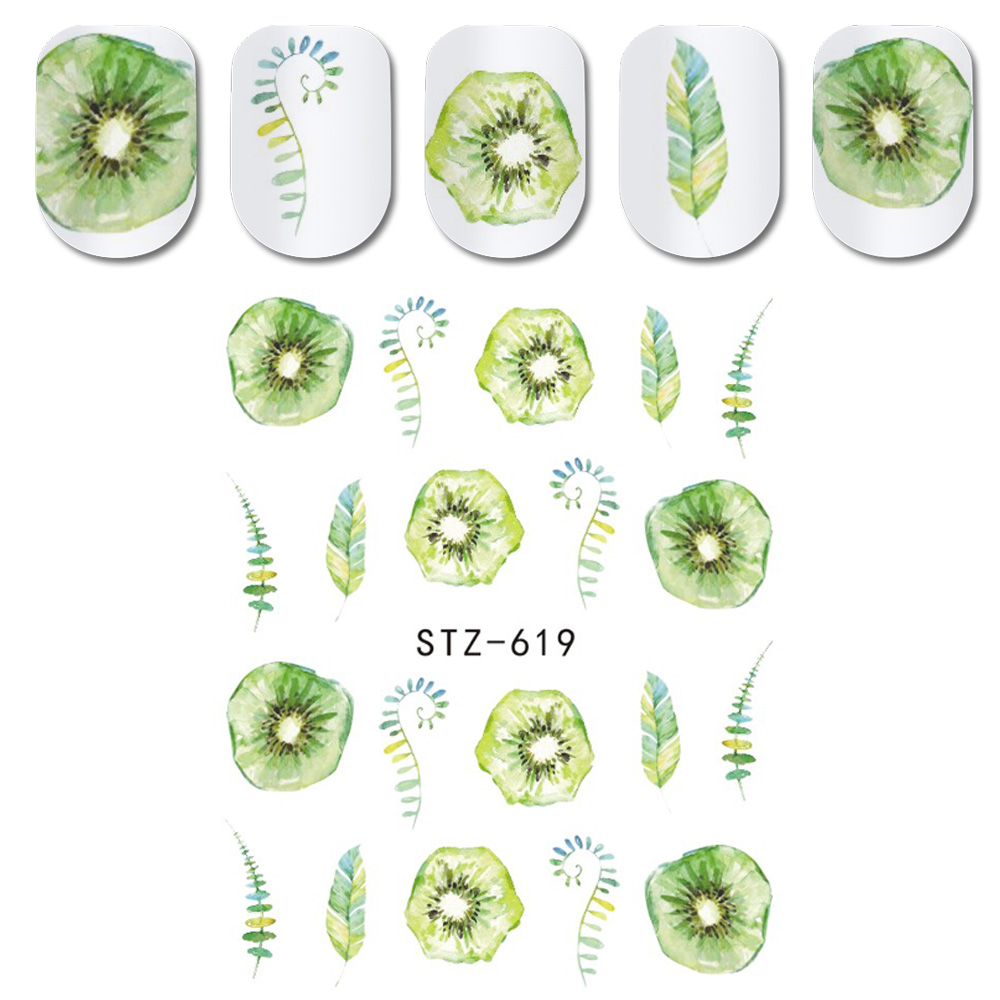
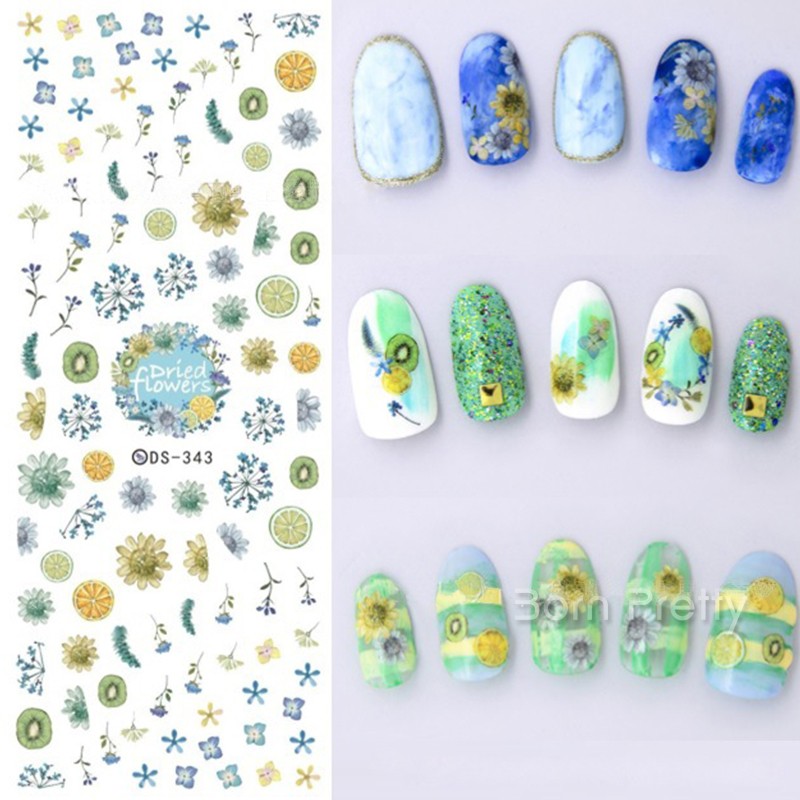
If a person does not know how to draw, you can buy ready-made stickers with the image of various fruits, including kiwi.
Necessary materials
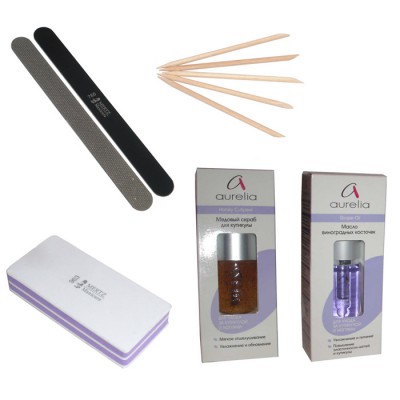
In order to portray this pattern on the nails, You must first purchase the following materials:
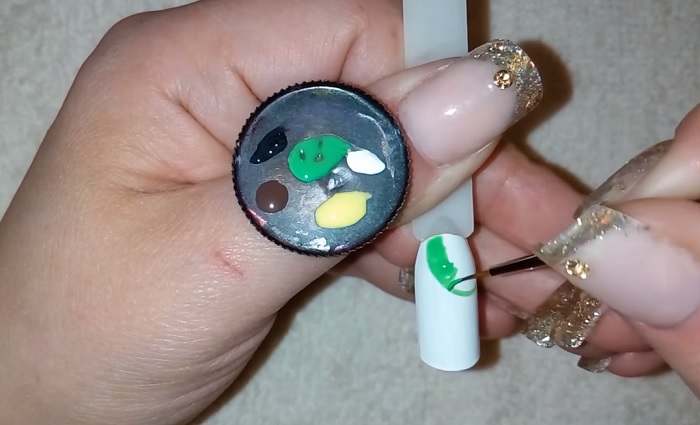
- varnishes of such colors: white, black, green (of any shade);
- base - any color of lacquer (preferably shades of milky and gray);
- base coat;
- top;
- thin brush.
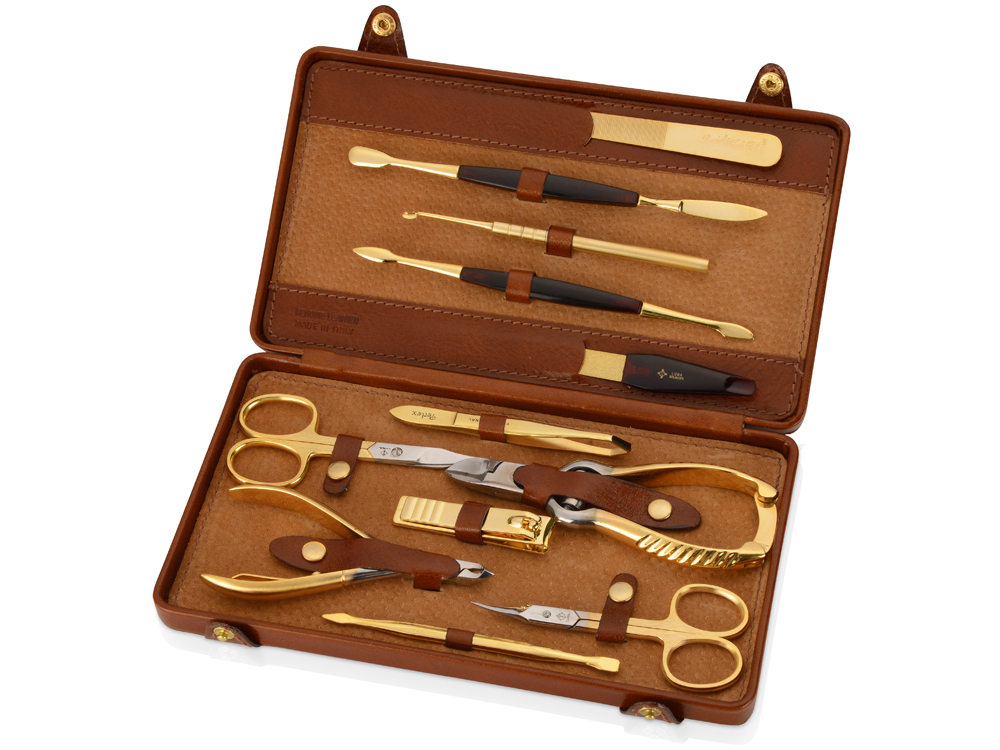
Pre-prepare the nails, making a manicure. To do this, you will need various accessories: manicure set, cotton swabs, cuticle oil, nail files of different diameters and stiffness.
Preparatory stage
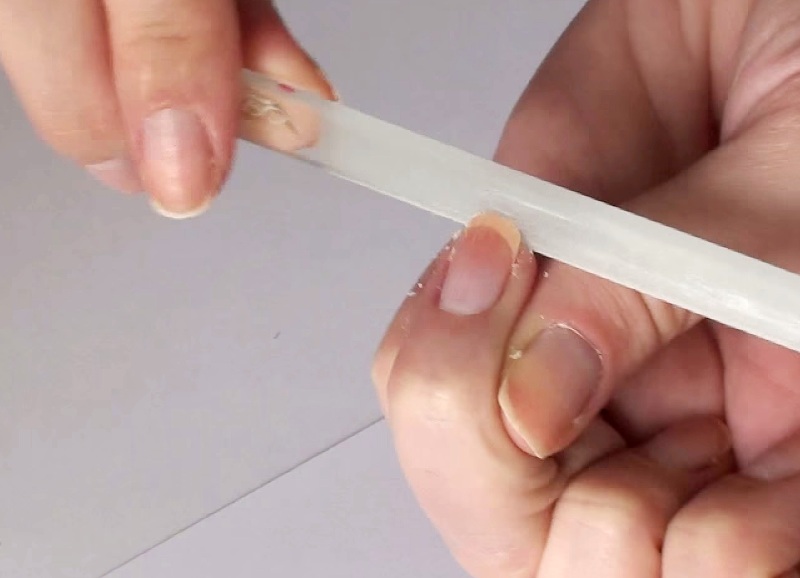
To make the picture look perfect, you should first carry out the procedure of cut manicure. In addition to cleaning, you should adjust the shape and length of the nail. Kiwi is well suited for girls with oval or round nails of medium length. Before coating, you need to walk well on the surface of the nail baf.
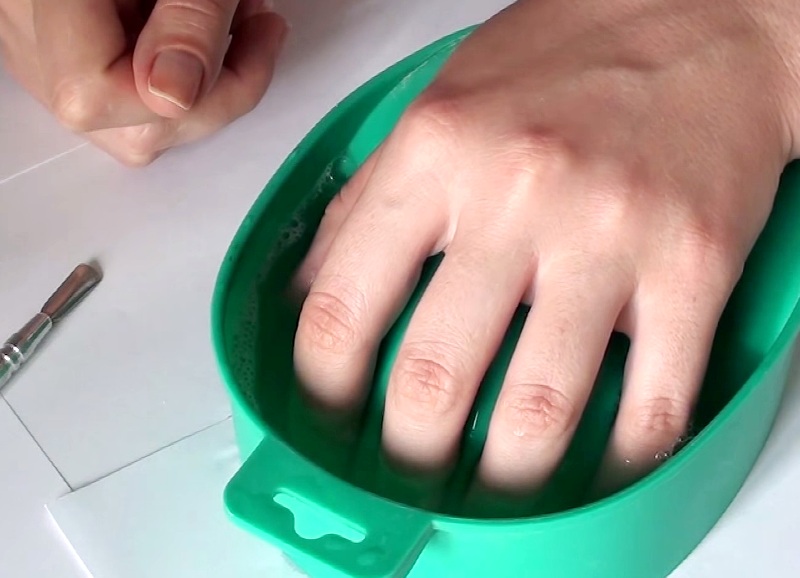
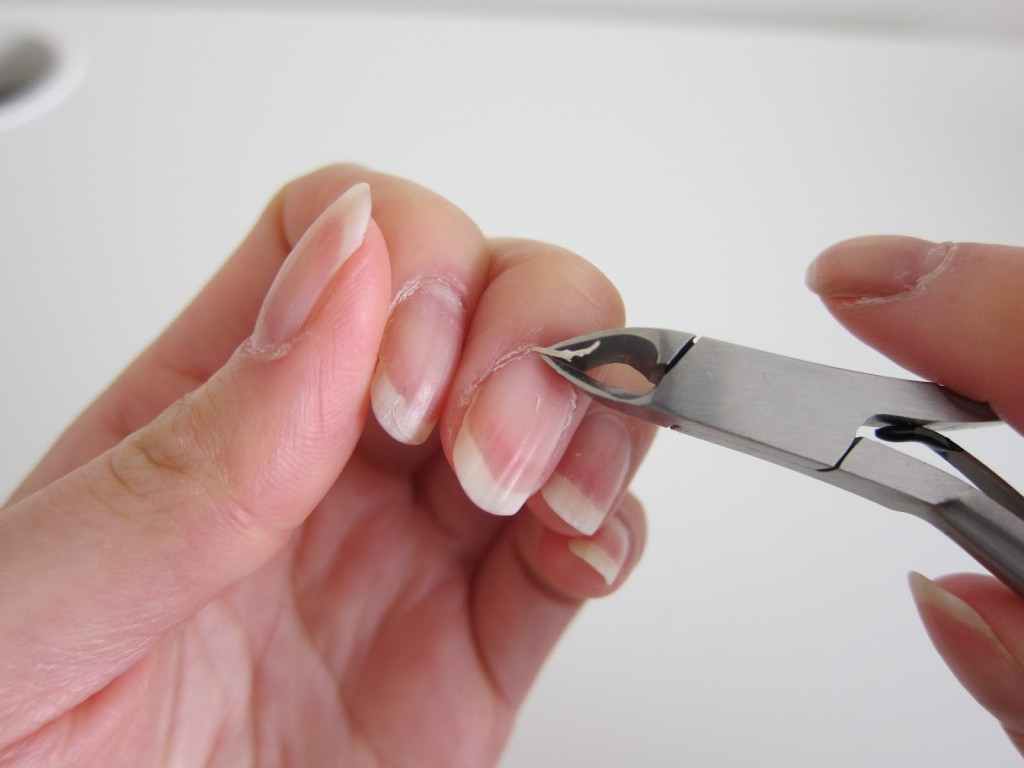
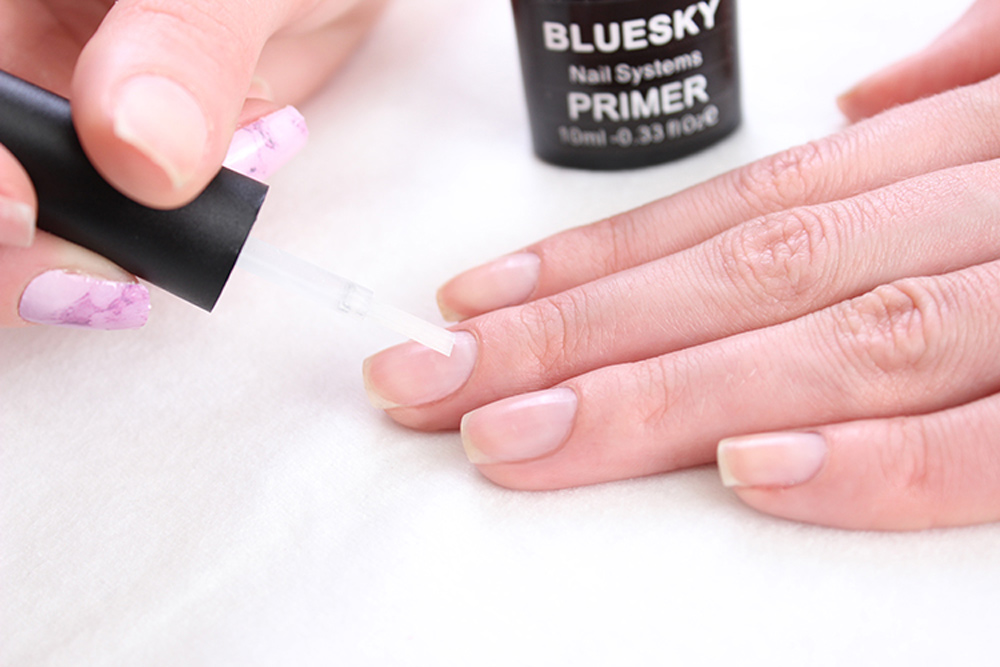
Having previously prepared the cuticle for removal (softened in water or with the help of a special liquid), it is moved as far as possible from the nail plate, after which it is removed with tweezers or a machine. After that, the nails are treated with acetone or a degreasing liquid. The next step is to apply a primer so that the lacquer adheres well to the nails.
Technique of drawing
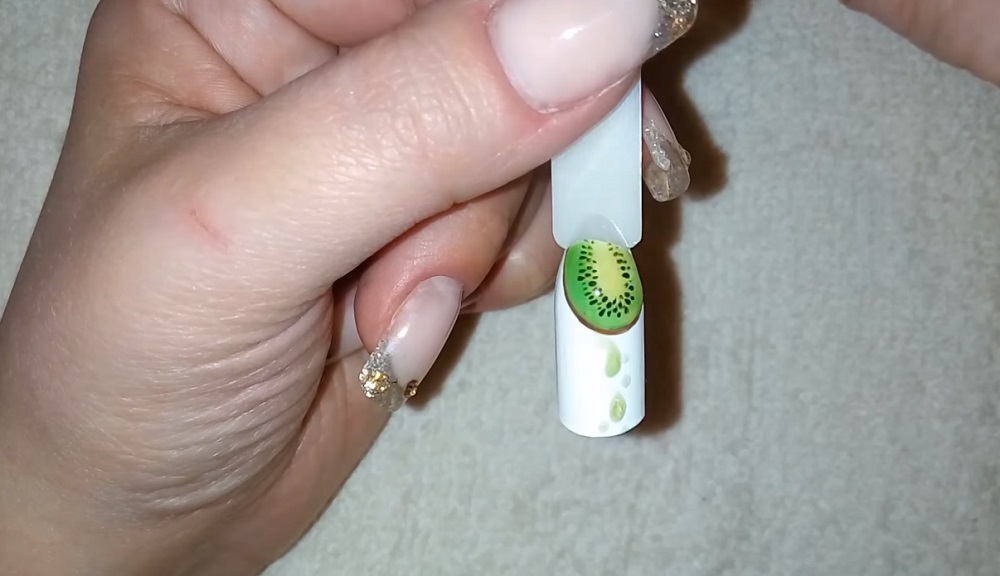
Those who are not sure of their artistic skills, it is better to try to pre-portray kiwi on plastic templates. The advantage of the pre-workout is that you can try on the finished drawing on yourself and correct the errors.
The image of the fruit on the nails consists of several consecutive steps.
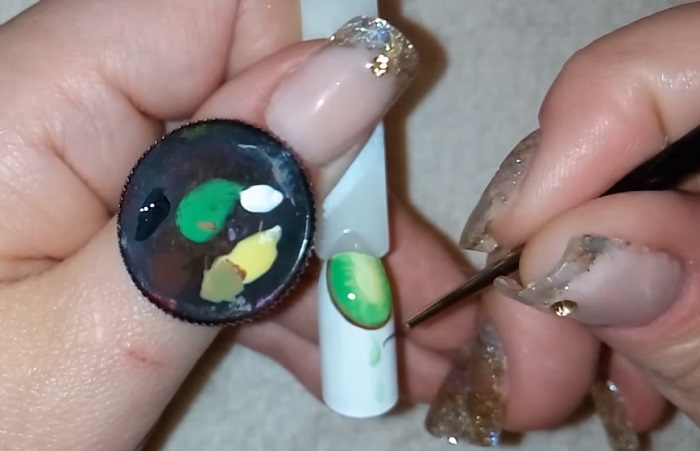
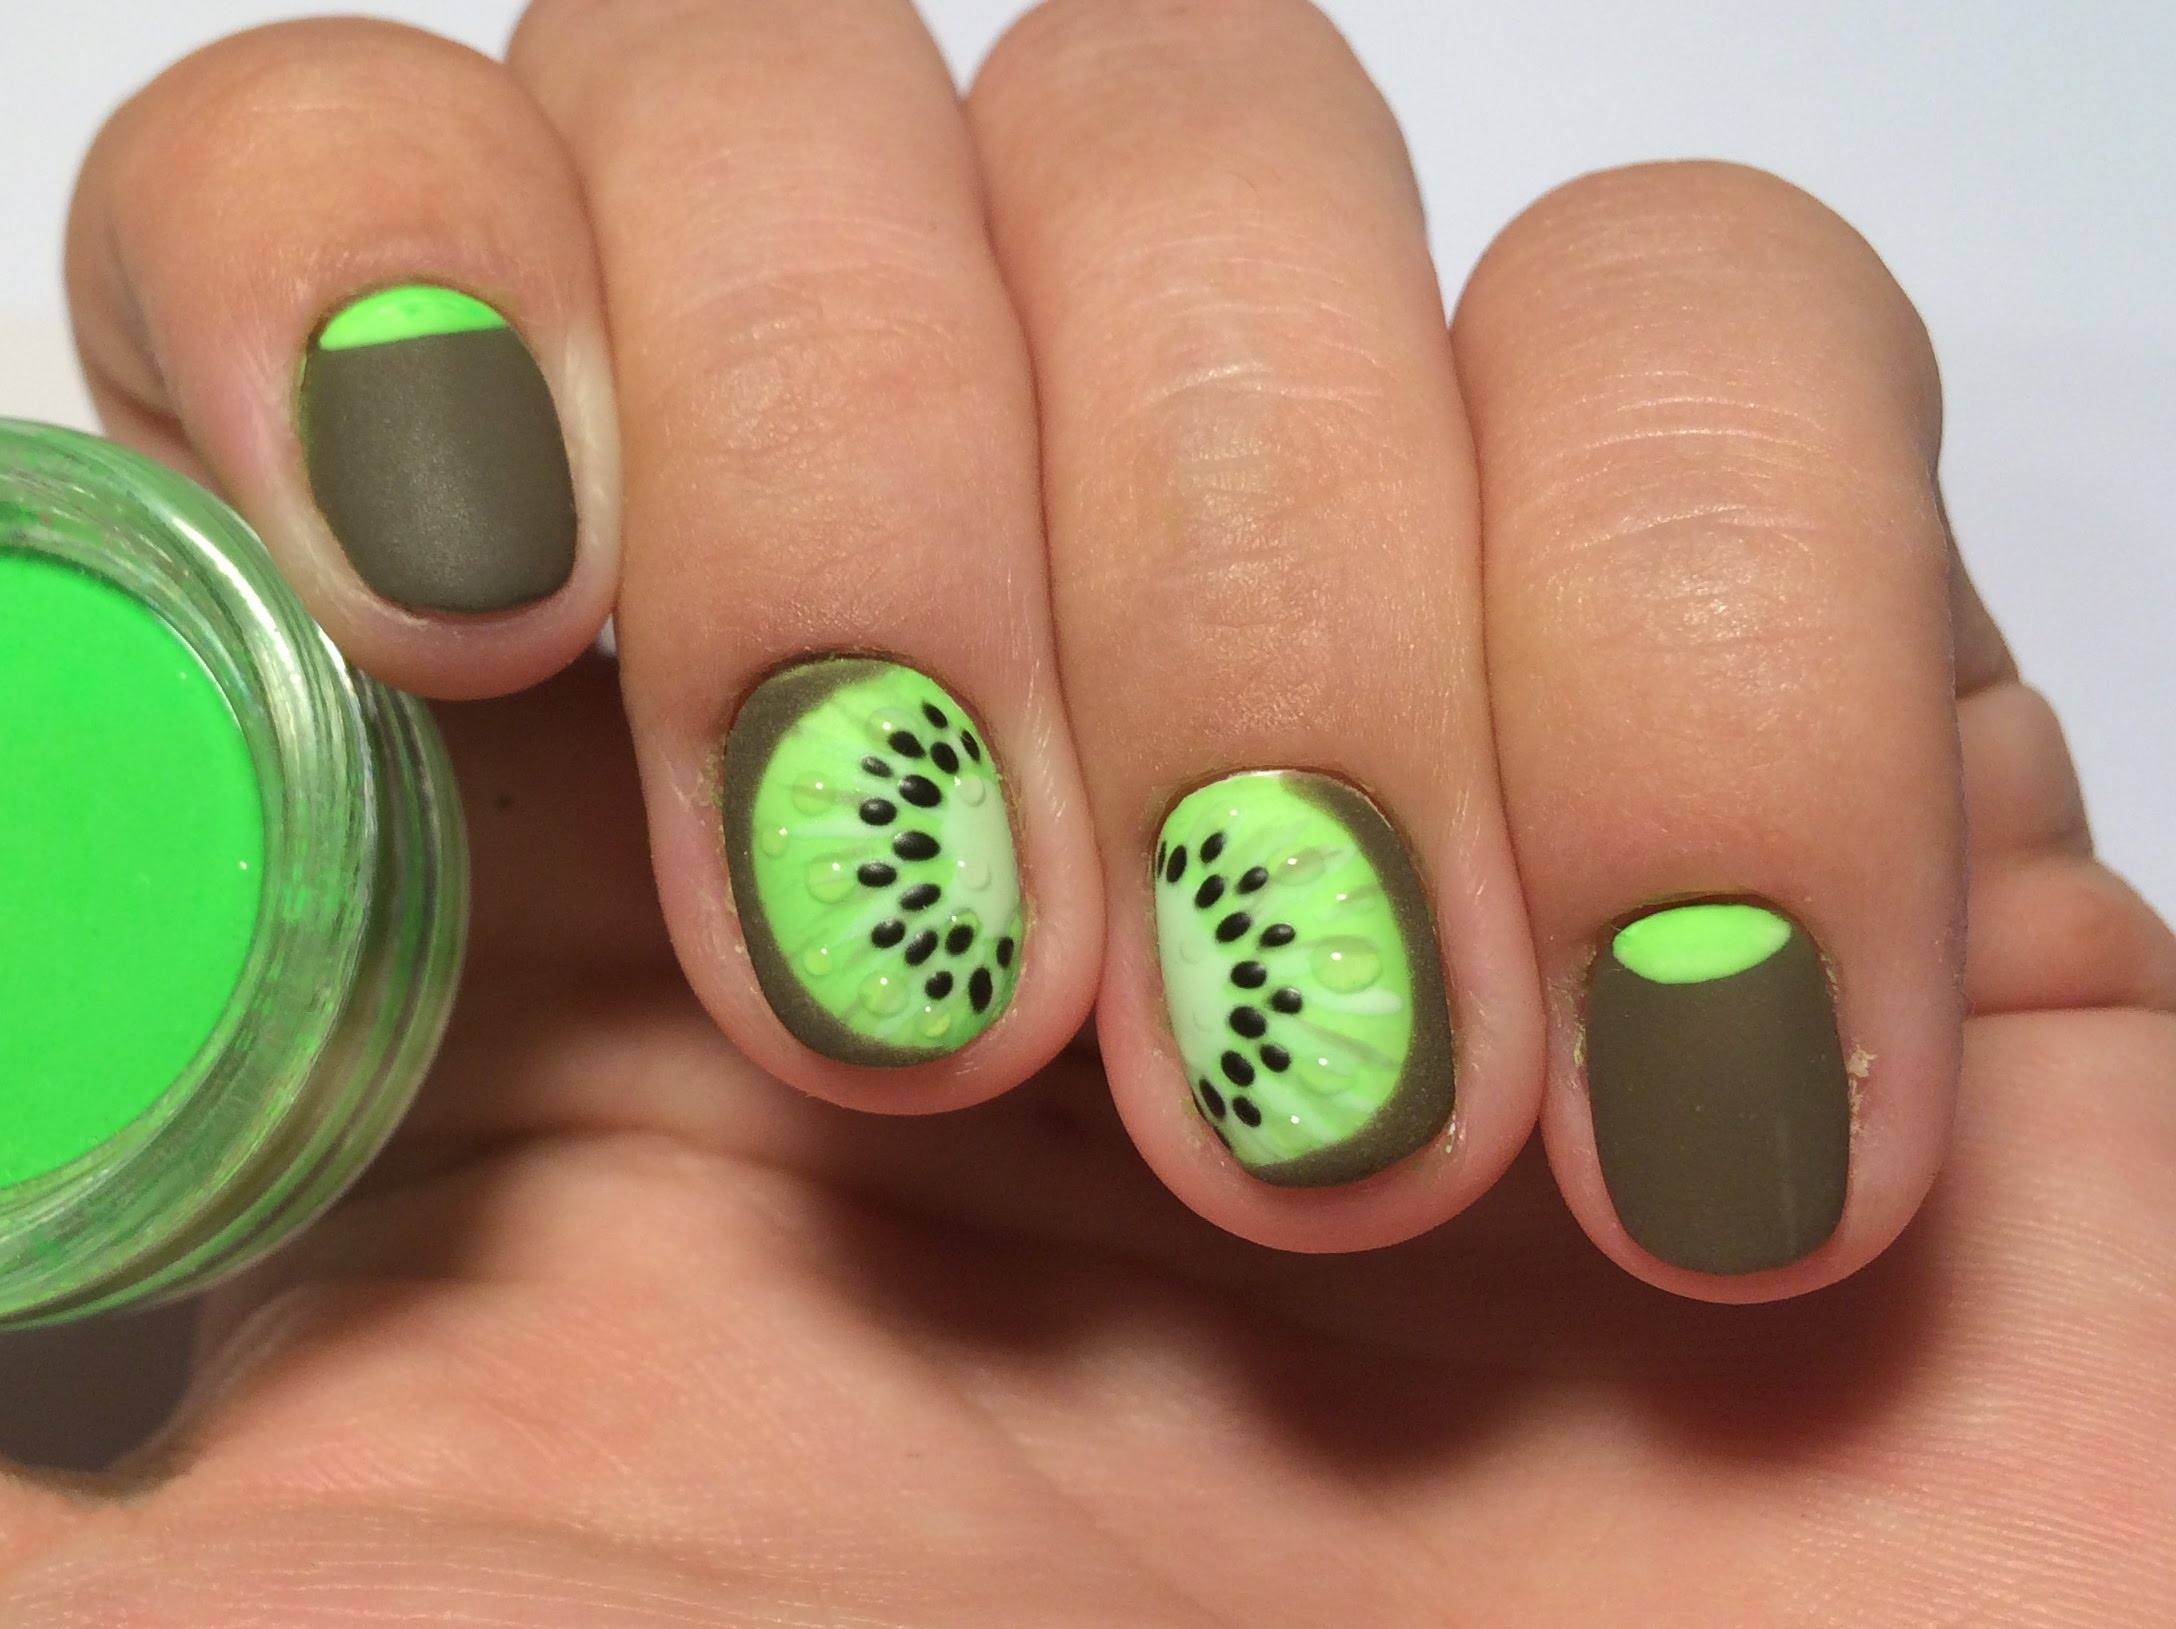
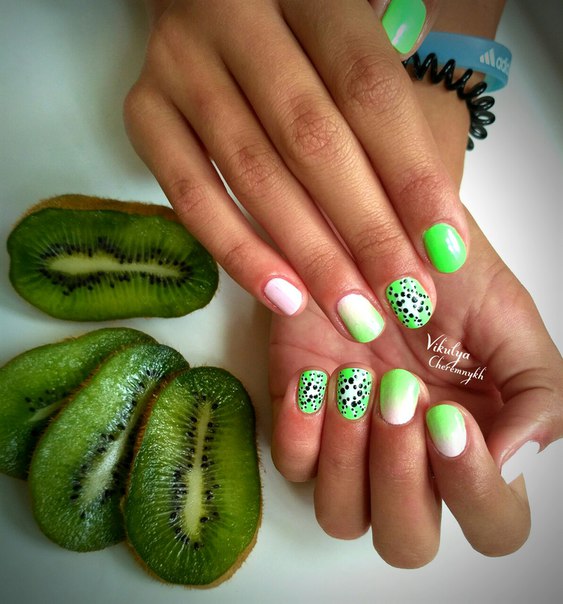
- All nails are pre-applied base. Then a monochromatic lacquer is applied to the index and middle fingers, which is well combined with the coloring of kiwi: shades of beige, light yellow and gray. The number of layers depends on the structure of varnish. Important: after applying each layer of varnish or part of the pattern, nails should be well dried in the lamp.
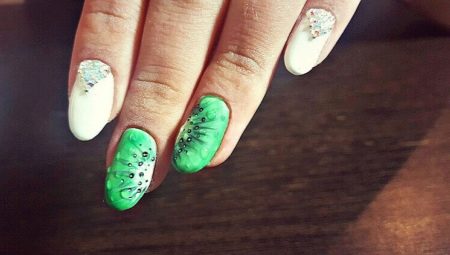
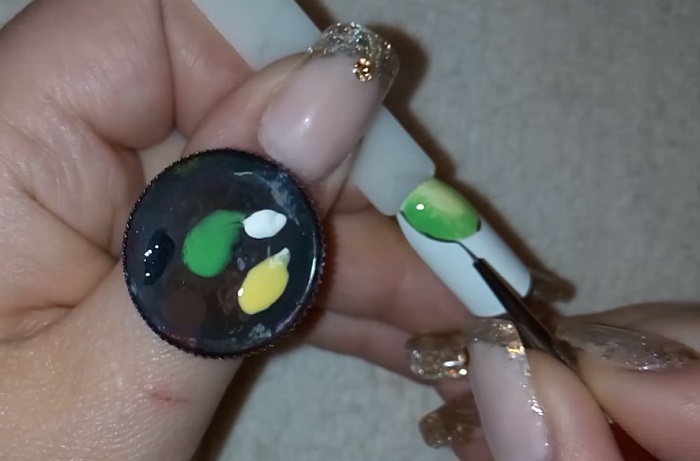
- The nails of the thumb, as well as the ring and the little finger are painted green. Kiwi will be painted only on the nameless and little finger. The thumb will remain monotonous.
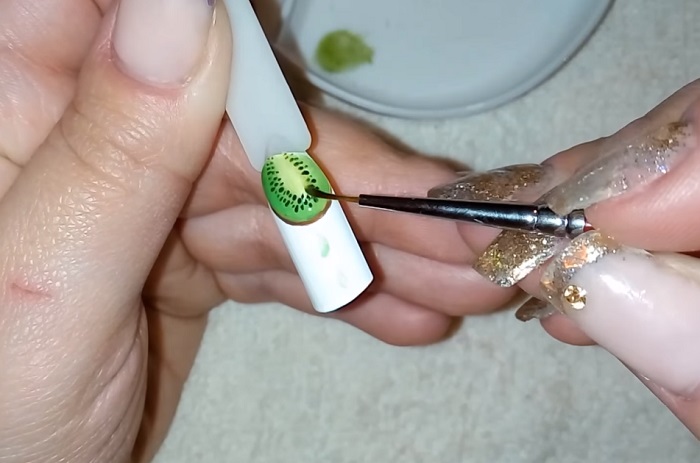
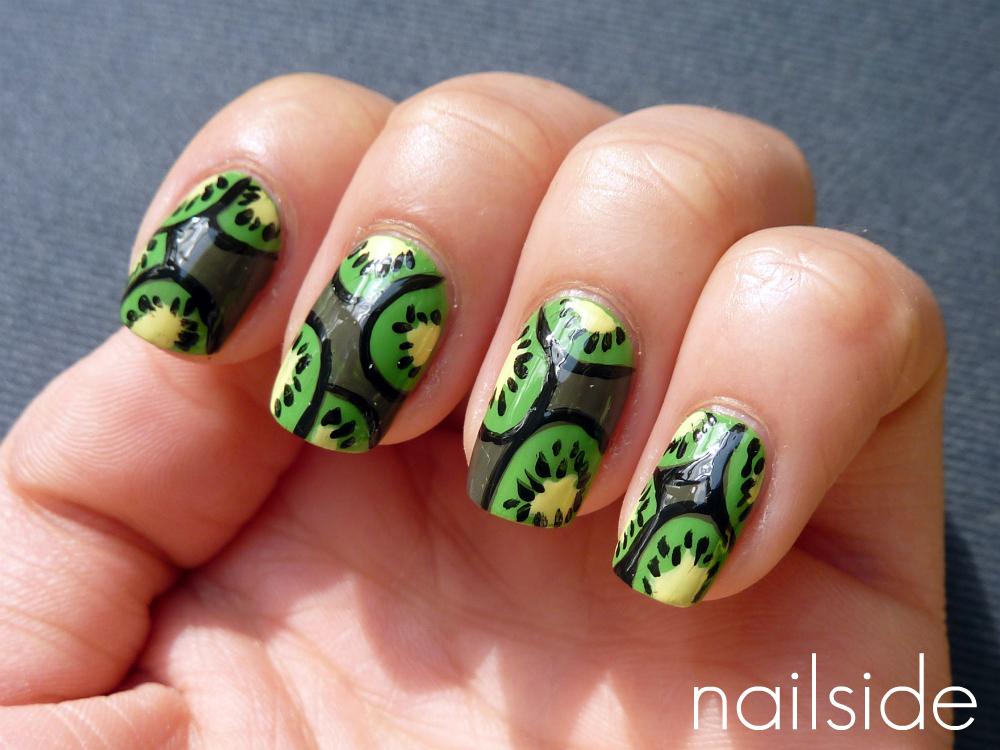
- For starters drawn middle of the fruit. To do this, in the center of the nail plate is an oval in white. Using a thin brush from the center, stripes are drawn in circles along the circle, after which small black dots are randomly placed between these stripes.
- The thumb can be decorated a little differently, depicting a half of the fruit. To do this, on its tip is drawn half white or white color, from which thin white rays go. Similarly, black dots are placed between them.
- The finished nails are covered with a thick layer of top, and then dried well in the lamp. With proper manicure technique, such a pattern will last for several weeks.
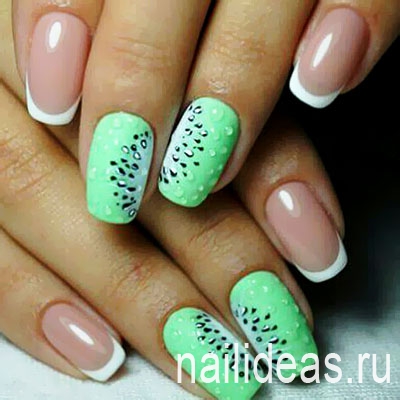
For those who want to make their manicure even more creative, you can draw a kiwi with drops. Drops look more advantageous on a matte top, so on the nails, where the drops will be placed, the top is applied with a matte effect. Next dotsom with the help of a gel to build drops are put, after which the nails are placed in a lamp for drying.

Interesting options
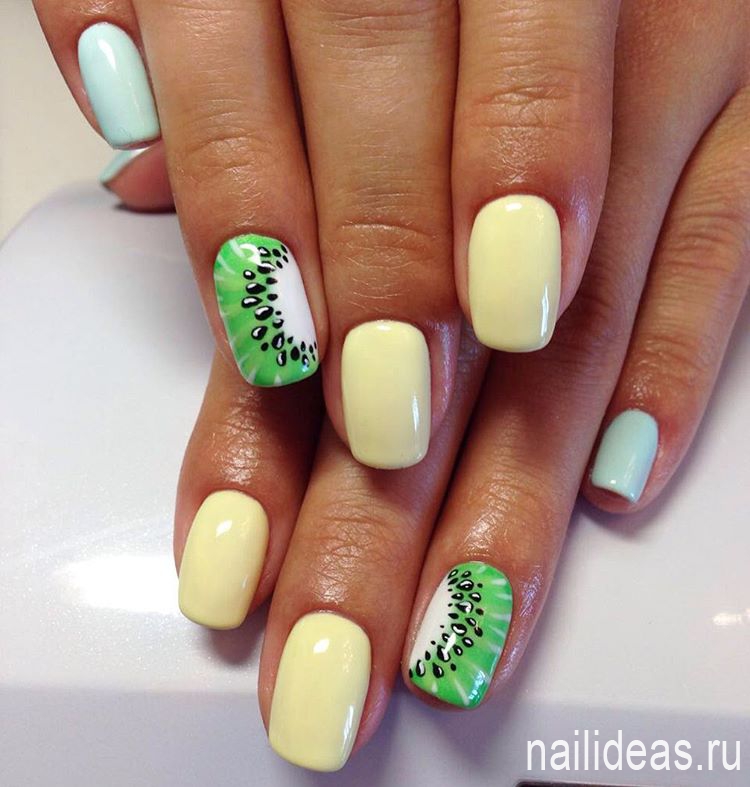
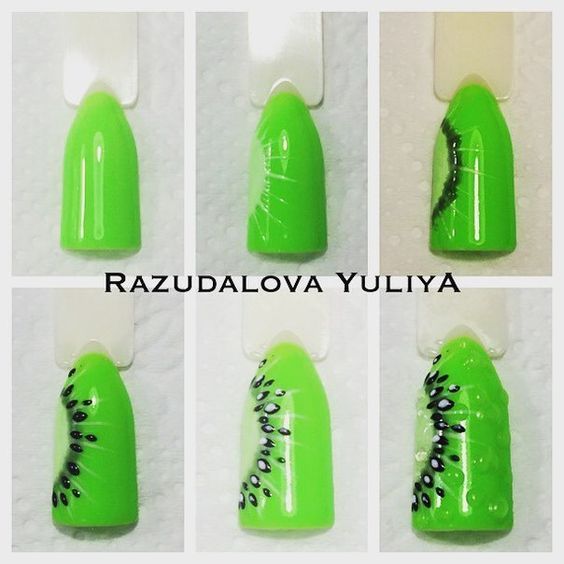
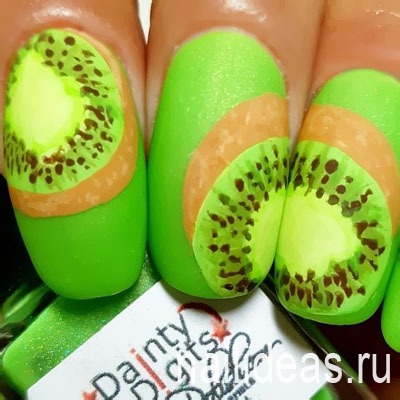
Such fruit as kiwi, will be well combined with the French manicure. To do this, all the nails are covered by a single green edema, after which white ovals are drawn on the tips, from which white stripes resembling the rays of the sun are drawn with strokes. Small black dots are made between these rays. Alternatively, you can draw a kiwi on half of the nail plate.
To do this, the nails are covered with a monochromatic lacquer, which blends well with the greens, after which a semicircle of green color is drawn to the tip at half, and another half is drawn in white, but of a smaller diameter. Further strokes from the center of the white semicircle are held and black dots are put.
Best of all this picture looks with a glossy finish.
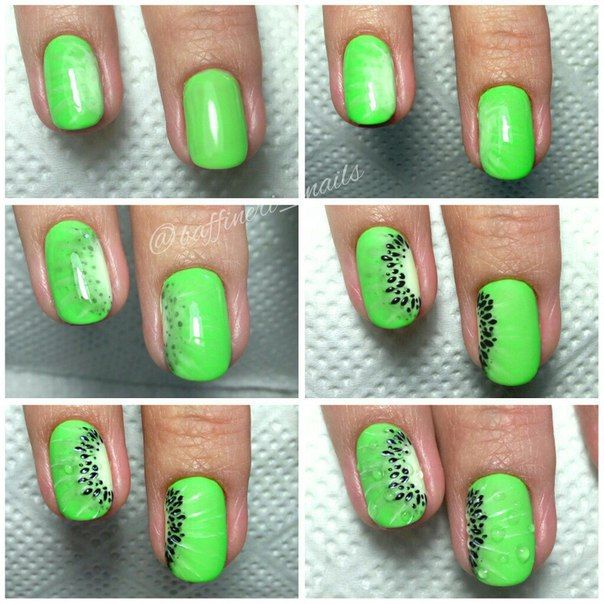
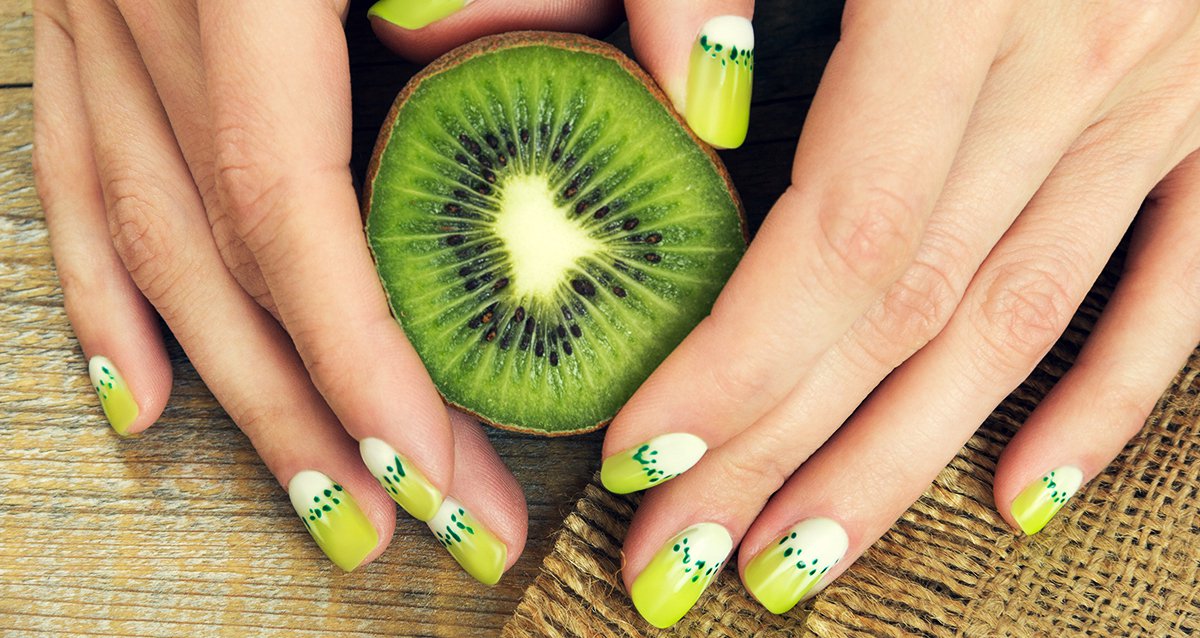
Looks interesting kiwi and lunar manicure. To do this, at the base of the growth of the nail is drawn a light green oval, the rest of the space of the nail plate is painted in a light green color. How many layers to apply depends on the density of the varnish, sometimes a couple is enough. After that, a white varnish is drawn from the white oval with a thin brush, and small black dots are placed between them.
It looks spectacular when the fruit is painted on the side on two nails - middle and ringless - so that the middle of the kiwi looks at each other, creating the effect of the image of the fruit in the cut. The background on these two nails is made green, and white semi-circles are drawn on each of the fingers from different sides, so that together they look like a whole circle. And so the technique of drawing remains unchanged.

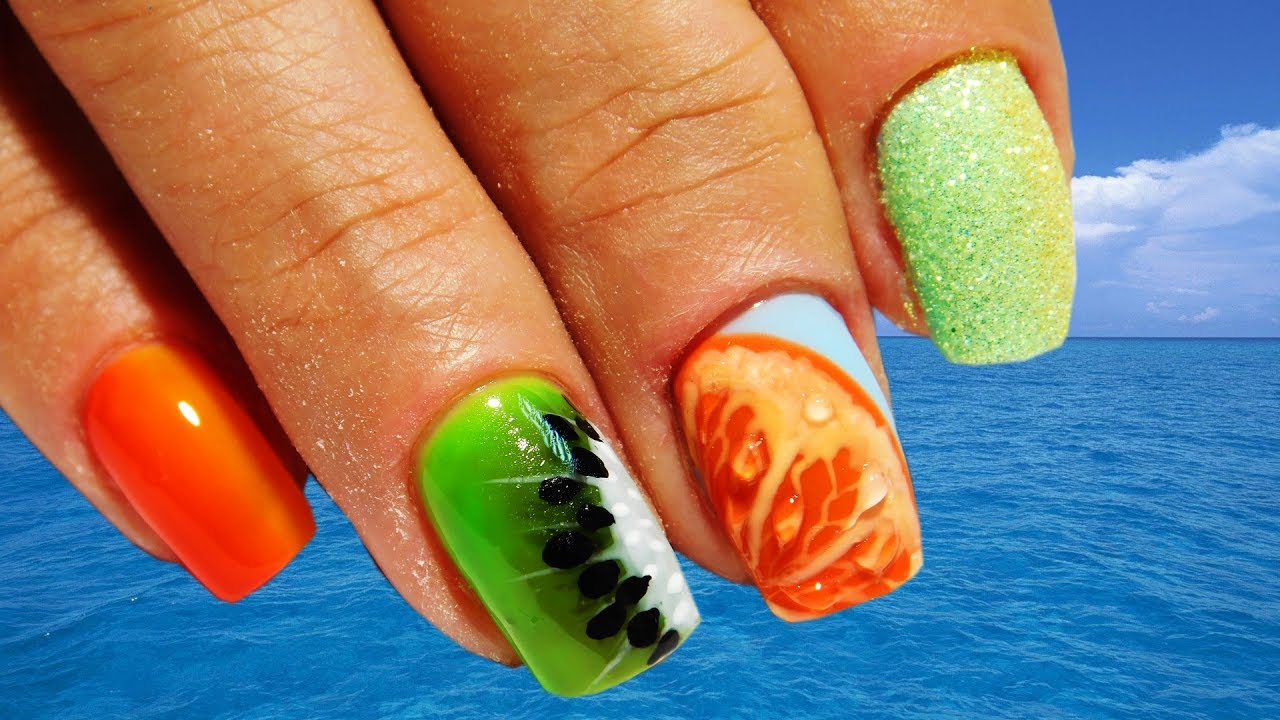
Which design to choose is yours. There is a huge amount of them, it all depends only on skills and fantasy. Fruit manicure has remained a real trend of the summer season for many years. The color scheme may be different: from the brightest and most poisonous colors to more delicate and pastel shades. Such a design will be the highlight of any image. A light silk dress or stylish high-denim shorts and a torn shirt, heeled sandals or comfortable sneakers will make any image of fruit manicure even brighter and more memorable.

Master class on drawing kiwi on the nails, see below.


