Each lady would like to look well-groomed and perfect literally to the tips of her nails. Unfortunately, for many women, they are far from always distinguished by their strength and beautiful natural shape, but the situation can be remedied with the help of a buildup.
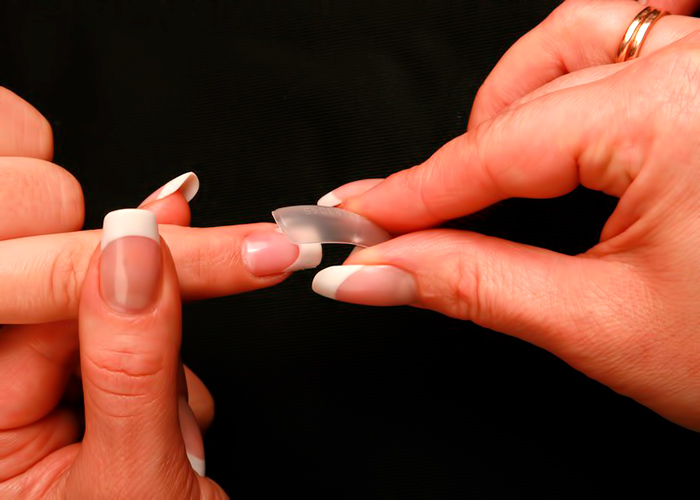
Currently, two techniques are used - on tips and on forms, but only the latter allows you to create really beautiful marigolds, which are not distinguishable from real ones.
Characteristic method
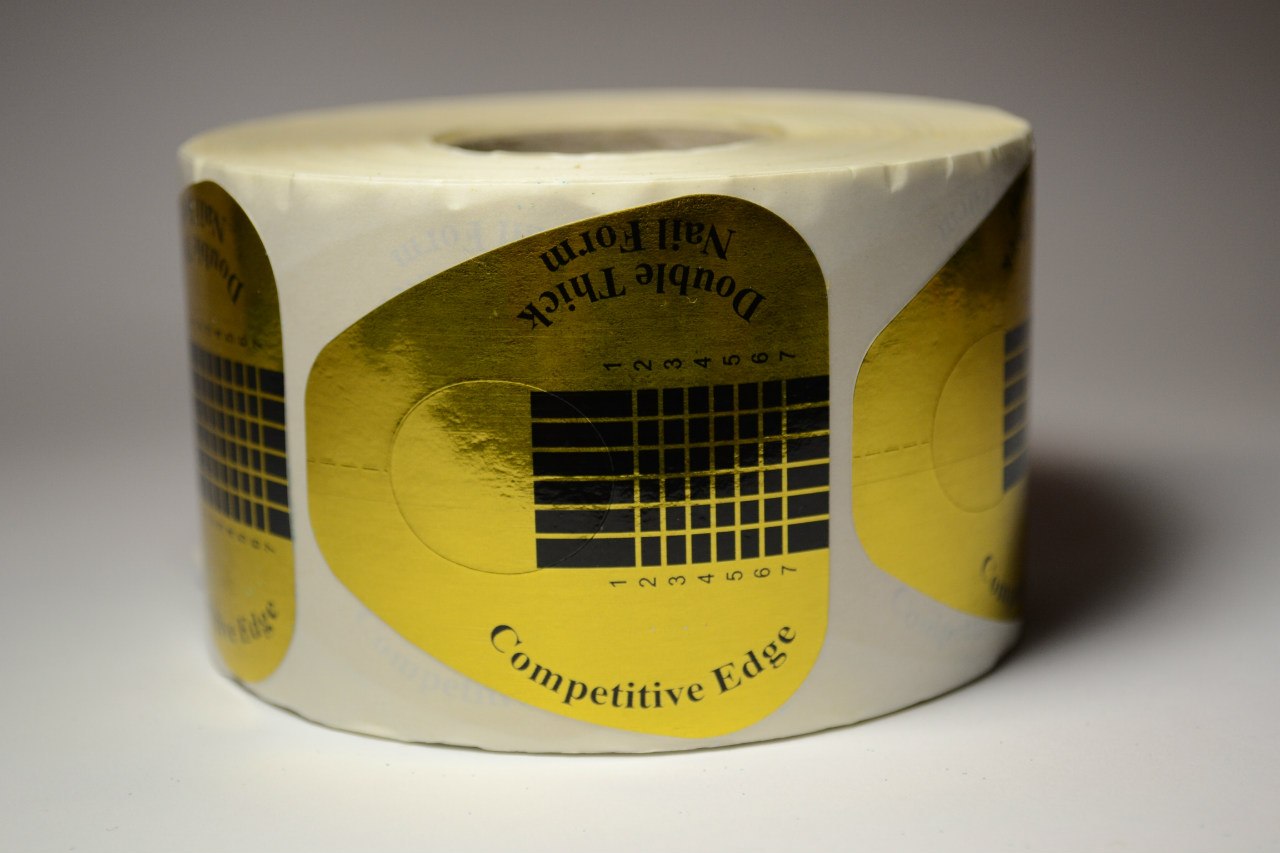
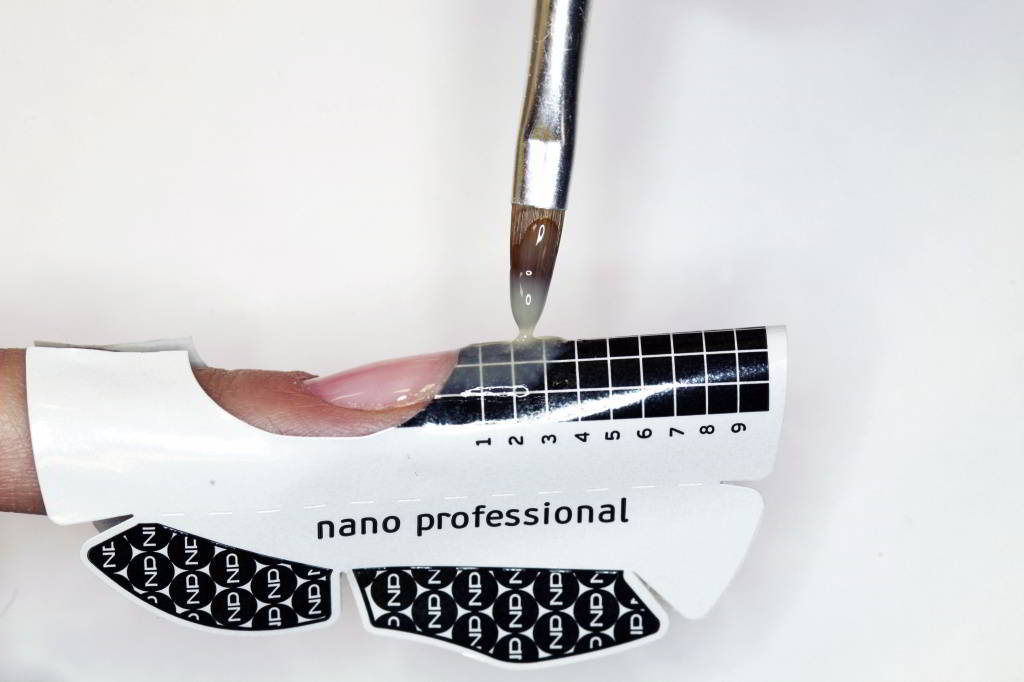
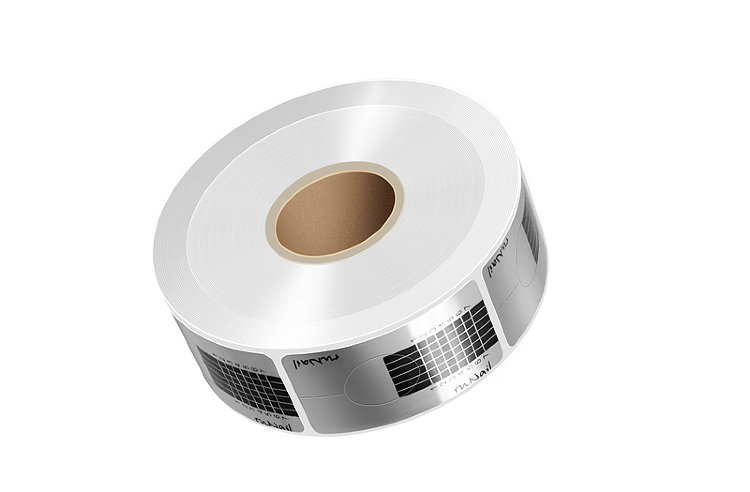
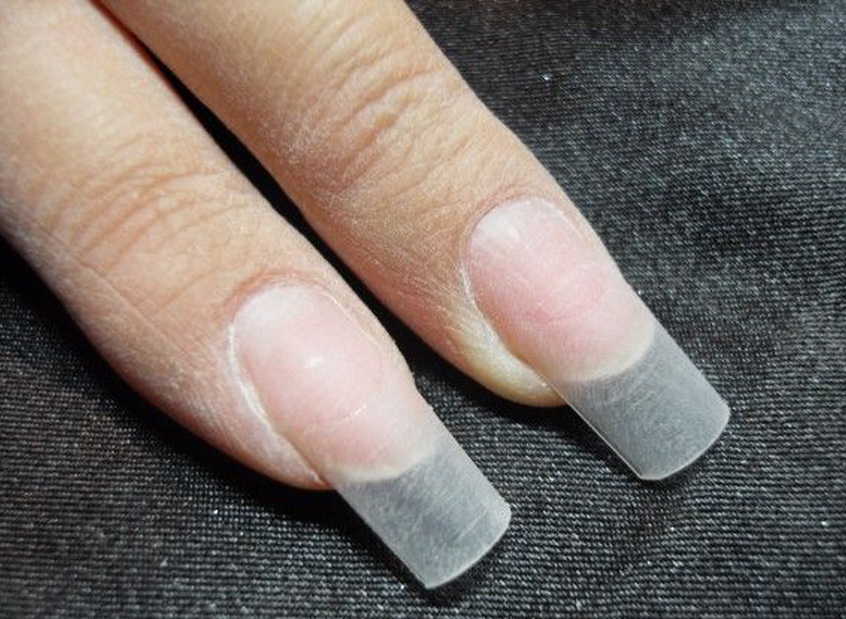
Forms are small substrates with a hole in which the nail is placed. A special gel is applied to it, which creates an additional length of the natural plate. For convenience, a graph paper is drawn on the substrate, thanks to which you can choose the optimal parameters. After the end of the extension process, the form itself is removed, and the thin nails remain.
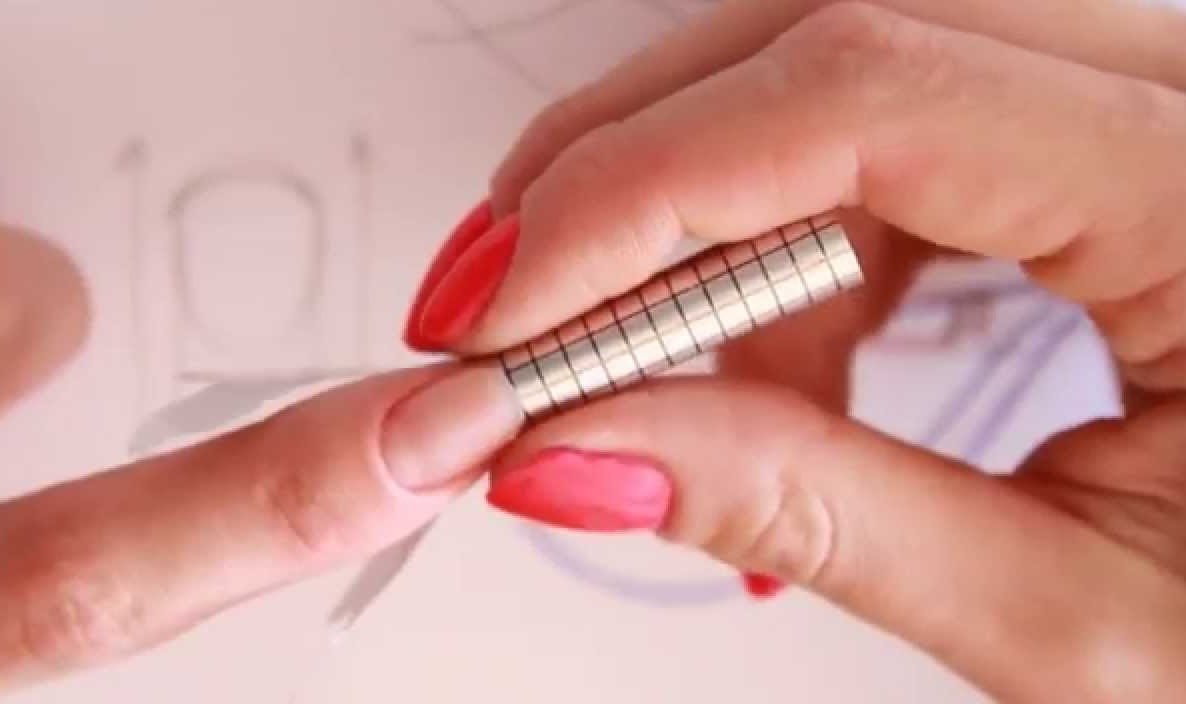
Forms can be disposable or reusable. The former are also called soft, since they are made either from paper or from bending plastic and are used only once. They are suitable for nails of any shape, but can be slightly modified during the procedure, that is, to crease. Reusable forms are made of metal or hard plastic. Such substrates are much more expensive, but they allow for a long time not to bother buying new ones.
The reusable shape guarantees a more reliable extension procedure without deformation and gaps. The only thing at the very beginning of work will be to pick up the substrate, ideally corresponding to the natural form of the marigold.
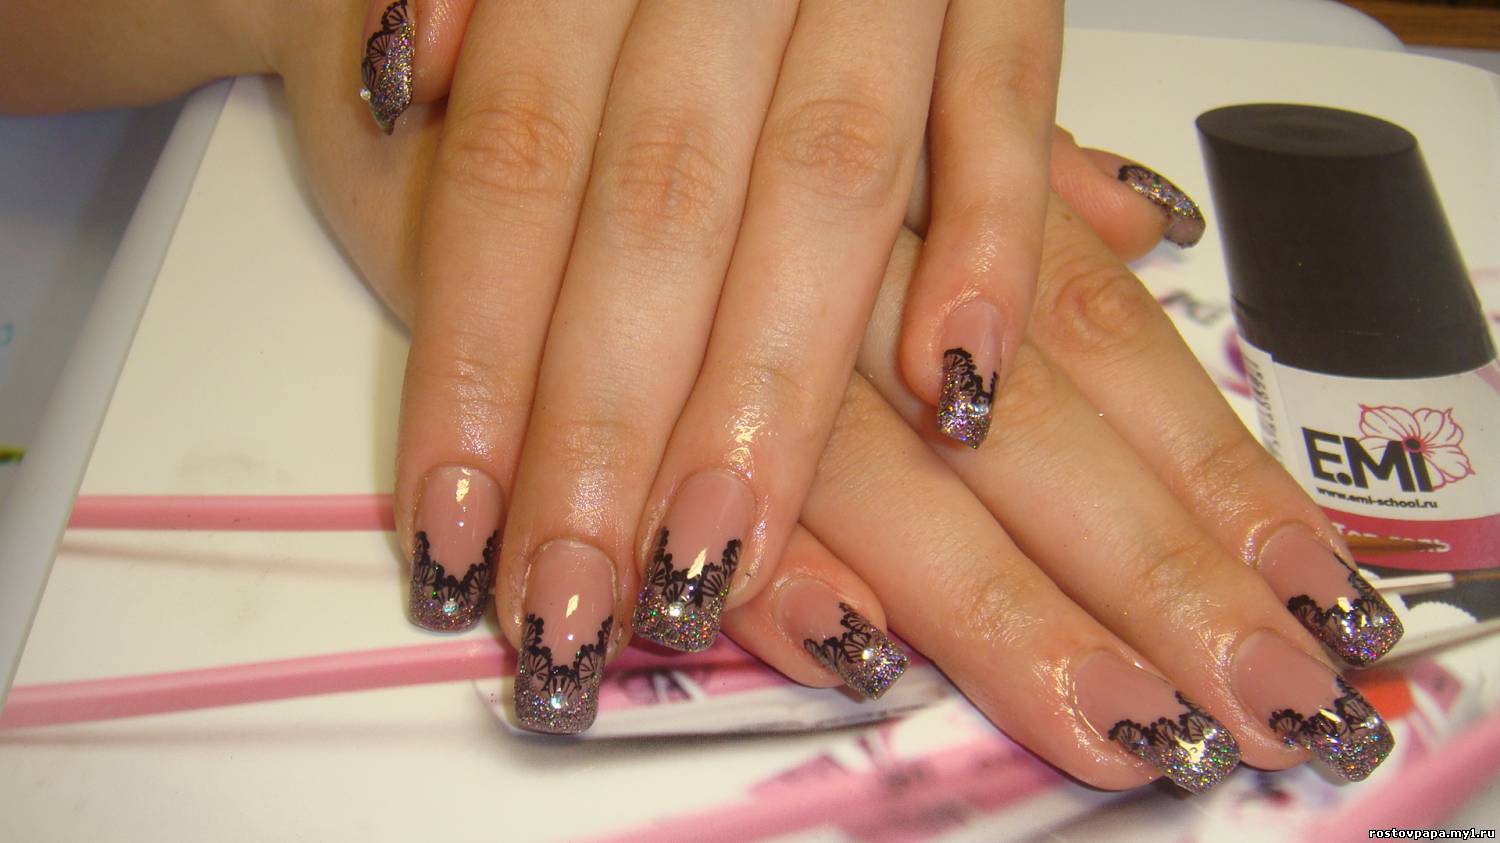
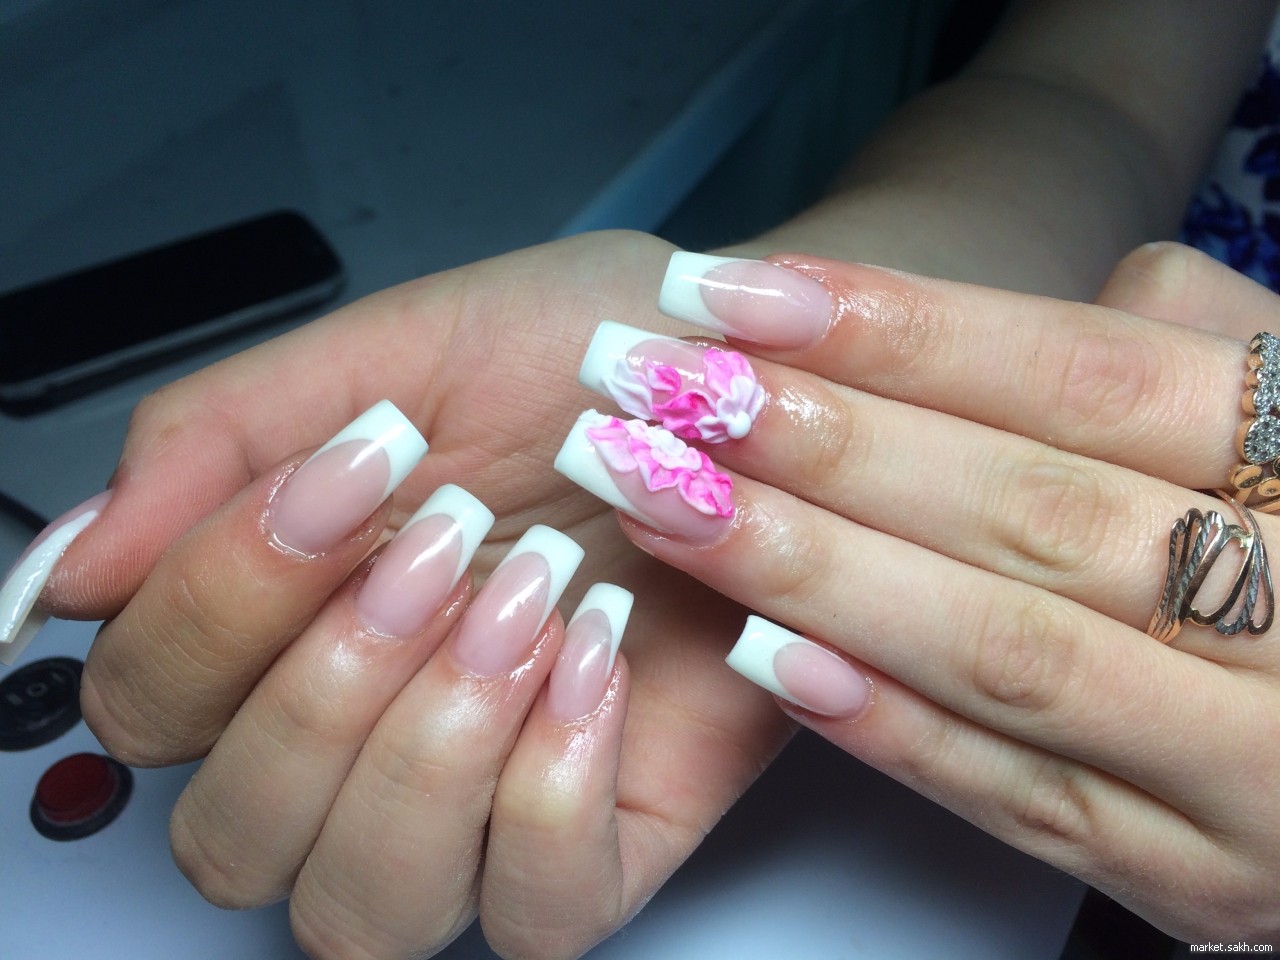
Through the use of forms, it is possible to obtain square, oval, round or pointed marigolds that look as natural as possible. The technique allows to make an almost imperceptible transition between the plate itself and its continuation, as well as to eliminate unnatural excessive thickening.
By the way, experts today use two methods of modeling: upper and lower. In the first case, the gel is applied to the template, and then it joins the nail itself. In the second case, the template is first fixed under the nail tip, and the material is spread over it.

Advantages and disadvantages
Many women prefer to build it up with just such a gel, since the process itself lasts a relatively short time — about a hundred and twenty minutes, and the nails are natural and strong. The necessary correction will last from the force of thirty minutes, but the elastic structure of the plate guarantees a rather long lifespan. It is important to mention that the cost of this type of building is much cheaper than the use of other materials. If we talk about tips and shapes, then with the forms of the nails are much more natural, but working with tips is easier.
Other advantages of this type of building include obtaining a beautiful glossy shine., the ability to align the nail plate, protection from dryness and damage to the surface. The composition of the gel does not cause allergies, on the contrary, prevents the development of fungus.
Finally, on nails augmented in this way, it is easy to create various designs requiring the use of numerous techniques.
If we talk about the minuses, then you may experience discomfort during work, as well as unexpected metamorphosis with nails due to temperature changes.
Gel varnish can neither be removed nor repaired by itself, therefore in both cases it is necessary to contact specialists. By the way, in case of a nail breakage, you will have to re-build it.
Necessary tools and materials
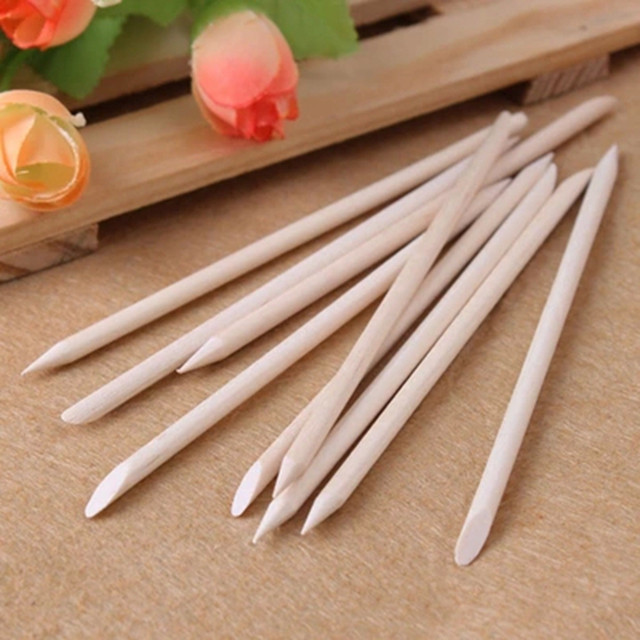
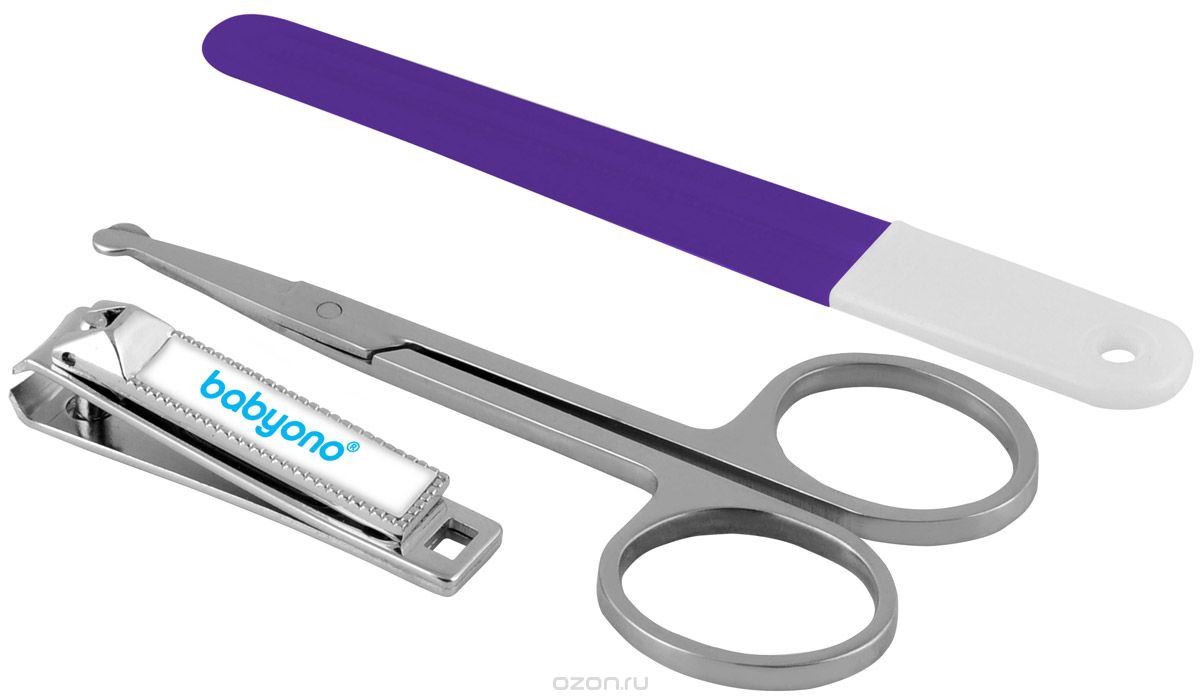
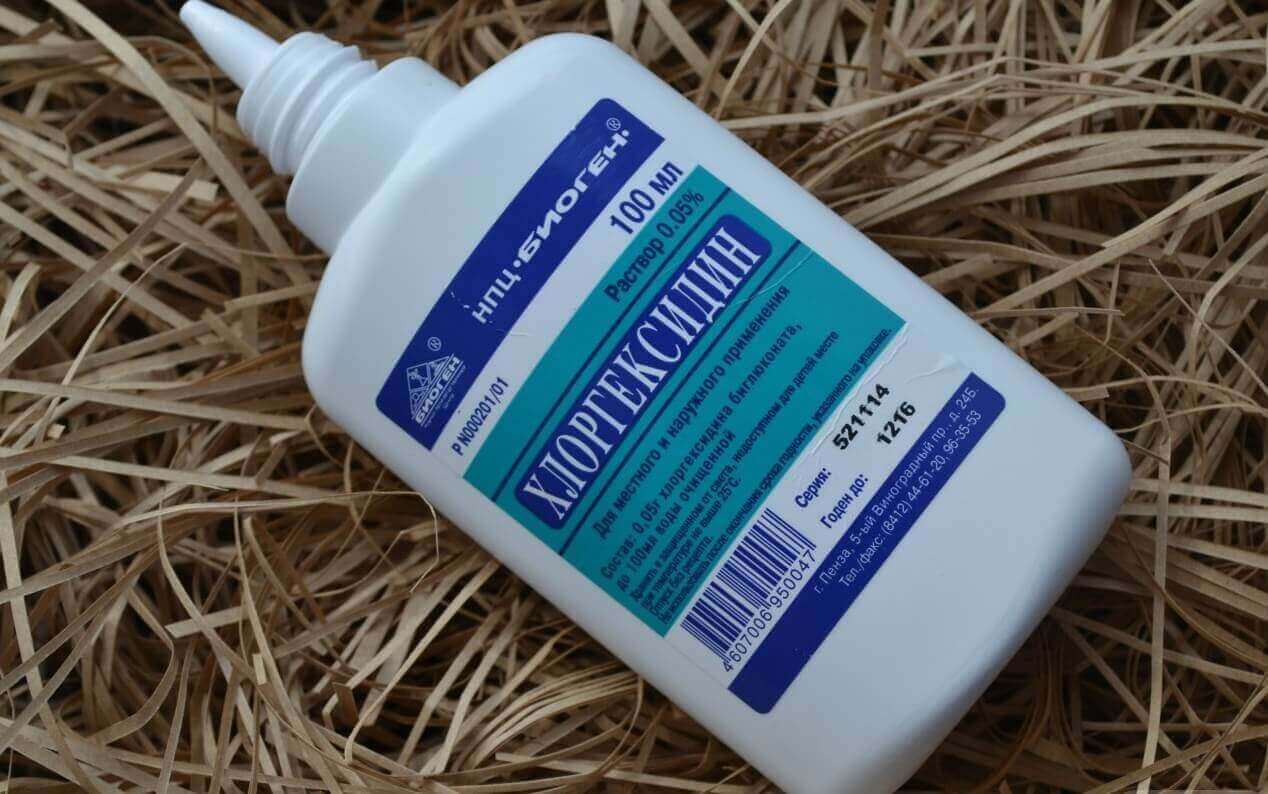
To build up the nails on the gel forms, you need a number of specific items. To process the cuticle, pusher or wooden orange stick is used, as well as an express remover or bath. Just in case, you will need to prepare and antiseptic to avoid the appearance of the fungus - for example, medical alcohol, chlorhexidine or a special manicure tool. As always, nail scissors, tweezers, nail files and buffs are useful. Optional, but recommended is also a brush for removing nail dust.
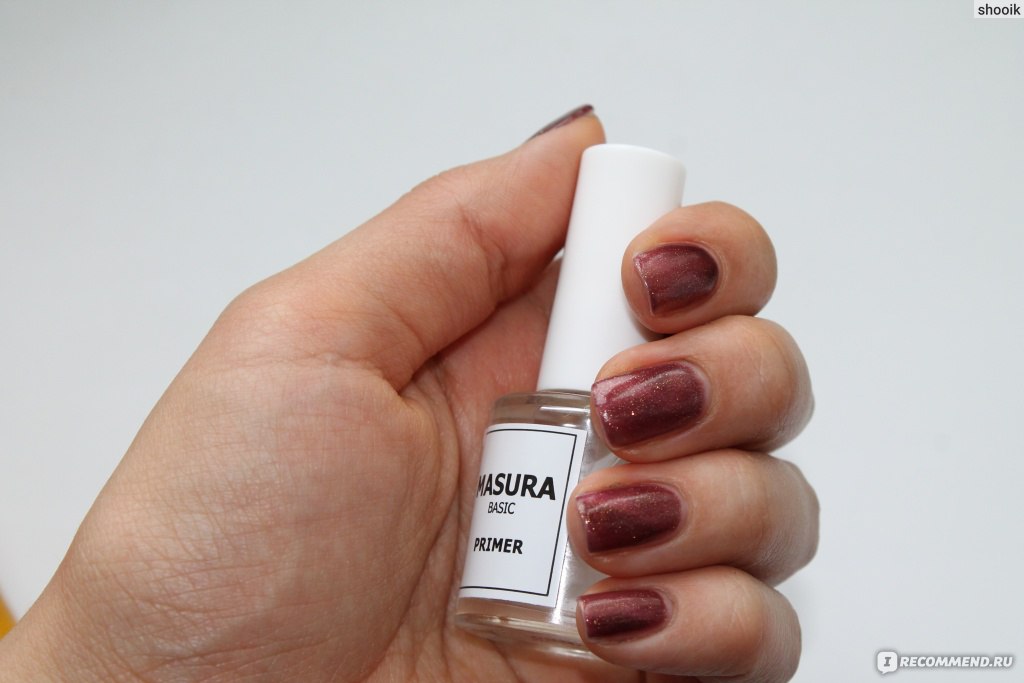
Dehydrator degreases the nail plate and allows you to remove the sticky layer of gel polish, and the primer will provide the best contact of the nail and other materials. Of course, you can not do without the base, top and color gel polishes. To perform the main task, that is, to grow the nail, you will need a modeling gel, suitable brushes, as well as forms. Finally, the manicure process with the build-up is impossible without a UF-lamp, since the LED device in this case will not work. In addition, you should stock up with lint-free wipes for convenient dehydrator application.

Shape selection
For those who want to carry out this procedure, it is possible to choose the most appropriate form of accrued nails. In addition to the above soft disposable and solid reusable, there are several types. Universal square shapes are suitable for both long and short nails.
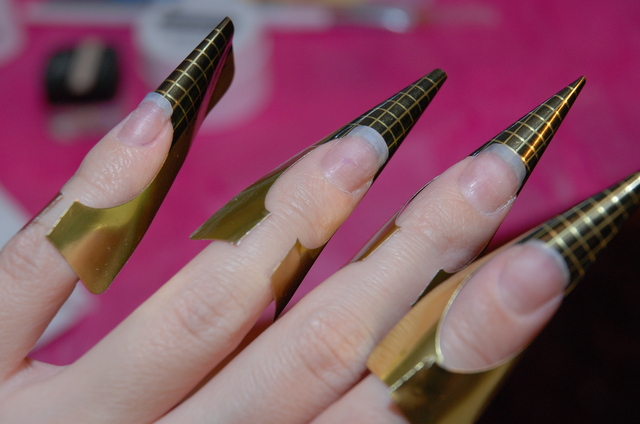
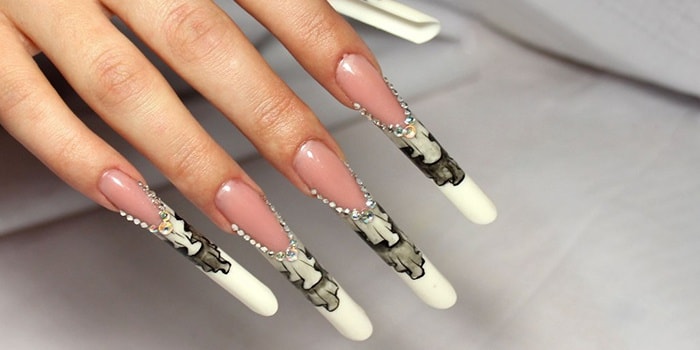
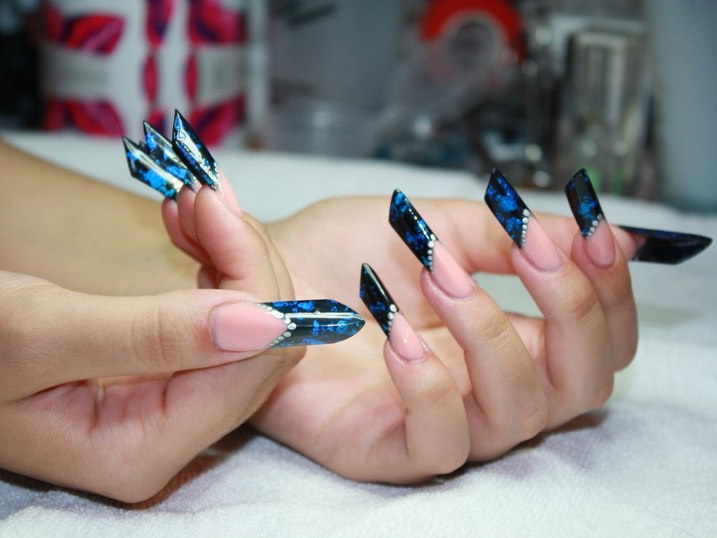
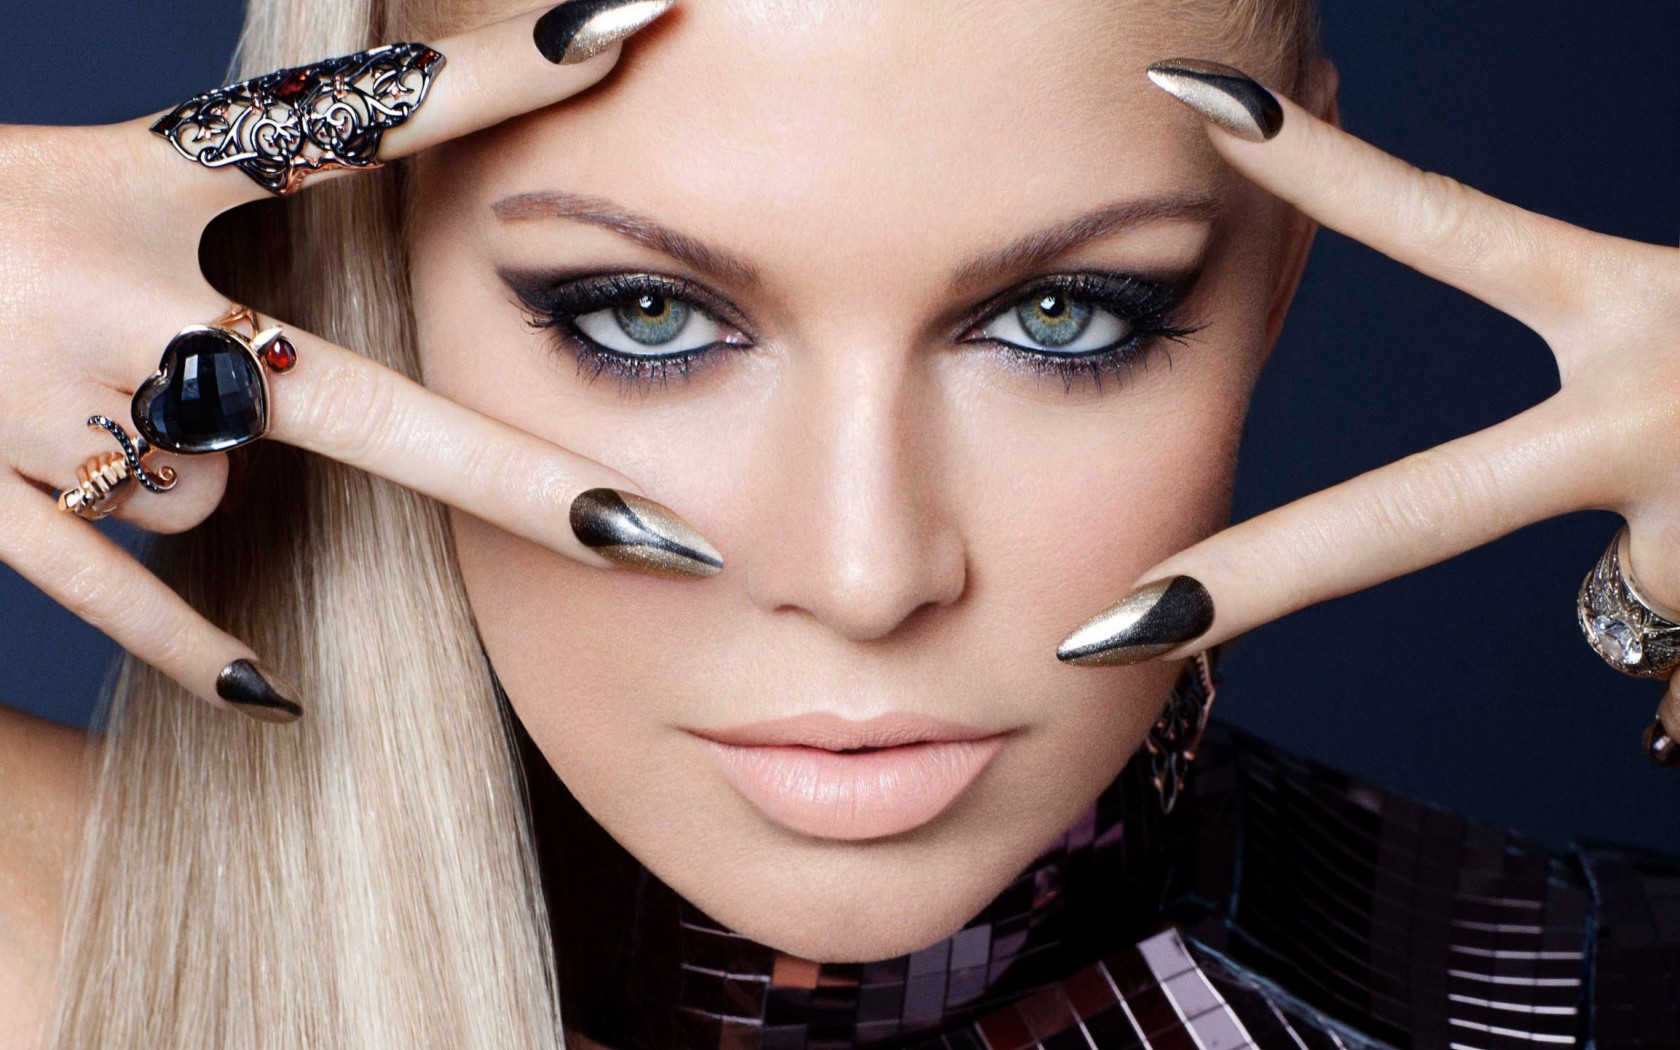
They are comfortable in the "sock" and also look simple, but dignified. “Pipe”, “stylet” and “age” have rather non-traditional forms and sharp tips, therefore they are used exclusively on long marigolds.
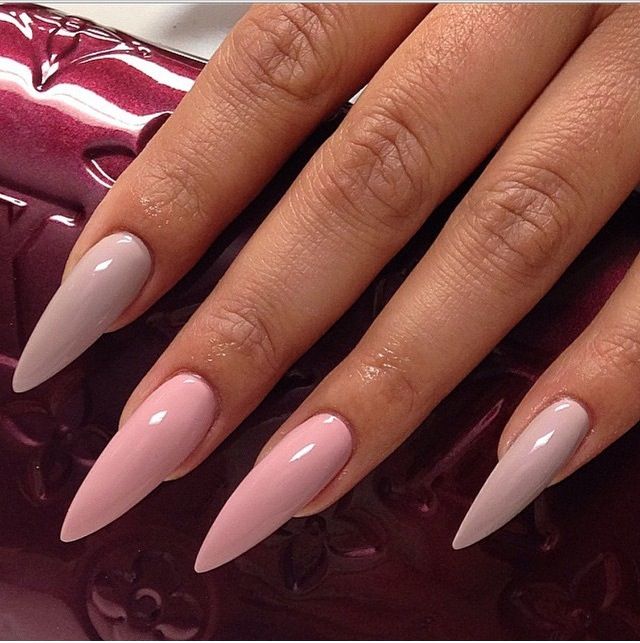
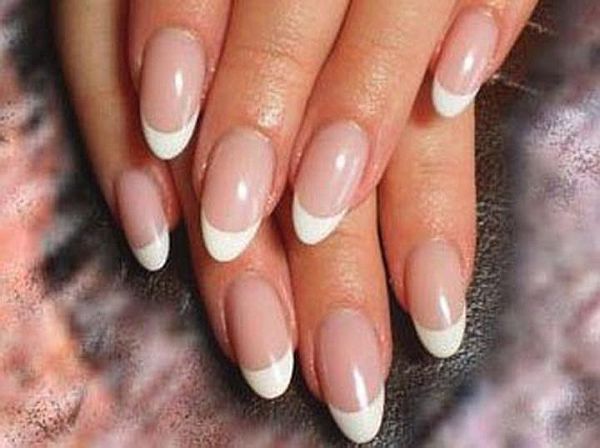
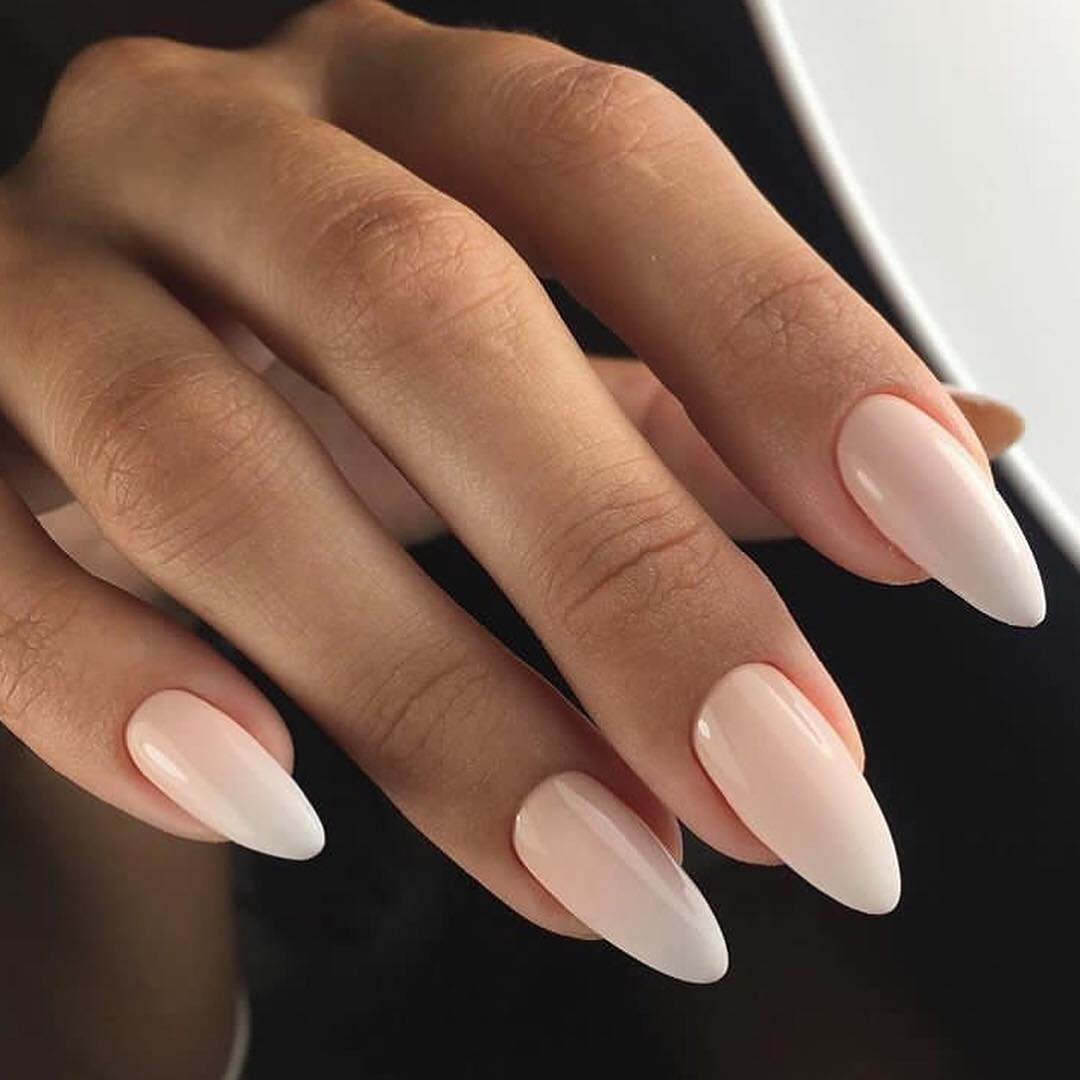
“Oval” and “almond” look elegant and neat, so oval patterns are suitable for any nails.
They are characterized by parallel side lines and rounded tips. Visually, oval patterns lengthen short nails, while wide ones make them miniature. Round shapes are usually applied for short nails. Template "ballerina" is a kind of transitional option from a square to a triangle and is considered very trendy. Some people compare the shape of the nails with ballerina's pointe shoes, from which this name came.
Preliminary preparation
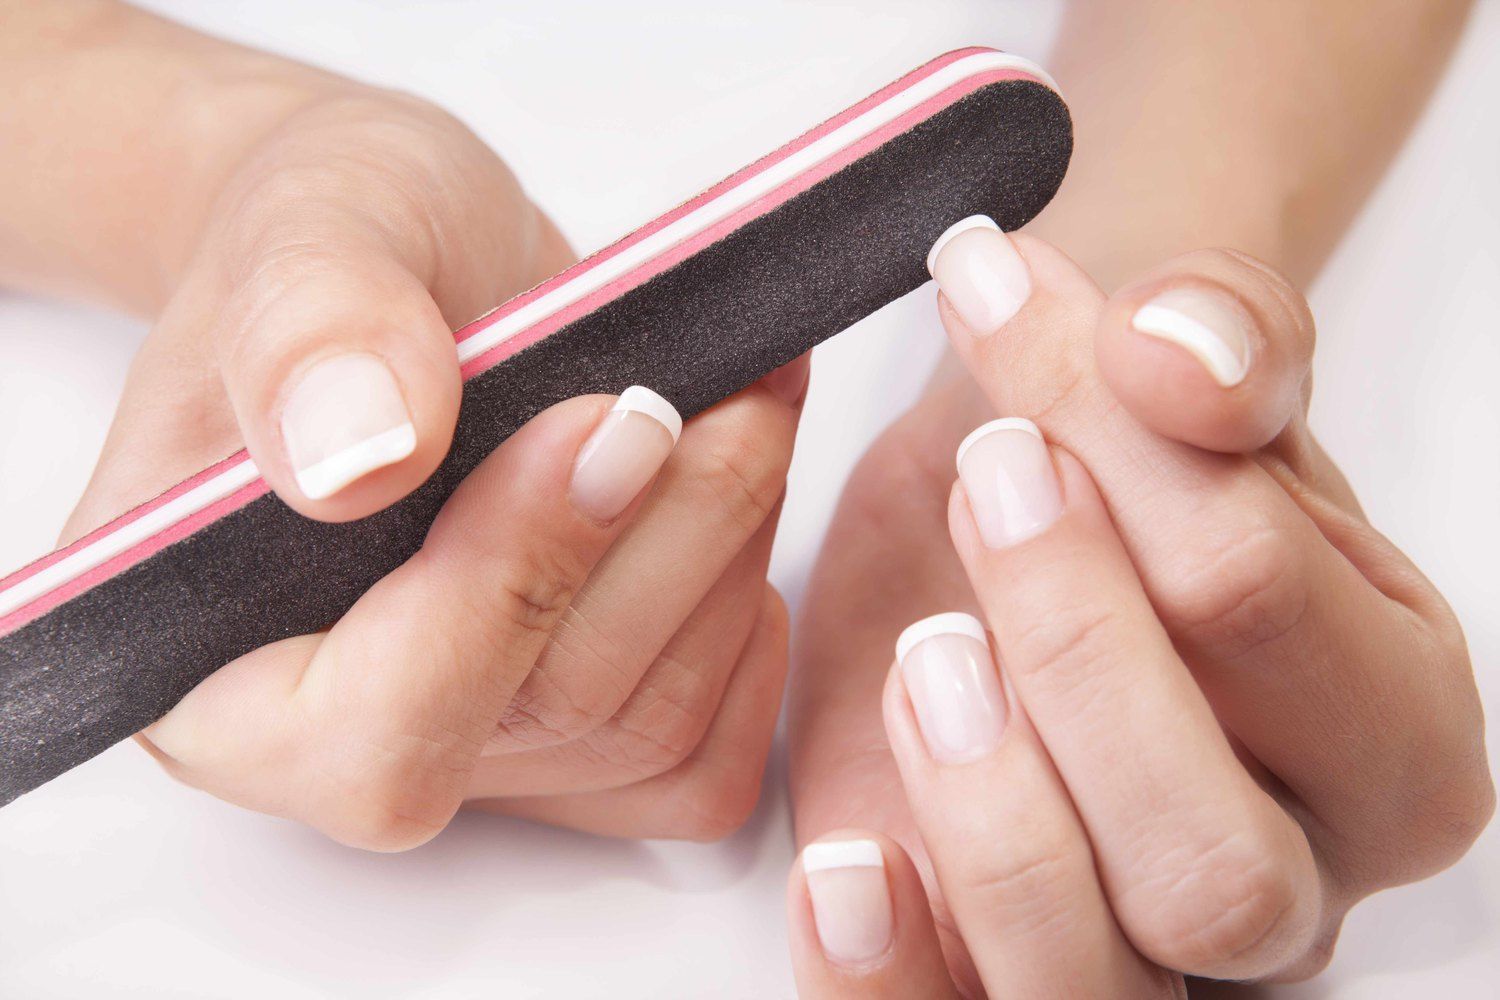
Even before the building and nails, and the fingers themselves must be treated with an antiseptic substance. Then the usual hygienic manicure is carried out: the cuticle is cut off or it is moved away by an orange stick, and the pterygium is removed. The free edge of the nail zapilivaetsya, and the entire surface is buffed buff. It is important that the nail remains free edge equal to 0.5 millimeter, for which the substrate will be fixed.
Any excess dust that appears will be brushed off with a brush. Using a dehydrator and lint-free wipes, the nail is degreased, after which a primer is immediately applied to the surface. As soon as it dries, the plate will have to be covered with a thin layer of base, which is then dried for two to three minutes in a UF-lamp.
Step-by-step instruction
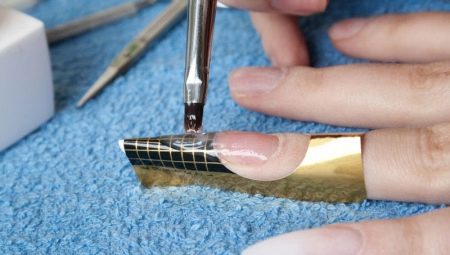
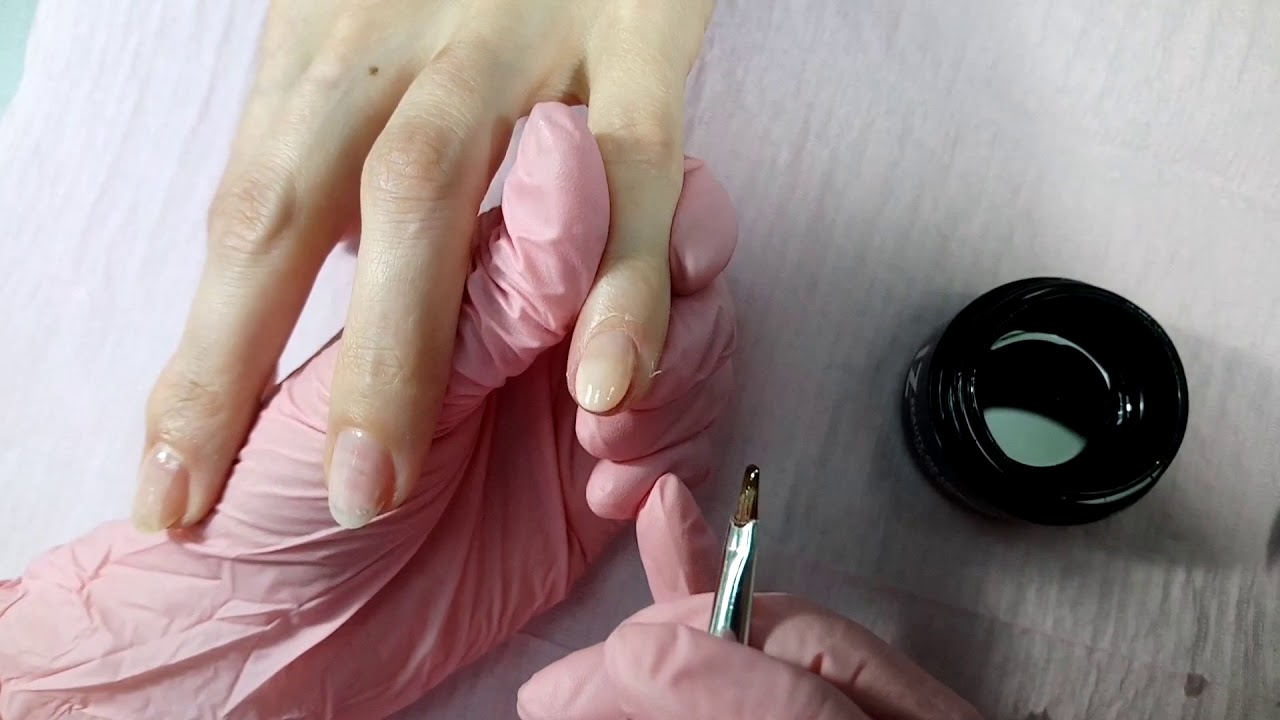
Direct nail extension begins with the placement on the nail form. You should wear it carefully and using step-by-step instructions, otherwise all further steps will not make any sense. Usually it is much easier to put a reusable solid form, because it is enough just to pick it up to the size of the nail itself and fix it tightly. In the case when a one-time form is used, then first it will need to “cut” a hole that is ideally suited to the size of the subungal arch.If the technology is broken, there will be unnecessary gaps where gel will flow over time.
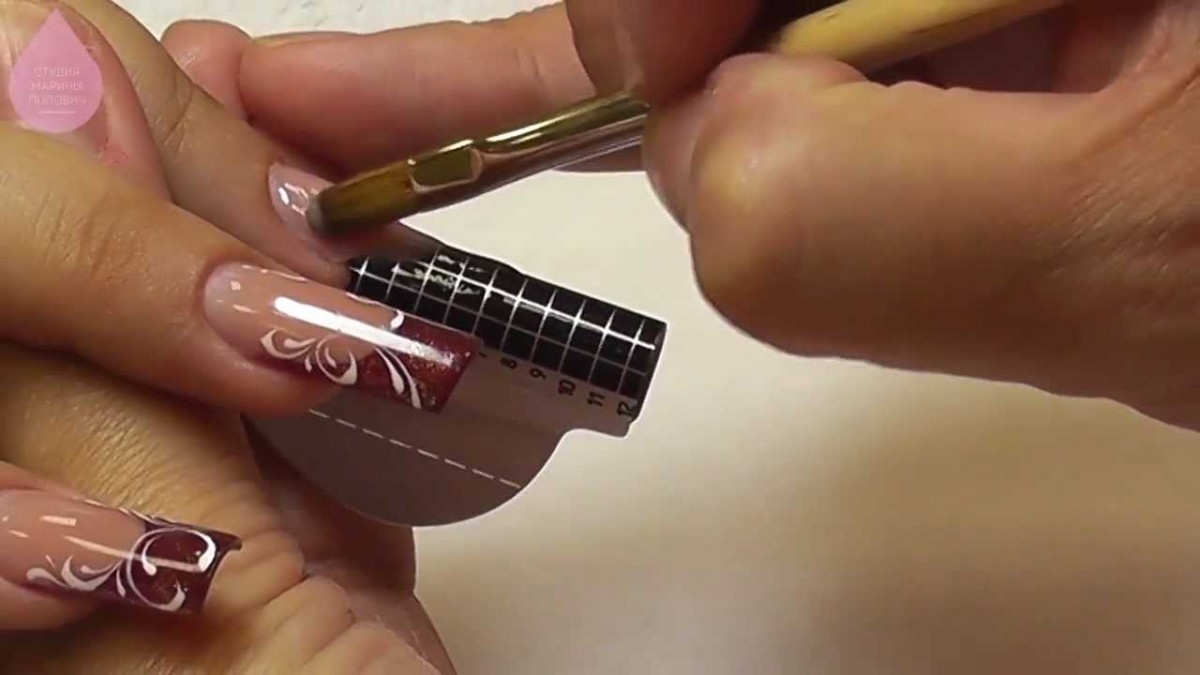
When the form is fixed, it will be important to create beautiful bends on the sides and the butt. Otherwise, you can get "nails-beaks" or resemble a springboard. Nail extension is first done on the four fingers of one hand, then the four fingers of the other hand, and finally on the thumbs. This scheme is recommended to prevent the runoff of the gel with the thumbs on the other. By the way, if the disposable forms are soft to the inconvenience, then you can glue them together in pairs for greater stability.
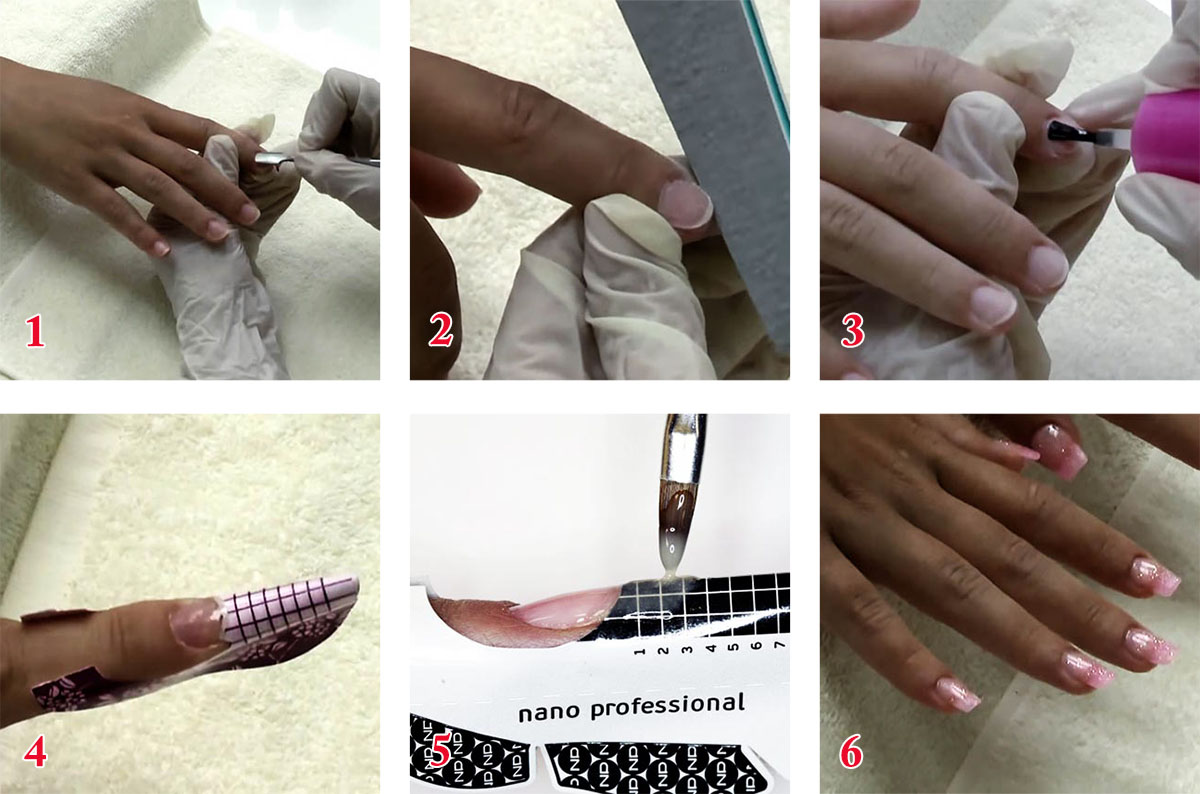
With the help of a modeling gel in accordance with the markup is building. The cuticle area is covered with a thin layer of substance, the thickness of which increases towards the stress zone, consisting of the remaining two thirds of the claw and one third of the form itself.
In the stress zone, the gel is applied as thick and thick as possible. Finally, the free edge of the plate is also made out in a thin layer. The expanded nail is dried for two to three minutes in a special lamp.
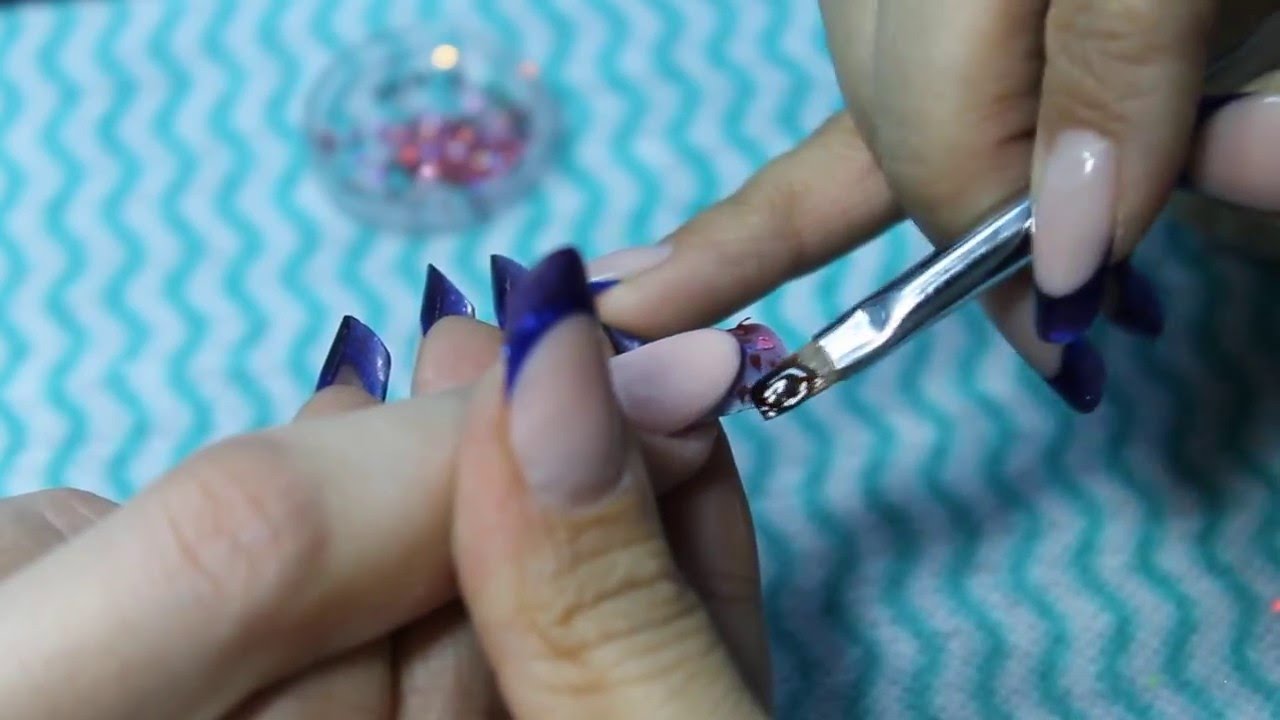
Completing this process, it is necessary to remove the sticky layer and shape. To ensure that the plate is even, it is also recommended to polish it and also, if necessary, to file it. At this stage, you can already paint your nails with colored lacquer, which, as a rule, is applied with two or three layers, each of them is necessarily dried in a special device. By necessity, the nails are decorated in some way, and then covered with a fixing top and must be dried twice as long as the previous layers were dried. The sticky excess is again eliminated, and the cuticle is coated with special oil.
Care features
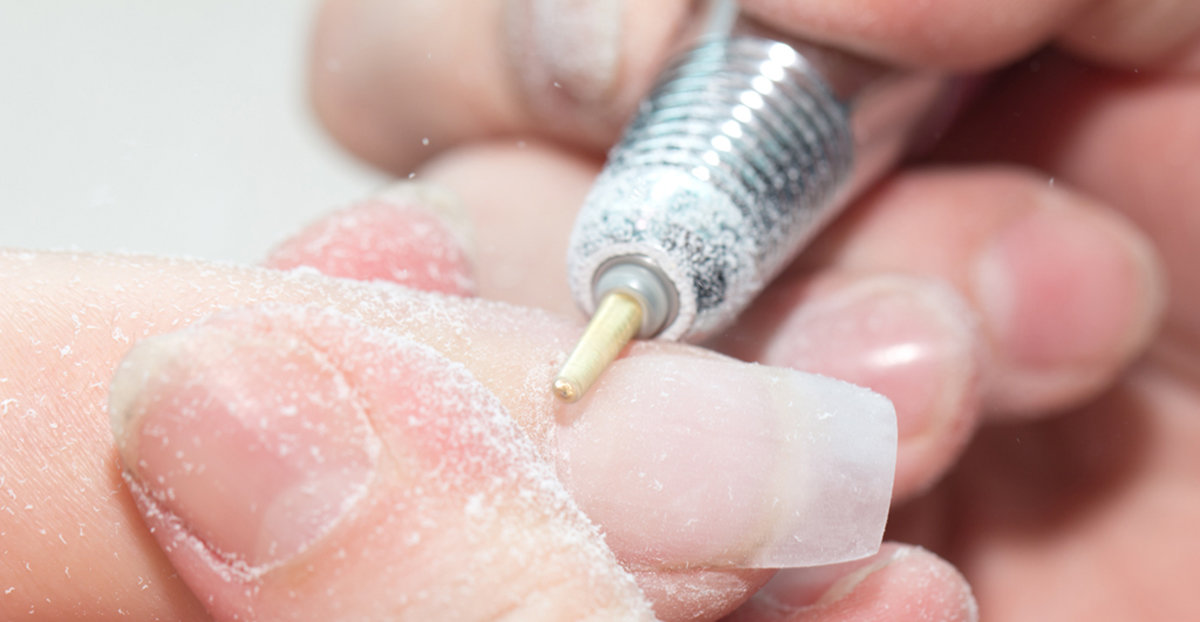
It is important to remember that you can remove extended nails with a special device. The only exception can be biogel, which is soaked and thus prevents damage to the natural nail plate.
It is allowed to care for helium nails only by means that do not contain aggressive ingredients, but have healing nourishing oils. Also, one should not allow temperature differences and try to adjust the shape yourself. Experts advise regularly moisturize the cuticle, use a cream, be careful and regularly clean the space under the nail itself. Correction, as a rule, is carried out once a month.
Tips masters
The work will be much faster, simpler and more effective if properly prepared a place where everything will happen.
It is necessary to increase nails on a flat horizontal surface, for example, on a desk, next to which, for convenience, there is a socket for connecting a lamp.
The light source must be artificial, because ultraviolet negatively affects the state of the gel. In addition, it is believed that the build-up process is very complex and long-lasting, so it should be divided into two parts: first, a hygienic manicure is done, and after a day or two, direct extension from the right hand to the left is done.
Step-by-step instruction with illustrative examples of nails on the forms presented in the video below.


