Alignment of nails: features, choice of means and technology of the procedure
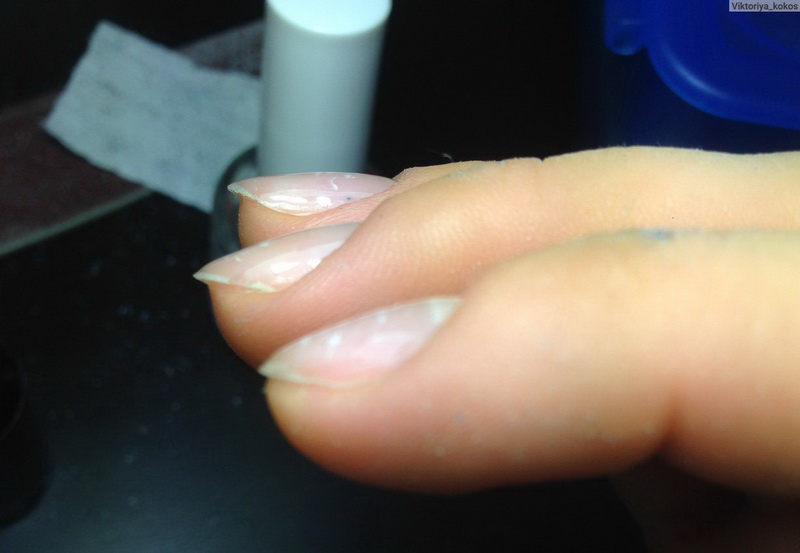
Since our hands are often adversely affected by the environment, it is rare for any woman to have the nail plate in perfect condition. Longitudinal grooves, the so-called springboards or even flat nails do not adorn the fingers, but can ruin the whole image. Yes, and the coating on these nails held for long. Therefore, many of the weaker sex resort to leveling the nail plate. What it is and with the help of what materials are produced, let's see.
Alignment options
To level the nail applied several materials. The choice of one of them essentially depends on the lack of a nail plate that you want to eliminate.

Base
This material is used if you have surface irregularities of the nail, such as longitudinal stripes or transverse “springboards”. Medium or thick material is selected for leveling. It all depends on the depth of the irregularities. For this manipulation rubber base coatings are perfect. Alignment occurs as follows.
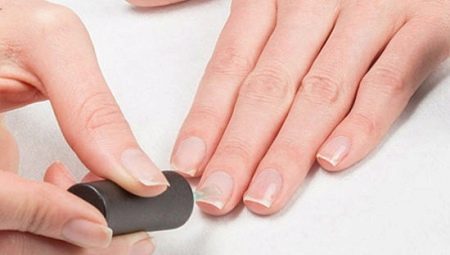
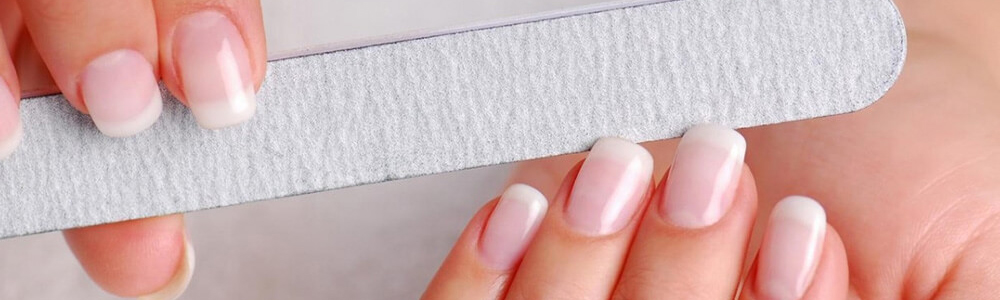
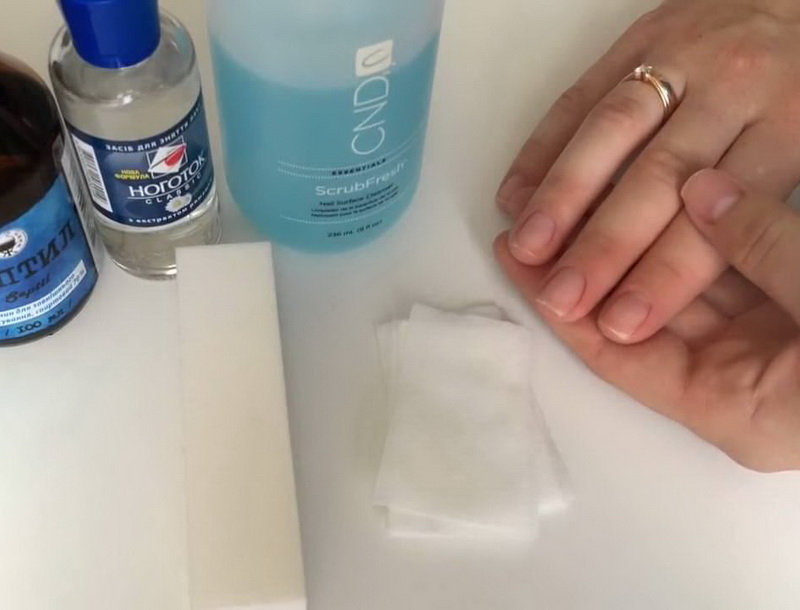
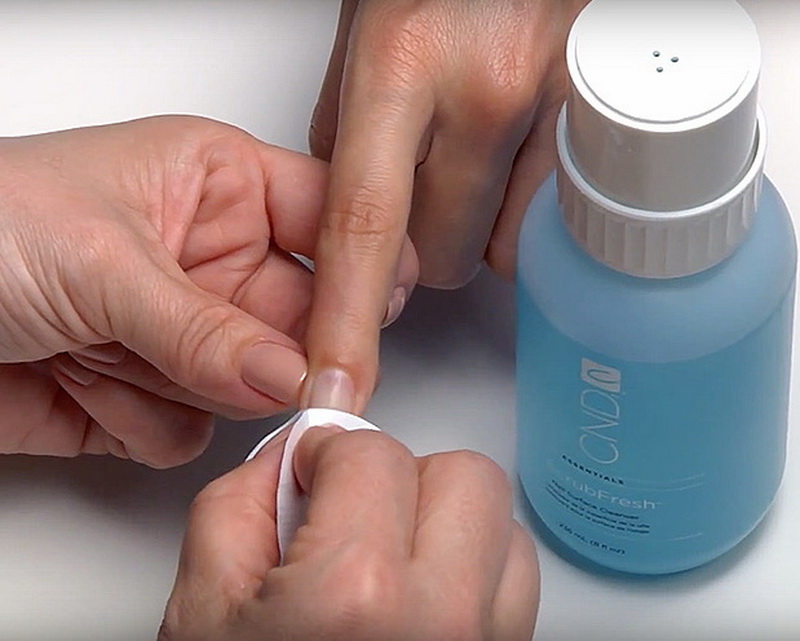
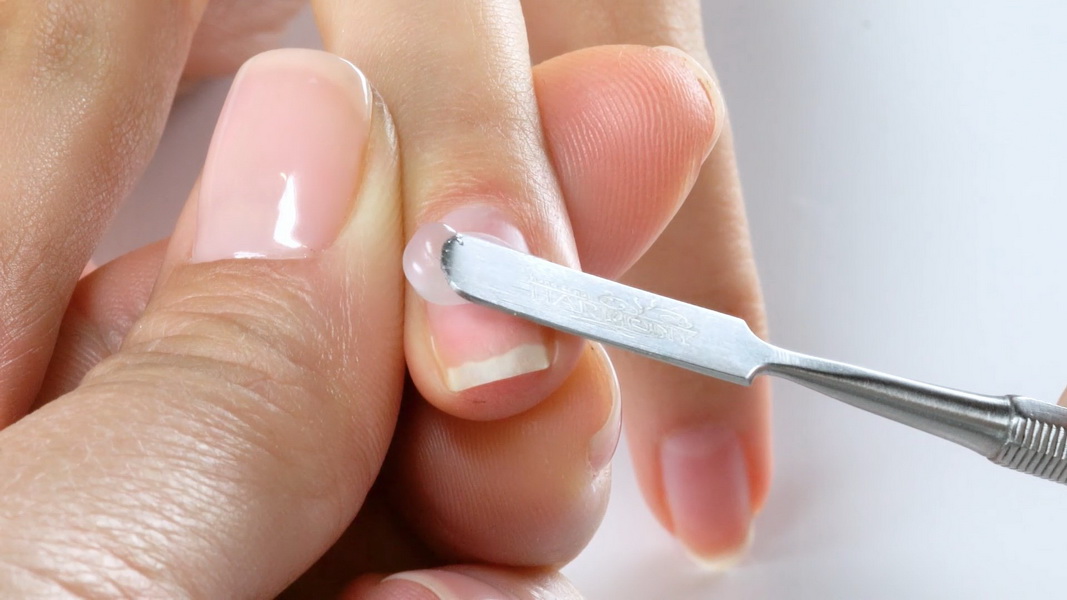
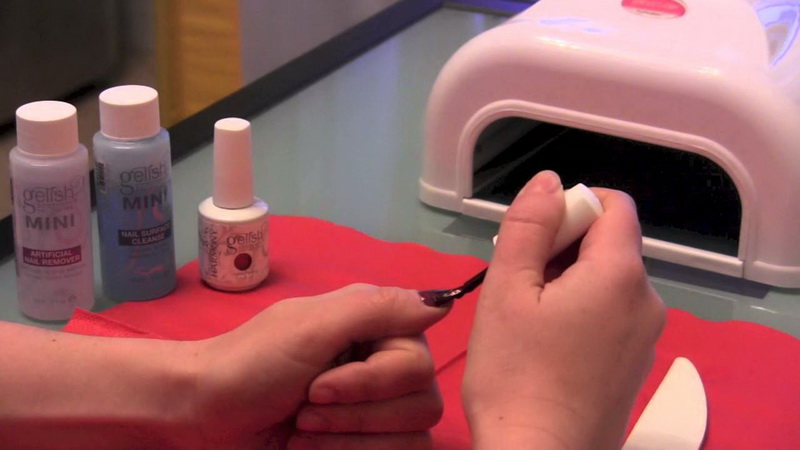
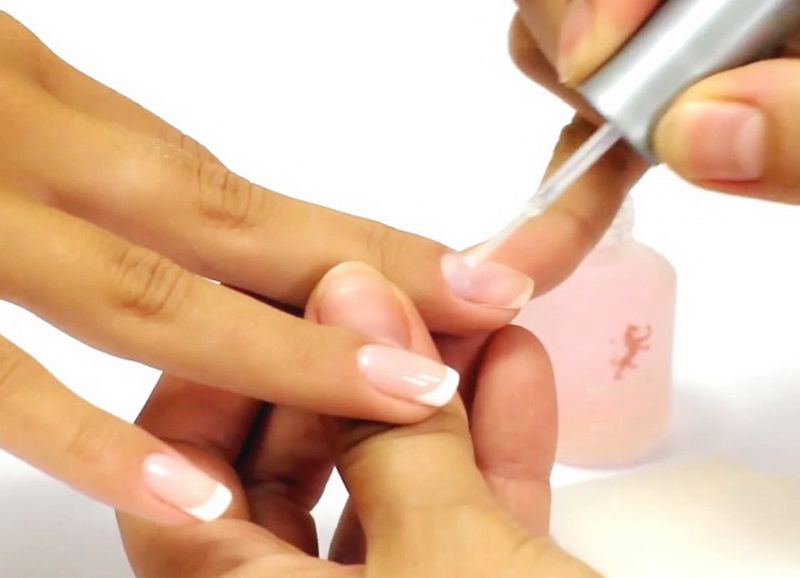
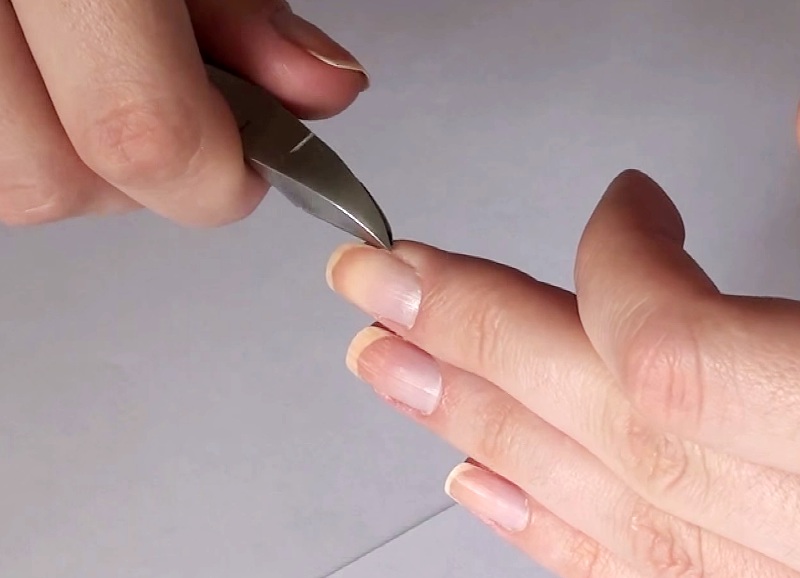
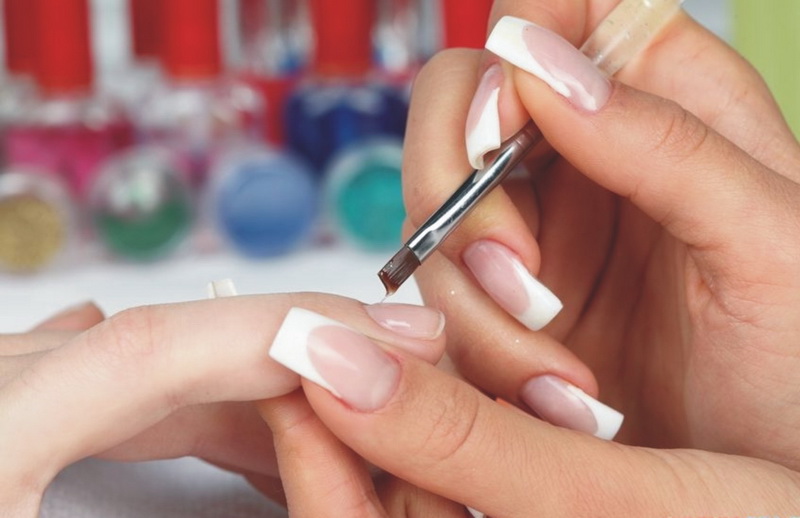
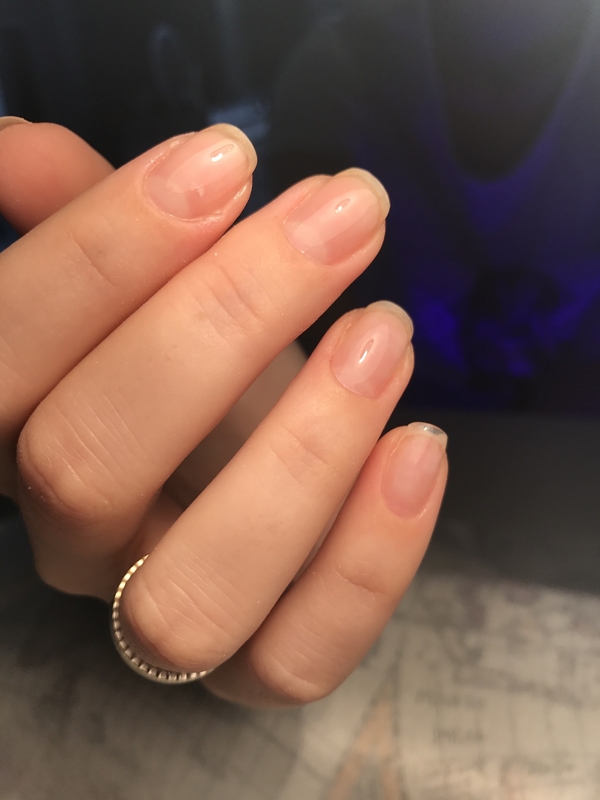
- Prepare the nail plate. We make a hardware or cut manicure: remove the cuticle, scrub pterygium. Using a nail file for natural nails, we remove the top smooth layer from the nail plate. We process it with a degreaser and apply an acid-free primer with rubbing movements.
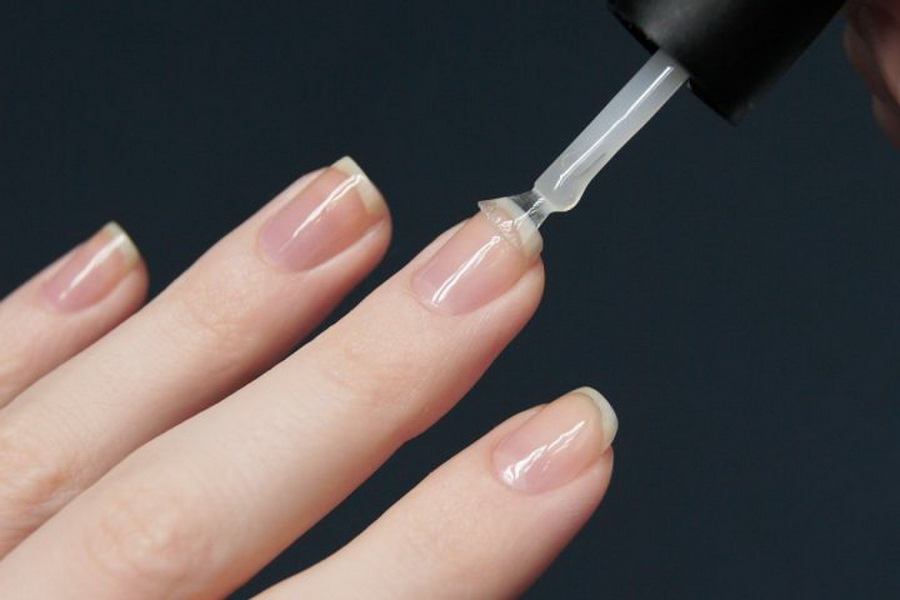
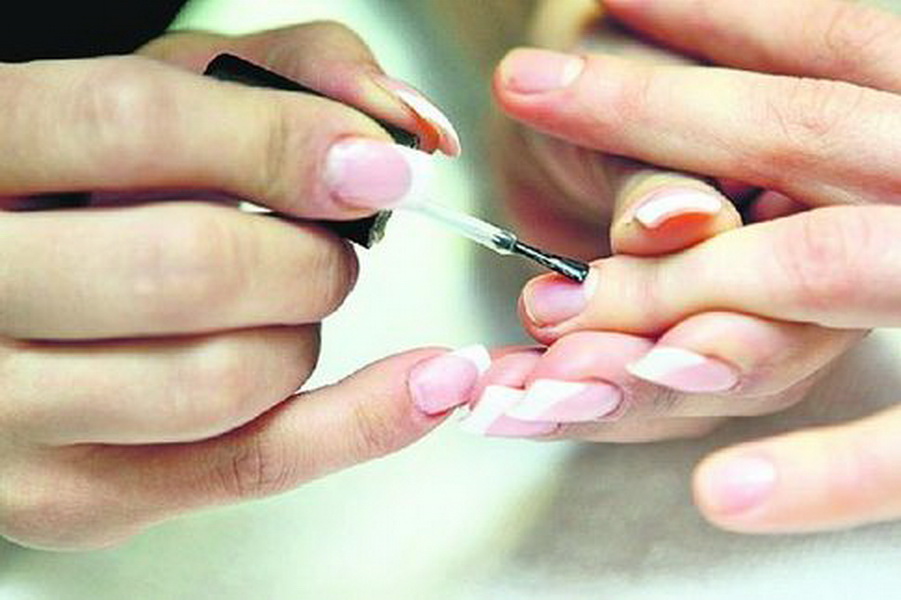
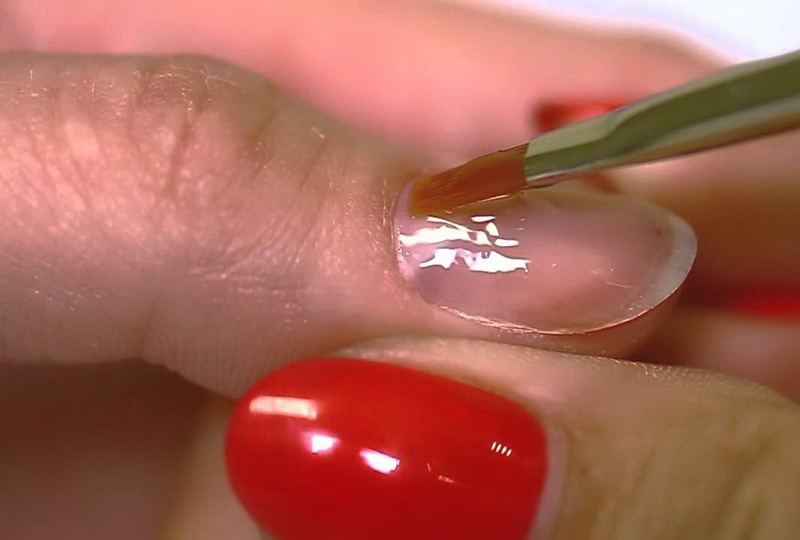
- Next, go to the application base. At first we impose a rather thin layer only to cover the entire nail with the composition. Avoid getting material under the cuticle. If this trouble still occurred, gently remove the composition with an orange stick. Base dried in the lamp.
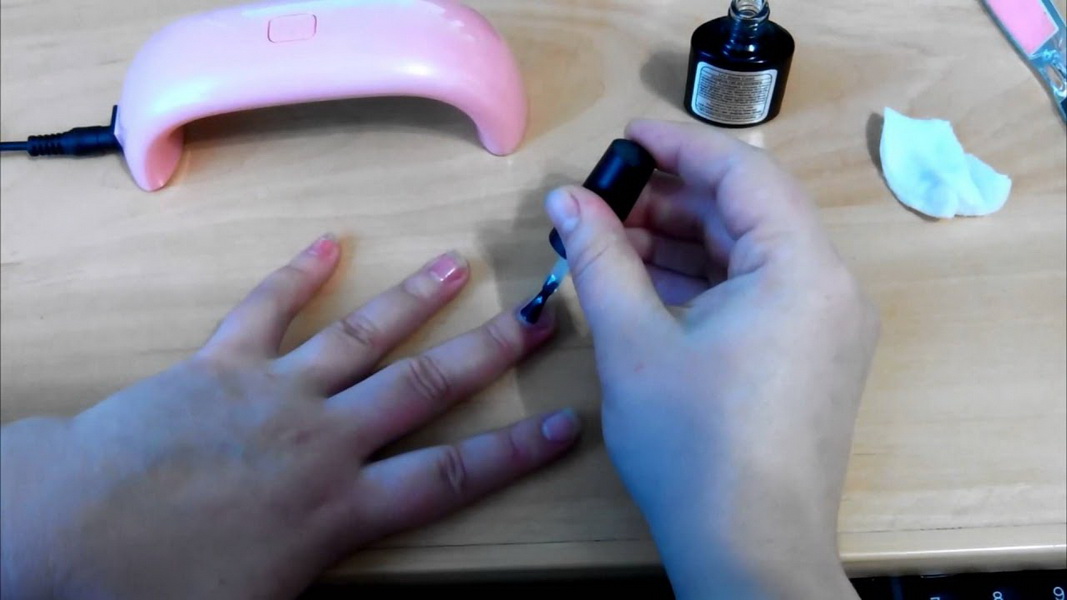
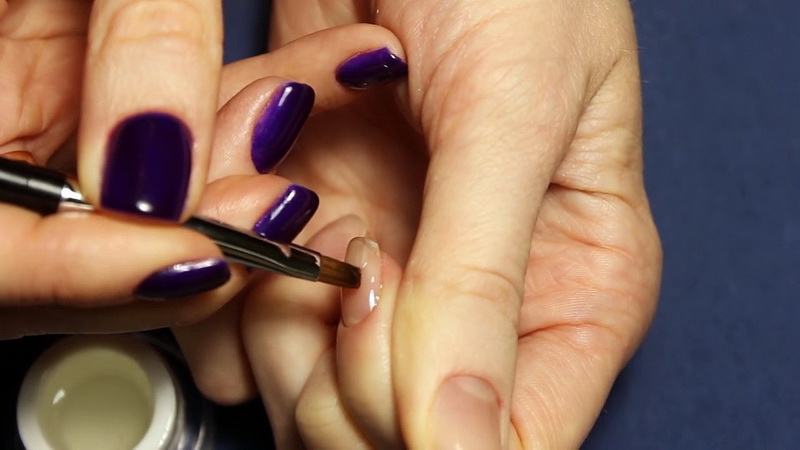
- Now we put a fairly dense layer. so that it covers all the shortcomings of the nail plate: put a drop of material on the nail, slightly stepping back from the cuticle, and then distribute it over the entire surface of the plate, tending to the root of the nail to reduce the thickness of the coating to nothing. In each layer, do not forget to seal the butt well. This is done so that the air and moisture can not penetrate under the coating, and thereby increased the time of manicure.
- After that you should turn the hand nails down for a few seconds and allow the material to even out well. Thus, the base slightly tightened to the middle of the nail, thereby further reducing the thickness of the coating at the cuticle and side rollers. Layer dried in the lamp.
- If the plate roughness is largeit is better to apply the base in a few words, since very thick layers may dry out and become poor.
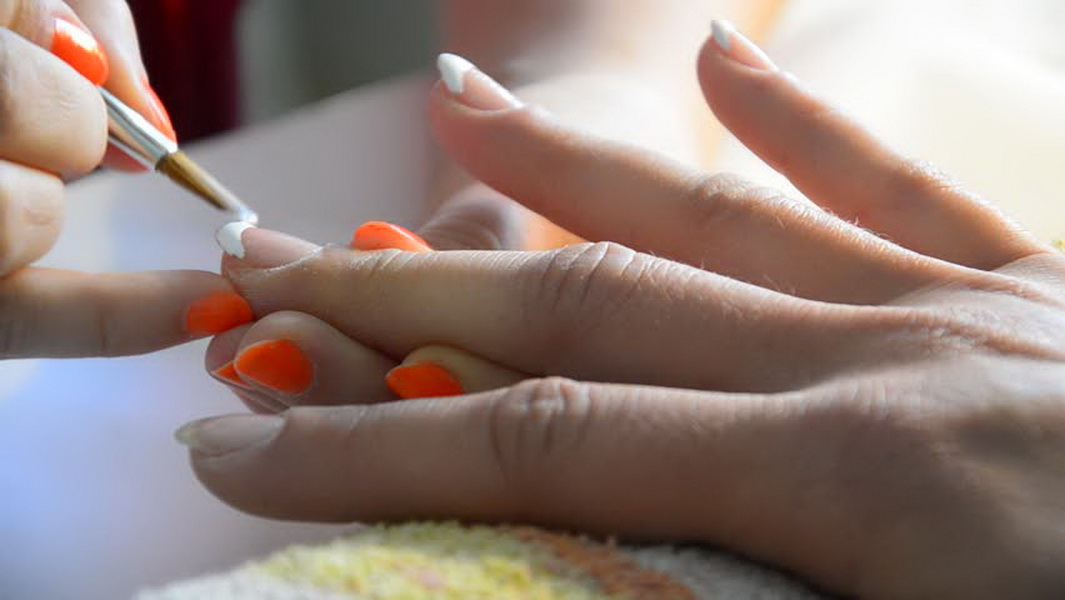
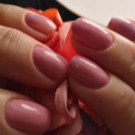
- After the nail is aligned, you can apply color gel polish and top coat.

Biogel
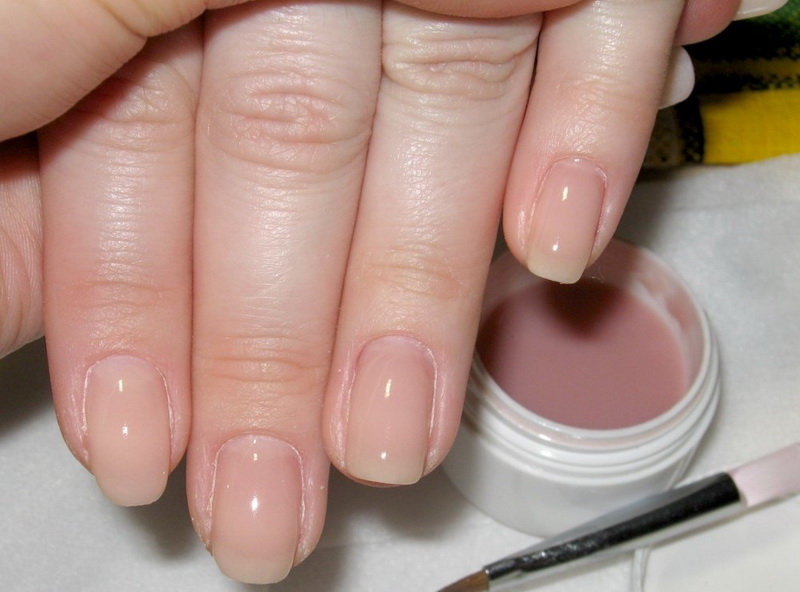
This material is used in the event that the irregularities on the plate are significant, and a pair of base layers cannot be removed. Biogel is more viscous and thick, unlike most rubber bases, so putting it on the nail, making a perfectly flat surface, will not be difficult. The composition of biogels include proteins that will nourish the nail during socks.
- Alignment, as in the previous case, we begin with the preparation of the nail plate.
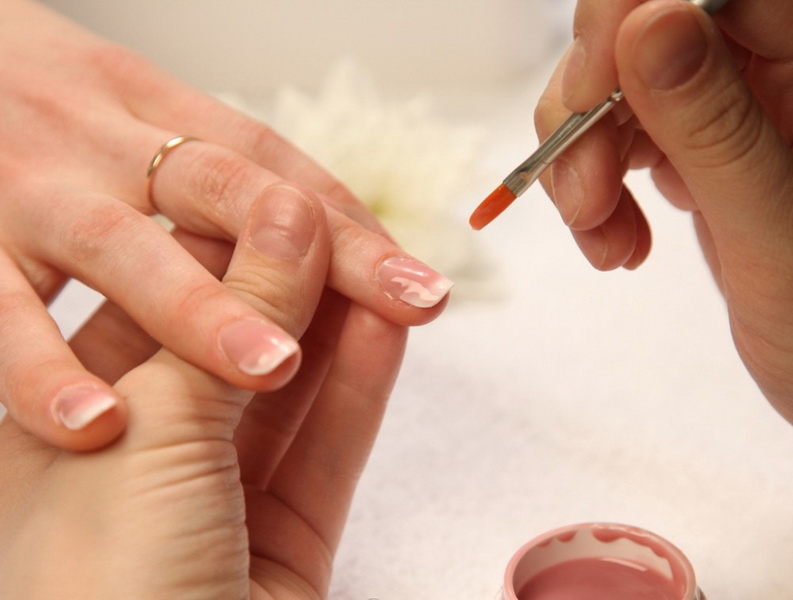
- Next, apply biogel with a thin layer, as if rubbing the material into the surface of the nail.
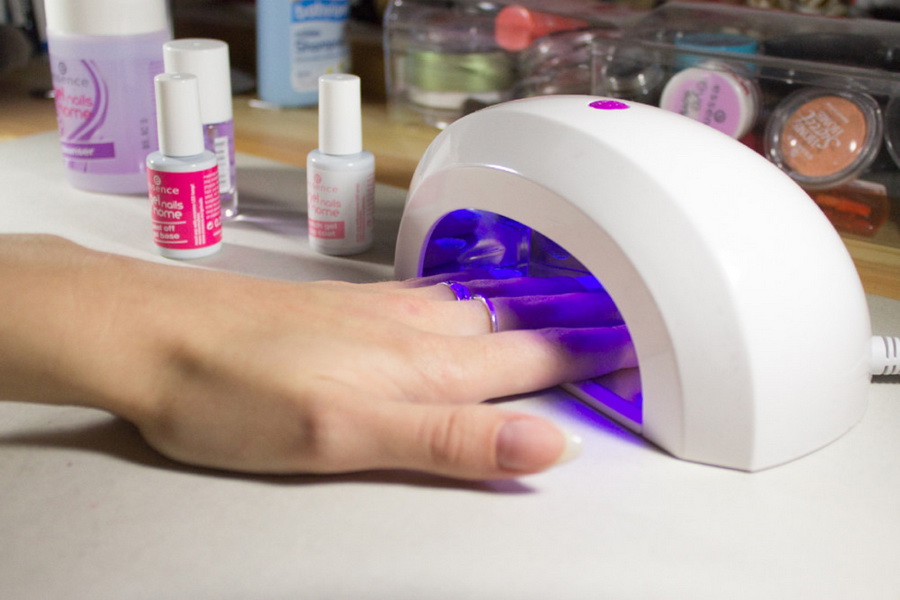
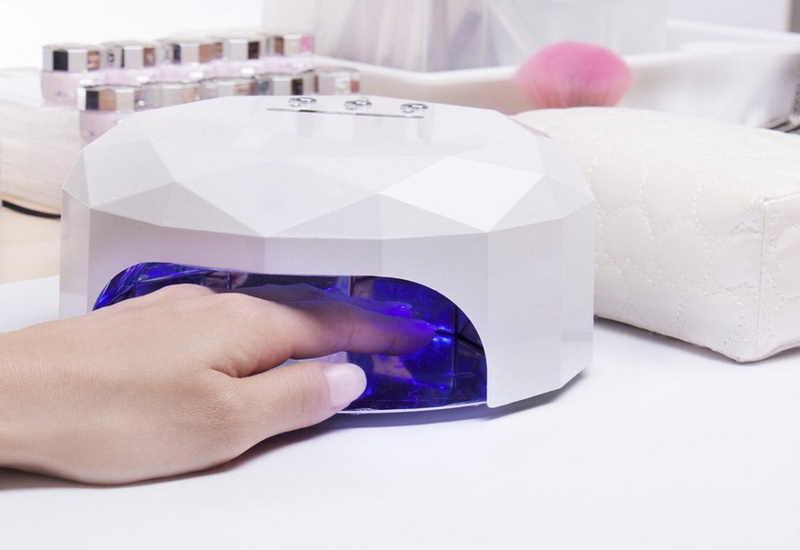
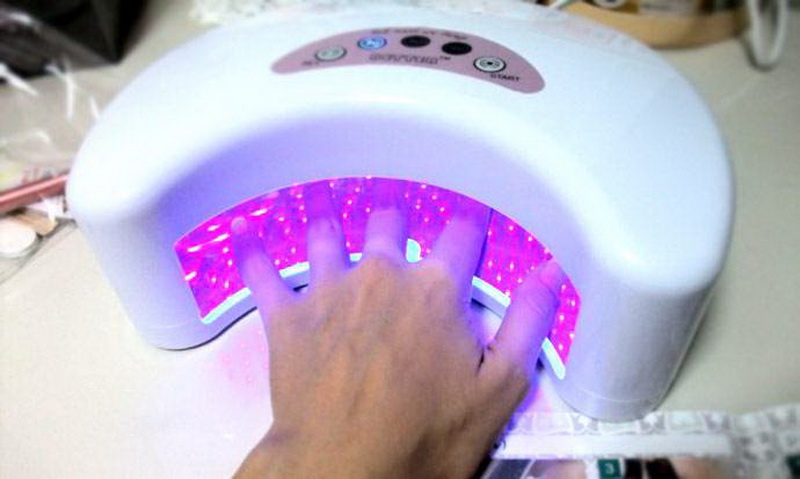
- The composition is dried in the lamp. Standardly this tool dries in a LED-type lamp for 30 seconds, in UV - 2 minutes.
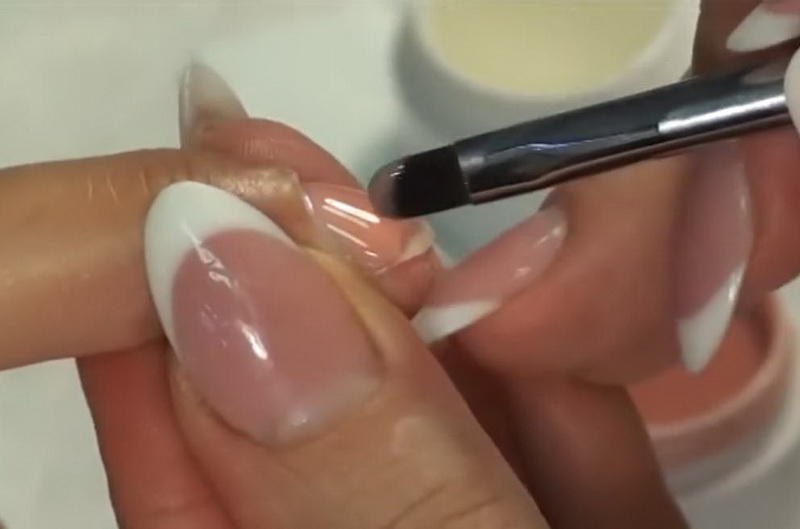
- The next layer is made thicker.To do this, use a brush to take a sufficient amount of material, apply it to the middle of the nail plate, soak the brush in a degreaser and begin to stretch the composition over the nail, reducing the thickness of the layer around the cuticle and side rollers. Do not forget to seal the edge of the nail and turn the hand as in the work with the base to align the biogel.
- Again dried in the lamp.
Alignment should be done by one nail, so that the material does not spread, and the result was perfect. At the last stage we apply a decor and we cover with a finishing covering. Biogel can “conflict” with some gel polishes, so you also need to be prepared for this trouble, and it is better to choose products from one manufacturer.
Arigel
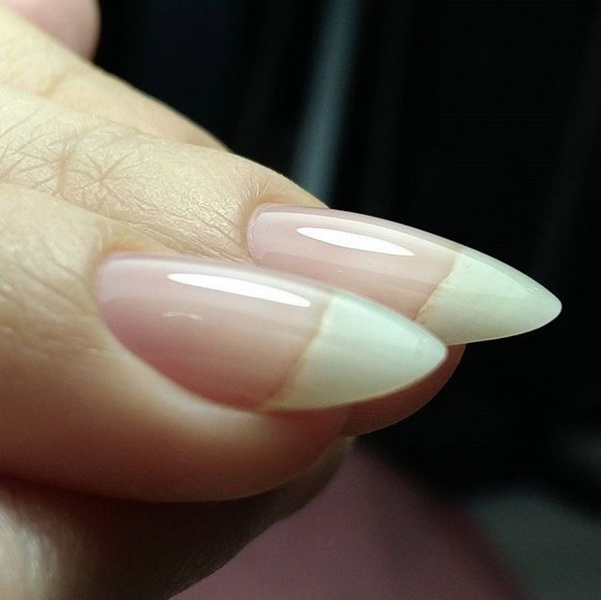
If you have a problem not with the surface, but with the shape of the nail plate (it seems to bite down, does not want to grow back exactly), then you can level this nail with the help of this material. The tool combines gel and acrylic powder, is easy to apply, does not numb and makes your nails hard.
- Here, as in the previous cases, you must first prepare the nail plate.
- The next step is to apply a thin layer of the base.


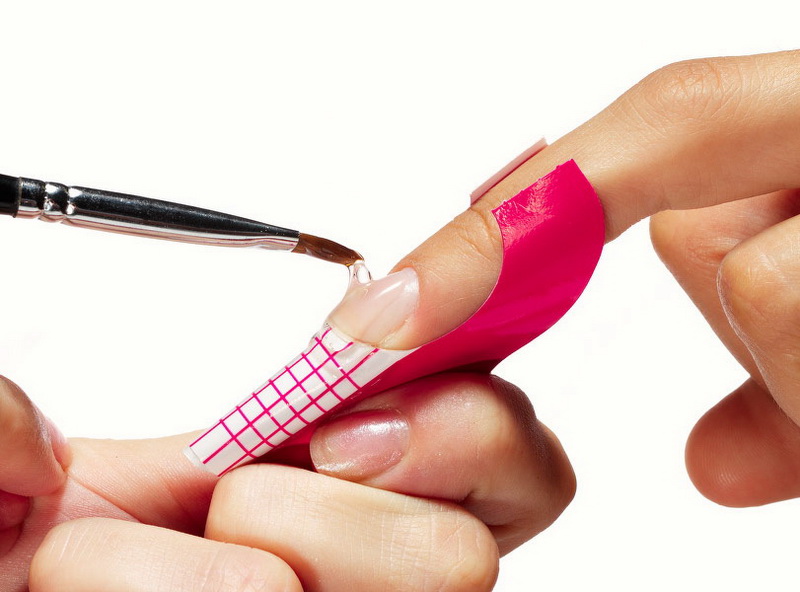
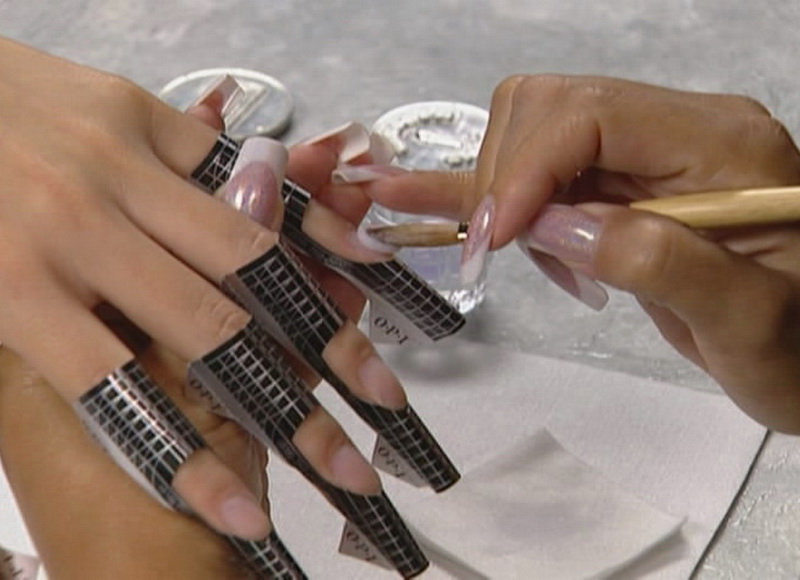
- Next, set the paper form. She needs to lift the bent nail, it should be done carefully so as not to damage the plate.
- Now we put a small ball of akrigel on the middle using a spatula and with a brush moistened in a degreaser with small “steps” we push the material to the cuticle and side rollers, distributing it along the entire length of the nail.

Do not forget about the architecture. In the middle of the nail make the layer thicker, minimizing it when approaching the skin. Smooth the surface with a brush. This will remove the finished marigold from the leveling procedure.
- Go to the drying. In the LED-lamp we dry the coating for 30 seconds, then install a clip on the accumulated material to shape the correct arch of the nail plate and dry the composition to the end for about a minute. For a UV device, the drying time is increased to two minutes before the clamps are installed and up to 5 minutes after that.
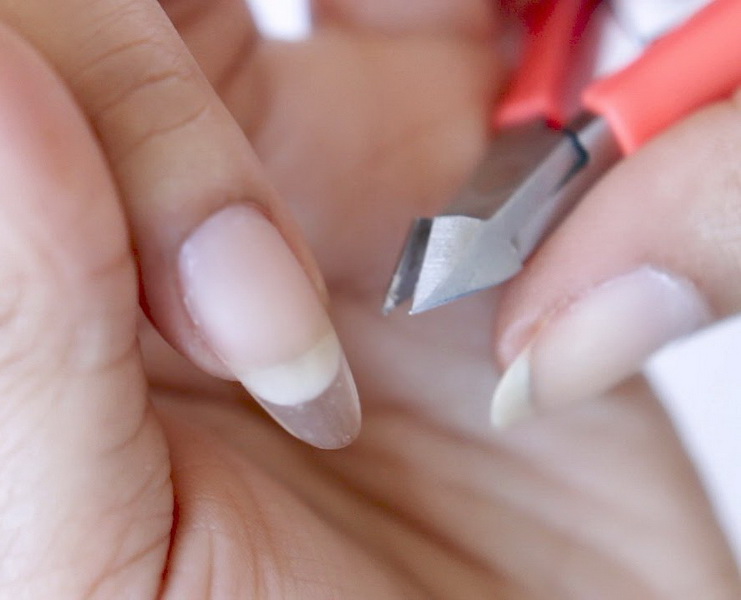
- Now you need to trim the nails and apply a decorative coating and top.


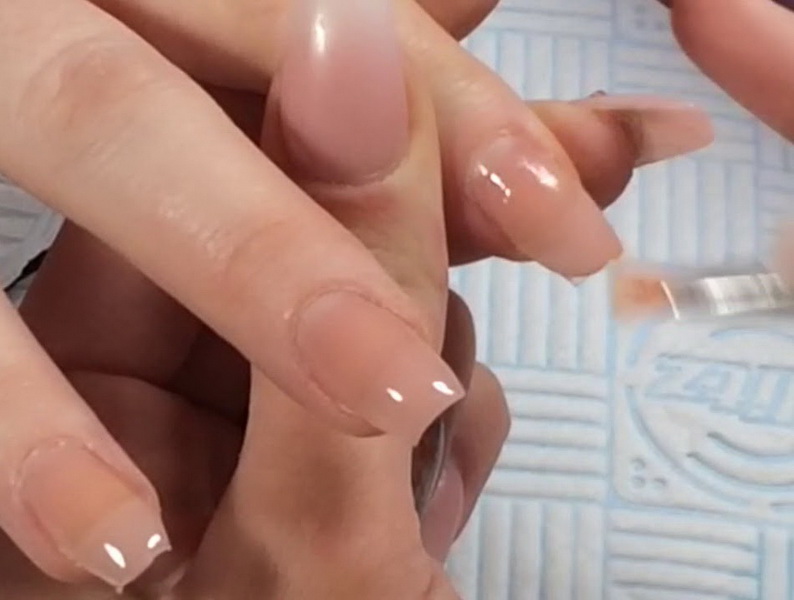
How to check the quality of work?
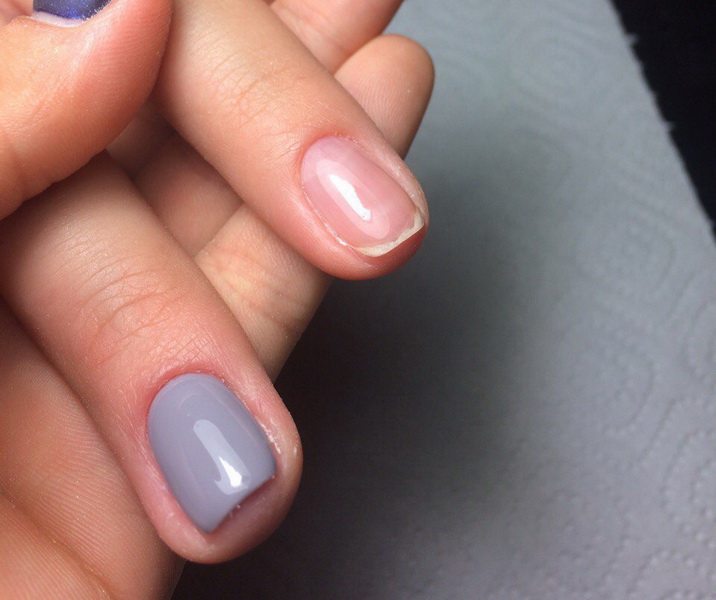
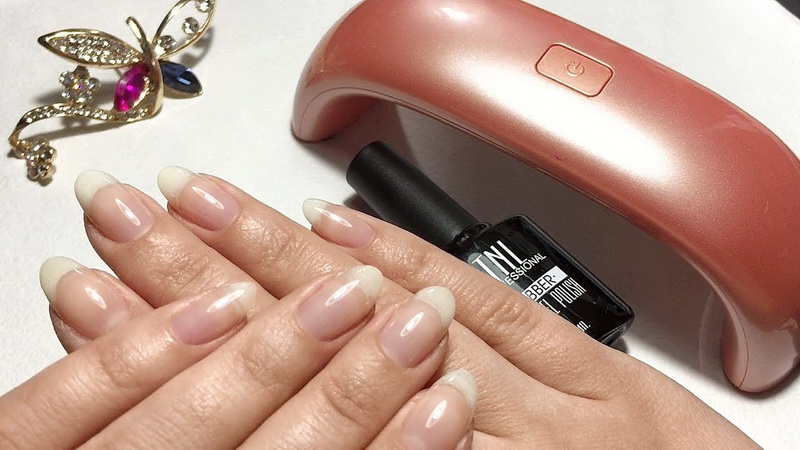
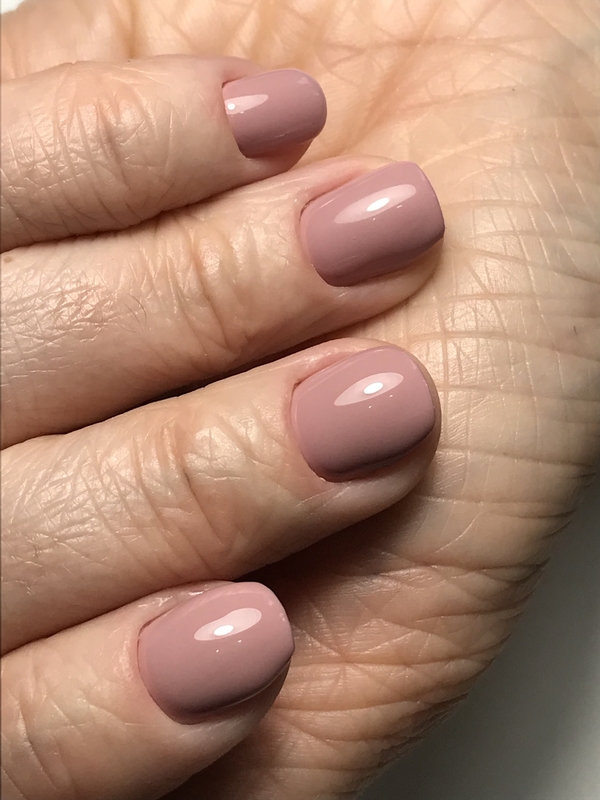
You can check the quality of the alignment of the nail plate after the manicure is completely ready and the finishing layer is applied.
- Pay attention to the highlight. It should have a round or oval shape, roll smoothly over the cover when turning the hand without distorting.
- We evaluate the arch. Look at your nails from the butt. Bending relative to the middle of the nail should be the same, have a C-shape.
- We evaluate the horizontal. We look at the finger from the side. The plate should not be piled down or turned up, it should be a clear continuation of the finger line.
But not all the irregularities of the nail plate should be masked. If you notice that the nails change color, the plate thickens, and there are no reasons, for example, in the form of a bruise, you should immediately consult a doctor, as this may mean health problems.
How to align the nail plate, see the following video.


