If at home, preparing food, the hostess does not immediately think about ordering kitchen utensils, including knives, then, for example, in a restaurant or hospital kitchen, where frequent cooking is put on a fast-moving stream that serves a huge contingent every day, every little thing matters. To work more efficiently and faster, cooks contain knives, electrical appliances, cutting boards and other utensils in an easily accessible manner - as prescribed by their working regulations.
Working in shifts, not every cook will like it if the previous employee, whom he had just changed, left the same knives in one of the drawers of the table, without spreading them in a special stand or in a pencil case in a visible and well-known place. And when there is no possibility to acquire such a stand overnight, it makes sense to take care of its independent production.
What is included in the design of the stand?
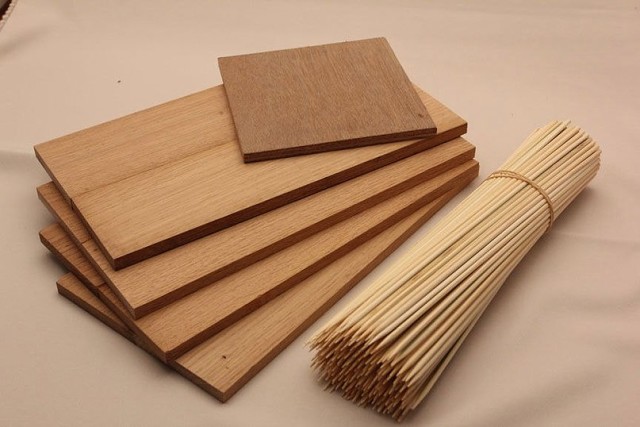
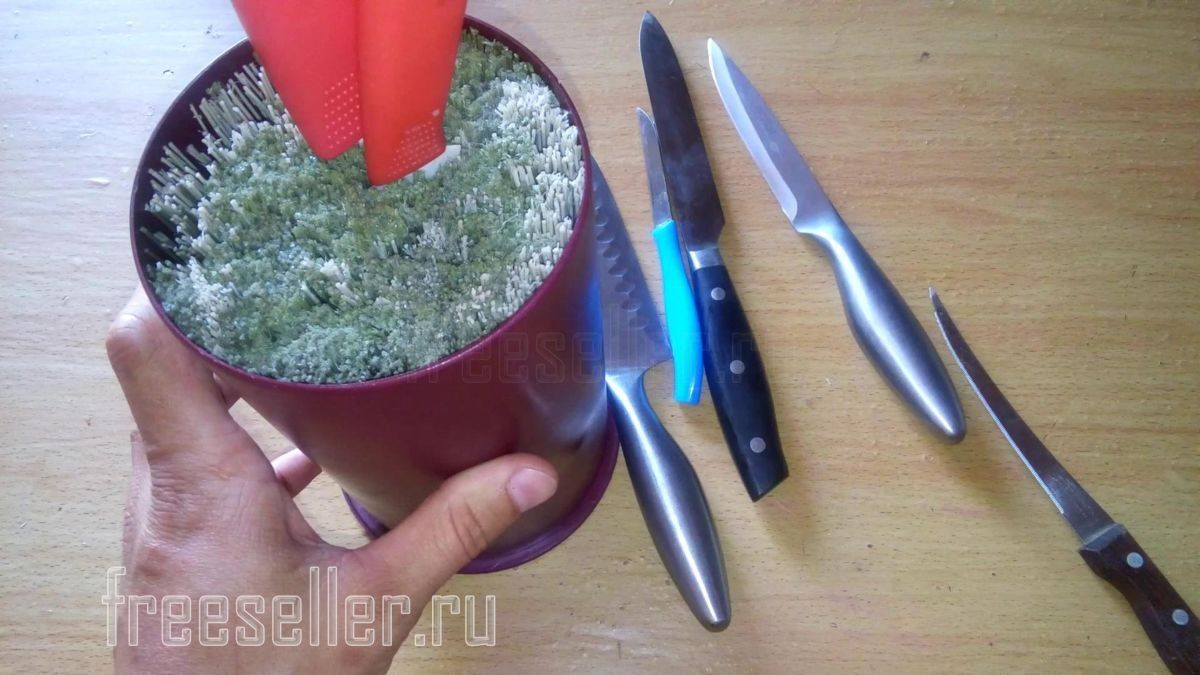
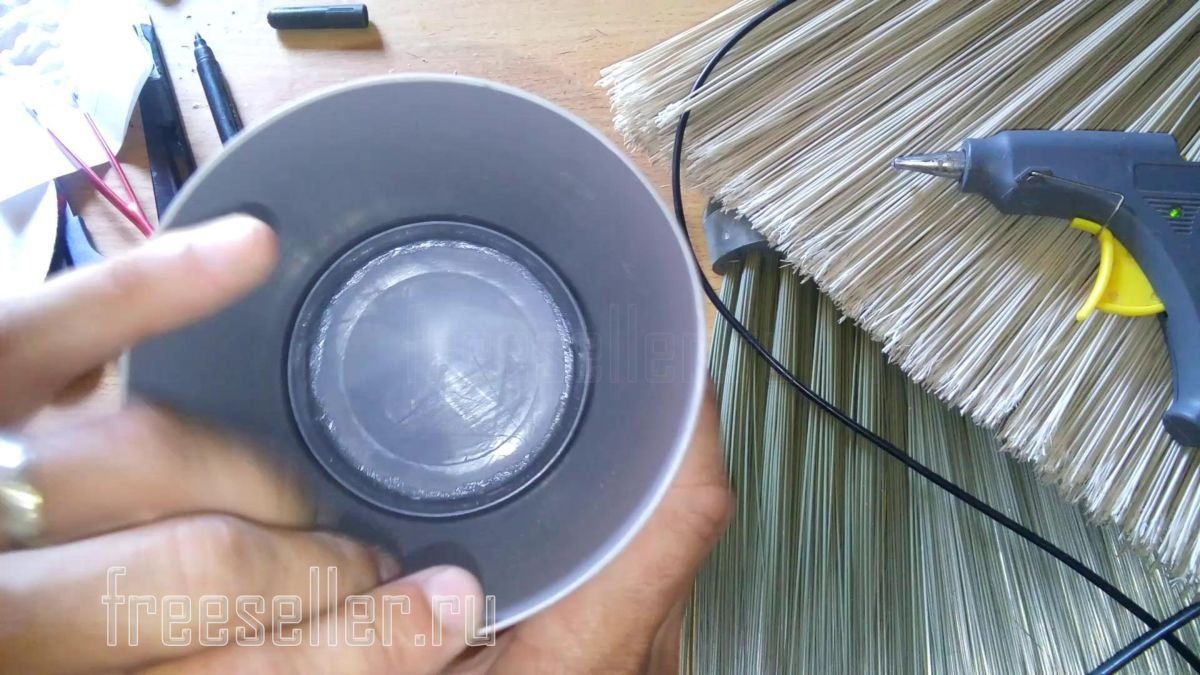
As carrying capacity any ready-made or homemade container box. The latter is made of plywood and / or slats. As a finished container, a filter jug for water is often used, in which the liner has broken, holding the replaceable filter cartridge.
In addition to the carrying capacity, it should be located reliable filler. The height of the container and the level of the filler are such that the knife inserted with the edge downward buries the filler in the handle without reaching the end of the blade to the bottom of this container.
Accordingly, the filler is chosen so that the knife stably stands in the stand, not falling on the adjacent knives or to the edge of the stand itself. The filler itself should not move when the stand is stationary.
Best filler material
Jelly-like material is unsuitable as a filler - it stains the just-washed knife put into storage. Loose - also not an ideal solution: you are unlikely to want to leave knives, for example, in a pan with buckwheat or sugar.
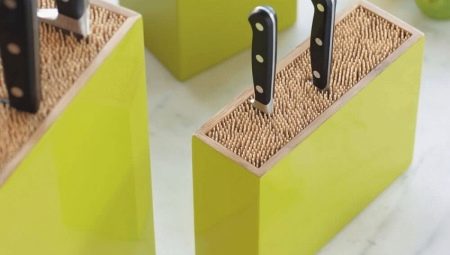
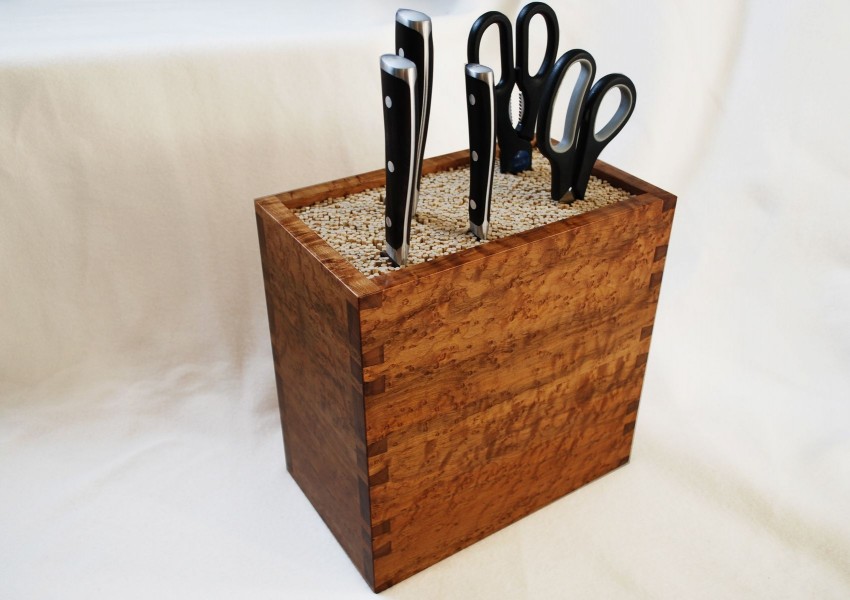
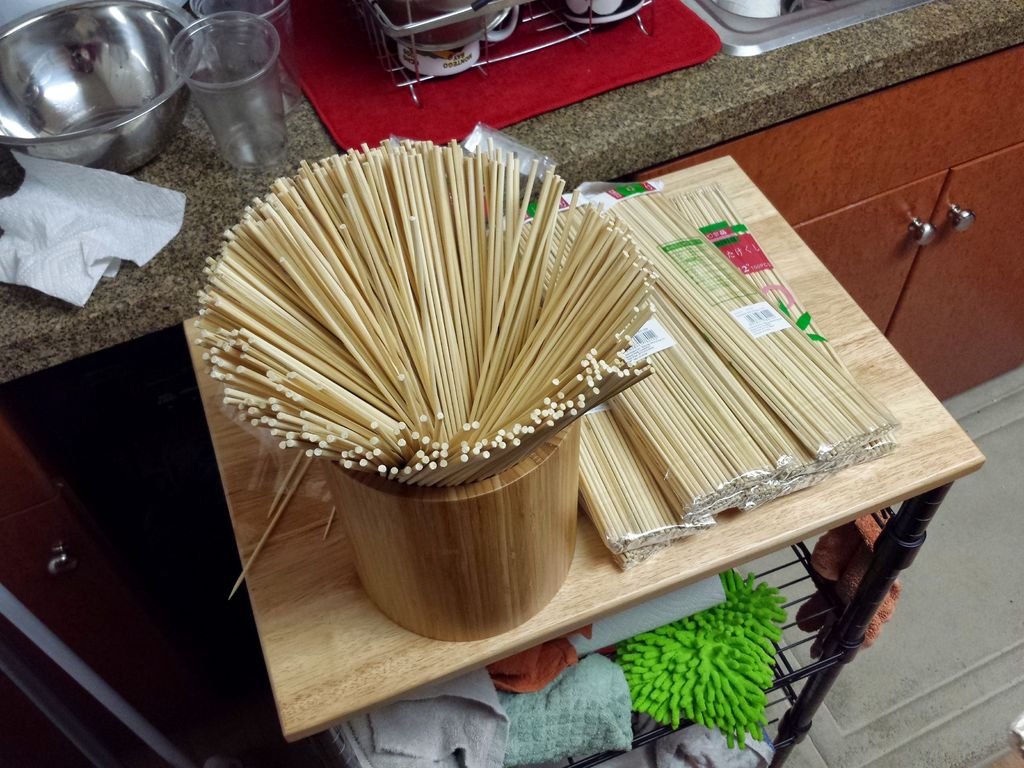
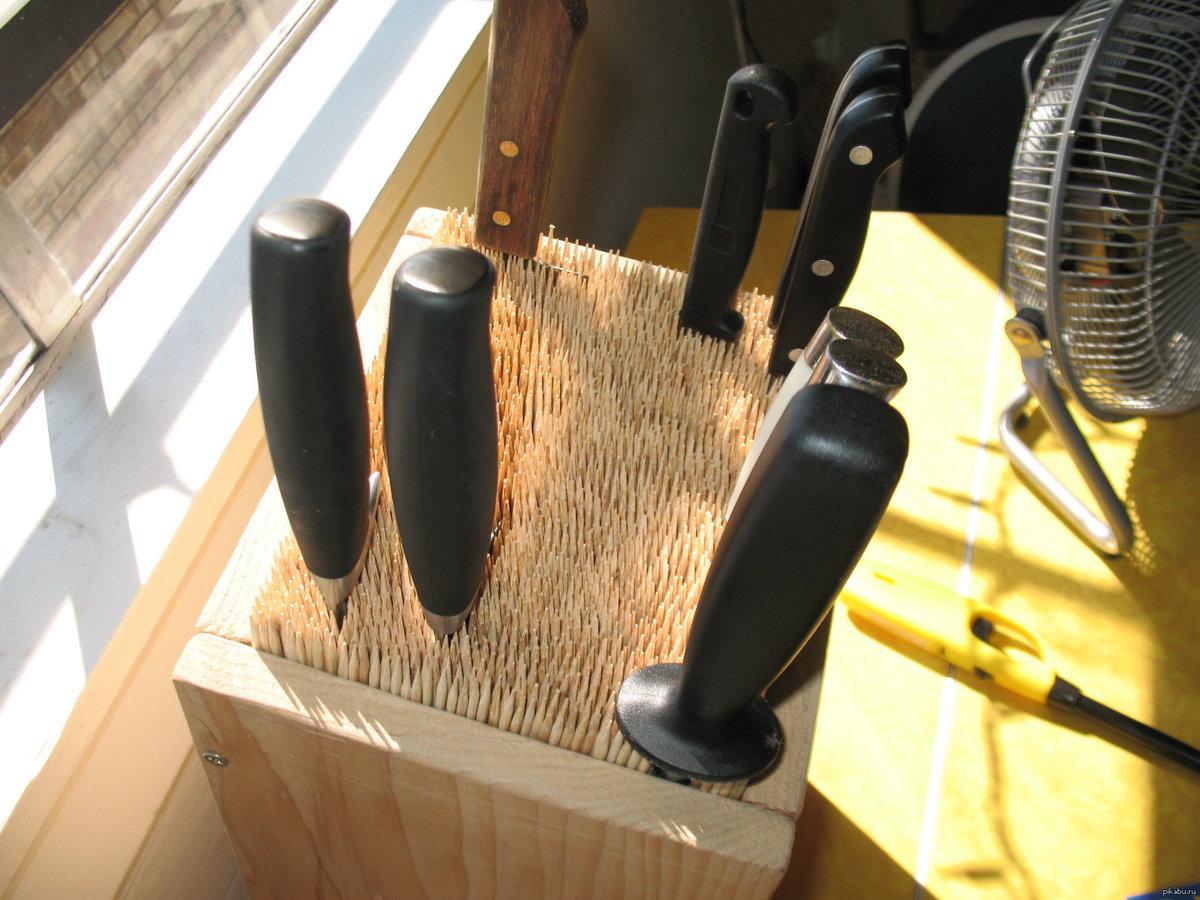
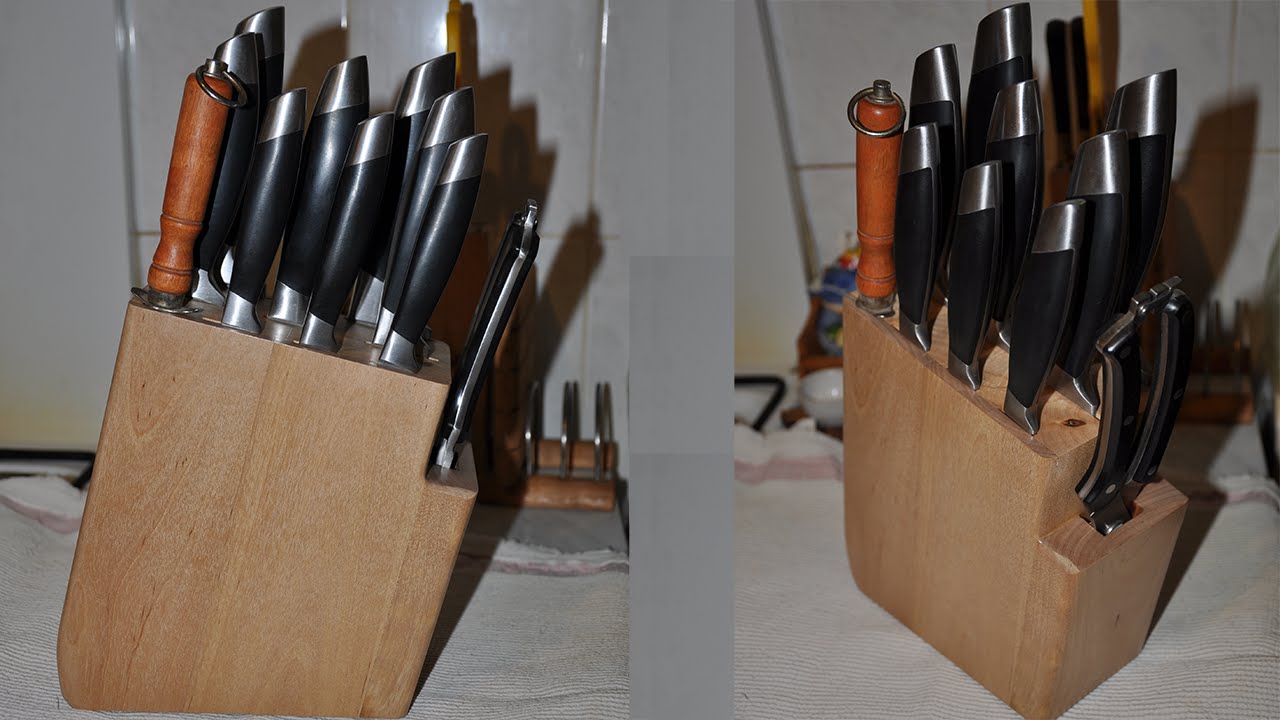
The best solution is sticks or pegs, the length of which is substantially greater than or equal to the height of the tank: being piled up together and squeezed in quantities, with a little free space left, they form an almost perfect “landing” platform for a dozen knives. If only one of several knives is currently inserted, It should not fall into this free space with the handle.
When all the knives are inserted into this improvised stand, the sticks and pegs are pressed against each other and against the blades of the knives tightly enough to prevent the latter from falling to the side.
Filler sticks
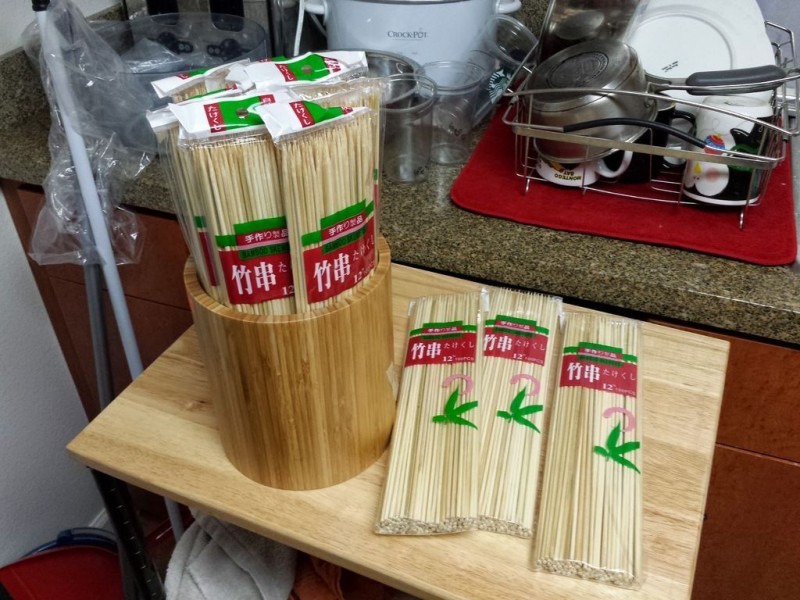
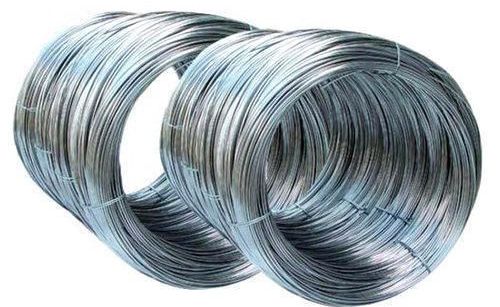
In addition to chopsticks impaled in large quantities from fresh wood or planted from thin branches of any tree, bamboo is also used, sold in any household or store for needlewomen. Instead of sticks it is permissible, for example, aluminum wire (you can draw out the "wires" from the old cable), cut in the same length along the length, blunt from the ends.
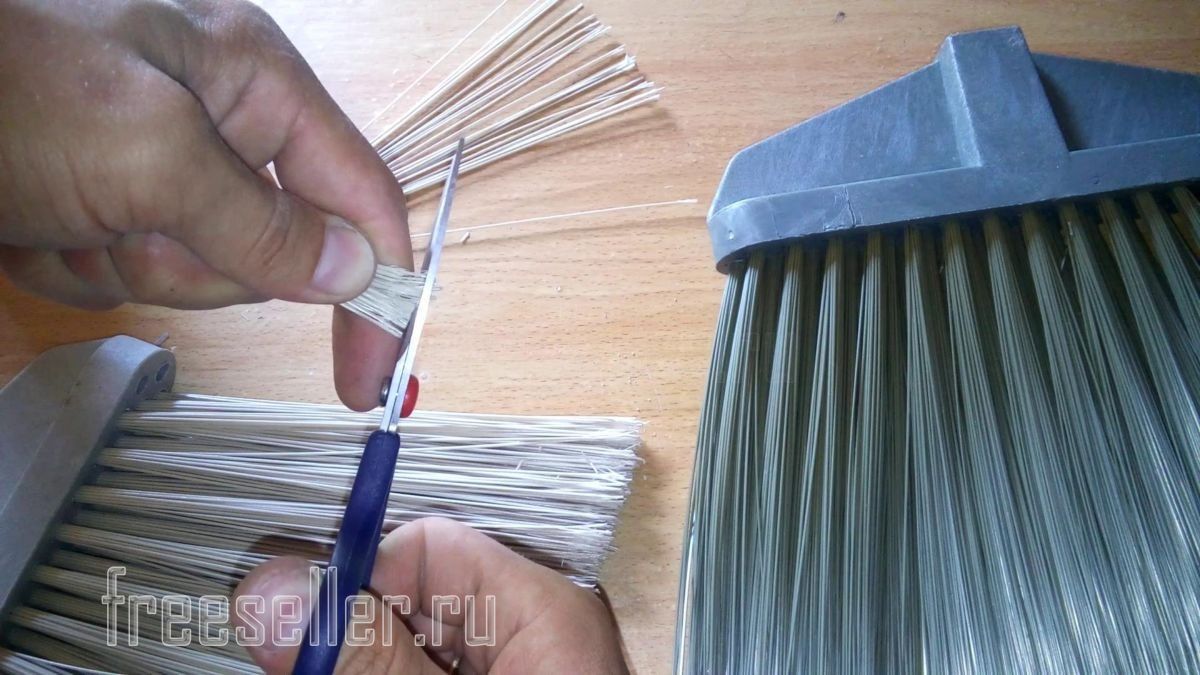
In the absence of bamboo sticks, dissolve the new broom and cut its twigs appropriately.

Other material
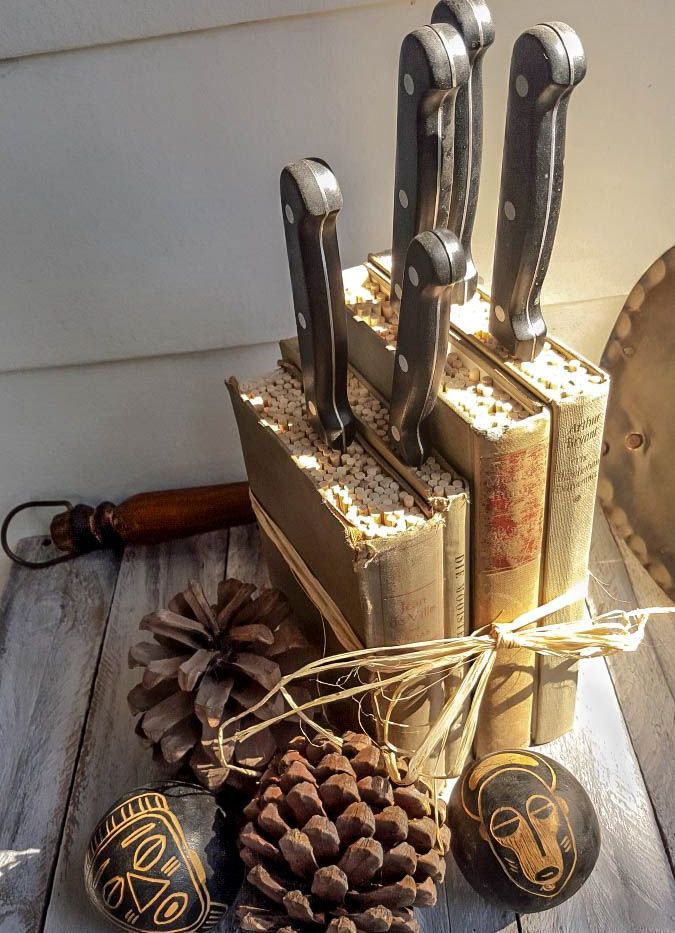
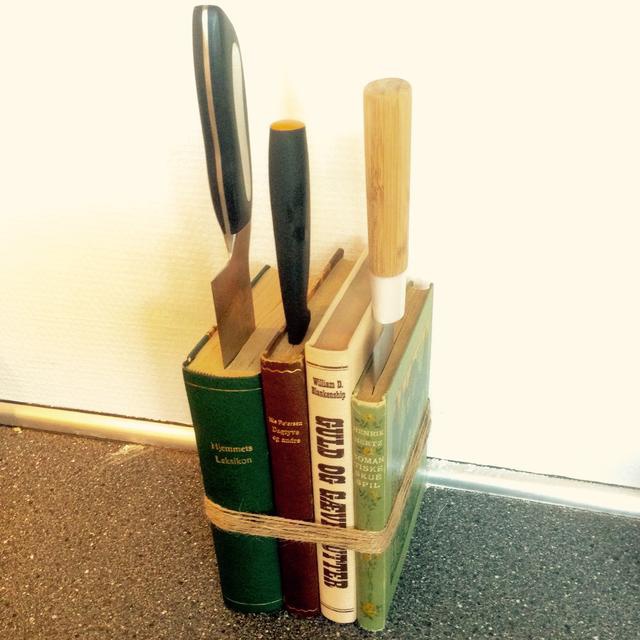
If no sticks were found, thick cardboard strips, old magazines rolled into a roll, candles, bristles of plastic brushes and even books can be used as a filler.The latter can either fit into a ready-made container (or a box self-made for them, for example, designed for several volumes from any collection), and act as a carrying structure (hardcover covers the material for the cells, and the pages filler).
To make a stand especially from old books, tie up 3-4 volumes with a decorative tape and set it vertically - this stand is ready to take in storage its first knives.
Brush Bristle Version
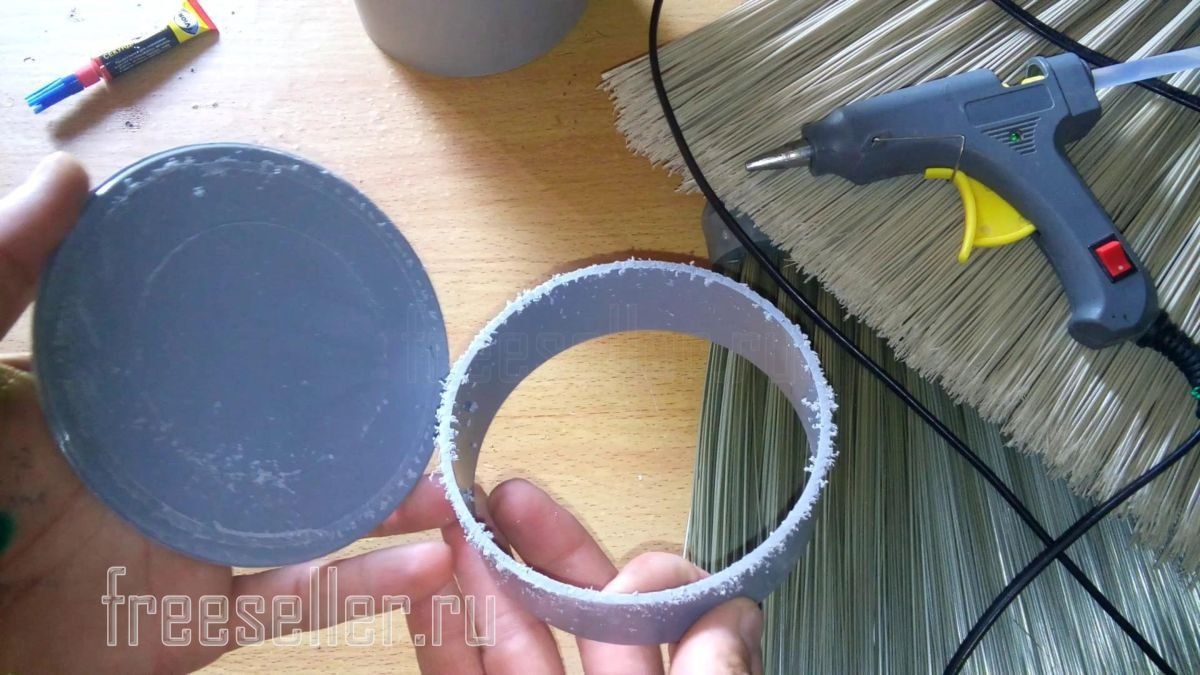
Purchase at least two ready-made plastic brushes and a PVC pipe with a plug with a diameter of up to 20 cm. Epoxy glue is also required. Step by step the whole manufacturing process is as follows.
- Saw at one end of the pipe butt end.
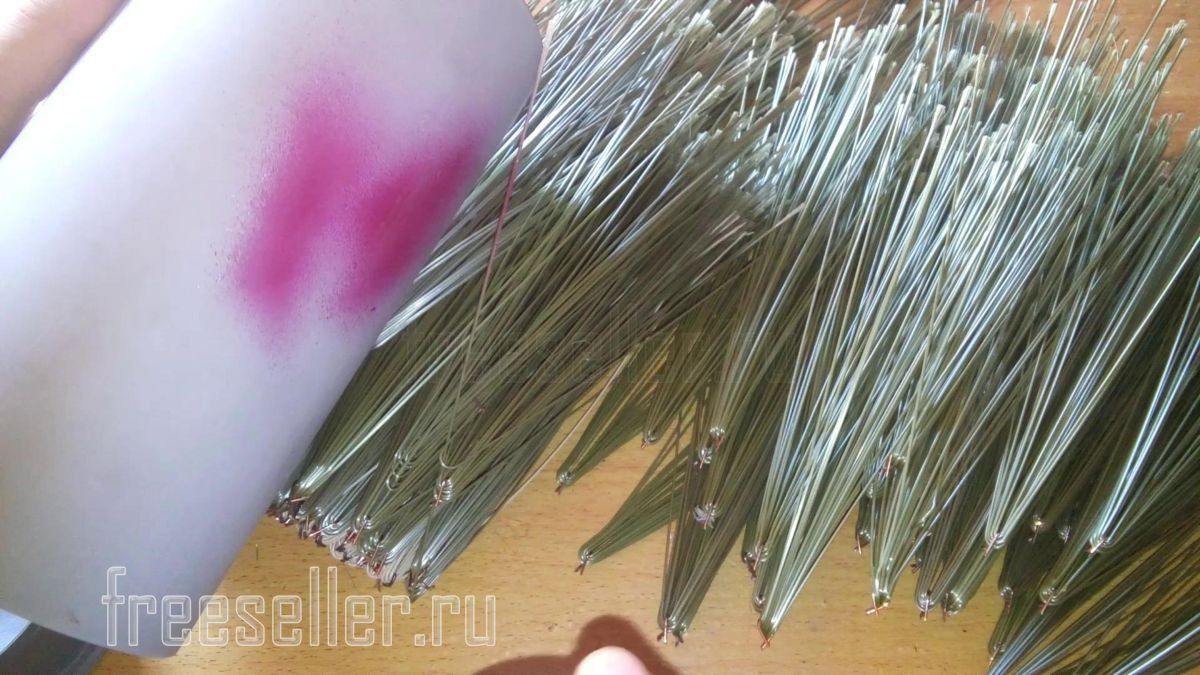
- Pull the stubble out of the brushes and put them together.
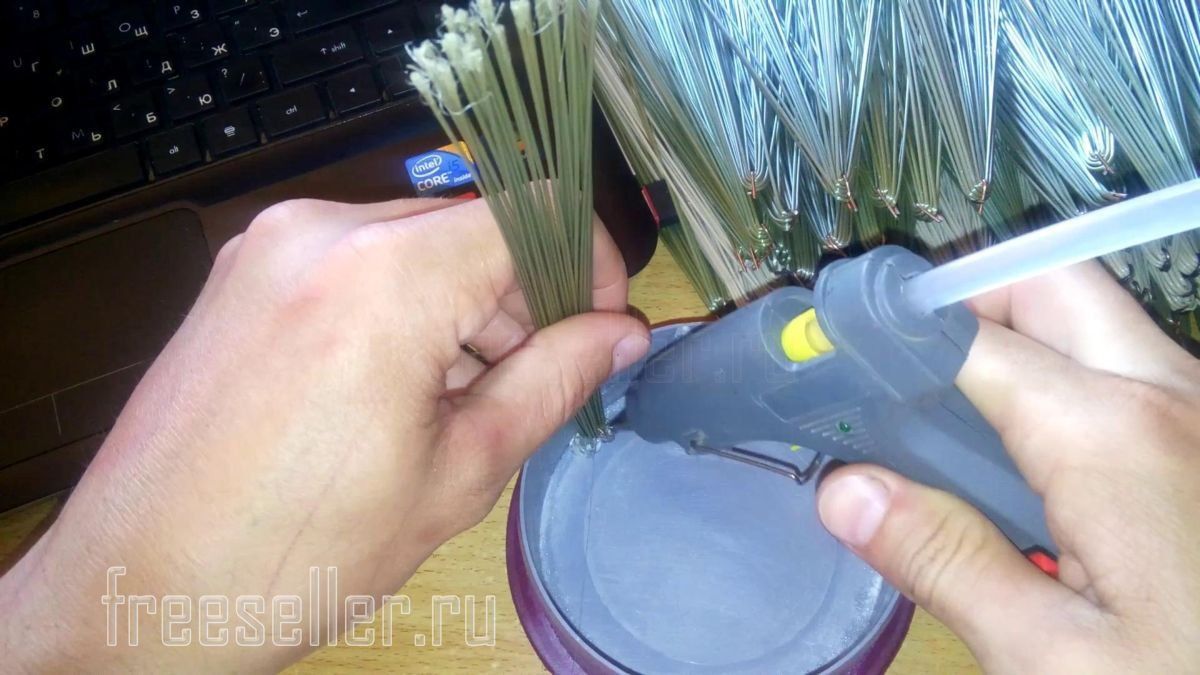
- Pour the glue into the cap so that it spreads evenly along the bottom of the cap at least a centimeter, and insert the collected tufts of bristles into the cap. Glue will saturate their ends and after hardening it will reliably hold the bristles in the cap. If hot glue is used instead of epoxy, the tufts of bristles are glued one by one or in small groups. The bristles should be as tight as possible.
- After curing, drag the glued bristles through a piece of pipe. Connect the design together by closing the cap. For stability, you can glue a piece of square plywood larger than the diameter of the plug itself to the cap.
The design is assembled and ready for use. Hair bristles are dense wall and can securely hold even a few inserted knives.

Stand without filler
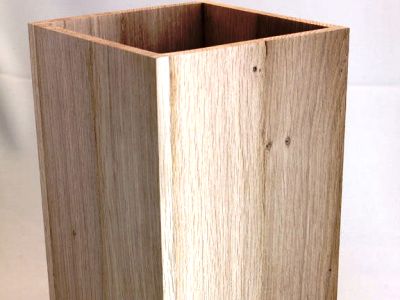
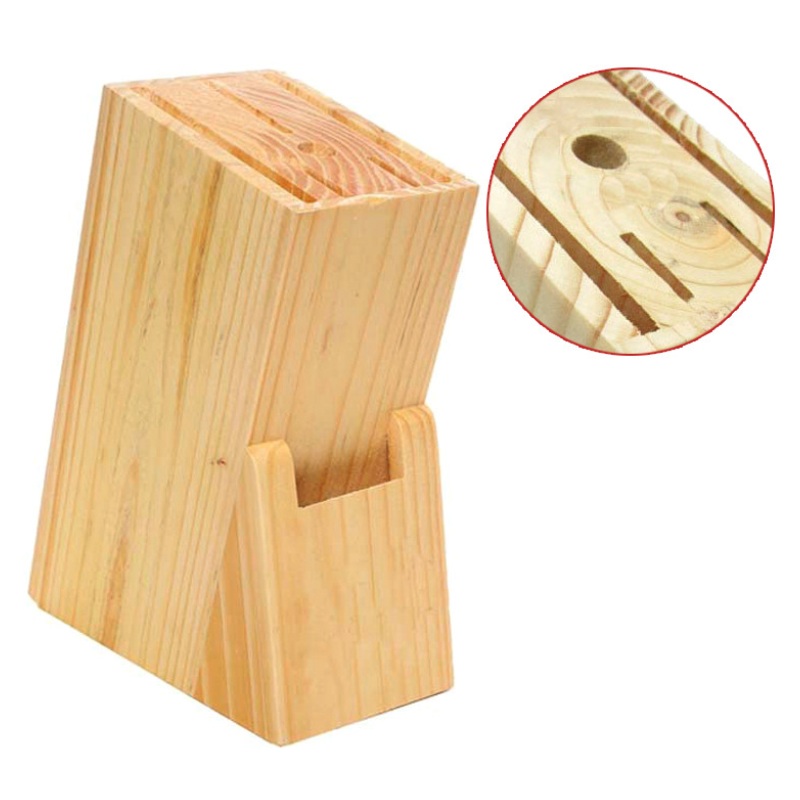
The simplest option is any wooden block in width or diameter not less than 20 cm. After sawing wood (both for firewood and industrial wood - for building needs) a piece of wood with a height equal to the length of the blade of the longest knife can remain quite your recruitment. In it, using long drills, electric jigsaw or other improvised tools, slit-like holes are made, in each of which any of the knives fit.
If you are dealing with thin slats or plywood, then an elongated piece of plywood or a length of slats at least 1.5-2 meters long will be enough to make stable stand that does not fall, even when the largest and heaviest knife (as a rule, it is a hack knife), will be inserted close to the edge.
The design can be as simple ("as a log"), and take a tricky shape.

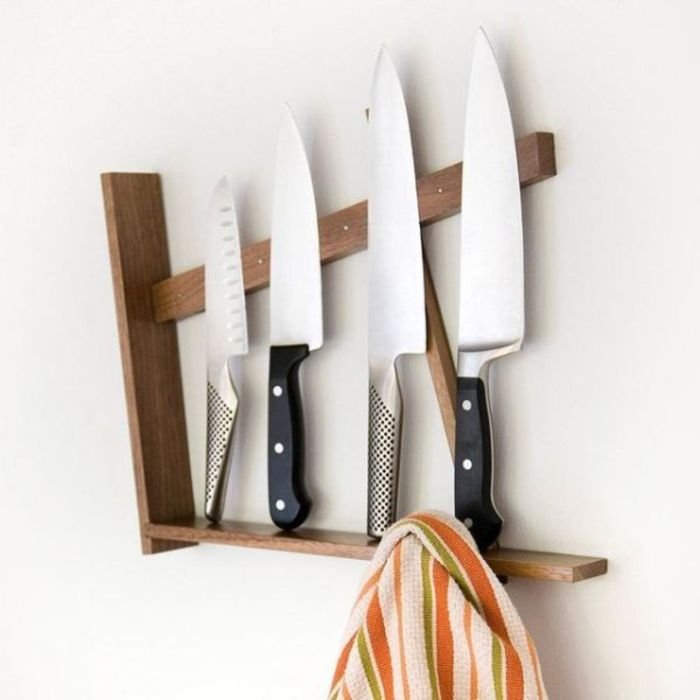
Hanging stand
If the design of your kitchen is so advanced and perfect that fast ways of making the stand only spoil the whole look, use the option that is not inferior to industrial products neither in accuracy nor in quality. For the manufacture of the stand will need:
- board, the length and width equal to the future stand;
- rake or plywood;
- glue or screws.
Do the following:
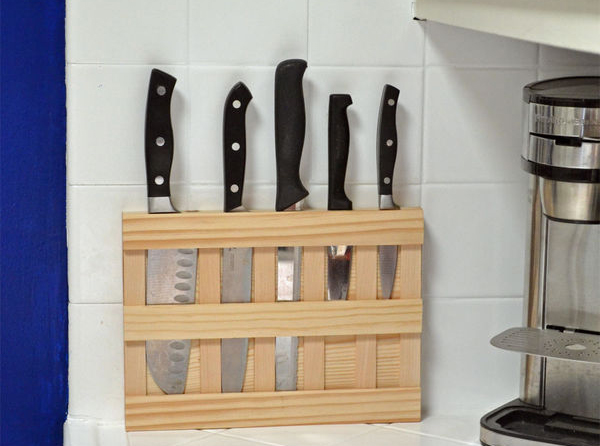
- mark the board in accordance with the location of the horizontal and vertical segments of the rail;
- glue thin (slightly thicker blades of the largest knife) pieces of the rail to the board (there are several of them) in accordance with the marking, parallel to the inserted knives;
- then glue three longitudinal (perpendicular to the previous ones) segments - two along the edges and one in the middle.
The resulting construction can be supplemented with side struts or legs that do not allow it to fall, or fixed on the wall, attaching two additional rails to the latter.
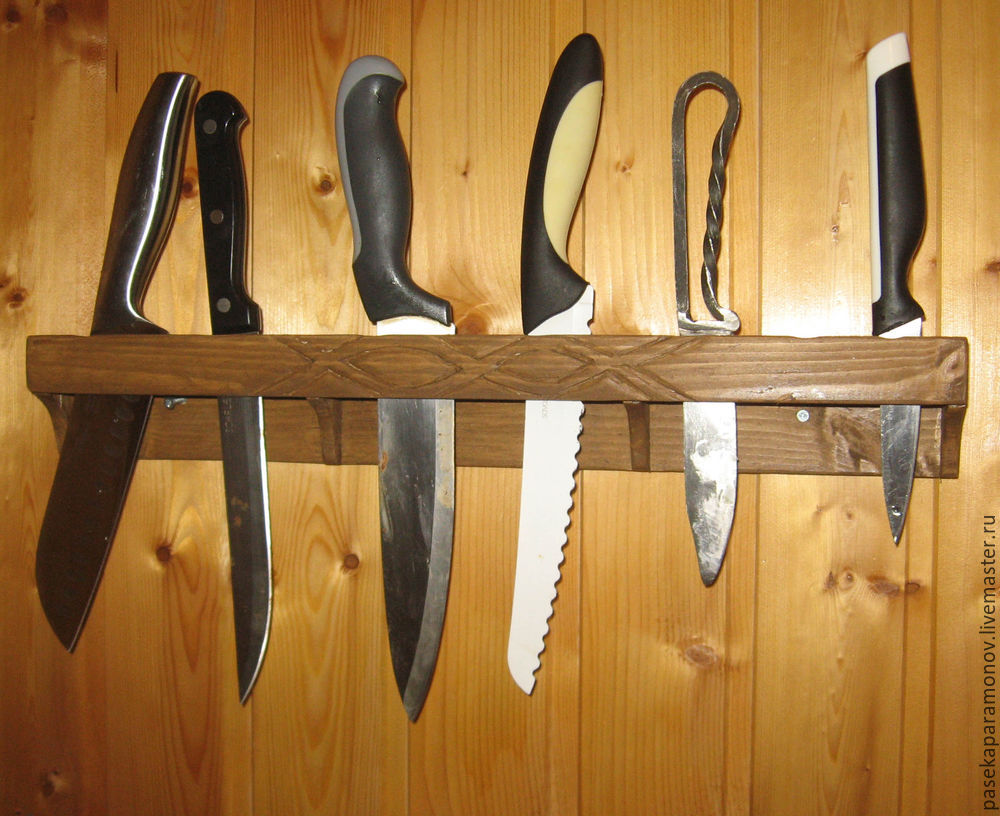
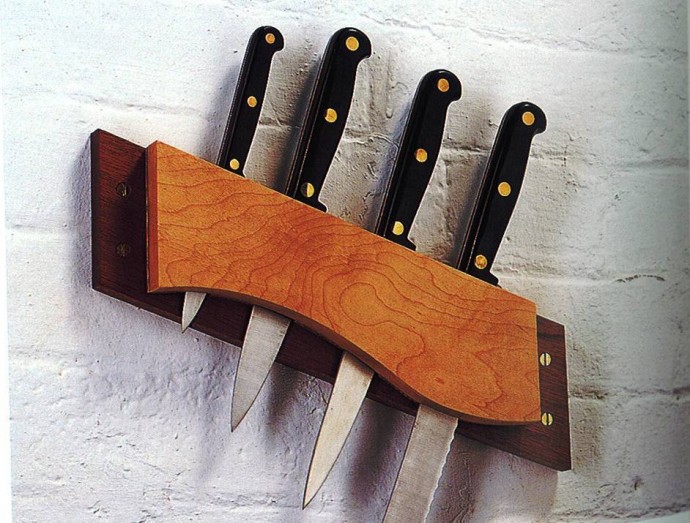
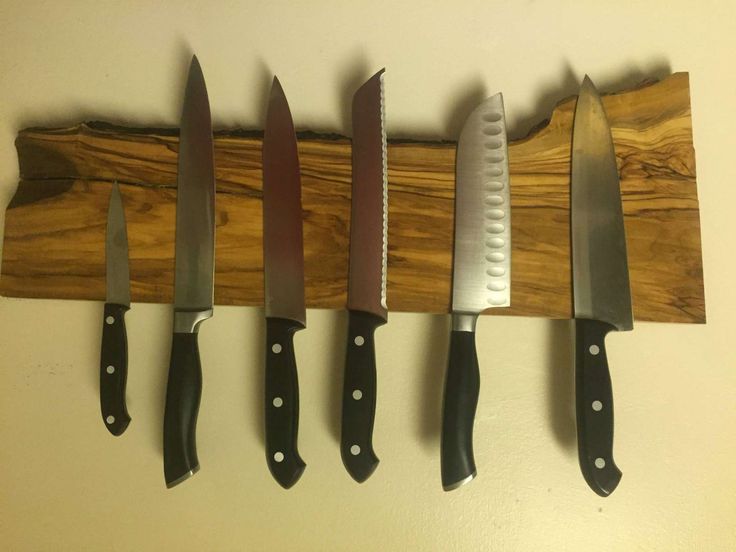
The second version of the suspension stand is much more simple. In any rail or bar, a groove is cut into which small neodymium magnets are inserted, fixed with glue. The design is hung on the wall or, for example, the side of the kitchen cabinet. It is enough to attach the knives with the blades to the places of the magnets - they will reliably hold onto them. Such a magnetic holder is the best solution for knives, which is not necessary to wipe due to the huge number of repetitive actions when cooking is put on a wide stream.
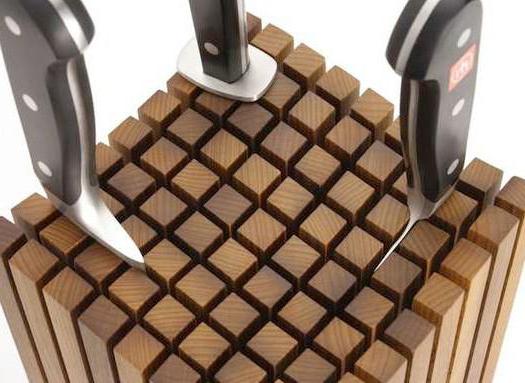
Desktop stand from a variety of rails
Another "advanced" option for the arbitrary arrangement of knives in the stand, giving the kitchen its own, unique element of luxury.
Step by step manufacturing process is as follows:
- cut the rail into dozens of segments equal in length but 1-2 cm longer than the largest knife in your set;
- The base of a square or rectangular piece of board or plywood will be drawn across the cross section of the batten;
- glue the edging of long and narrow segments of plywood around the perimeter - this will create a fixing edge from all sides;
- Vertically position the pieces of the rail and fix them with nails, pre-applied a layer of glue on their ends and on the seats of these segments;
- let the whole construction "grab".
For reliability, if the distance is equal to the blade of the longest knife, pour epoxy glue. The latter has excellent fluidity, and 1.5-2 hours before hardening, it will have time to leak into all the microcracks, small cracks left after the main stage of work.
There are more than a dozen ideas for making independently do-it-yourself knife stands that are not inferior to industrial ones. Many "homemade artists" earn good money on this, because the manual work of the master, well-versed in the fashion of modern decor, is more valuable than the conveyor production of parts or the automatic assembly of the product into a boring consumer structure replicated by millions of pieces a year.
How to make a stand for the knives with their own hands, see the following video.


