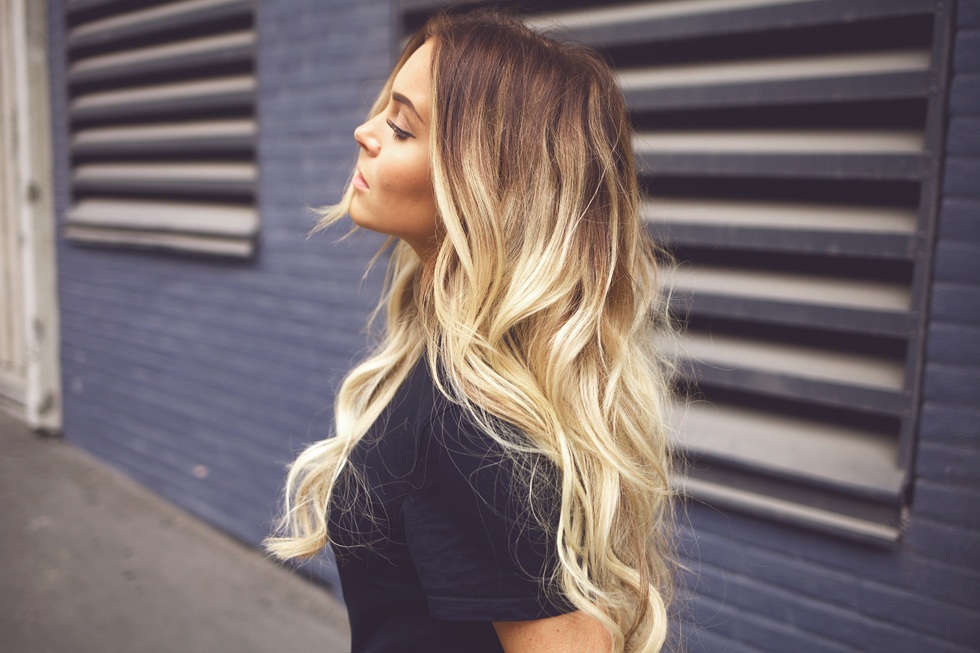
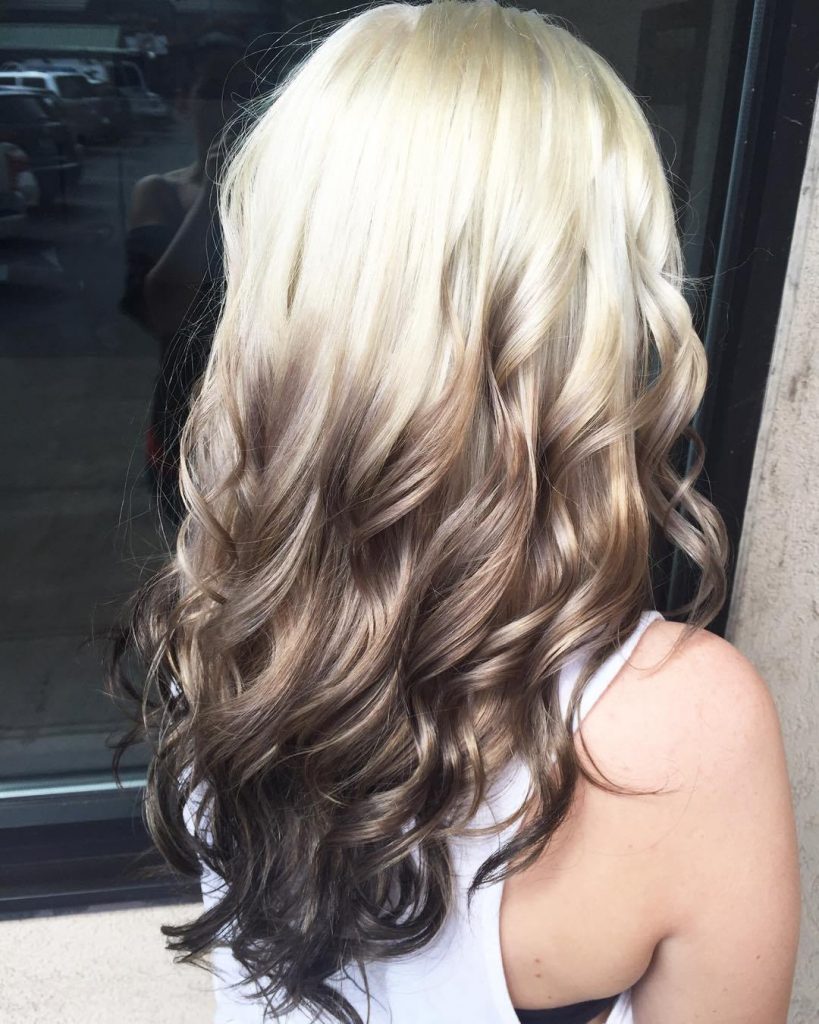
Coloring with the help of the ombre technique gives the look expressiveness and originality. By and large, in the hairstyle with a similar color is not necessary - the game of color is good in itself. Is it possible to make an ombre at home?
Features of technology
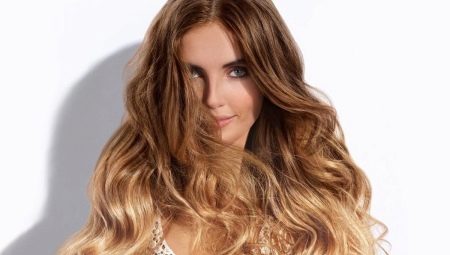
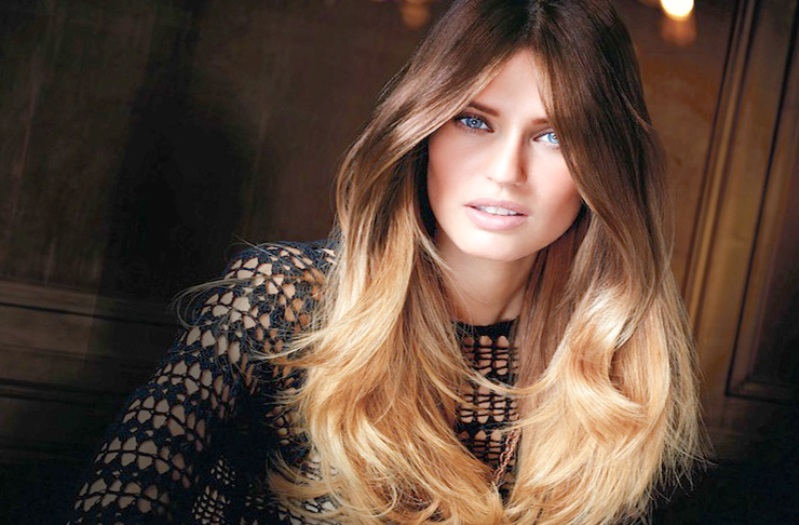
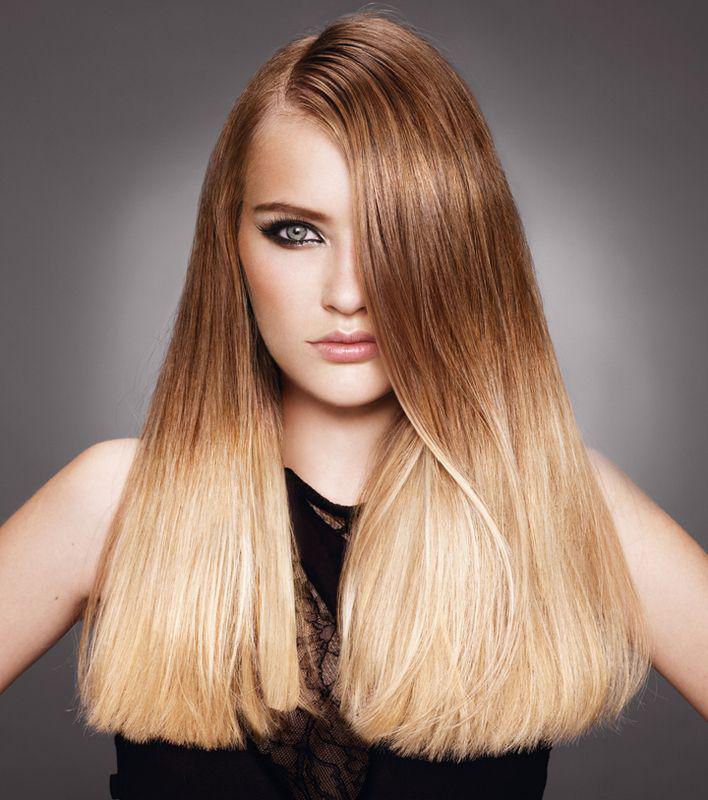
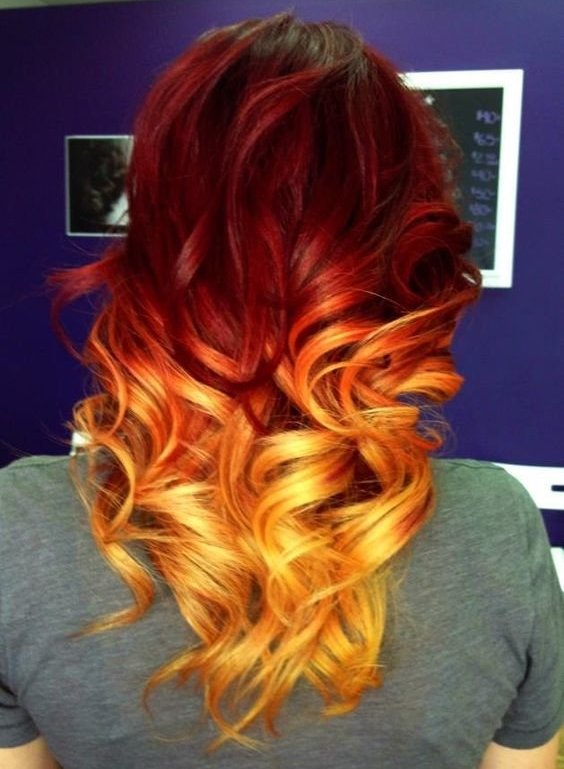
Ombre is an original hair dyeing technique in two colors with the transition from one tone to another. There are various options for ombre: from the roots to the tips a dark tone can turn into a light or light tone into a dark one.
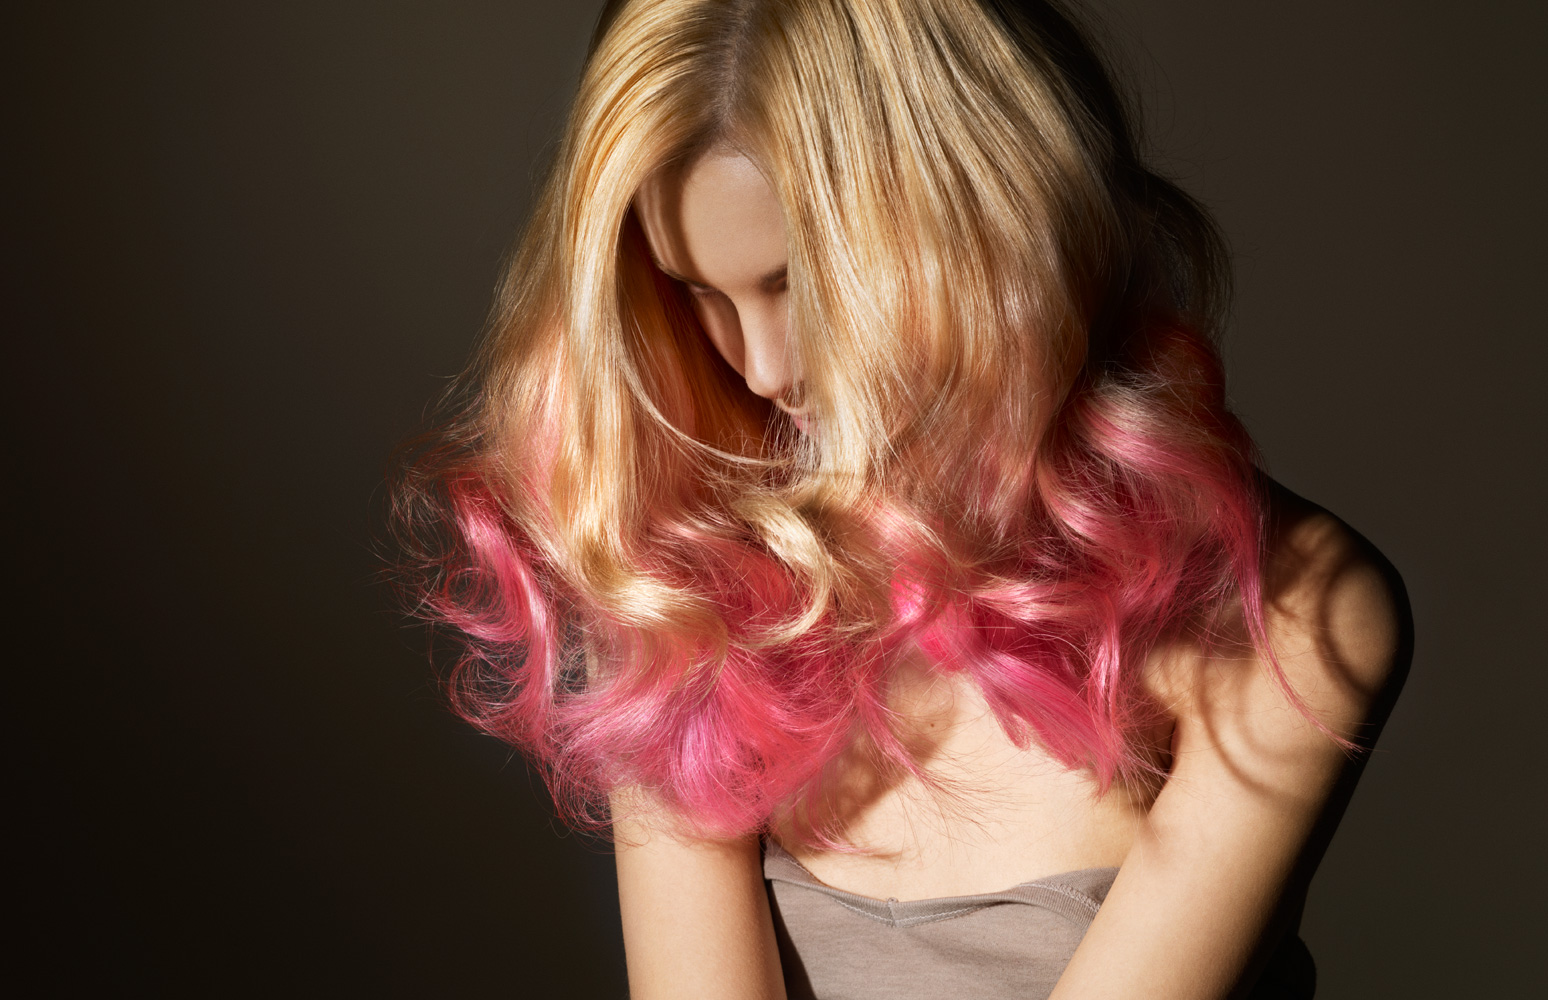
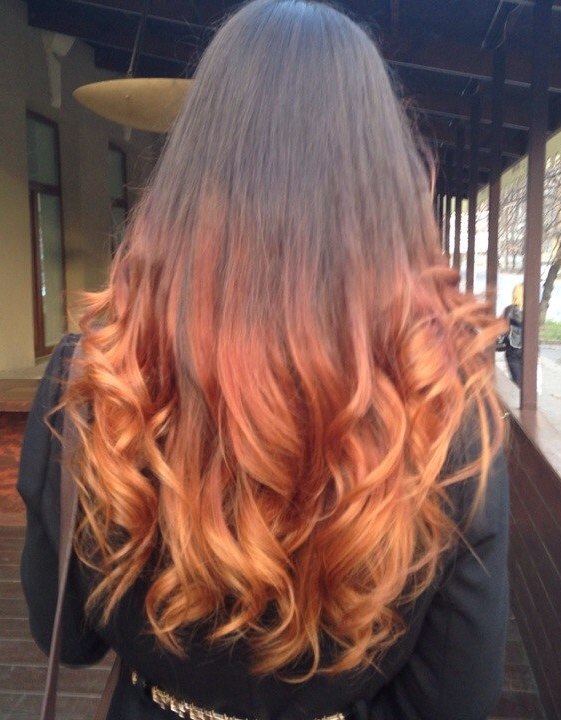
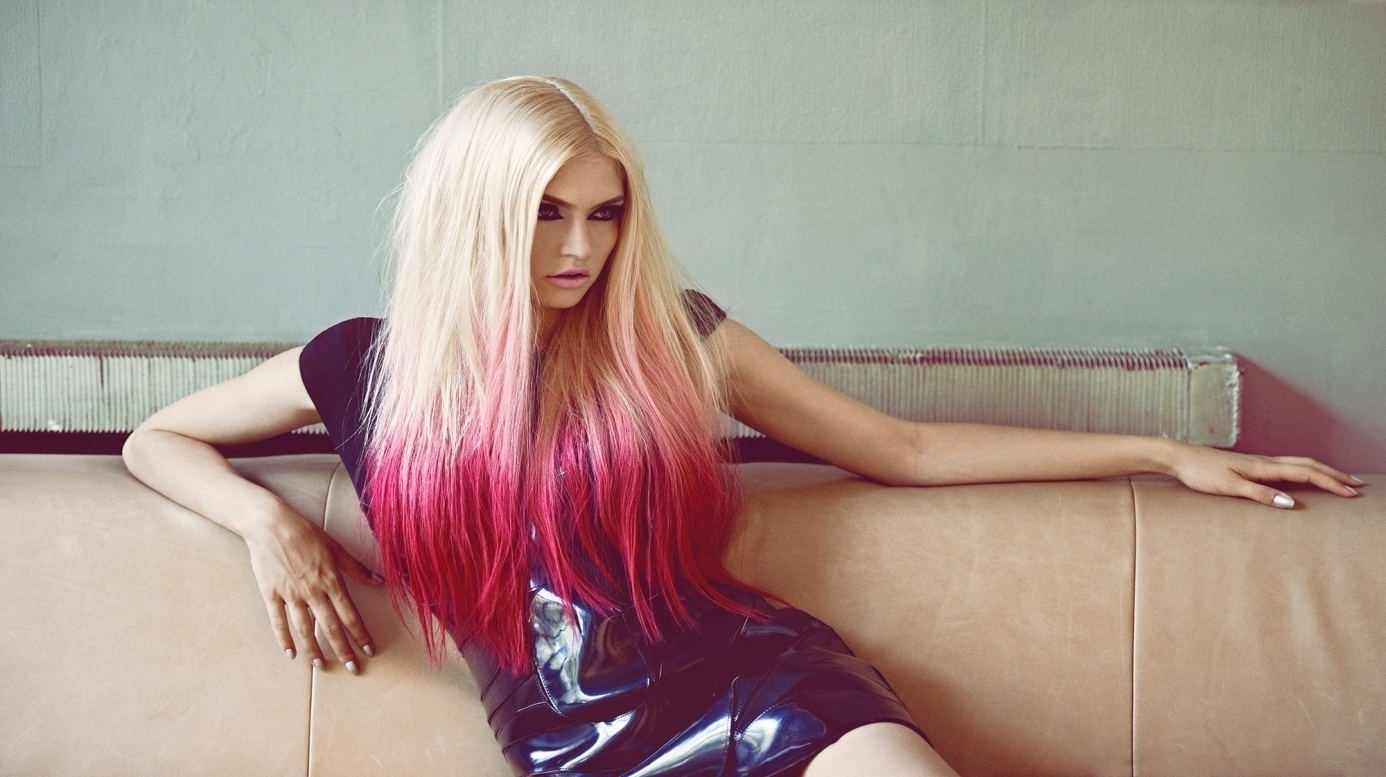
It is acceptable when any natural tone turns into a bright, unexpected color (pink, blue, green, purple). Moreover, if a natural tone is transferred to another, the border is necessarily blurred, then in the case of a transition to a bright unusual tone, it can be expressed very sharply.
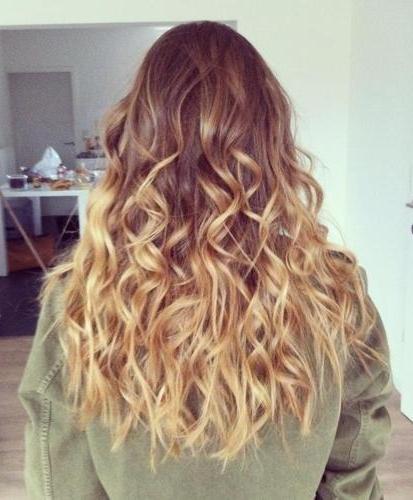
Additional advantages of dark-to-light transition are in some effect of burnt hair, and also allow you to do a little trick: with a dark tone, close enough to your own, you can increase the time between colors, since regrown roots will be slightly noticeable.
Ombre staining on its own is no more difficult than usual. Consider this process in detail.
Preparation of facilities and materials
For staining you will need:
- brightener;
- selected paint;
- container for paint preparation (bowl);
- hairbrush;
- latex gloves;
- paint brush;
- brightening brush;
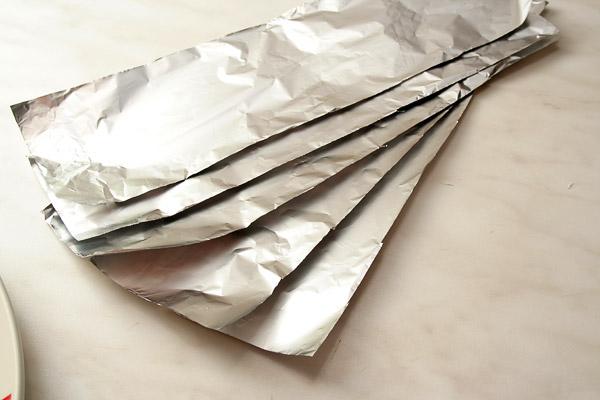
- food foil;
- clips for hair or elastic bands;
- shampoo;
- conditioner (balm).

Foil should be cut into strips of approximately 10 centimeters.
The length of the strips should be several centimeters longer than the staining area.
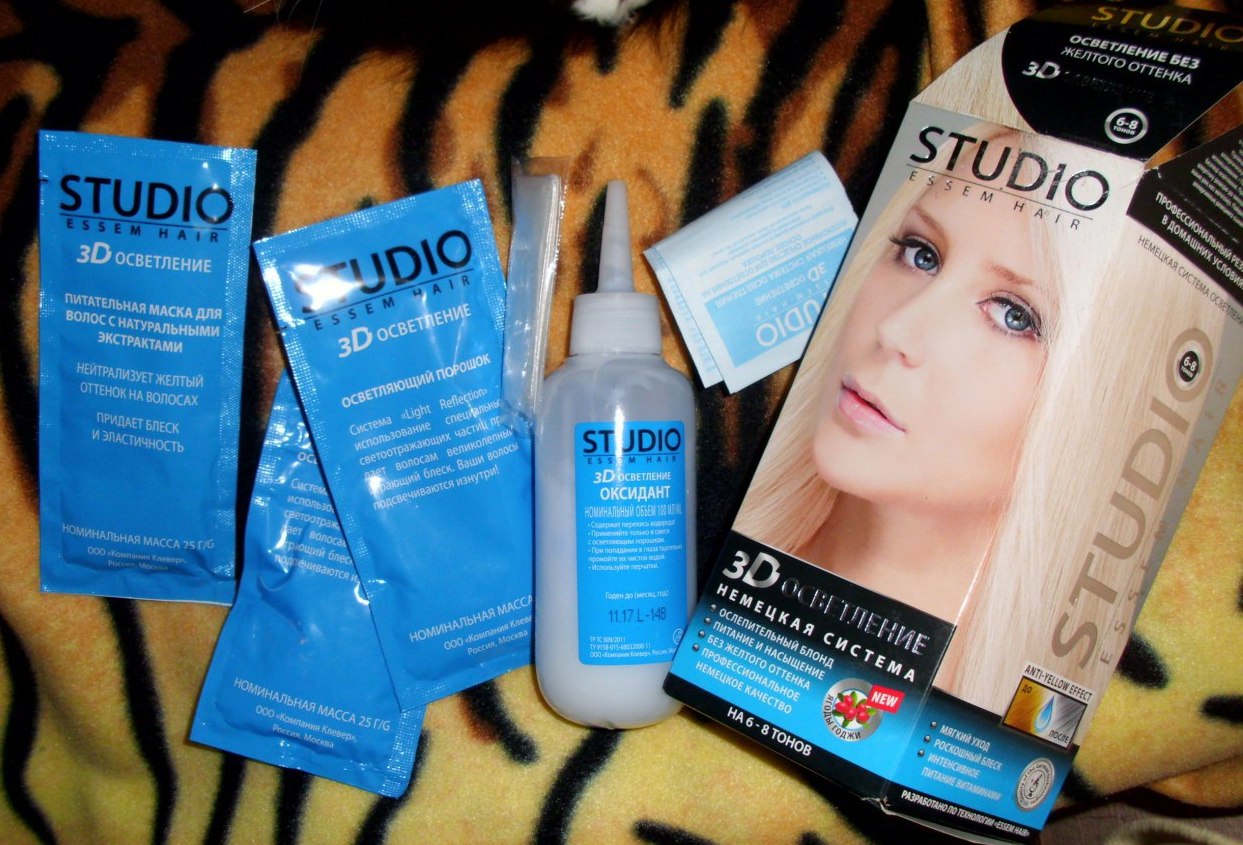
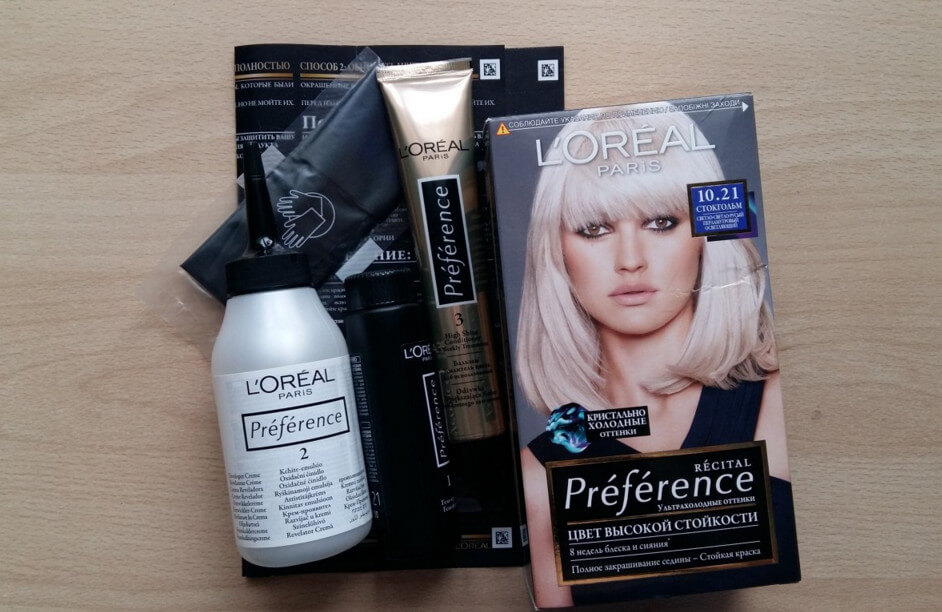
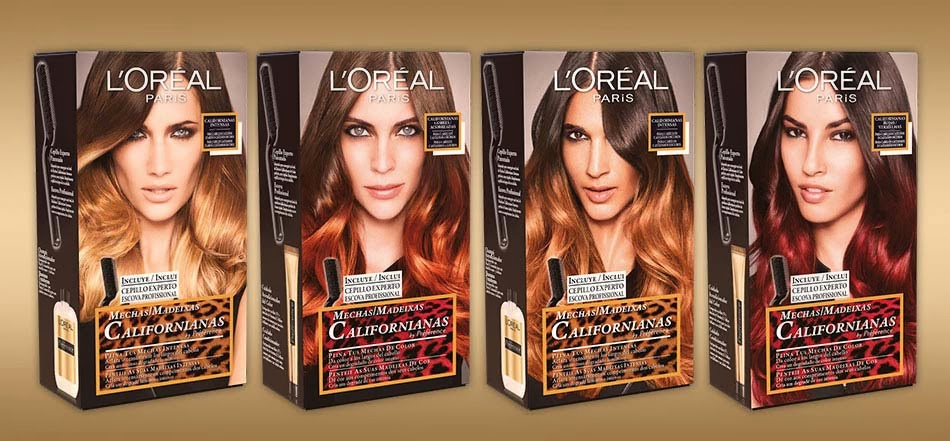
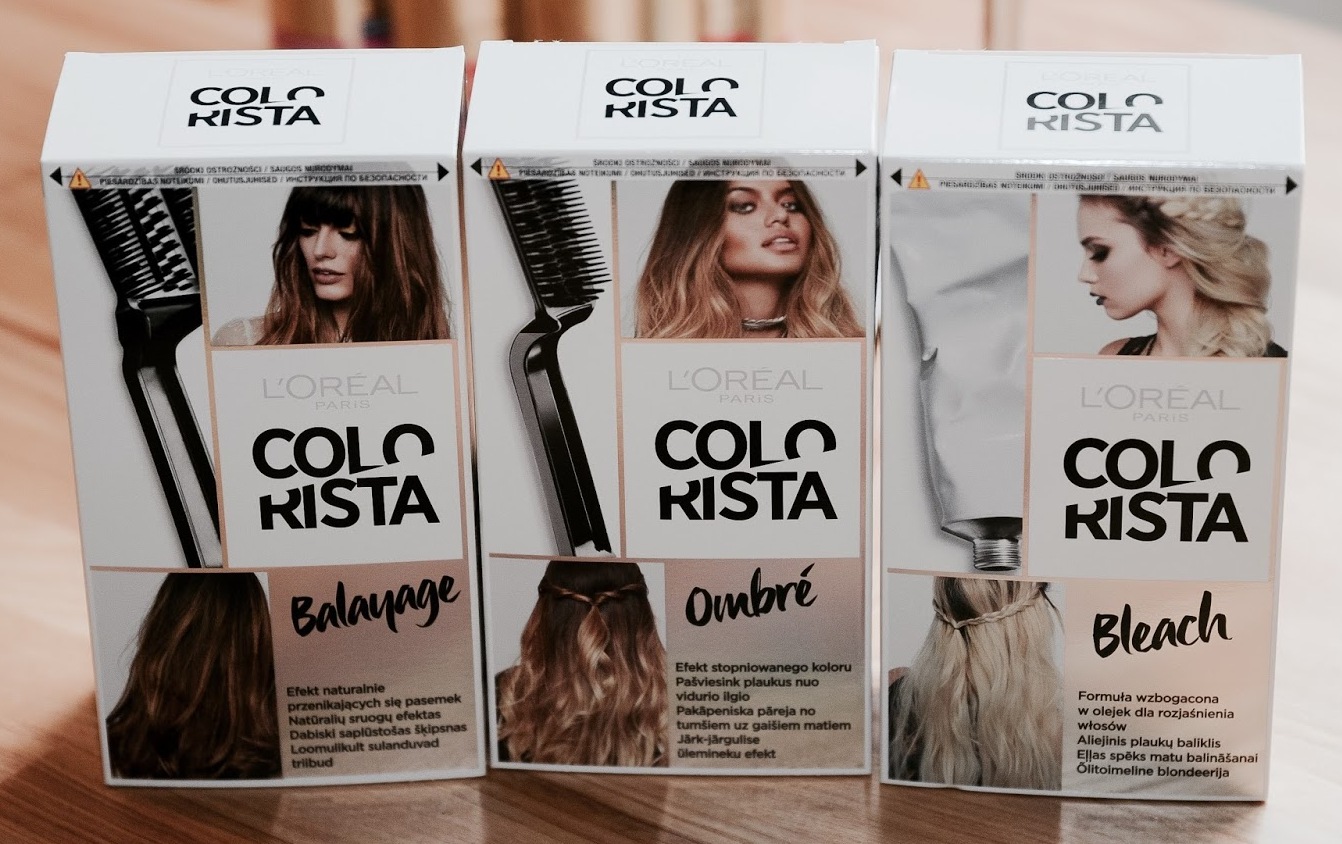
The choice of materials for coloring is quite diverse. Simplify the task of acquiring a set for an ombre, in which the necessary components are already selected in the right proportions, as well as detailed instructions for them. The disadvantages of this method can be an increased price (for convenience) and the lack of the right color for sale.

Blondoran is often used in the cabin, which also requires the purchase of an oxidant.
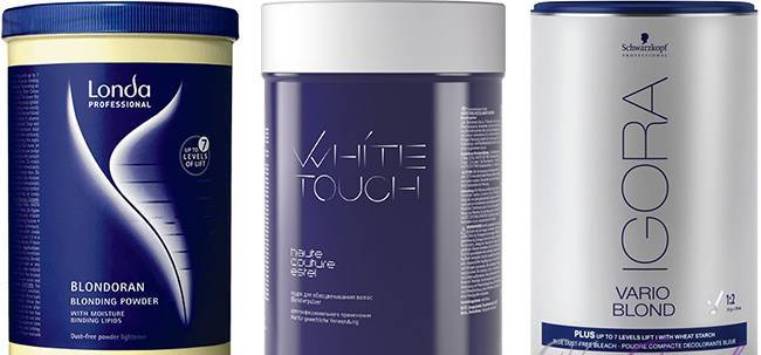
There is a risk to overdo it with concentration, therefore it is recommended to leave the choice of this procedure to professionals.
The simplest and most gentle option is a dye for light hair containing a brightener. Bright contrast will not work, but the hair will be healthier.
How to do?
We describe in stages the process of staining in 2 colors at home. To begin with, we note that it is better not to wash the head before staining, and even better - do it 2 days before the procedure.
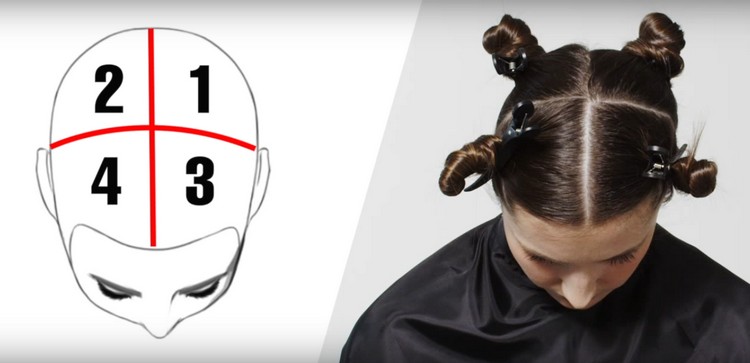
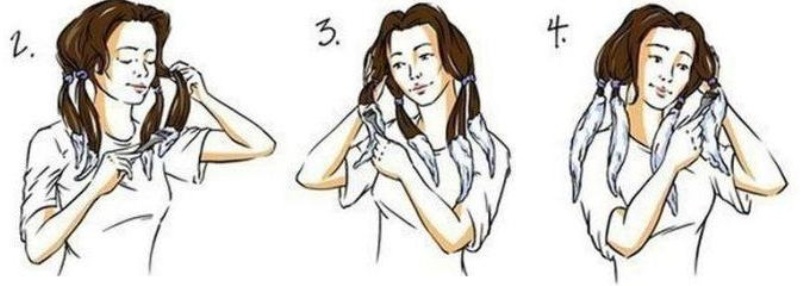
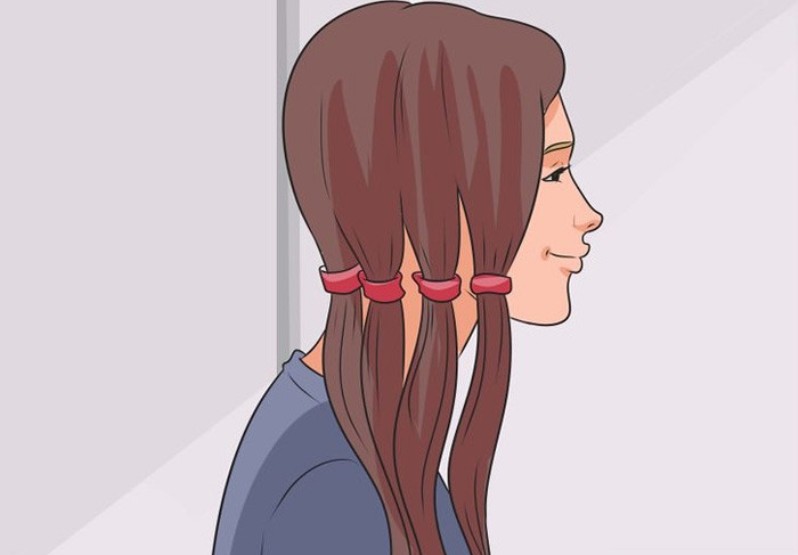
- Having prepared all the necessary tools, you need to carefully comb and slightly moisturize the hair. Then divide the entire volume of hair into a straight part, divide each part more using a clip or elastic band. Similarly, we get 4 tails - 2 on each side of the face.
If the hair is thick, tails need to be done more.
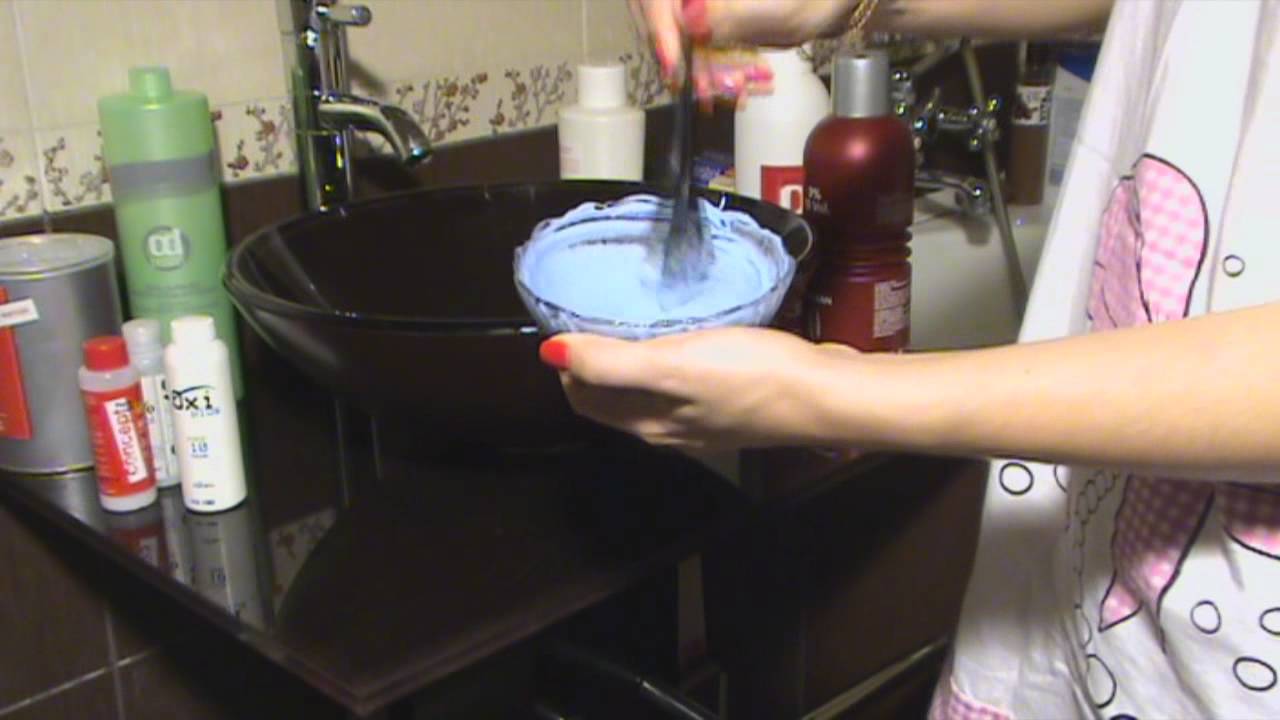
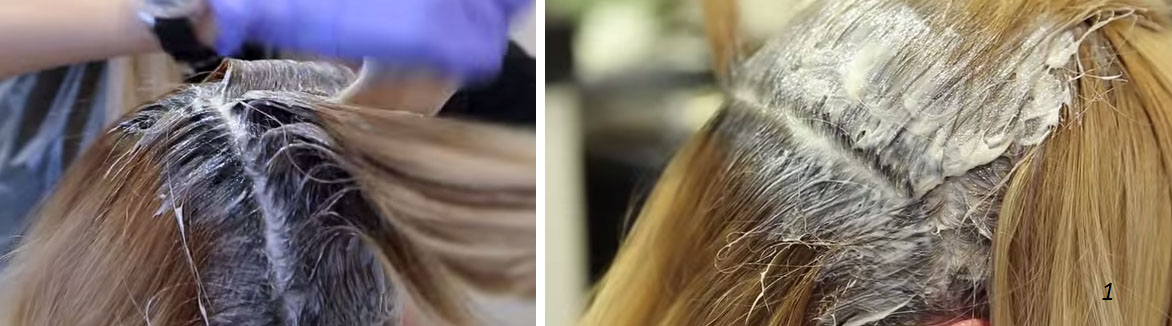
- Now we are preparing a clarifier: do not forget to wear gloves, mix the ingredients in a bowl according to the package instructions. If you decide to lighten blondoran, then we add 2 times more oxidant by volume than blondoran. The mass should be homogeneous and without lumps.
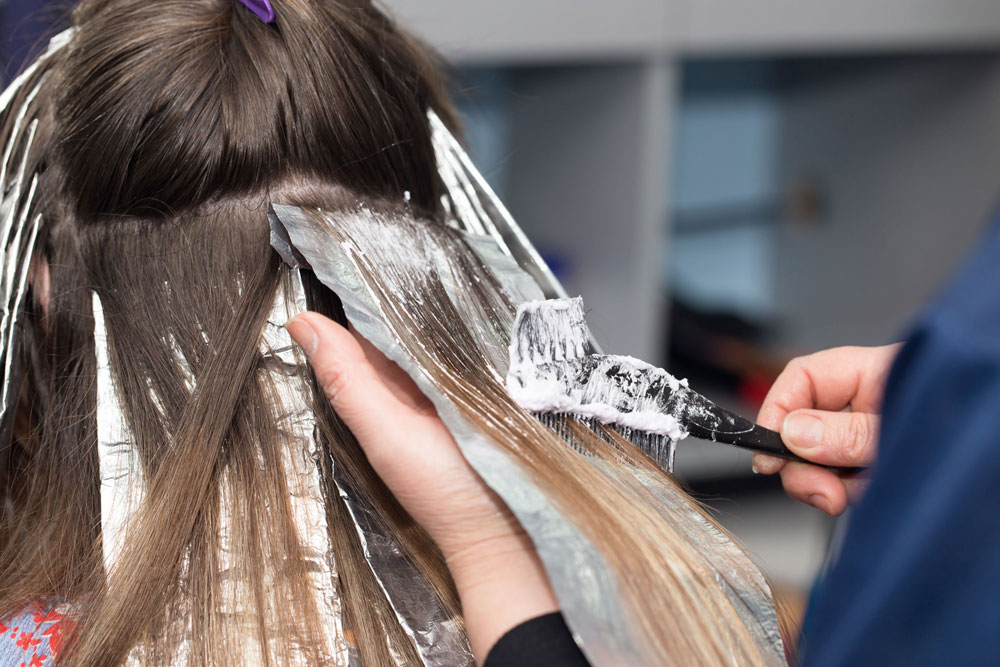
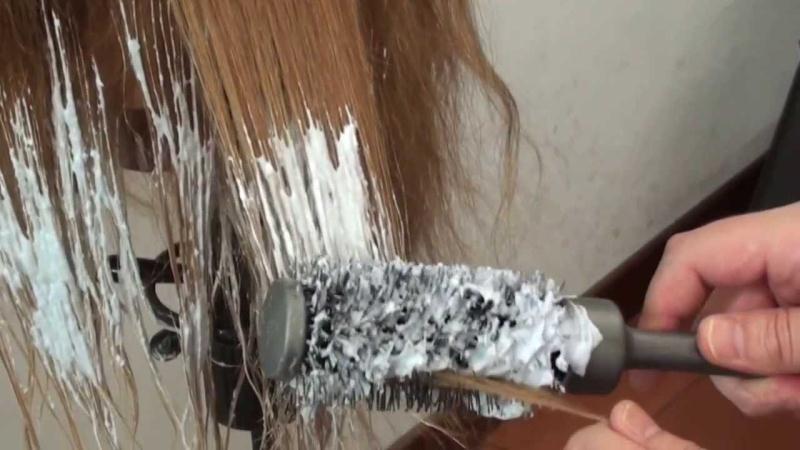
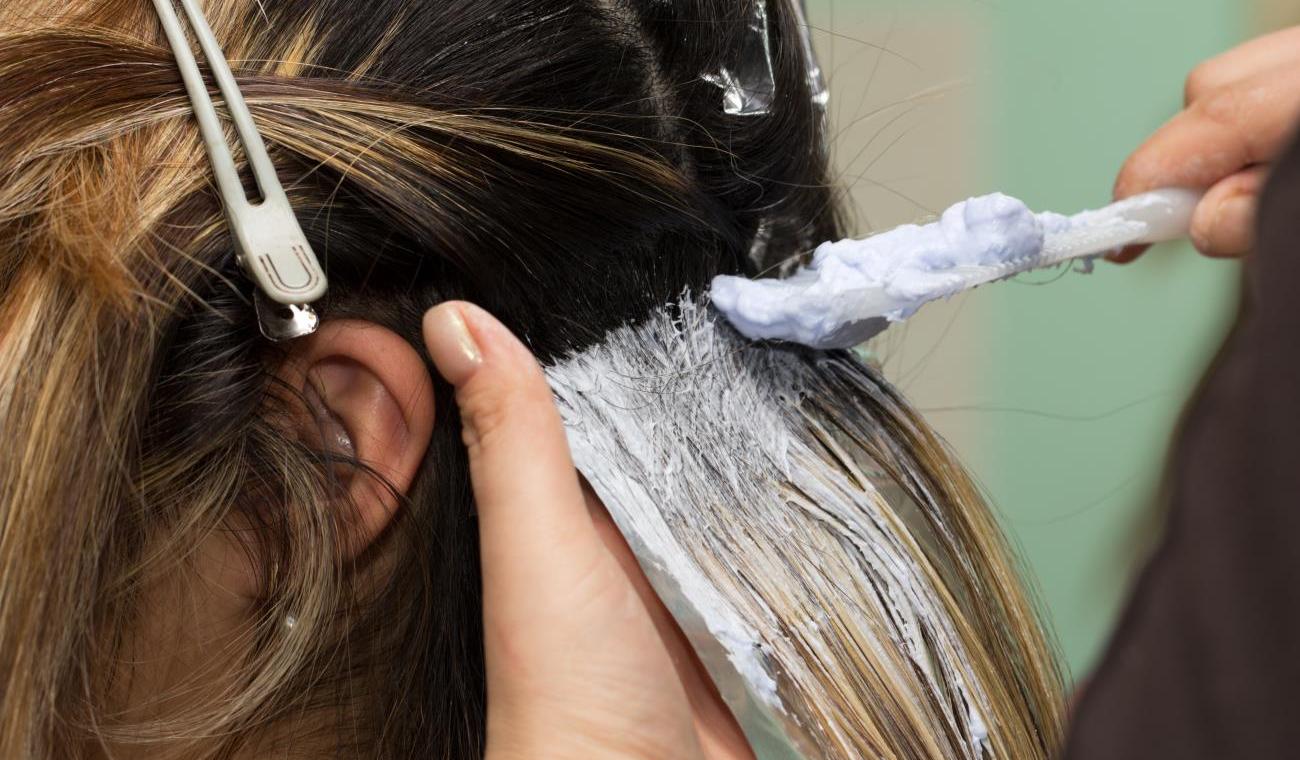
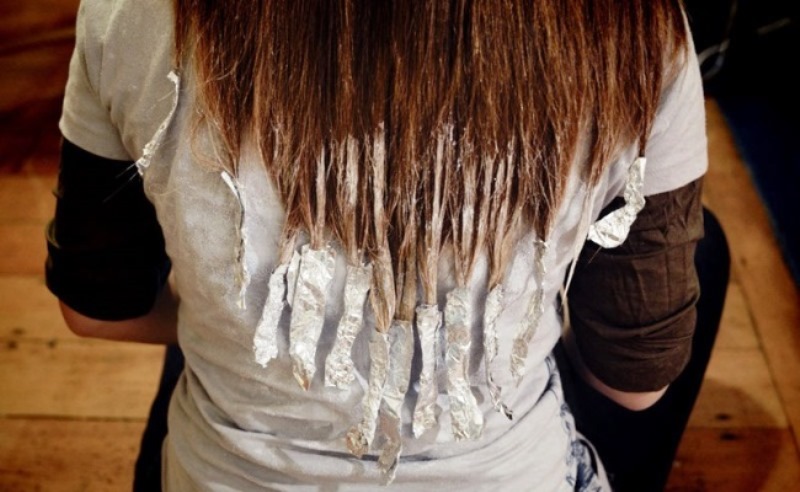
- Apply the brightener with a brush, which is usually included in the kit for painting. Starting from the tips of the strands, we move from the bottom to the top, a little before reaching the gum, trying to apply the composition evenly.It is necessary to paint quickly so that the clarifier does not have time to dry out. The whole procedure should take 10-15 minutes.
Some masters advise to pre-twist the strands into bundles to make the border between clarified and unclarified areas more blurred.
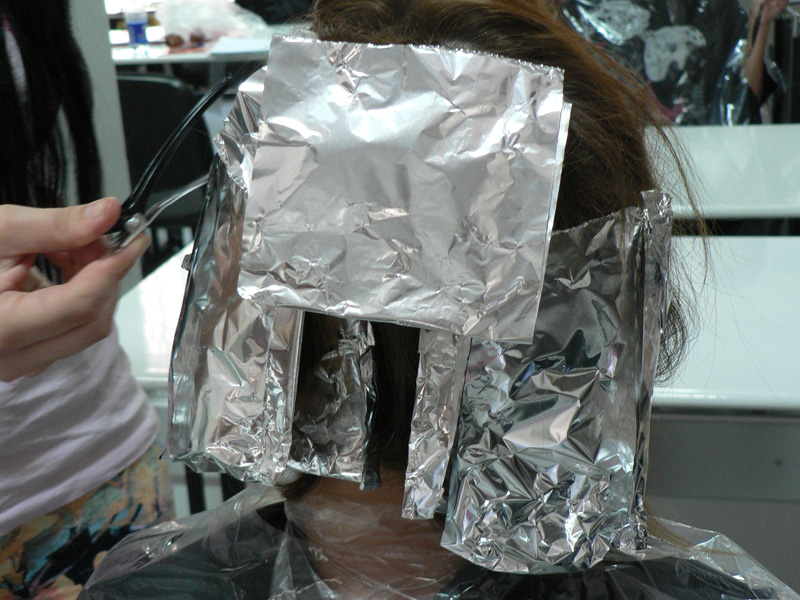
- Then we wrap each tail into the foil as follows: put the strand in the middle of the foil along, wrap it from the edges, and fold the bottom edge upwards and along the sides so that the foil does not slip. Keep about 30-40 minutes.
- Remove the foil, wash off the clarifier and reapply it - now 5 centimeters higher. We are waiting for 10 minutes and again wash the hair.
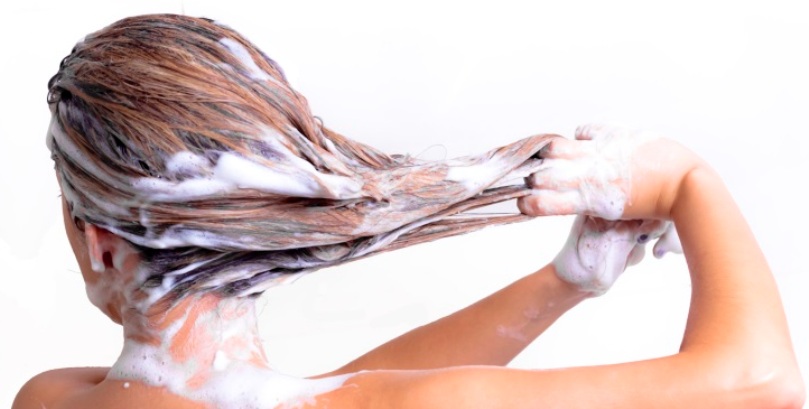
- The last once again lighten the ends of the hair. We put on them the clarifier, after 10 minutes, wash off. Then I wash my head with shampoo and balm.


If you have little experience so as not to overdo the clarifier, it is recommended to check whether the desired tone is obtained. We need to look at a small order of minutes after 20. If you are satisfied with the color, wash the clarifier off the entire head of hair. If the shade is required lighter, wait another 10 minutes and check the result again.
Another secret is that after washing the brightener, the hair should be dyed with light-colored paint containing the care components (vitamins, oil) to make the transition look more natural. It will also give hair the necessary nutrition. All modern paints contain nutrients, so it is not necessary to recommend any particular brand.
After lightening, the hair must be properly dried before proceeding directly to the coloring. Well, if you let them dry naturally.
- Hair should be divided again into strands and collected in tails. It is advisable to twist into bundles. The more tails you make, the more natural the transition will look.
- Wearing gloves, we will dissolve the paint, just following the instructions. Remember about airing the room.
- Paint brush from the bottom up. The paint should cover the entire clarified area and slightly go beyond the border with the unlighted. This will achieve a smooth color transition.
- Keep the paint as much time as indicated on the package. The effect will be better if you wear a special cap or cover your head with cellophane.
- Wash off the paint with warm water. Keep in mind that this should also be done with gloves. Then the gloves can be removed, and the head washed with shampoo for dyed hair, using a restorative balm.

This is a common dyeing technique, universal for those who decide to do this procedure at home. Now consider the features of dyeing hair of different lengths.
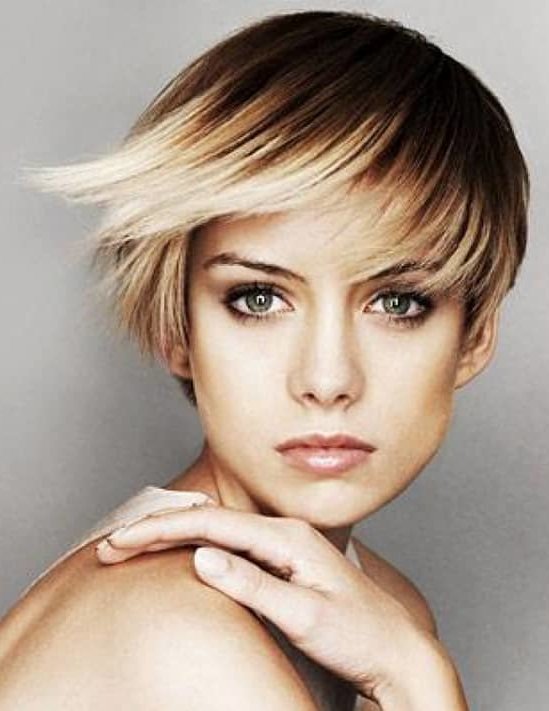
On short hair
We divide hair into strands and we paint with a brush from bottom to top from the tips. On short haircuts, the coloring border is usually at the level of the middle of the ear. We maintain each colored strand wrapped in foil for about half an hour - as it is written on the package. Then we remove the foil, wash our hair with shampoo for dyed hair and dry it with a hairdryer.
Now we tint the roots. Apply the paint on the roots and comb it distribute it so as to capture the already painted areas. Thus, we obtain a smooth transition from one color to another. We hold the paint for 20 minutes, then we wash it off, again we wash my head with shampoo with balm, then let the curls dry.

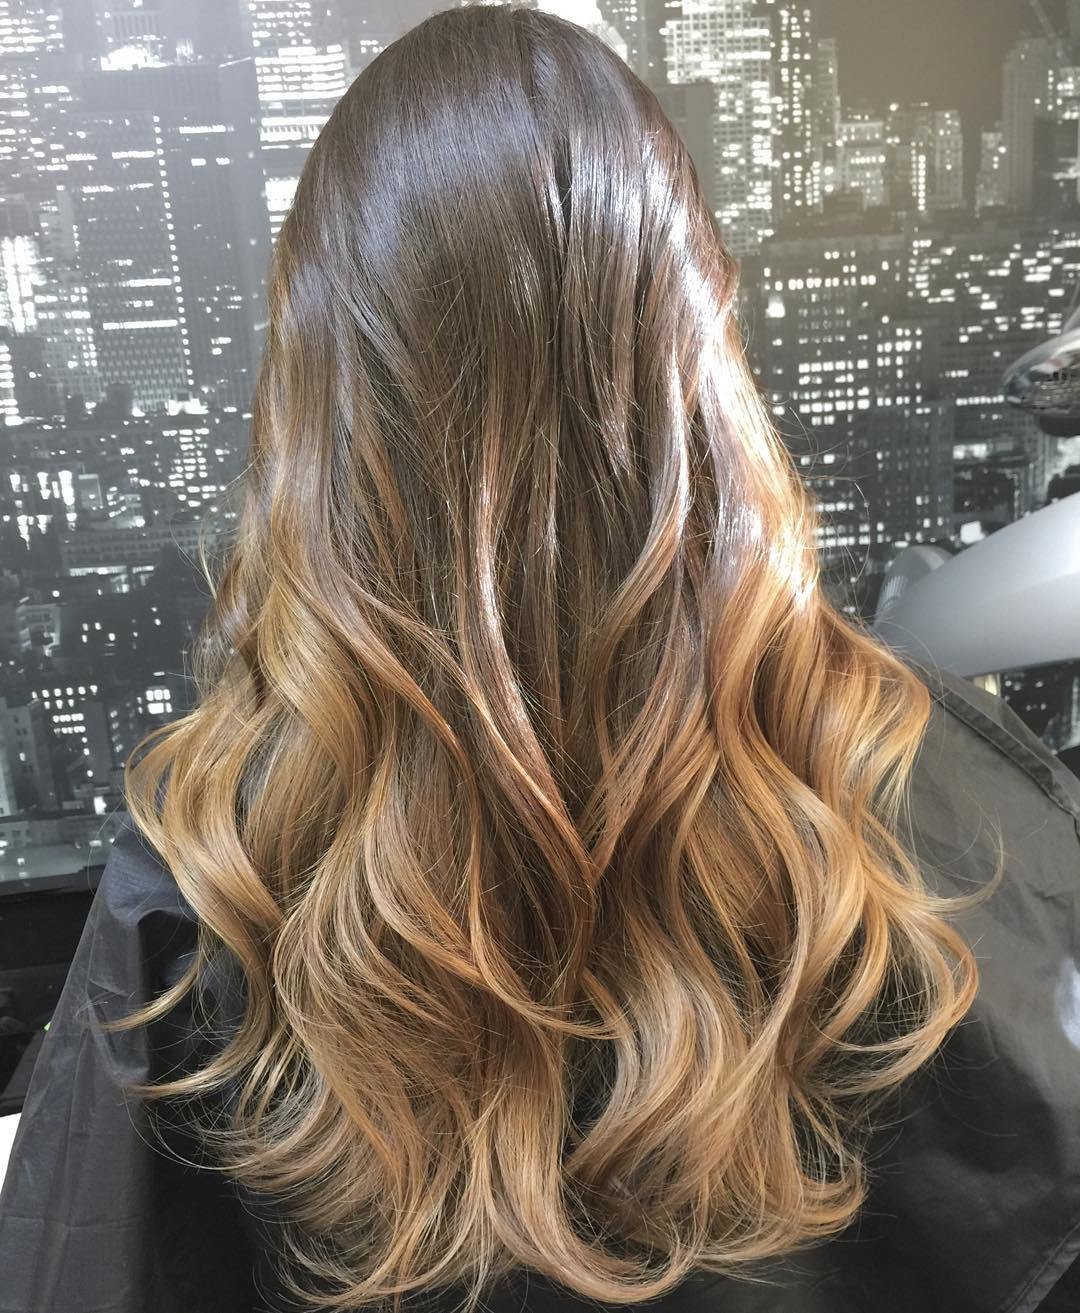
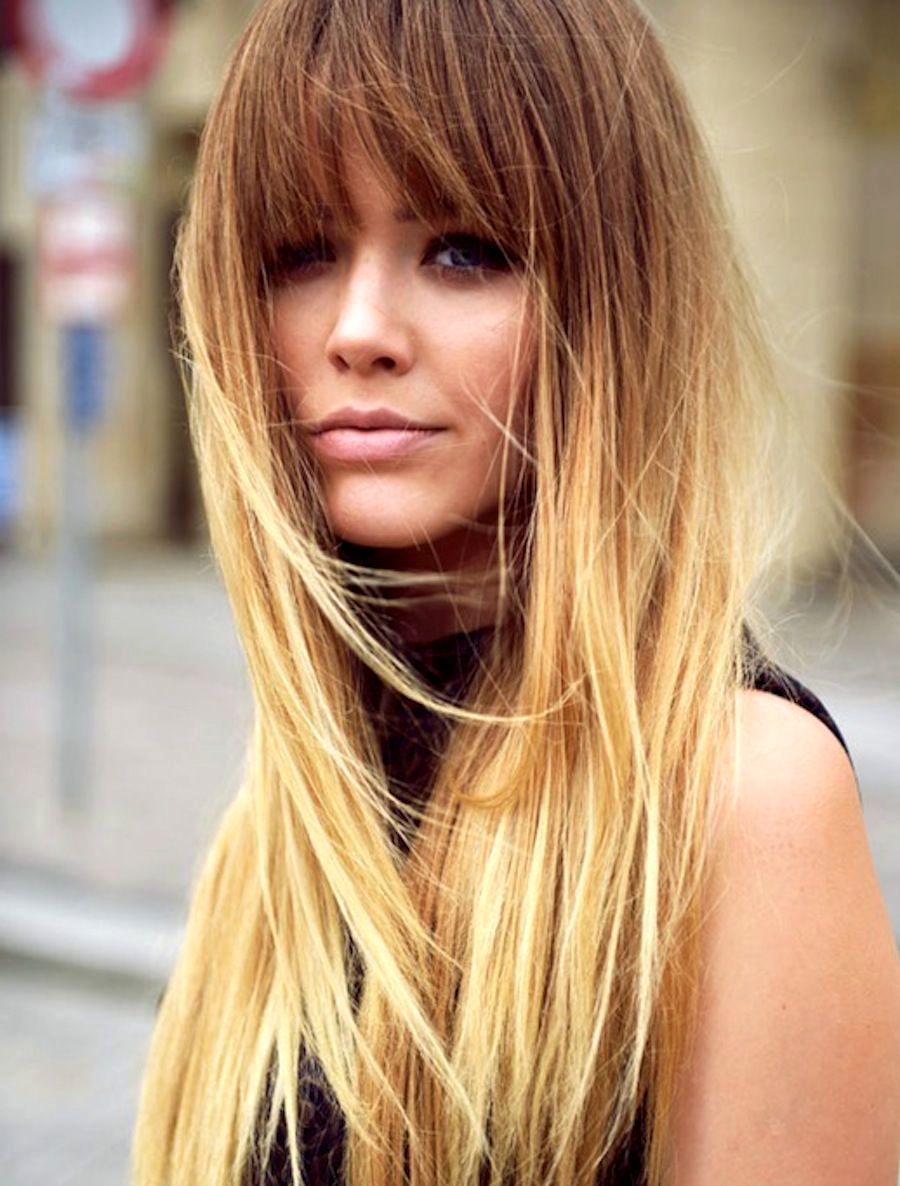
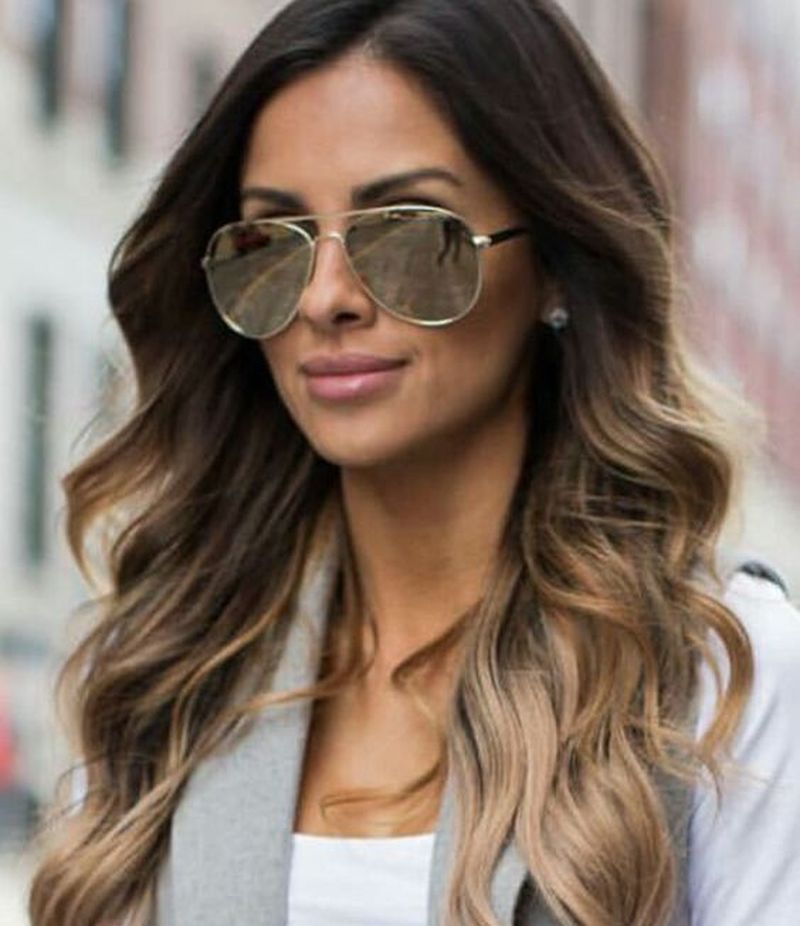
For long
Long hair is the most suitable option for an ombre, since the transition looks especially natural. The length makes it possible to diversify the techniques of coloring - to use not the classic 2 colors, but 3 and even more. You can make staining diagonally, you can select individual strands. On long curls, the border of coloring usually passes at the level of the chin.
We wet the hair, divide it into 4 tails, then paint from the ends of the tails upwards, slightly below the elastic. Wrap in foil, as described earlier, and hold for 30 minutes, depending on the instructions. My head and dry.Then you can toned the roots, as described in the case of short hair.

On average
Ombre on medium hair is especially recommended for long carts, bob carts and similar haircuts. Stylish haircut looks especially impressive in unusual colors, for example, white with crimson. Stylish look elongated side strands, painted in a bright color. When mowing medium length by lightening the lower part of the hair, natural burnout of the strands is simulated.
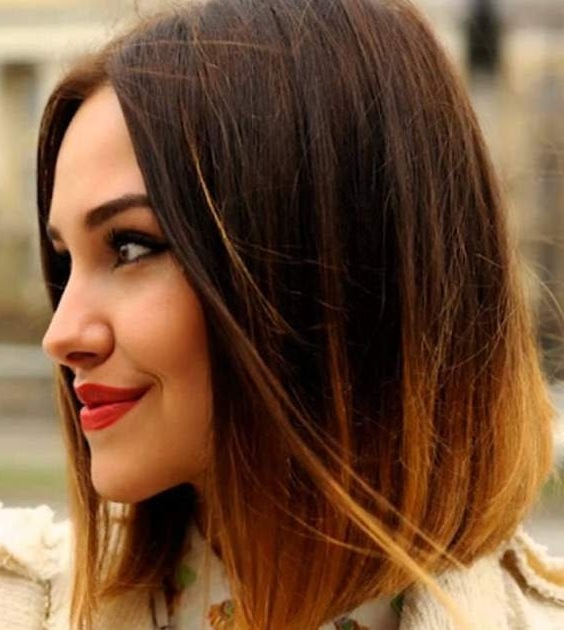
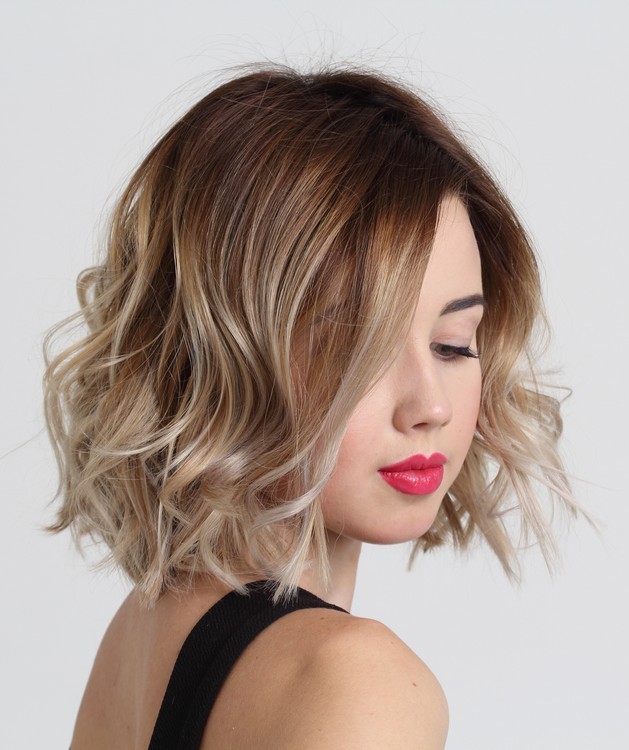
Ombre technique also helps to correct the shape of the face, in the classical style (dark top, bright bottom) painting makes the face more elongated, thinner. The haircut with a bang makes it possible to pick out a bang - for example, by painting its tips.
When distributing the time of dyeing along the length of the hair, it should be noted that the dye should be kept at the first stage of dyeing for 5 minutes longer than the next, so a smooth color transition is achieved.
There are many ways of coloring, differing in the choice of materials and technology. You can, for example, dye your hair in 3 stages, lightening them alternately. The strands should be moistened, the lightened area visually divided into 3 parts. The first section is aged in foil for 20 minutes, the other two - 10 minutes each.
Transitions to a different tone will be smoother if you use a comb instead of a brush for coloring.
For light and dark hair dyeing technique is a little different. The main difference in color and concentration of the oxidizing agent when using blonddoran. With light hair, oxidizers are recommended from 3 to 6%, and with dark hair from 9 to 12%. On blond hair, moreover, any bright, unusual color looks spectacular.
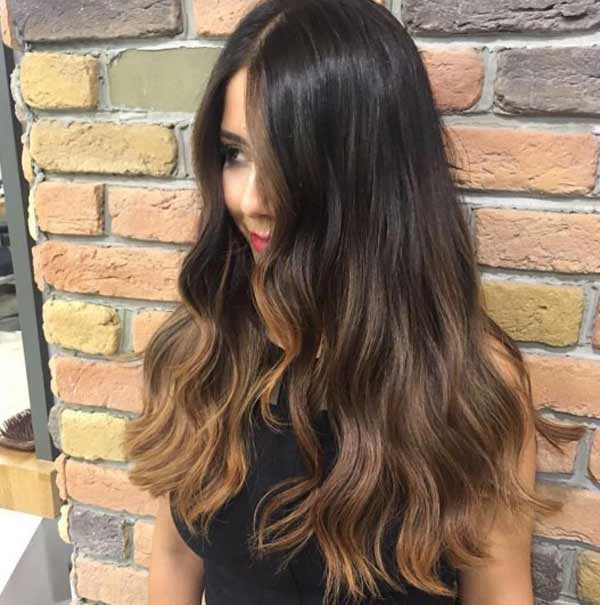
For brunettes, there are 4 especially popular ways to paint an ombre.
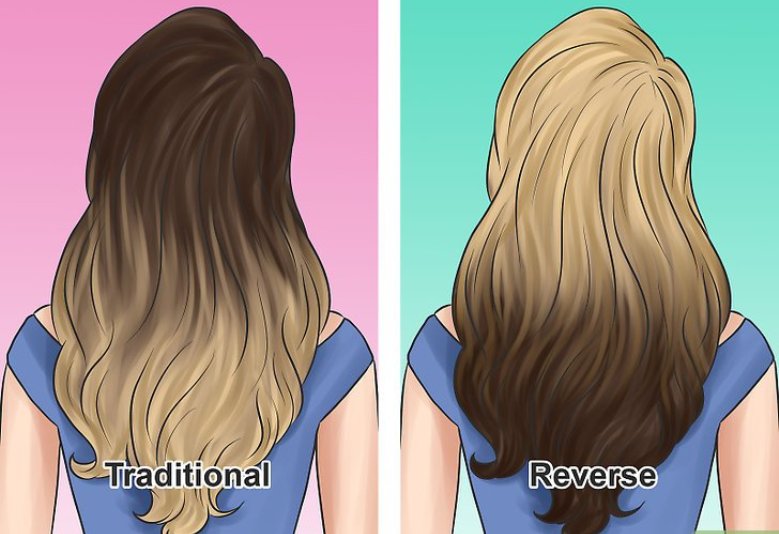
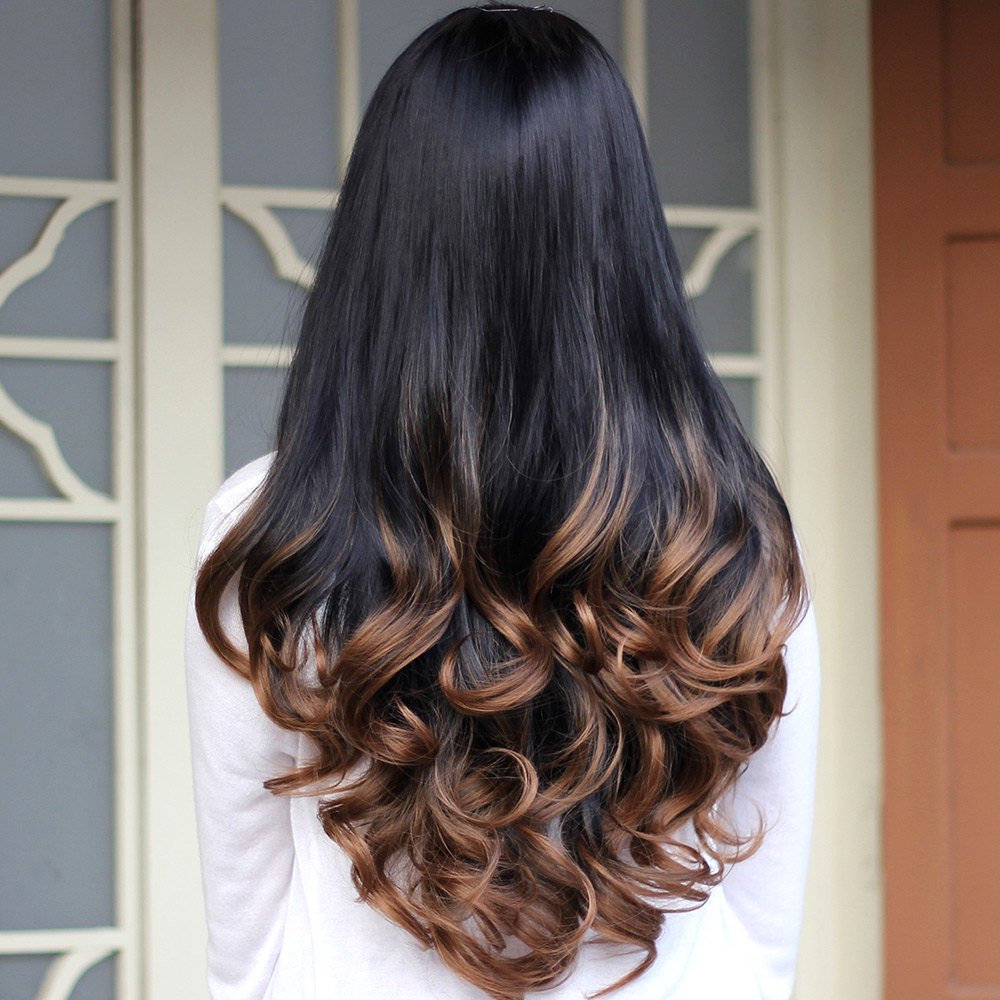
- Classic (two tone), in which dark strands smoothly turn into light.
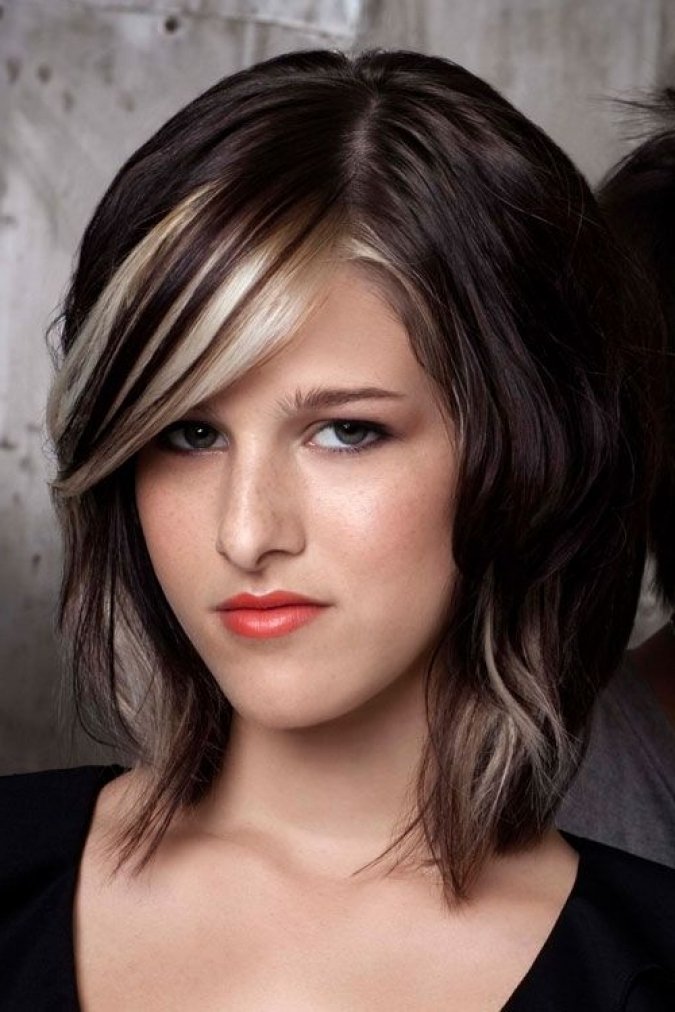
- Imitation of regrown rootswhen black color turns into light rather high, in the area of temples.
- Tricolor staining, and with a pronounced border. Non-standard colors look impressive, especially for bright brunettes.
- Selective Ombre, with the release of individual strands or bangs.

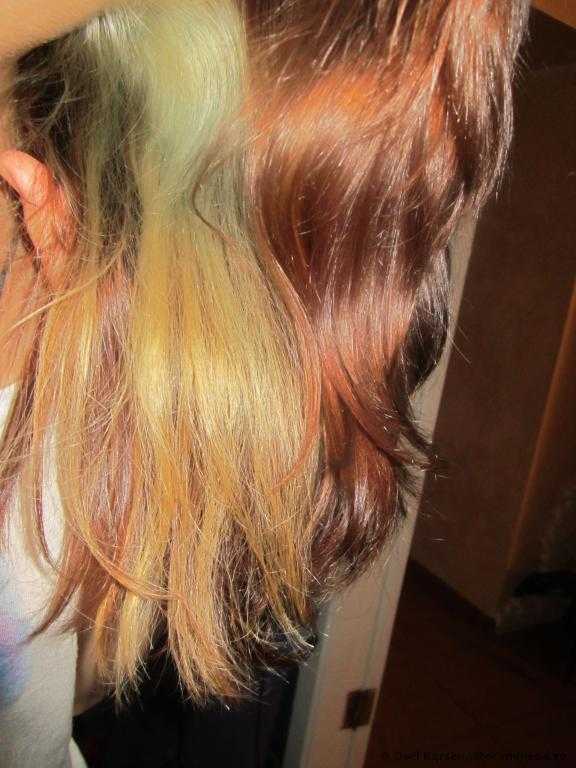
Consider the process of self-dyeing dark hair. In this case, ombre paint is recommended to choose 2 tones lighter. For contrast, any shade of caramel or milk color is good. You can also try copper-red color.
Following the instructions, we will dissolve the paint in a bowl, then comb the hair and divide it into separate strands. We apply paint from the ends, from bottom to top, approximately to the middle of the area to be painted. We keep the strands wrapped in foil for 20 minutes. Then the paint should be washed off, and wet the head with a towel.

The next application of paint - from the ends to the border of coloring, now we hold the paint 15 minutes. Wash off again. The next step is to darken the upper part of the hair from the roots. Apply the paint to the roots with a brush and then stretch it to the border with the clarified area. Let's wait about 10 minutes and wash my head with the use of balm. Then let the hair dry.
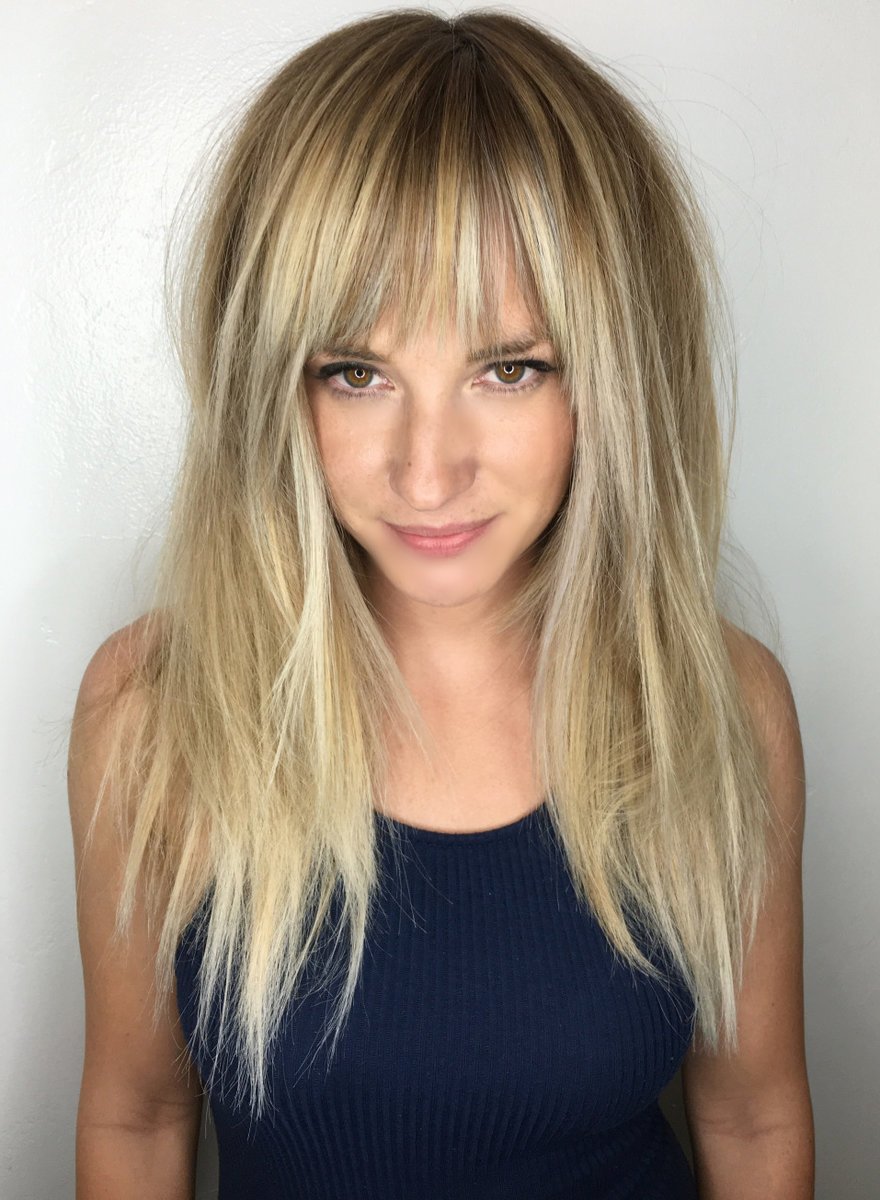
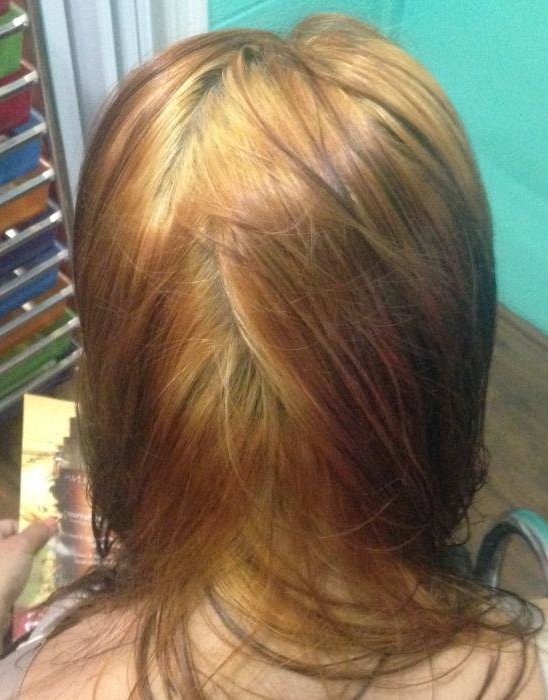
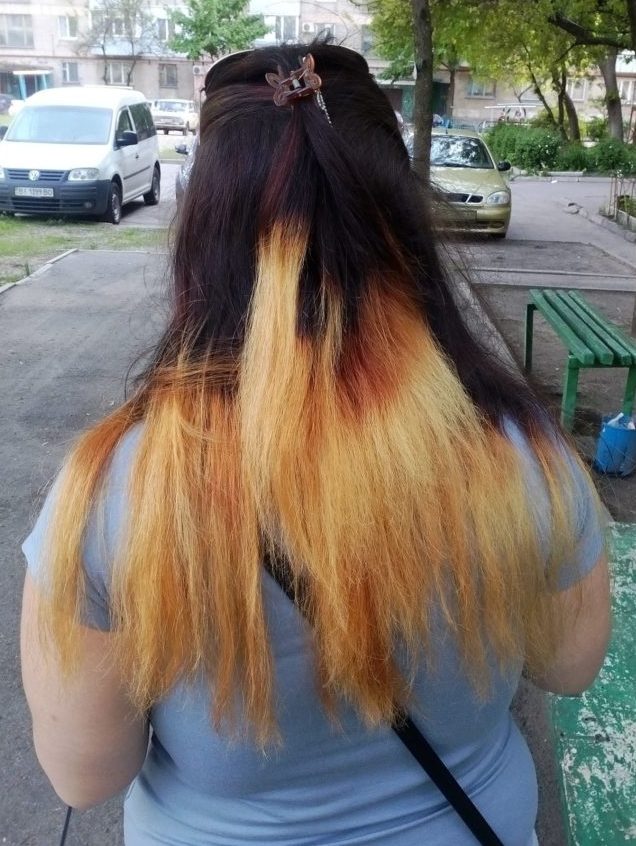
Blond hair gives a lot of space for fantasy and experiments with different colors. The classic ombre involves bleaching, giving the effect of burnt hair. But the reverse is also possible - darkening the lower part of the hair and the so-called effect of regrown roots. Making it to yourself is easy.

For blond hair, the dye is usually chosen 2 shades darker. Having prepared the necessary materials, it is necessary to dissolve the paint as it is written on the package, put it on the roots and wait 15 minutes. Now, over the first layer of paint, apply another one on the roots and extend it with the comb to the expected border of dyeing. Wait another 10 minutes.
The border can be made flat or started up diagonally - this is achieved with the help of hair ties, which fix the hair in the tails and form the desired line. After washing off the paint and slightly drying the head with a towel, you can once again toned the ends of the hair, if the desired effect is not achieved. After waiting for 20 minutes, wash my head with balm and dry.
Often there are doubts whether it is possible to make an ombra on dyed hair, especially dark. If you are already a pro in the field of painting with your own hands, and thoroughly know the peculiarities of your hair and dyes, which you always use, you will surely achieve the desired result. But if you are a beginner, it should be borne in mind that the interaction of colors sometimes gives unexpected effects, so it is best to entrust the procedure to an experienced master.
And if you are for experiments, then it is worth remembering that dyed hair should first be discolored.
Tips
Ombre technique gives the effect of increasing the volume of hair, and thanks to a wide range of colors and methods of their application is absolutely suitable for any person and is possible for any hair length. However, some tips will not be superfluous.
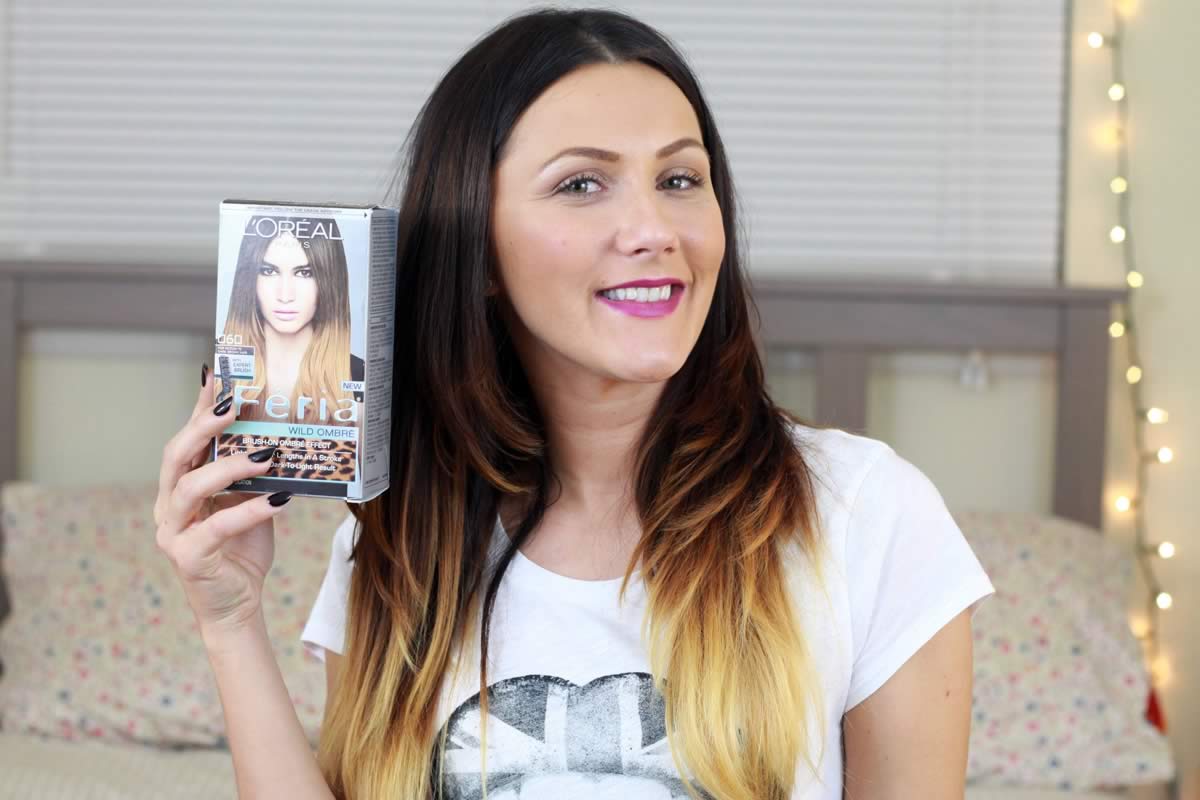
- When choosing paints, it is recommended to give preference to natural dyes, professional paints or well-known manufacturers.
- Carefully read the instructions on the package of paint and follow it strictly, otherwise you can spoil the hair.

- When buying paint the first thing you need to pay attention - the paint should not contain ammonia. Ammonia-free dyes are safer for the hair structure and help to preserve their natural beauty.
- Before dyeing, it is recommended to cut the ends of the hair, otherwise they may get stained after coloring and spoil the impression of the procedure.

- The room in which the staining is carried out must be well ventilated, including during the procedure.

- Do not forget to protect your clothes from accidental hitting of paint - it is better to put on some old T-shirt or dressing gown, which is not a pity.
- Drying hair after dyeing is desirable in a natural way.

- If there is a fear of a risky experiment, you can begin to restrict the painting to the ends of the hair.

- After staining it is worth washing your hair no more than every other day, and ideally - every 3-4 days.
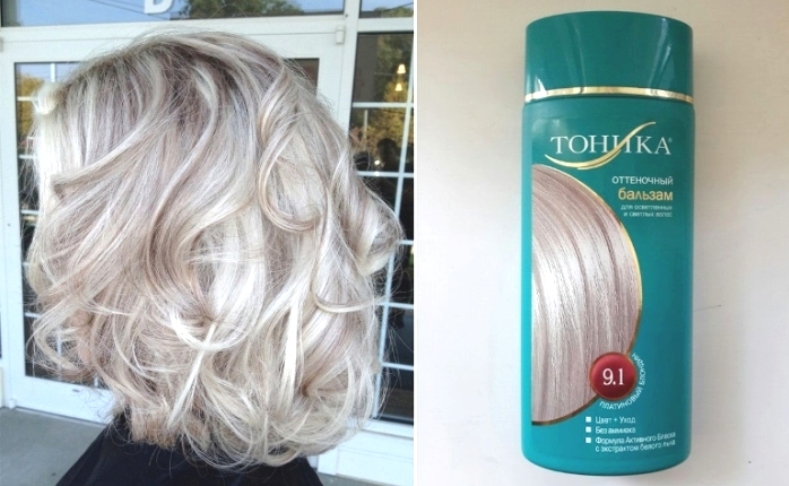
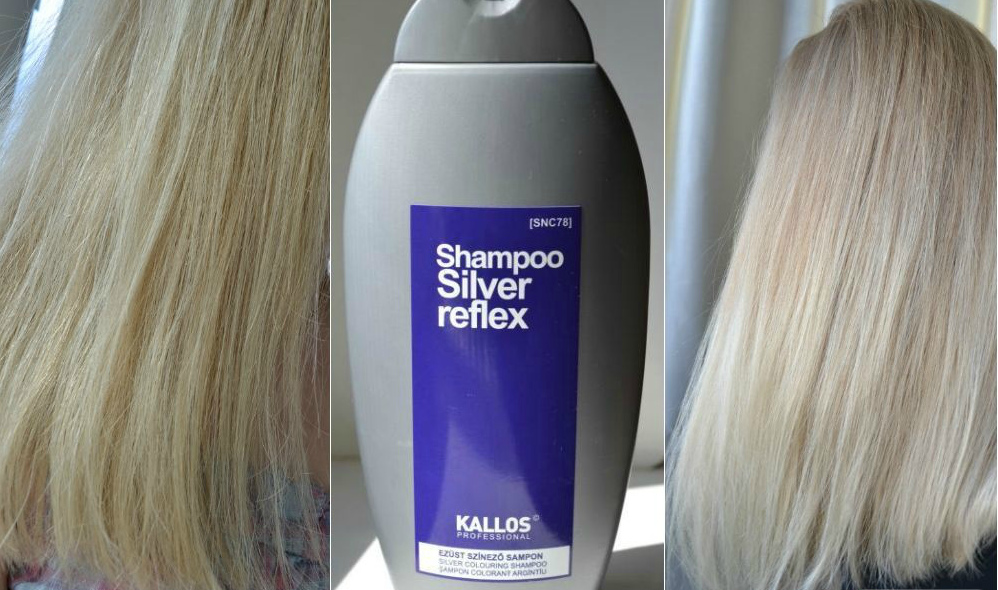
- The color may fade or fade; this is corrected by a tonic or shampoo of a suitable shade.
- Blow-dry hair preferably shorter. And other thermal procedures (perm or straightening) should not be carried out at least in the first month after dyeing. It is necessary to allow the hair to recover from the transferred stress, which ombra is undoubtedly even in a sparing variant.

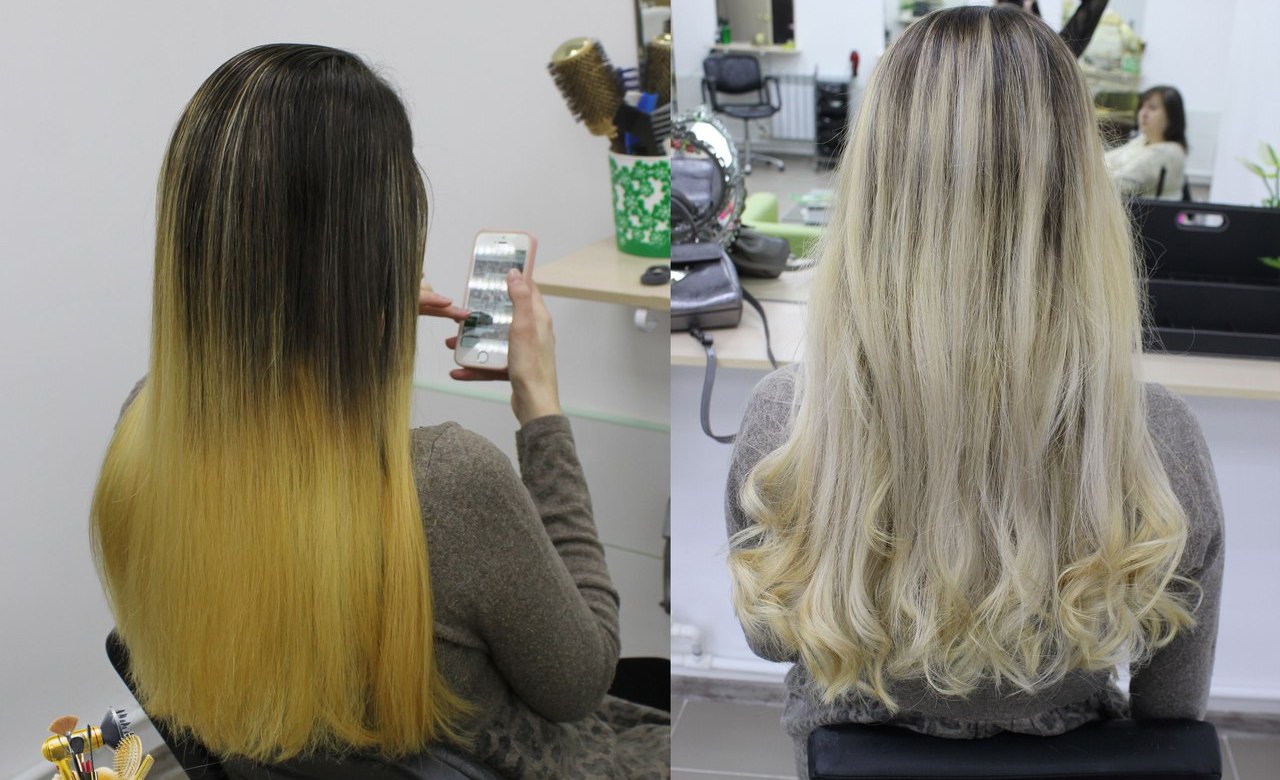
- For yellowed hair ends, you can apply a violet tinted shampoo - it will give an interesting ashy shade.
- Uneven border coloring gives the transition a natural, so in natural shades should not try to keep it too strictly.

- On the damaged hair, ombra, like any coloring, is not recommended. First you need to treat the curls.
- An ombre update is required in 3-6 months.
How to make an ombre at home, you can see in the next video.


