Pedicure with gel polish: how to make and beautifully decorated?
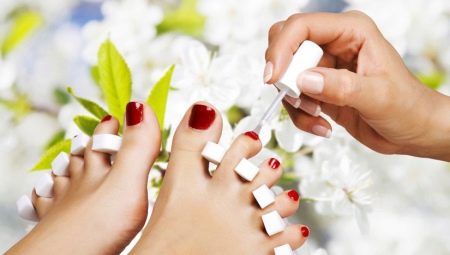
A beautiful pedicure makes a feminine image impeccable. Despite the fact that you can make it at home no worse than in a nail salon, not every woman has information about the main nuances of pedicure techniques. It does not require huge investments in the purchase of equipment and lacquers themselves. To fill the lack of information will help material of this article.
Features of design
Gel Polish is a hybrid varnish that combines the properties of varnish and gel. The secret of a beautiful pedicure using gel polish is in two rules: quality and stylish design. Quality is achieved using good varnish products and decor, as well as compliance with all stages of a pedicure. If you ignore the rules of execution, the coverage will not last long.
Design is a creative process that does not tolerate carelessness and excessive variegation.
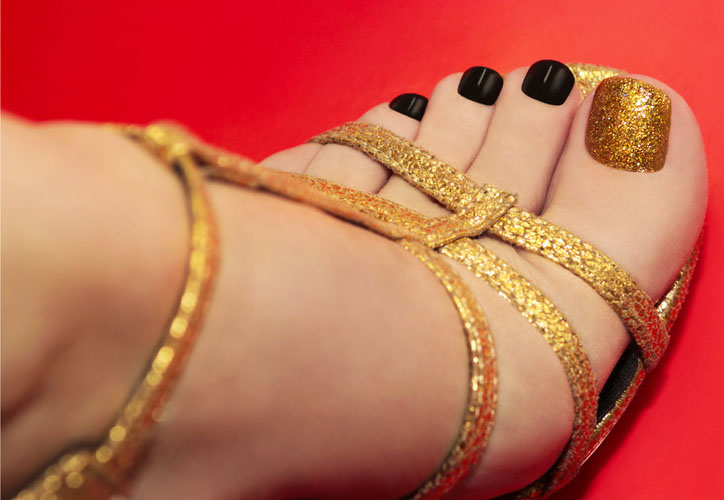
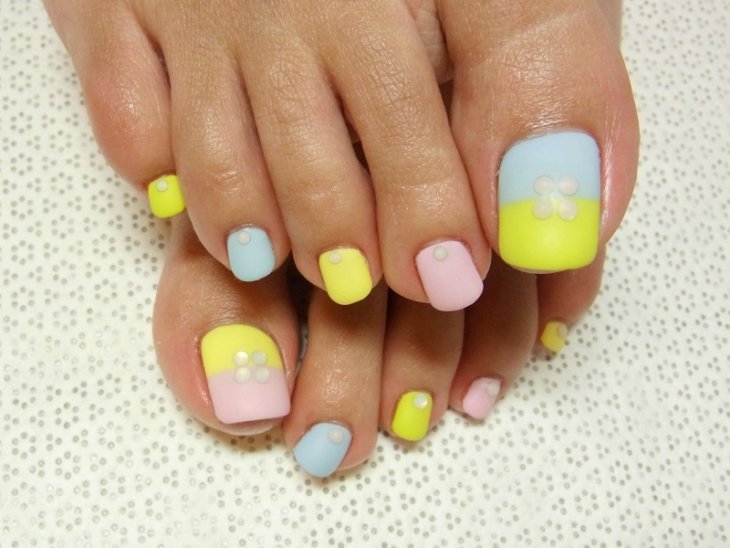
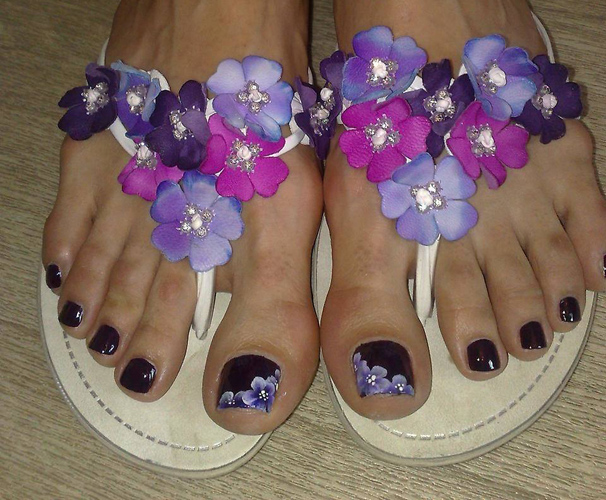
Therefore, it is selected before the start of a pedicure, choosing decorative elements for a certain female image or for everyday clothes. Since this coating lasts longer than ordinary analogs, the design is selected in such a way that it fits to most things from the female wardrobe. In this case, you can use different elements of decoration (from flat to bulk 3D).
The gel polish used today for a pedicure differs from the usual coating with its greater attractiveness of color tones and durability of the applied composition. Depending on the brand of the manufacturer, it rests on the nails for two to four weeks, or even more. Sometimes the nail plates have time to grow well, and the coating never peels off. The secret lies in two factors:
- the thickness of the applied layers, which in total a pedicure can be up to five;
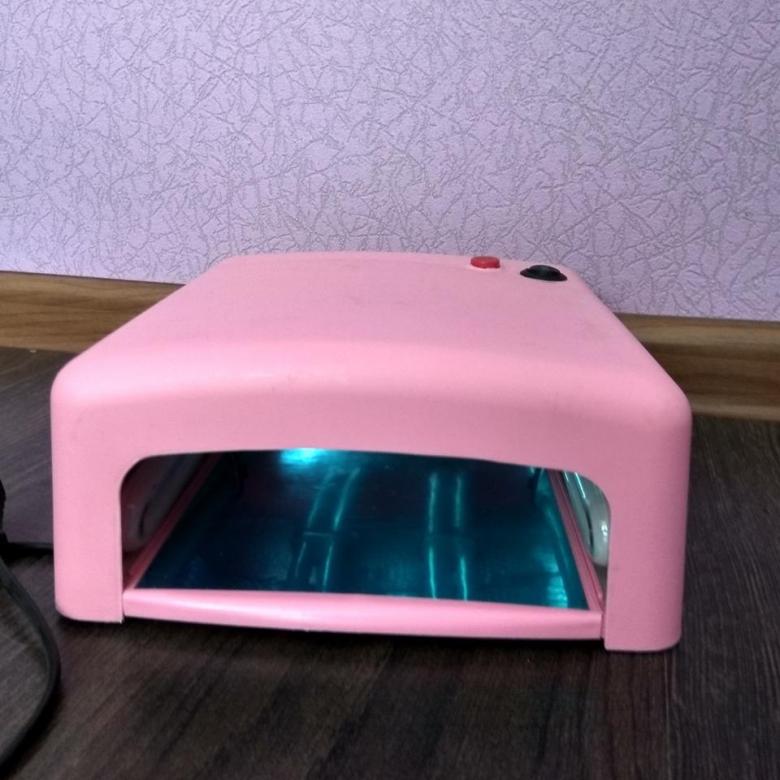
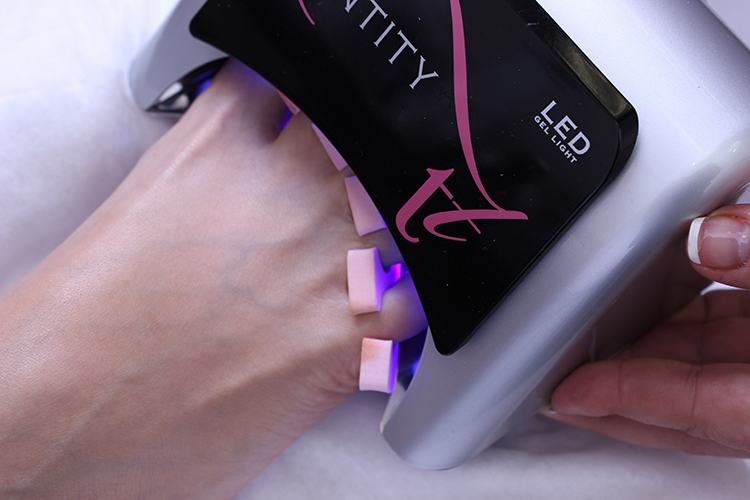
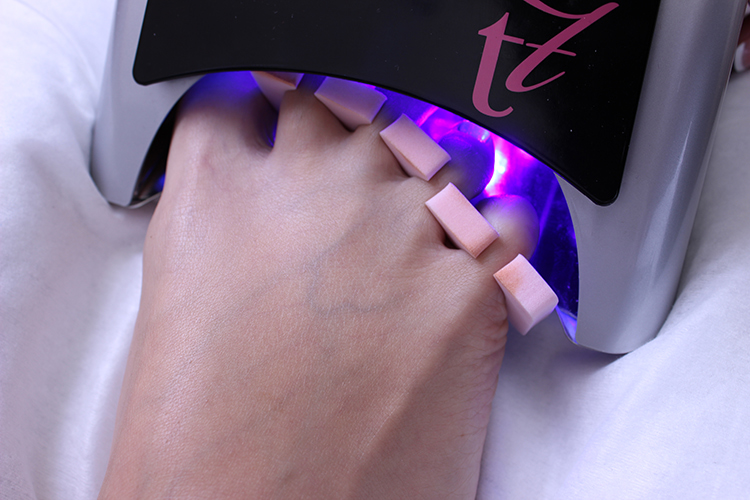
- using a quality lamp for drying each applied layer on the nail plate.
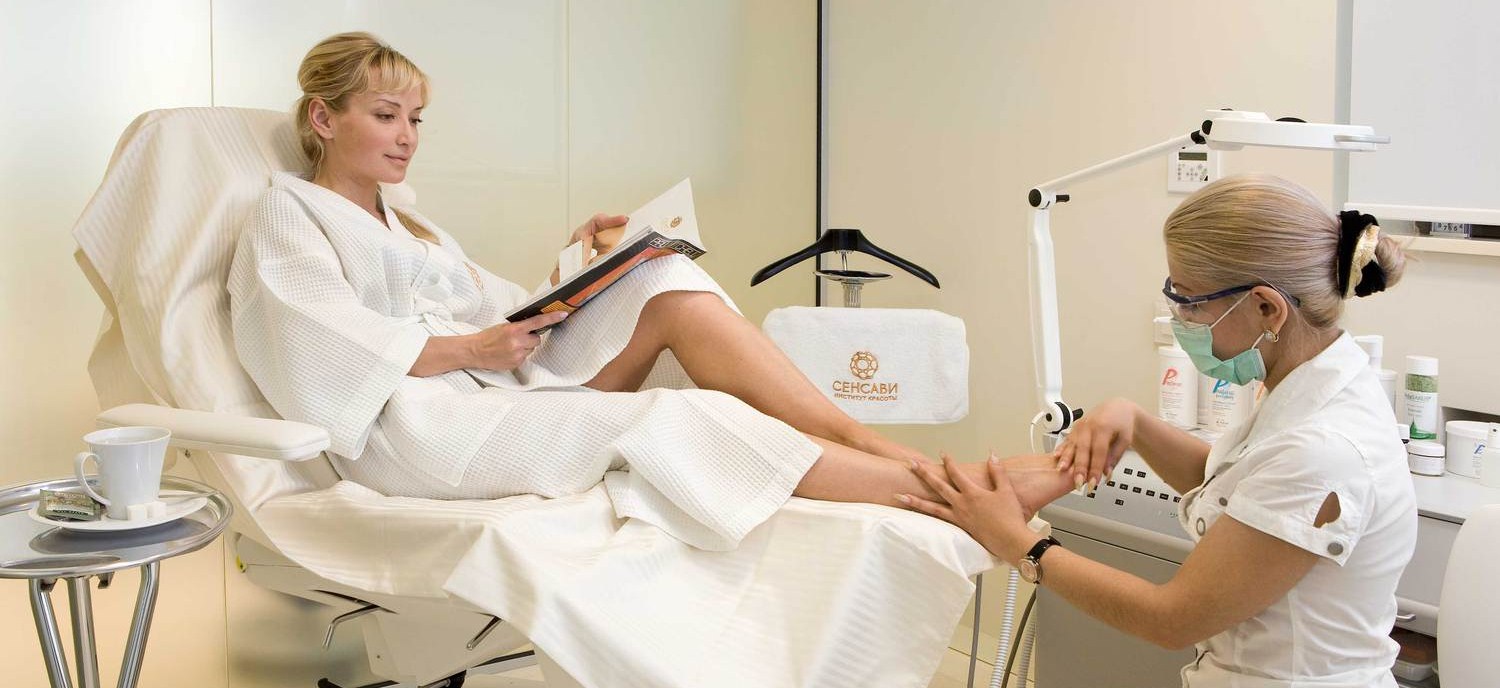
Each applied layer must be very thin, almost airy. So it will spread on the nail plate without stripes, and besides, it will not leak over the cuticle and side nail rollers. It is important to understand that the equipment with which they work in the nail salon is different from that used by women at home. The pterigia removal technique is also different, because it is hardware-based in the salon, and ordinary manicure tools are taken at home for this.
The type of the pedicure itself, which, in addition to the usual, today can be unedged or so-called European, also matters. If the traditional method of macerating nails is almost always associated with the difficulties of removing the cuticle and pterygia (and sometimes burrs), then the European or dry type (also Japanese and spa) is more benign. With him, the cuticle is not cut, and pushed. Some masters are sure that it is dry pedicure that keeps on nails longer, since with it the nails do not change their shape, which is not the case with the traditional variant (they become flatter). However, in general, it is not the type of pedicure that is important, but the correctness of its implementation.
Nail preparation
Before applying layers of gel products on your toenails, it is important to prepare the nails themselves, because without this you can not count on a high-quality and durable result. Preparation of the nail plate has its own characteristics. As a rule, the task of the master is to create the ideal base for the coating. Consider how to do it in the traditional version.
Feet should be kept clean to prevent contamination of the skin around the nail plates.
Fingers can be soaked for 10 minutes in warm water. From this pterygium, located on the sides of the rollers, it will be easier to separate from the nails. It will be easier to remove, as well as push, and then lift the cuticle itself. After soaking the nails, wipe them dry and, if necessary, apply a special softening oil to the place of work with the cuticle.
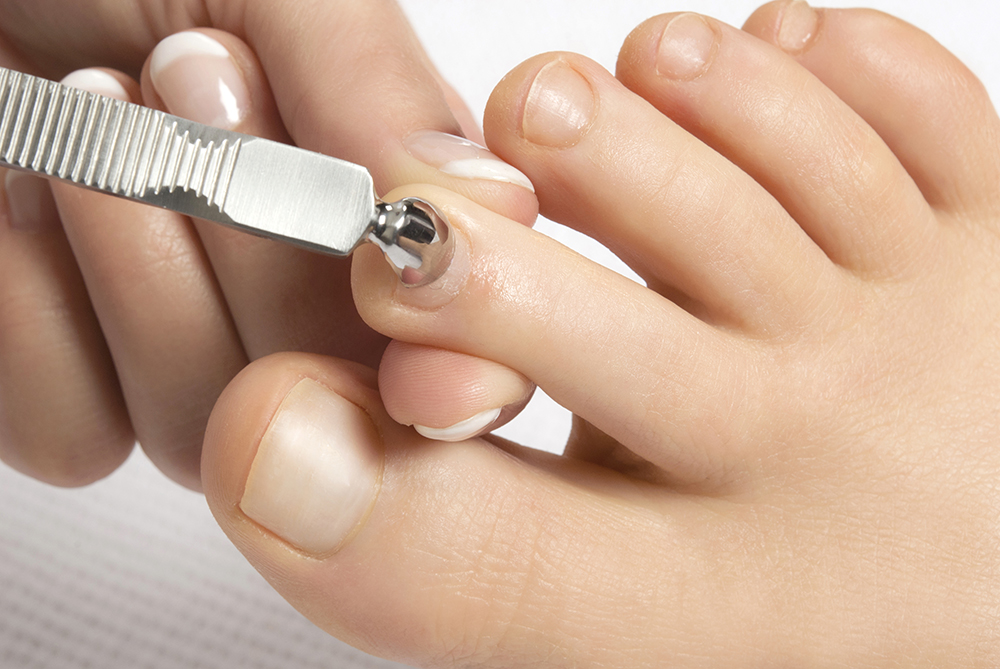
Next, remove the pterygium and cuticle. Tool movements should not be sharp and tearing. This hurts the skin and the imperfections of the master appear. It is necessary to remove all unnecessary in the direction not upwards, but forward. In order to prevent the cutting of most of the skin in the cuticle area, it is first lifted using a special spatula, and then pushed back with your fingers. This trick will eliminate the appearance of wounds, and the woman will see how much and where you need to remove.
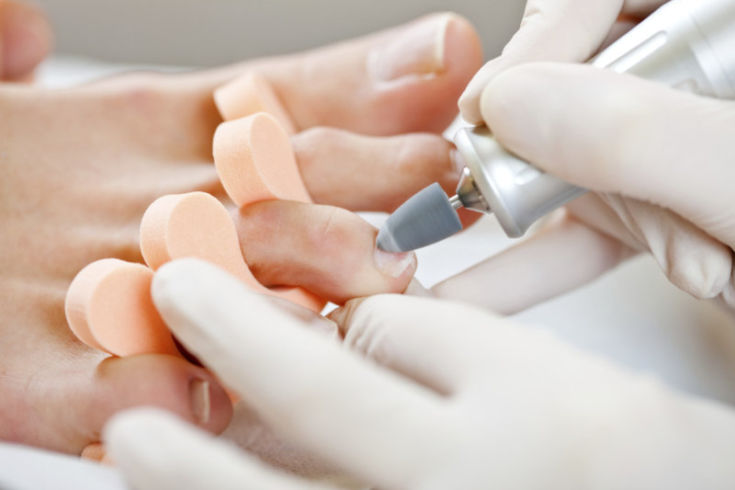
If the tweezers are inconvenient to use, the cuticle can be cut off with nail scissors. Roughness in the upper part of the nail can be removed by sawing, but this should be done before soaking the nails. After the pterygium and cuticle have been removed, and the upper edge of the toenails is given a beautiful shape, it will remain to remove the gloss layer from the nail plates. This will enhance the adhesion of gel polish to the nail and prolong the longevity of the pedicure.
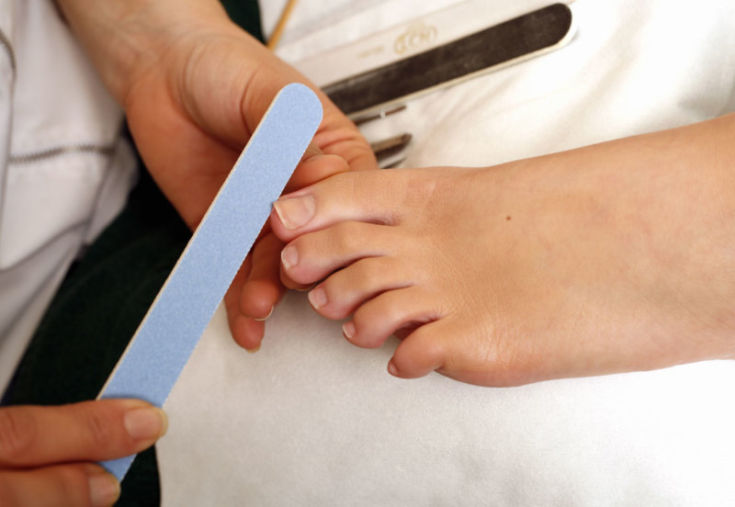
It is better to use for this purpose a special soft grinder. It will not traumatize the skin around the nail, either from the side of the rollers or below in the area of the cuticle. Since the particles of dust particles after grinding can interfere with the imposition of coatings, they are removed with a soft cloth and degreaser. If there is no such substance at home, you can use liquid to remove gel polish instead.

Stages of coverage
The quality of the pedicure will depend on the level of preparation of the toenails and the accuracy of the master. In fact, the process of applying layers of gel polish is not so much complicated as it is long, because every applied layer will have to be dried. And if you consider that the master can first engage in one accent nail, making it to the end, then all the nails can take more than an hour.
The technology of performing a pedicure with gel polish consists of several consecutive steps.
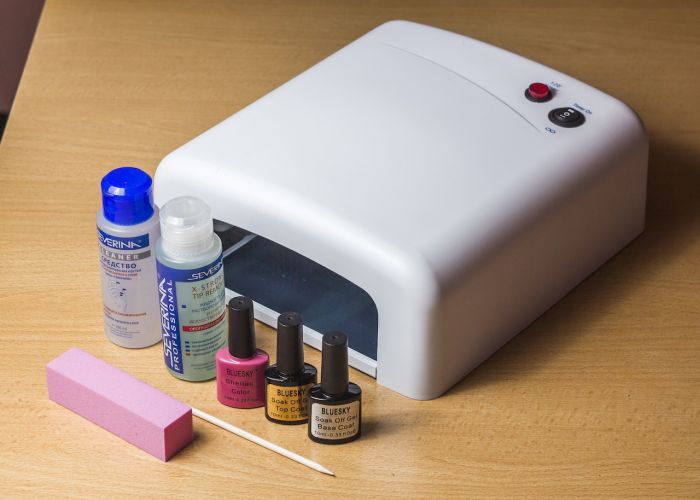
First you need to prepare everything you need. Standard set includes:
- base coat;
- pigmented gel polish;
- top;
- UV lamp for drying;
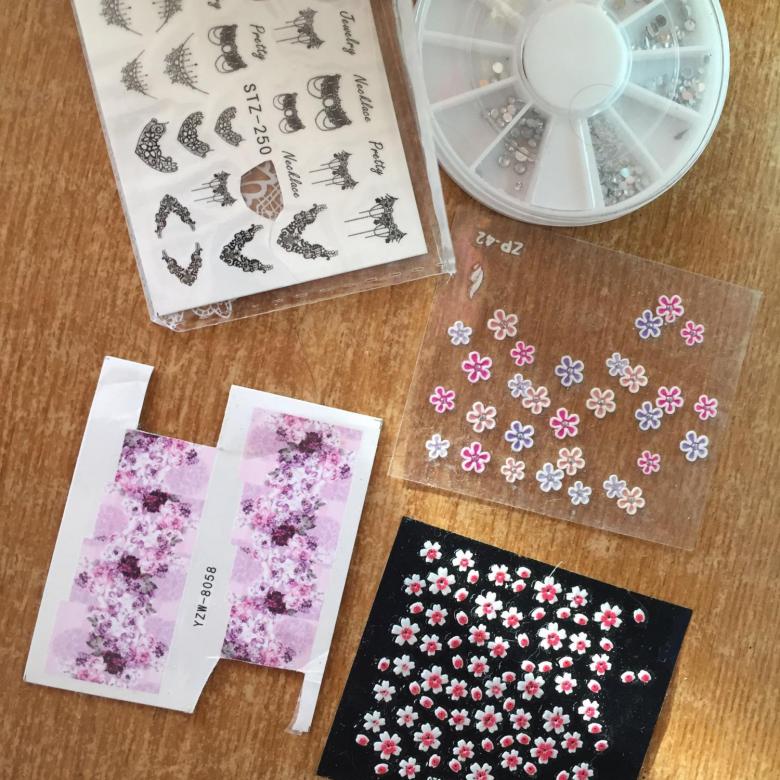
- decorative items.
In addition, for decorating is to prepare a thin brush with elastic pile. If you plan to lay out a drawing of rhinestones, prepare the appropriate devices, because taking small parts with your hands and creating a pattern on a sticky basis from them will not work. Consider the main stages of quality pedicure.

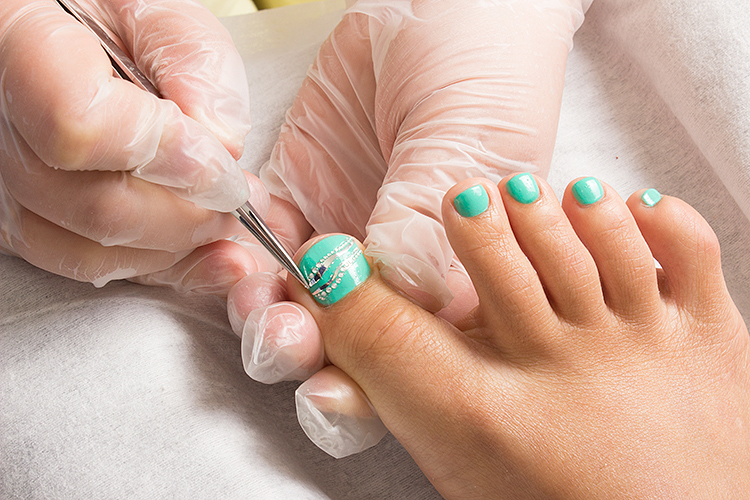
Cooking a nail
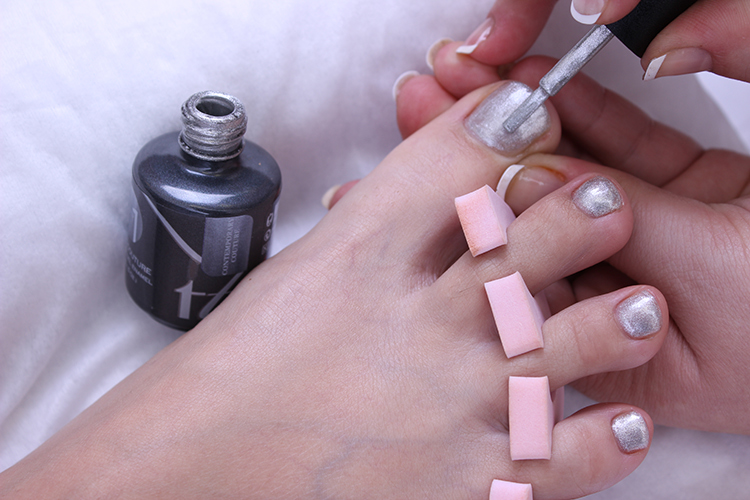
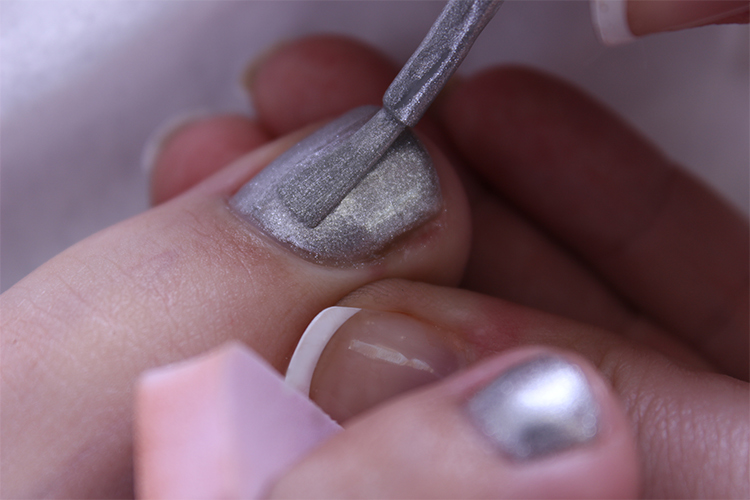
If the master is unsure of the accuracy of the applied layers of varnish, around the nail plate (on the sides and bottom), he applies a special silicone coating. This substance can be two tones (pink and white), it dries and after drying the last layer is removed from the skin in the form of a thin film. This is done so that the master does not accidentally smear the gel polish past the nail plate. The fact is that after hardening the coating will be difficult to remove from the skin, and such a pedicure will no longer look beautiful.

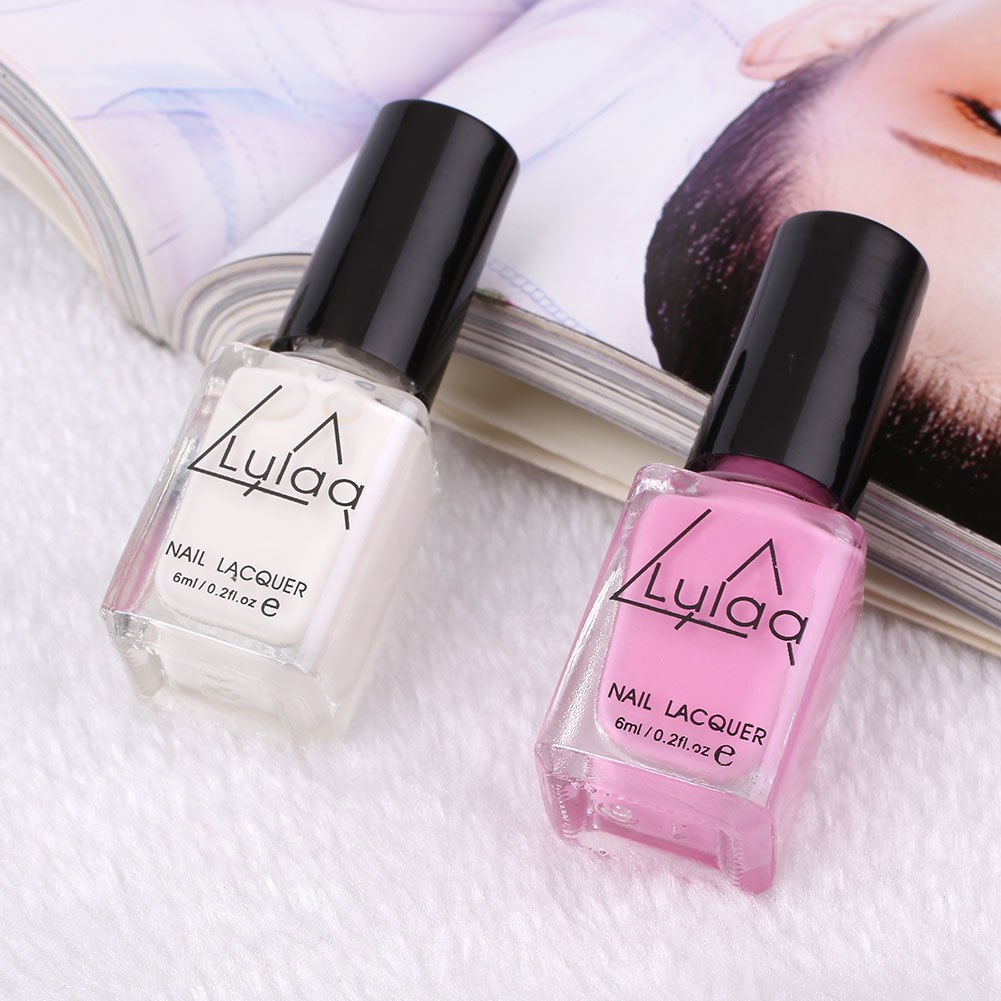
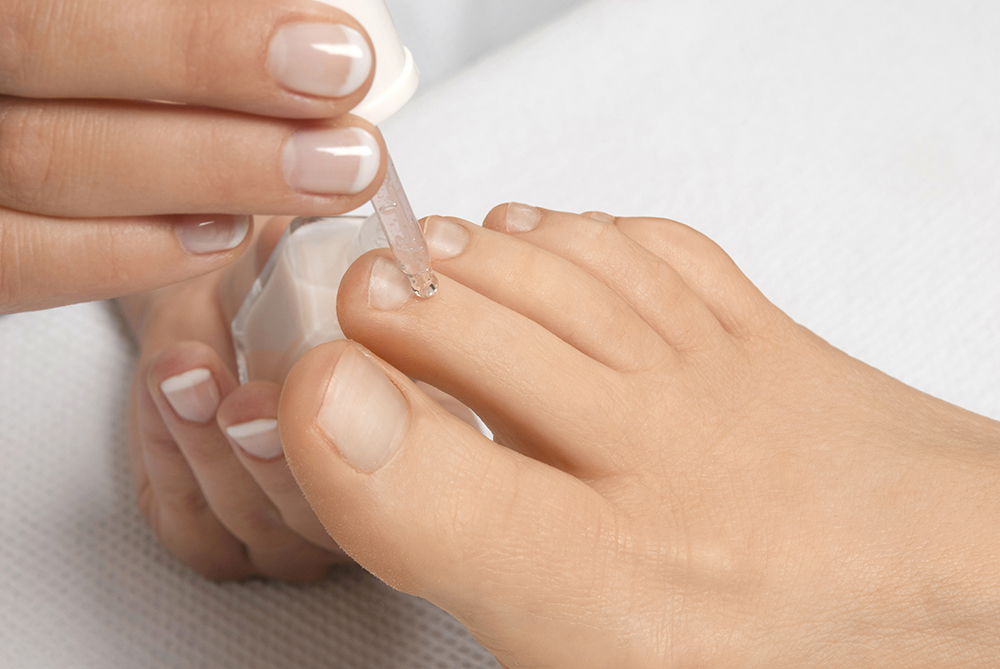
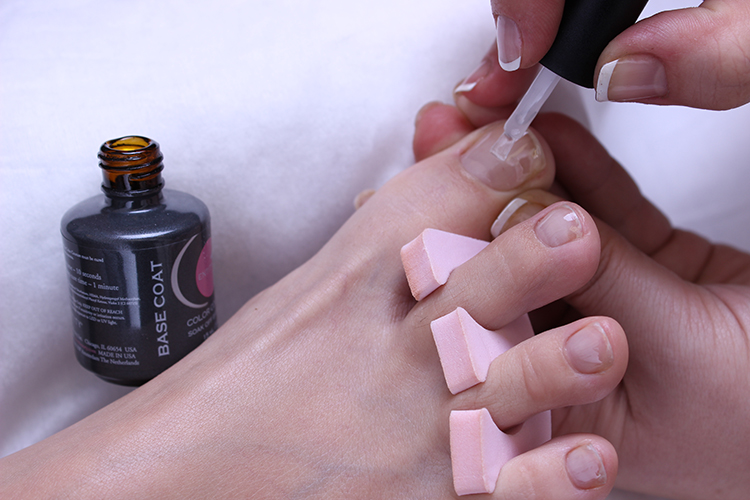
Base application
The base coat is designed to better hold the pigment and top. By its structure, it is a transparent substance with a sticky consistency. It is applied to the nail plate as accurately and accurately as possible, without driving over the side rollers and the cuticle area below. This is a shiny base, which is applied in a thin layer and dried for one to two minutes (depending on the type of coating used and the type of lamp).
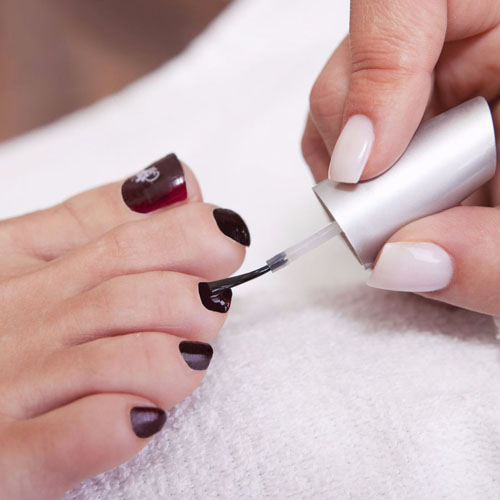
Pigmentation
After the base is applied and dried, they are engaged in staining the nail with gel varnish using a coating of a pre-selected shade. As a rule, one thin layer is not enough to overlap the nail plate.Therefore, paint the pigment nail twice. However, in order to avoid strips, after the varnish has been applied, you need to wait at least one minute: the composition will stretch along the nail plate and the coating will even out. If you do not wait a minute, after drying the strip will remain.
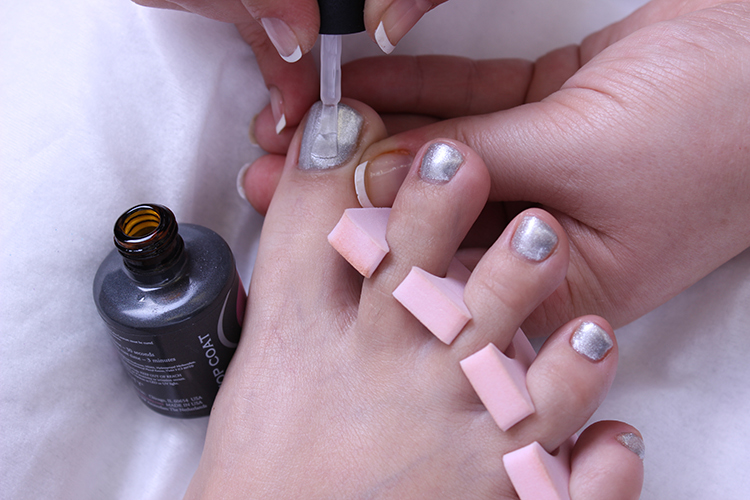
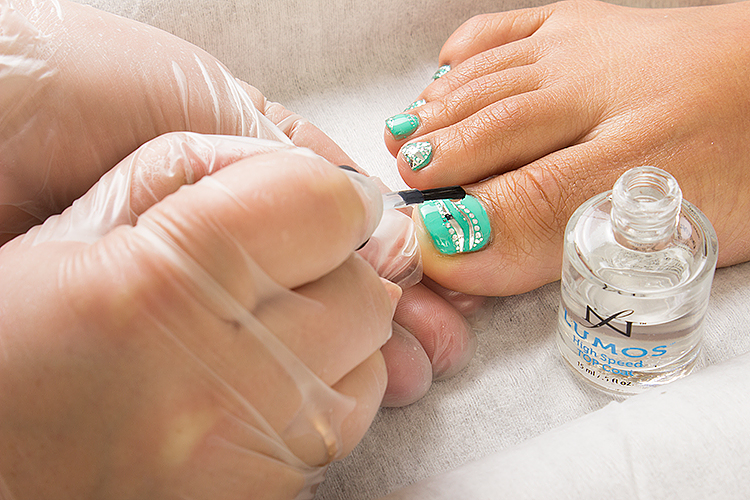
Top cover
Layer finish or top - the completion of a classic manicure. This substance may have a different type of structure. For example, it can have not only glossy, but also matte, and even velvety effect, be with a sticky layer or not. Which option is better - every woman decides for herself. The sticky option is good for decoration, glossy allows a pedicure to look fresh for a long time.
Matte and velvety counterparts create a luxury effect.
Dressing
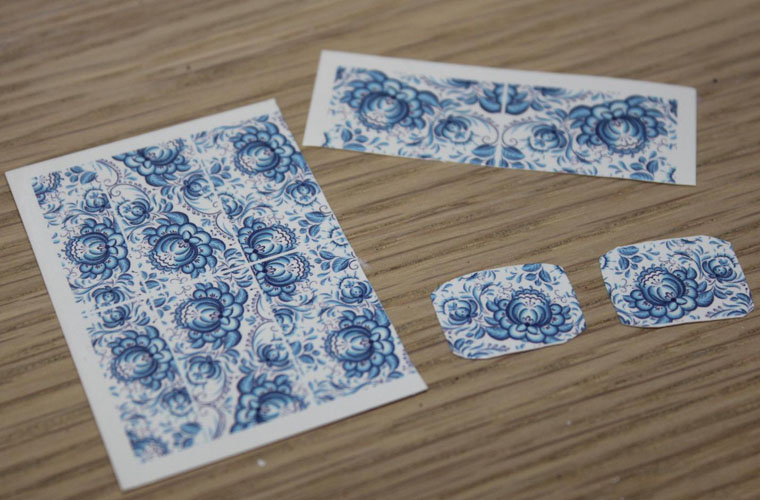
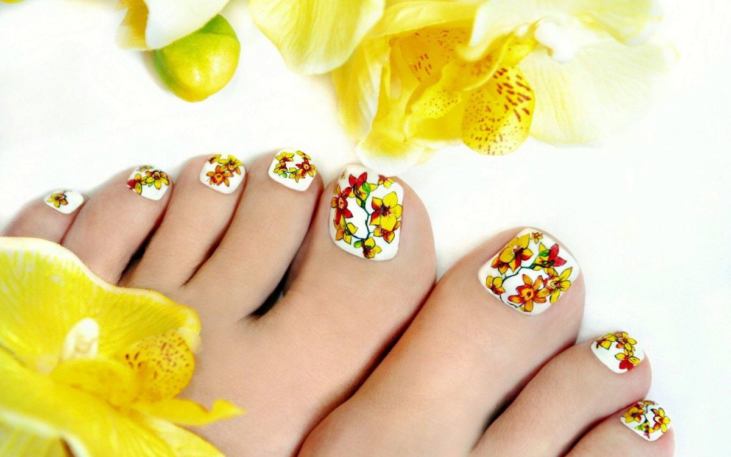
There are situations where pedicure stages may imply intermediate decoration. It depends on the type of decor used. For example, if these are water-based stickers, they are glued after the base and the first layer of pigment. In this case, in order not to change the expressiveness of the shades of the sticker, the basis for them should be the light tones of gel polish.
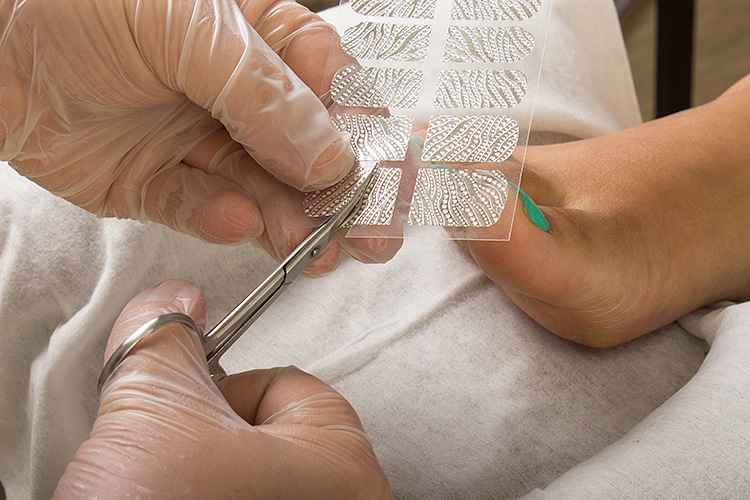
After drying a layer of pigment, a layer of top is applied on the nail. With a sticker cut out in the shape of a nail, the film is removed, then the blank is lowered into cold water. After two or three seconds, it is taken out, removed from the paper backing and placed on the nail with a layer of top. The decor is leveled using a thin brush, spreading the sticker evenly over the entire nail plate.

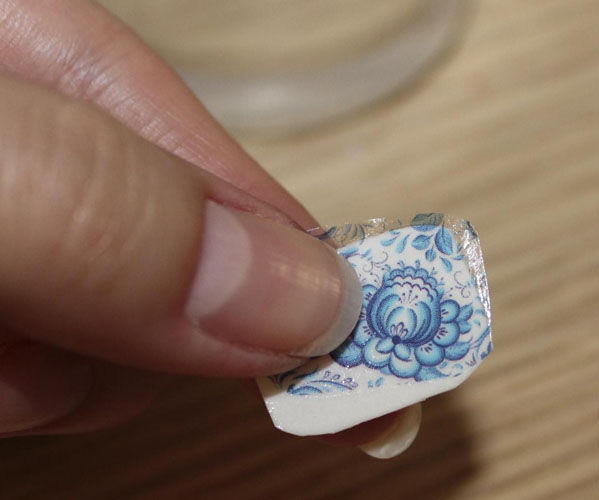
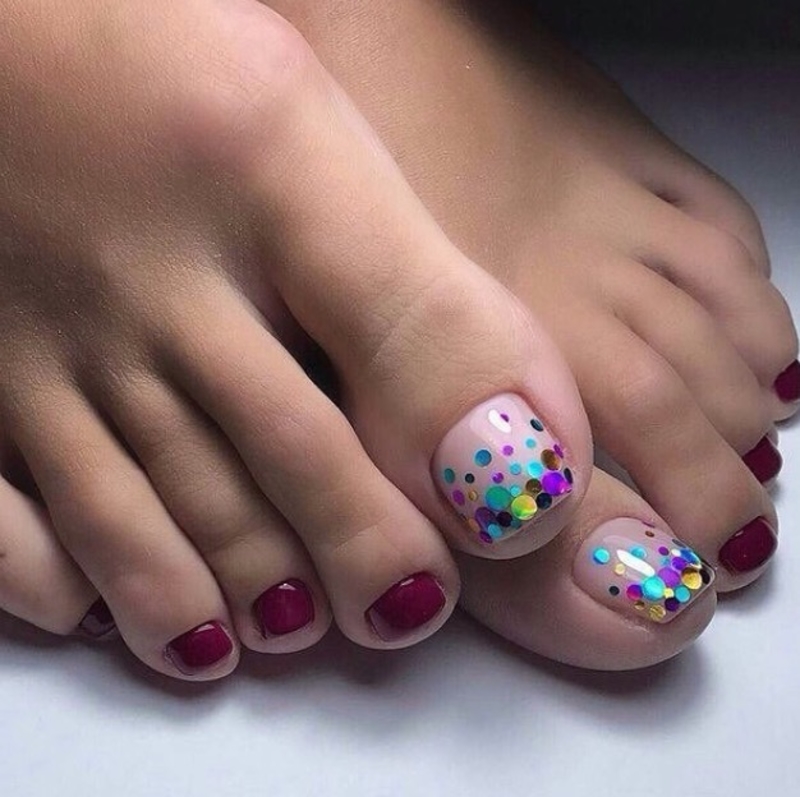
Next, the nail with a picture is dried, and only after that the excess film is cut from the top. Then put another finish layer and dry it under the lamp. Roughly on a similar technology, nails are decorated with kamifubuki, a well-known Japanese decor. Also, the crystals with small rhinestones are placed on the dry top, and then dried under a UV lamp. The same can be said about the decoration of the nails of the feet with microbits and flock powder.

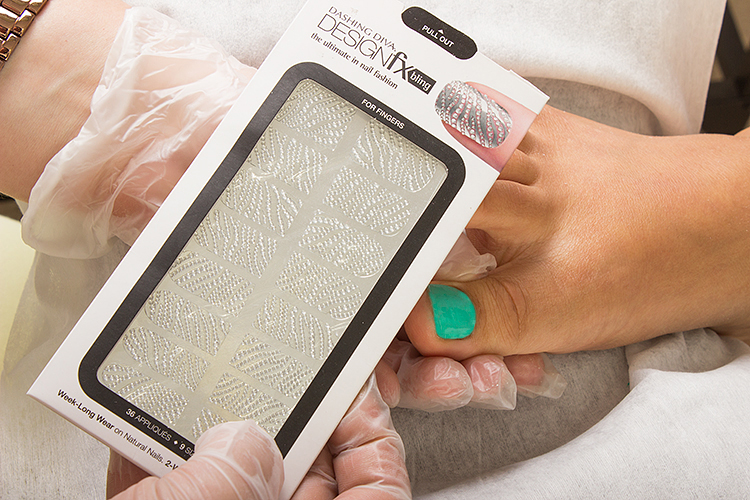
However, if glue-based stickers are used for decorating nails, they are applied on a dry layer of the top. Then they are covered on top with another one so that the sticker does not fall off from the base too quickly. If we talk about stamping, it is applied to the pigment. At the same time for stamping select the desired pattern and contrast color gel polish. After drawing the image to the base of the nail, it is dried under the lamp, and then the nail is covered with top and dried again.

There are other methods of decoration. Some do not need a final finish over the decor, because, firstly, the decor is glued to the top, and secondly, the top layer can spoil the aesthetics of the pedicure. If we talk about modeling, then this decor can not be called practical and durable. The reason for this is the constant grazing of the nails with a pattern on the shoes, washing the feet.
How to shoot?
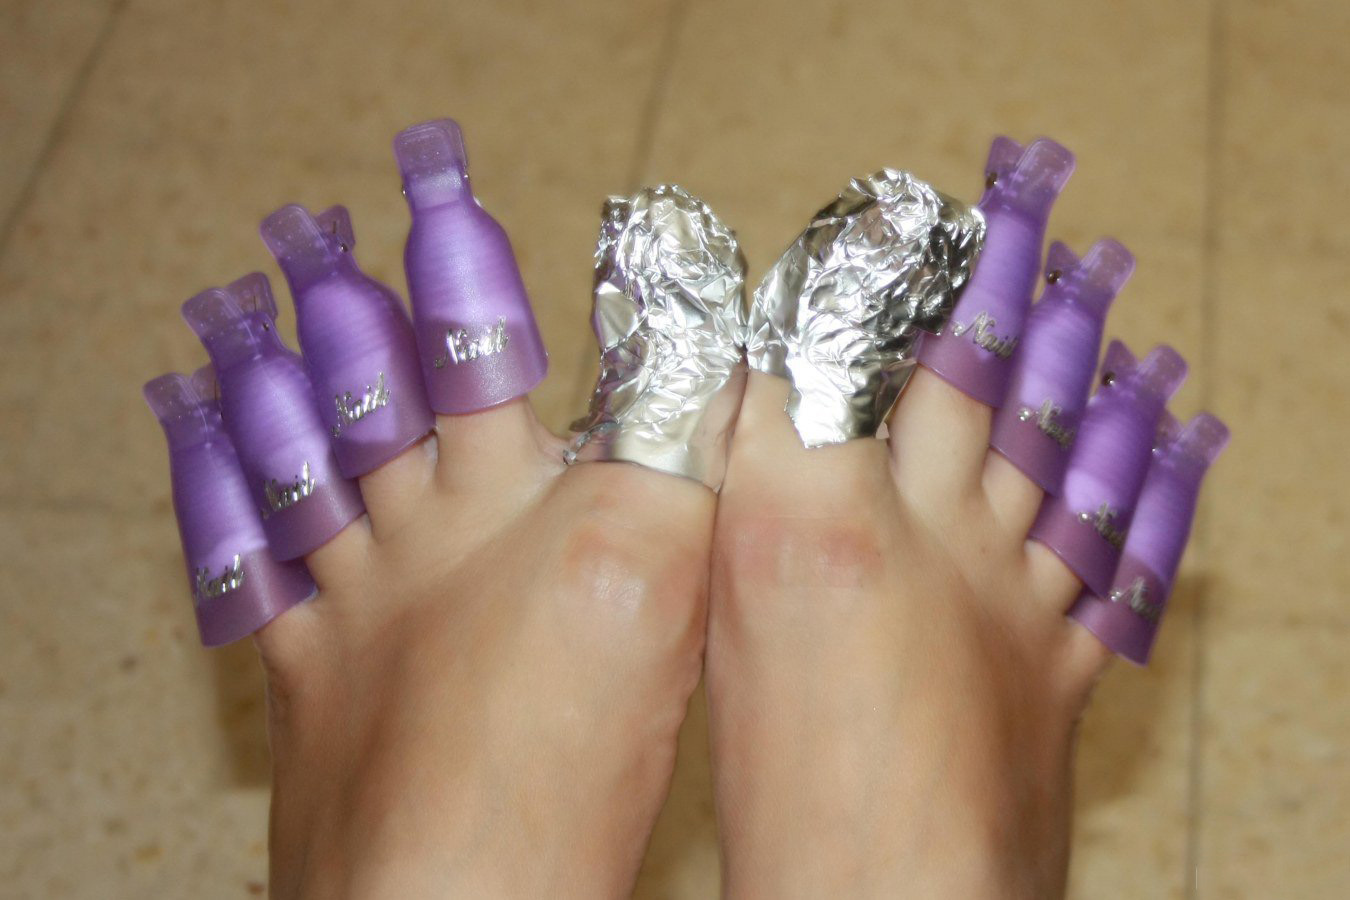
To remove gel polish from nails is much more difficult than the usual coating, because if you properly cover the nails on the legs, it lasts a very long time (up to 5 weeks). As a rule, due to undermining the nail plates, the nail adhesion with the varnish is quite durable. Therefore, it is necessary to soften the gel varnish with a special remover. The usual nail polish remover will not work here: you need one that is intended for shellac or gel polish.
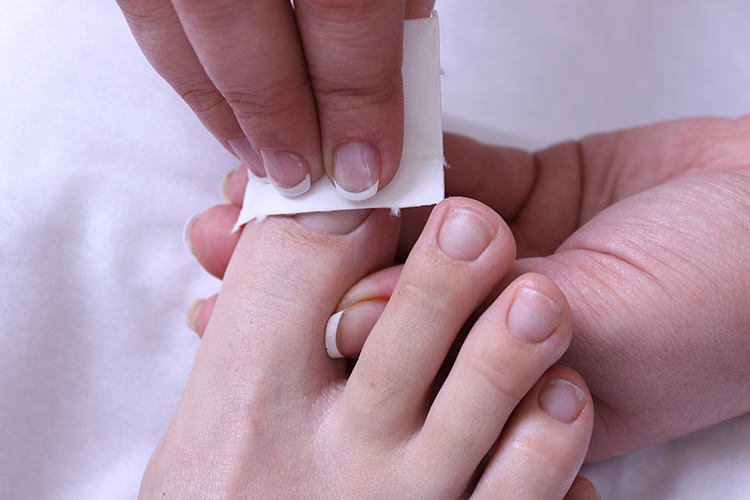
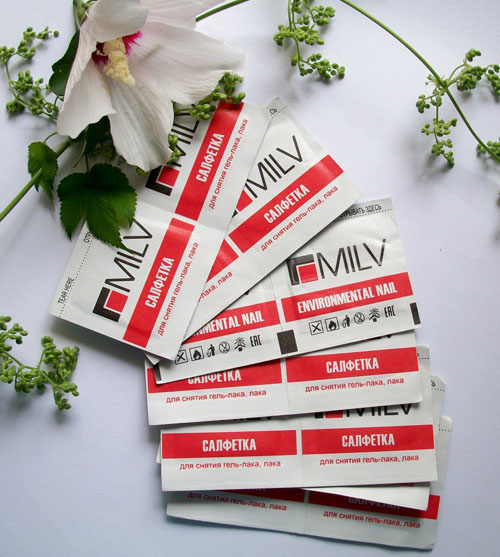
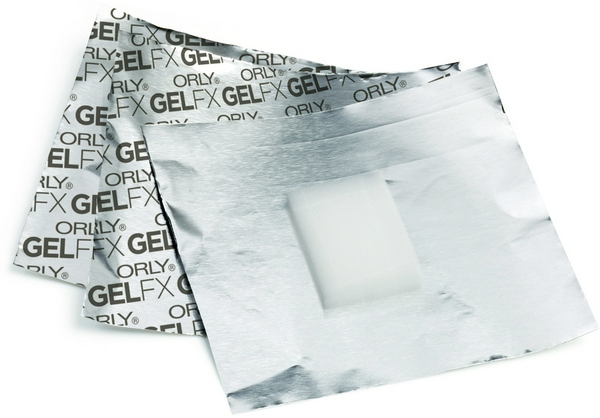
Nails are wrapped with special napkins soaked with a wash and left for some time to make it easier to remove the coating from the base.
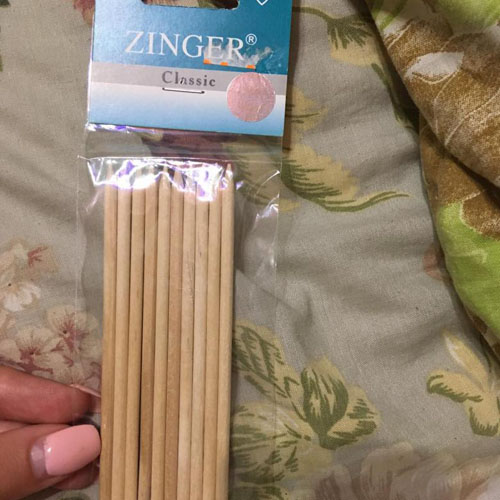
After the required time has elapsed, they take an orange stick and use it to pry and remove the lacquer. One piece is rarely removed, so you have to spend a lot of time on the removal of gel polish. You should not wash the nail file, because the nails and so thin with a pedicure, which is bad for them. It is useless to rub the nail plates endlessly with a damp cloth: this will not work. Without softening, removing gel polish from nails will be difficult.
Modern ideas
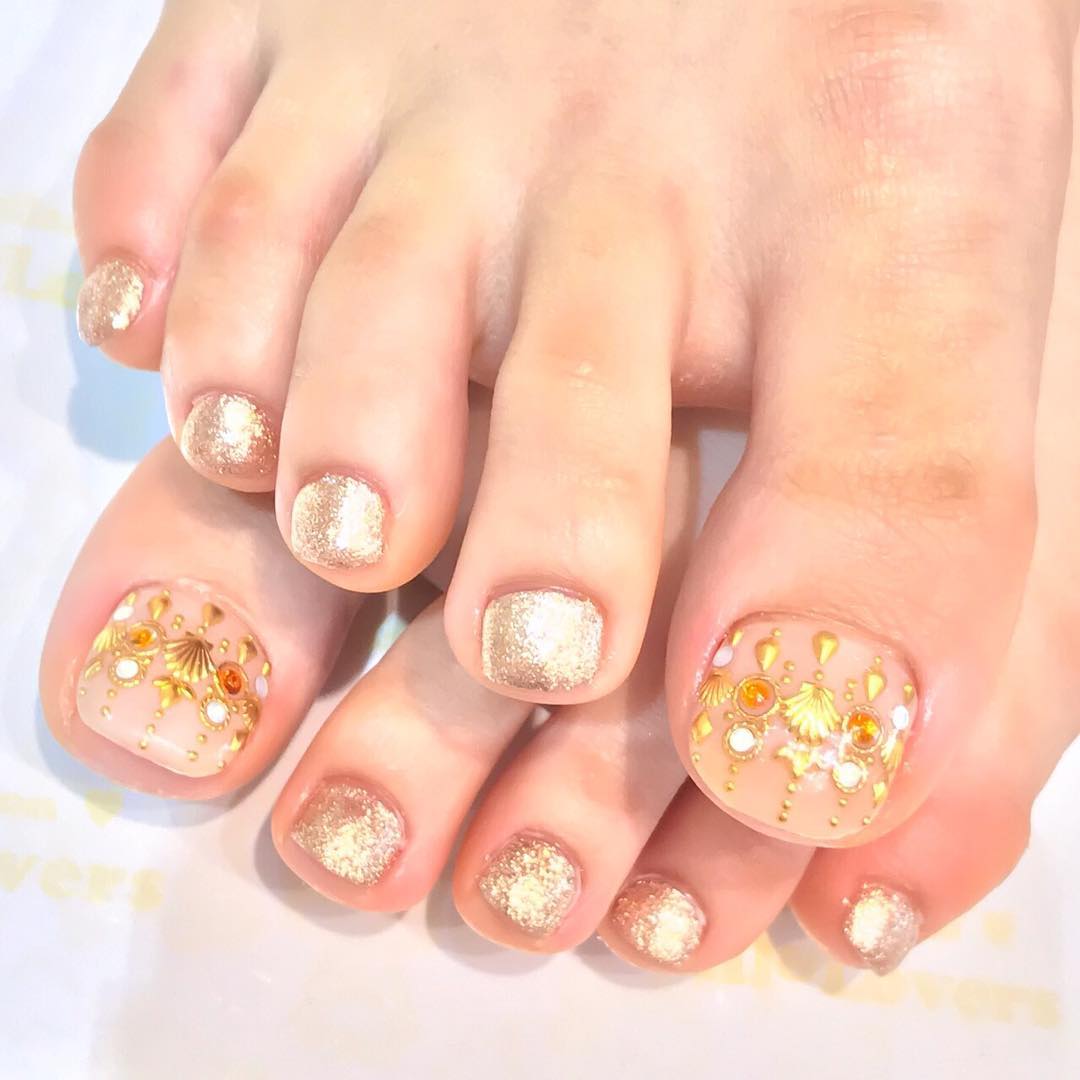
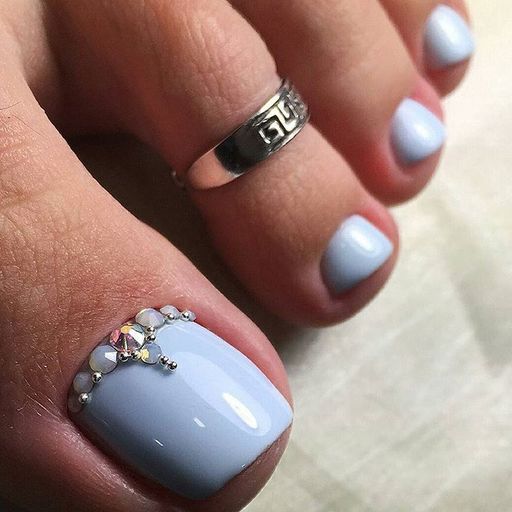
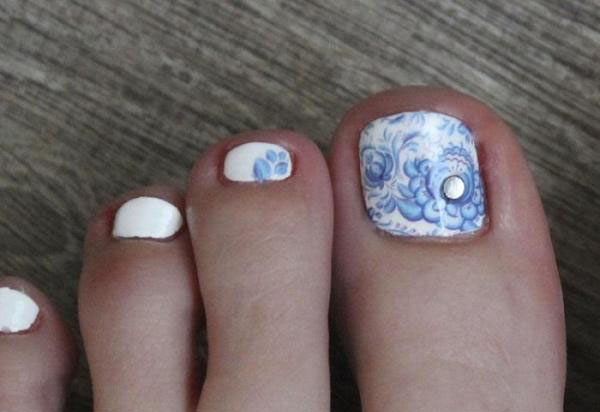
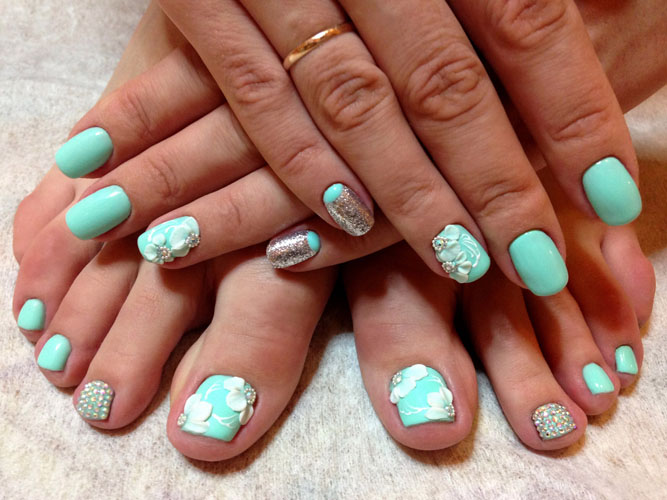
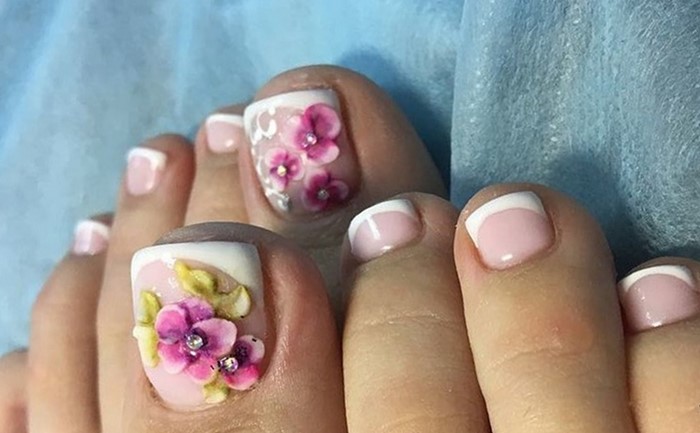
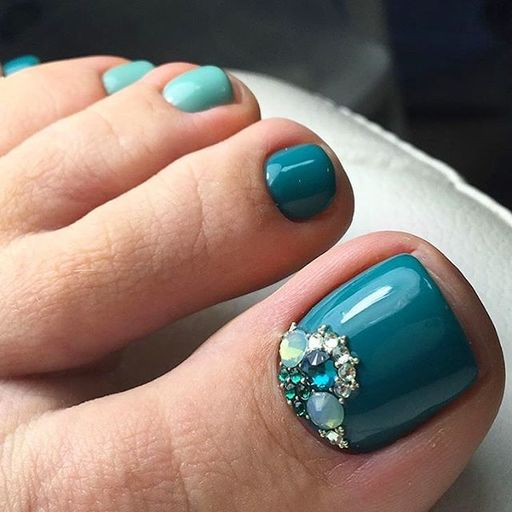
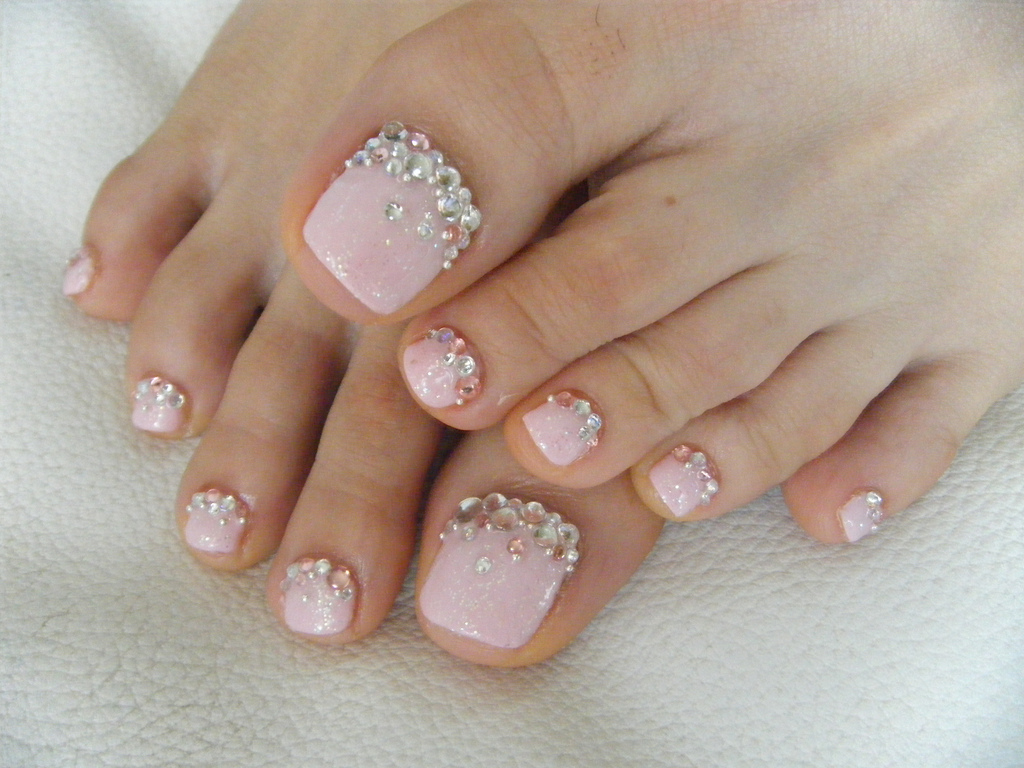
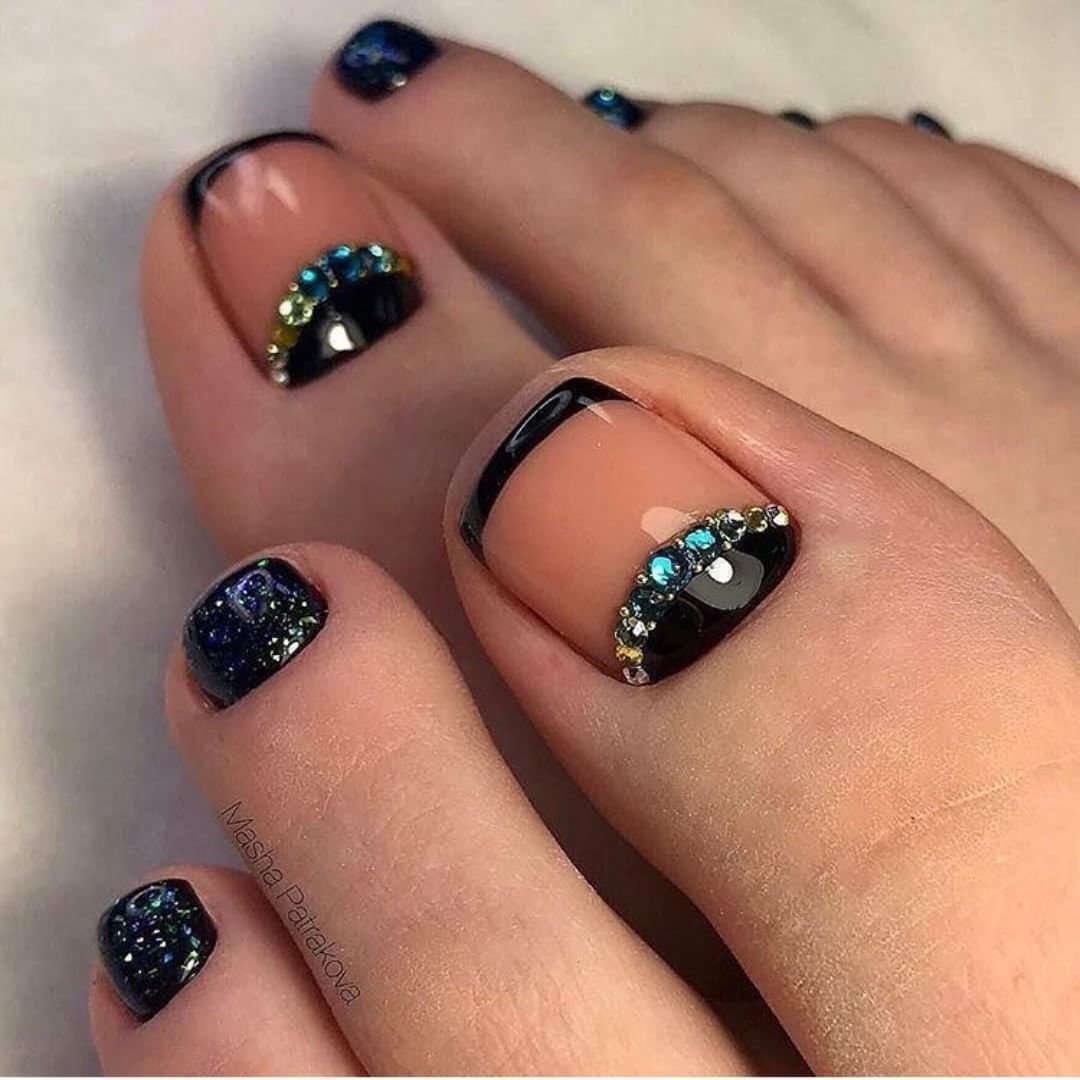
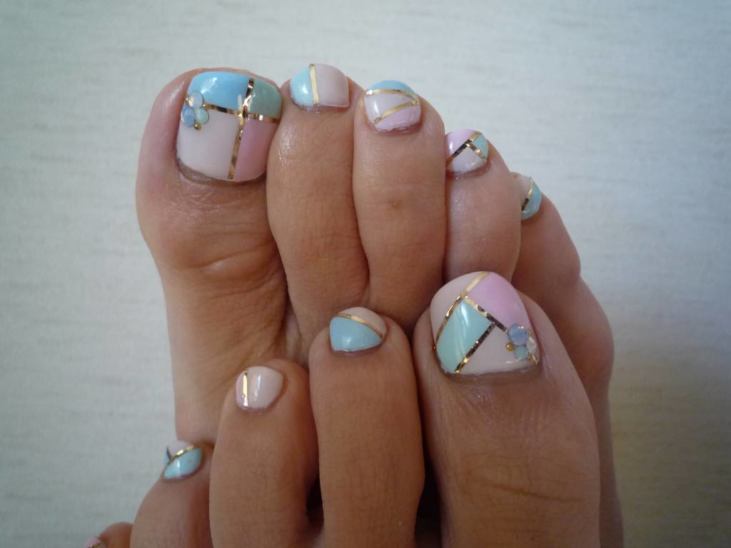
This season fashion trends gave fashionistas a few new designs.For example, one of the extraordinary decisions today is the selection of the cuticle area. If earlier it was customary to decorate the lower part with rhinestones in the shape of an arc, today the lower part is isolated almost closely to the base of the nail throughout the entire area where the cuticle is removed. It is fashionable to distinguish this section of the nail with rhinestones, patterns of rhinestones and crystals, as well as gold and silver.
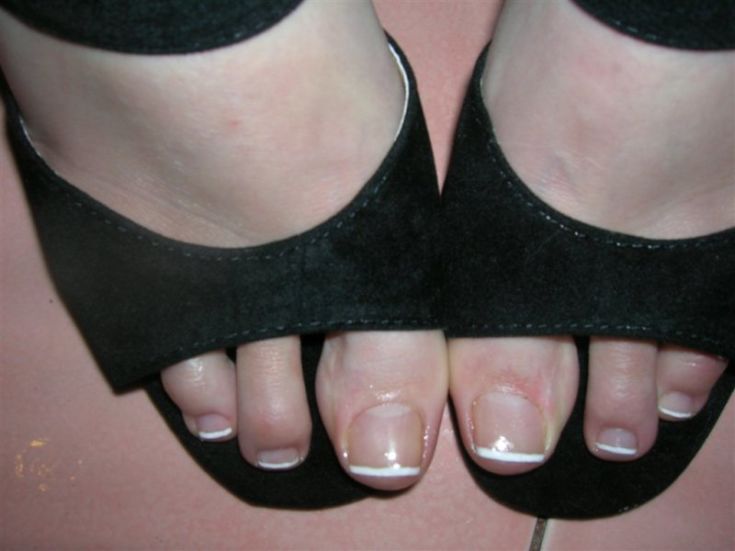
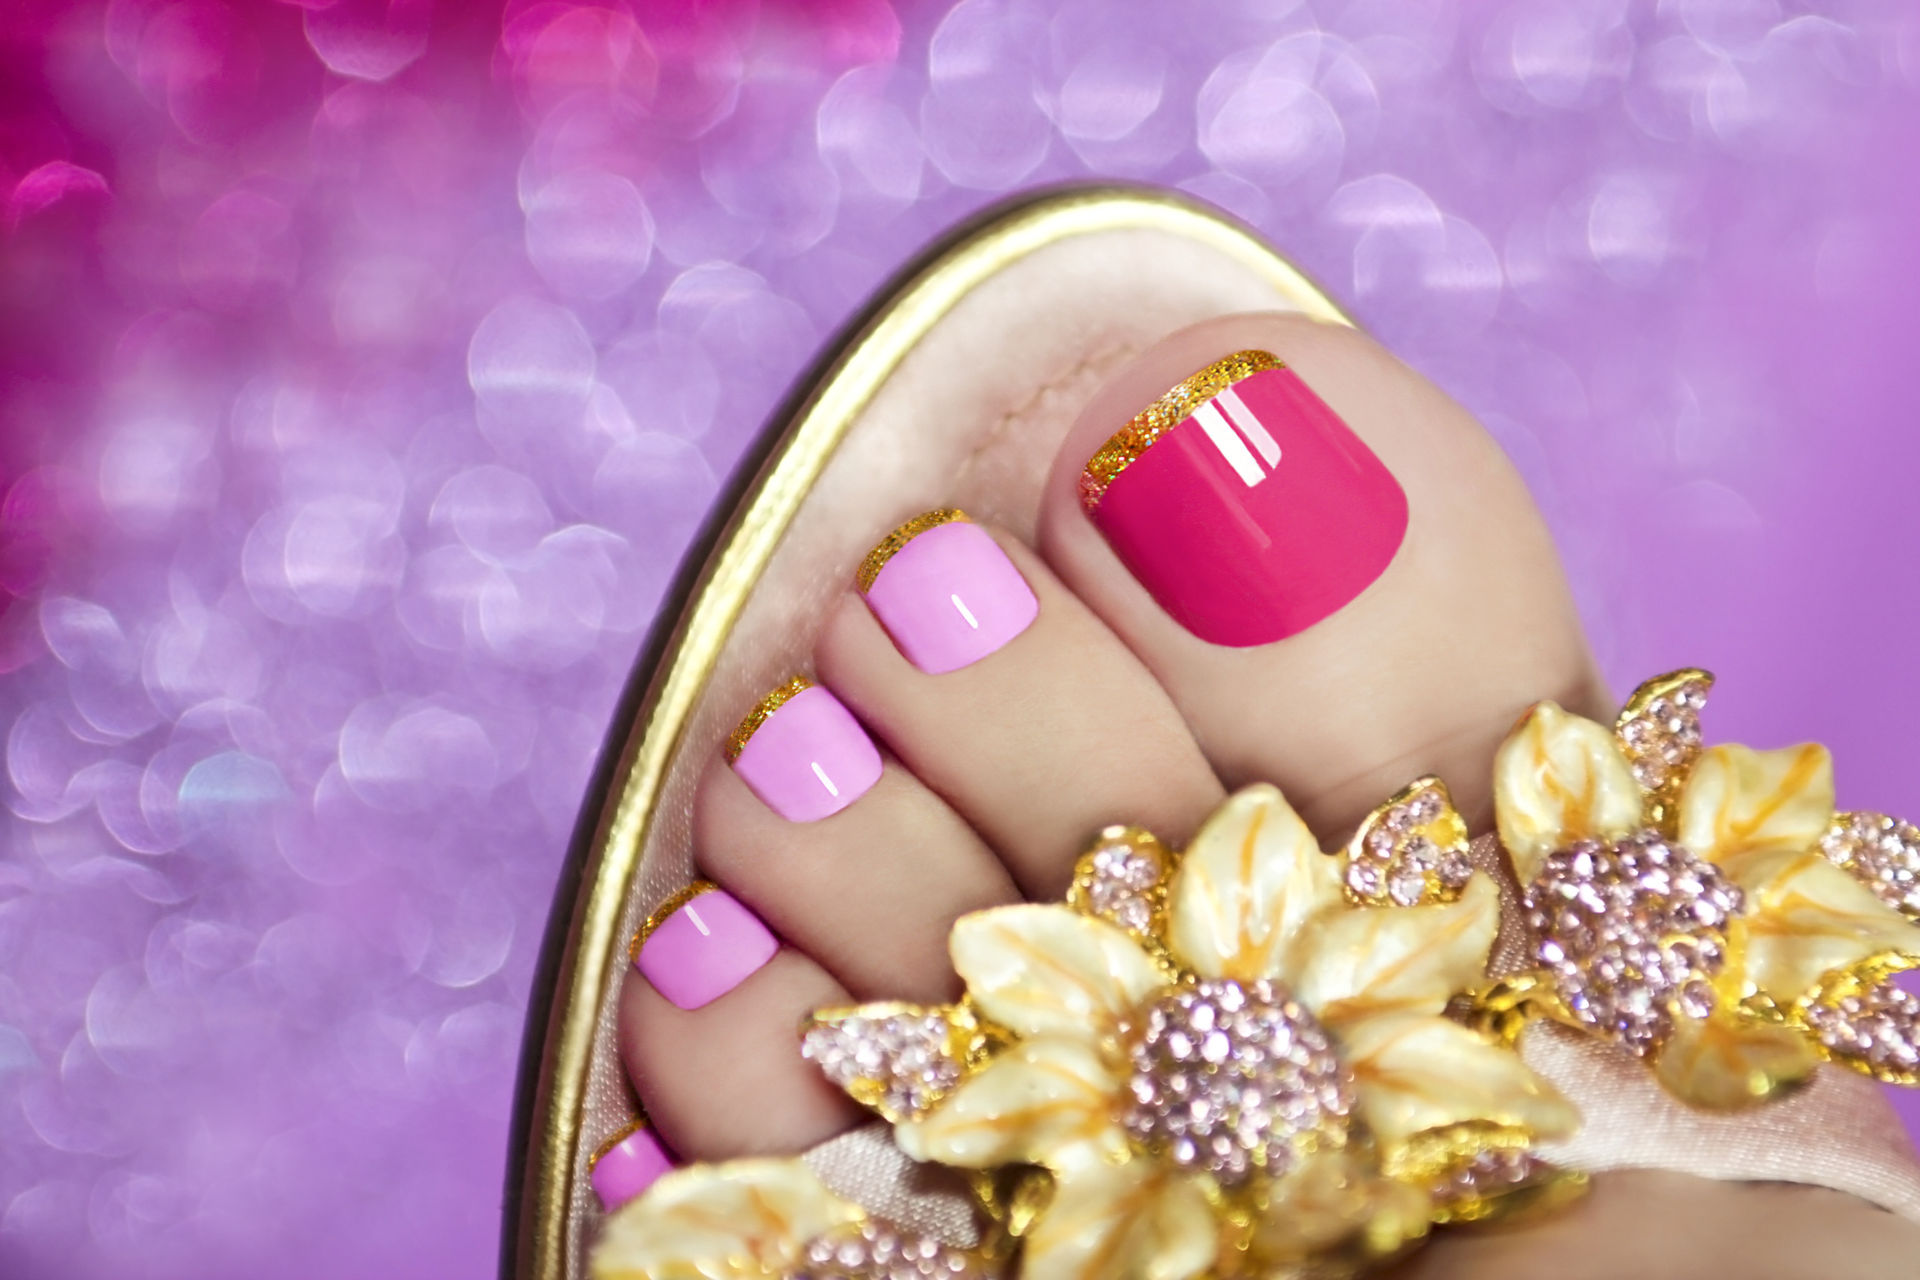
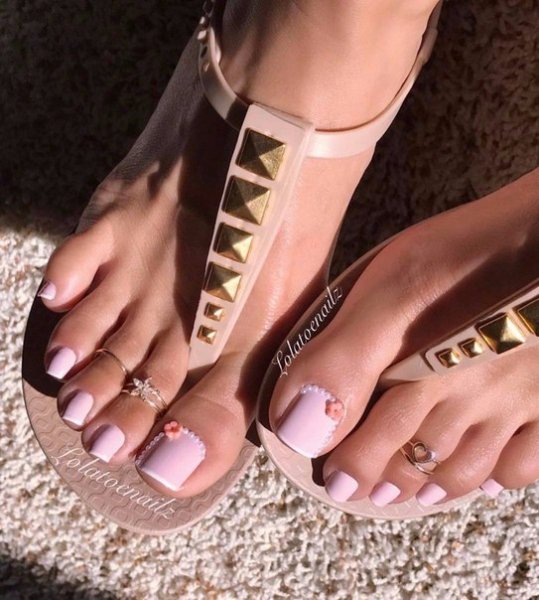
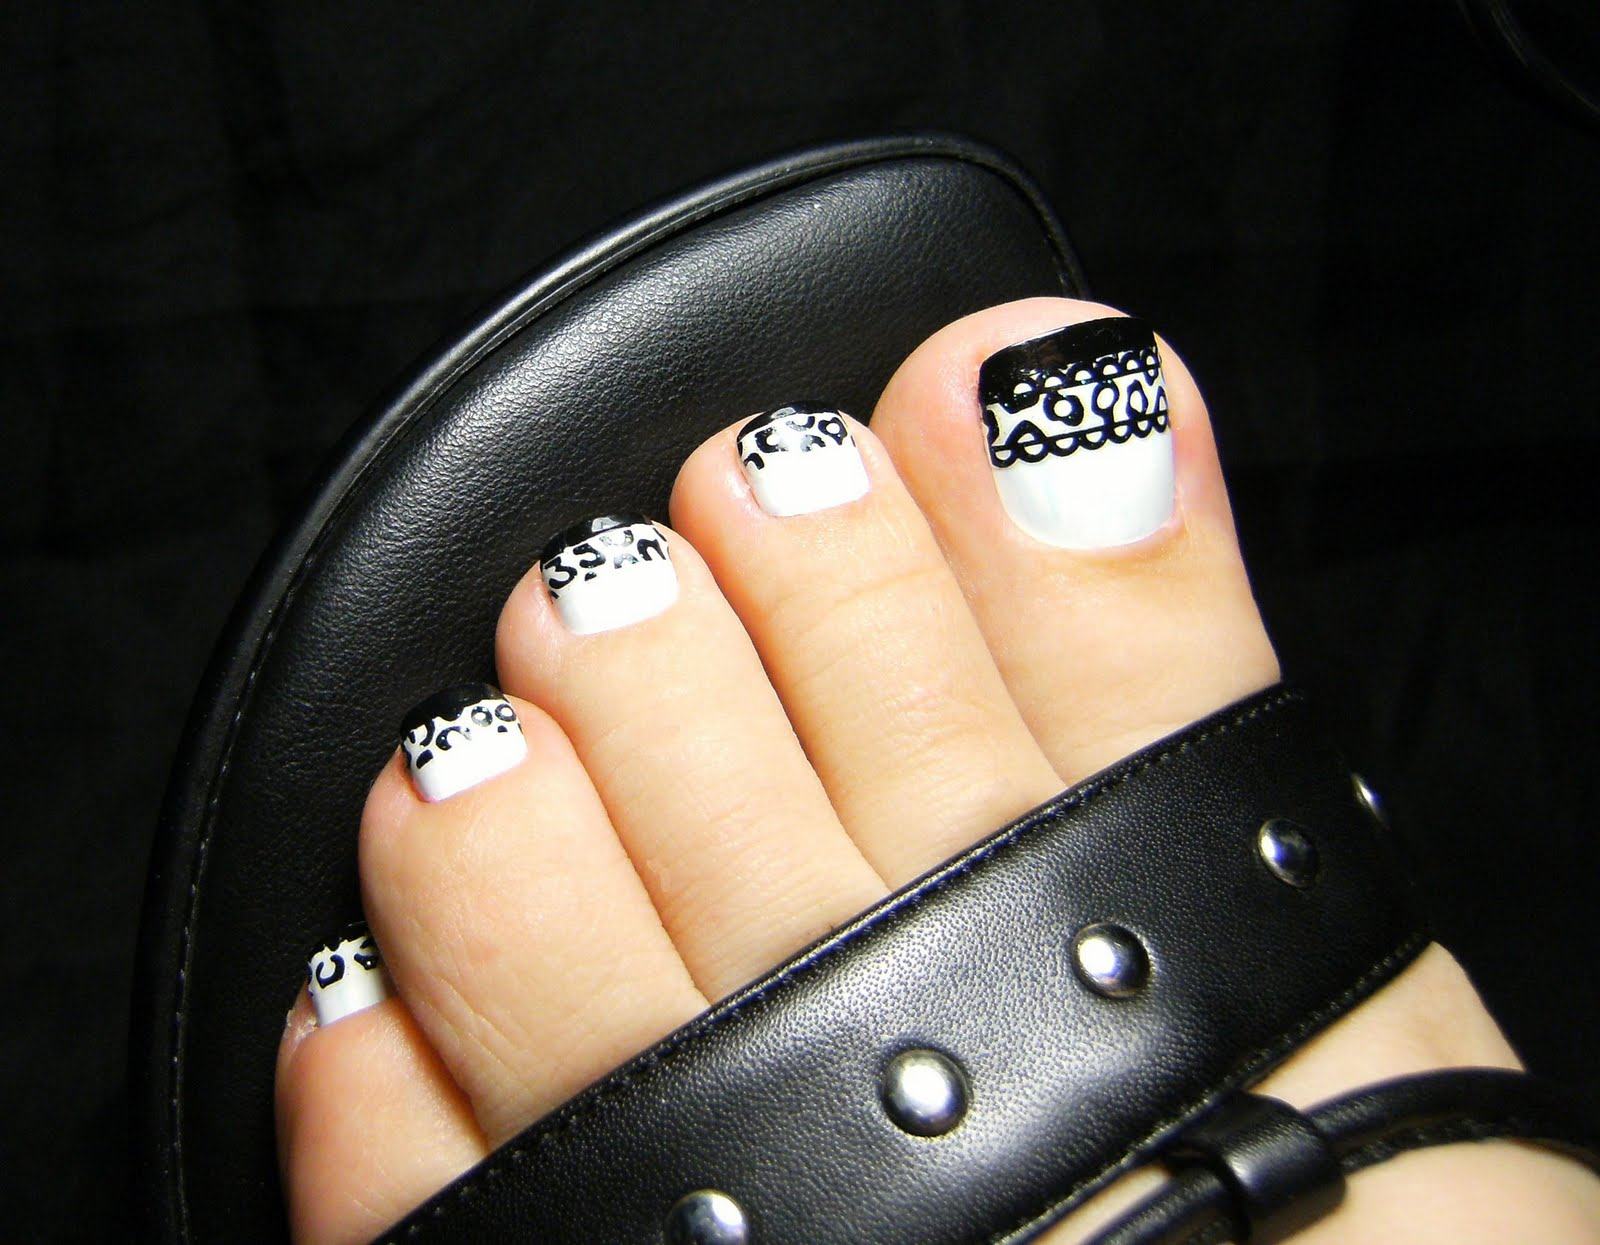
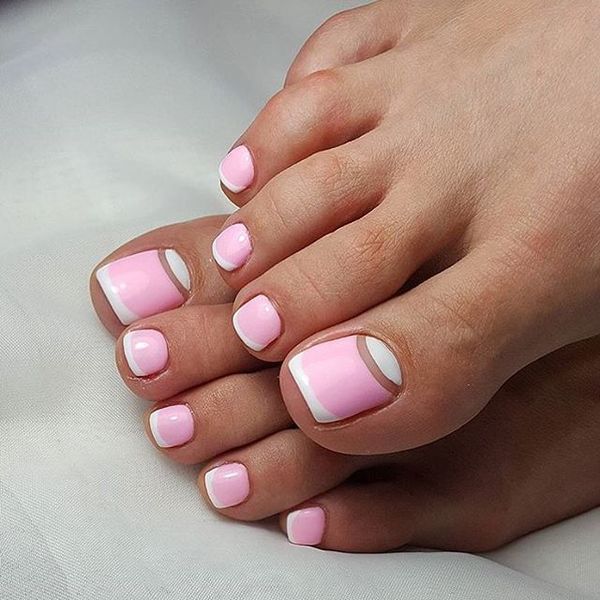
Changed and french. If earlier he adhered to the classic arched lines or the so-called “smile”, now he is striving for asymmetry. The lines of this season are diagonal, and a combination of different tones, combined with lace patterns and rhinestones at the same time, is welcomed. This season french especially elegant and spectacular: if the length of the nails allows, the design may consist of several shades and a pattern on top of them.

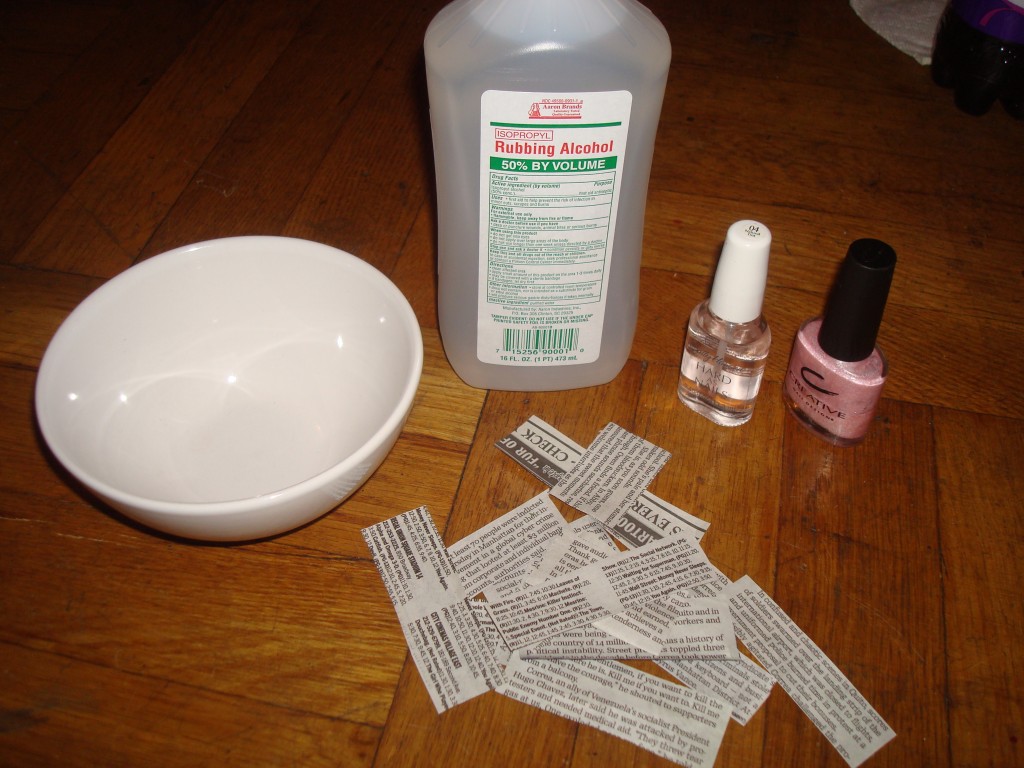
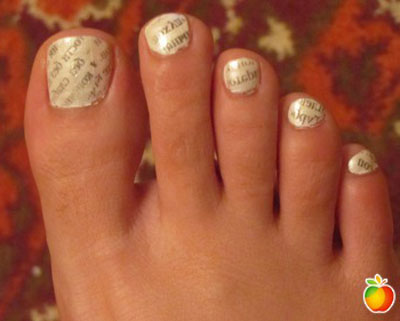
Popular newspaper pedicure, to create which use the usual pieces of newspaper. They are dipped for a few minutes in alcohol, and then put on a layer of pigment (about 30-40 seconds) and then covered with a printed design finish. To give the effect of vintage on top of the newspaper pattern, accent nails of the feet are often decorated with small stickers.
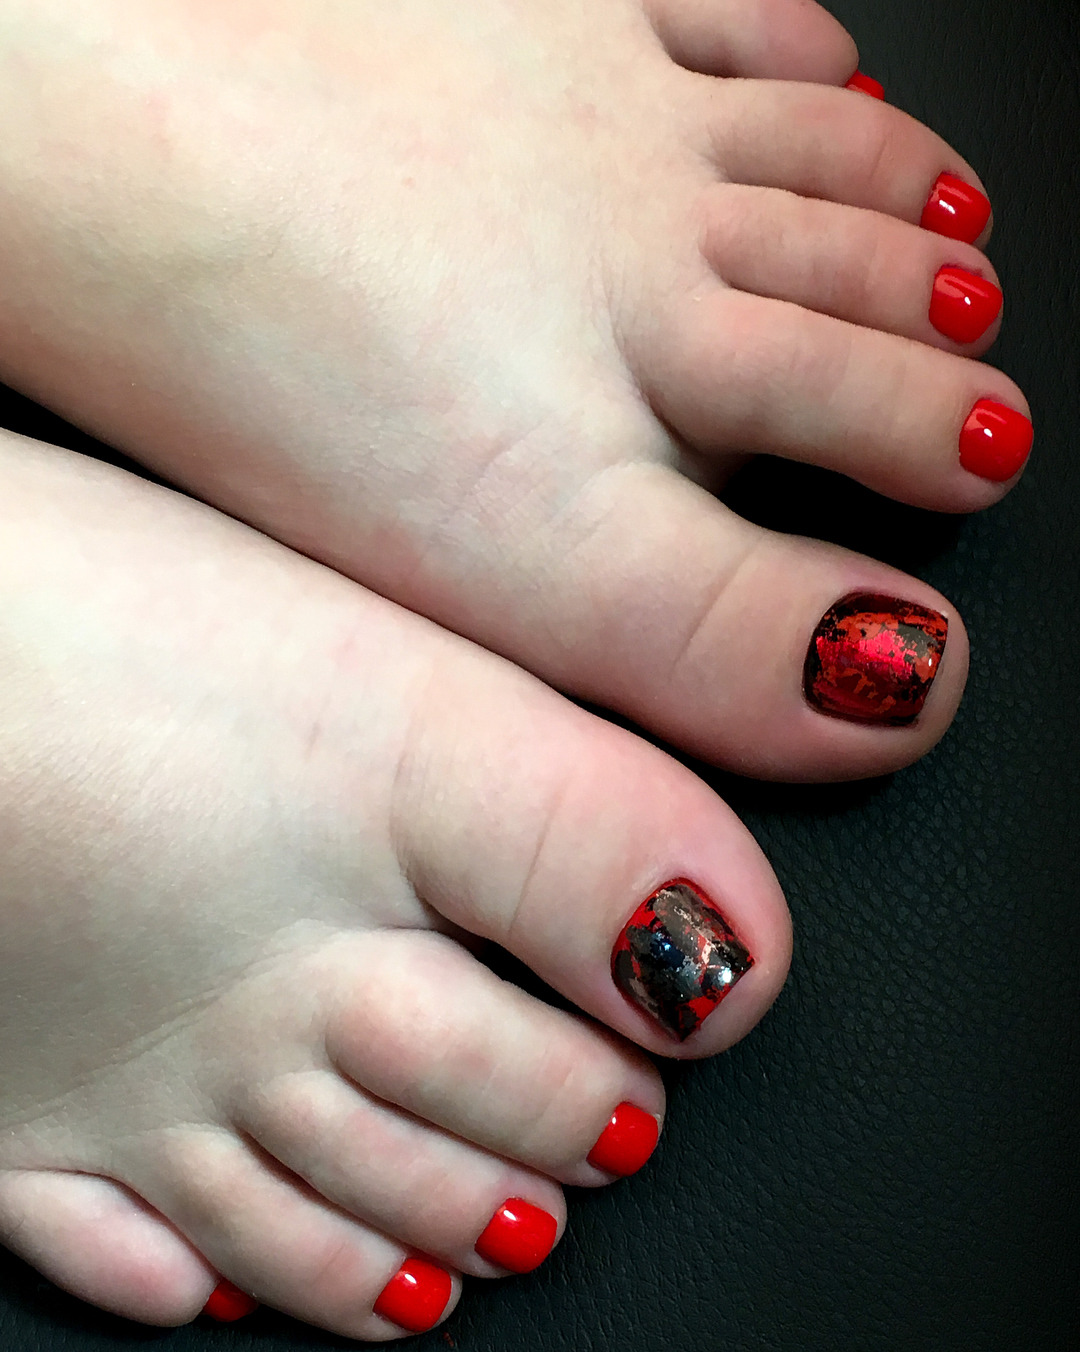
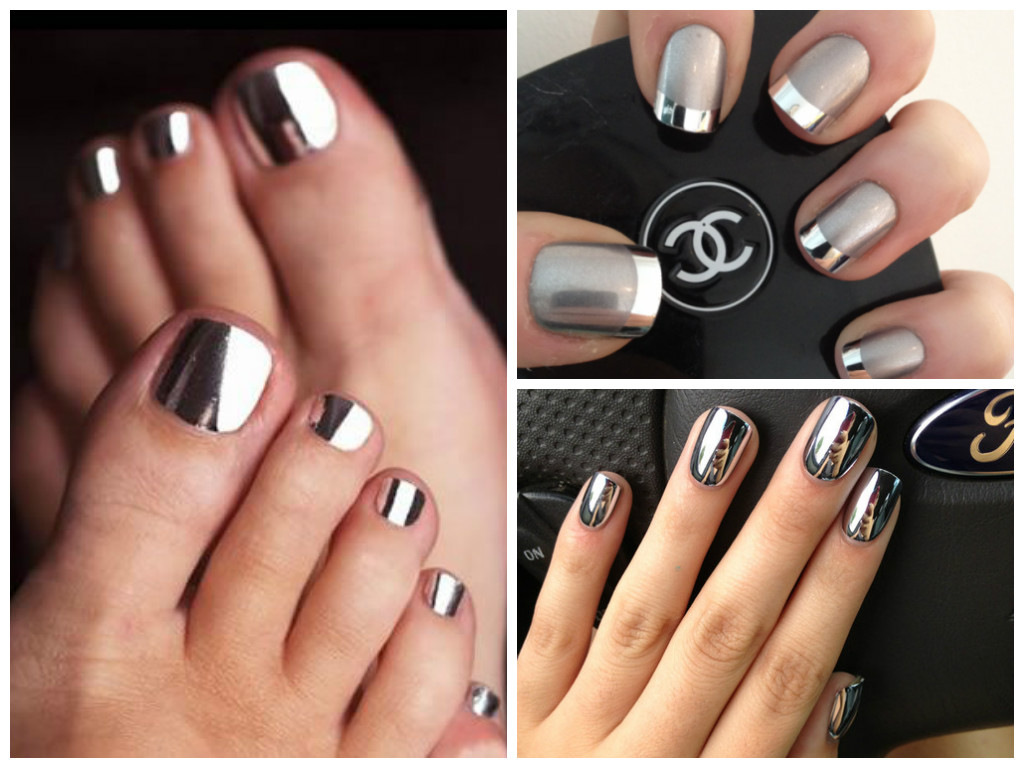
The trends of this season offer to pay attention to the design of toenails with the help of a special foil. If desired, a woman can choose between four types of this product, giving the pedicure not only a unique and effective, but trendy and modern design.
Foil can be combined with a gel varnish with a metallic sheen.
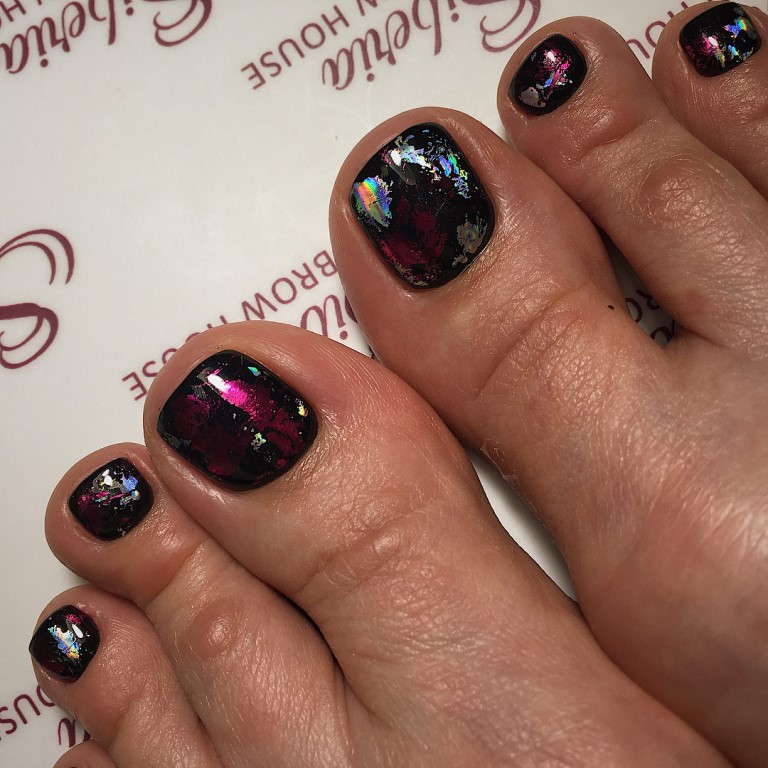
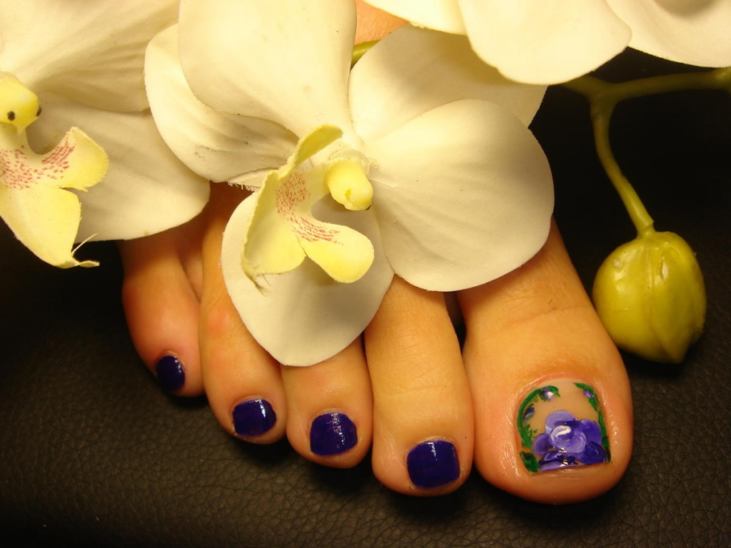
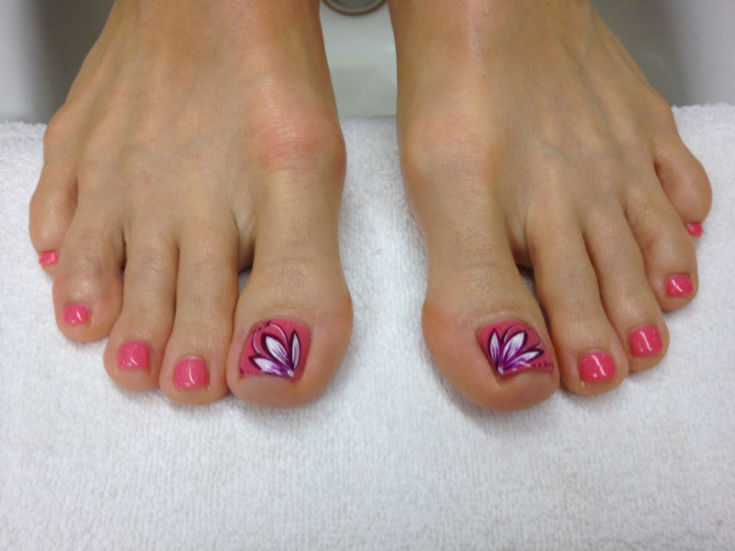
One of the uncommon decisions of this season is the partial decoration of nails. At the same time drawing is applied on an unpainted nail. This design looks interesting and fresh. In addition, the fashion vertical lines: the nail plate can be decorated with two contrasting shades of the product, closing the junction between them with a series of rhinestones or lace, pattern.
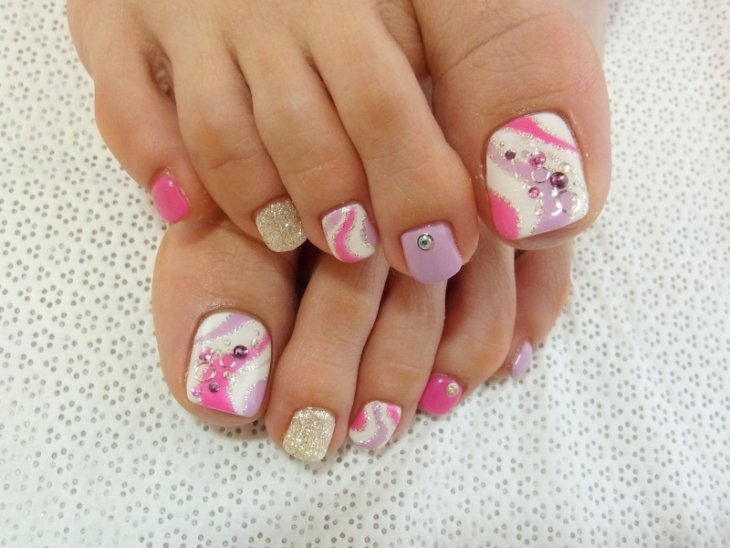
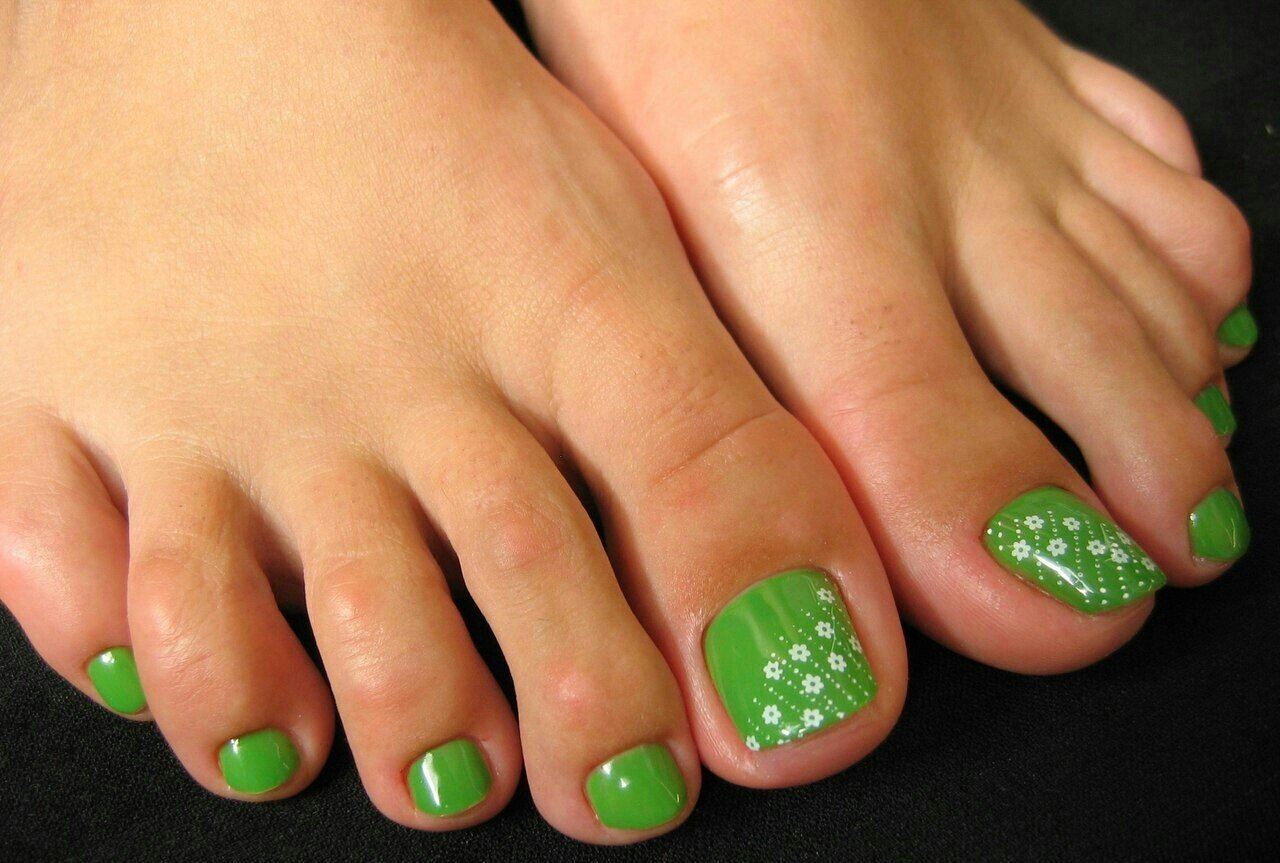
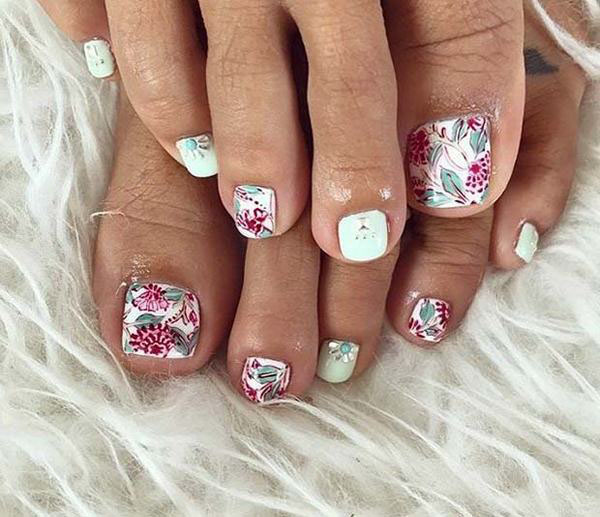
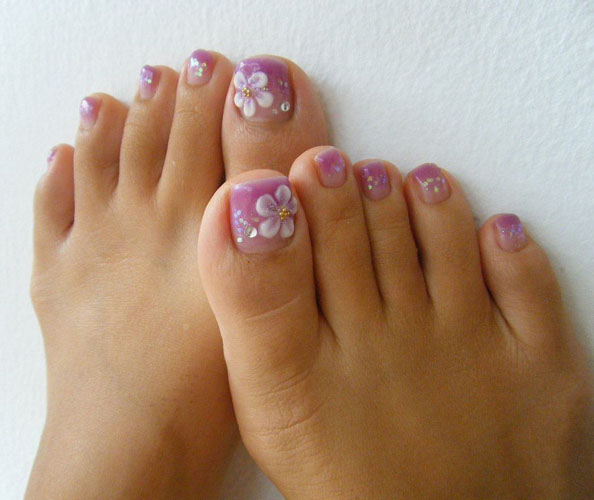
Beautiful and simple pedicure can be made on the basis of water stickers. They significantly save time drawing small elements. This pedicure design looks beautiful and professional, as if it was done in a nail salon. Lovers of painstaking drawings should take a closer look at decorating their nails with bouillons and rhinestones, laying out various patterns on accent nails from tiny beads.
How to do a pedicure with gel polish, see the following video.


