To preserve the health of their furry friends, it is necessary to carry out hygienic procedures that animals cannot perform on their own. This simple procedure, as cleaning the ears at home can be done independently, without the help of experts. In this article we will look at the basic rules for cleaning the ears of dogs, which is required for this.
Why do I need a procedure?
If you ignore this simple procedure, you may experience serious problems with the ears, which will bring not only a lot of pain and suffering to your pet, but also incur considerable material costs for treatment.
In other words, it is easier to save than to restore. It is best to teach a puppy to this procedure from a very young age. This is easiest to do when raising a baby. A puppy is easier to learn this procedure than an adult dog.

Cleaning frequency
Many are interested in how often you need to care for dog ears. This should be necessary, especially for breeds of dogs with short ears. The reason for this is the protective function (in small quantities) of ear discharge from dirt, dust, water, temperature changes and other similar factors. Before cleaning, make sure that this procedure is necessary. Too often, it is undesirable for a dog to climb into the ears.
For long-haired dogs with drooping ears, regular brushing is necessary. This is due to poor ventilation of the auricle. In hot weather, such a procedure is preferably carried out every other day. While shorthair dogs, ear cleaning should be done much less frequently. Much depends on the age and place of residence of the pet.
Over the years, ear discharge increases and cleaning should be done more often. Living at home, the ears are less polluted than those of street counterparts.
If there is a large amount of sulfur in the ears, it must be removed immediately. It is therefore necessary to regularly consider carefully how much discharge has accumulated in the shells. The inner part of the auricle is covered with fine hairs that, in compatibility with the ear secretions, prevent microbes from getting inside. When too often cleaning these hairs crush and can not perform their duties. Some dog breeds do not need this procedure for years and no problems arise.
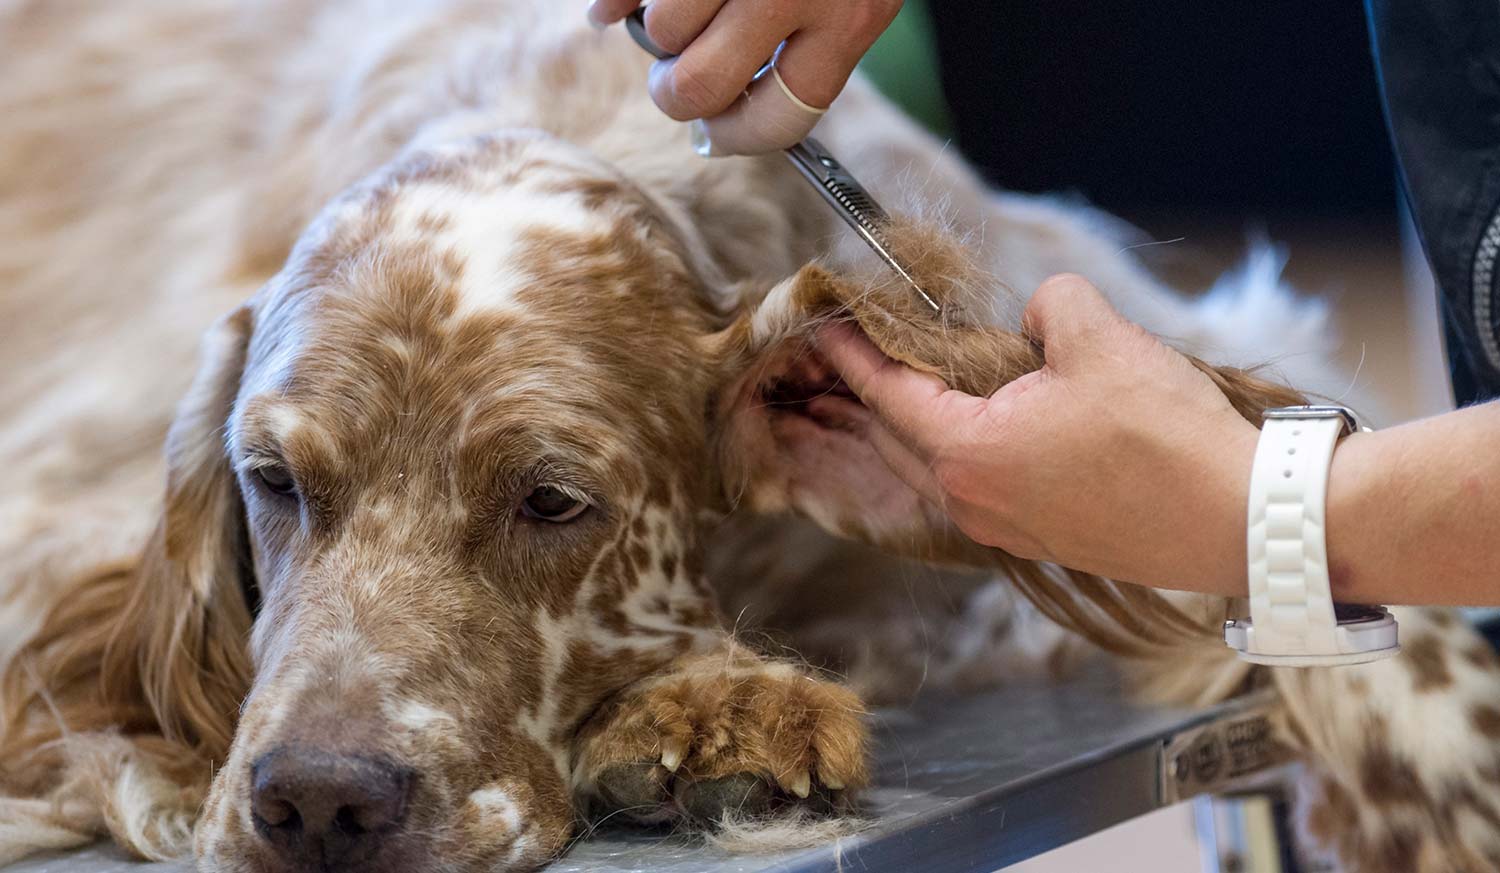
In addition, inside the ear can grow long hair. Over time, these hairs die off and clog the ear canal. Loose hair should be removed with tweezers.
This procedure is absolutely painless for the pet, except for the discomfort from tickling.
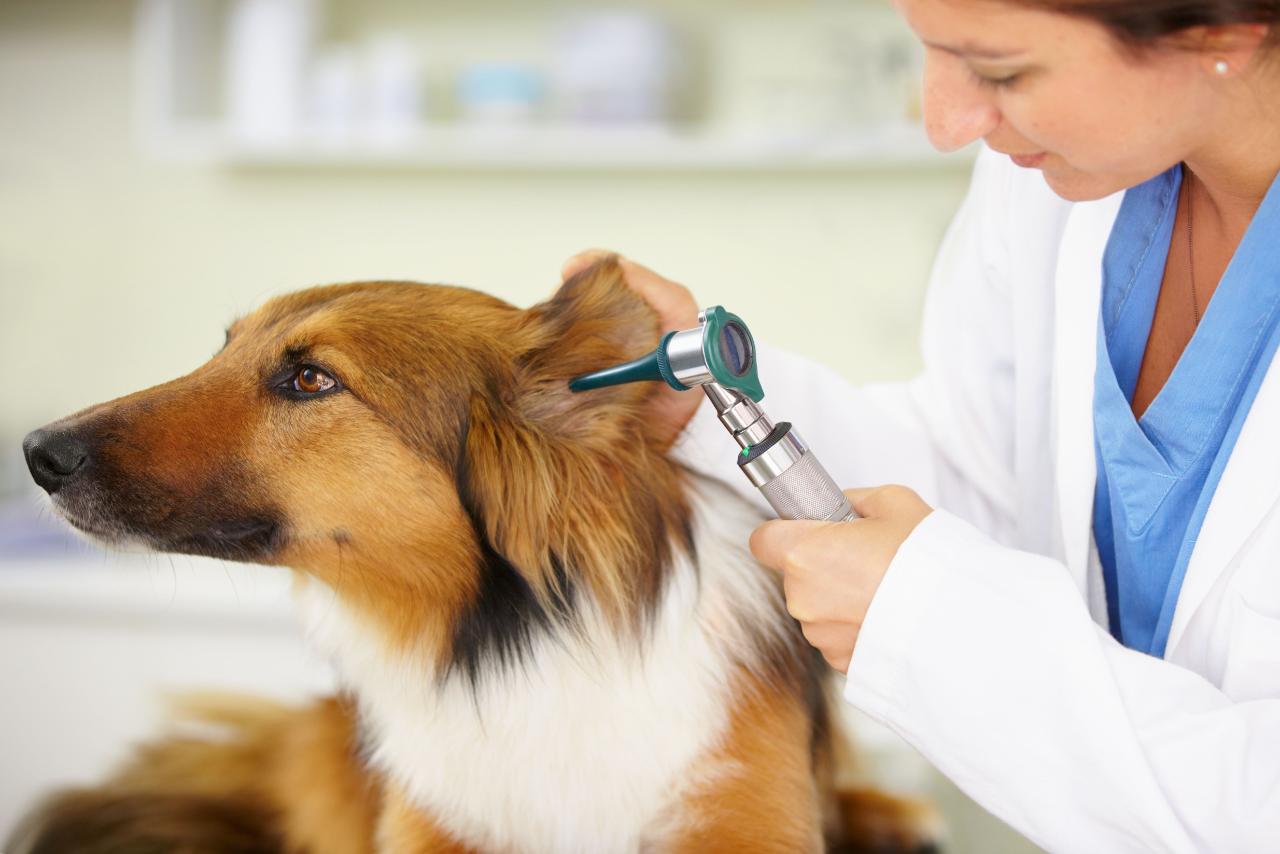
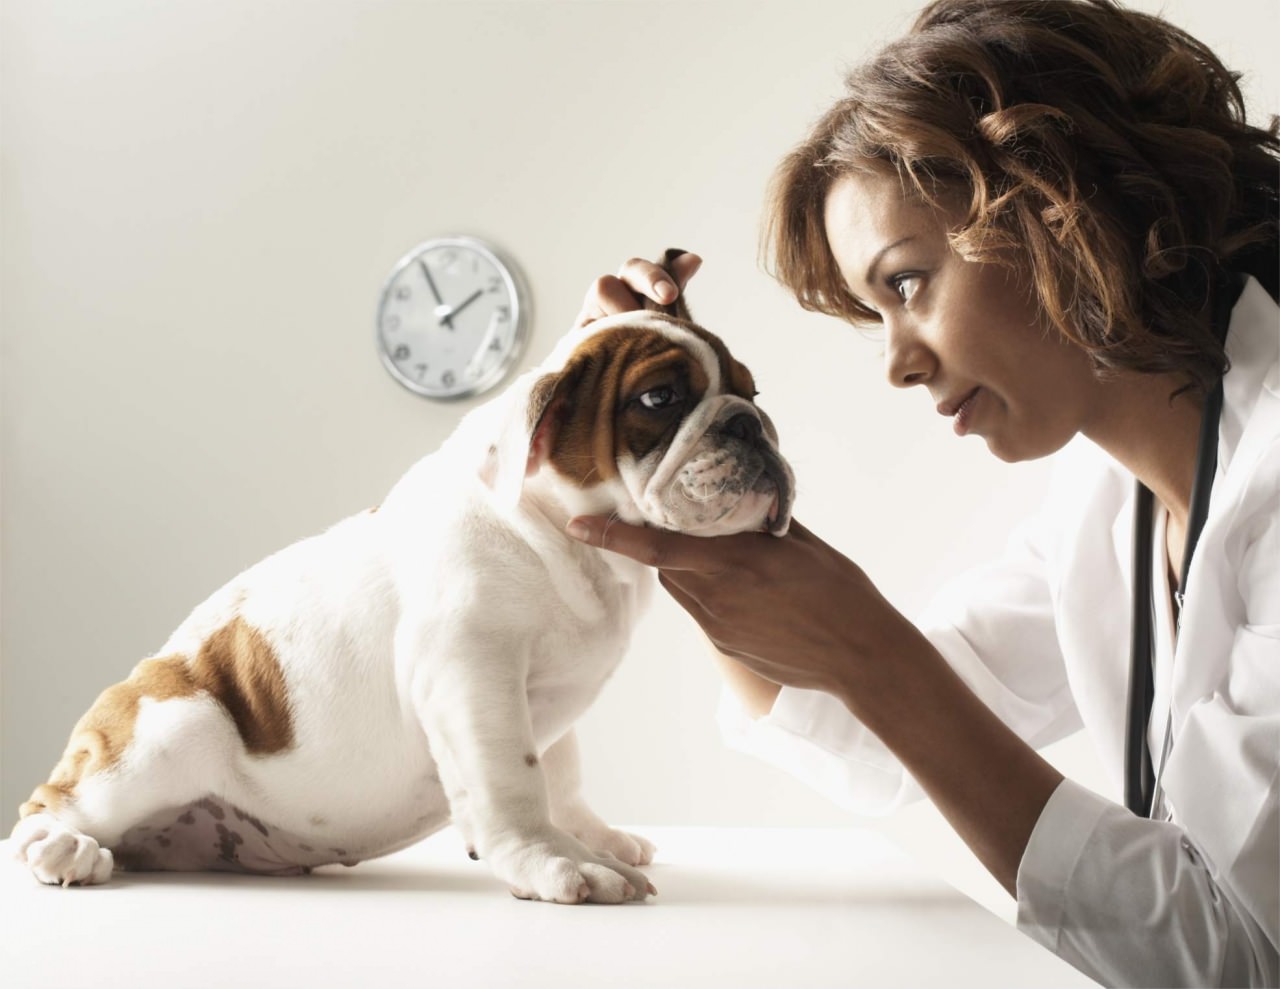
How to find out if it's time to clean your ears?
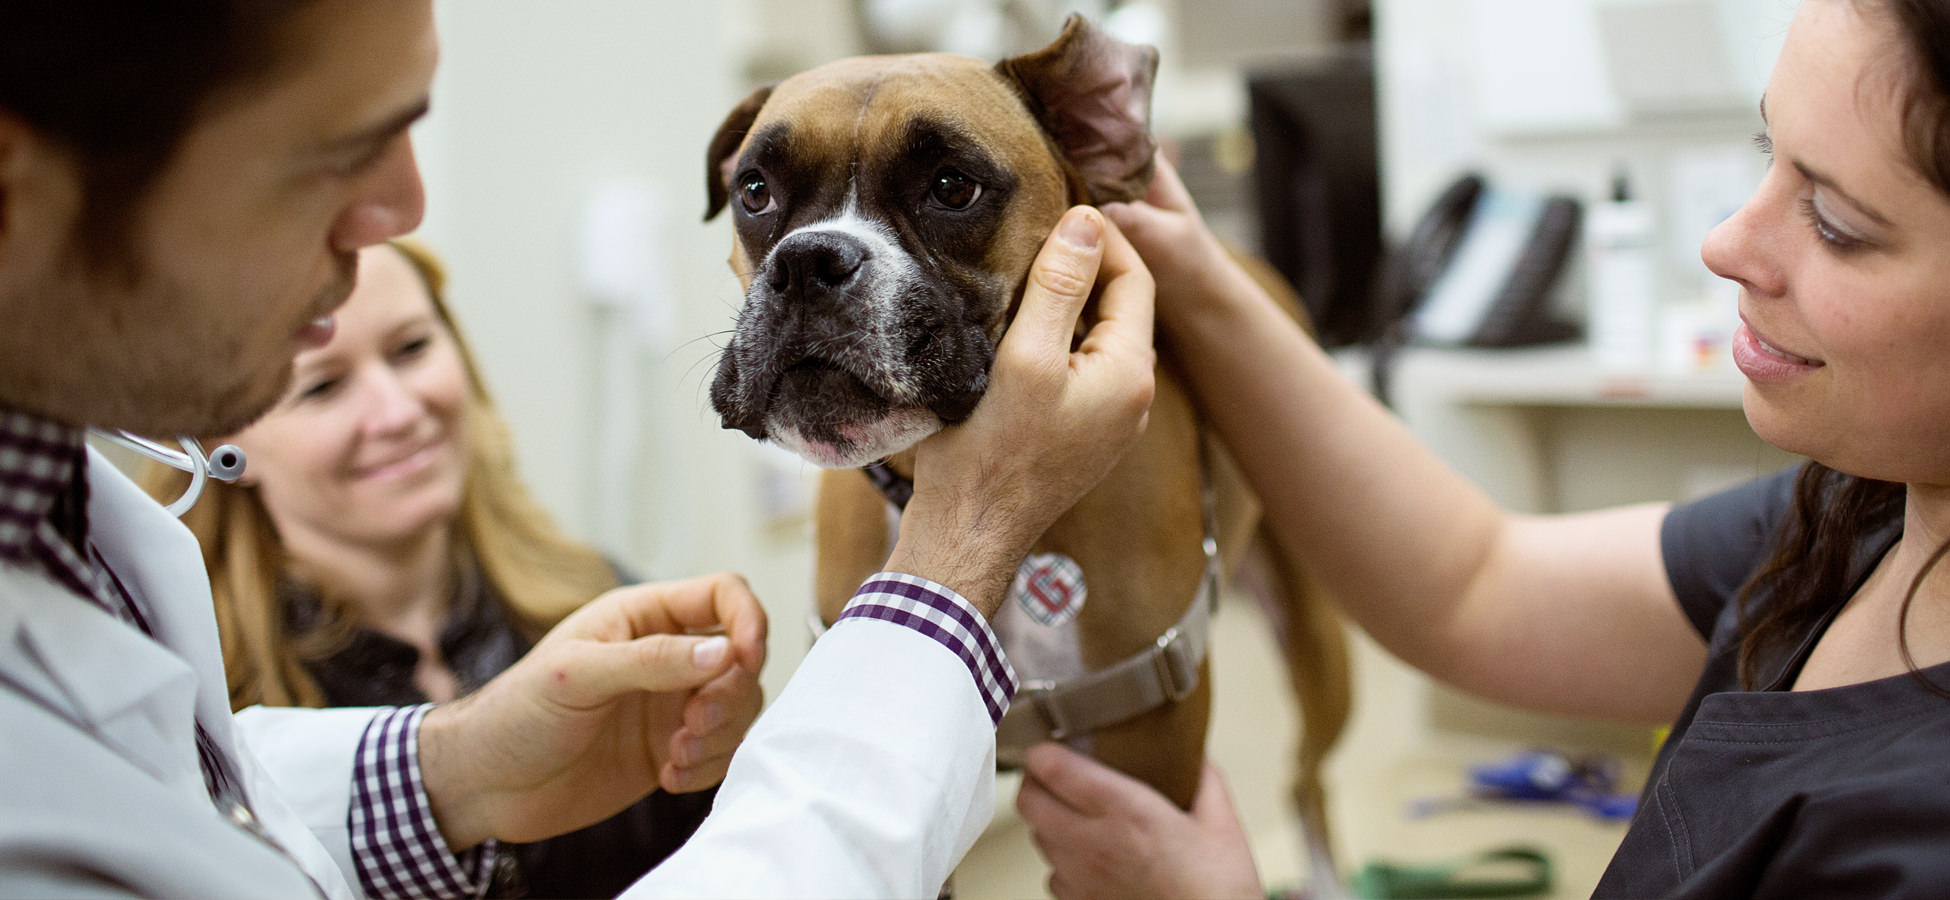
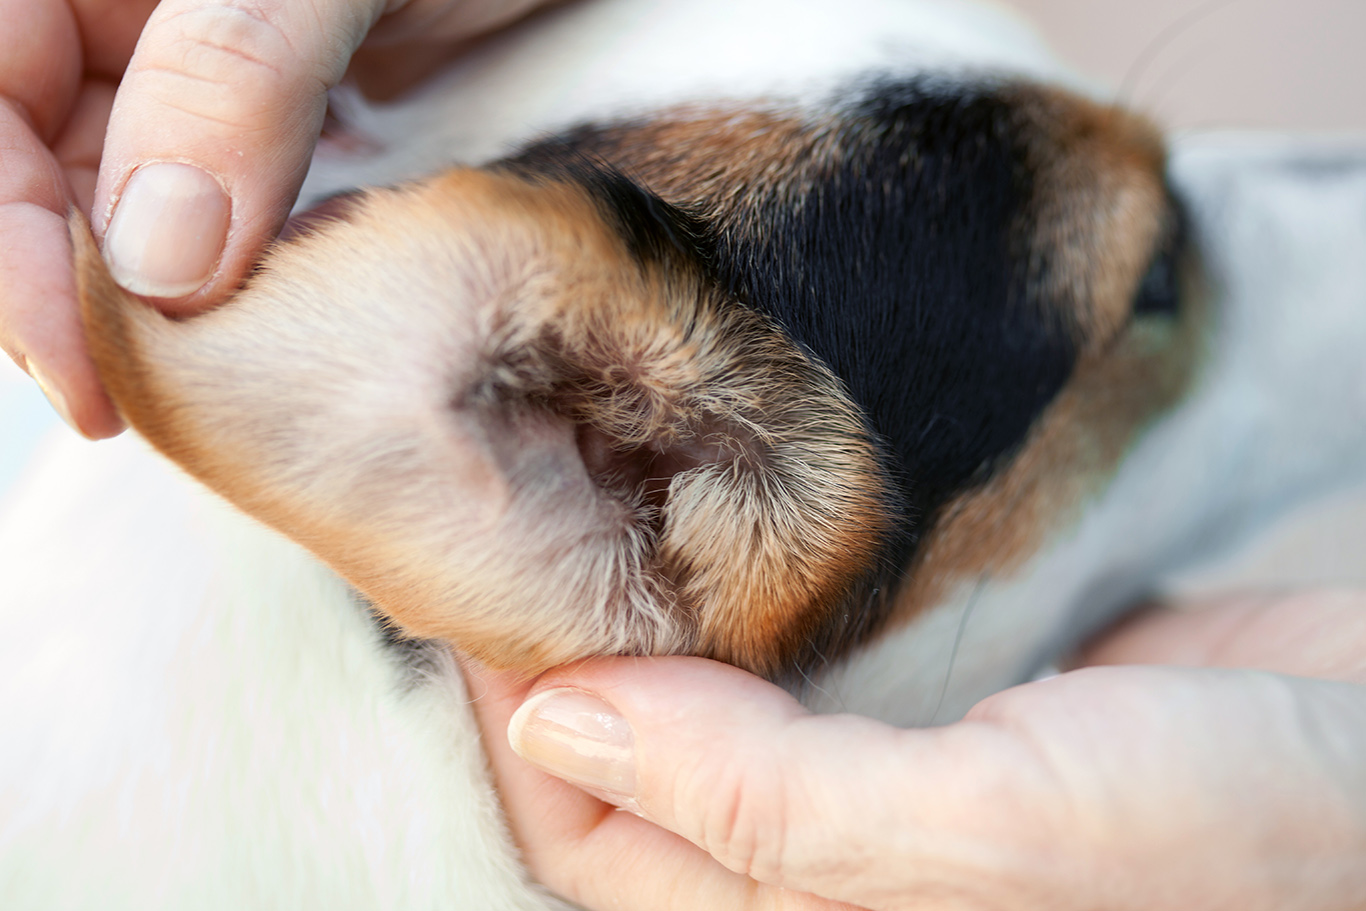
Regular inspection of dog ears should become a habit with the owner. This allows early detection of diseases and pathological changes. During the inspection inside the auricle, you may encounter the following:
- redness;
- excess selection;
- swollen areas;
- unpleasant smell.
These signs indicate the presence of infection or the onset of the disease, as well as the need to take measures to eliminate them.
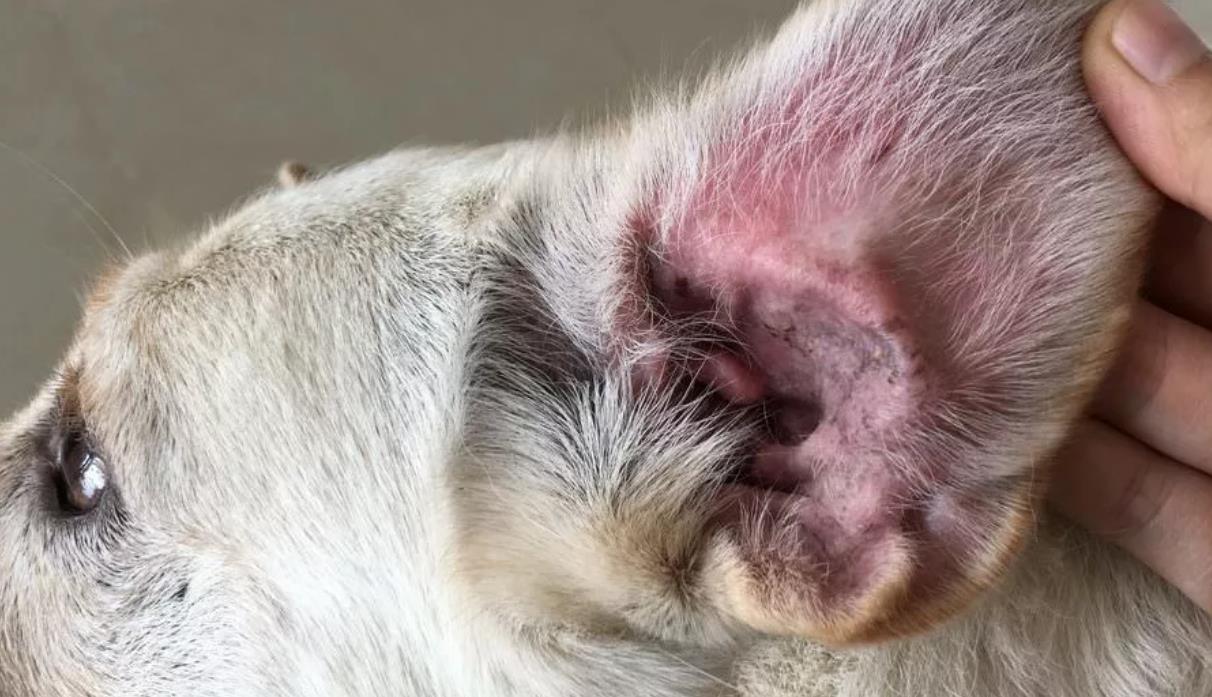
If serious inflammations are active, purulent deposits or swelling are visible, then you should rather go to the vet.
Necessary means and tools
All necessary for the procedure described tools and devices can be purchased at a veterinary pharmacy.
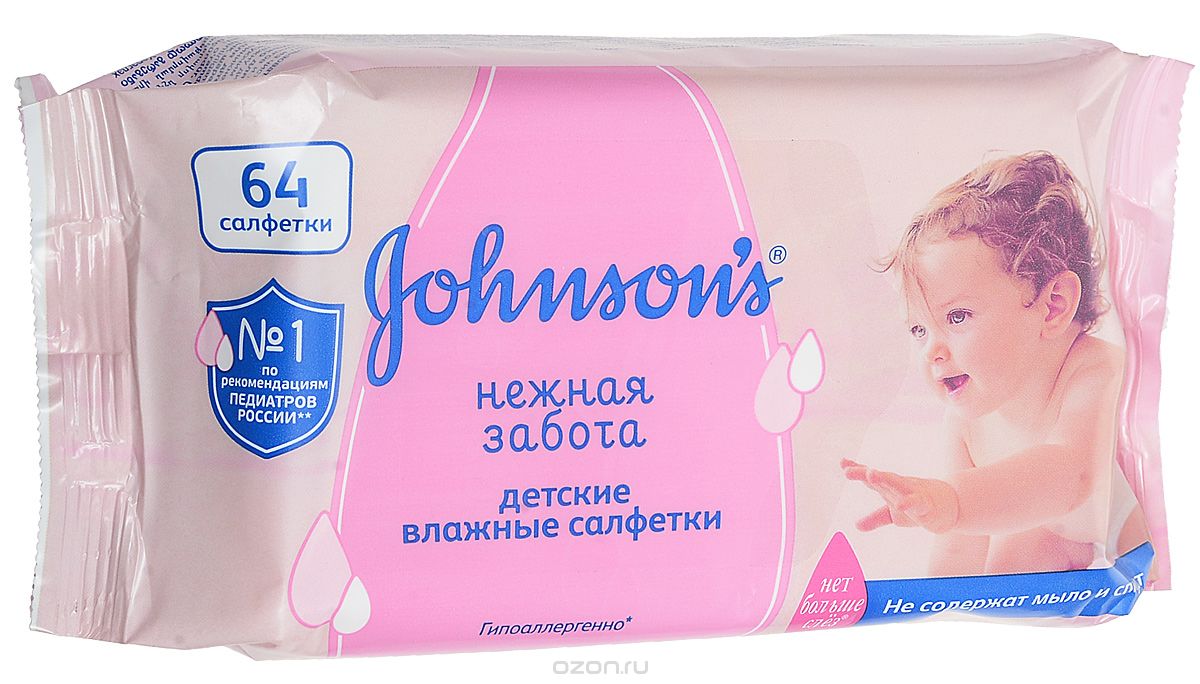
- Wet wipesmoistened with a liquid to dissolve impurities. The product should be suitable for sensitive skin, so that the animal does not feel discomfort during the treatment, and no irritation appears.
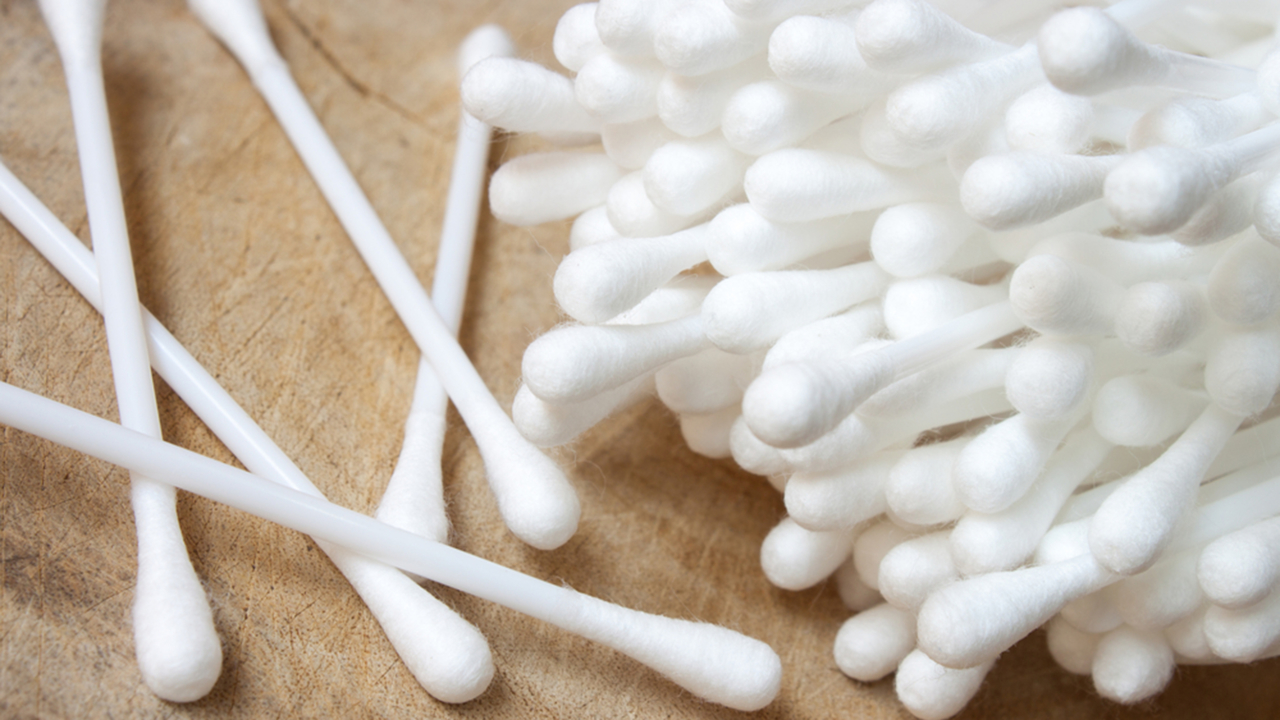
- Cotton buds, also moistened with ear care solution.
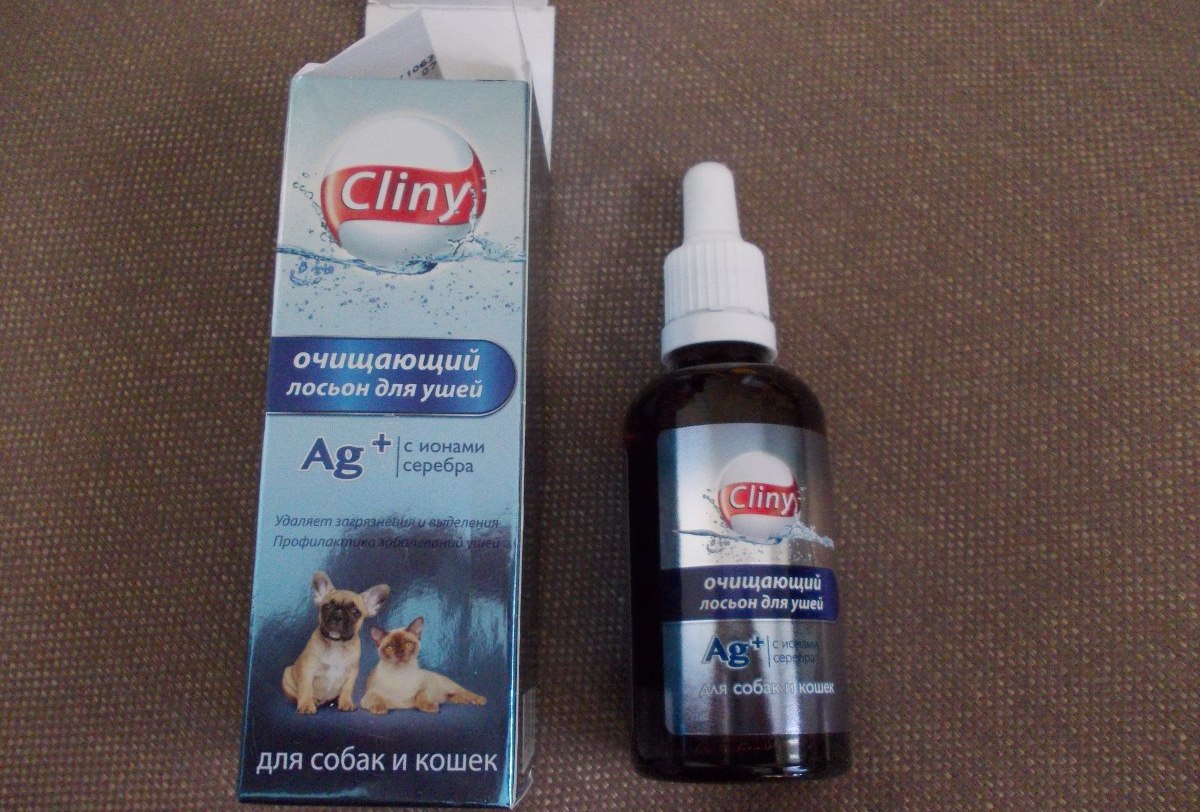
- Ear lotionshaving moisture absorbing properties. They will not only dissolve the pollution, but also help to remove the dirt from the ear. These means allow to dissolve even hardened deposits without any discomfort for the dog.
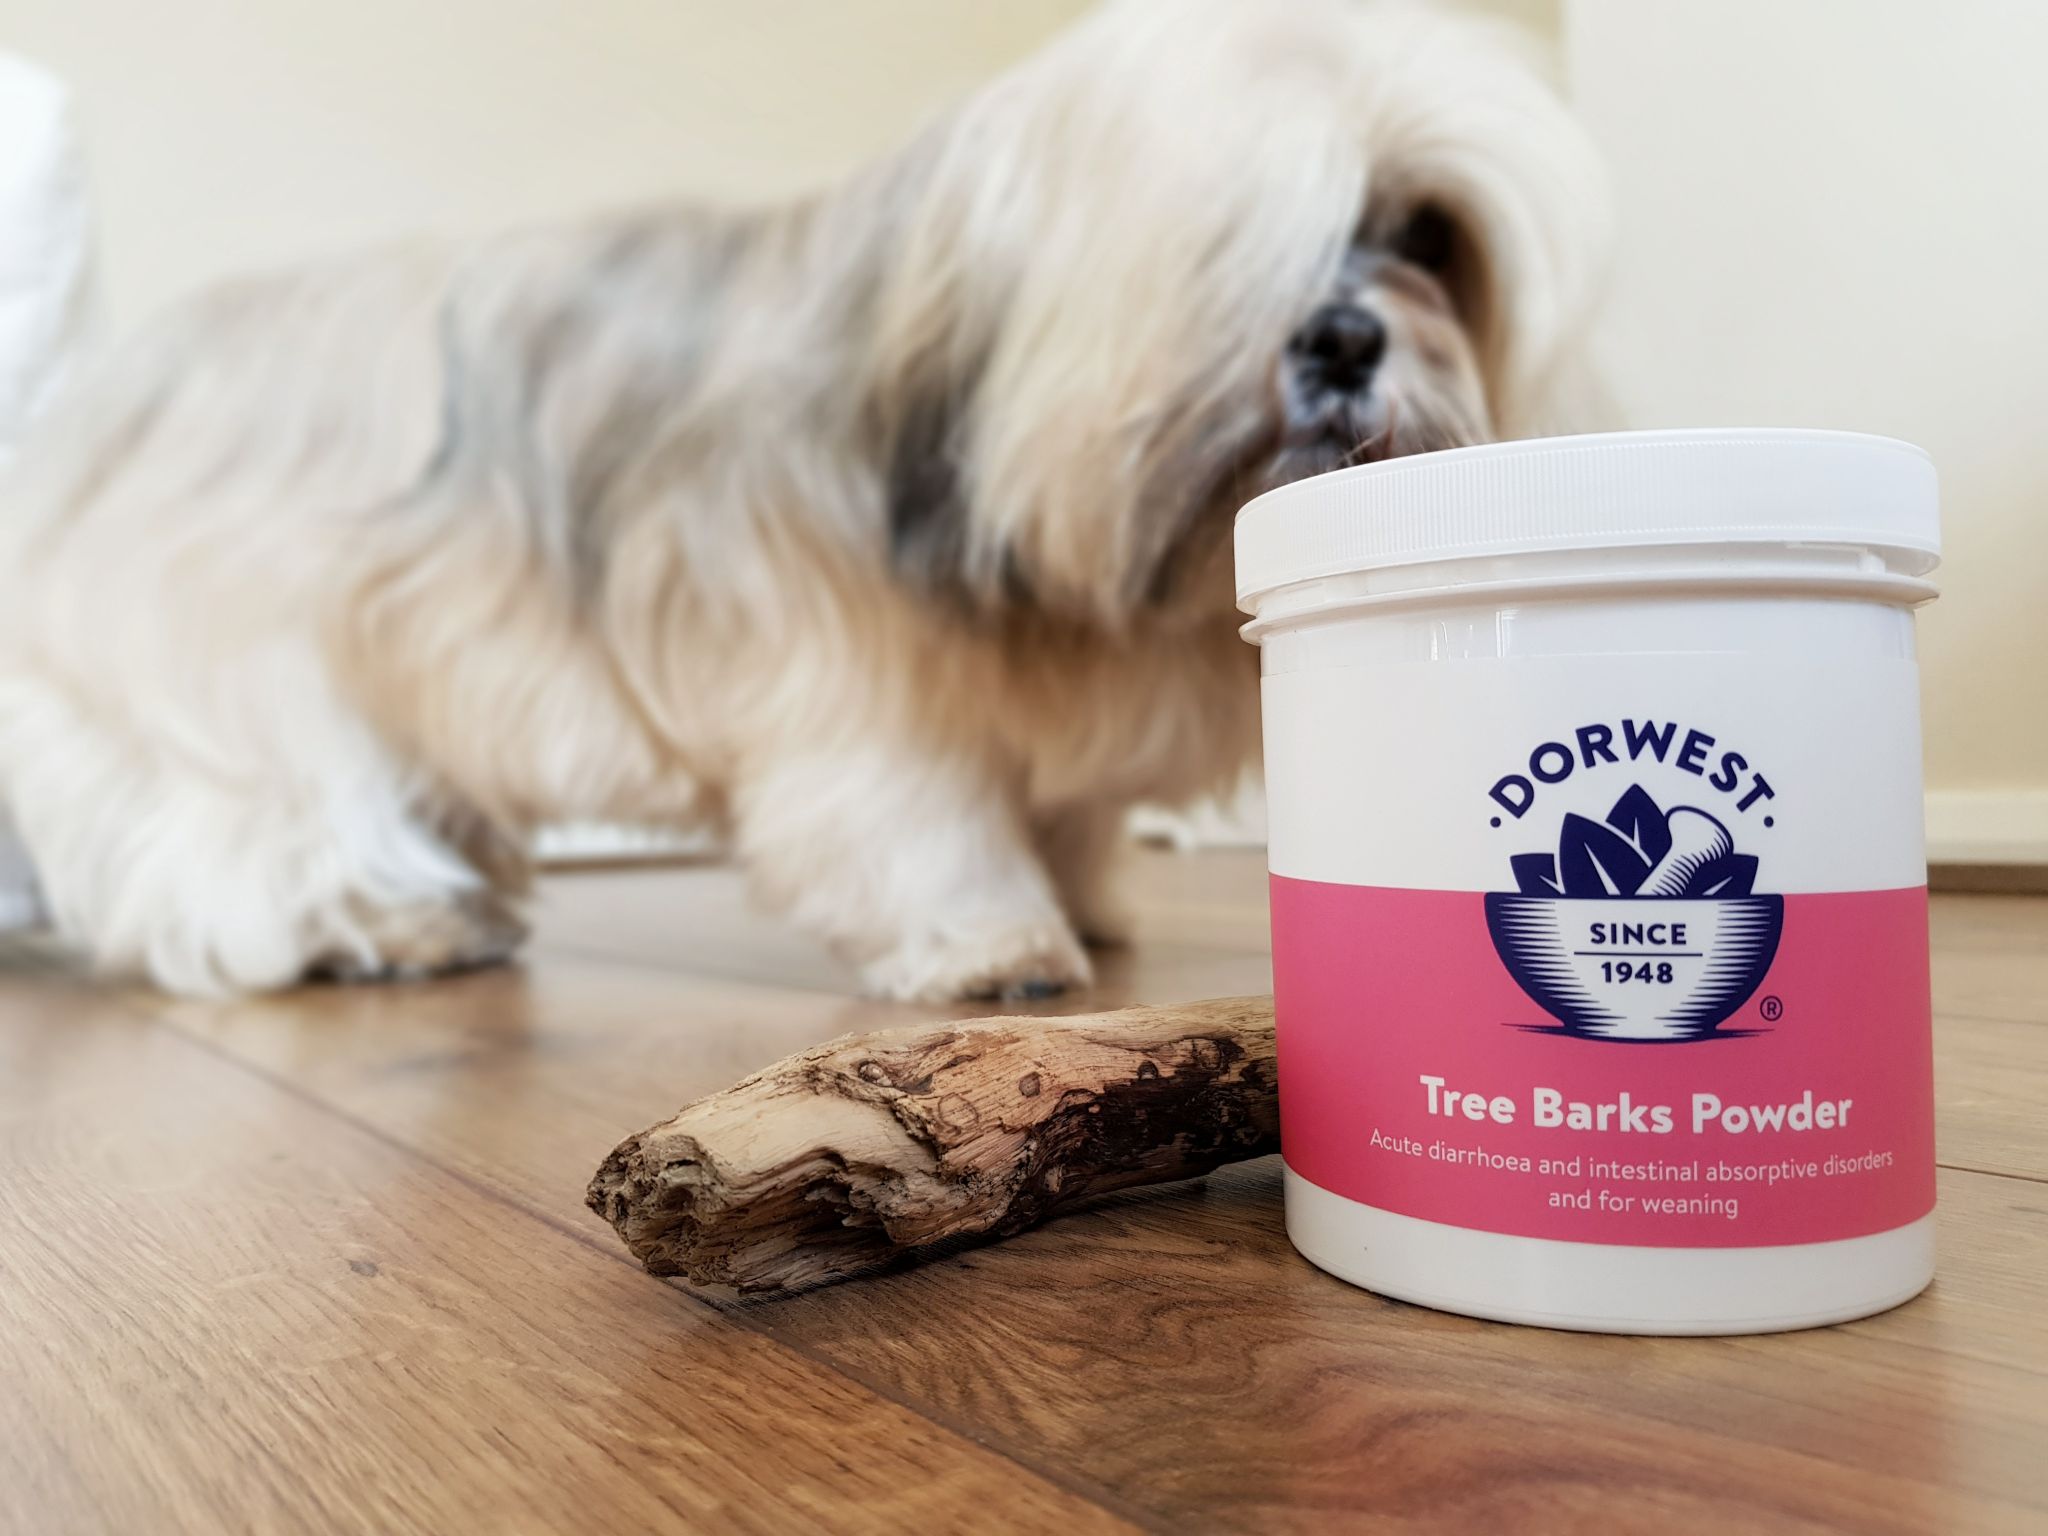
- Scouring powder. This tool absorbs excess moisture, which prevents the spread of fungi. And also it improves the ventilation of the auricle.
Many are interested in the question whether hydrogen peroxide can be used to treat the dog's ears at home. At 1-2 applications will do, but in the future you still need to use special tools. Peroxide is injected into the ear with a syringe without a needle or syringe.
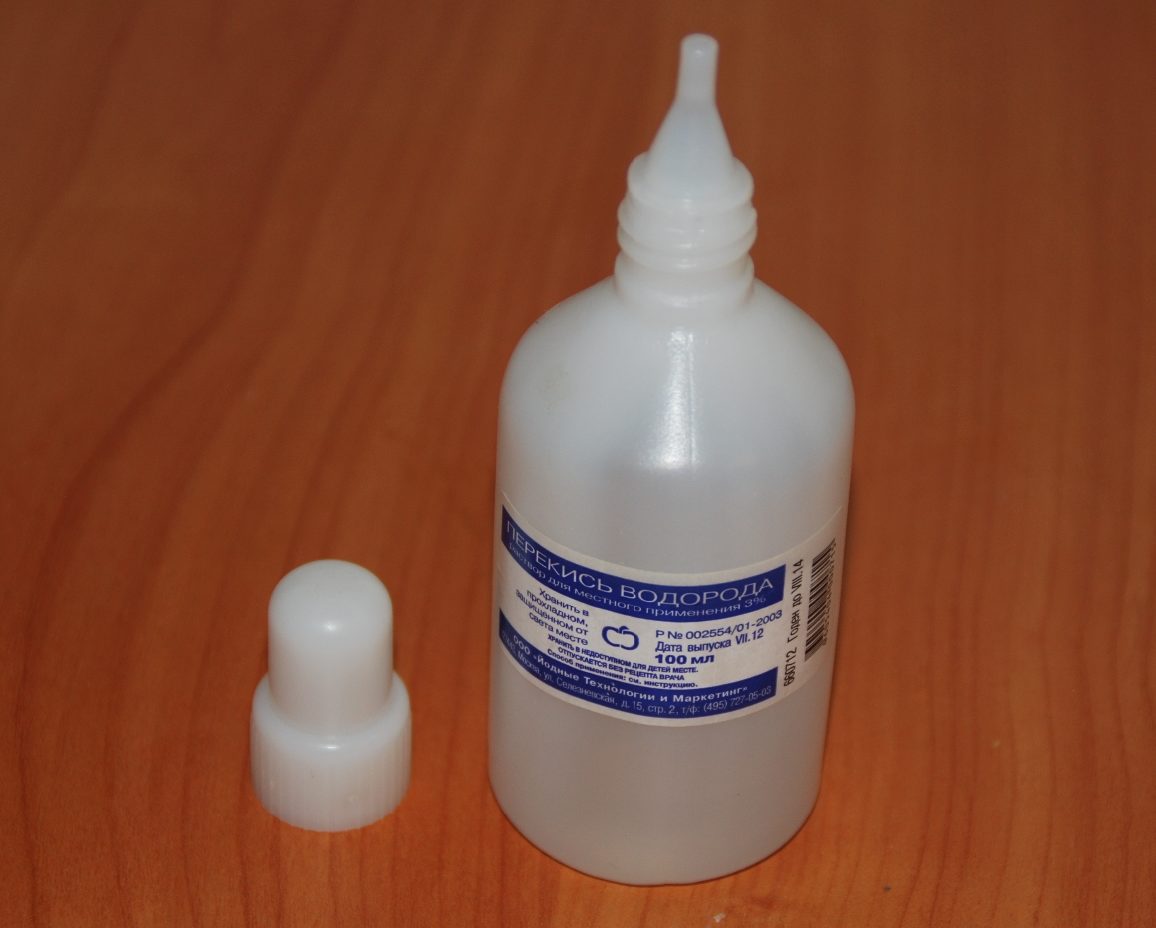
On one ear - about 3-5 ml of the product. Peroxide copes well with an unpleasant smell.
Important! In addition to the above funds, you can use the solution "chlorhexidine".
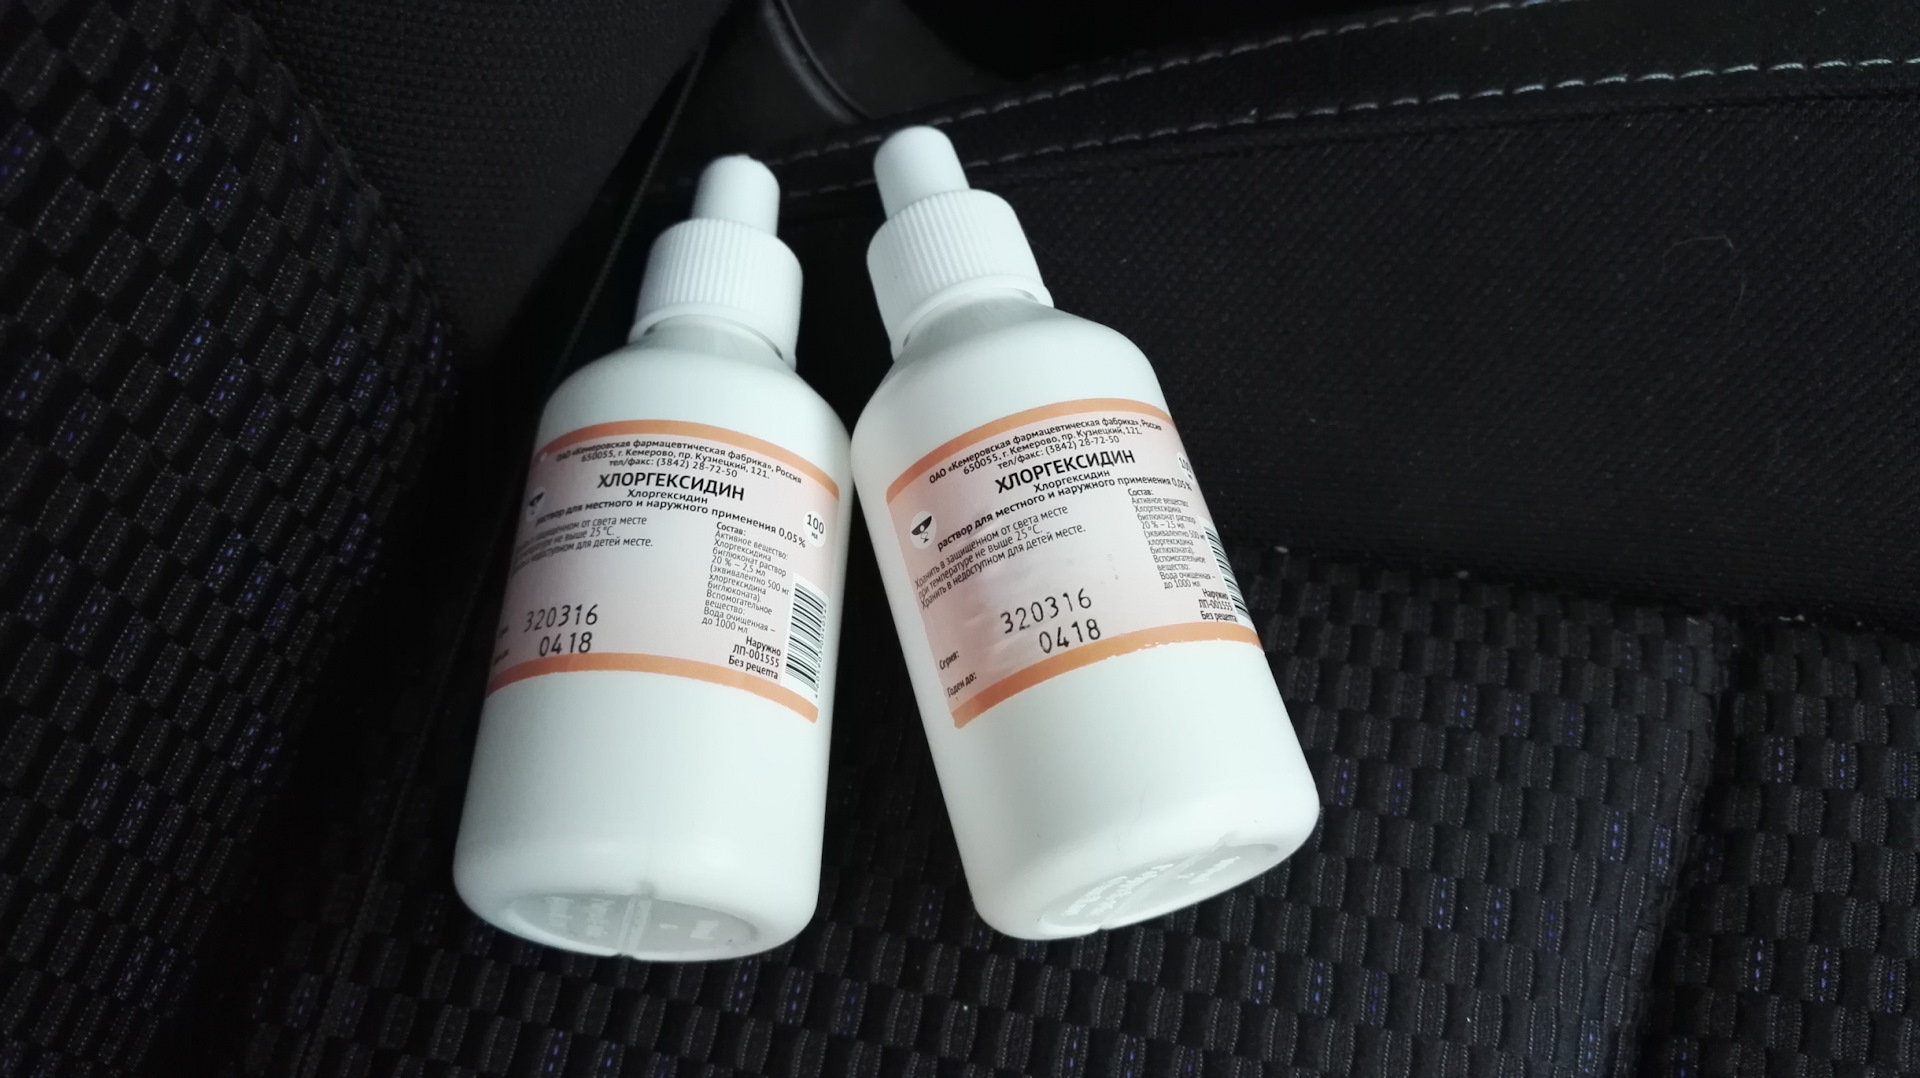
This is a herbal tincture of altea root, burdock, lavender, sea salt and chamomile. Never use shampoos, oils, alcohol or vinegar to wash your ears.
Dog training
Not every animal will immediately agree to such a procedure, so it needs to be prepared. To begin with, the animal should be reassured. When the dog does not tolerate manipulation of the ears, you can wear a muzzle. It is advisable to carry out this procedure on a familiar territory for the pet, so that it is not distracted by extraneous sounds and smells. The calmer honoring yourself a pet, the easier it is for the host to work with him. Otherwise it will be very problematic to have a good cleaning.
Show the animal all the items that you will use. Give them a sniff, make sure they are completely safe. After that, fix the head in a fixed position.. Keep it neat and tight but not to pain in a doggie. This can frighten him greatly.
If the patient is small, for convenience, you can arrange it on the table.
If a dog is not accustomed to hygienic procedures since childhood, then this may be a problem as adults. Each time the owner will face violent resistance. To avoid this, it is necessary for a long time to accustom the dog to this. Every time he wants to leave, he does not need to be stopped, the animal must feel free and realize that they are not trying to harm him. Realizing this, the animal will each time endure this procedure longer and longer.
Much depends on the breed of dog. For example, Terriers to teach to clean the ears is much more difficult than others.
At the end of this procedure, give the patient a treat for his effort and patience.. The treat will be remembered by him, the next time the procedure will be a little easier. Over time, the pet will understand that there is nothing to worry about, and the lack of coercion and delicacy at the end will help get used to this event faster.
Step-by-step instruction
Many owners are wondering how to properly clean the ears of a dog at home. To carry out such a procedure should be with the utmost care and comfort for the dog. In this case, the dog will not resist and interfere. One awkward movement can hurt a pet, and in the future he will not agree to repeat this procedure.
Before the process starts prepare your pet morally so that he is not tense and resist. It will help in this conversation with your pet, during which you can examine the ears. It is necessary, hToby the pet was in a good mood, did not worry and did not break out.
If the dog is too active or worried, it is better to postpone the procedure for a while.
If everything is in order, you can proceed by adhering to the following algorithm:
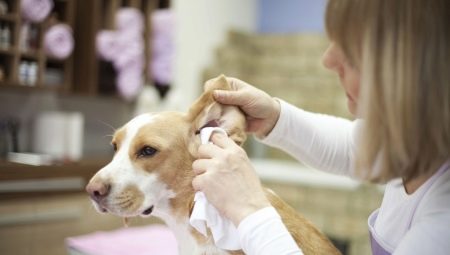
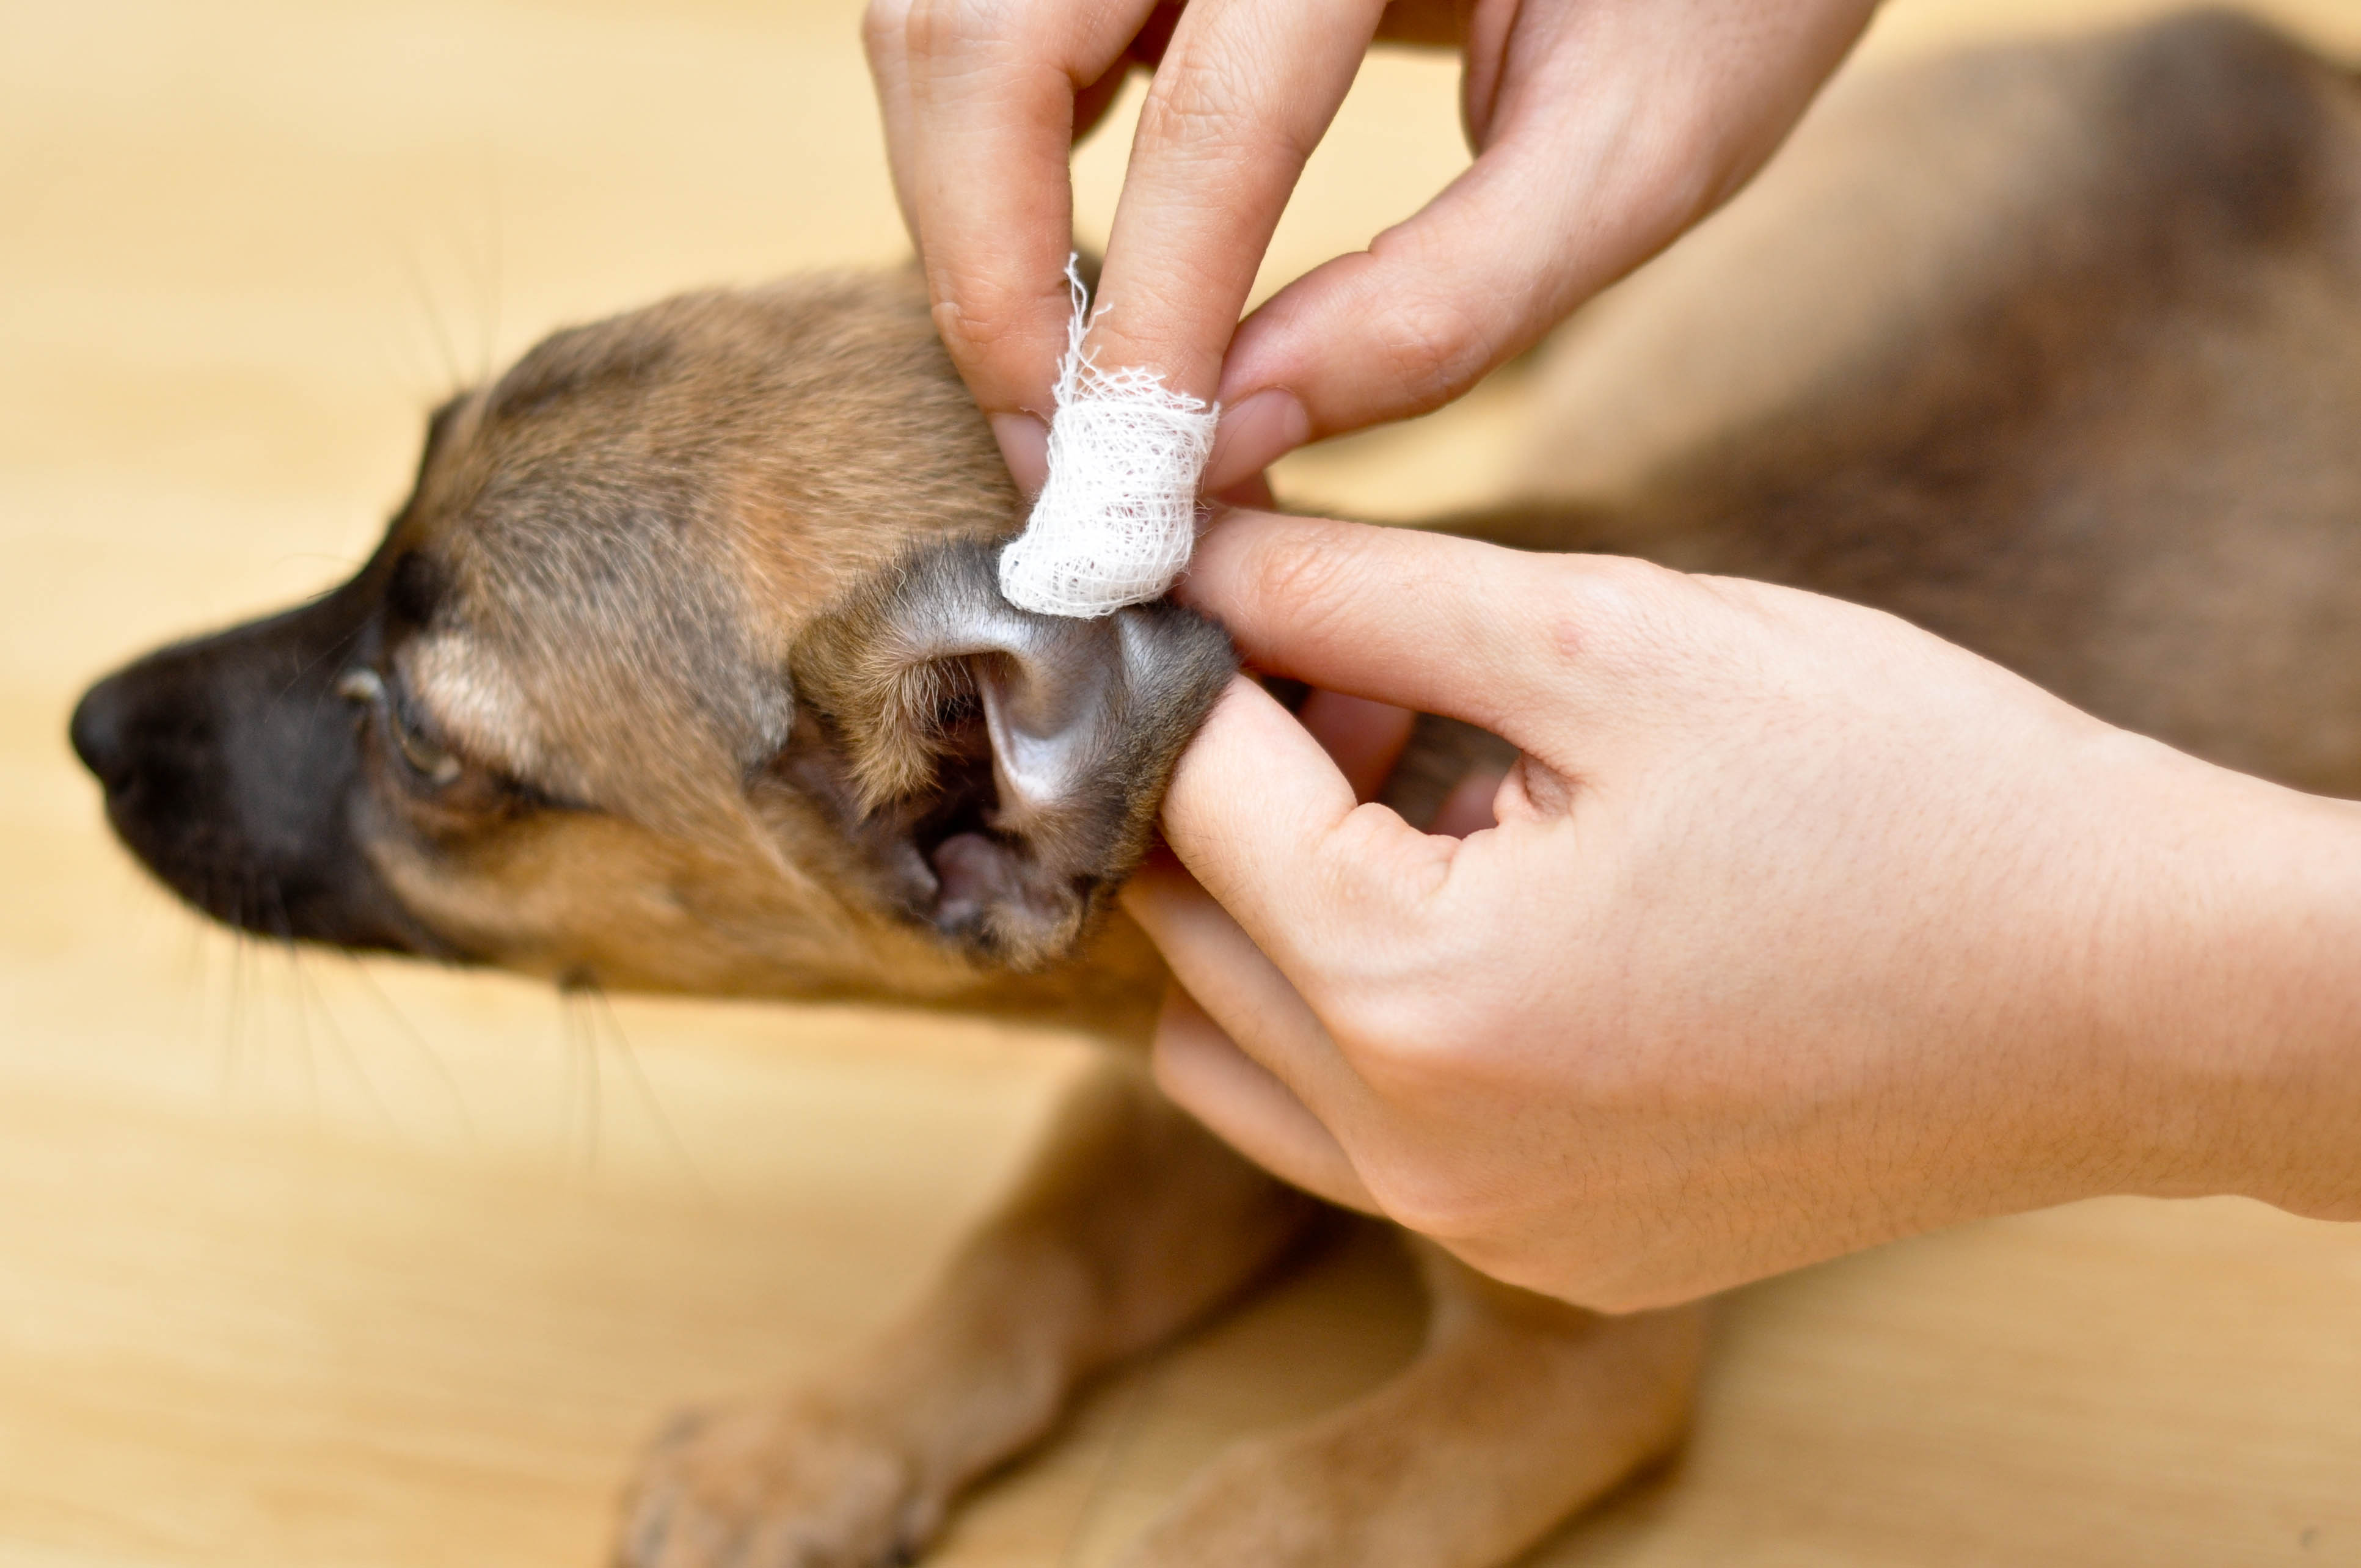
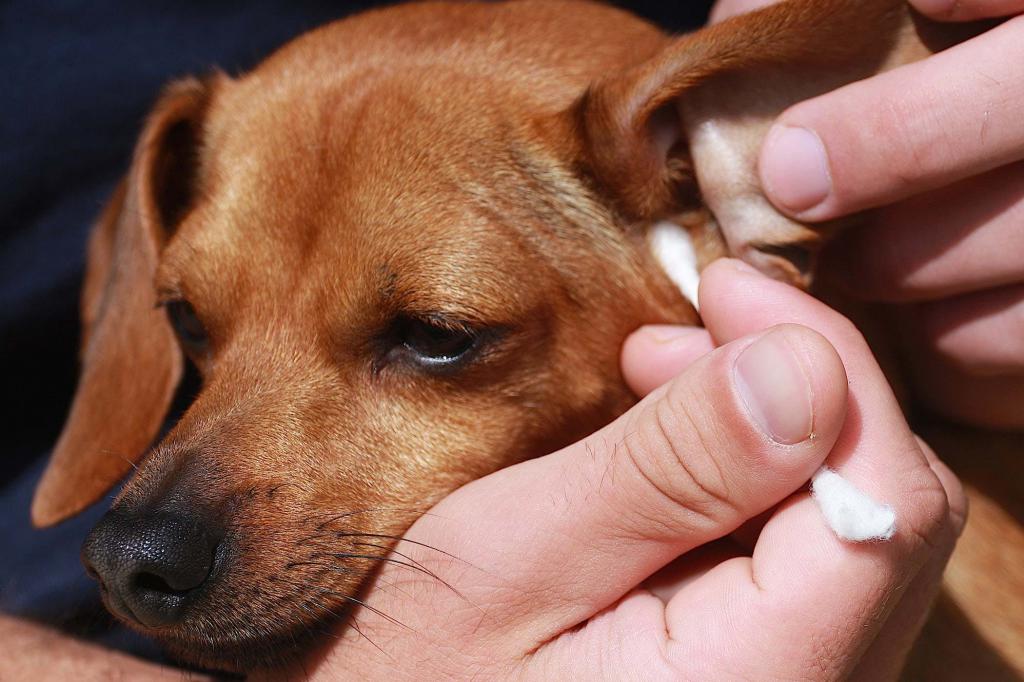
- cotton disc soaked with lotion and wring out, gently wipe the outer part of the ear; you can replace the cotton pad with gauze by winding it on your index finger and wetting it with a solution; further wipe the ear;
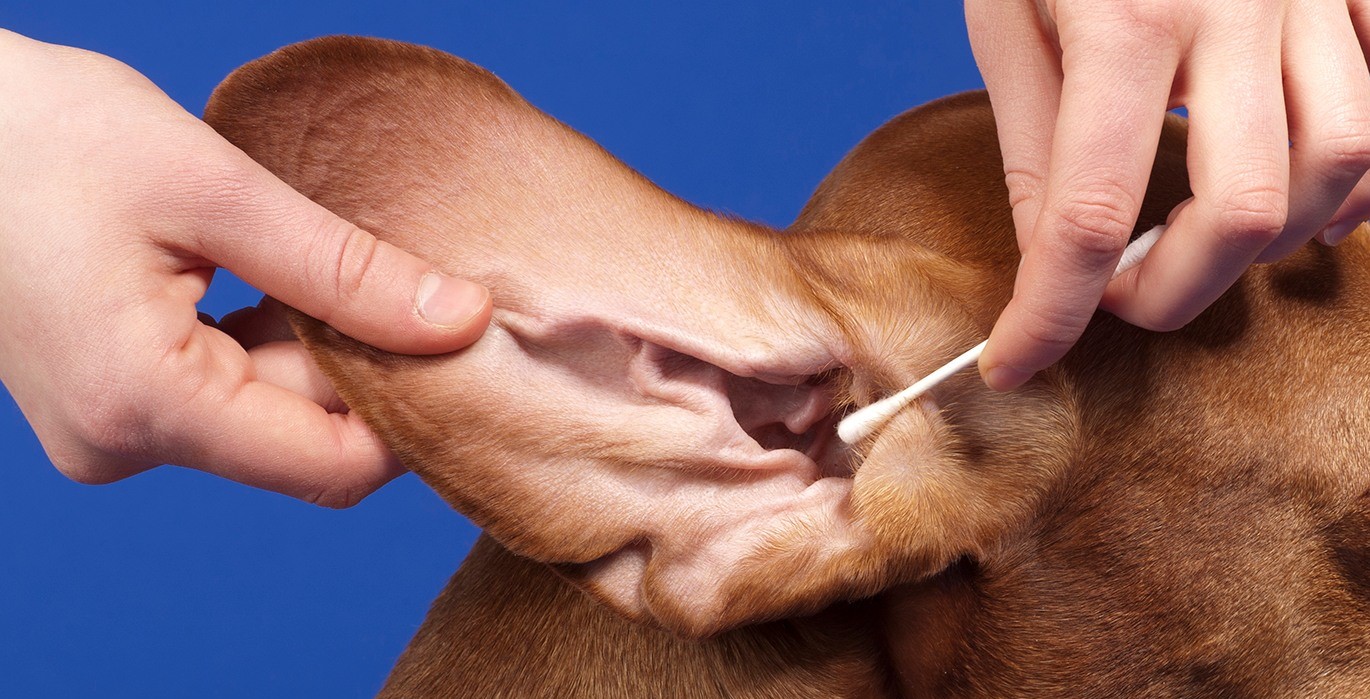
- with a cotton swab dipped in lotion, we process the inner part of the ear without dropping deep into the ear canal;
- after the procedure, wipe the treated surface with a damp cloth;
- after preliminary examination and approval of the veterinarian, a solution is poured into the ear to soften too dense sulfur deposits; after that, you need to wait until the solution soaks the sulfur, after which you need to rub the doggie's ear in a few minutes with massage movements; The dirt coming out of the ear afterwards is collected with a wet napkin.
Important! After the procedure, the animal will shake his head and ears. This is normal.
Thus, the pet gets rid of excess fluid in the ears. Then wipe the ears again with a damp cloth.
What is not recommended to use?
In order not to make terrible mistakes and not to injure the organs of hearing of your pet, you need to know and follow the following simple rules:
- never insert the ear sticks into the auditory canal, it can lead to loss of hearing in the animal;
- never pour water into the dog's ears, since when leaking into the ear canal it can lead to inflammation;
- in the presence of inflammation in the ear, it is prohibited to use hydrogen peroxide and alcohol solutions;
- do not use dry cotton wool - fibers stuck in the ear can lead to a constant itchy sensation, because of which the pet will constantly scratch the ear;
- Use only disposable materials, discard them after use, under no circumstances use them again;
- If your pet has inflammation or ears, contact the specialists - they will help you find the best treatment.

Adhering to such recommendations, ear cleaning will be painless, effective and efficient. If you doubt your skills and skill or are afraid to harm your pet, the right decision would be to seek help from specialists. For the first time you can see how this happens, and only then carry out this procedure yourself. The organs of hearing are very important for the life of your pet, it is unacceptable to injure them.
On how to properly clean the ears of a dog, see below.


