
One of the most common gift options for newlyweds is money for which a young family can buy what they deem necessary. To make the procedure for handing envelopes easier and more convenient, it is best to use special chests for this. This accessory for a holiday can be bought or made independently, for which it is important to know its correct dimensions, choose the appropriate material and beautifully add decorations.
Choice of size and shape
A casket in which guests will place money presents during a wedding celebration should look spectacular and be as comfortable as possible. To this accessory is not conspicuous to all who will be present at the celebration, it is important to choose the right size. Too small chest will make it difficult to collect envelopes and cards, and too large will stand out, which will provoke a variety of ambiguous conversations. In addition to the usual convenience, the size of this box is important because of the security of the contents. Too small capacity can be easily stolen while guests and newlyweds are busy.
The optimal size of the chest for money is 20-30 cm with a height of not more than 20 cm. Such standards are designed for a ceremony not exceeding 80 guests. If the wedding is planned to be very large, then you can increase the size of the product or provide several drawers for financial gifts for the young. The size depends not only on the number of guests, but also on the shape that the chests have.
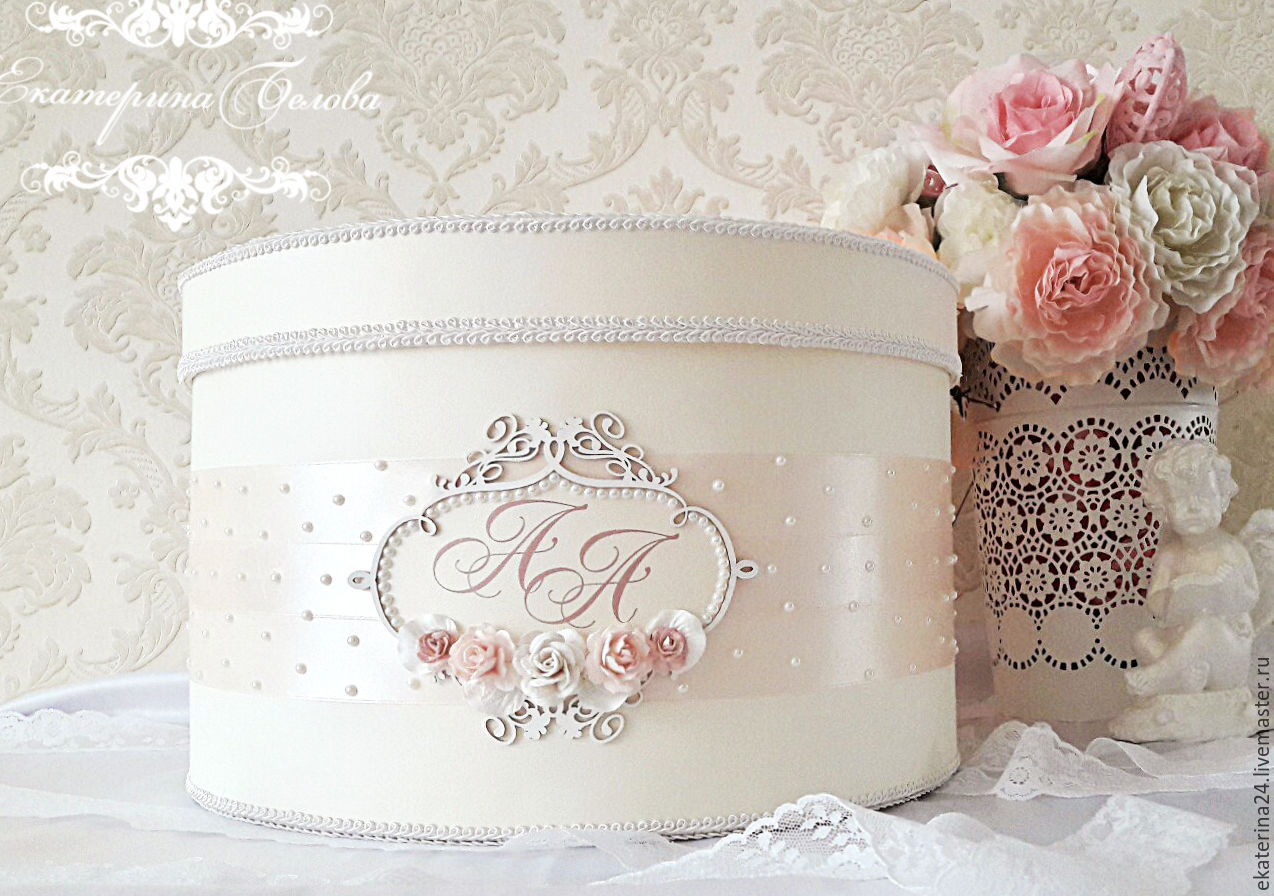

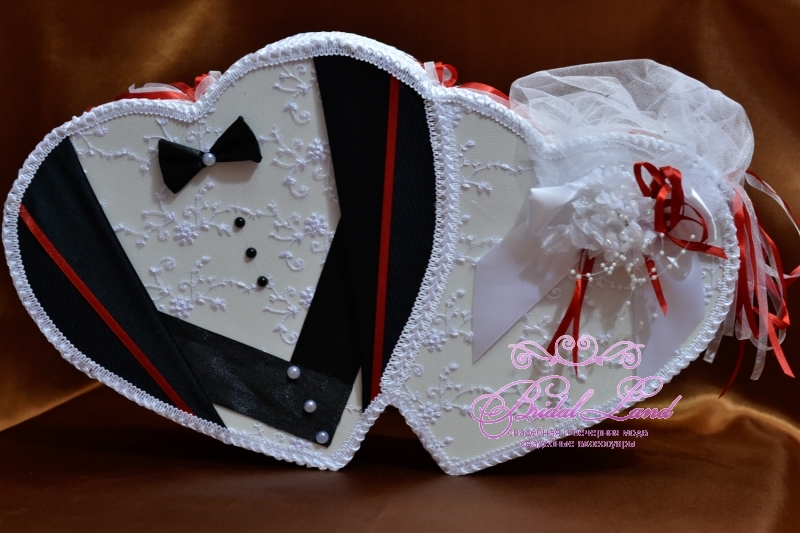
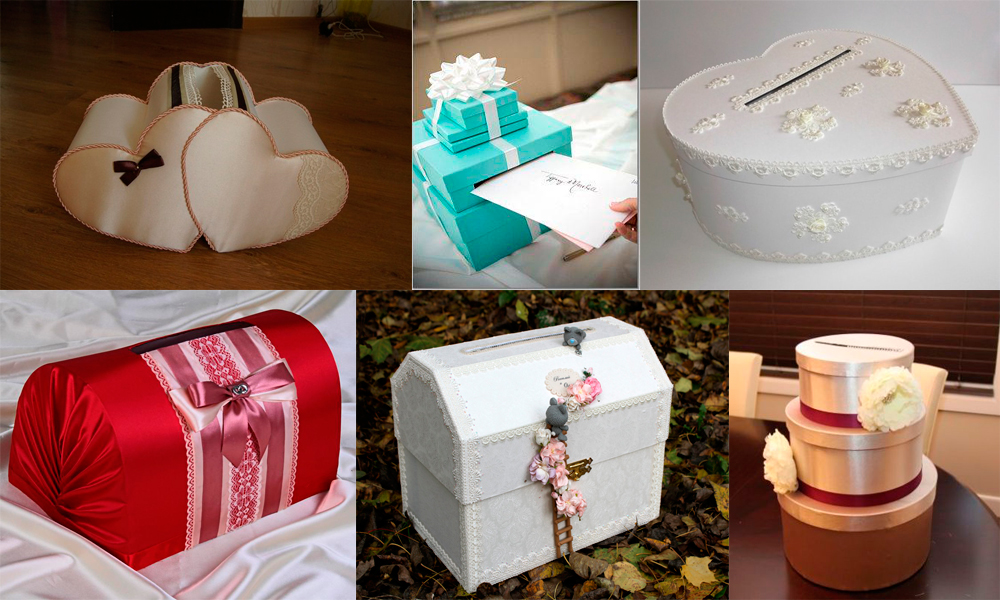
The most common option is a round and square congratulatory box, bought or made by hand. Usually, the preparation for the holiday takes a lot of time, so it will be easy to make such an accessory, especially if you know what you need to do. In the event that you want something unusual, you can arrange the product in the form of a heart or a barrel. If the couple is already waiting for the first child, then you can make a stroller-chest, and those who plan to travel after the ceremony, can create a box in the form of a car or a ship that will look original and interesting.
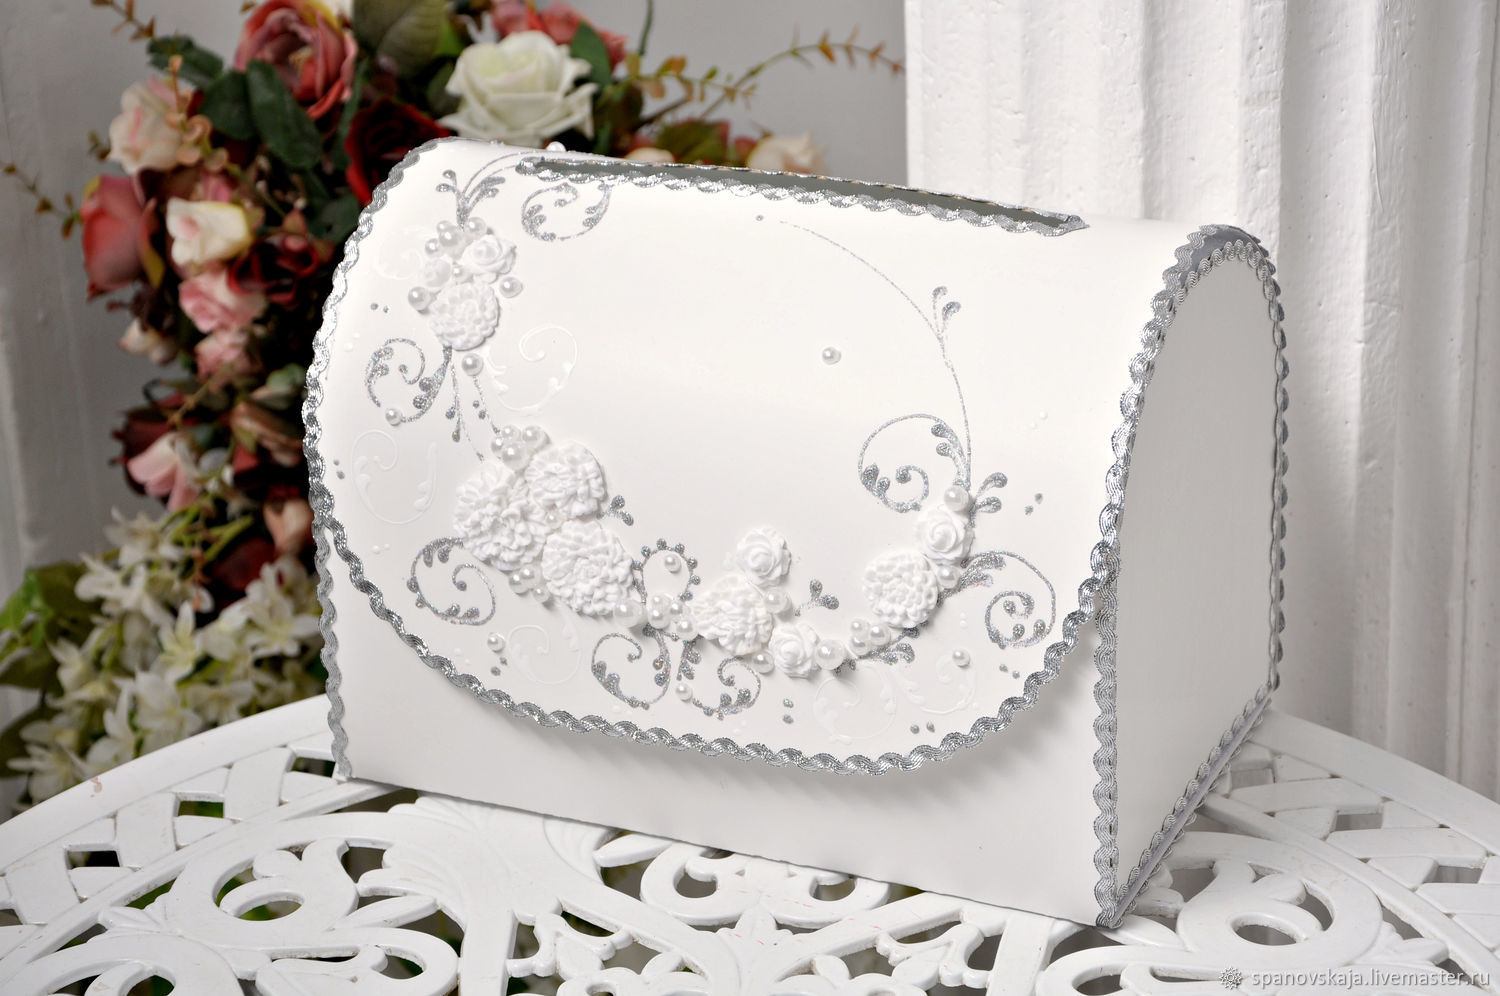
Depending on the purpose of collecting funds at the wedding, the color of the product may also differ. For future children, the box can be blue or pink, considering the sex of the future baby. For traveling, the chest can be colorful and bright, like the emotions that a couple should get on vacation. In case of collection of finances for a family hearth, a pure white color is usually provided, symbolizing purity and harmony, which is so necessary and important in family life.
For a festive accessory to be original, combined with the decor of the entire hall where the celebration takes place, it is important to choose the right decorations for it and place them beautifully.
Necessary tools and materials
For making a chest for the money for the wedding with their own hands can fit any available materials. The main rule in this case will be the reliability of the future product, so that it can easily withstand the load that it must cope with. To create a box of any shape and size you will need materials and tools, without which it will not be possible to create anything. When it is important to have:
- cardboard, its thickness must be at least 2 mm to create a solid structure;
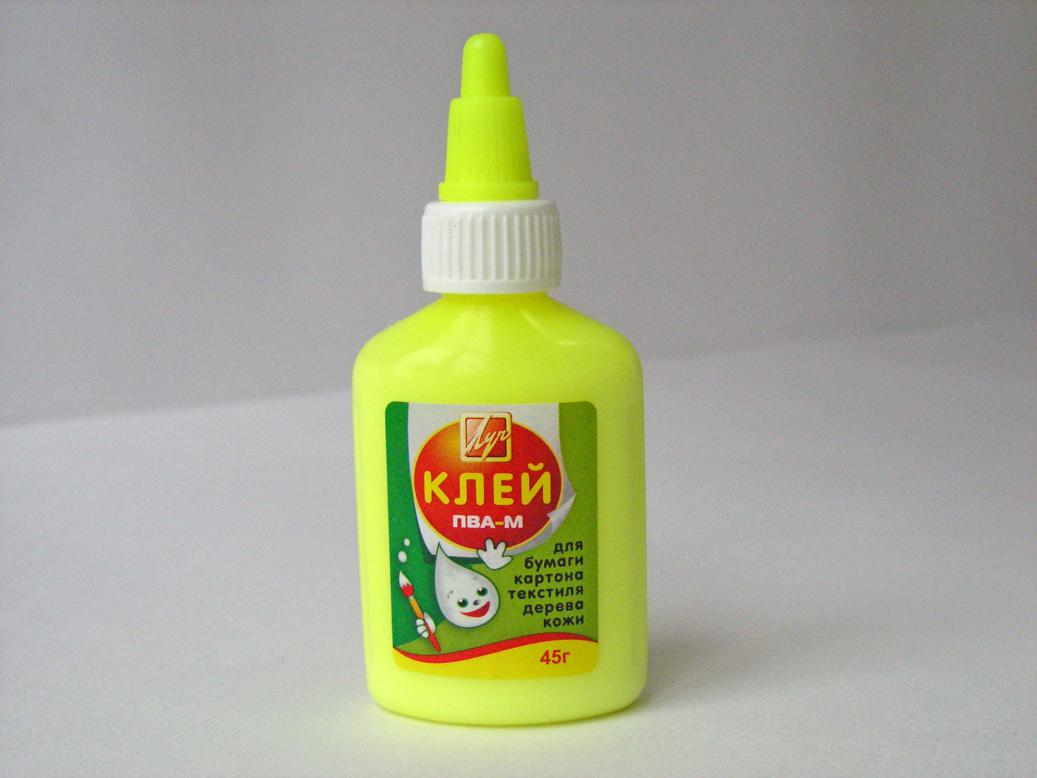
- glue, better than PVA, but there may be other options, as long as it is of good quality;
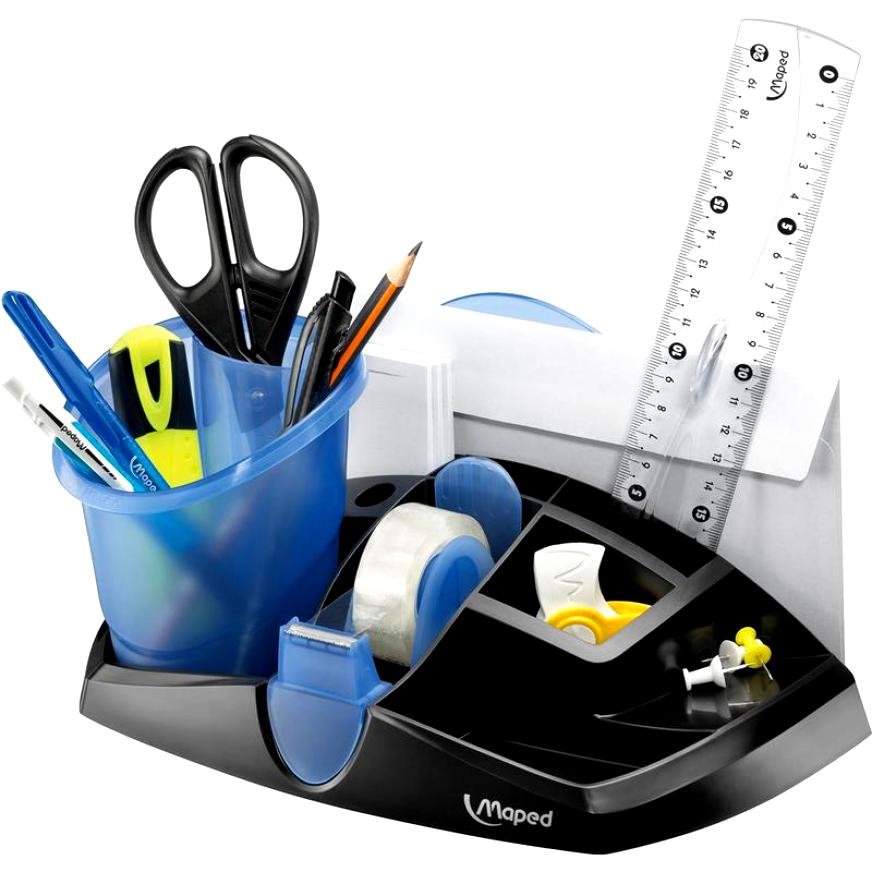
- office knife and scissors;
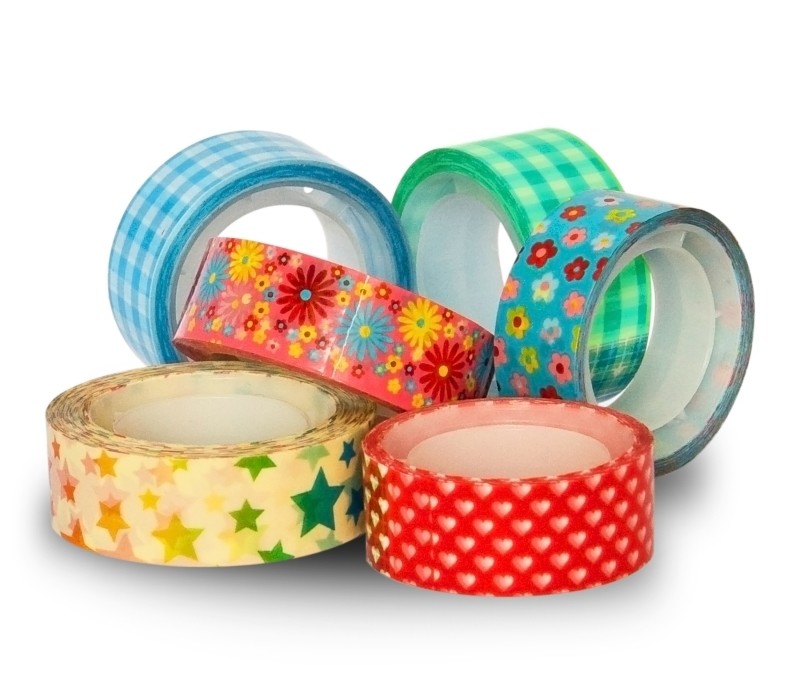
- scotch tape of different thickness;
- paper of different colors and textures;
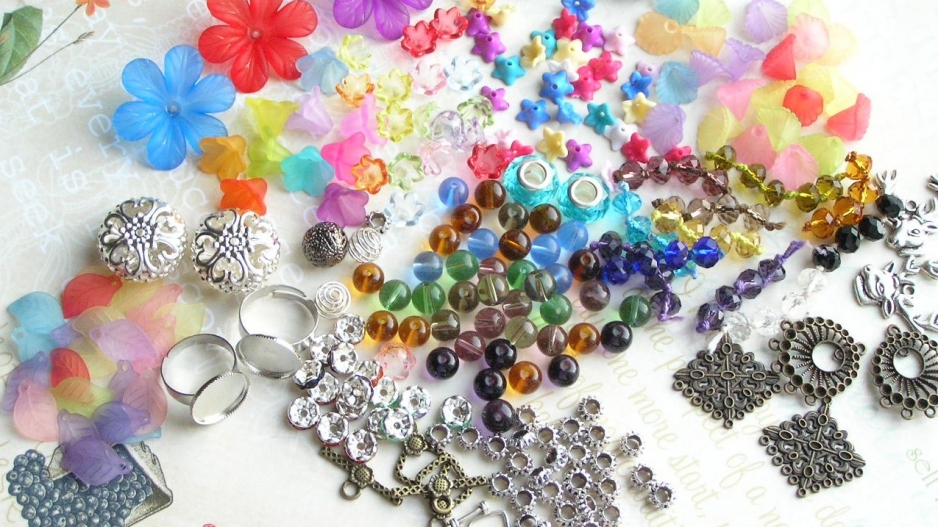
- decorative items such as ribbons, beads, flowers.
For the manufacture of the chest can not only be suitable specially purchased cardboard, it can be made from a simple shoe box, most importantly, properly arrange.
As additional tools that will allow you to create a unique product, you may need:
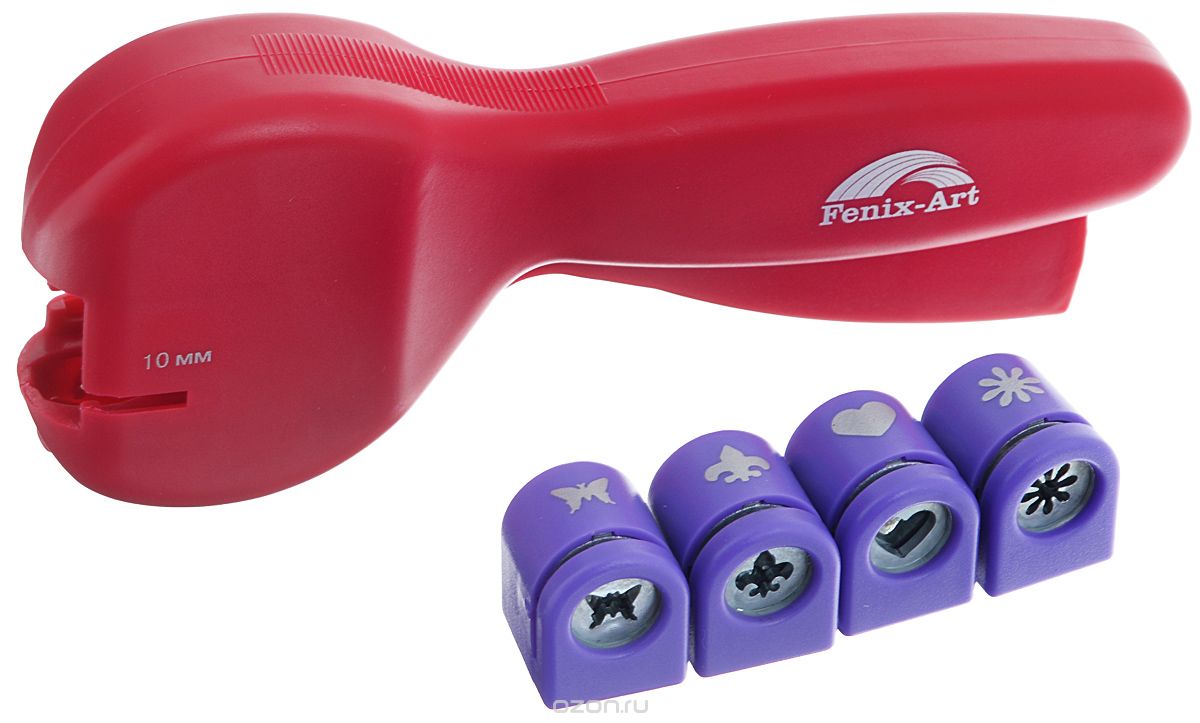
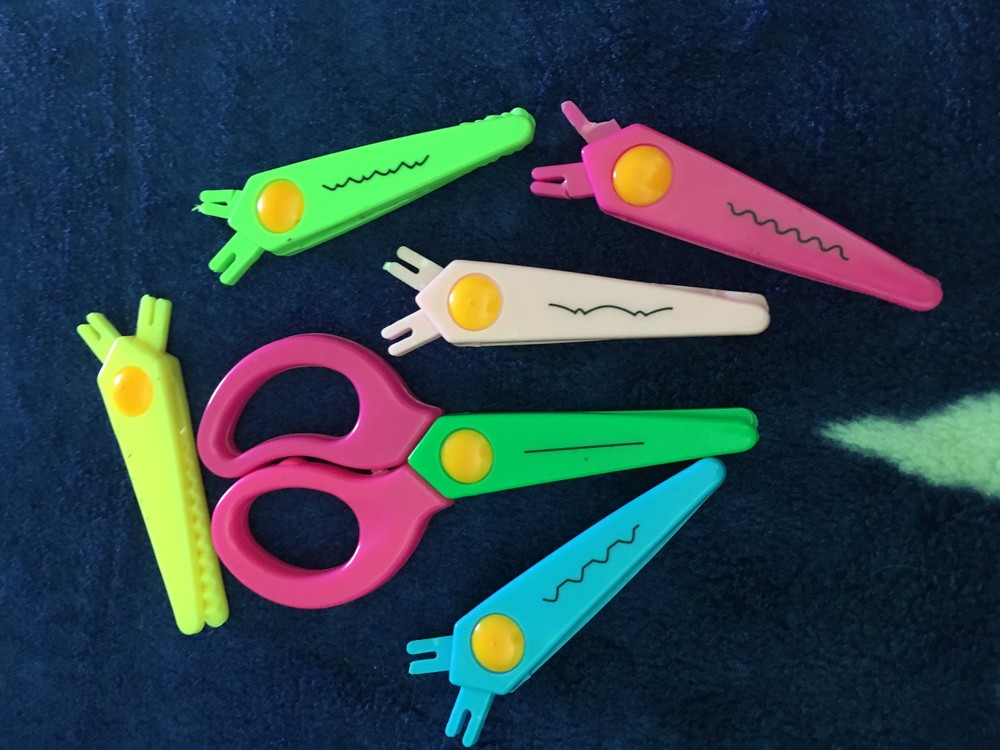
- shaped hole punch;
- scissors with different shaped nozzles;
- colored tape;
- glue gun;
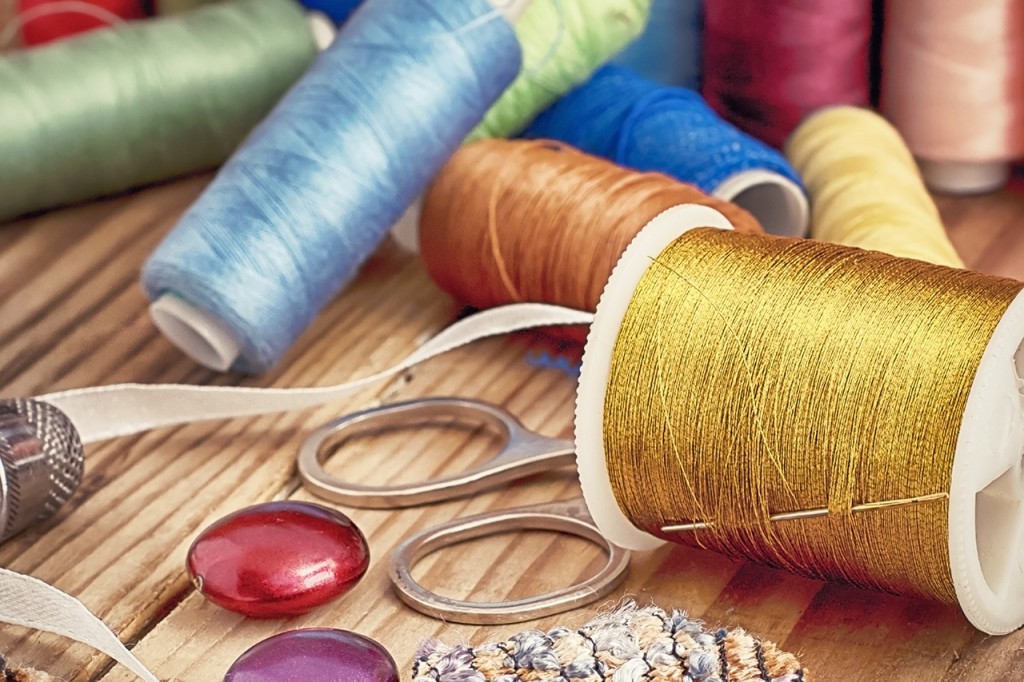
- needle and thread of different colors;
- ruler.
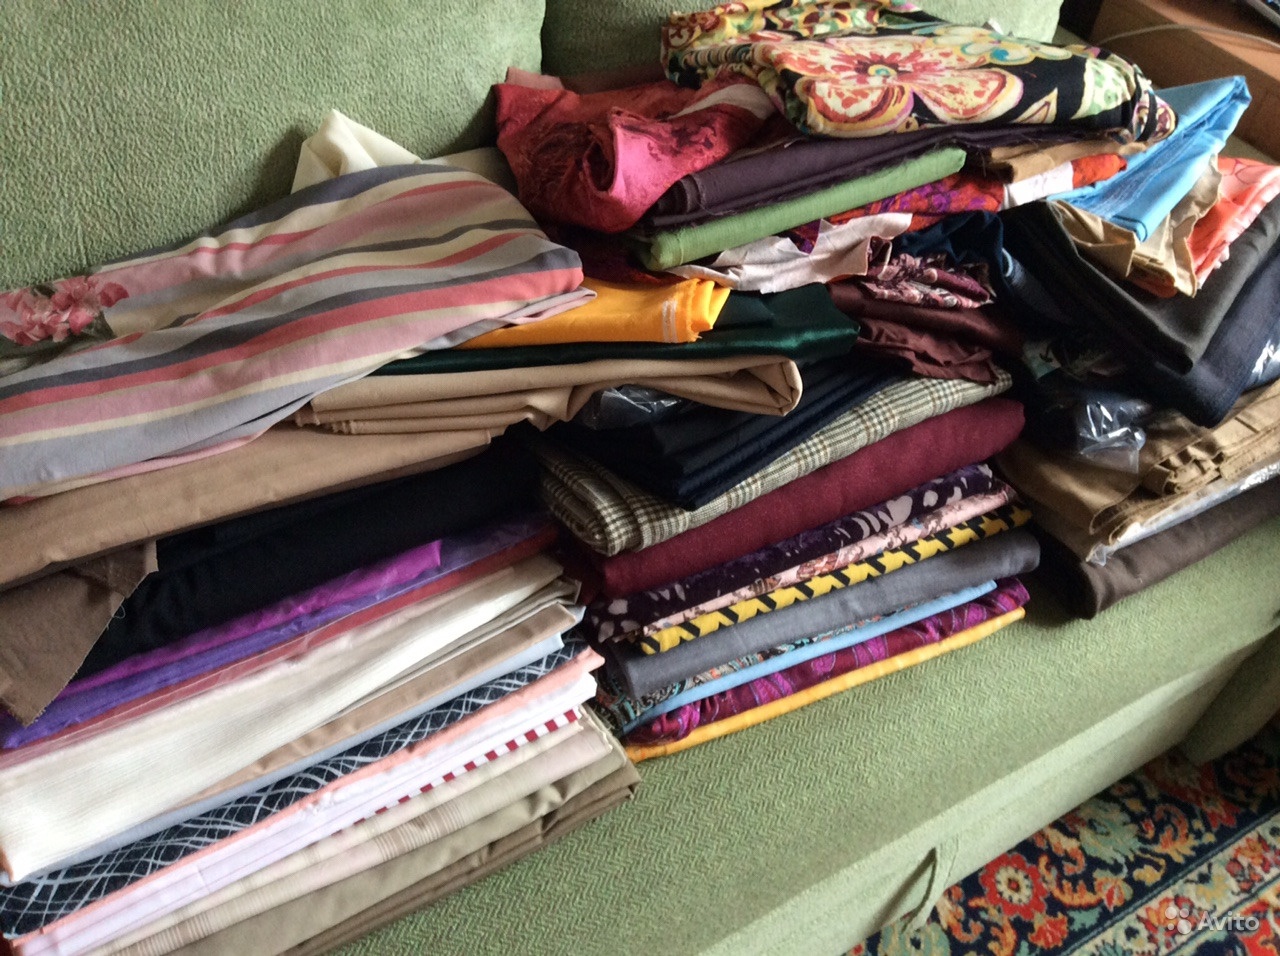
If we talk about materials that are suitable for use as a finishing chest, it can be:
- fabrics - velvet, satin, silk and not only;
- paper - plain, corrugated, thick, embossed;
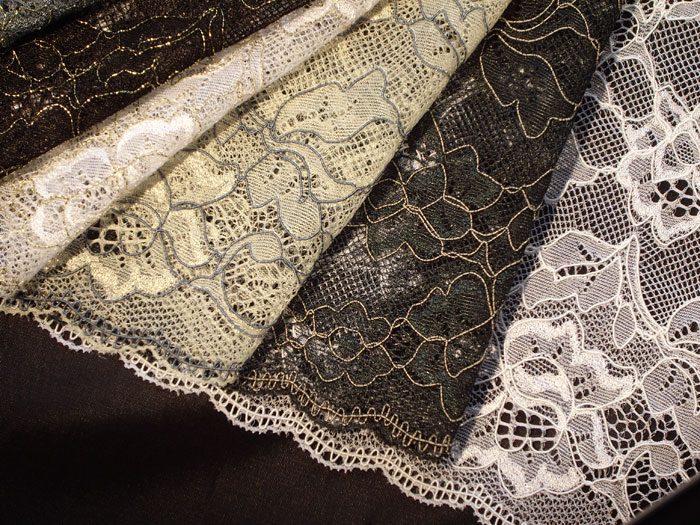
- openwork fabrics that are more suitable for decorating the finished product;
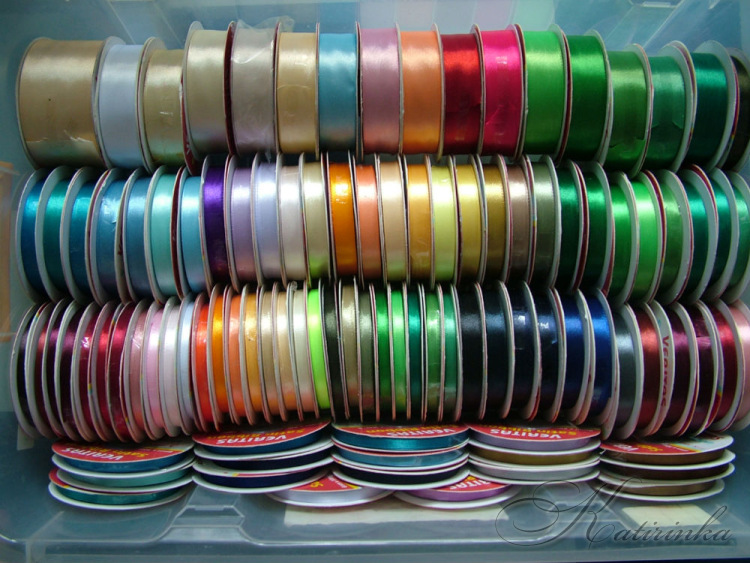
- tapes of different thickness, texture and colors;
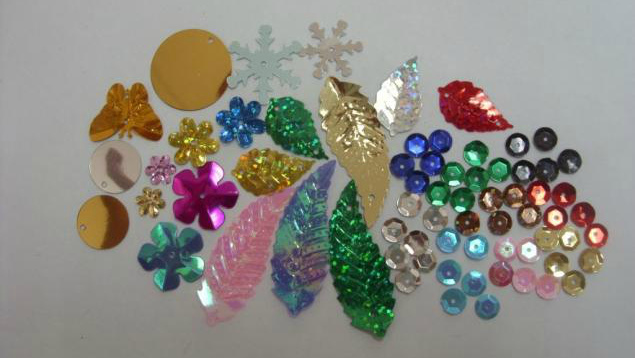
- decorative elements - beads, shells, rhinestones, beads, glitter and any elements that give a festive look to the product.
If desired, you can build a chest of more dense materials than cardboard, it can be plastic or even wood, working with which you need to properly select the accompanying equipment and decor. To decorate these chests can not do without masking tape, which allows you to divide the product into parts, paint it and give the desired appearance. Creating this product, it is worth thinking about what design it will have, how to open it and how to lock it.
It is important to take care not only of beauty and convenience, but also of security, by making a small lock that only the newlyweds can open, which will save the presented money from those who conceived something bad.
How to make your own hands?
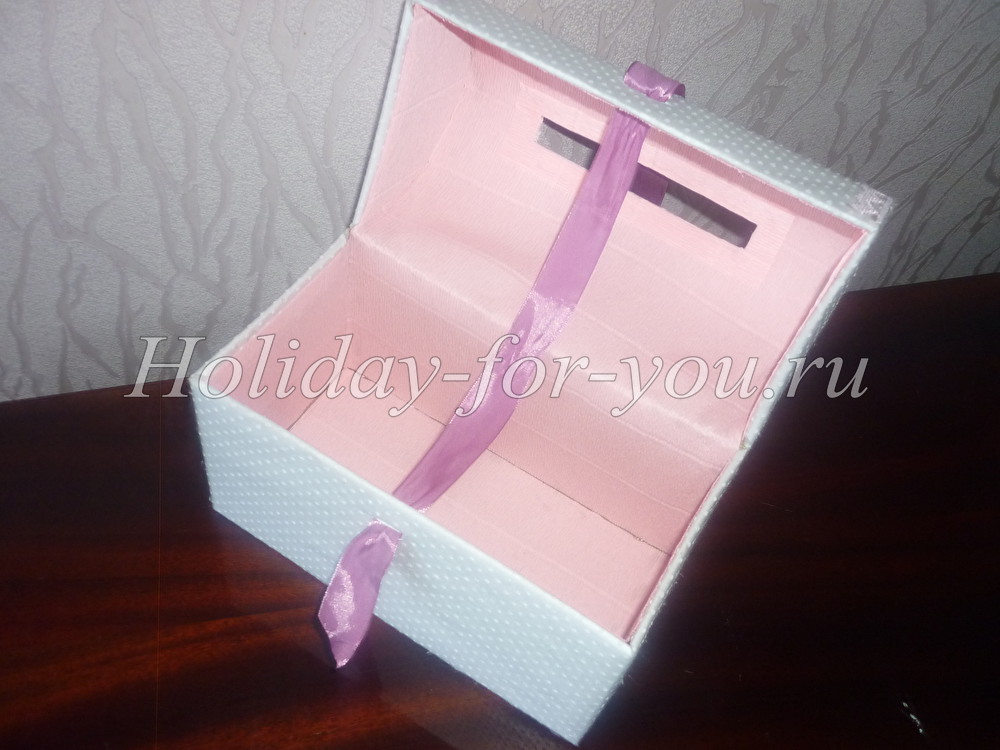
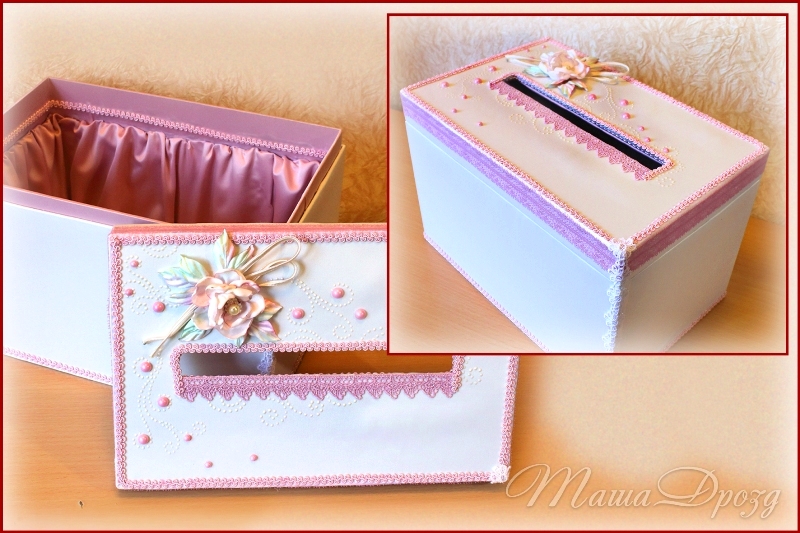
To make a chest for money for a wedding, you need to know the general principles of this work, as well as the nuances that will be faced in the creative process. The manufacturing scheme is quite simple, but for those who create such a product for the first time, it will be very useful. To make a little chest, you can use a simple box from under the shoes. In the process of preparation, the front part is made a little lower than the back, in order to imitate the appearance of the real product and to repeat its closing system. When planning the creation of a wedding box for collecting money presents, it is worthwhile to select the initial capacity so that it has the necessary dimensions, not too large, but not small, otherwise it will be problematic to use the product.
In addition to the base for the chest, you should also take care of the lid, which should be a decoration of the product, for which figure performance is the best choice. As soon as the product is prepared, it should be decorated with cloth or paper, and then proceed to the decoration process. The wedding chest does not play a huge role at the holiday, but the young ones, as well as the guests who came to please the couple with their small gift, will be pleased to use for this purpose a specially made capacity that will complement the overall design of the room.

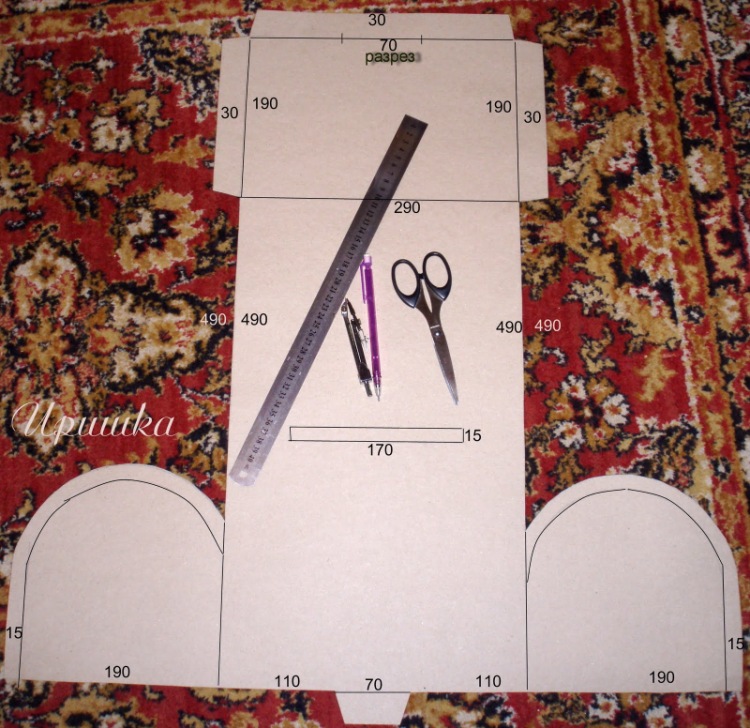
In order for the chest to turn out to be truly beautiful and functional, consider a master class on its manufacture. After that, you can get to work, because, knowing what and how to do, following all instructions step by step, there is much more likely to get what you want. A family casket for envelopes with money and cards can have different dimensions, shape, colors and decor, but the basics of creation will be about the same. So, to make this wedding accessory, you must perform a number of steps.
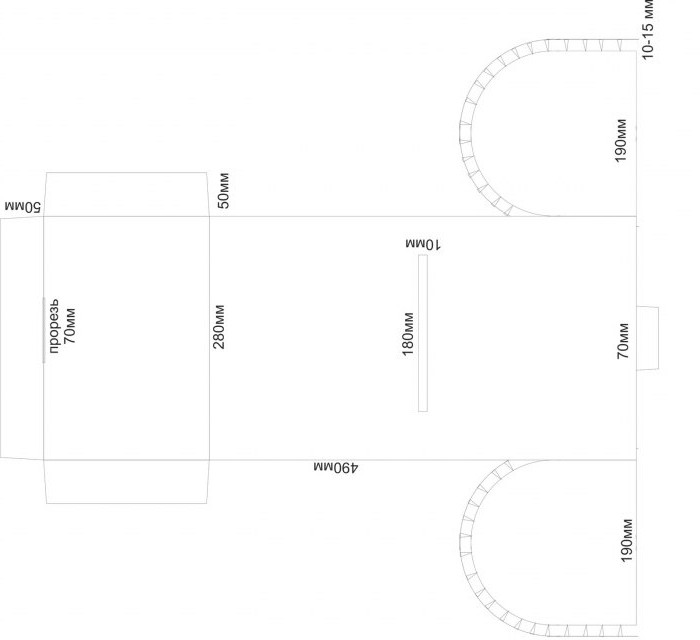
- Cardboard preparation. It draws a template of the desired size, from which the base of the chest will be created. When everything is drawn, you need to carefully cut the parts, leaving space for allowances, thanks to which you can glue the structure. The allowances and the rest of the folds must be carefully bent, making them completely flat.The last step will be gluing allowances into a single composition with glue or adhesive tape. It is important to do this in the inside of the box so that the appearance of the product does not suffer.
- To strengthen the entire structure, and make the chest more reliable, you need to cut a cardboard strip, through which the inner corners are additionally glued. This allows not only to fix the allowances, but also to hide them.
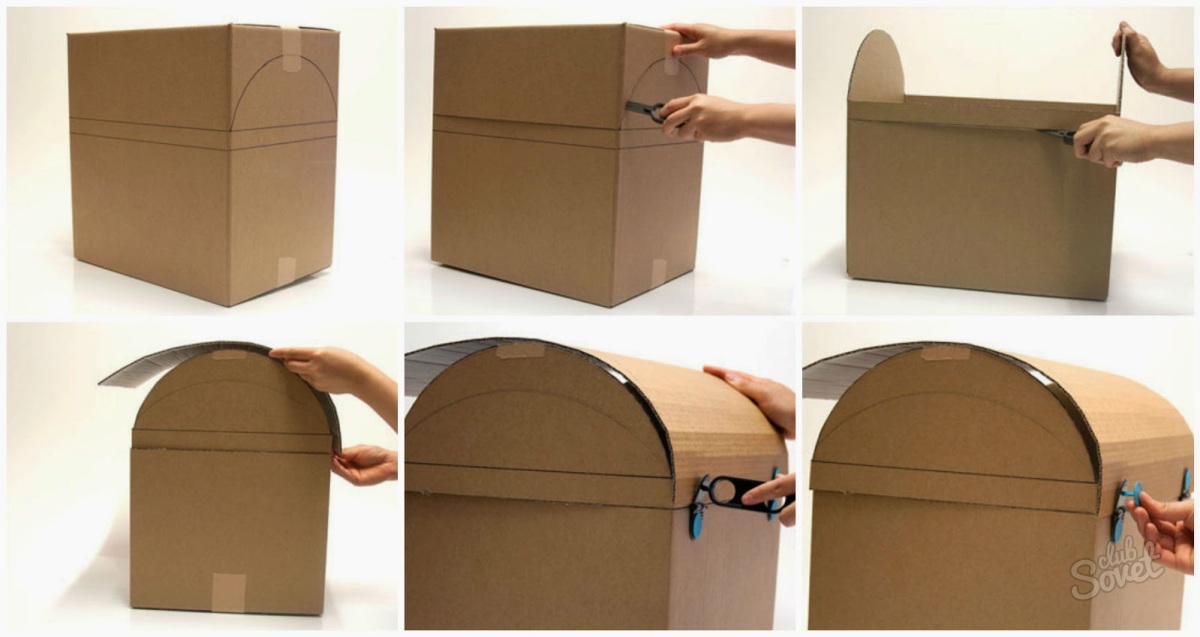
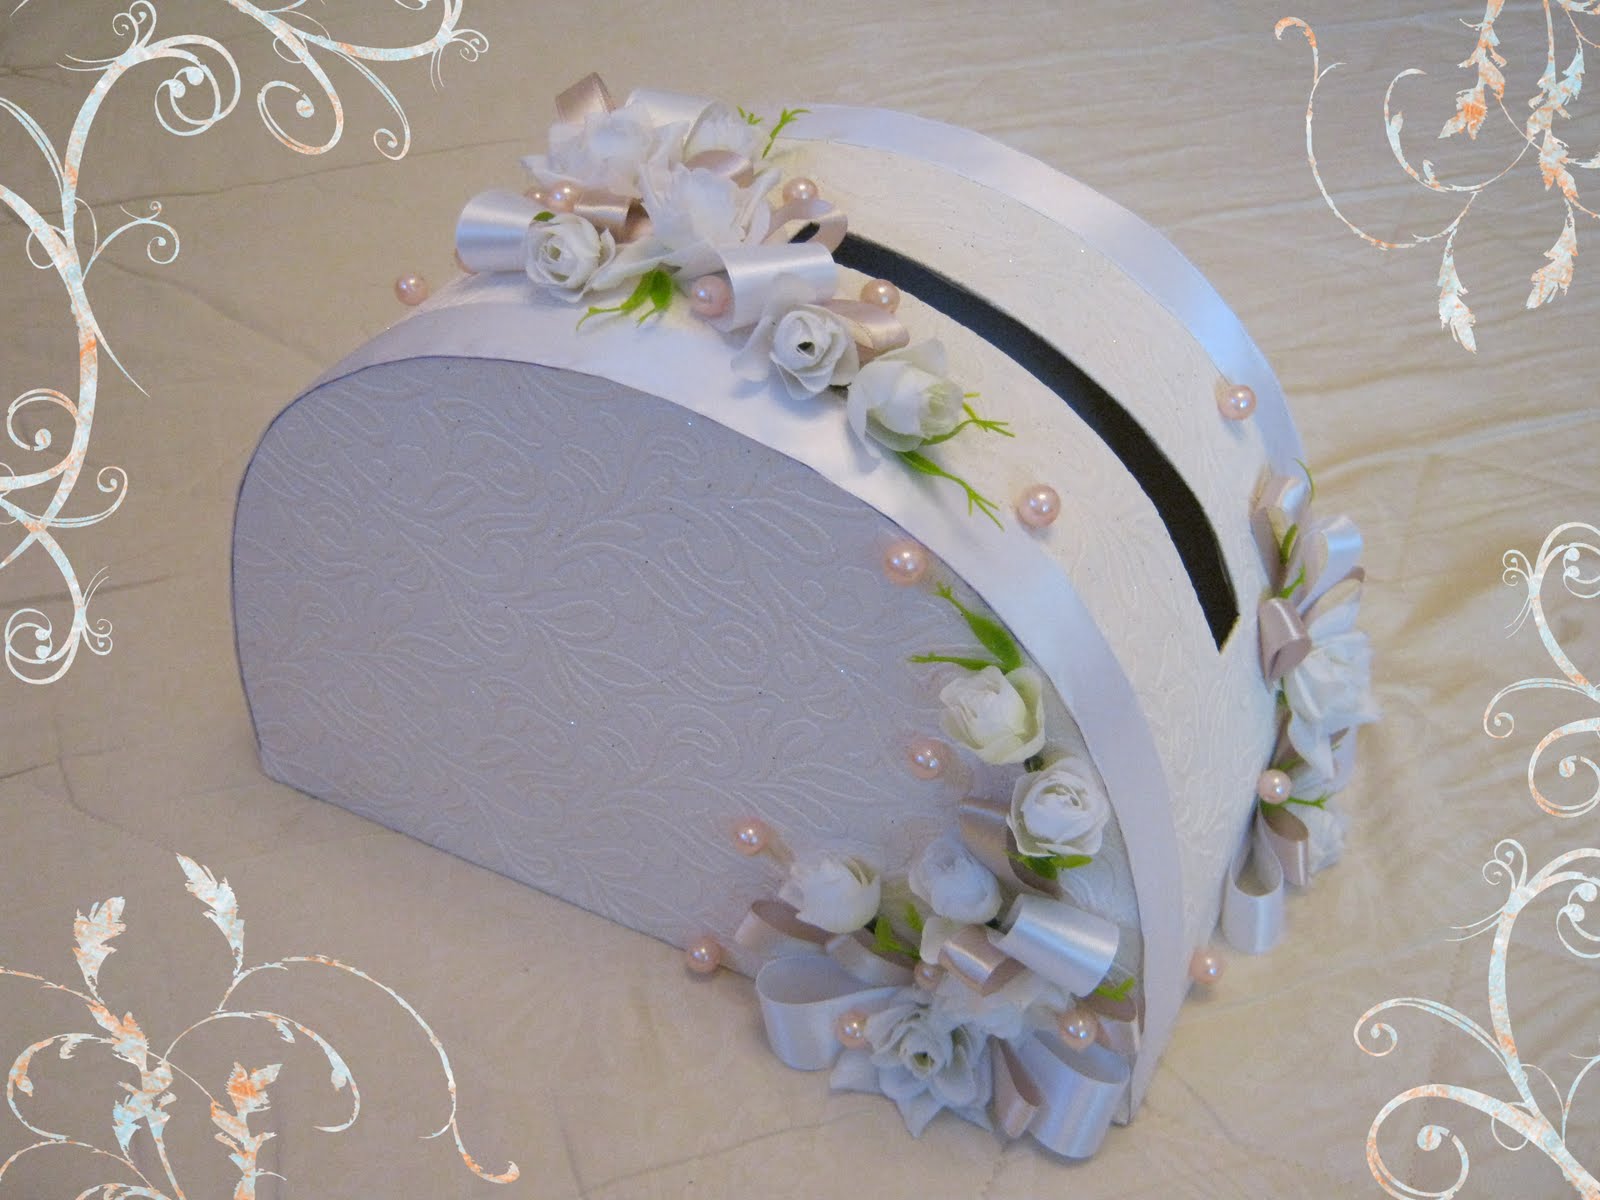
- The next step will be the work on the lid, which usually has a volumetric shape in the chest. To thick cardboard beautifully, and most importantly, evenly bend, giving a semicircular shape, you need to make several longitudinal strips on the inside of the product. It is worth remembering that excessive force when pressed will cause a hole in the product, and everything will need to start again. As soon as it is possible to achieve the desired shape, you need to secure the volume part with the base, which allows you to get the desired chest. It is better to choose the inside for fixing, this will allow to avoid visible joints and gluing points, which will make the appearance more attractive.
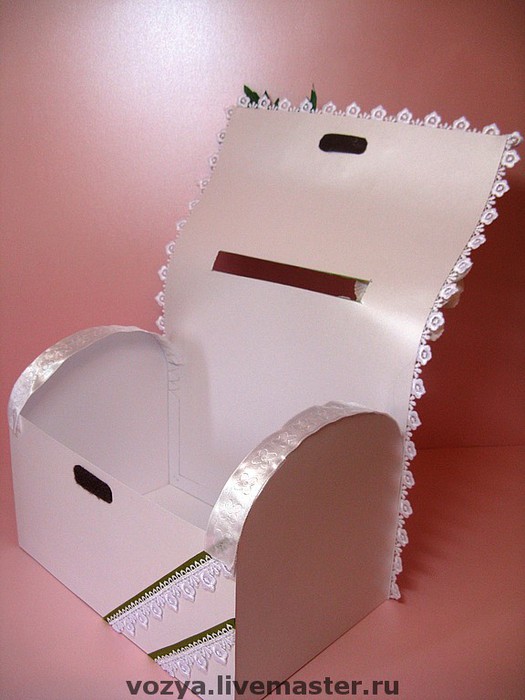
- As soon as the base of the chest is ready, it is worthwhile to proceed to a very important point - cutting the hole for envelopes and cards. It is very important to correctly measure out the length and width of the window in which guests will lower what they have prepared for the young. The most convenient way to make this hole is with a stationery knife, which cuts cardboard quickly and easily without deforming it, as scissors can do.
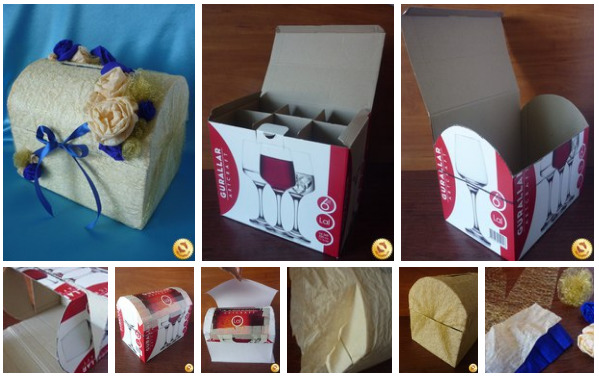
- The next step is to decorate the box with paper or cloth. For this procedure, it is necessary to measure the lower part separately and describe it, as well as the top. The first step is to decorate the cover, and then the rest of the chest. On the roof, special attention should be paid to the hole, which should be cut as carefully as possible, and the edges are treated with a lit candle. This stage requires maximum accuracy and care, because it depends on it the appearance of the finished product.
- When the chest is completely finished with paper or fabric, the final stage begins, involving the decoration of the product with all sorts of decorative elements designed to improve the appearance and bring in accordance with the style of the event.

There may be several options for making a chest, the choice of a particular one will depend on the time it takes to make it and the desire to experiment and create. The more options for inspiration, beautiful examples, the better your own little box will turn out.
Decoration recommendations
The design of the chest for the wedding is one of the most important stages, since it depends on it the perception of the product and its aesthetics. Incorrectly chosen decorative ornaments or their wrong location will give the opposite effect from the desired, and instead of a stylish and interesting accessory, the celebration will be attended by a ridiculous attribute, surprising all those present. For everything to work out as it should be, it is important to follow certain rules.
- For the decoration of the joints and corners on the chest it is better to use satin ribbons that are glued over the product. It is important that they have the same color as the material of the box itself.
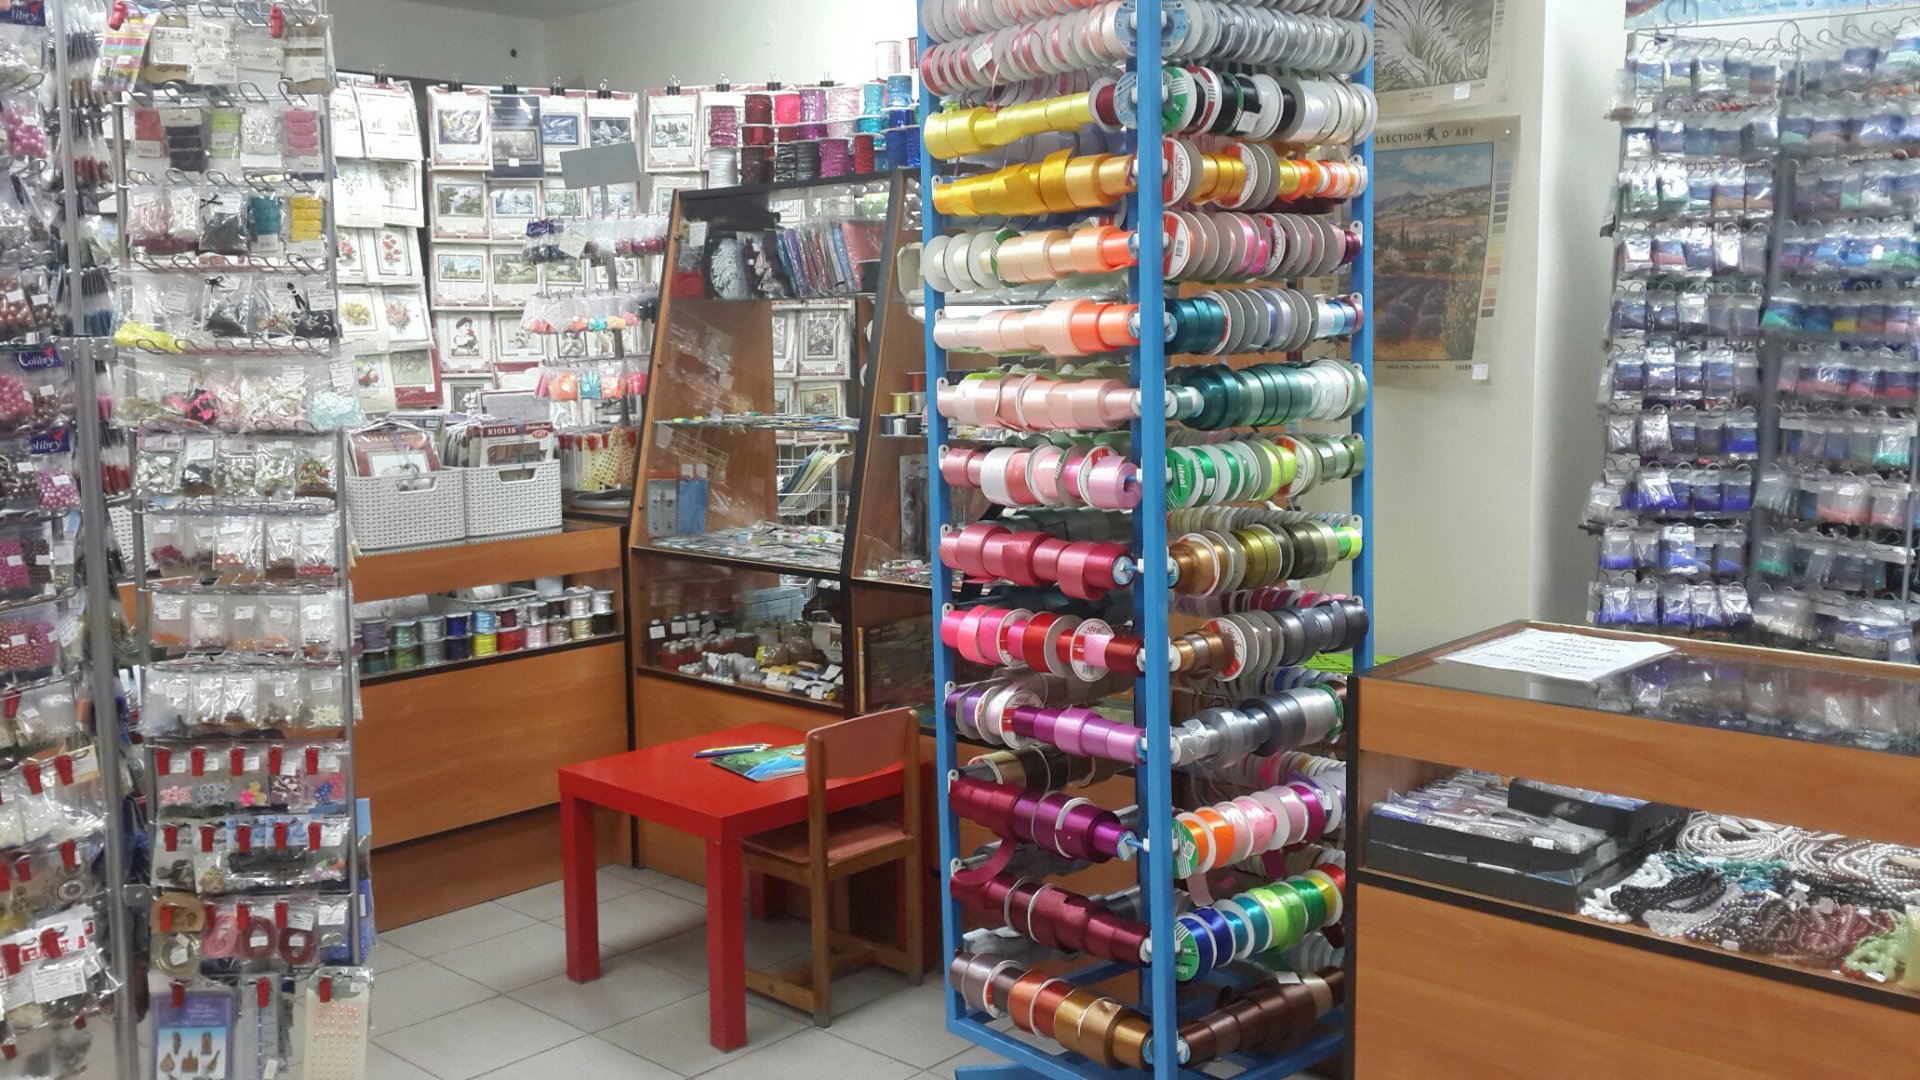
- The casket can be decorated with decorations purchased in advance at sewing shops or bridal salons.
- Decorating the lid of the chest, it is important not to overdo it. Otherwise, the weight of the decor will be too large, and the upper part will begin to fall inward, which will spoil the whole impression of the chest.
- When planning the choice of decorative elements, it is necessary to adhere to the principle of a combination of contrasting colors, light on the product and bright accents in the decoration, this option will achieve the best effect.
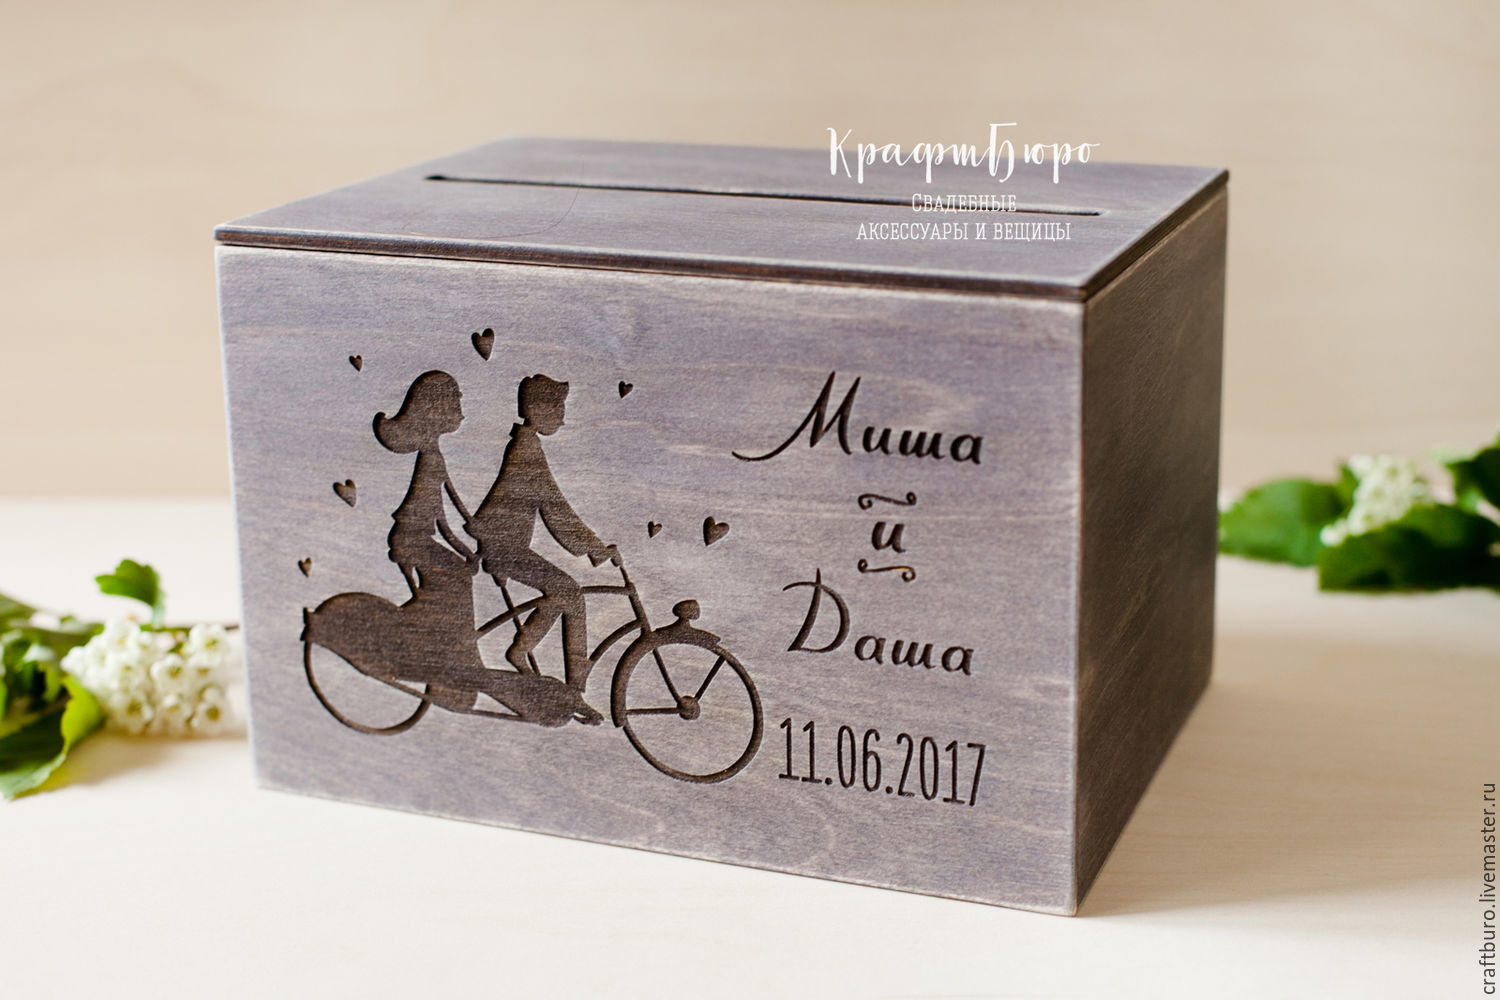
- To make the sides of the chest look original, you can put a photo of a young couple on them or a photo collage with them.
- The main elements that decorate the wedding chest are ribbons, beads, and rhinestones that blend well with a sprig of rowan, dried spikelets, original leaves and berries.

To make the chest beautiful and original, you should initially decide on the style in which the jewelry will be made. The confusion of several areas is not always favorably highlighted, sometimes it only hurts, creating a confused perception of the object, and at the wedding everything has to be impeccable.
Beautiful examples
To understand exactly how to make a wedding chest, you need to see it. Options for sizes, shapes and colors will allow you to decide on what exactly I would like for a particular event.
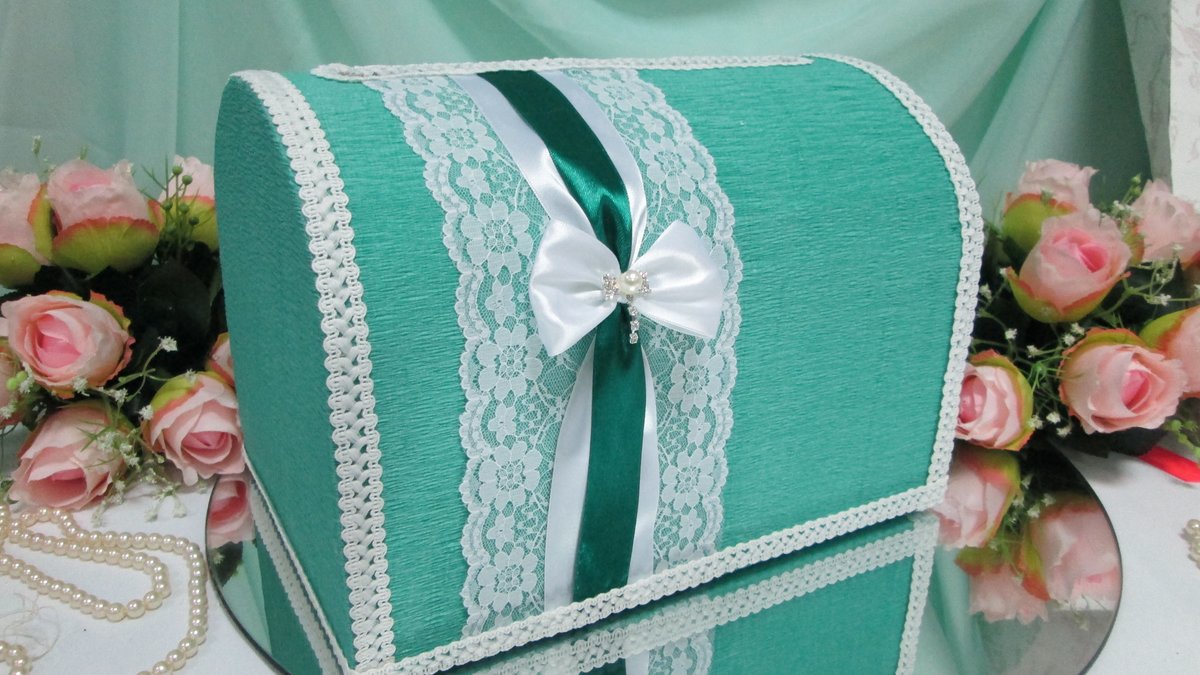
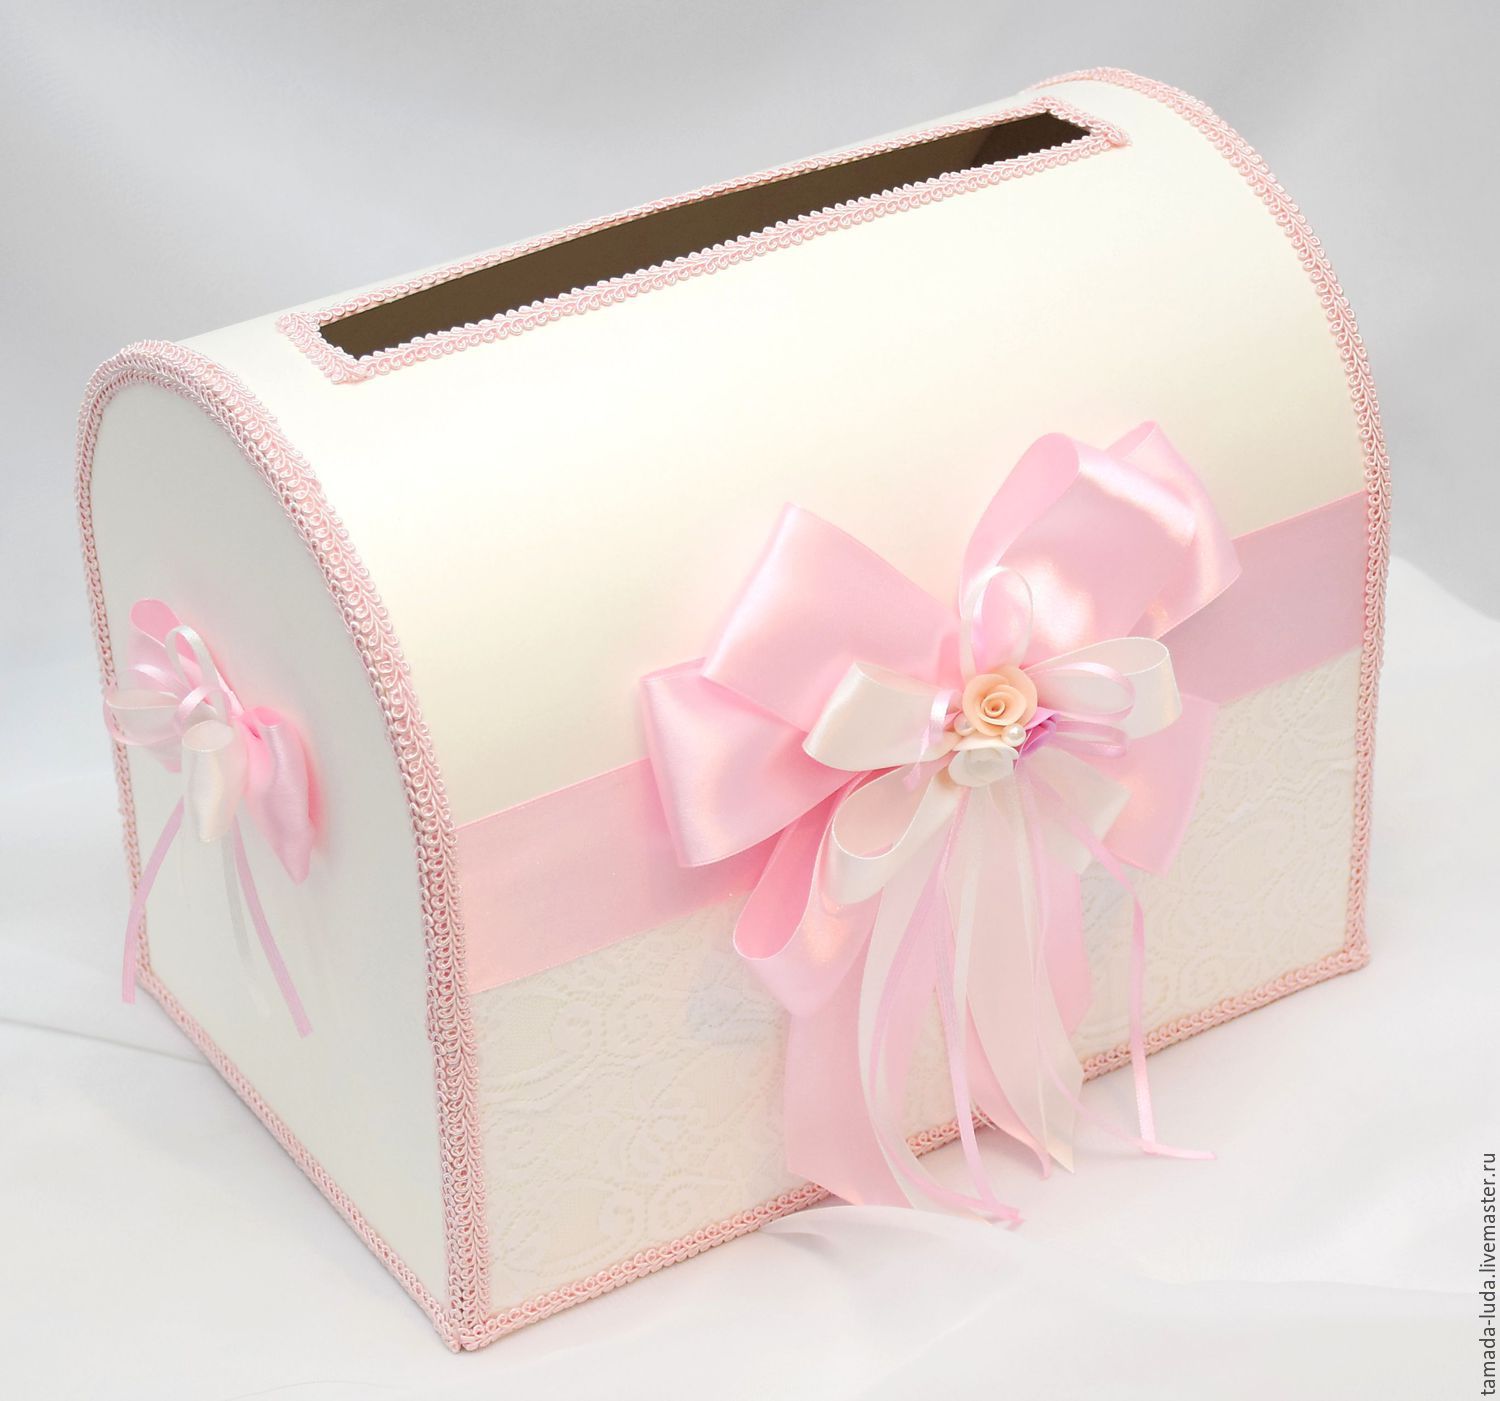
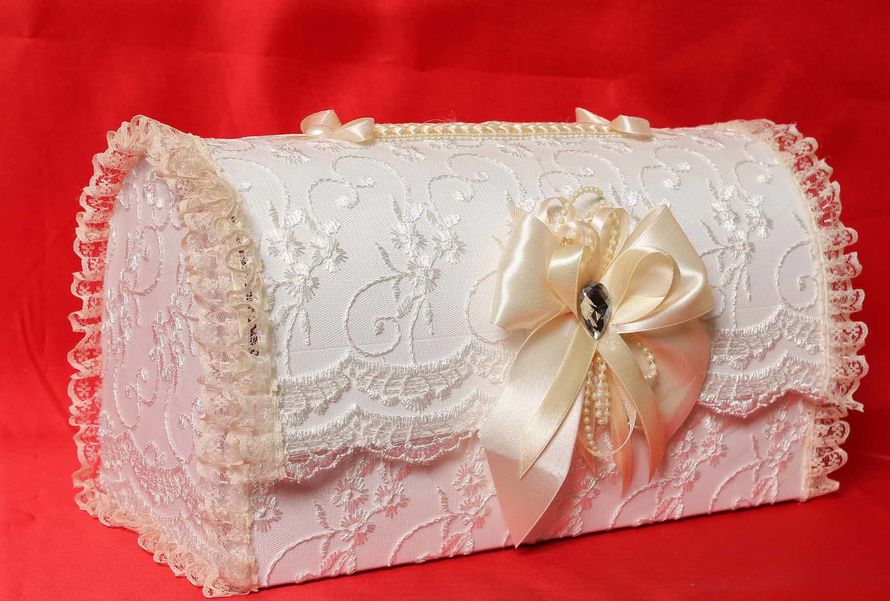
The color for the chest is usually chosen white, although there are other options that are very different in color. Fabric, which is wrapped in a box, is usually satin, but in some cases it may not be used to decorate the product with ruffles and ruffles. The material on which the embroidery will already be present will look very nice. If the casket is made in white color, but it can be decorated with a volumetric flower or a bow of cream or peach color.
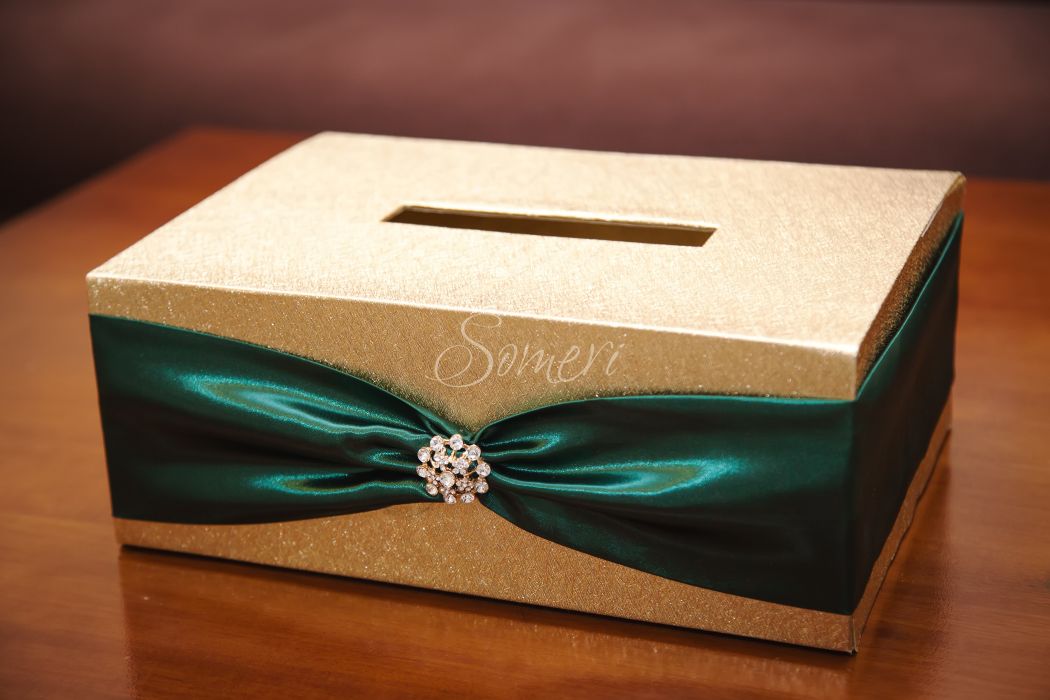
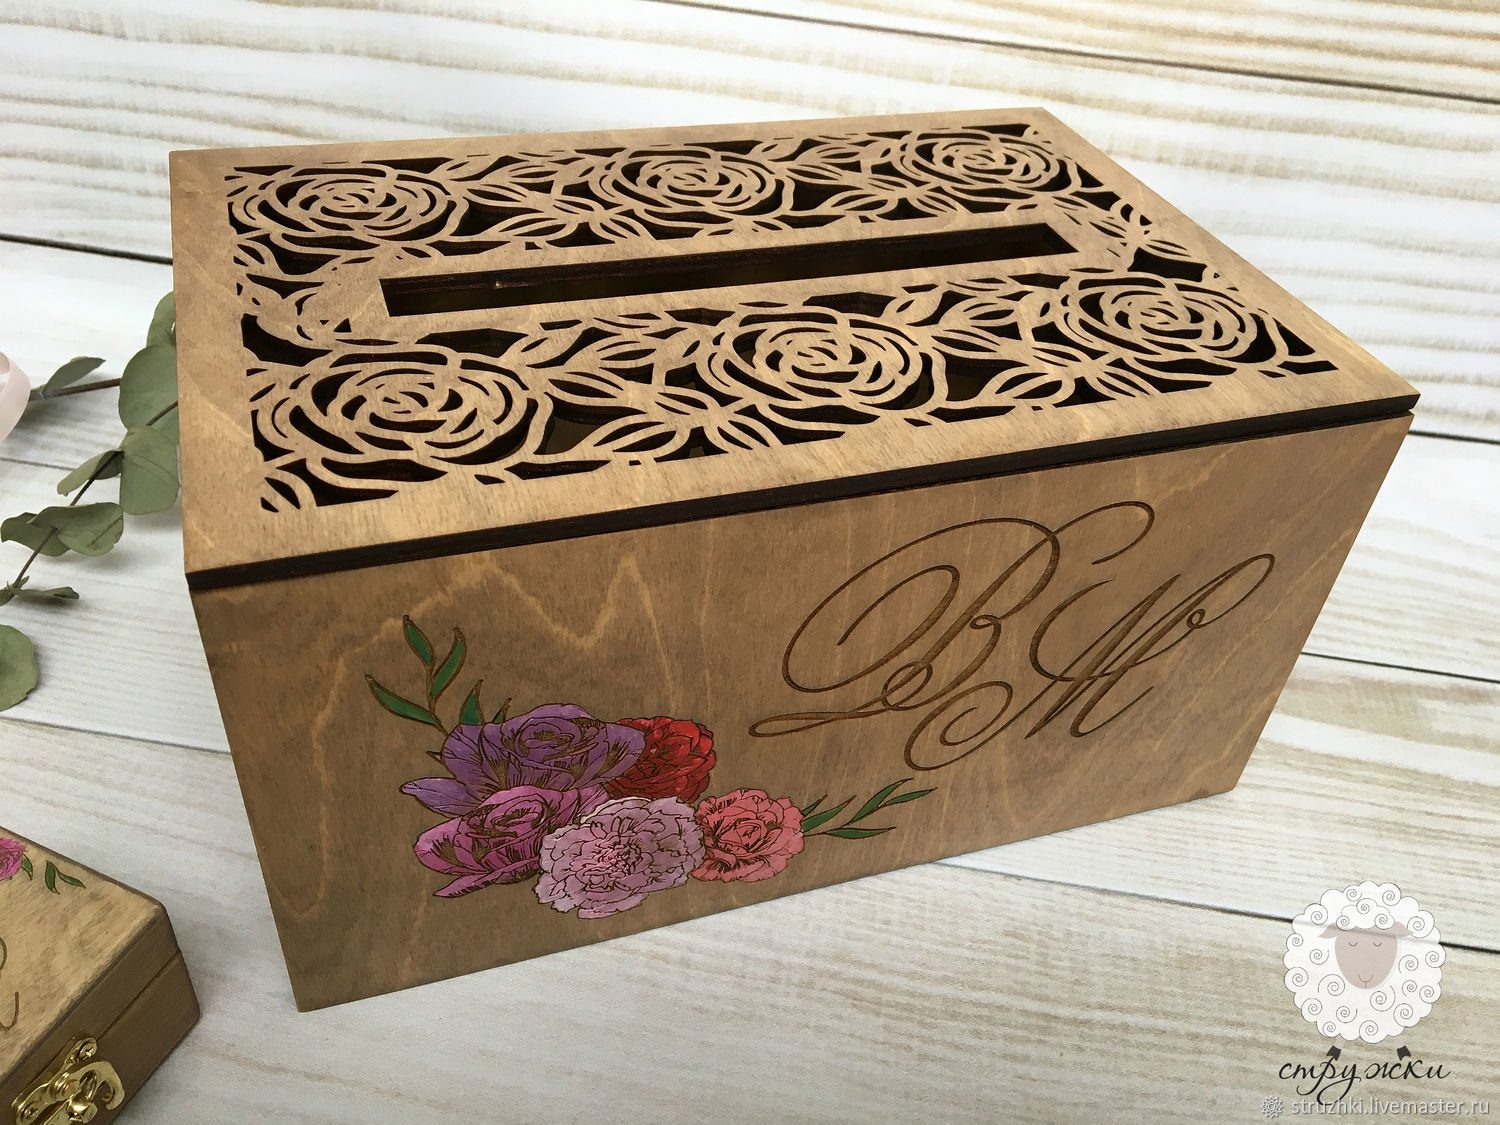
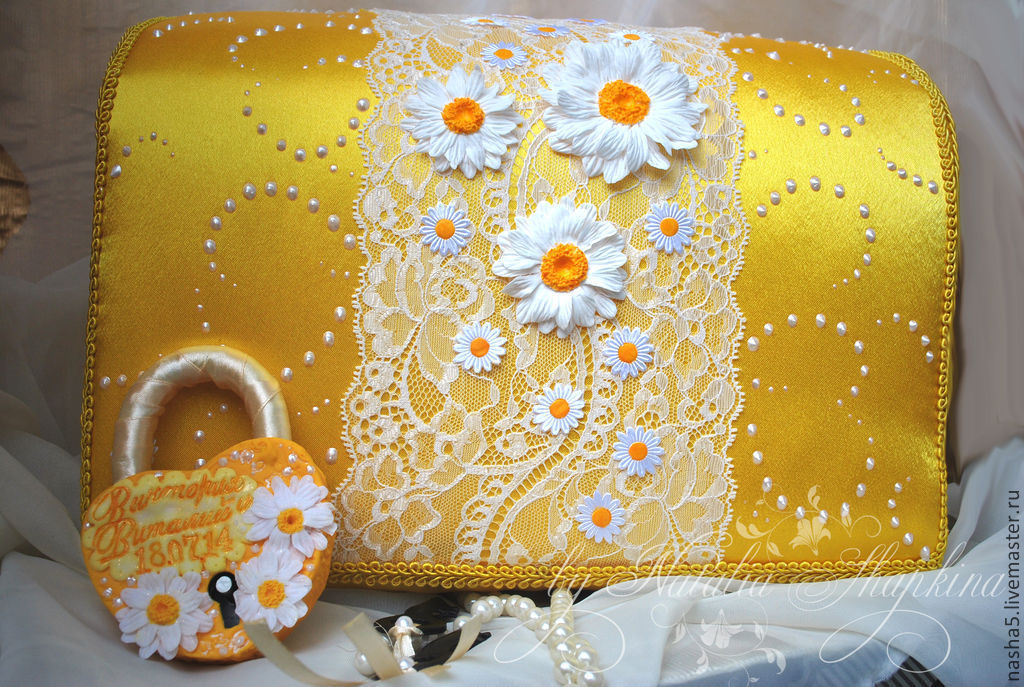
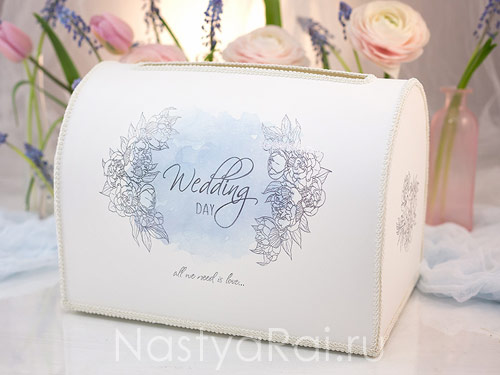
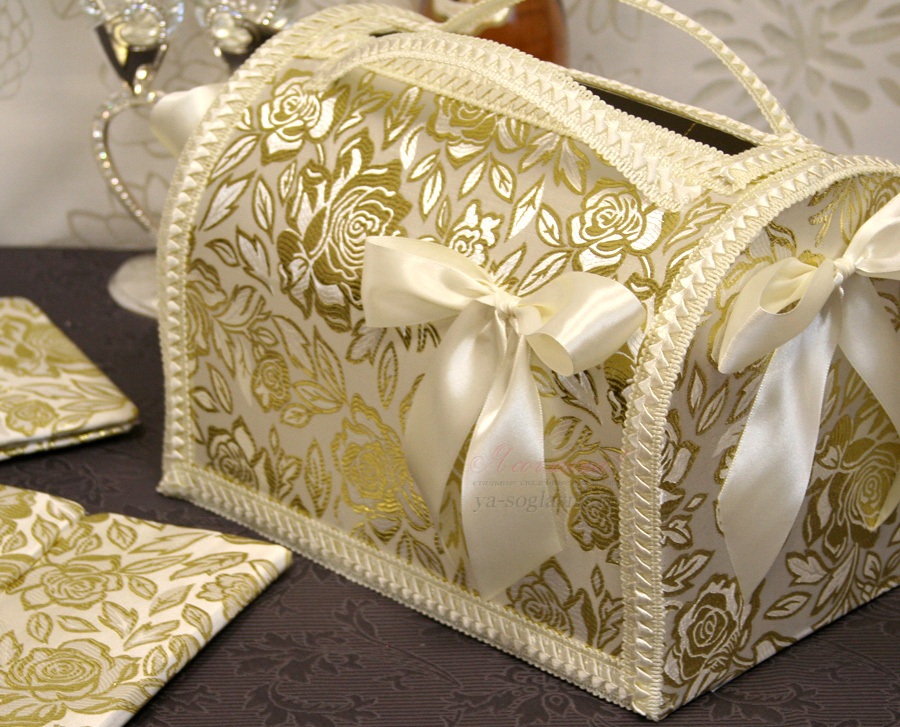
Looks elegant wedding trunk, sheathed with material, which has a picture. In this case, it is best to use light colors: white, solid, gold, peach, and the design should be of a more contrasting color. Due to the fact that the box itself is already quite bright, a lot of jewelry should be avoided, because having several bows in the same color scheme would be an ideal option.
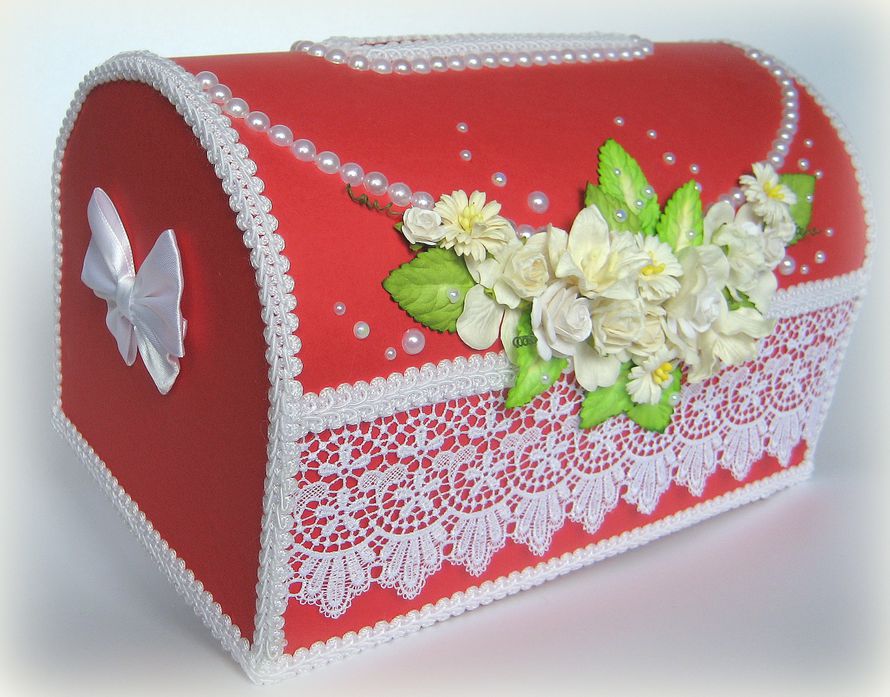
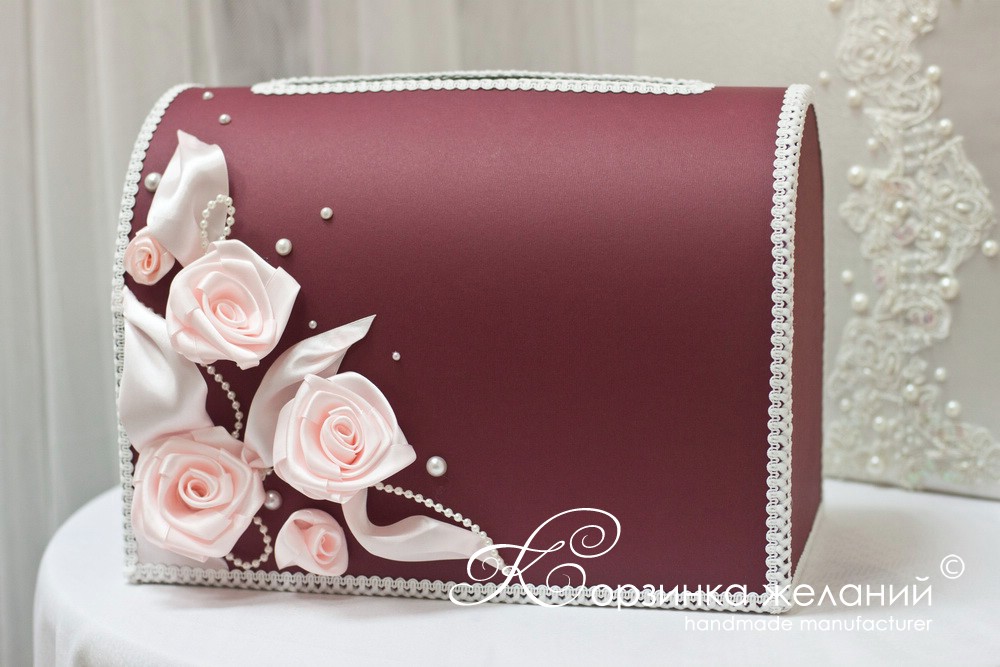
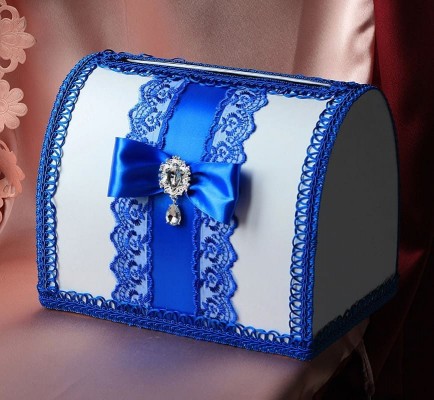
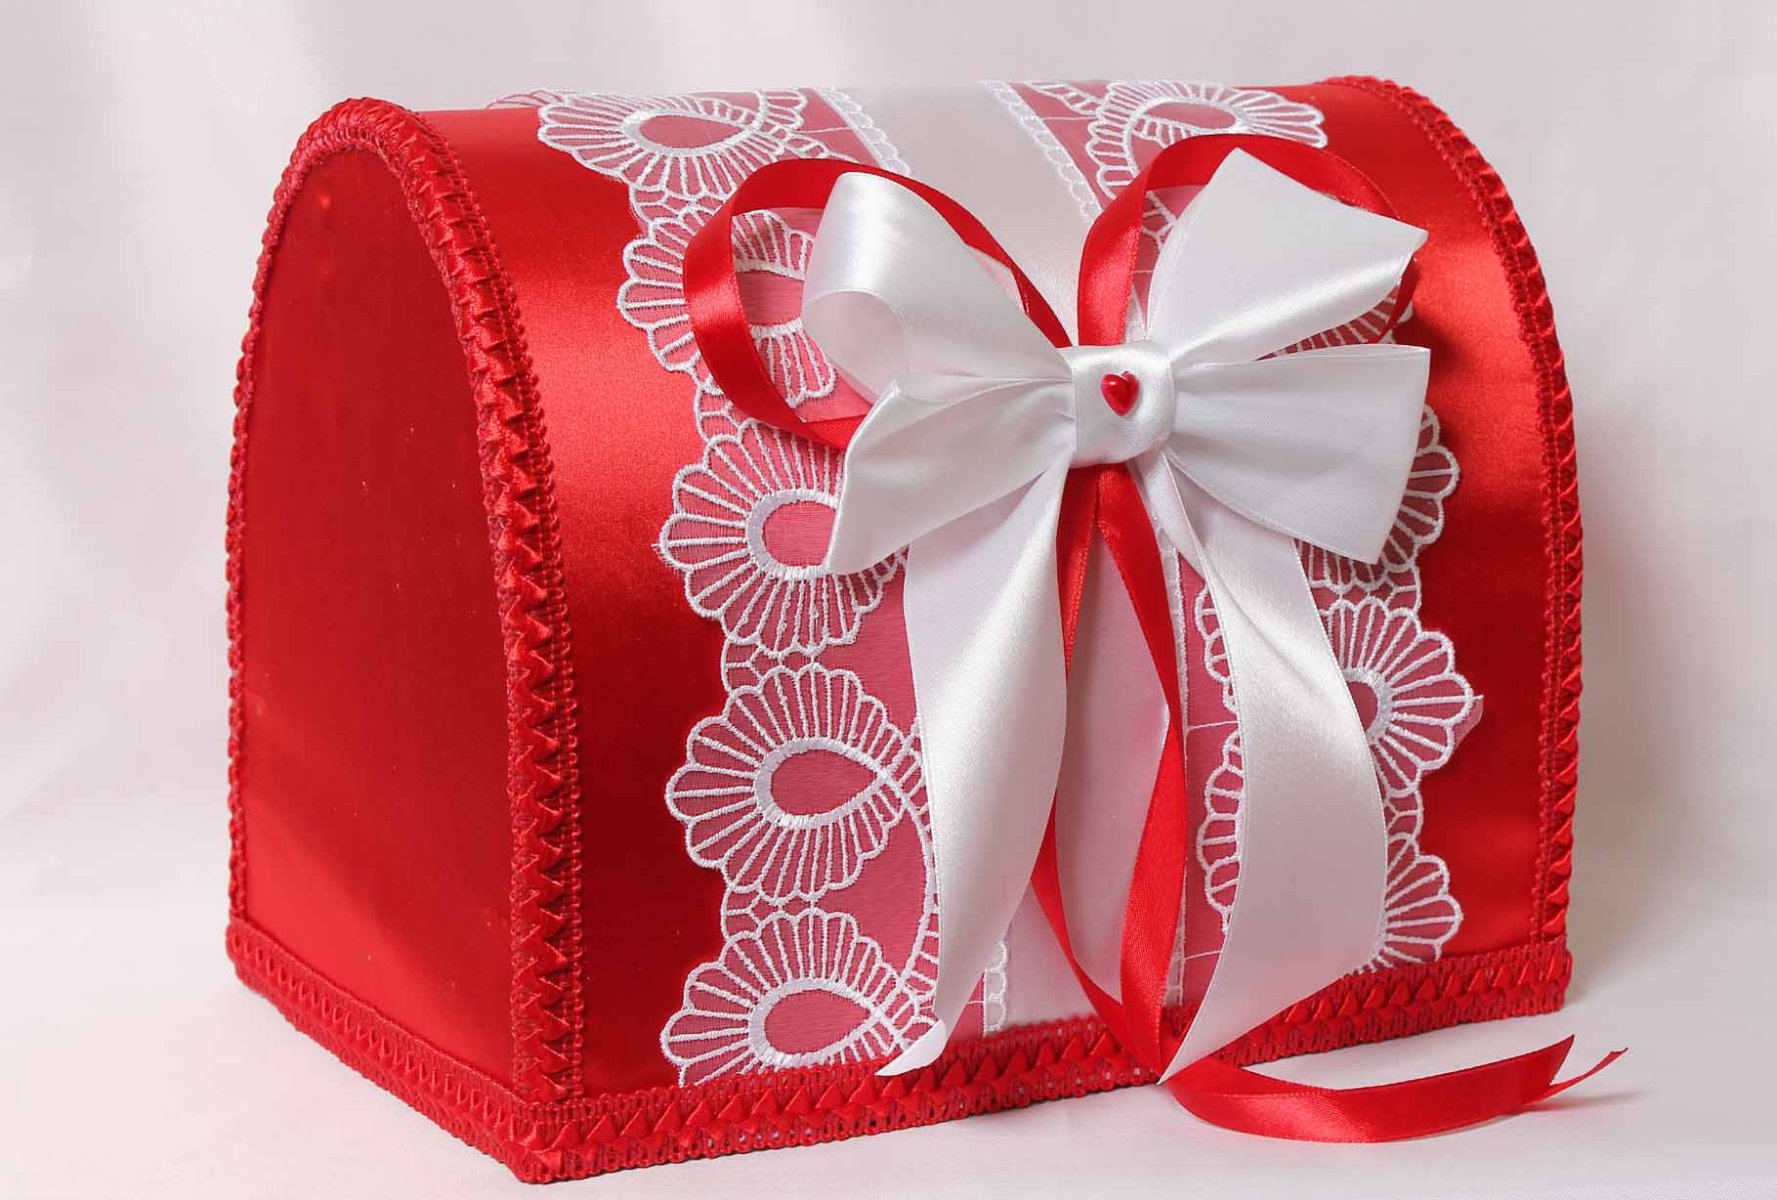
Fans of something unusual and extraordinary will like the casket, made in contrasting colors. It can be red, purple, burgundy, pink and not only. The main thing is to dilute the contrast of the main product with the help of auxiliary elements. The best thing to cope with this task is lace, which is usually white. You can decorate the casket with a bow or a flower of the corresponding shades.
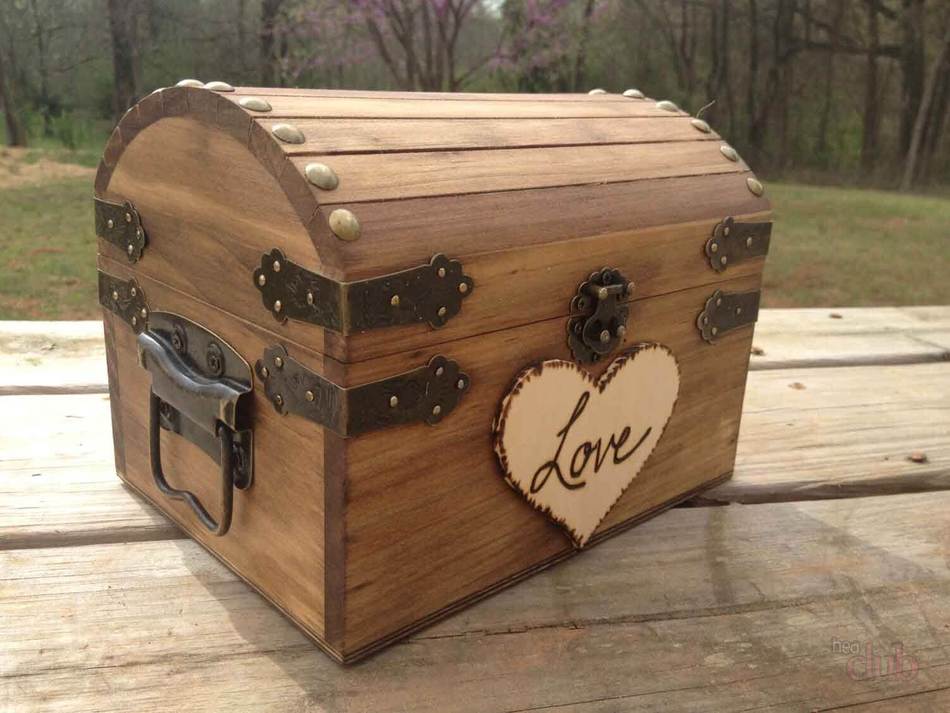
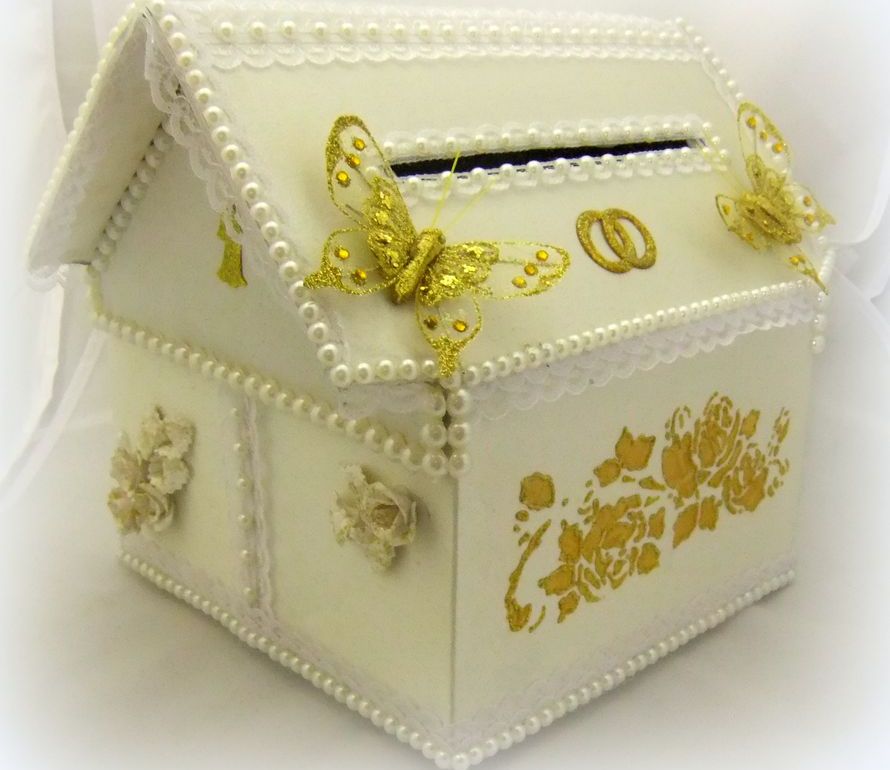
For those who want to stand out not with color, but with form, the ideal option would be a house, a car or a ship, you can also make a pram. Such products usually have a hidden meaning, allowing you to understand what the newlyweds collect money for. The color scheme and there will be bright, and the decor is soft and discreet. The products can be complemented with small flowers, pearl beads and flower drawings made in a more contrasting color.
Choosing the perfect chest can only be done by the couple herself, finding inspiration for himself through other works.
On how to make a wedding treasury in the form of a box for congratulations, see the following video.


