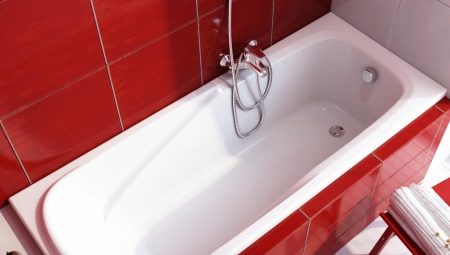
Acrylic baths are now actively squeezing out their iron and steel "girlfriends" from the market due to their lightness, ease of installation and a variety of shapes. Consequently, modern mistresses sooner or later face the question of how to care for an acrylic product and how to wash different types of stains from its surface at home.
Features
It is well known that acrylic was first used by dentists for the manufacture of dental prostheses. Over time, this material has gained wider use, including in the manufacture of sanitary products. Acrylic is not inferior to cast iron and steel in terms of strength and endurance. However, the methods of care for these materials vary significantly.
Ignoring the basic recommendations can cause cracks and scratches that will spoil the appearance of the bath.
To bath for a long time pleased the owners with whiteness and perfect smoothness Observe the following simple tips:
- Do not bathe animals in the bath. Their claws are hard enough to scratch the surface of the bath. If you intend to bathe your pet, use a plastic basin;
- Do not place metal containers in the tub. A gross violation of this rule will lead to deep cracks and noticeable damage to the product;
- Avoid rough brushes, they also scratch the surface;
- About once every two weeks it is necessary to treat the bath with a special agent according to the instructions;
- Every six months it is necessary to disinfect the tank with a special solution;
- In the presence of deep damage, the restoration can be carried out using sandpaper and liquid acrylic, but this work requires special skills, so it is better to entrust it to a specialist.
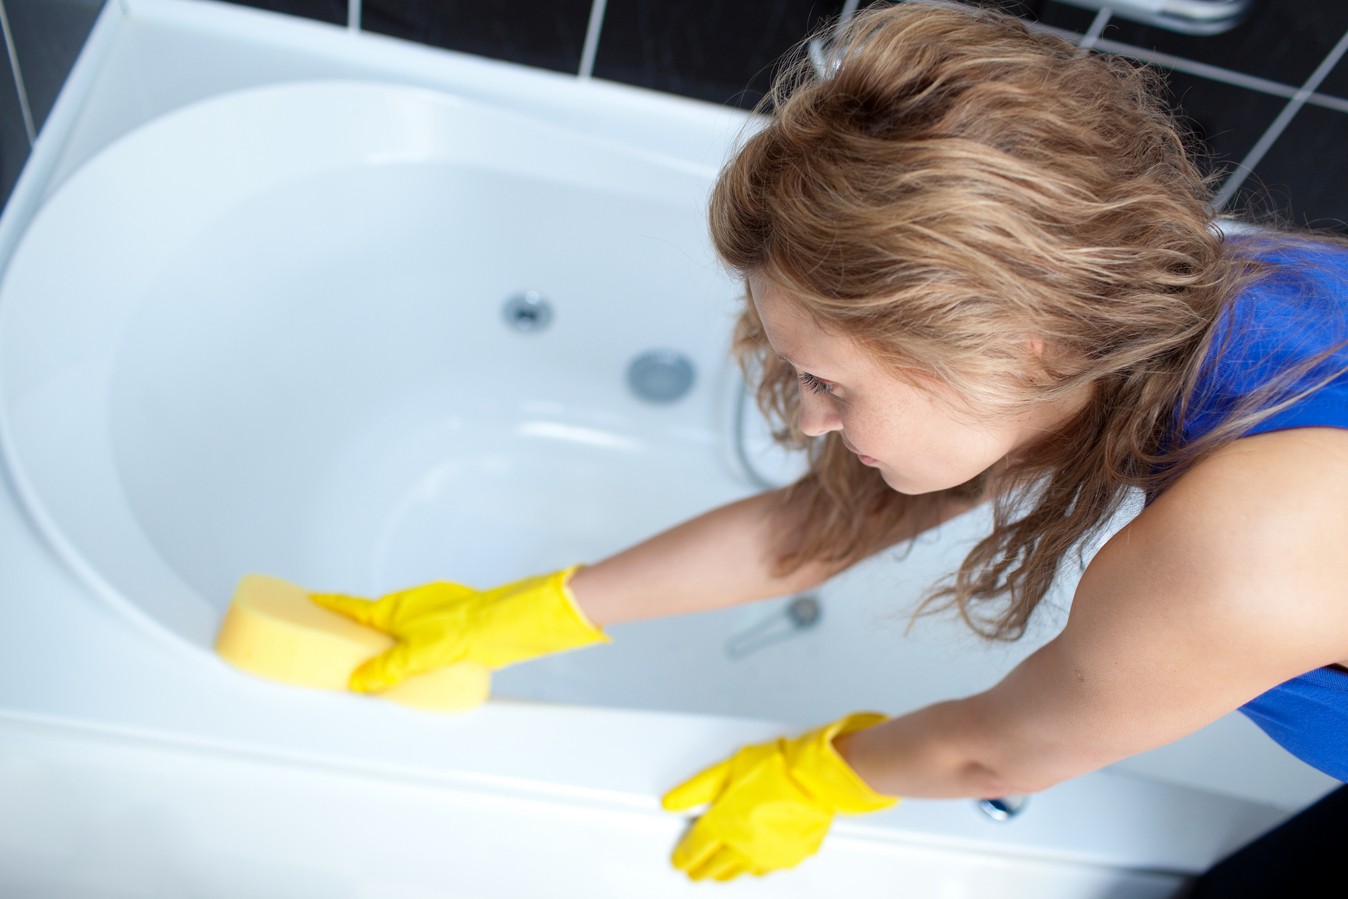
In order not to wrestle with how to overcome old deposits, it is better to carry out regular preventive procedures for the bath. Elementary rinse the product with water, rubbing it with a soap sponge after use, wipe the bath dry, and the lime on the surface does not threaten you.
What can not be done?
The most significant drawback of acrylic baths is their poor resistance to mechanical damage. It is easy to leave scratches on the acrylic coating and strip the natural shine of the bath if you use inappropriate cleaning products. Abrasive substances harm the bath covered with liquid acrylic.
So that the bath does not take on a dull shade ahead of time, exclude the use of the following substances to clean it:
- Abrasives;
- Chlorine-containing drugs;
- All solvents, including acetone. They cloud the enamel, and with prolonged contact they can cause deformation;
- Ammonia will also make the enamel muddy;
- Formaldehydes are not compatible with acrylic surfaces. This substance, though rarely included in the composition of household goods, but still they are found.
As it turned out, to wash the acrylic bath without harm to the product, you need to know some subtleties. Next, find out how to clean the bath of yellowness without harm by using specialized tools.
Recommended funds
Today, more and more products for washing acrylics are made. You can choose a tool by trial and error, and you can contact the already proven manufacturers who have managed to recommend their products as high-quality. Naturally, you need to be prepared for the fact that their price will be much higher. Below is a list of the most efficient manufacturers of household chemicals.
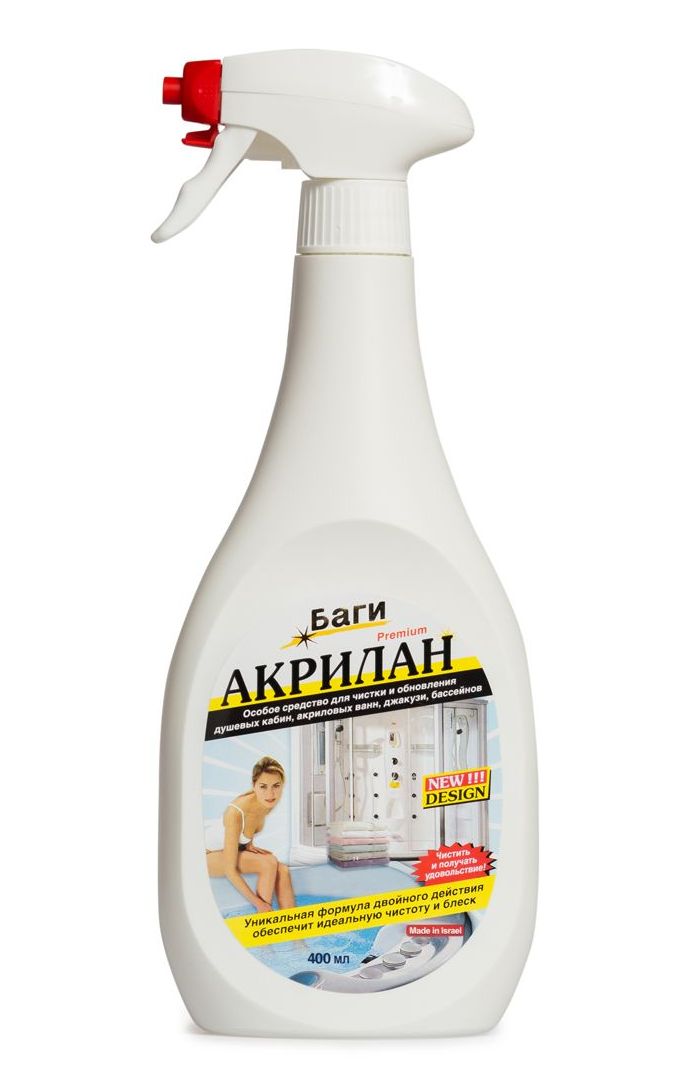
- "Akrilan". The name already suggests that the product is suitable for acrylic baths. Acrylan has a fast action and removes various types of pollution: it helps to get rid of yellow deposits and lime deposits. The drug creates on the surface of the tank a thin film that gives the product a glossy shine.
- "Ravak" offers a group of tools of different functionality: cleansing, disinfection, protection. Each of the liquids copes with its task.
- "Acryl Polish". Household tool is represented by preparations for cleaning, restoring and polishing.
- "Tim Profi". Refers to environmentally friendly drugs. Conducts mild disinfection, removes plaque, grease stains, unpleasant odors.
- "CIF". Presented in the form of a spray or cream. Does not contain abrasive elements, therefore suitable for acrylic baths.
- Bass Suitable for daily bath washing.
- "Cinderella". Effective spray, but has a pungent odor. It is recommended to carry out work in a respirator.
- Chister. Good cleaner, effectively coping with different types of dirt. In its composition there is a polymer that prevents the growth of the fungus.
It is important not only to find a suitable tool, but also to apply it correctly. You will find instructions for use on any package, and we will look at Some general rules of use:
- Liquid means are applied with a sponge, and after some time they are washed away.
- Drugs in the form of a spray are evenly distributed and after a few minutes are removed with water.
The effectiveness of any tool depends on the frequency of use. Areas with heavy contamination can only be cleaned from the second or third time.

Folk methods
If you are not a proponent of chemistry or simply save the family budget, refer to the folk pollution control on an acrylic bath. All these simple manipulations over the years help housewives to solve the problems of pollution arising during the operation of plumbing:
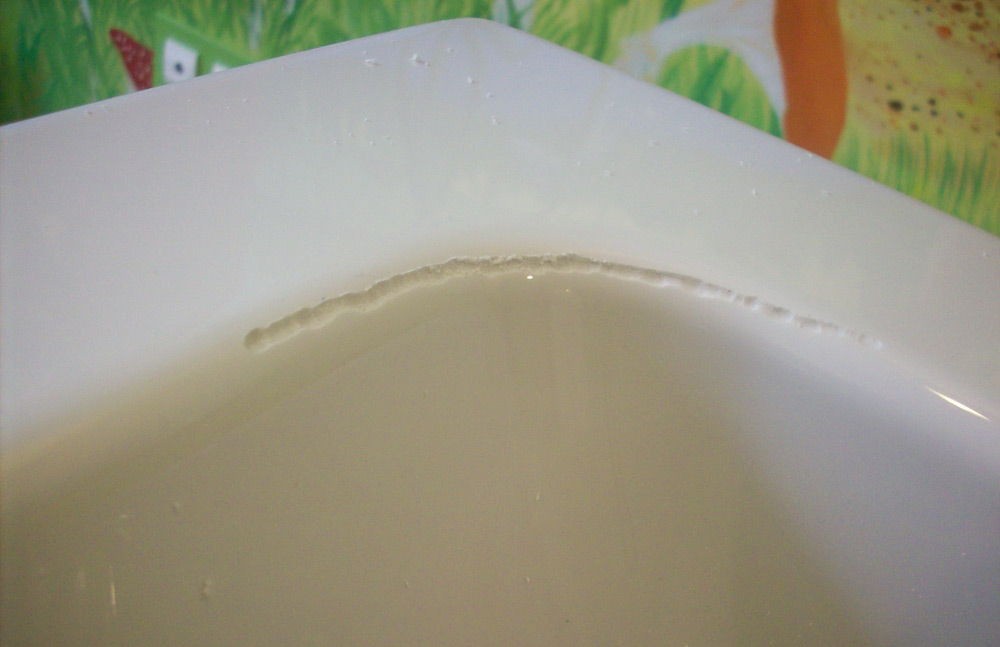
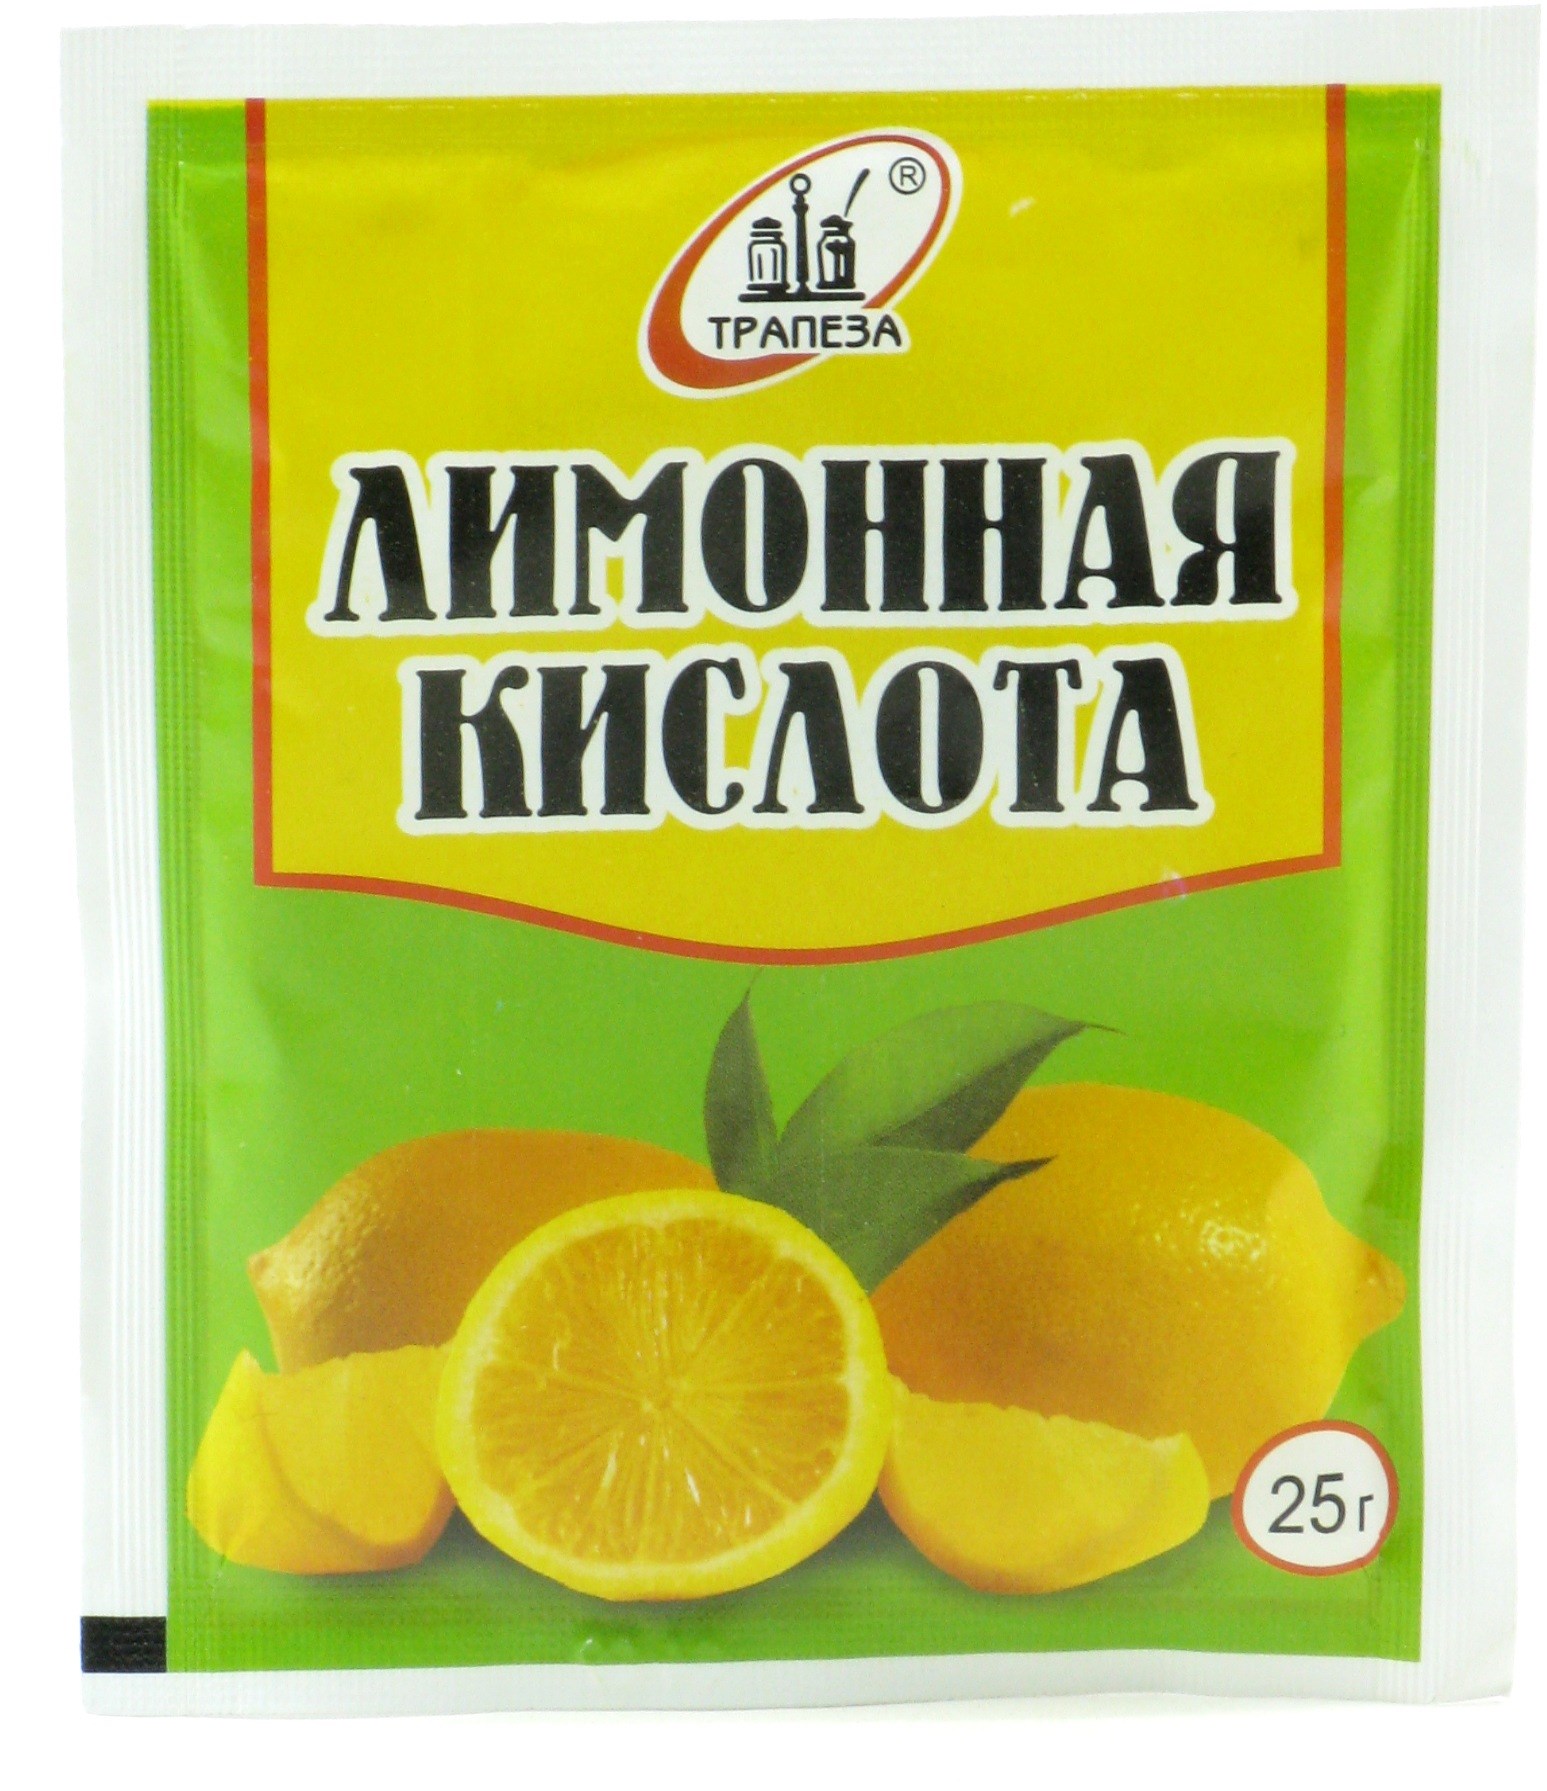
- You can wash lime with citric acid and return the whiteness to the bath. Fill the bath with hot water (not boiling water), pour out a bag of acid there and leave it for 2 hours. Then the bath is washed and wiped dry. The procedure can be performed no more than once every six months.
- Toothpaste will help to remove stains. Apply the paste with the effect of bleaching on the stain, rub and leave for a few minutes. Then wash off and wipe with a cloth.
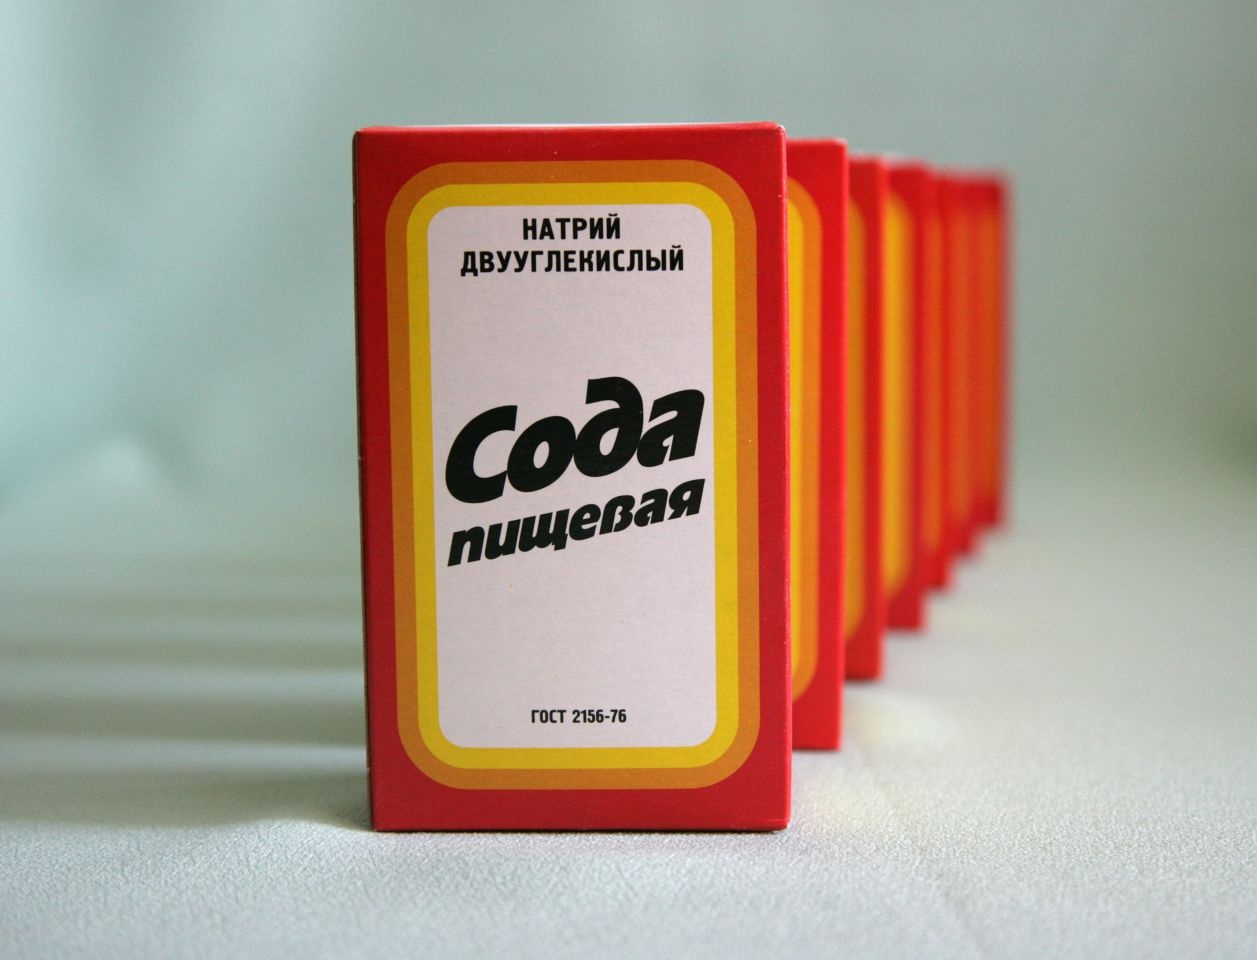
- A good option for combating most contaminants is to apply a soda solution to the bath. After applying soda to the problem area, wait a quarter of an hour and wash it off with water.
- A solution of ammonia and hydrogen peroxide will help wash rust. Mix these two substances in a ratio of 1/1 and use a sponge to apply the solution to the problem area.
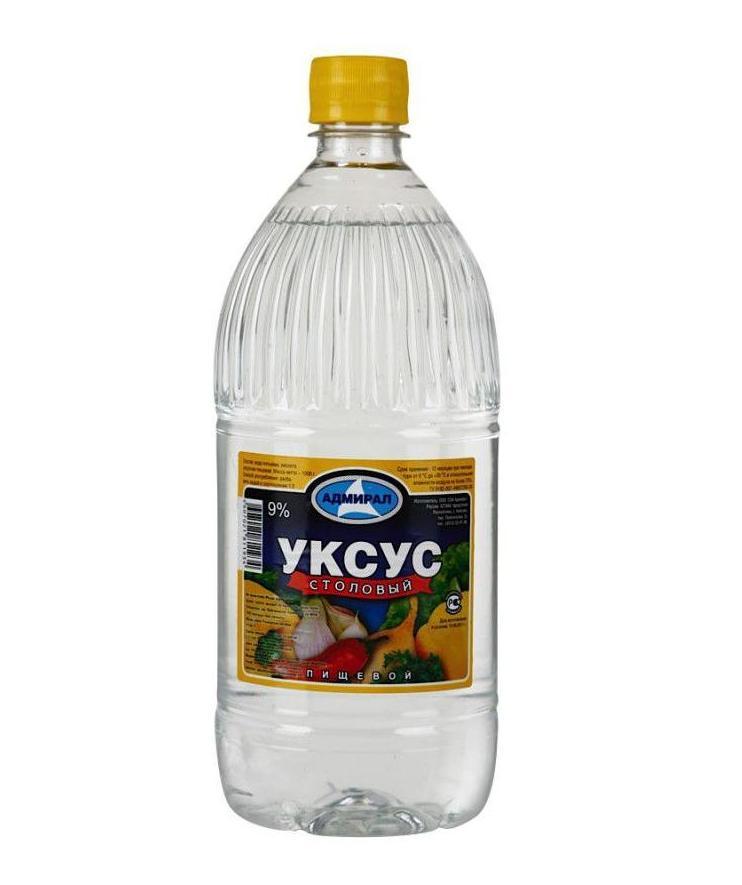
Ordinary table vinegar will help to cope with extreme pollution. Fill the bath with hot water and pour a liter of vinegar into it. Leave the bath filled with the solution for 12 hours, then rinse with water.
Reviews of these life hacks vary. Someone helped one way, but did not help another at all. It largely depends on the accuracy of all the requirements and the composition of the water itself. Remember that rust and lime are easier to prevent than to fight it.
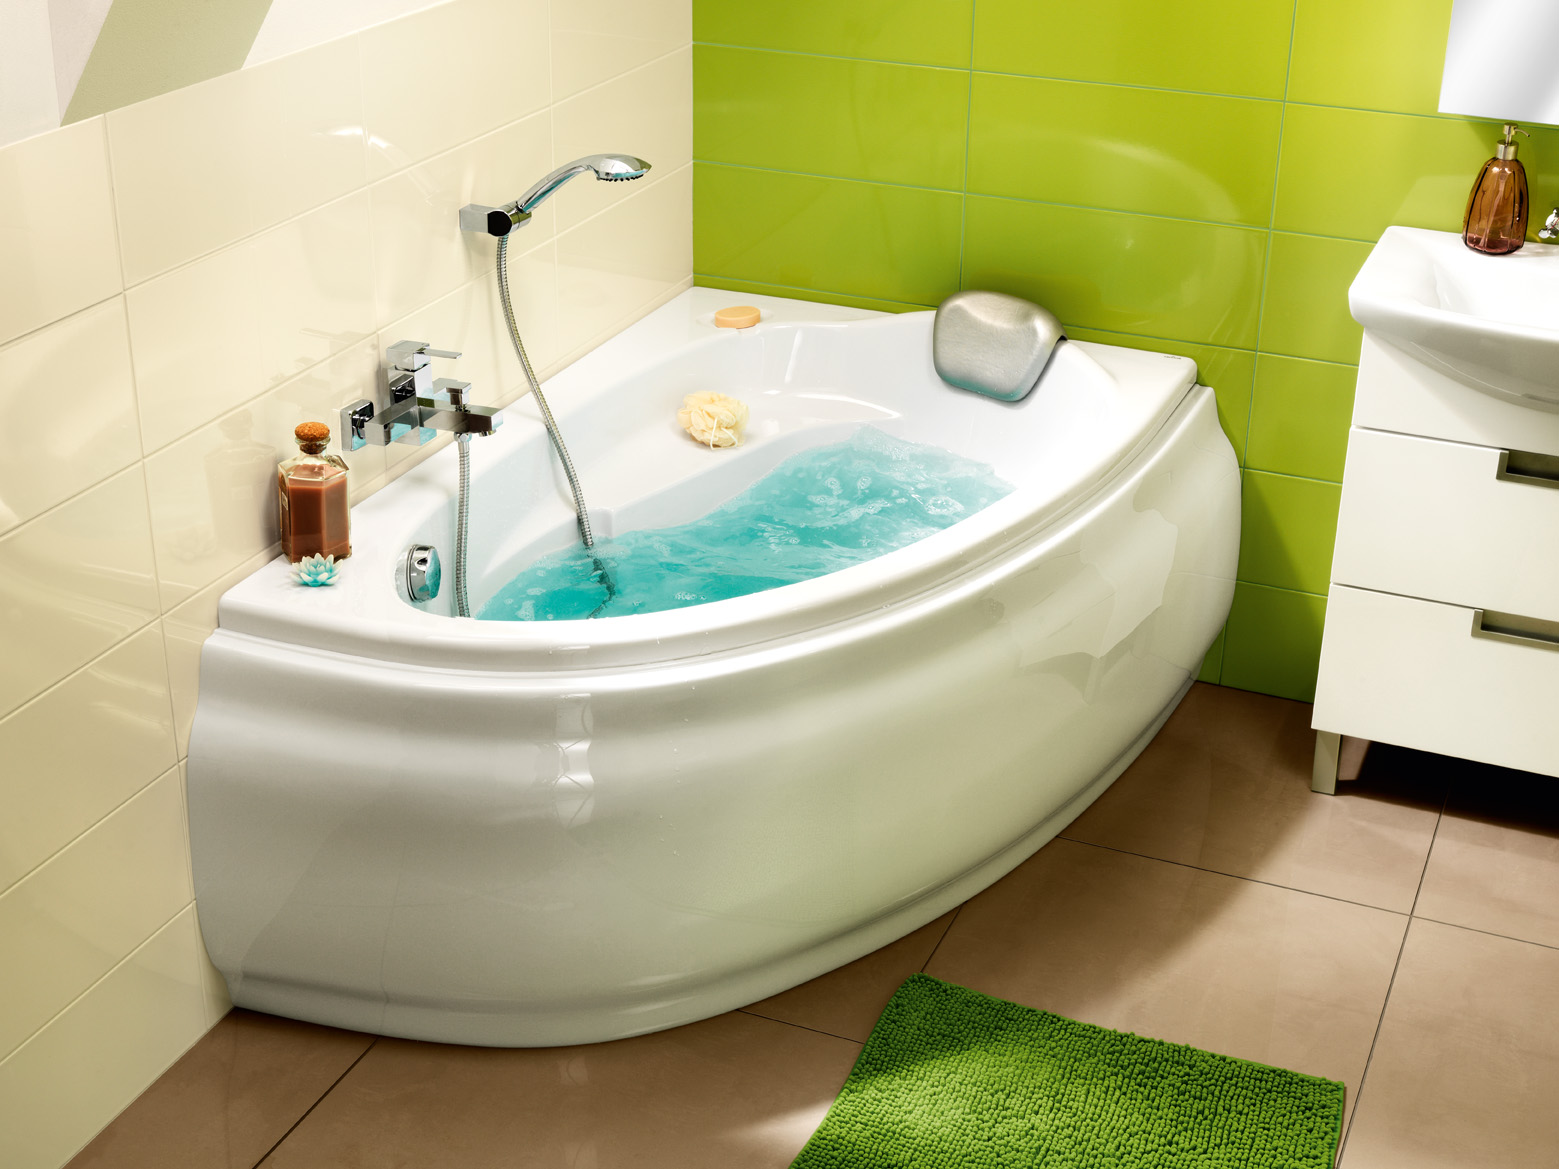
With hydro massage
Acrylic products for hydromassage procedures are equipped with special sprayers, which are connected to the pump. This pump provides a high water pressure, due to which water is pulled out from the small nozzles in the right direction. Sprays or nozzles are susceptible to the formation of mold, fungi and lime, because they constantly accumulate water. It is advisable to clean the acrylic product with hydromassage at least once a month. The process of cleaning and disinfection is carried out step by step:
- Dial a full bath of hot water, but not boiling water.The water level should be slightly higher than the nozzles.
- Stop the pump.
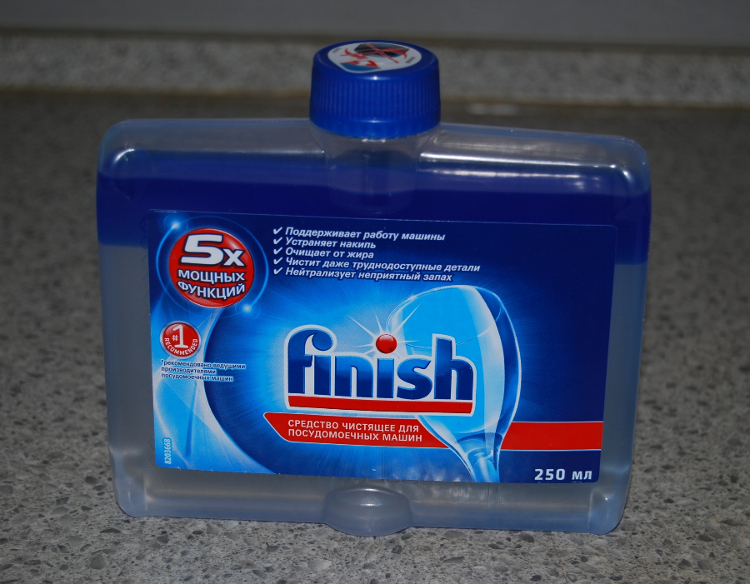
- Pour 50 g of dishwasher cleaner.
- Add a glass of vinegar to the water for disinfection.
- We turn on the bath in the operating mode for a quarter of an hour so that all the dirt comes out of the nozzles.
- Wash away dirty water.
- Fill the vessel with clean water and re-start the hydromassage to flush the solution and residual dirt.
We clean construction mud after repair
It seems that when the repair work has come to an end, it remains only to marvel at the resulting magnificence. However, there remains another unpleasant moment - the removal of traces of this very repair in the form of dirt, dust and debris. A bath powdered with cement chips, covered with silicone stains, drops of glue and similar garbage is a terrible sight.
It is extremely easy to remove garbage from the premises, but it is more difficult, sometimes impossible, to wipe off the silicone sealant from the bath. Putting off work for later, you reduce the chances of success. Old stains can be cleaned much harder.
The only reliable means of preserving the appearance of the bath is to cover it with a film, cover it with a sheet of plywood or cardboard. This procedure takes you a few minutes, but will relieve headaches in the future. However, no one is immune from slipping "protection", and then the struggle for the cleanliness of the bath can not be avoided. The most optimal sequence of cleaning construction waste in the bathroom:
- Collect large debris;
- Remove glue from the tile, remove the primer;
- Clean cement dust moving from the corners to the exit;
- Wash the entire tile with water;
- Wipe the ceiling if material allows;
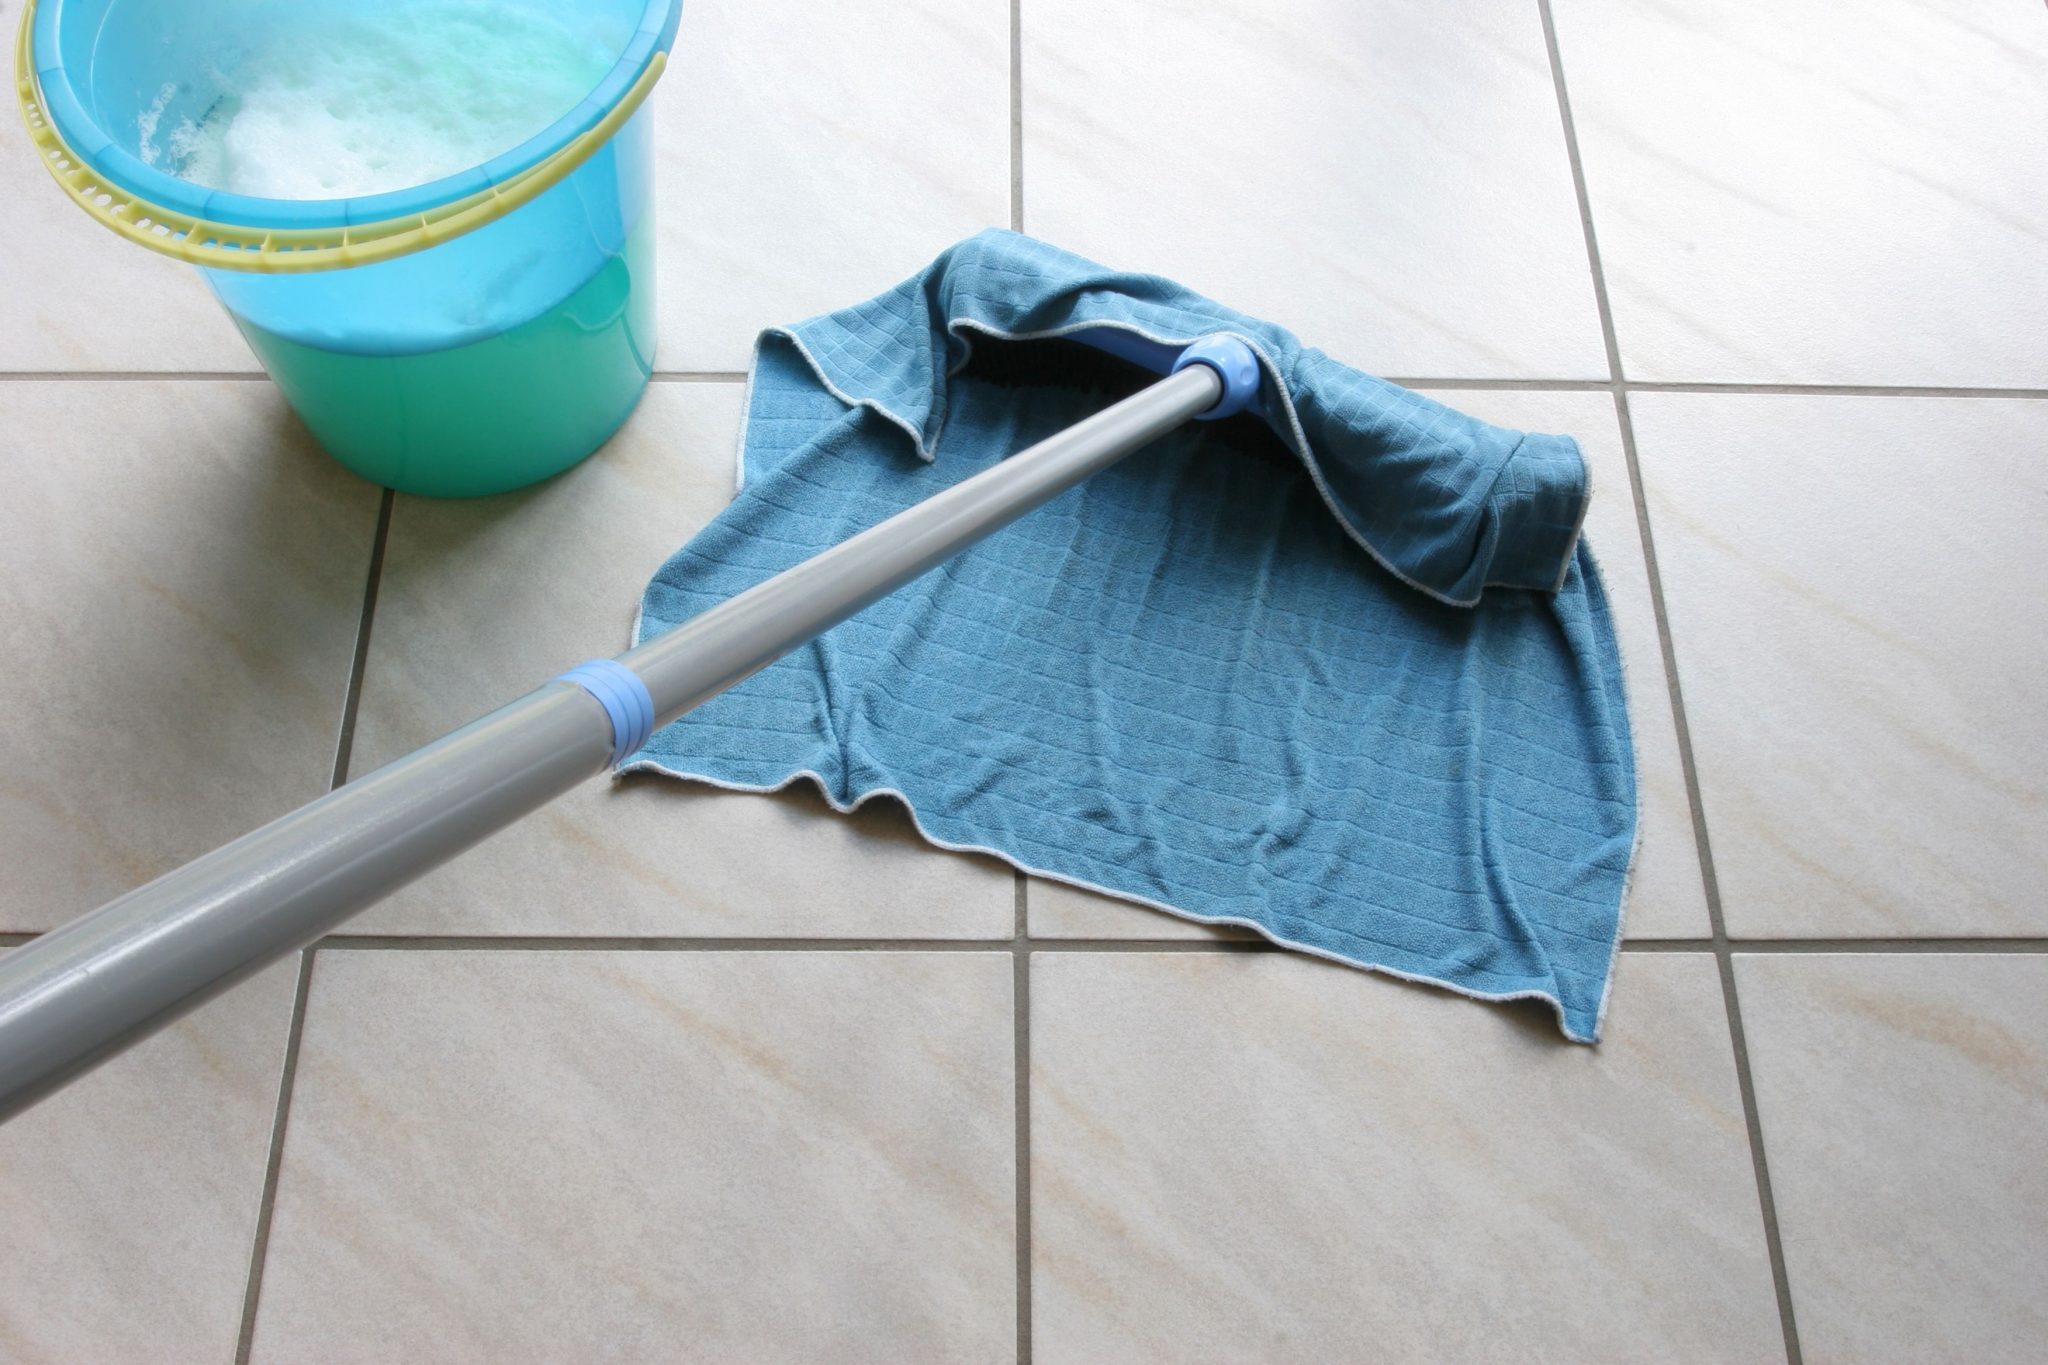
- Wash the floor several times, the last time with a soap solution.
Cement dust is better removed if you add a couple of spoons of vegetable oil to a bucket of water. Small specks of dust communicate with each other and gather better. Then you need to clean the floor with detergent and rinse with water. Only then can you begin to clean the bath and plumbing.
Spray silicone sealant can be removed with a grinder and polish the surface again. This method is suitable for getting rid of light pollution.
How to properly care for acrylic bath, see the following video.


