Stylish manicure always attracts attention. Every woman wants to feel unique and fashionable. In this article we will explain how to make a gradient on the nails using gel polish.
Features
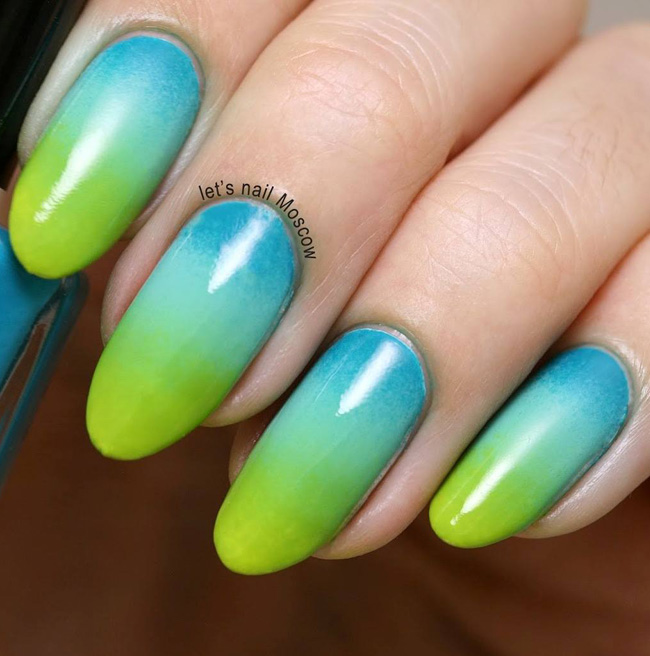
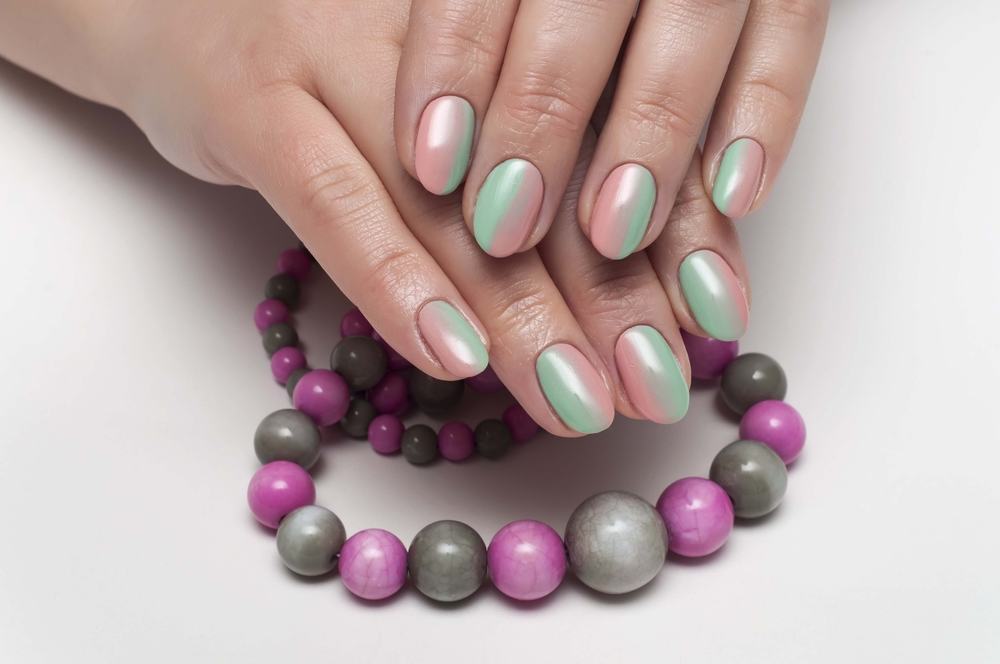
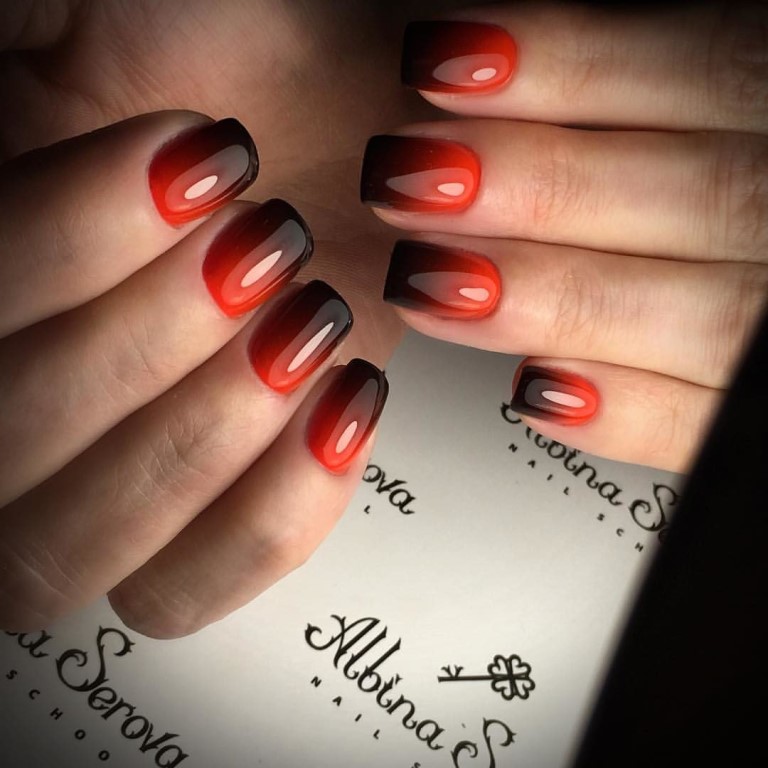
Ombre (or gradient manicure) - the transition from one key to another. Not only delicate, but also bright shades can be used. Such nail art is quite fresh and interesting, suitable for any style, emphasizes femininity and beauty. Consider the main features.
- Ease of incarnation. The technique is simple. It can even be performed by a non-professional master. You can use ombra in the conditions of the house. It will be easy to issue your own nails.
- Harmony It is interesting that whatever tones you take, they will always be harmoniously combined. All thanks to a smooth transition from one shade to another. You can combine a variety of colors.
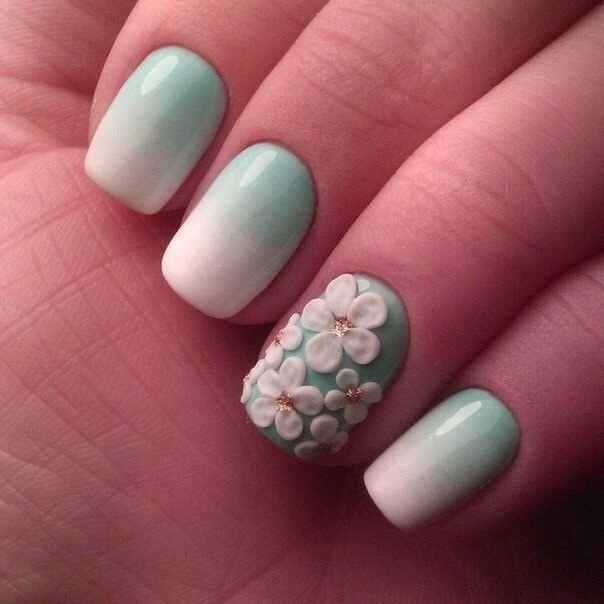
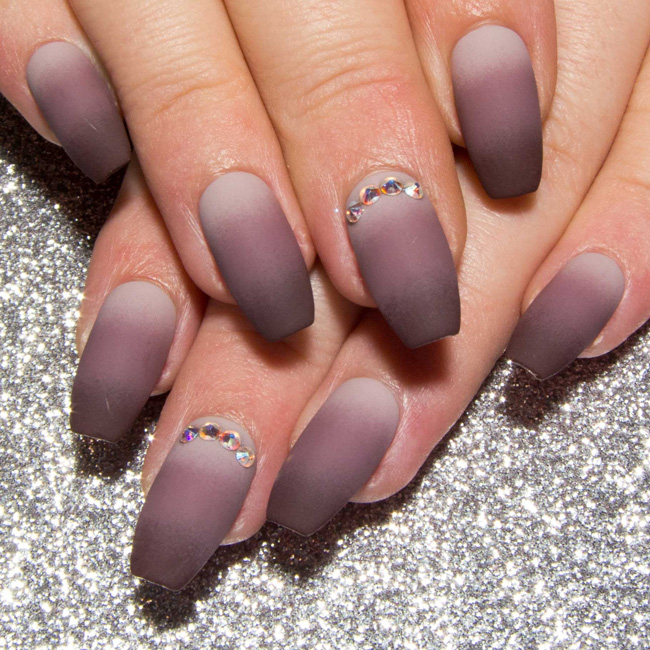
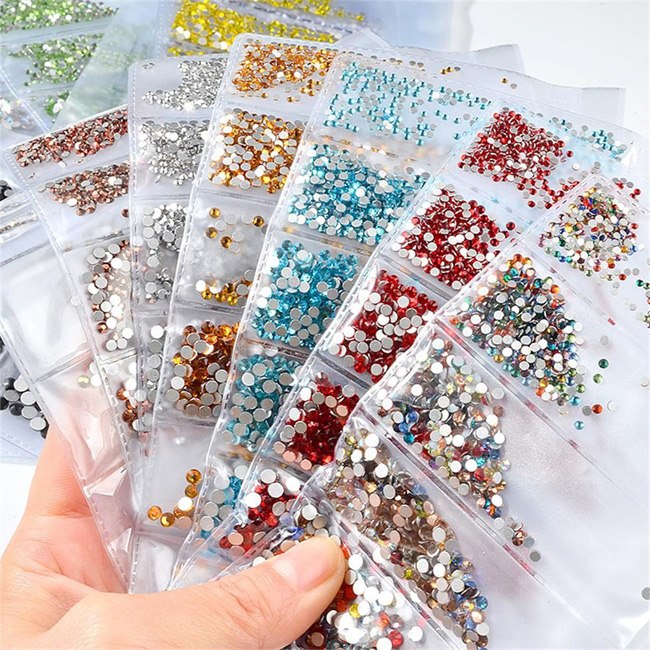
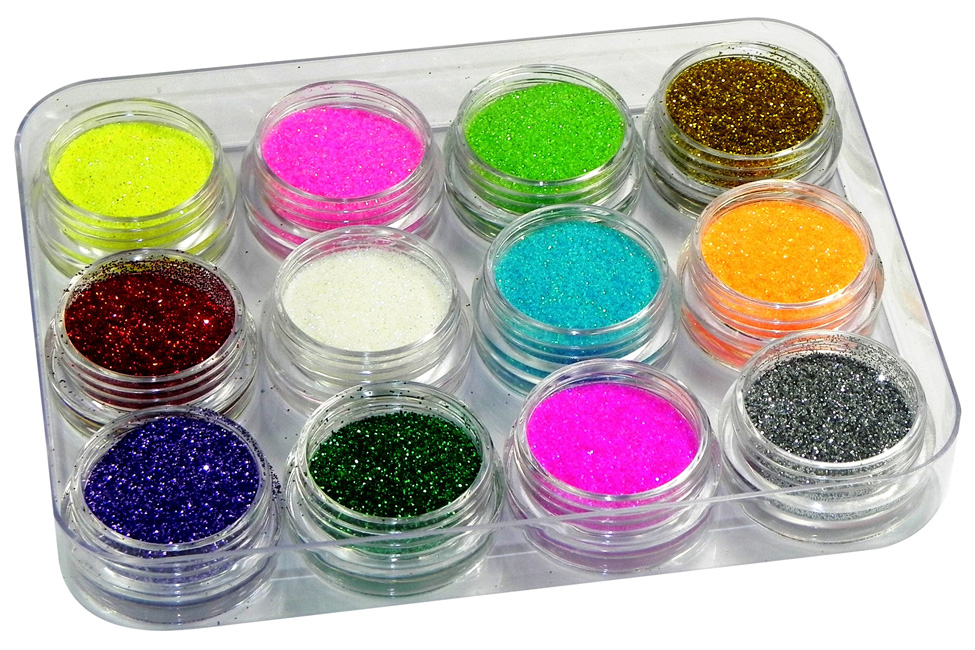
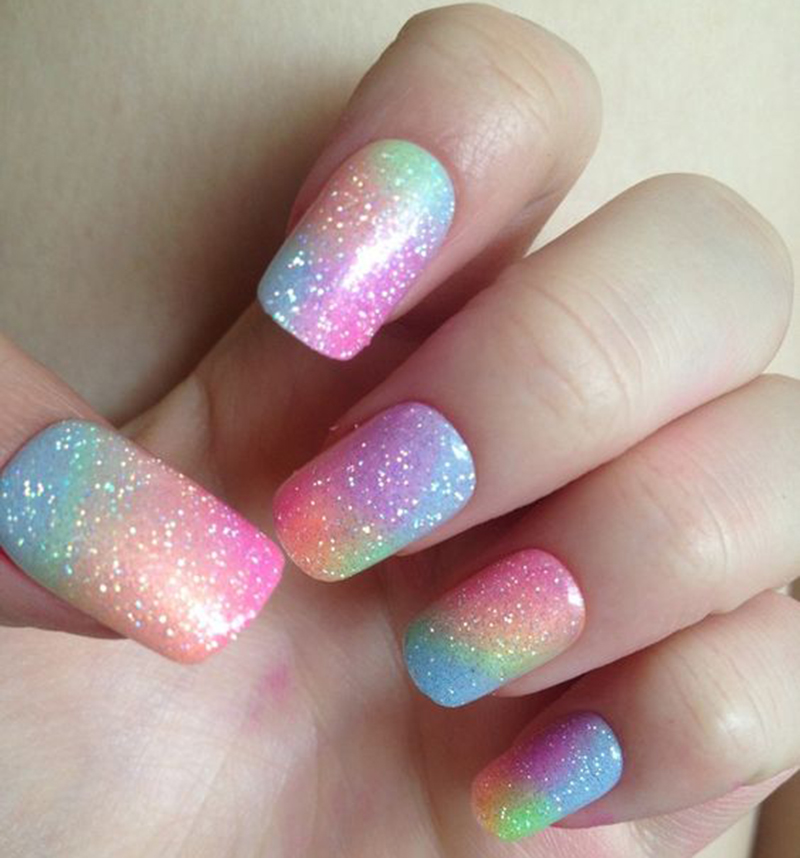
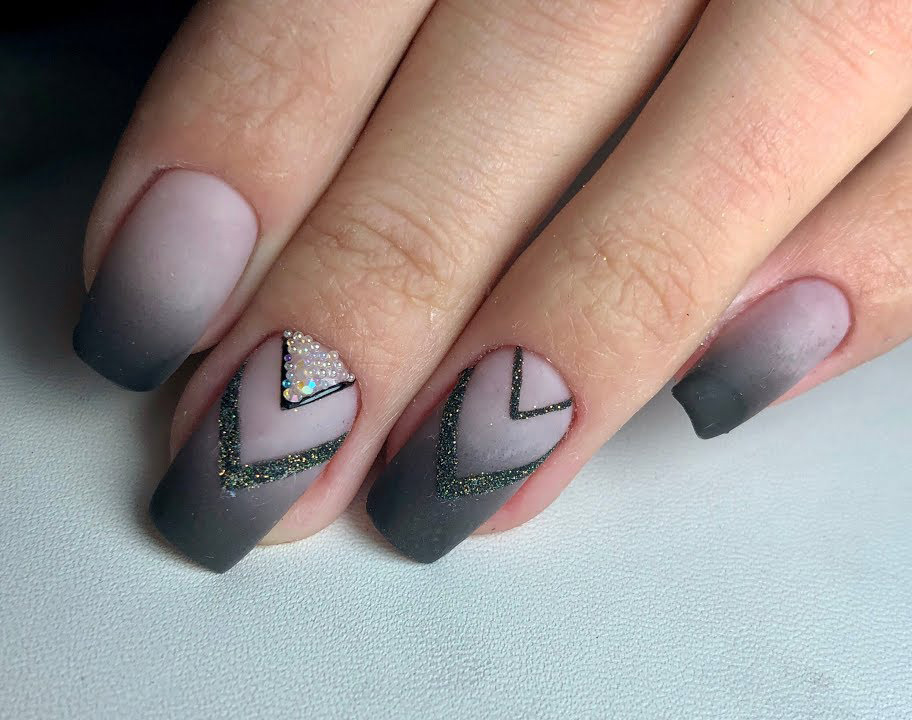
- Showiness Ombre nails are stylish and unusual. It can be complemented by various design elements, decorated with rhinestones, glitter and other decor.
- Cost savings. To perform nail art at home, do not need to spend fabulous money. All materials and items are sold at affordable prices in professional stores. It is only important to monitor the quality of the goods.
- Unique design It does not take you much time and effort. But the result will be great.
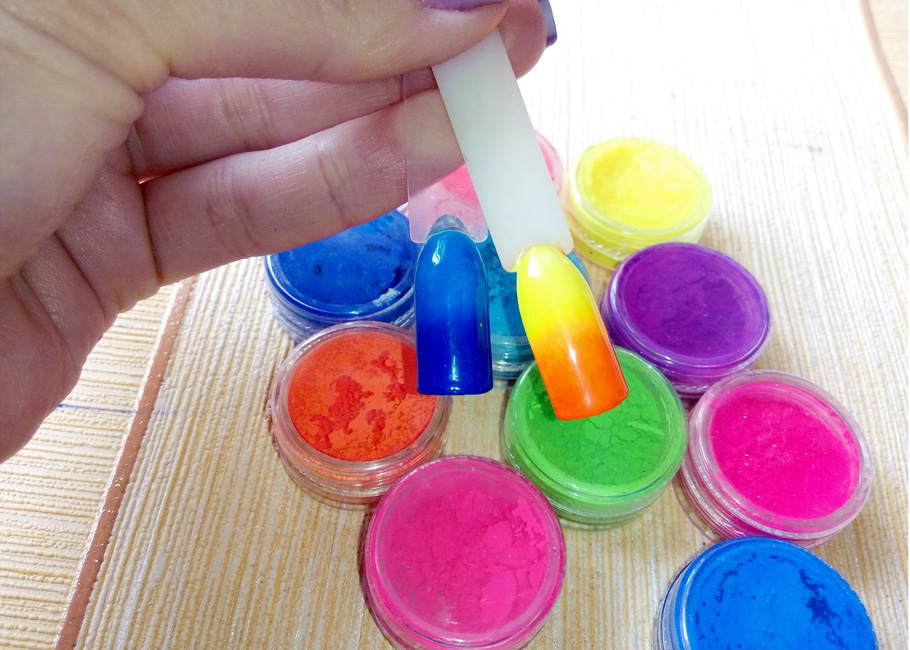
To implement the technique, you will need to stock up on certain materials.
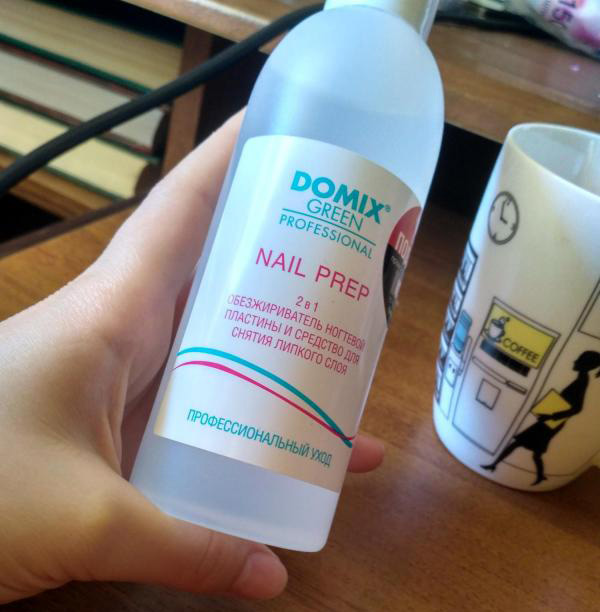
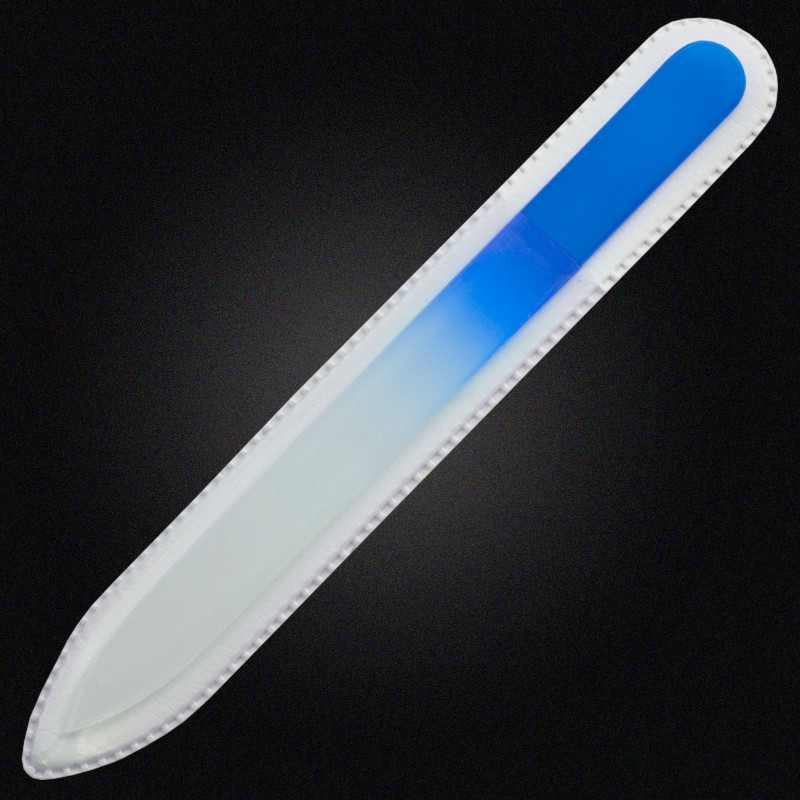
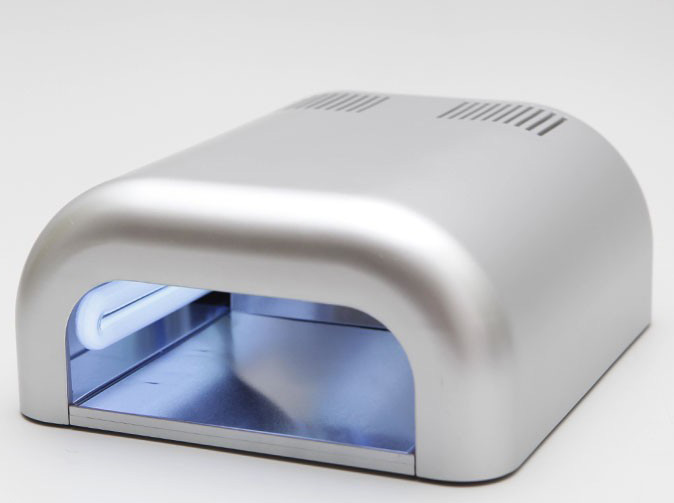
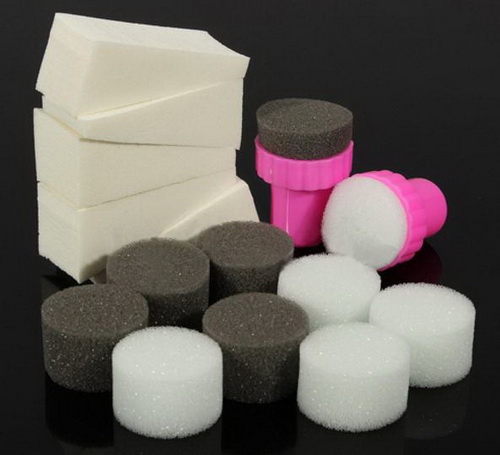
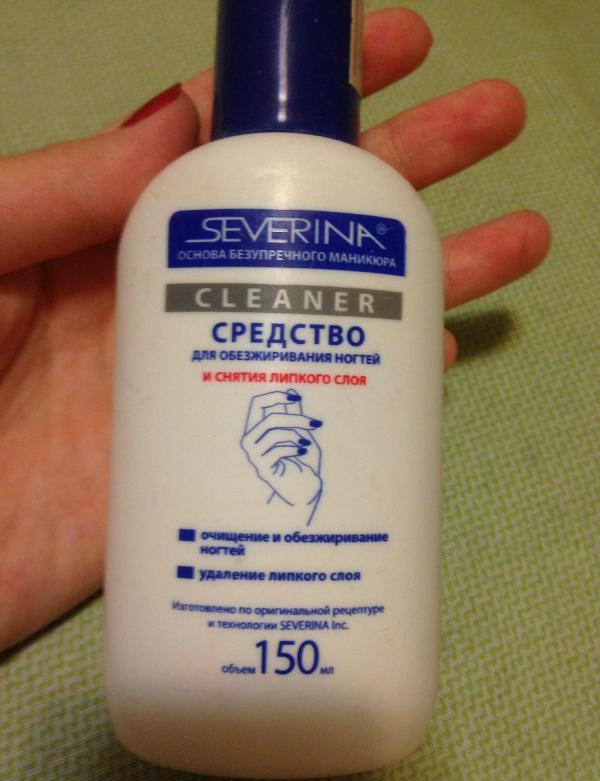
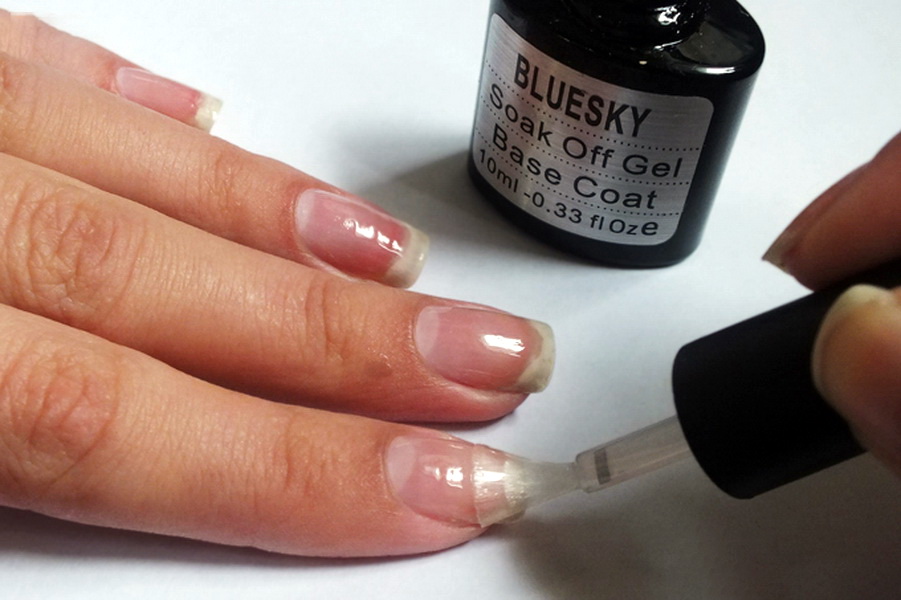
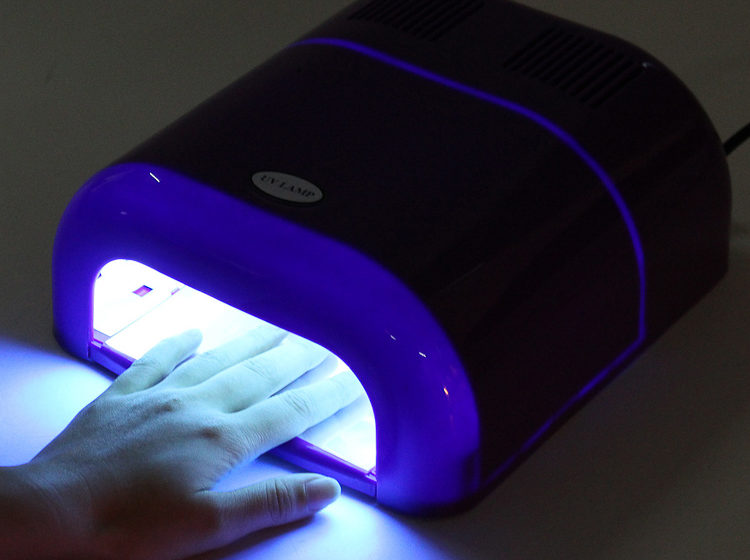
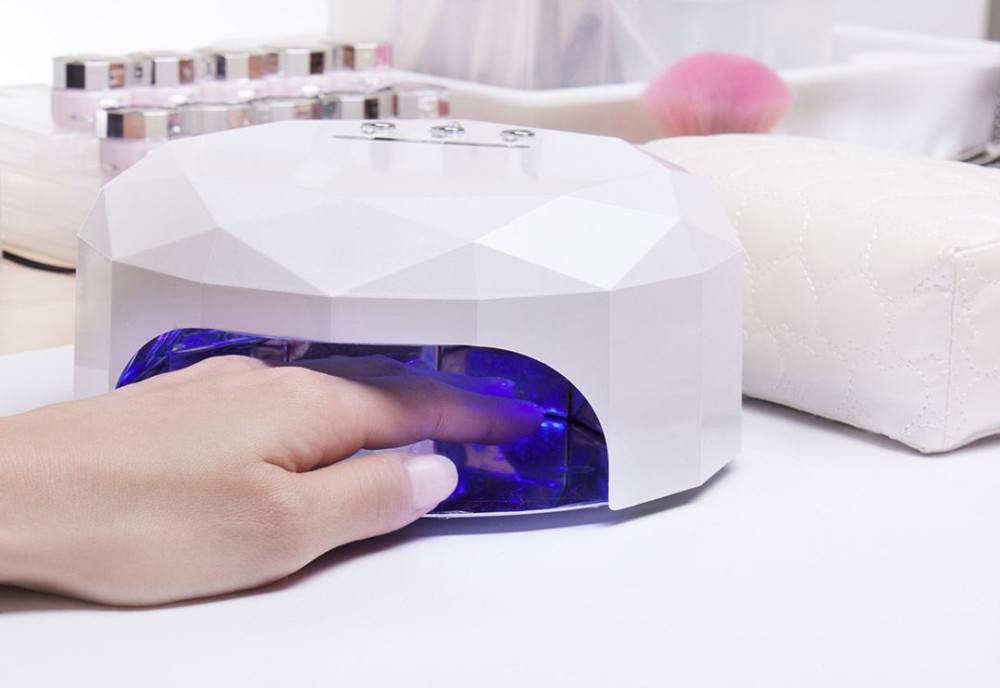
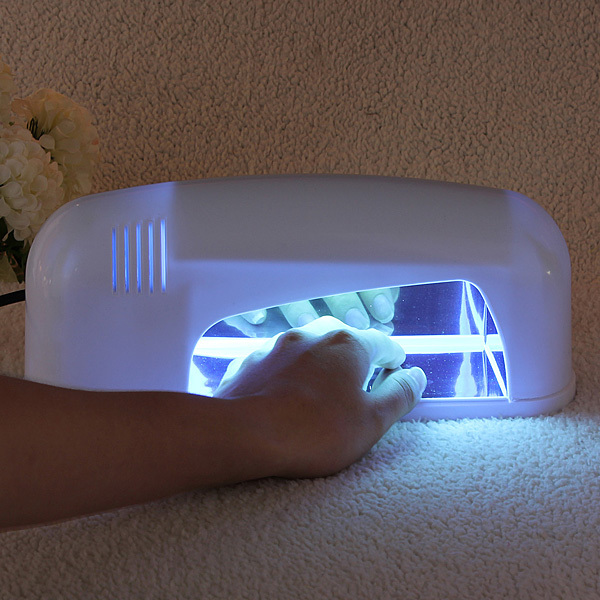
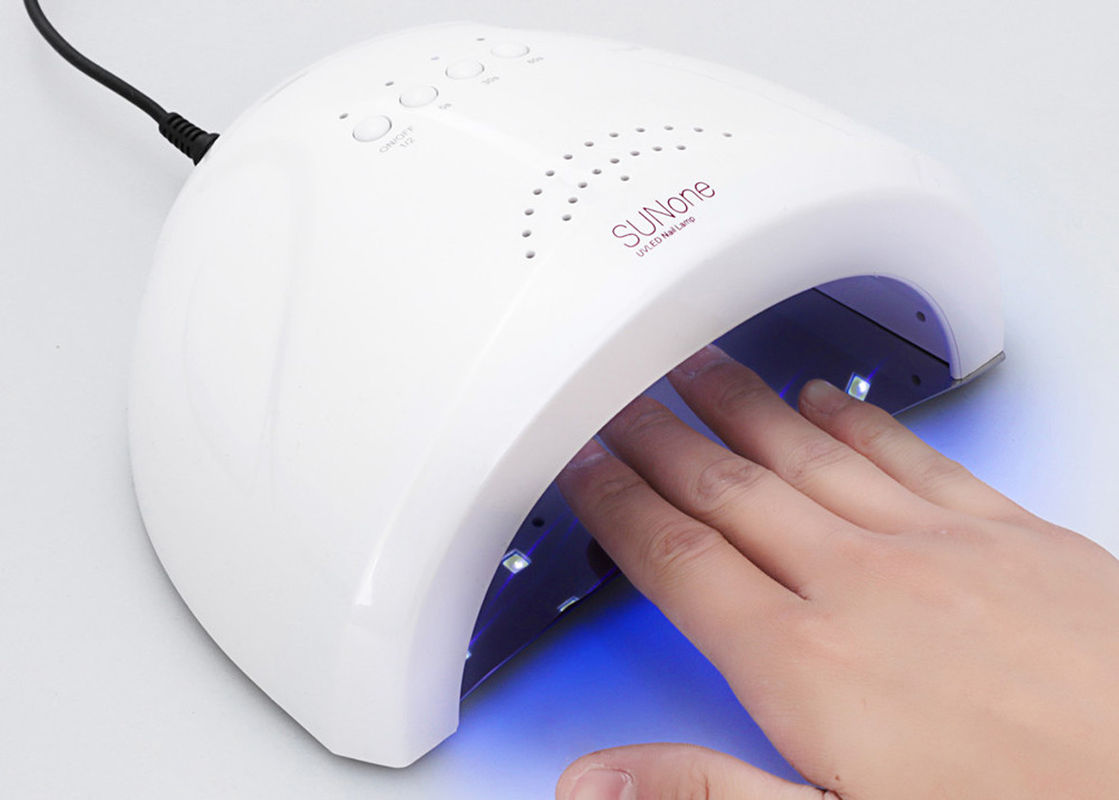
It is important to buy them only in trusted stores so that nail art will not disappoint you. You will need a degreaser for nails, a nail file, gel polishes selected keys, base, topcoat, thin brush, sponge, sponge. The polymerization process will be carried out by a UV lamp.

Ombre Types
There are several types of ombre that will stylishly decorate the hands of each lady.
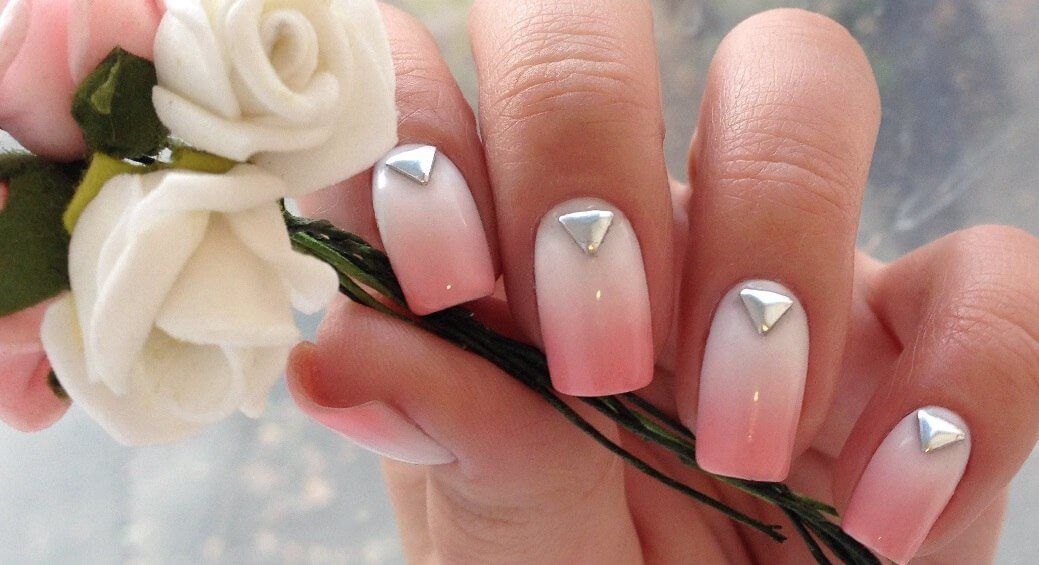
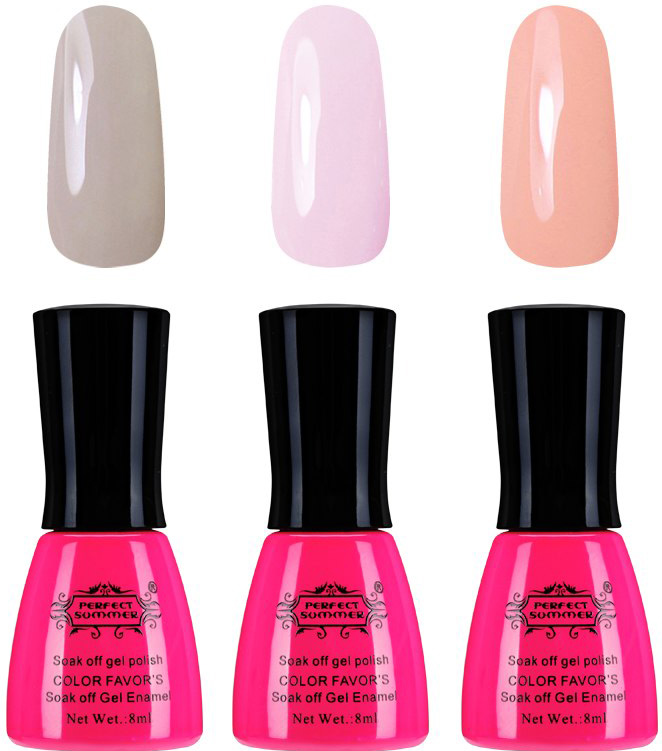
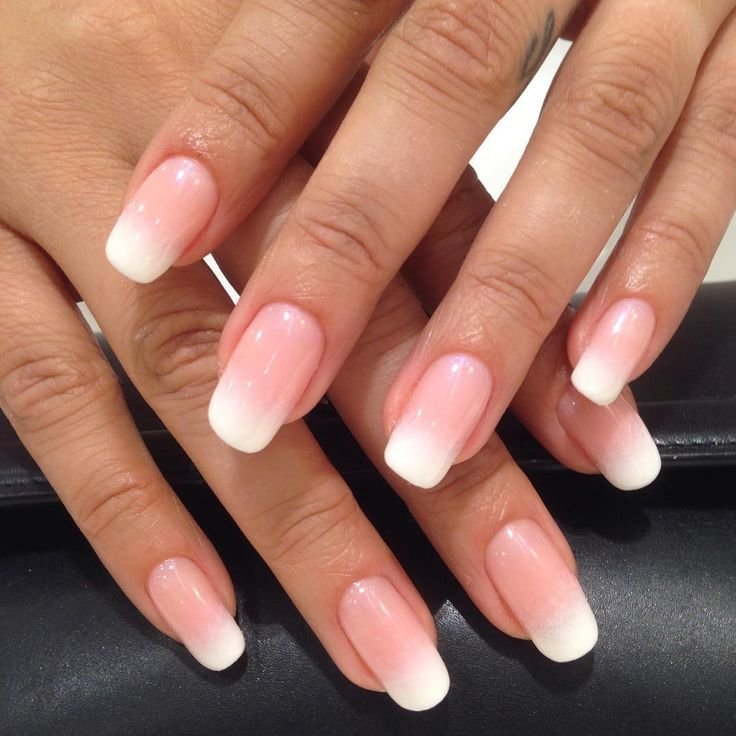
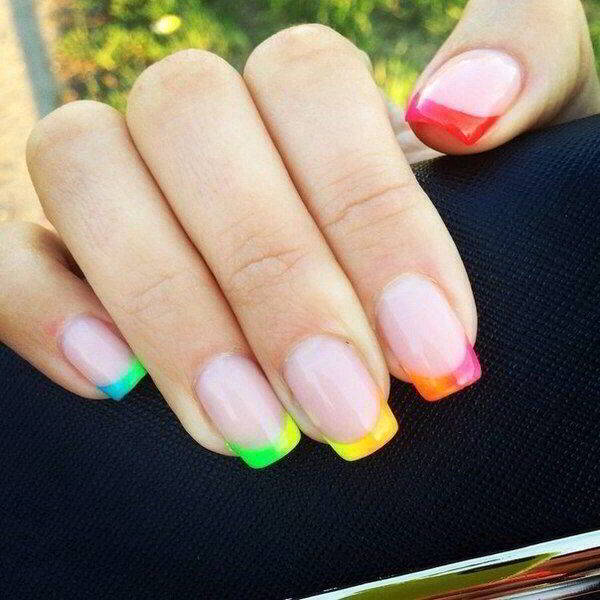
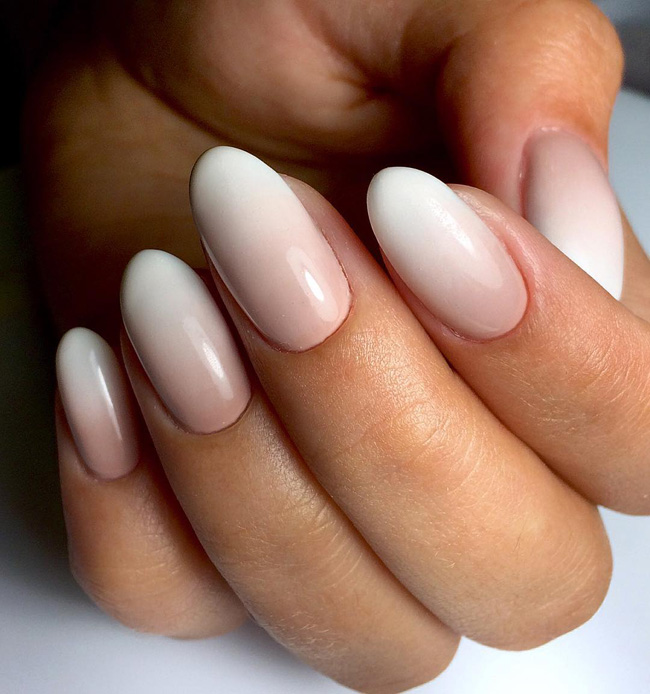
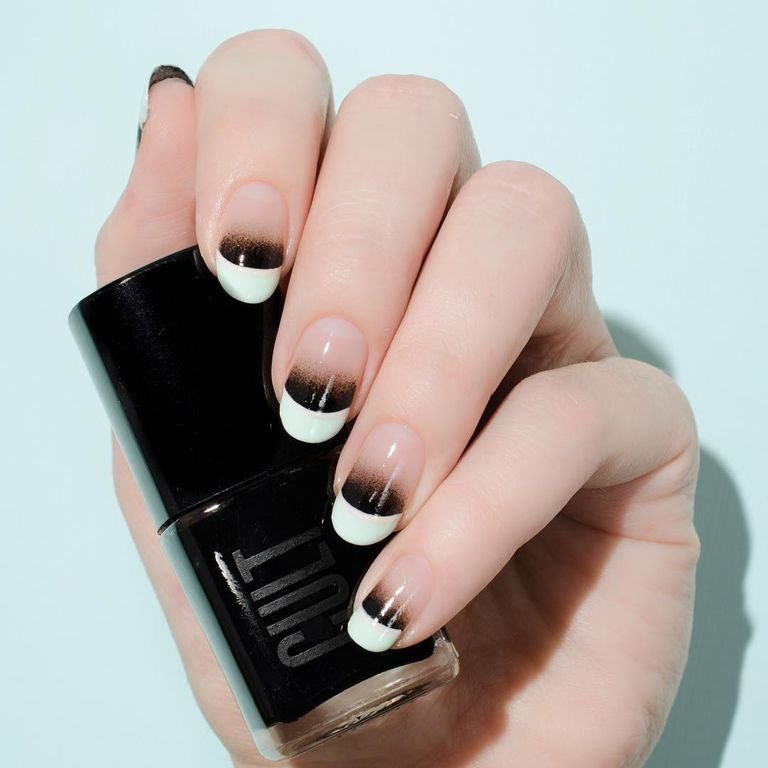
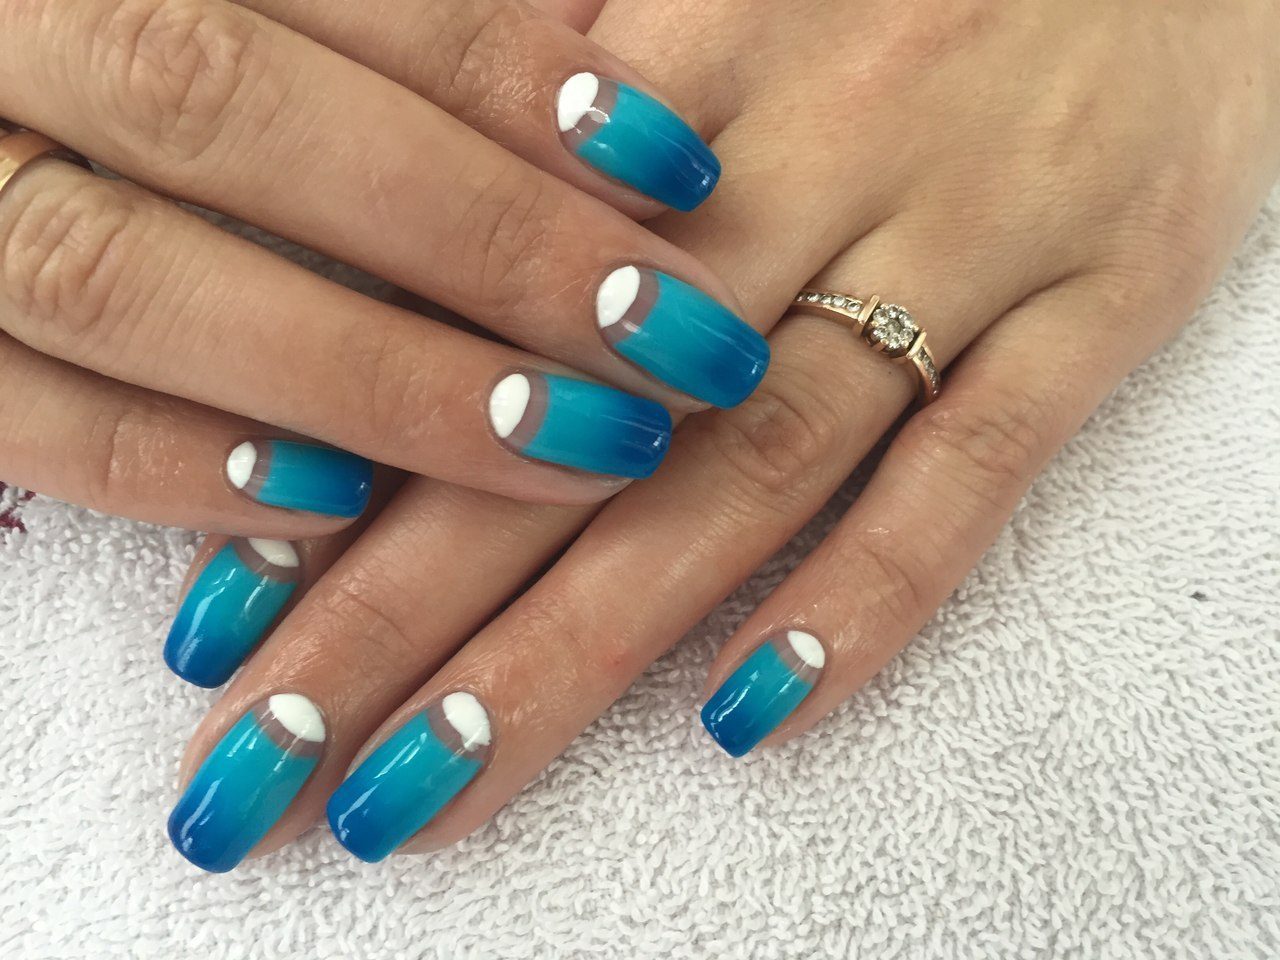
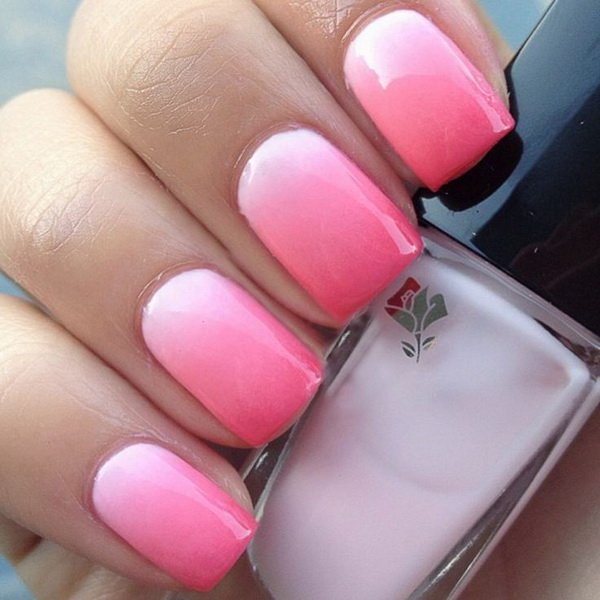
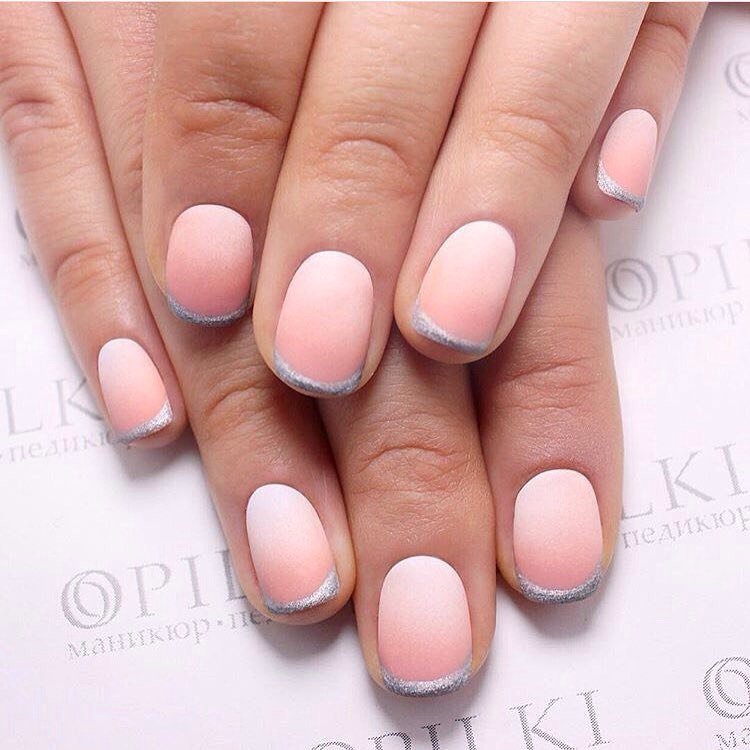
- French. It is a horizontal transition of bright keys. Mainly used nude shades, such as pink, white, beige. Such nail art will be able to visually make the nails longer and give them volume.
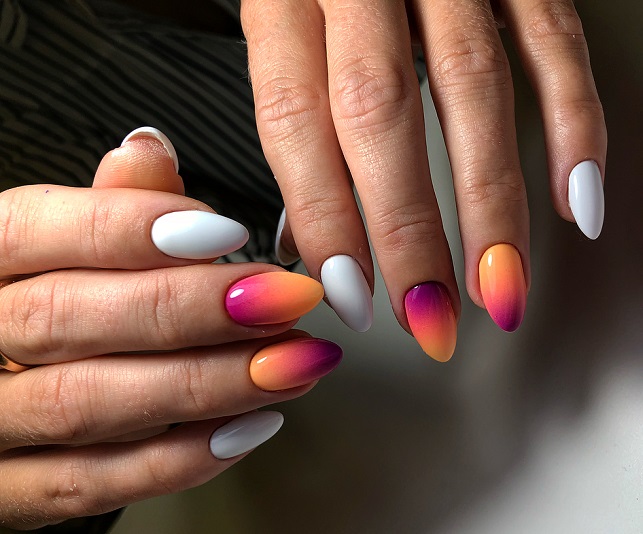
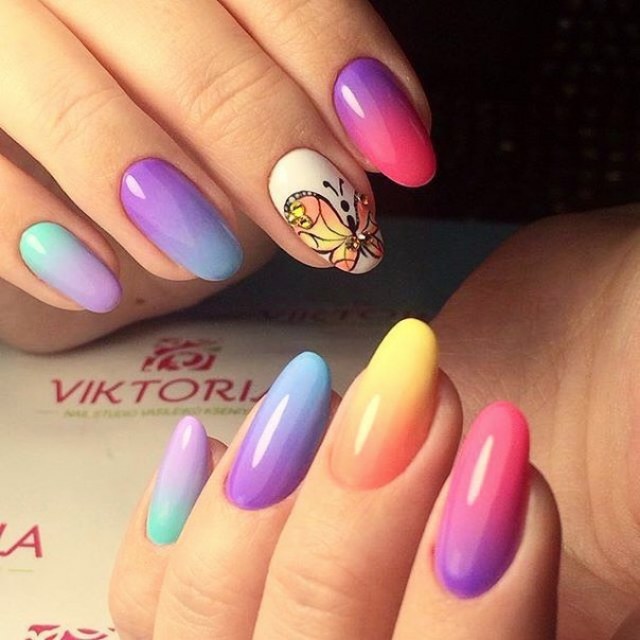
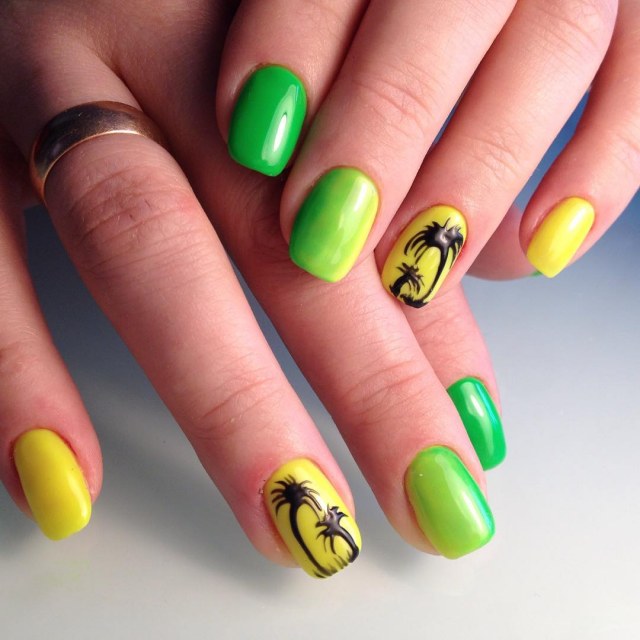
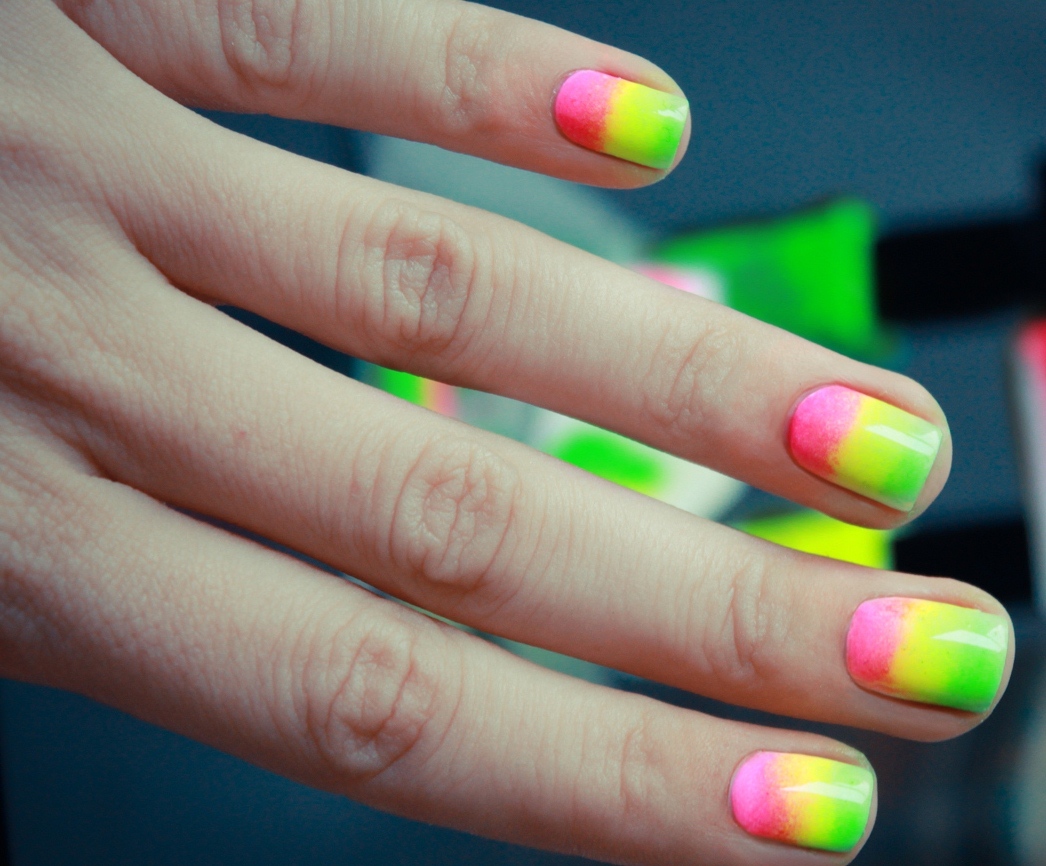
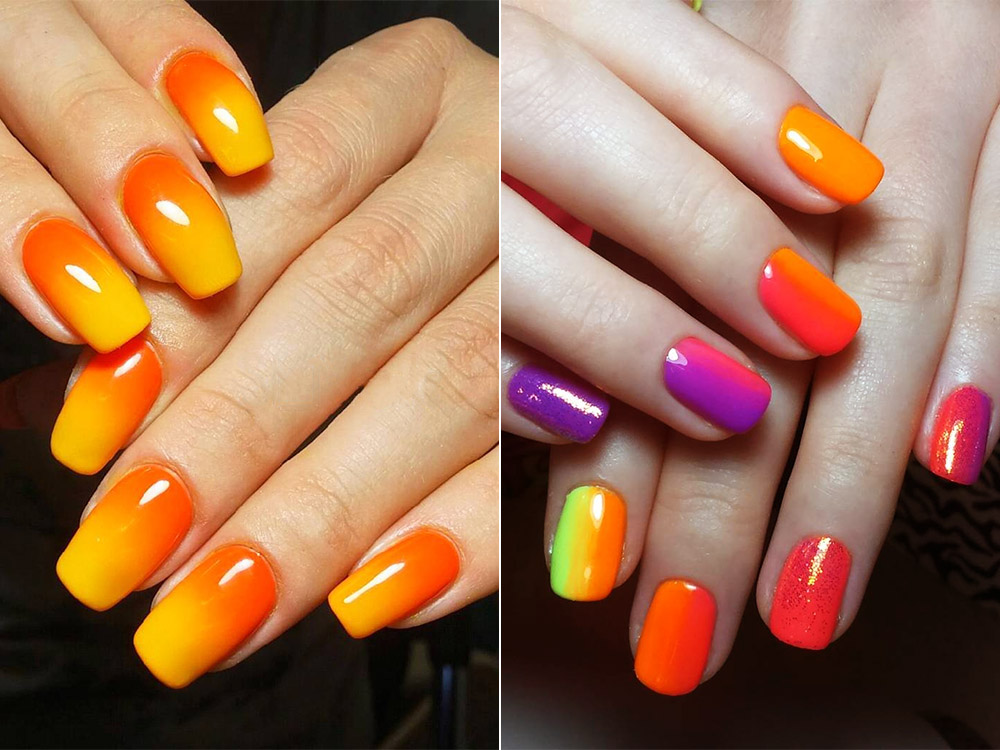
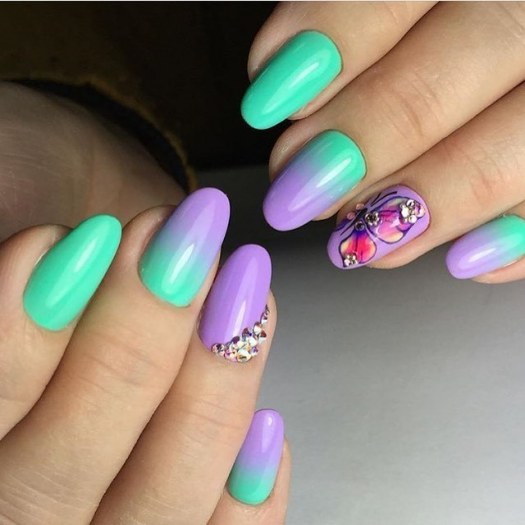
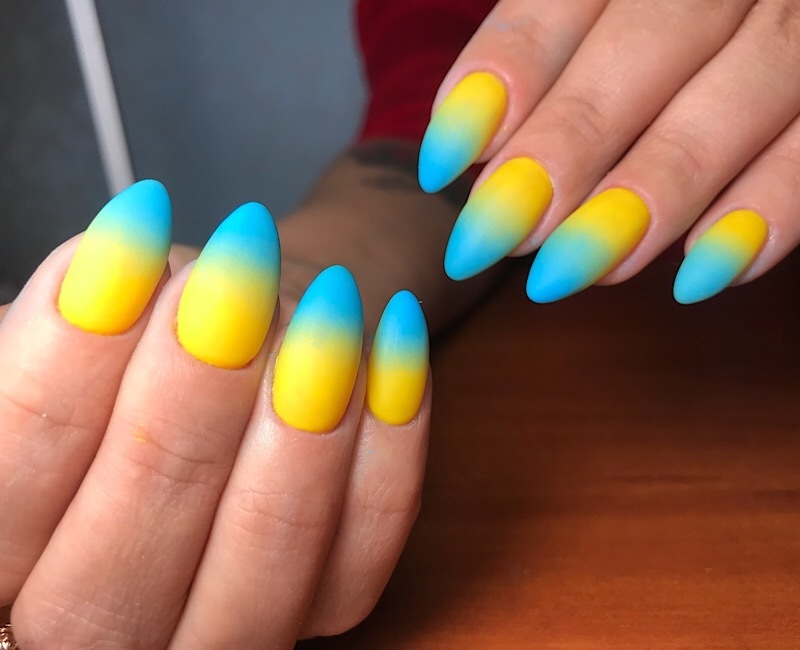
- Contrast. This design is suitable for the summer-spring period. It can be performed using several bright colors. You can effectively combine opposing color options.
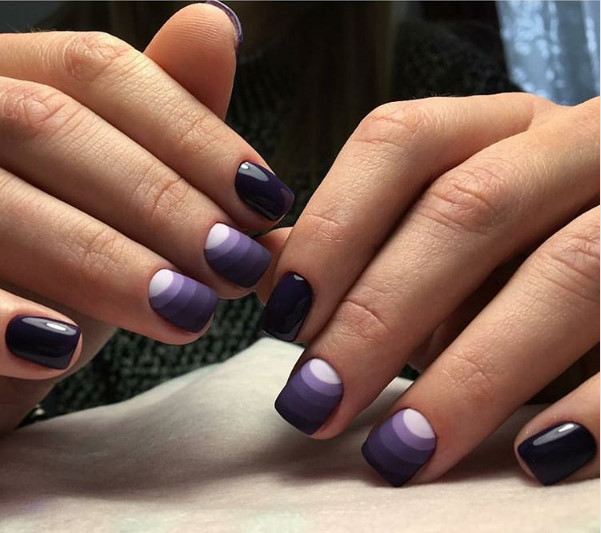
- On all fingers. Here the ombra is stretched to the full arm. Each nail has a uniform coating. The brightest is on the little finger. Each subsequent finger will be darker than the previous one by one tone.
- Diagonal. This technique is quite fresh and new, with the demand and the original. Shades are not stretched horizontally or vertically, but diagonally. Be sure to observe the smoothness of transitions, then the manicure will look decent.
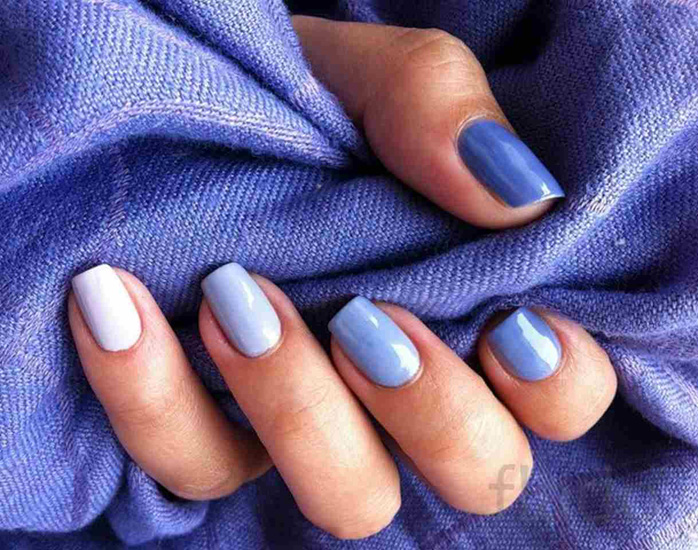
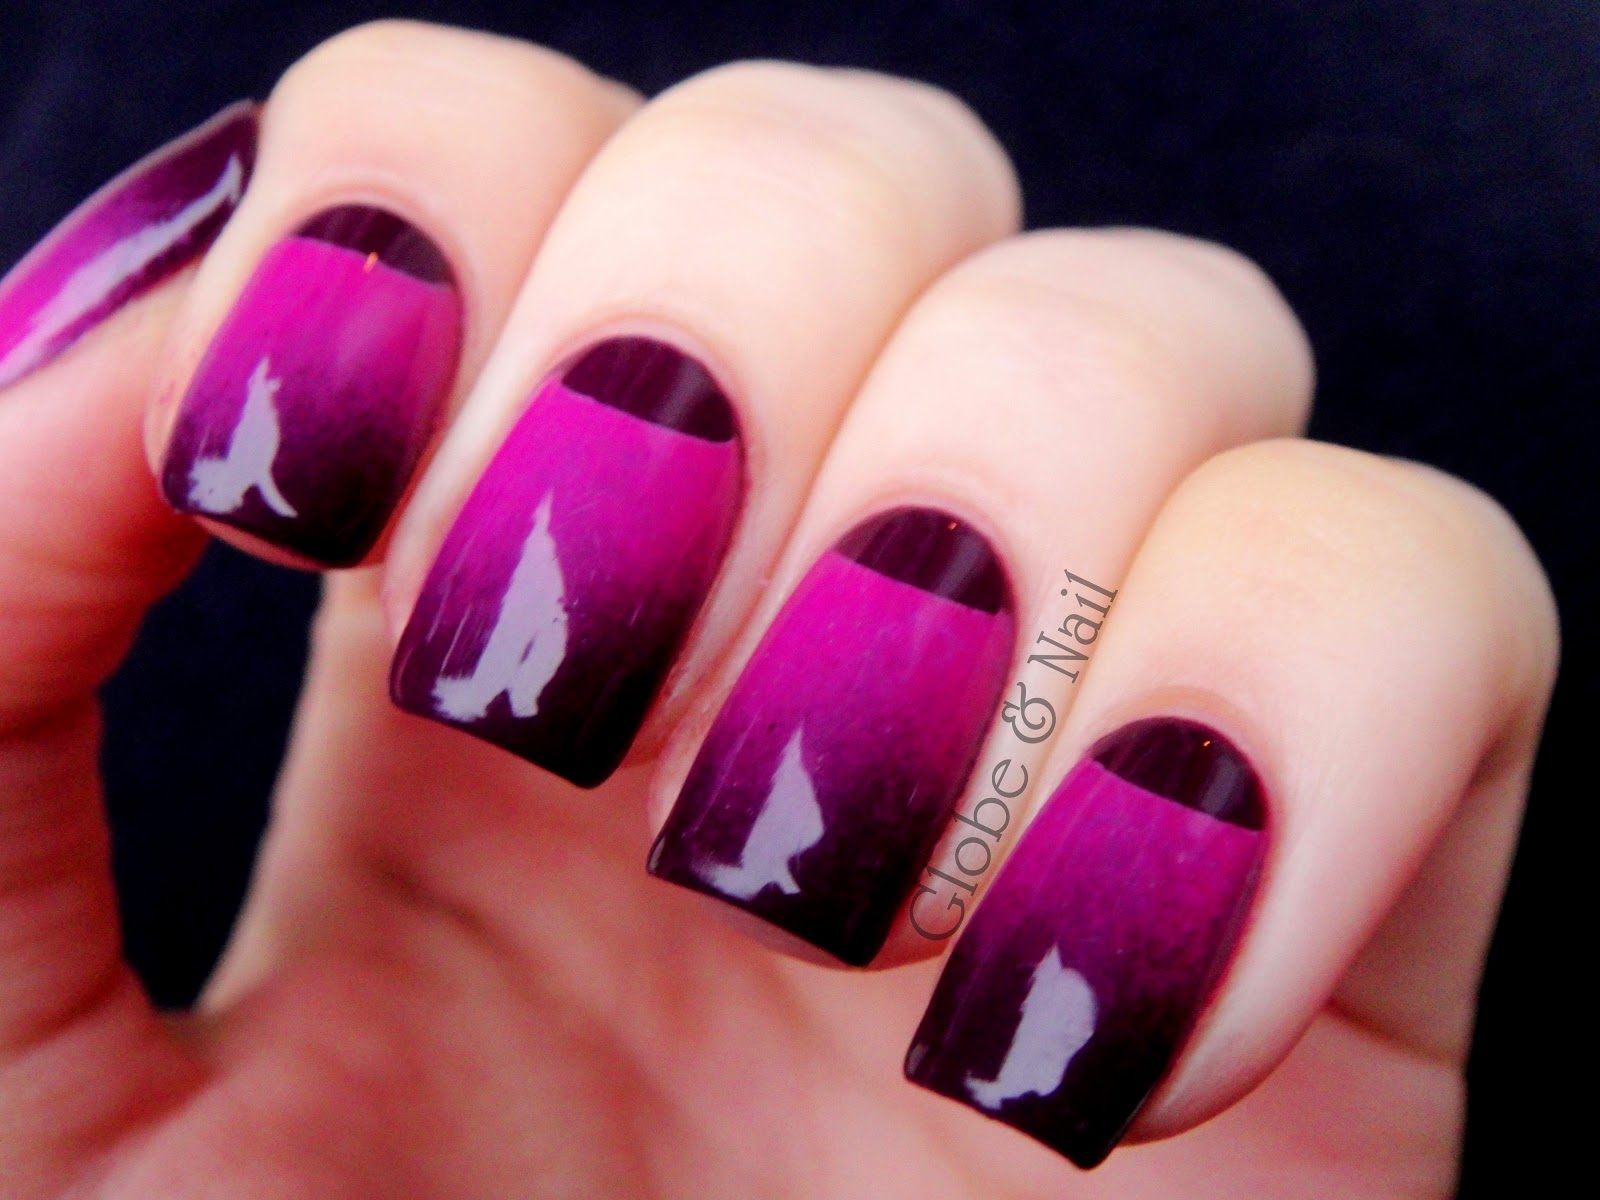
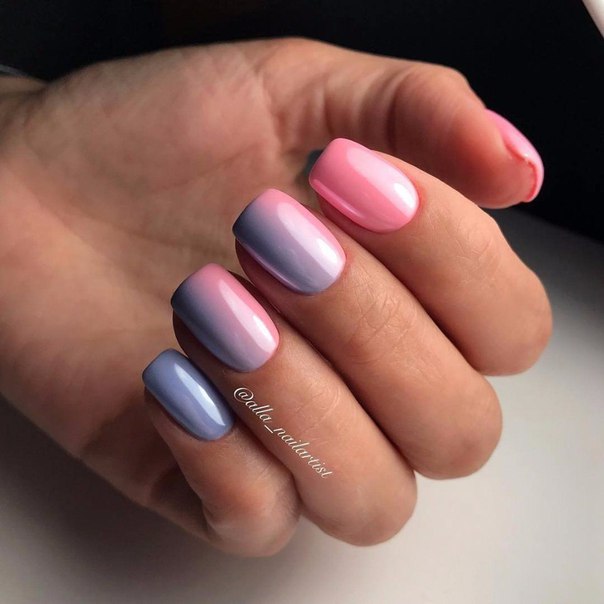
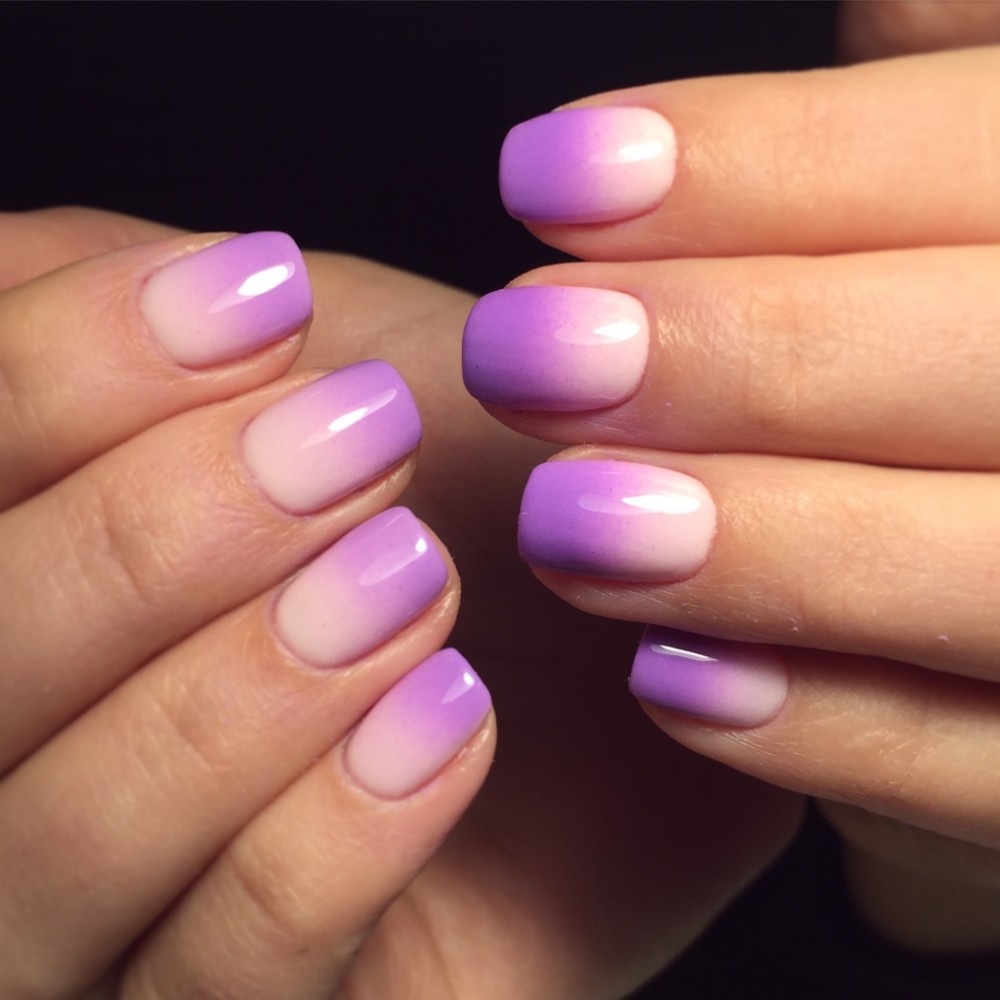
- Vertical. In this case, the change in shades occurs from left to right, that is, the colors change in the vertical plane.
- Horizontal. This gradient is a change in hues horizontally.
Choice of shades
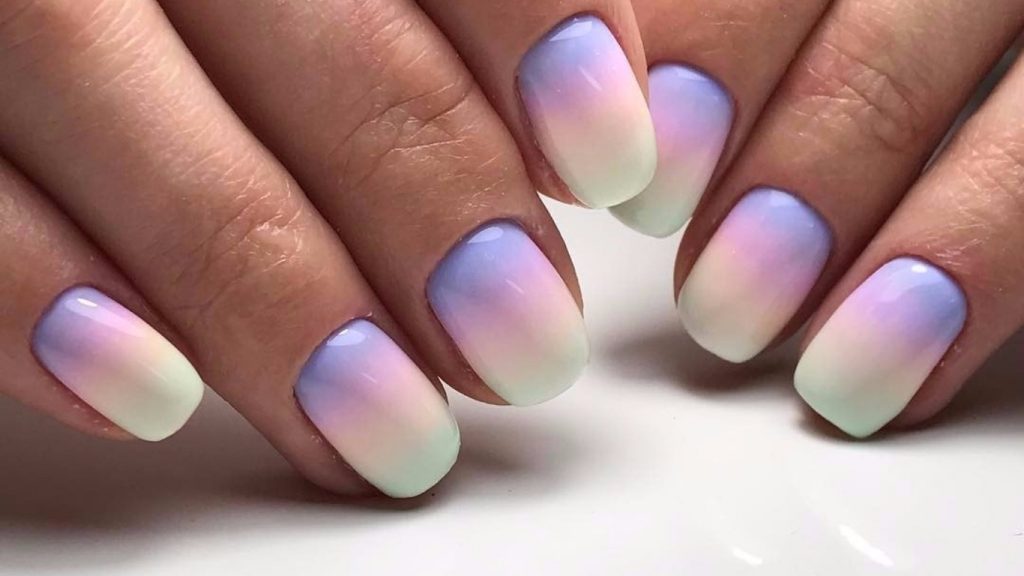
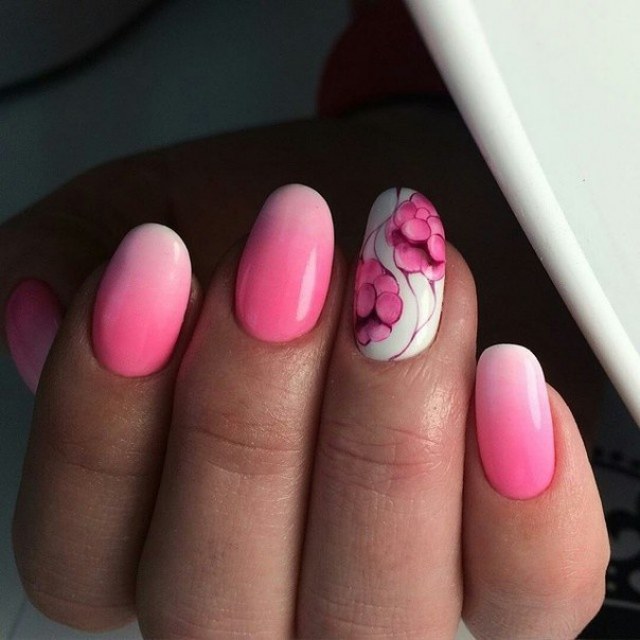
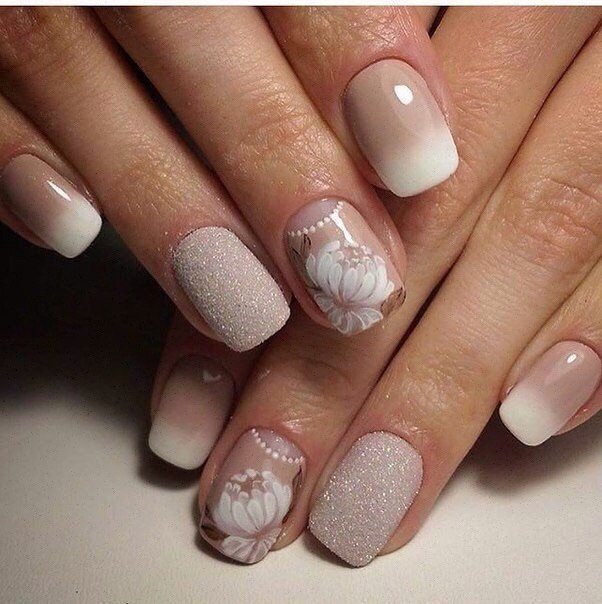
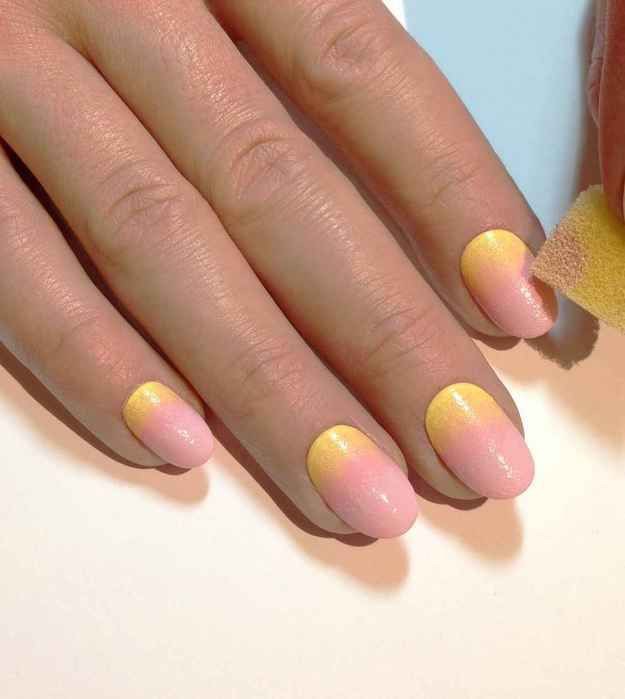
Fashion dictates its own rules. Every woman wants to be in trend, have fashionable clothes and stylish manicure. This season all nude shades and pastel tones are quite popular.They are suitable for both young women and wealthy mature women. The gradient in cream, pale pink, caramel tonalities will look attractive. You can use delicate yellow, wine, chocolate, shades.

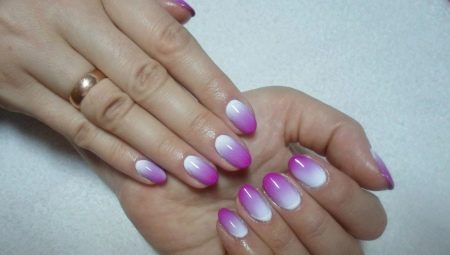
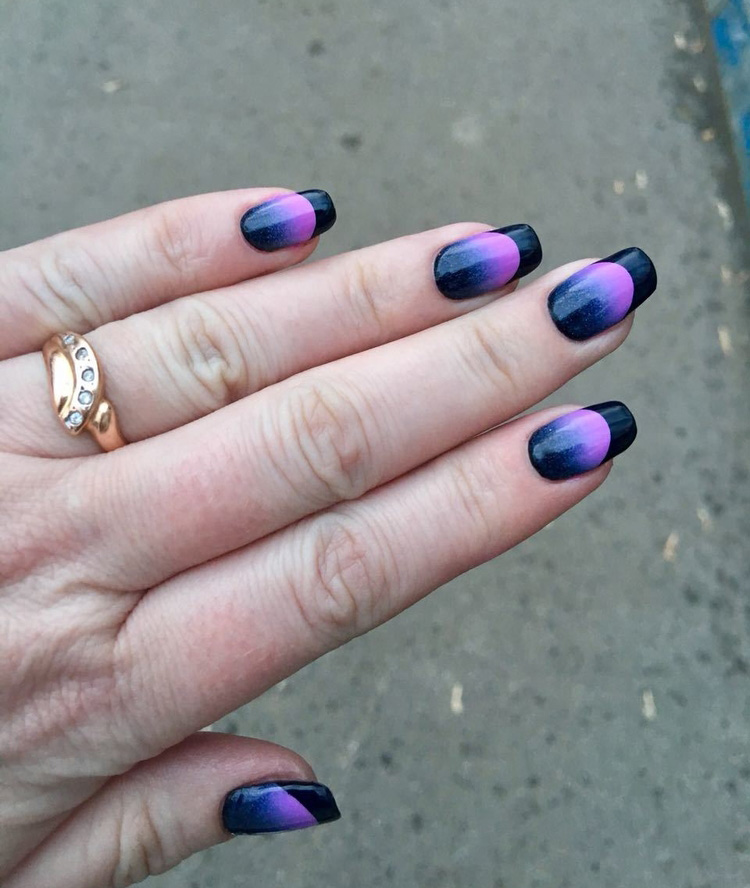
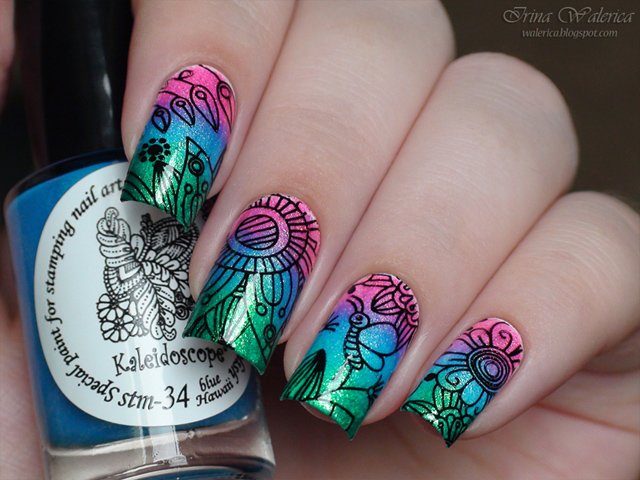
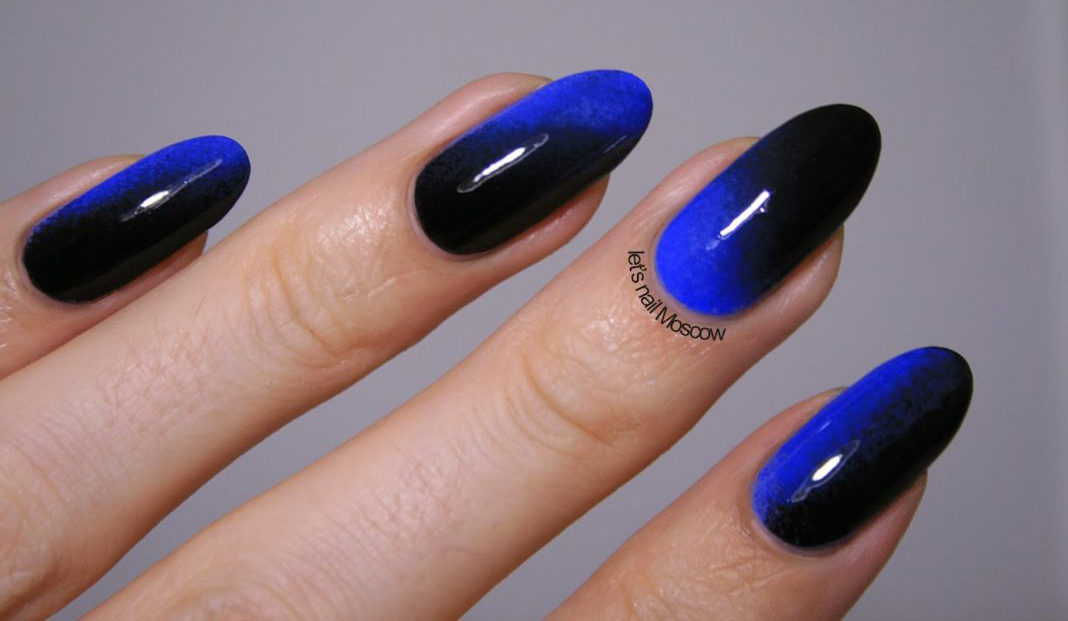
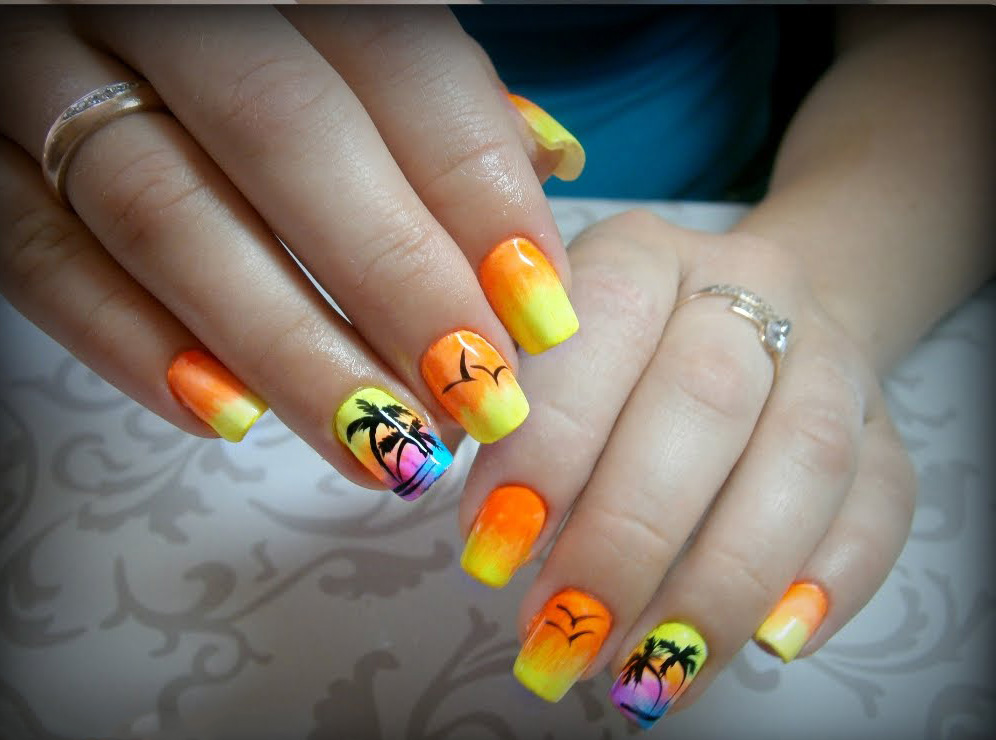
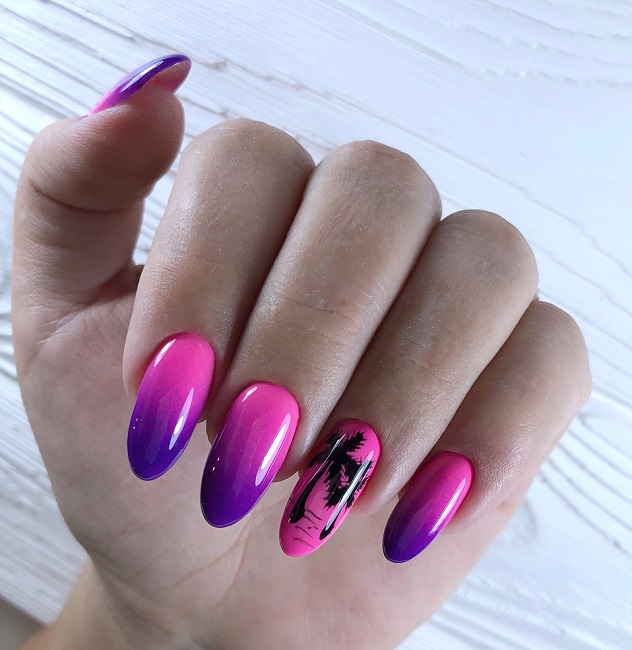
For creative and courageous persons suitable bright colors. They are also in fashion today. You can not be afraid to experiment and combine a variety of shades and tones. For example, green and blue, purple, red, orange and others. It is important not only to choose fashionable colors, but also to give preference to your favorite tonalities.
Such a manicure will cause you only positive emotions, you will feel confident and attractive.
Combination with other technicians
Currently, a combination of not only different shades, but also different techniques is in fashion. This is especially interesting in smooth transitions of tonalities. For example, in a french, you can make a note of grace and use ombra. In this case, you should not draw the smile area with white color very clearly, but make smooth transitions using a brush or a sponge. This option will look creative and fashionable. It will be possible to apply not only the white-beige nude range for such a French manicure, but also to experiment with bright tonalities.
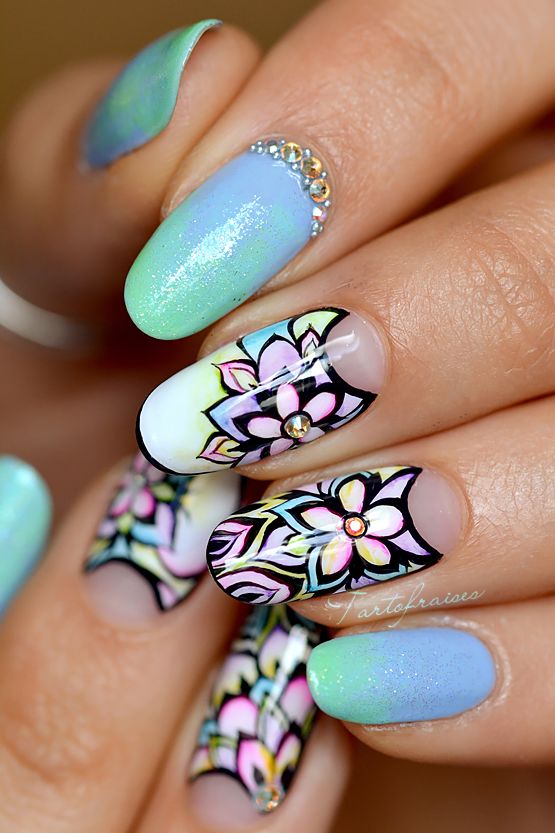
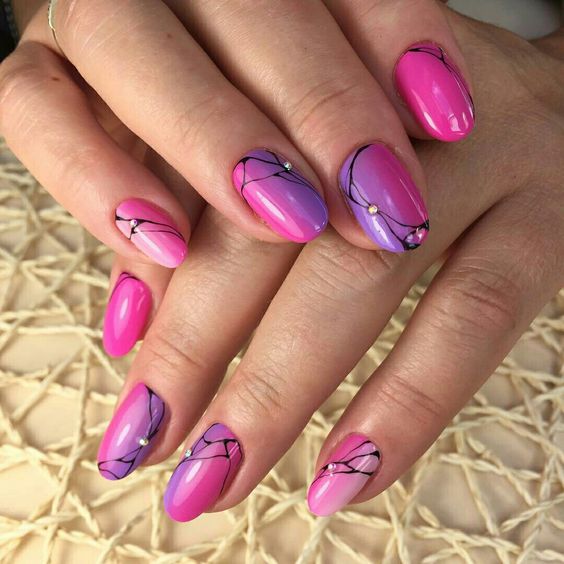
Often combine the gradient and painting the nail plate. It can be made as a gel varnish, and acrylic paints. Easily done aquarium design, geometric compositions, creative ornaments, adding notes of romance. The main thing is to harmoniously combine shades to create a stylish composition. Often used and different elements of decor. So, the gradient with glitters, rhinestones, glitter will look gracefully and sparkling. Such options are always suitable for the celebration. However, it is worth being careful not to overdo it with glitter so that the manicure does not turn out to be vulgar.
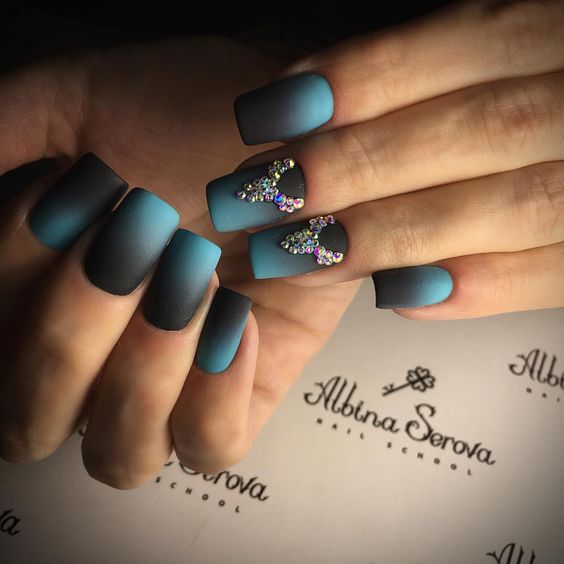
It perfectly combines an ombre with a moon manicure. There are a variety of options for translating the techniques and their combinations. For example, you can select a well with one color, and decorate the main plate with stylish smooth transitions of tonalities. Will complement the composition of the bouillon and other small elements of decor.
What is required?
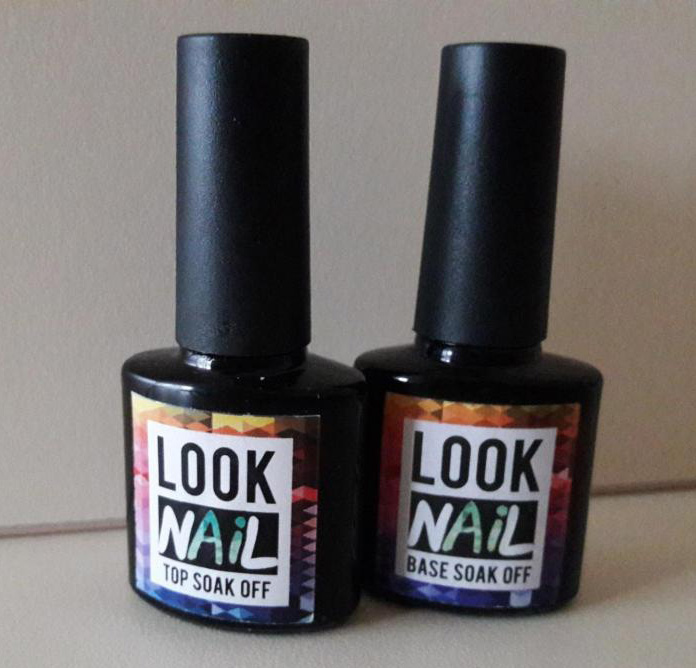
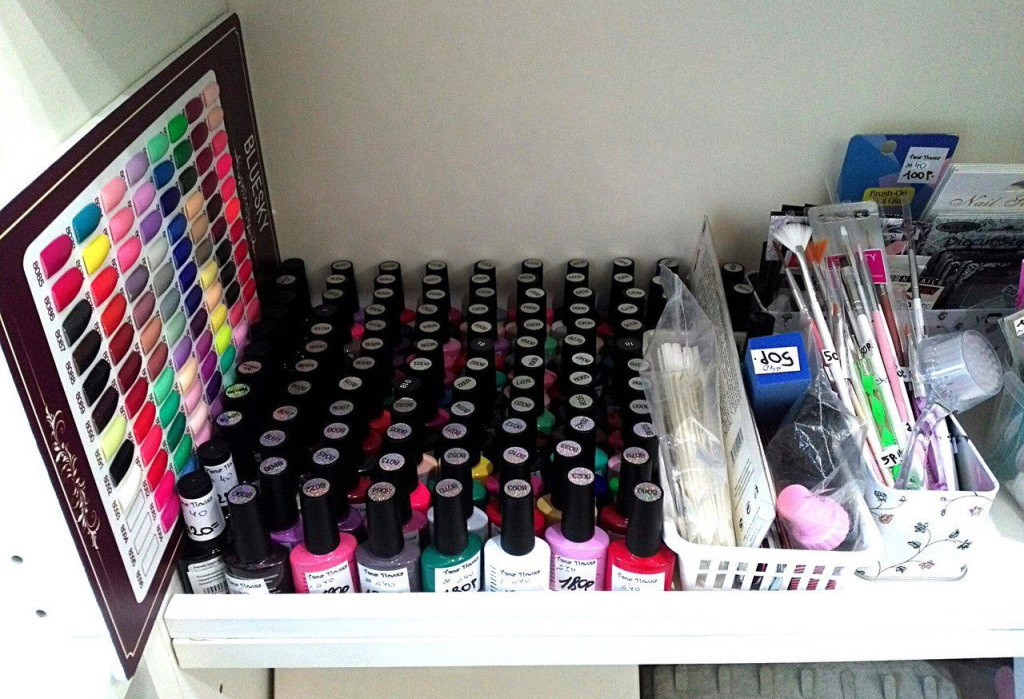
You can create an ombre using various tools. You should look at the nearest professional store and purchase the necessary goods. It is important to monitor their quality. Do not buy expired varnishes, they may disappoint you because of their instability. You will need a basic coating, which is responsible for the reliable adhesion of the nail surface with varnish. You need to buy a top that is a fixer. From its quality will depend on how long your nail art will last.
Depending on the manicure being created, you can purchase the necessary design elements: rhinestones, glitter, etc. You will also need a brush or a sponge. Everything will depend on the gradient technique chosen. If you are just starting to master the art of nail art, then you will need patience. Do not despair if you did not manage to immediately bring beauty. With experience, you can do everything more quickly, accurately and beautifully. Before you go to the nails, it is better to practice first to make smooth transitions.
After you are sure of yourself, you can create masterpieces on your hands.
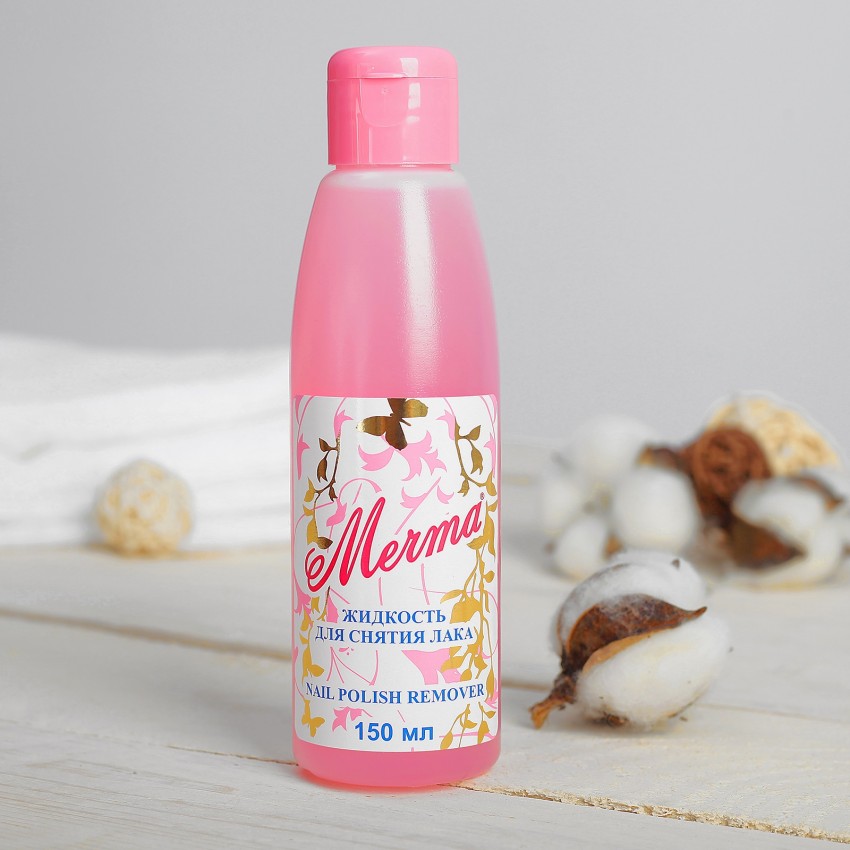
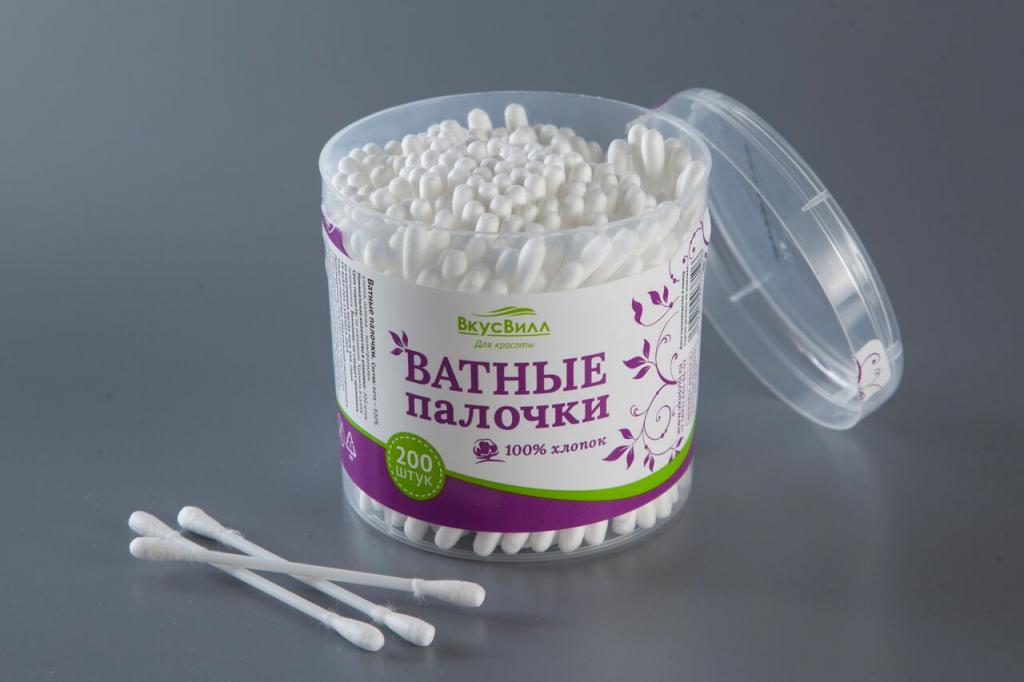
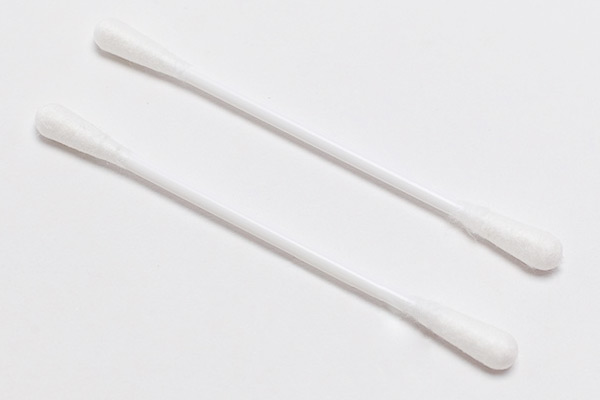
Be sure to stock up with a varnish remover and cotton buds. They will help to quickly and carefully remove residual lacquer on the skin, adjust the design. Do not forget about the initial nail treatment. On how carefully and carefully you prepared the nail plate for the decor, will depend on the resistance of your manicure.
How to draw at home?
If you do not have a creative vein and you do not know how to draw, this does not mean that it will not be possible to make an ombra. This technique is a great option for inexperienced nail masters. Doing everything neatly, accurately and consistently, you can make your hands beautiful.There are many instructions on how to translate your idea and truly create a gradient gel nail polish. It is important to follow each item to get a positive result. Consider different options.

Sponge manicure
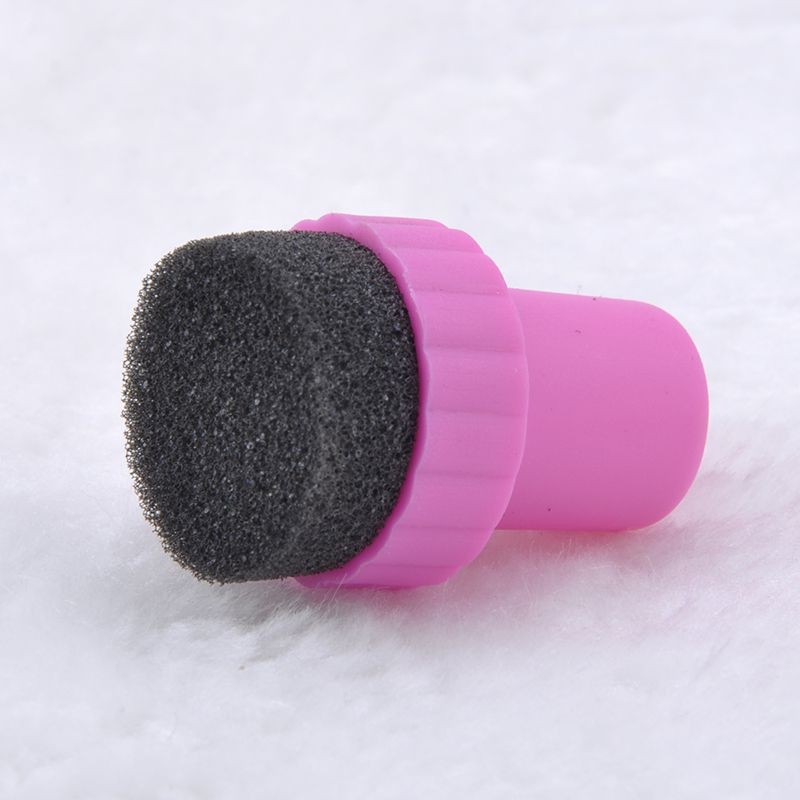
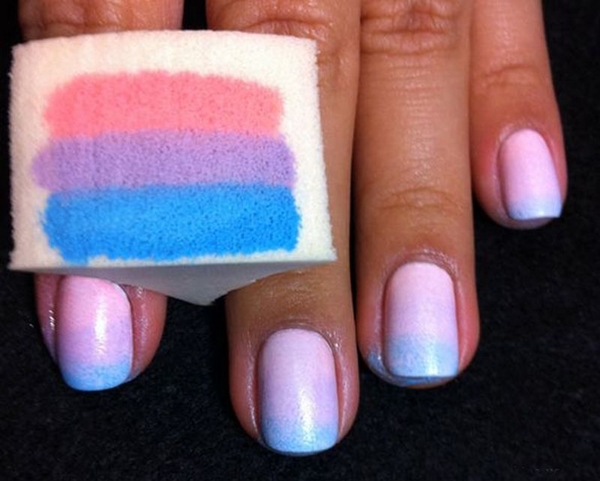
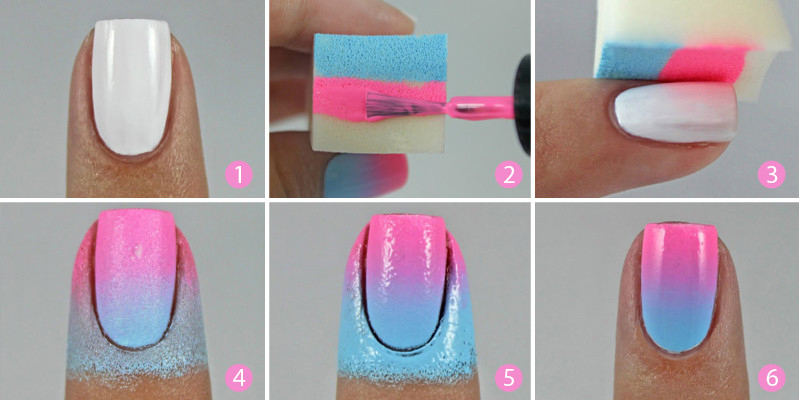
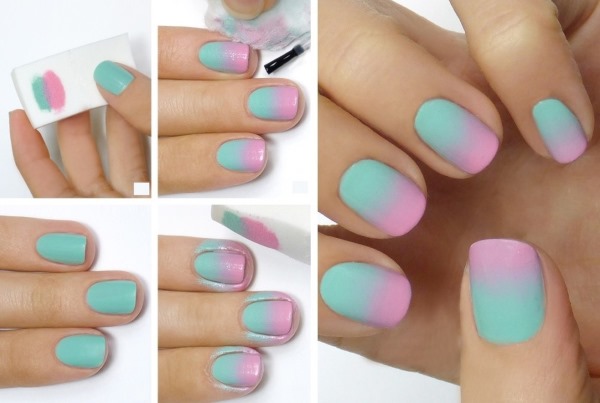
If you decide to do a manicure at home, here is a step-by-step instruction on how to create smooth transitions with a sponge. It must be said that you can combine different shades. Choose not only fashionable options, but also those tonalities that you like, so that the stylish nail art will delight you. The coating will be obtained depending on the structure of the sponge. If it is large pore, then there will be a rather diffuse gradient. Small-pore variants create richer shades.
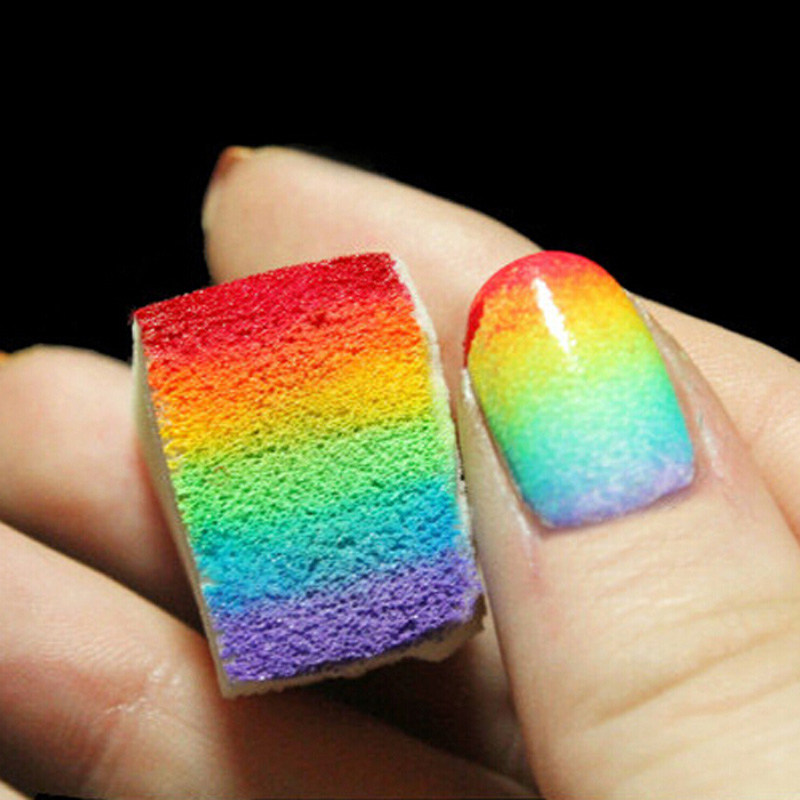
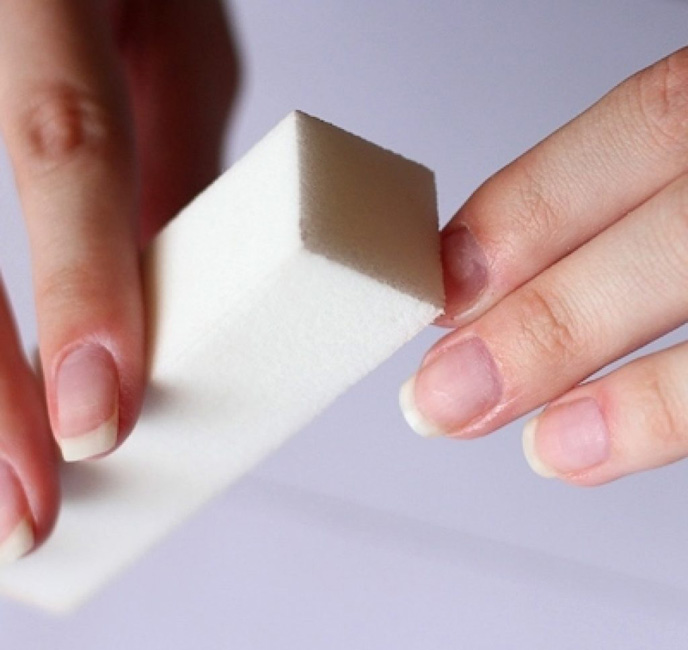
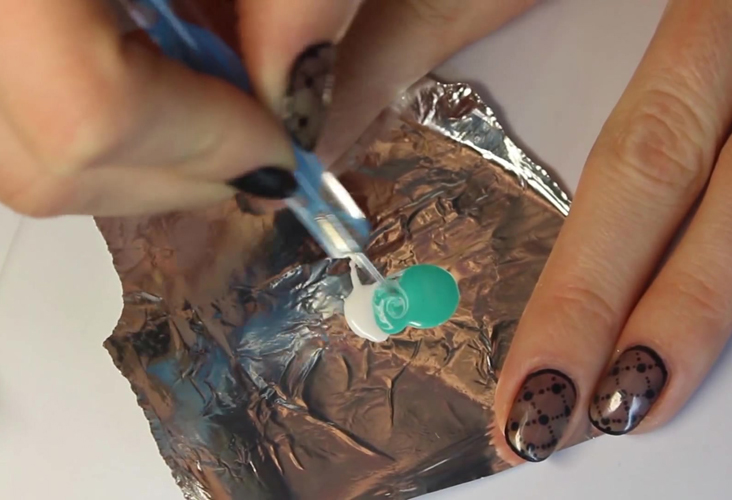
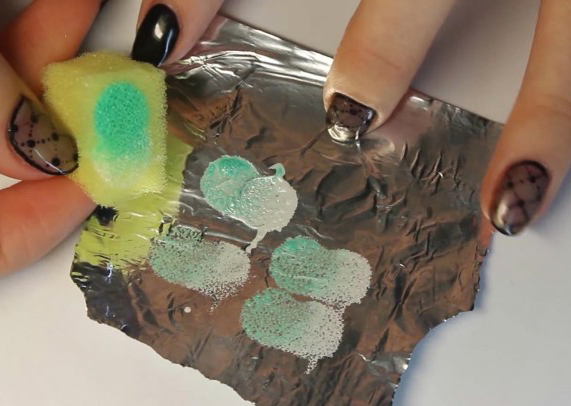
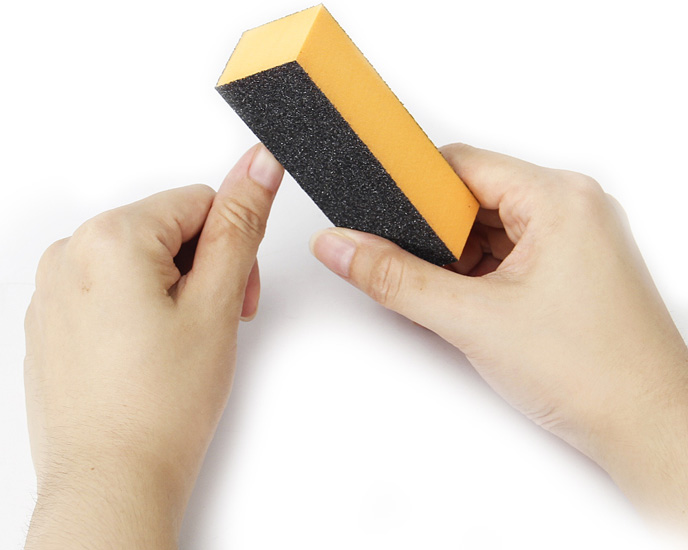
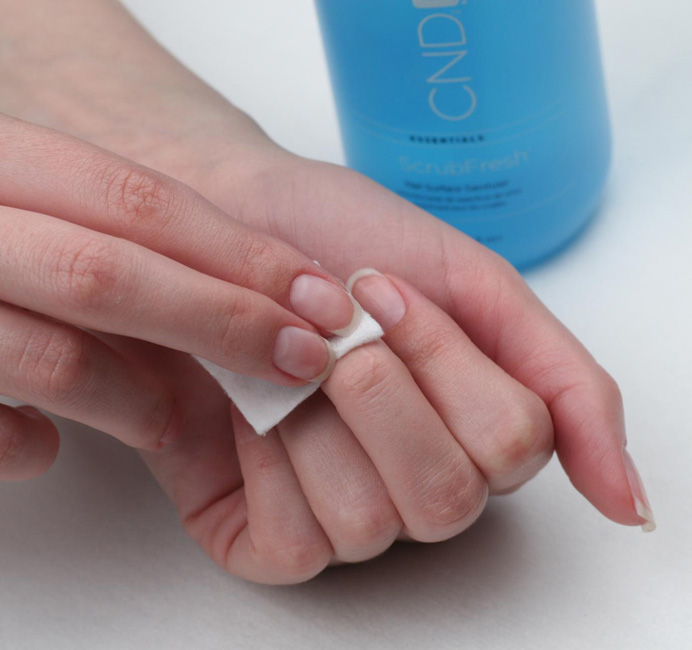
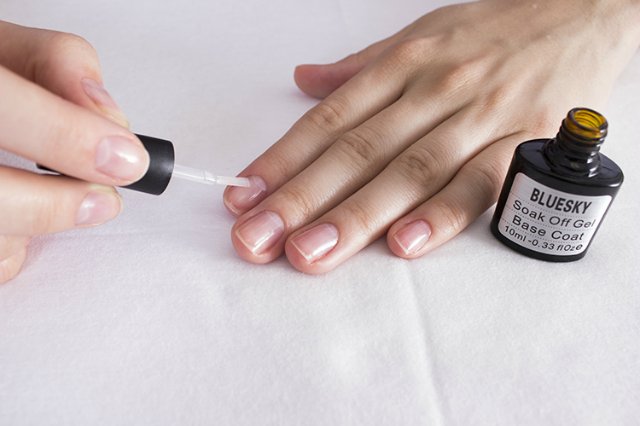
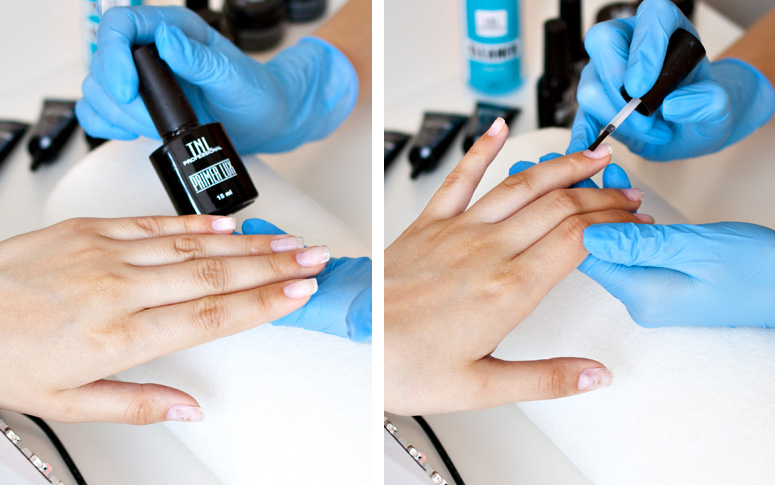
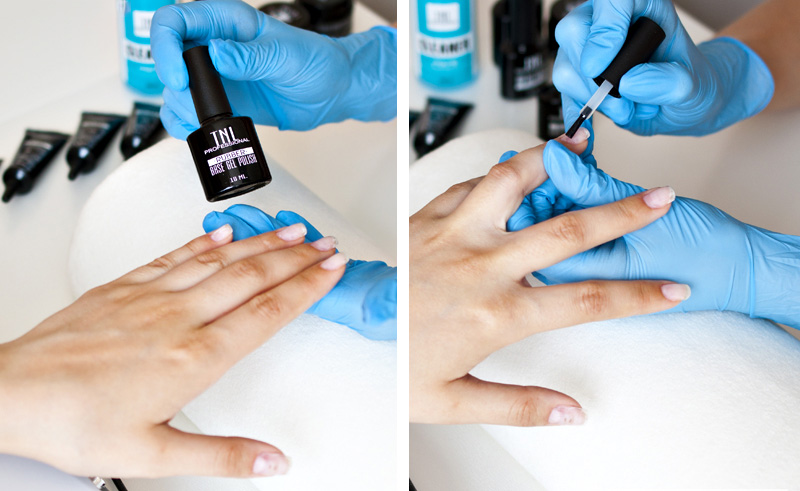
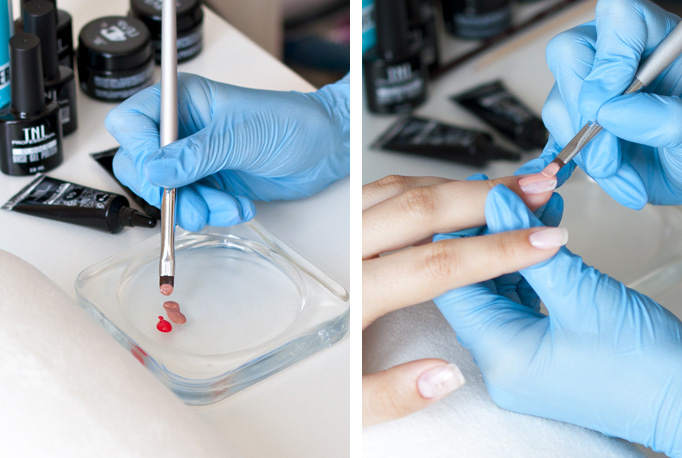
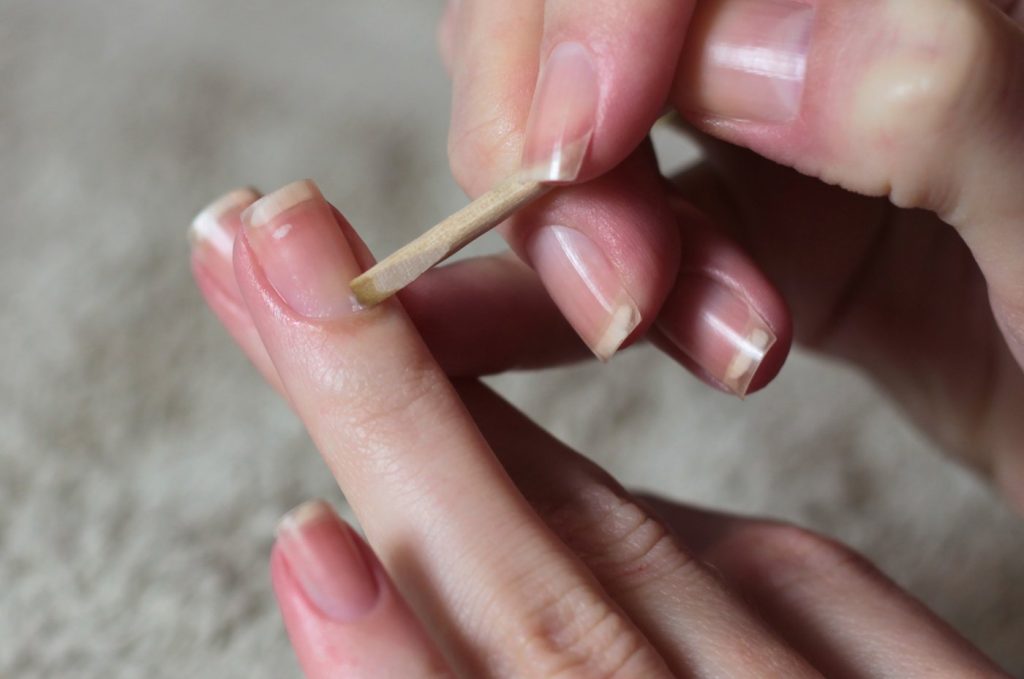
Initially, make your nails smooth. Using a nail file, create the desired shape of the nail plate, and polish the surface with buff. Now a special tool to degrease the surface. So it will be more dense adhesion of the nail with the coating, and the manicure will be more resistant, can hold for several weeks. Then put on the base of the nails and dry in the lamp. A piece of foil is taken, two selected gel polish tones are applied on it so that they lightly touch. Gently mix the overlap zone, making a smooth gradient.

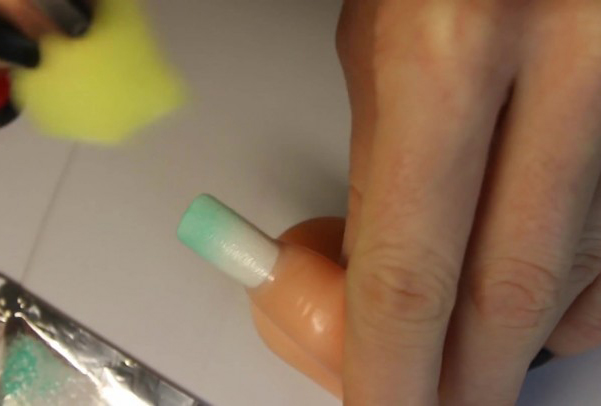
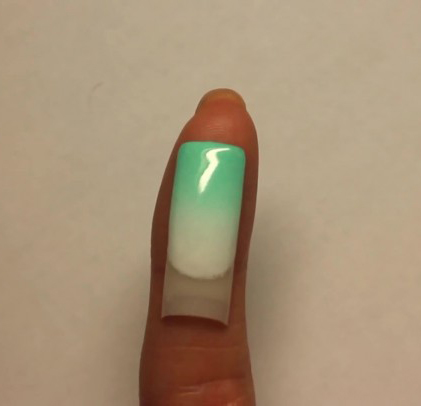
Now it is worth moistening the sponge in the prepared gel polish and gently press it against the nail, slightly moving it. Color coating can be sent to dry. In order to make the color more saturated, you can apply a second layer. After the design is completed, everything is covered with a top layer. It is designed to protect nails from external damage, to provide additional resistance. Fingers are dried in the lamp. After the whole procedure, a wadded disc dipped in nail polish remover removes the sticky layer and excess varnish trapped on the dermis. This is one of the ways to create a beautiful manicure using smooth color transitions.
There are other options that can also be done at home.
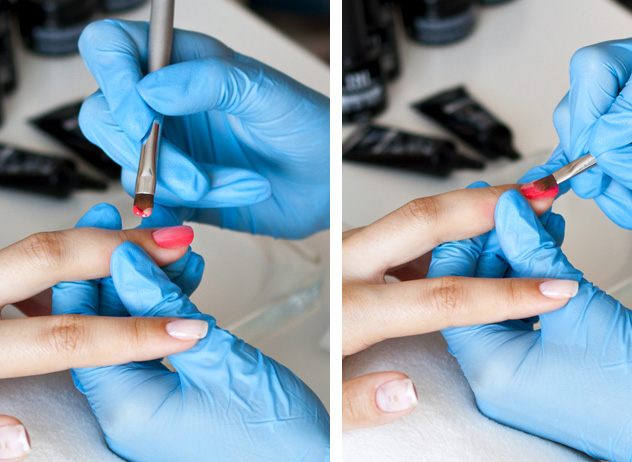
With a brush
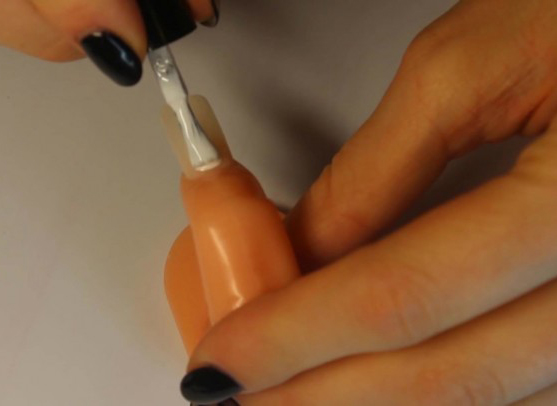
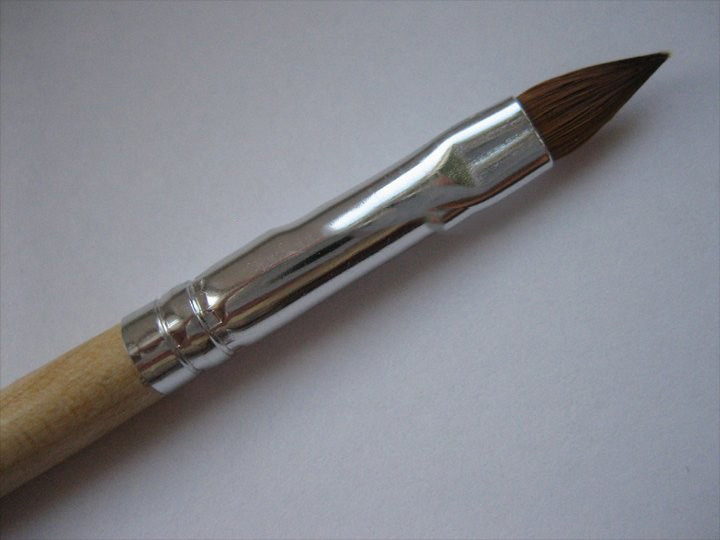
Accurate and smooth gradient can be created with a brush. For this fit a thin version with a round or straight end. To obtain a positive result, it is important to follow the instructions. First, the nails are polished with a special nail file. Their surface becomes flat, ready for further manipulations. After that the degreaser is applied. Now you can cover the nails with the base and dry them in the lamp.
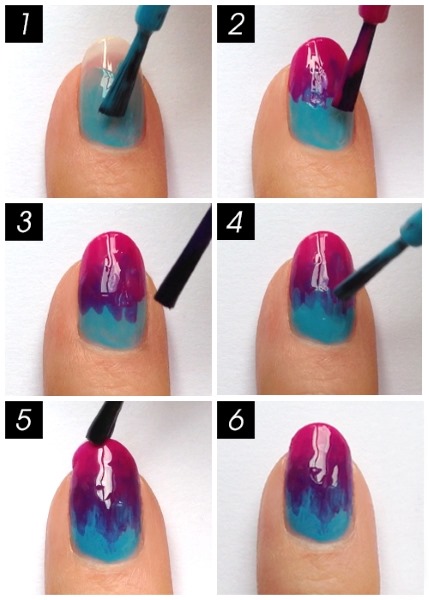
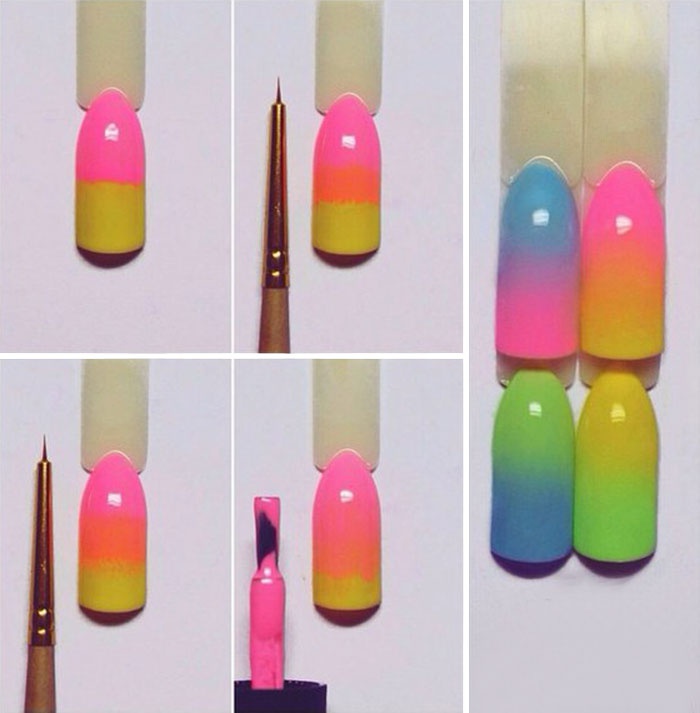
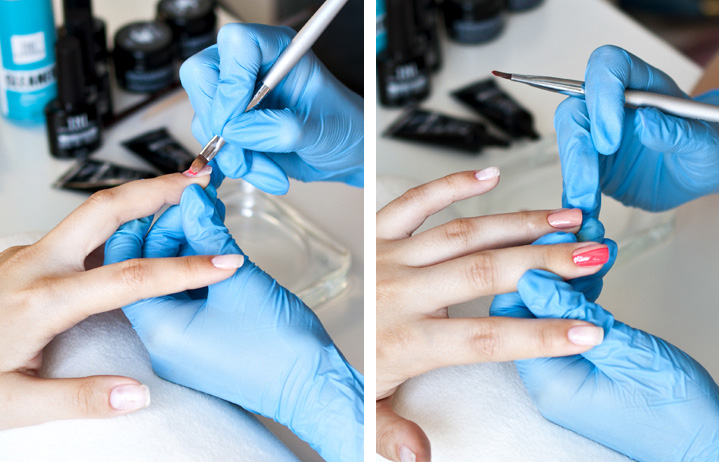
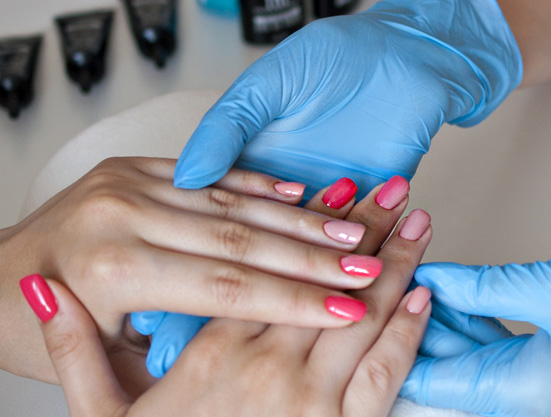
The time has come color gel polishes. One shade we cover half of the nail, and the other - the rest, a little going to the previous color. We take a brush and with the help of light movements up and down blur the border of shades. It is noteworthy that the brush should be held vertically to get the desired result. Then the varnish will smooth out smoothly. After the design is completed, the coating is dried in a paw. A similar procedure is done with other fingers. Finally, everything is covered with a top layer and dried in a lamp. This option will also help you quickly in the home to create a stylish manicure for those who are just starting to master the nail skill.
Vertical gradient
For this technique, you should use a thin, soft flat brush, which has a semi-circular tip. The harmonious effect will be obtained with two shades. If you choose more, you can lose the meaning of the overall picture. The brush should be held parallel to the nail in order to create smooth transitions of tonality. Brush you need from the cuticle to the end of the nail plate, and feathering is done only at the border. By observing these secrets, you can achieve a better result from the first gradient creation.

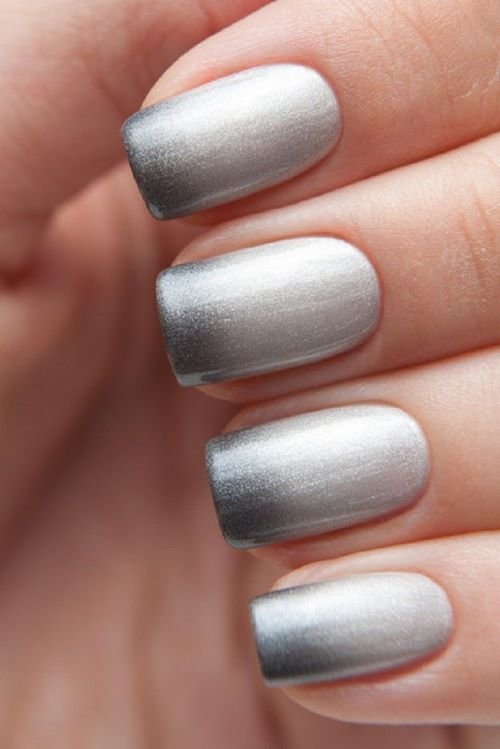
Interestingly, the vertical ombre is suitable for any bow. It is only important to use shades correctly and appropriately. For example, for office style it is better to choose light tonalities, and for meeting with friends - rich. Beautiful and fashionable this season look vertical transitions in nude shades, using chrome-plated surfaces, glitter.
To begin with, as in the previous versions, the nail plate is aligned with the help of a buff. After that, a primer is applied, the base and nails are dried in the lamp. Take the light tone of the selected gel polish and place it on the nail. The layer becomes thin, it is important. Dry the surface.
After that, the same color is applied only on half of the nail plate, and the second part is painted over with a different shade.
It's time to use the brush. Carefully and slowly rasshivyvayem joints of the boundaries of colors. This is done from the base of the nail plate to the tip of the nail. After the result is achieved, everything is well dried in the lamp. The final stage will be the top coverage. It should be thoroughly dried. Stylish and fashionable design is ready.
Horizontal
This option looks no less impressive than the previous one. Its implementation does not take much time. The main advantage over the vertical is that you can use two or more shades on the nail plate. Everything will depend on its length. If the nails are short, it is better to stop at a pair of flowers. Horizontal smooth transitions fit the original individuals who love change, have their own style. These nails attract women of different ages.

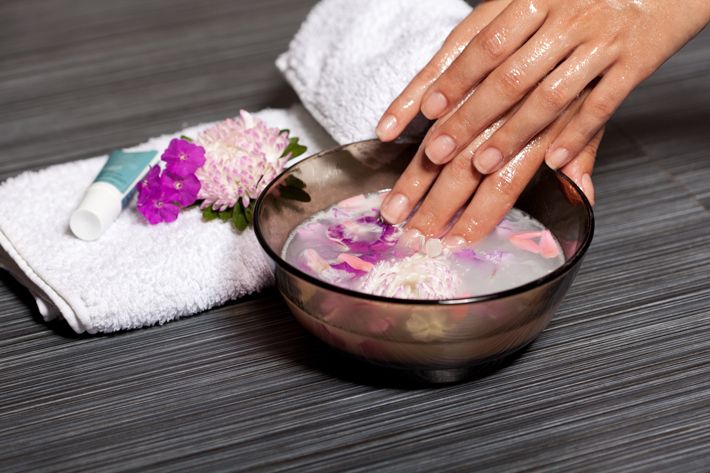
Nail art is done with a brush, sponge or sponge. Initially, the nails are carefully prepared for the manicure. Ideally, you need to make a bath for the hands, remove the cuticle, give the nails the desired shape. After that, with the help of the buff, you should carefully polish the surface of the plate and degrease the nails.

After that, the nail plate is covered with a base layer and is well dried in the lamp. Pre-nail should be divided visually into several parts. Everything will depend on the chosen number of shades. We cover the nail plate with selected flowers, and then we take a brush. Borders transitions neatly shaded. After the color coating is dried and fixed top.

Using pigments
This option is perfect for special occasions, parties. It is necessary to carefully treat the nails, apply a base coat on them and dry well. Take a brush "Petal" and apply the selected pigment. This should be done from the cuticle, light and firm movements to the middle. After that, you should clean the brush and do the same with the second layer. The color of the pigment, select another.
After obtaining the desired effect (soft hue transition), all should be dried and secured with a top coat.
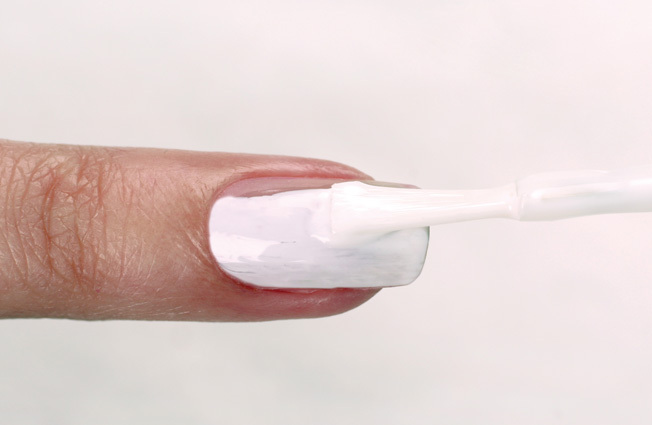
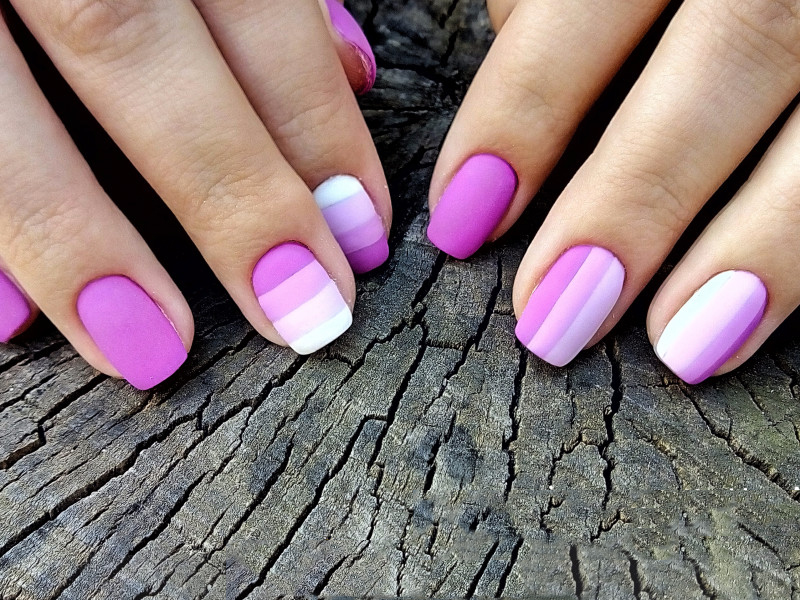
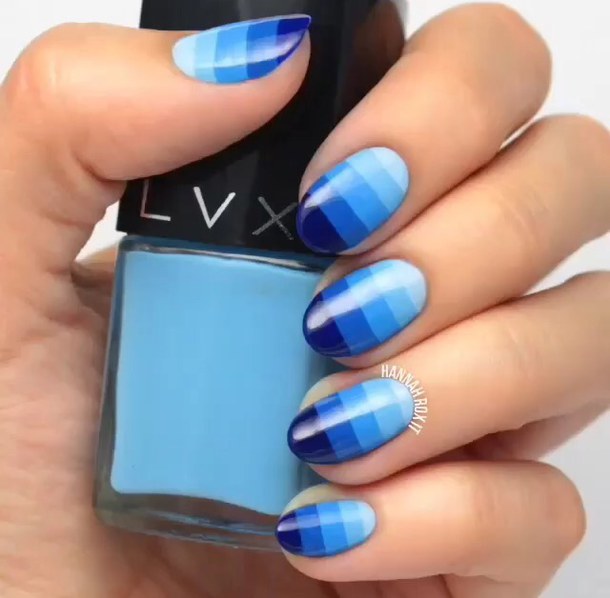
Striped gradient
This option will look quite unusual. You can pick up your favorite key to create a spectacular design. Everything is easy and simple. After all stages of preparation, the plate should be coated with a white gel polish and dried thoroughly in a lamp. After that, a thin brush is taken and a nail edging is drawn. It is noteworthy that the width everywhere should be the same. Keep a cotton swab and nail polish remover nearby so that you can correct the work at any time and make it neat.
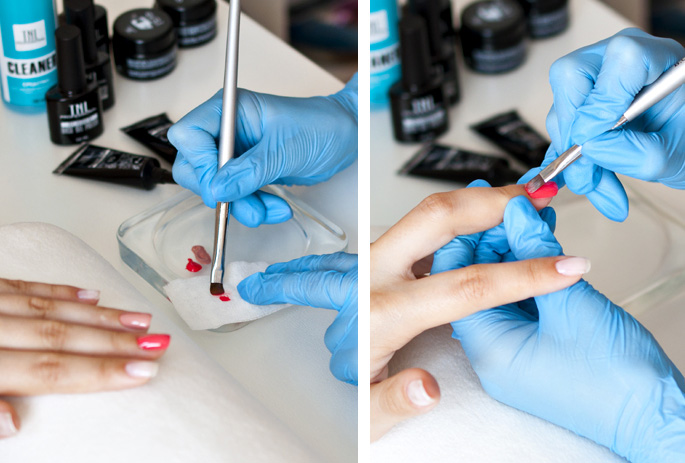
To draw the next strip (it should be placed side by side), you should mix the main color with white on the foil. Butt is drawn strip the same width of the resulting shade. Everything is dried in the lamp. This is done several times. The last strip should be white. After creating the decor, the top layer is applied, and the nails are dried in the lamp. This gradient looks quite new and unusual. It will attract the attention of others and the opposite sex.
Beautiful examples
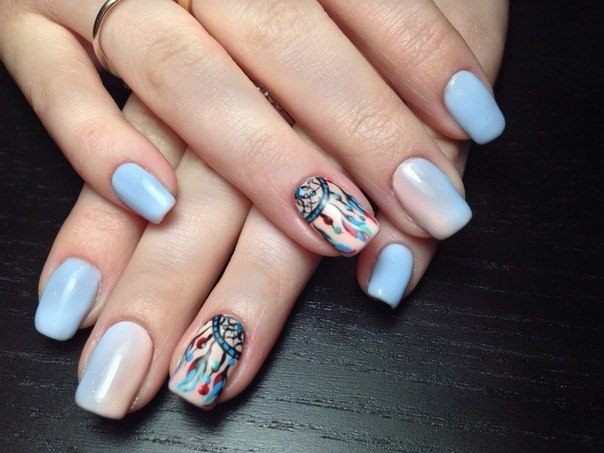
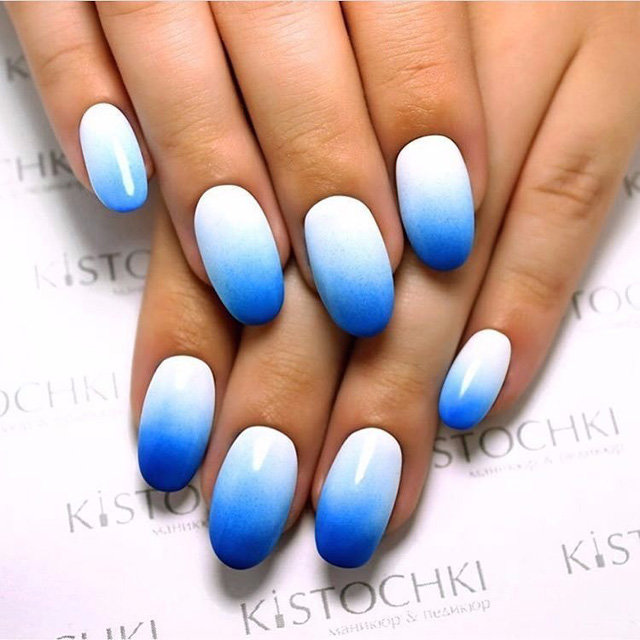
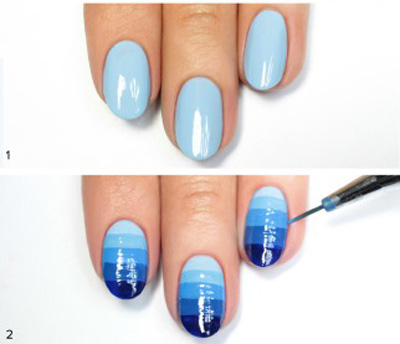
In the global network there are many of the most interesting options for the implementation of the gradient. We will tell about some of them. For example, ombre in the form of diagonal stripes. You will need to stock up on tape and pick up a few shades of blue gel polish. The nails are initially processed and covered with a base that is dried in the lamp.
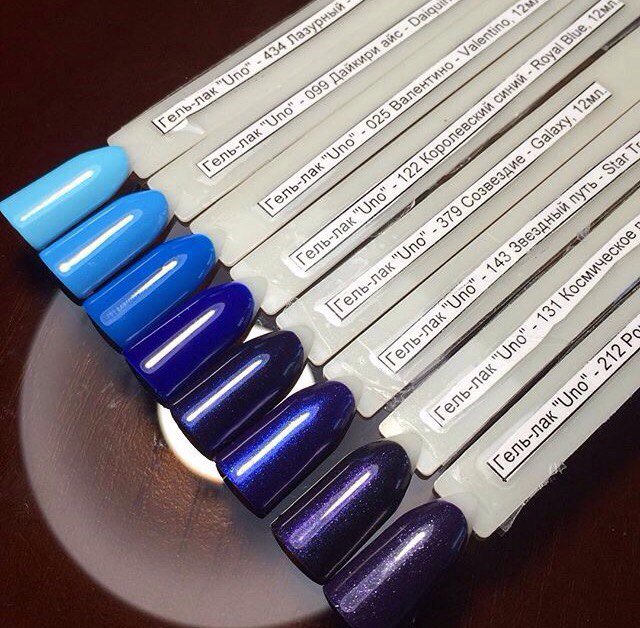
We take the lightest shade and paint them a plate.The coating is well dried. Now we glue the tape-adhesive tape diagonally across the cuticle. Similarly, the third part of the nail should be closed. Apply a darker shade to the free area. Everything is well dried. Again, close the nail with scotch tape now by two thirds. The darkest color is applied to the rest of the plate. The composition is dried, the tape can be removed. This is a stylish striped nail art.
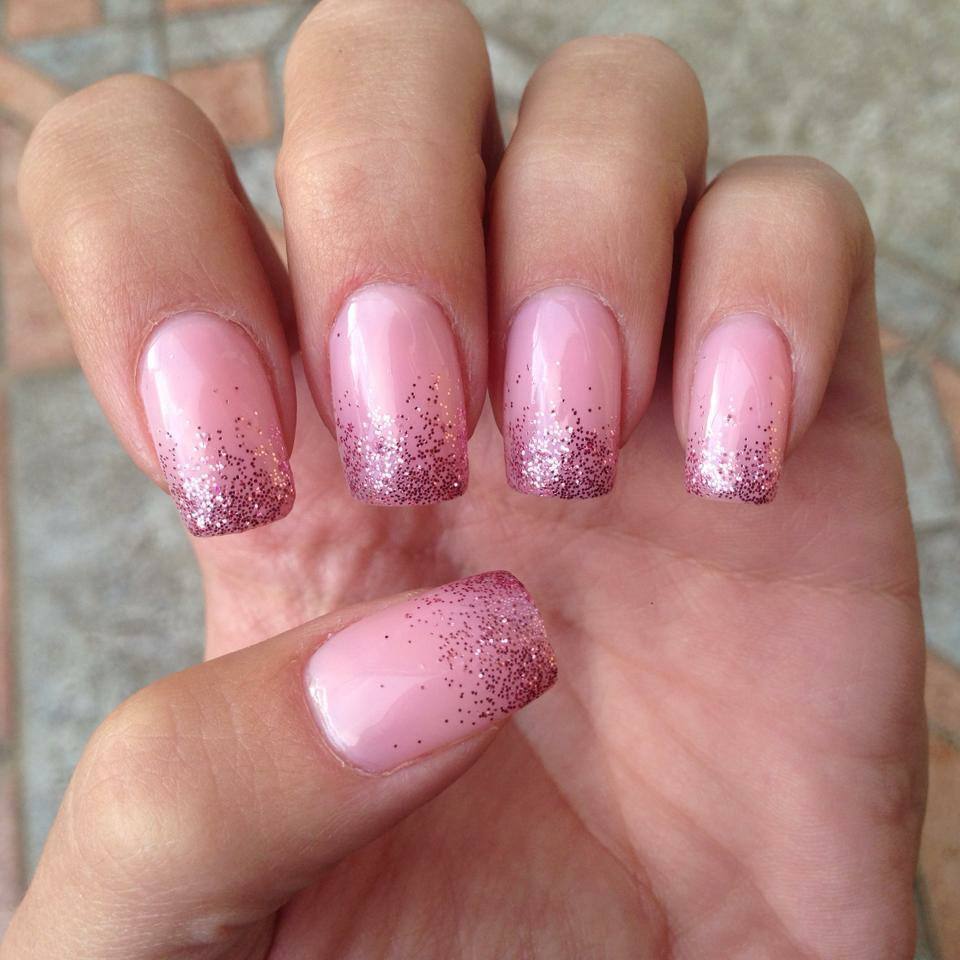
There is another fashion trend. The base coat is applied. Cover the entire nail plate with pink gel polish, dry everything well. The remaining surface should be coated with gloss. After this glitter is applied from the free edge to the middle of the plate. The effect is ombre.
One has only to apply a top coat - and the manicure is ready.

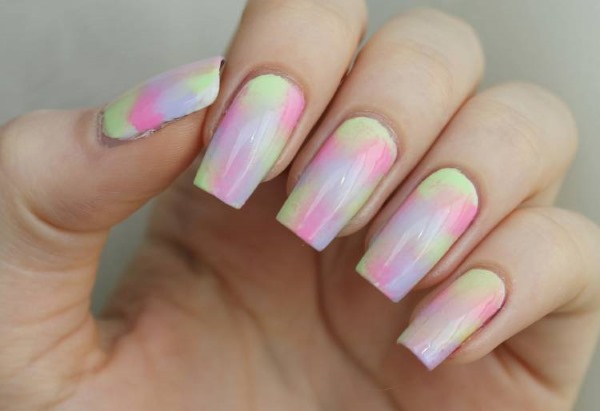
Chaotic gradient looks fashionable and stylish. In this embodiment, the boundaries of colors can be located anywhere. The main rule is to make smooth transitions. In this embodiment, you can use several tonalities. Bright dots are put on the nail plate, and then with a brush or sponge are shaded. Effectively nail art looks in colorful colors. It is suitable for women who are looking for self-expression.
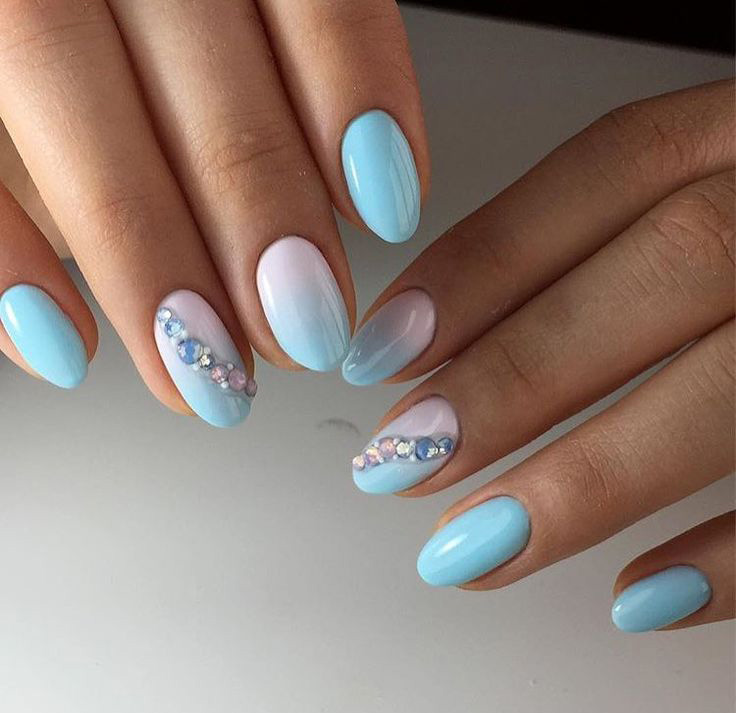
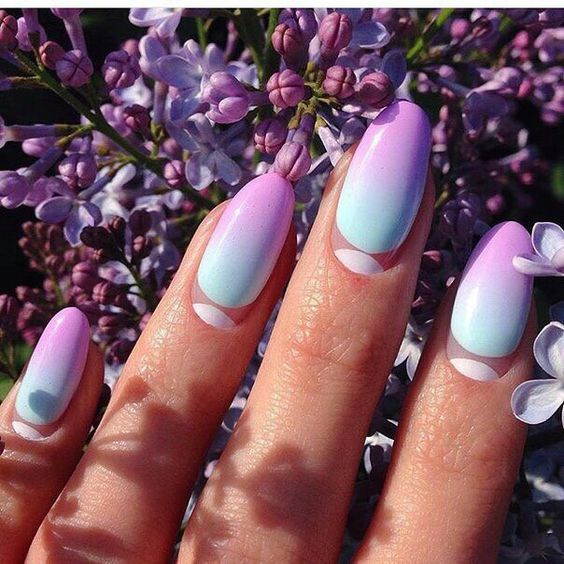
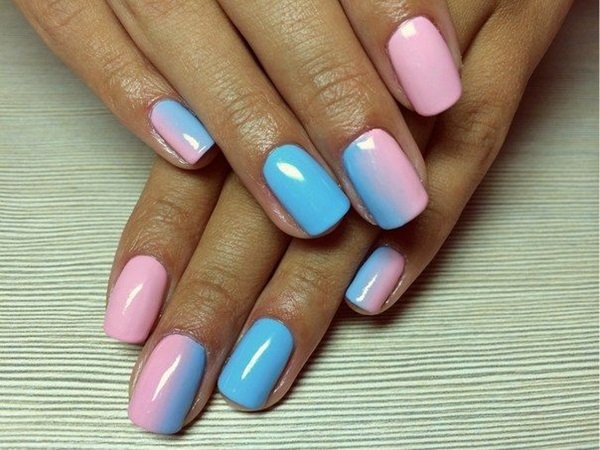
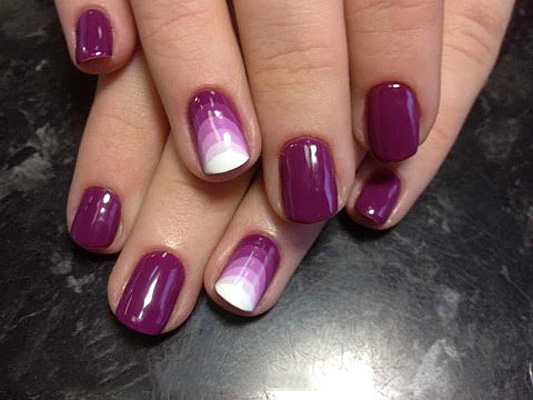
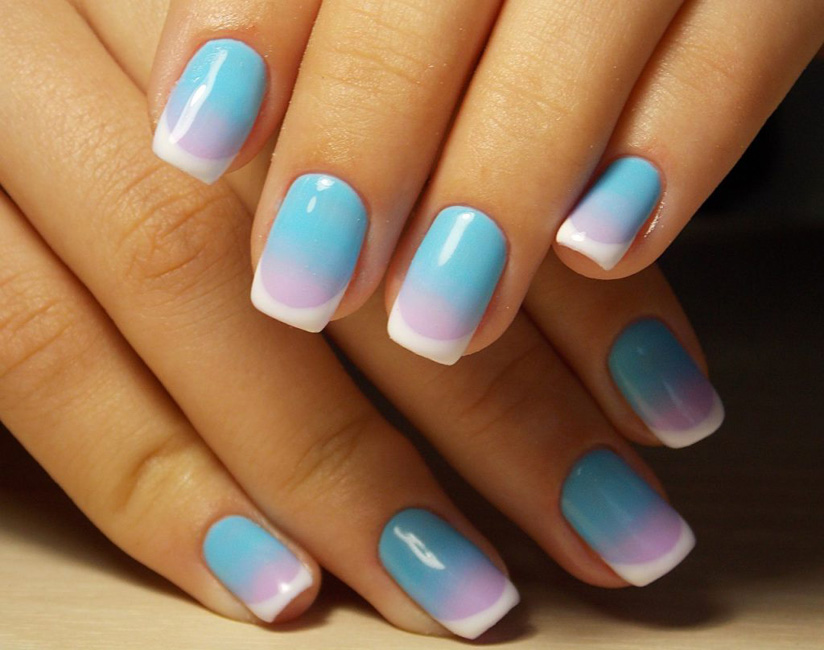
An excellent option is the French gradient. It will look optimal on the nails of medium length. Often, pink, blue and other light tones are used to perform it. Smile area can be highlighted in white. This jacket is perfect for everyday bows, business meetings, get-togethers with friends. The technique of execution is simple. It is only necessary to cover the nails with a base layer, dry them well in the lamp. The middle region of the nail plate is covered with lighter tonalities and slightly shaded with the help of sponge. White is applied on the tip of the nail. Everything is eventually covered with top and carefully dried.
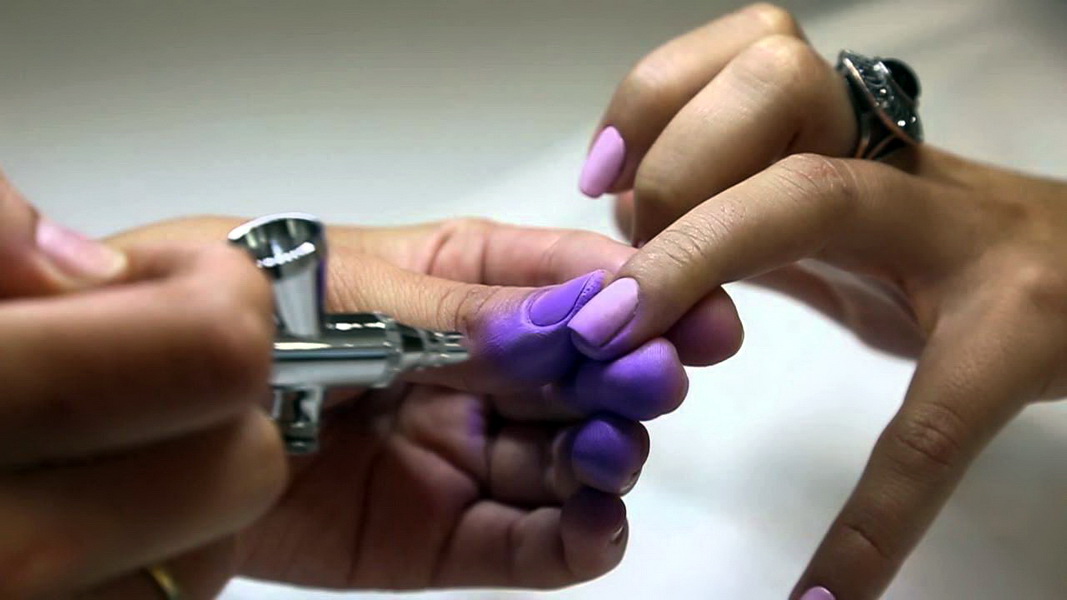
Air gradient can be obtained using a special device - airbrush. As a rule, only a horizontal ombre can be made with it. By spraying the desired shade, the colors will smoothly change each other. After the design is completed, everything is covered with a top layer and fixed in the lamp.
In this article we looked at how to create a stylish manicure using the gradient technique. Now you know the secrets of successful nail art with color transitions. Imagine and invent your own creative variations of design, do not be afraid to experiment. Performing a manicure at home, you should observe accuracy and accuracy. Start with simple elements. As you gain experience, it will be possible to master complex variations. Create your bright bow and emphasize it with stylish nails.
For information on how to make a jacket with a Baby Boomer gradient, see the next video.


