
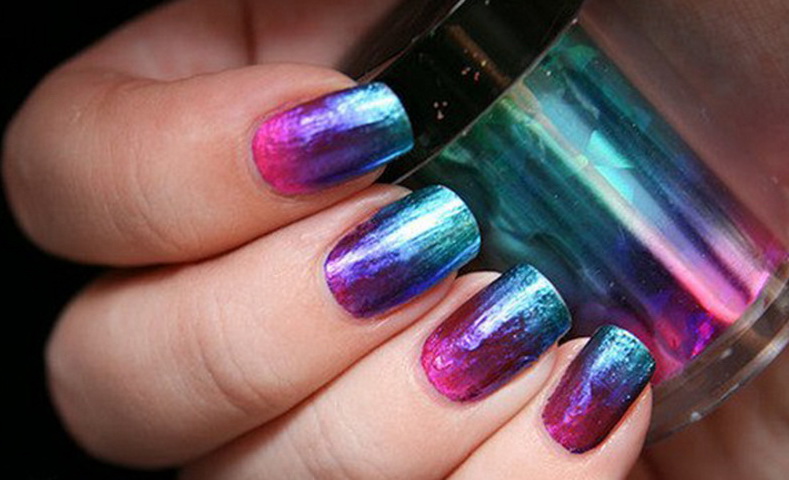
Creation of gel varnish made it possible to implement the most daring ideas of the masters of the nail industry. Often they create the most extravagant patterns. The brilliant, sparkling design was loved by many women. Perform it on the gel polish with a special foil and tools. The technique of such a manicure is simple. You can make an original design using step-by-step instructions and professional advice.
Features and types of foil
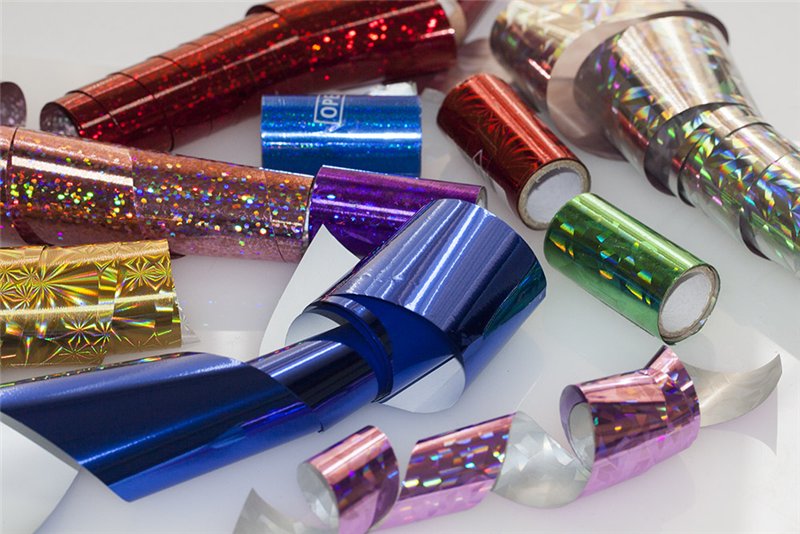
To create a manicure in a fashionable metallic style, ordinary chocolate foil will not work. It does not possess the necessary qualities of strength and elasticity. Special foil in rolls or sheets helps to create a variety of effects and patterns. All the necessary materials are easy to find in specialized stores, they are inexpensive. Therefore, such a manicure is done not only for a holiday. True, for a daily look, it is enough to single out only accent fingers with foil.
There are many types of foil for professional use. Before you do a manicure, you should learn about the varieties and their features. The most complex and original technique will require practice and skills. Light nail design options allow you to make materials for beginners. We get acquainted with the possibilities and scope of each type of foil.

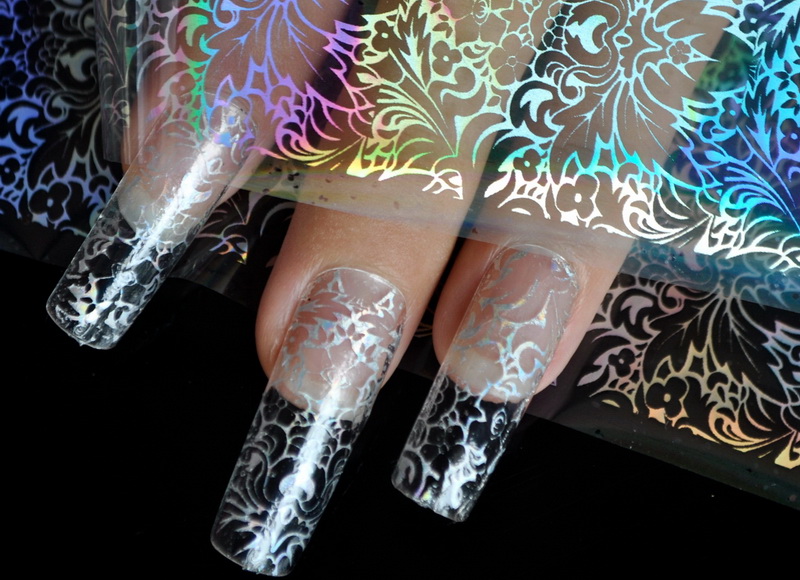
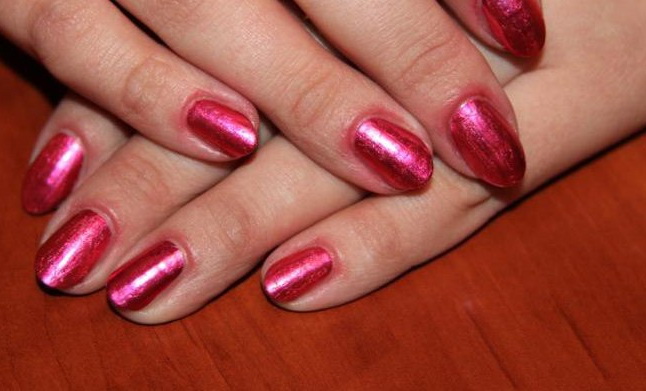
Leafy
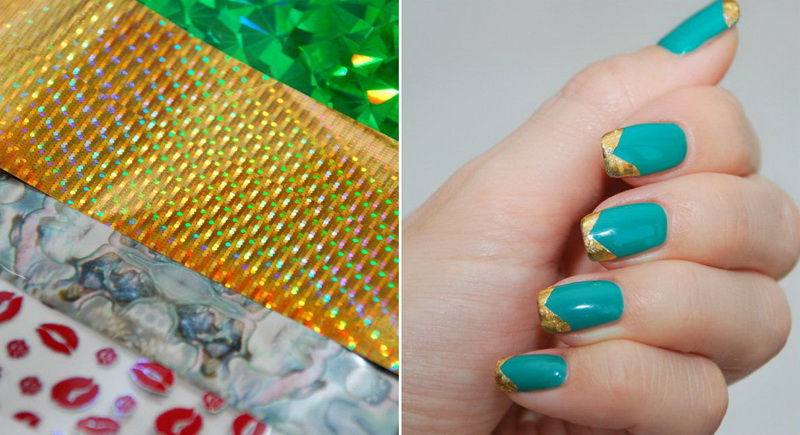
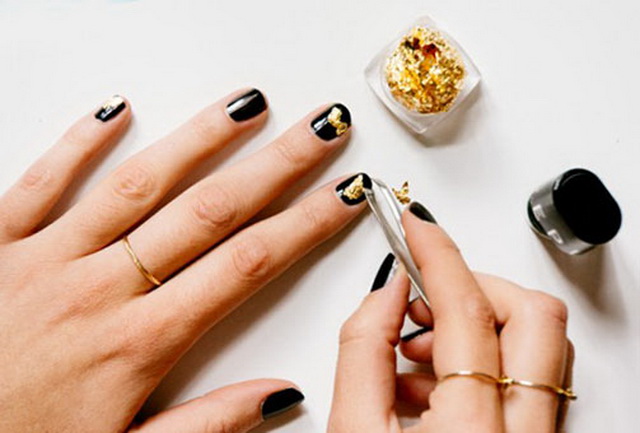
This is a fairly common type that professionals often use. This foil allows you to create any effects, patterns and patterns on the nails. Sell it in sheets of small size, from which the necessary forms are cut. Glue is required for mounting on the nail, since the reverse side of the sheet does not have a glue base. Foil can take different forms, have all sorts of shades and patterns. In many cases, it is a hologram. A luxurious foil with embossed various volumetric figures and drawings is also found.
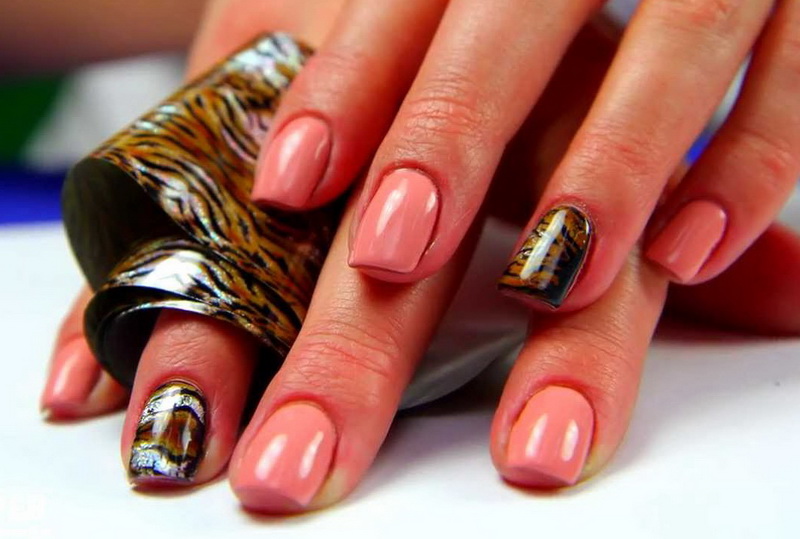
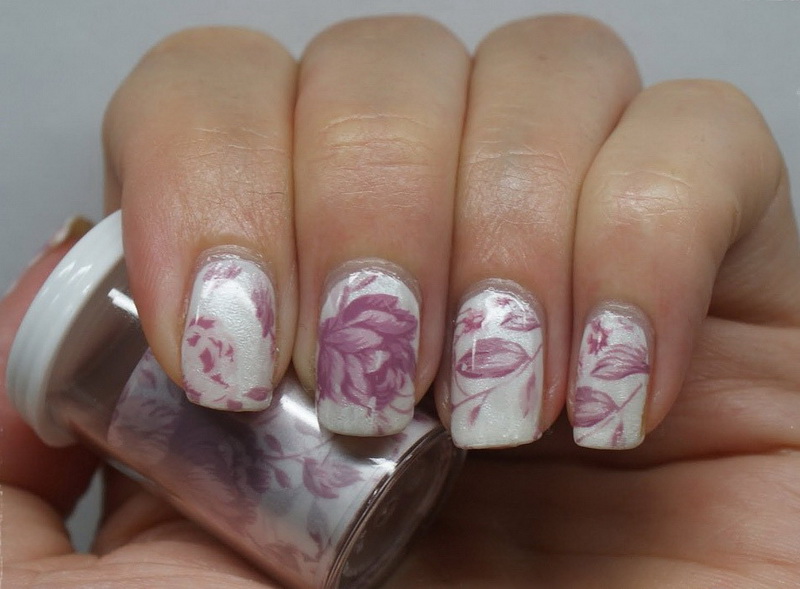
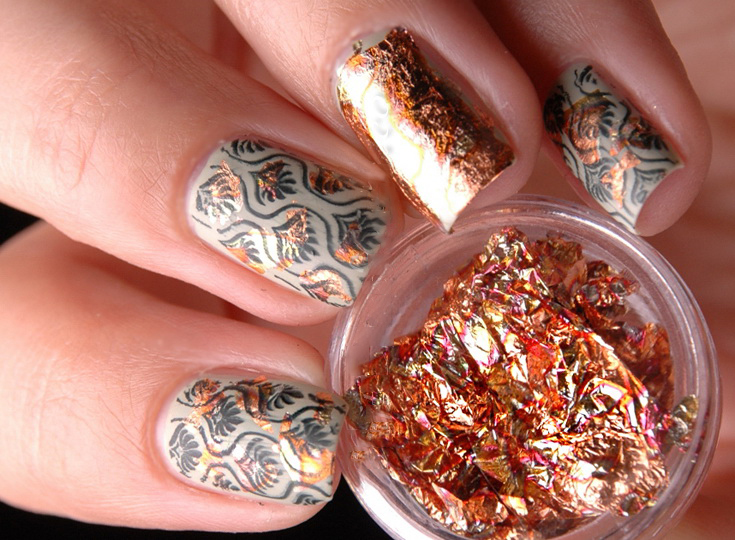
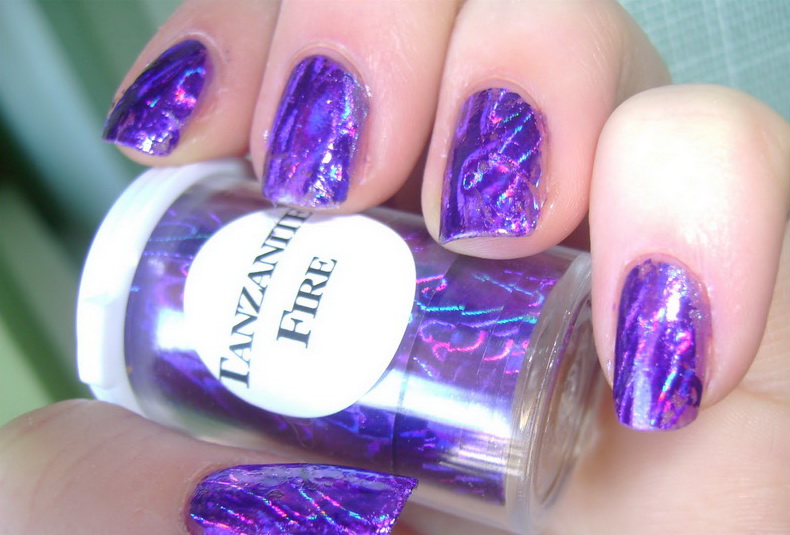
Transferable
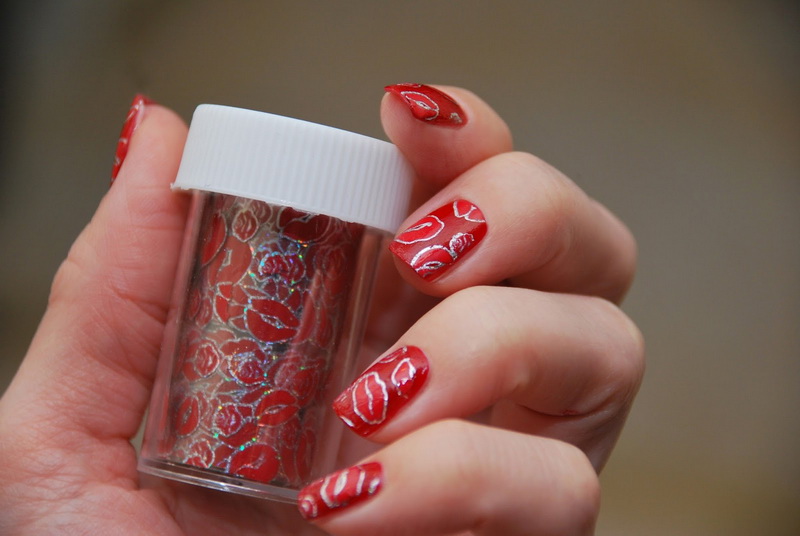
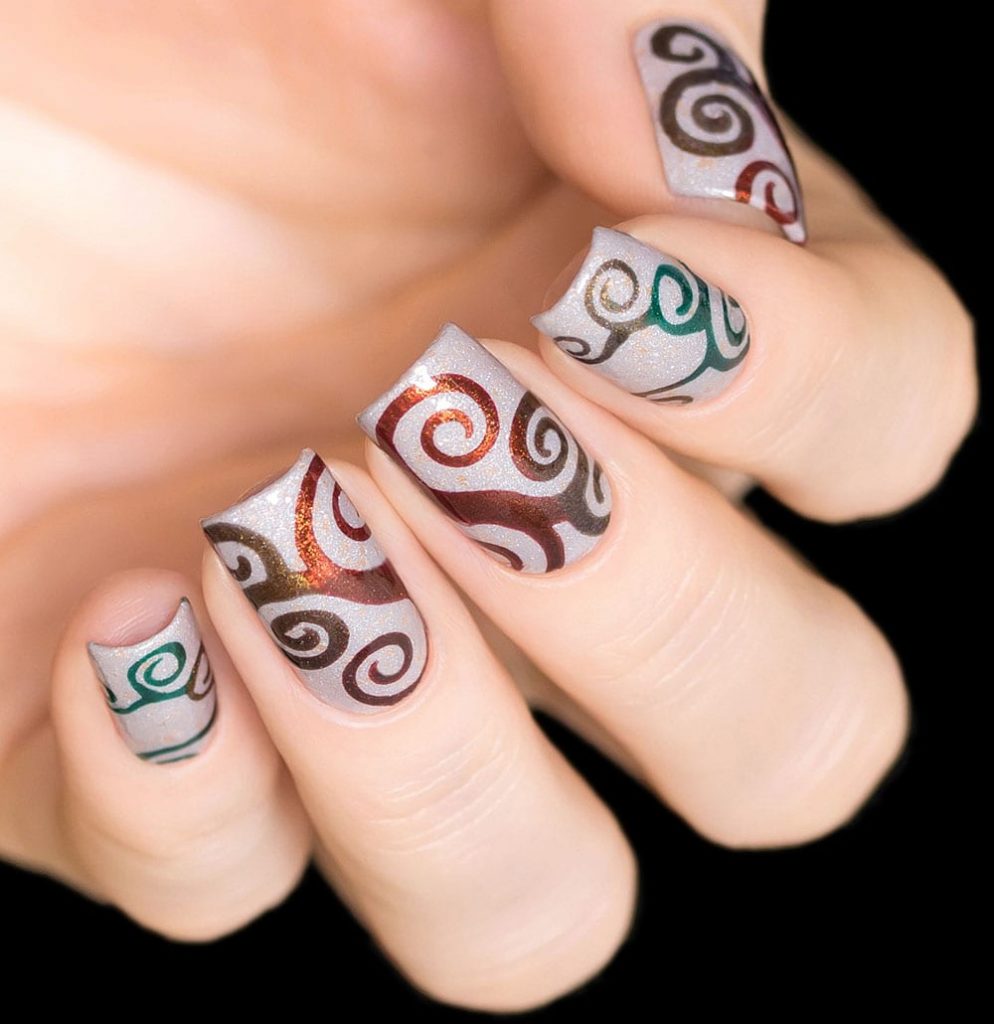
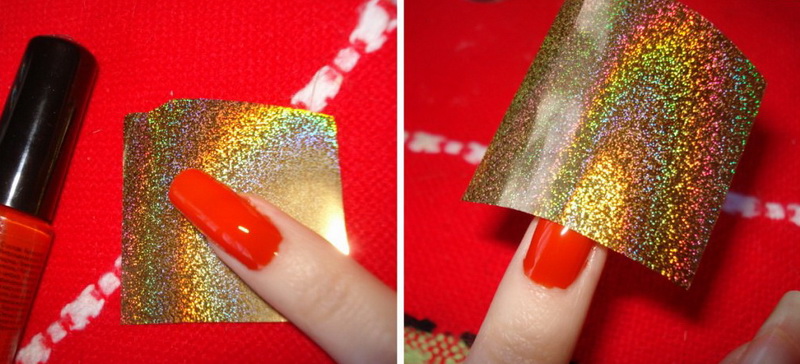
This type of adore newbies, because it is easy to use and easy to apply to everyone's favorite gel polish. This foil is released more often in the form of rolls of small size, from which small pieces are cut just before creating a manicure. The protective film on the surface helps to protect the patterns from premature damage. She creates beautiful complex patterns on her nails. The choice of shades and decorative effects is very large.

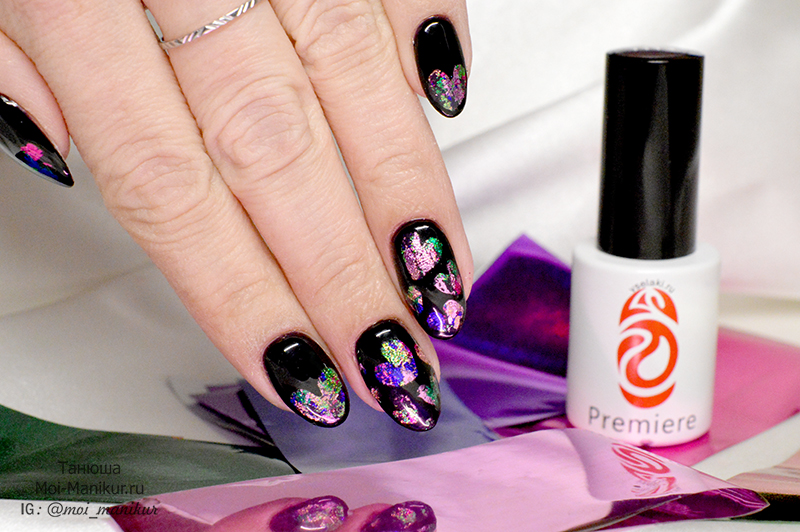
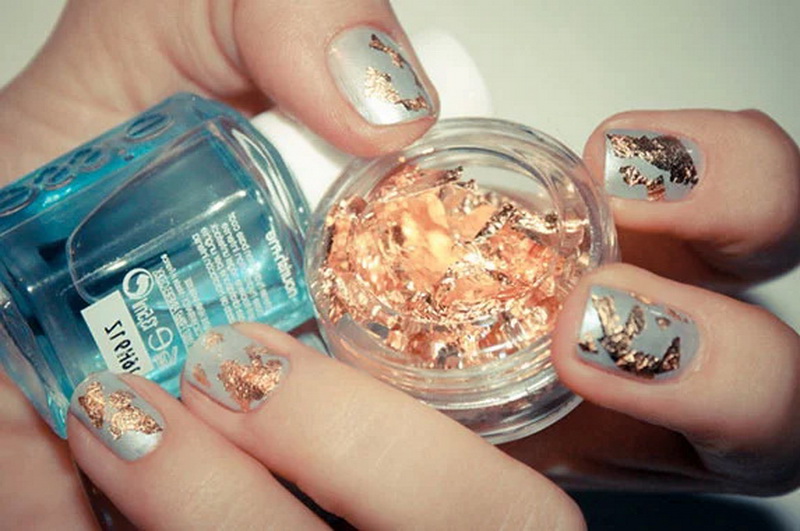
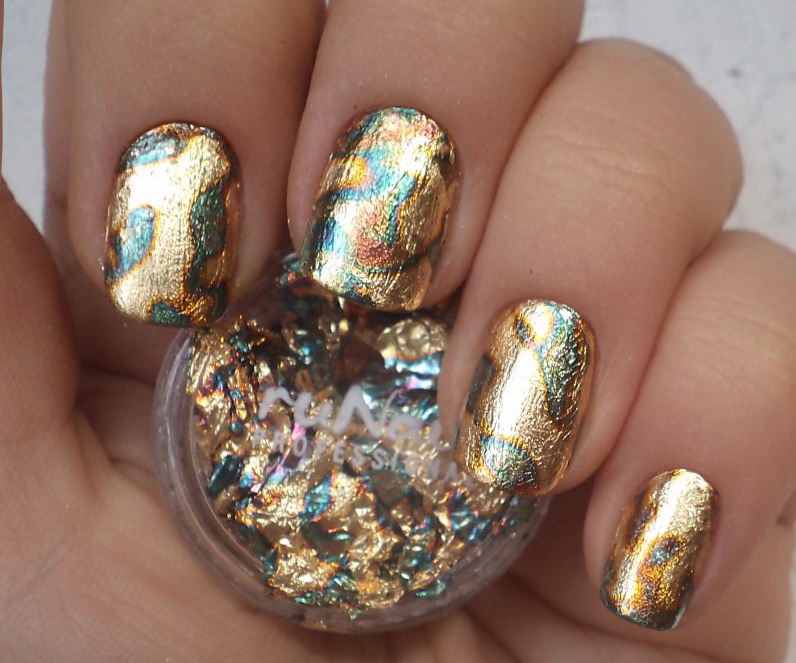
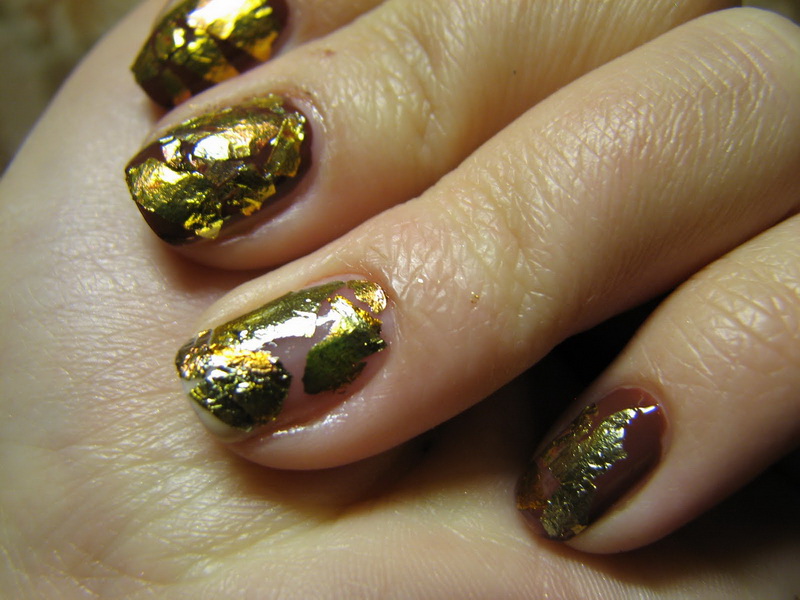
Tattered
Foil of this type is more often chosen by professionals and used for complex volumetric design. Working with it is quite difficult, because the material is fragile and requires careful handling. Design with its use is often done for special occasions. With full closure of the entire surface of the nail often choose silver, gold or copper hue.
Fashionable mosaic pattern will complement the festive look. The peculiarity of such a foil is its convenient attachment to the sticky layer of gel polish. After drying and fixing, it perfectly holds up to two weeks.
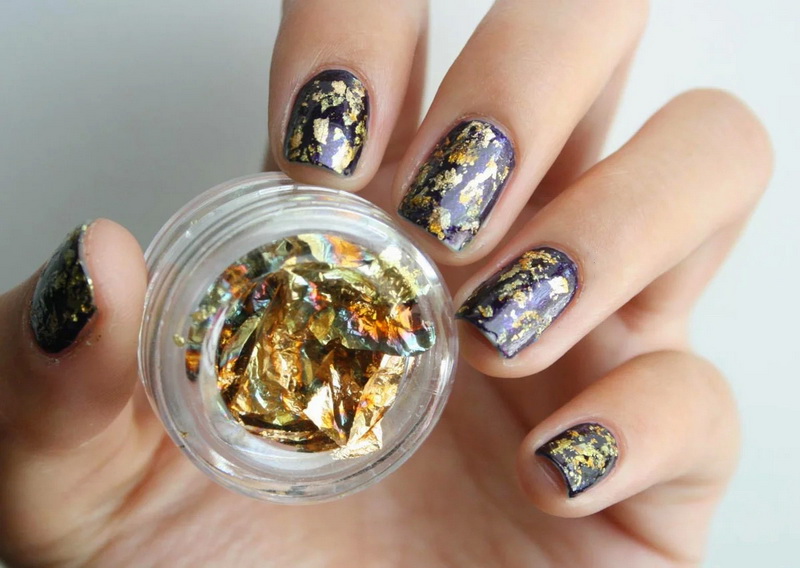
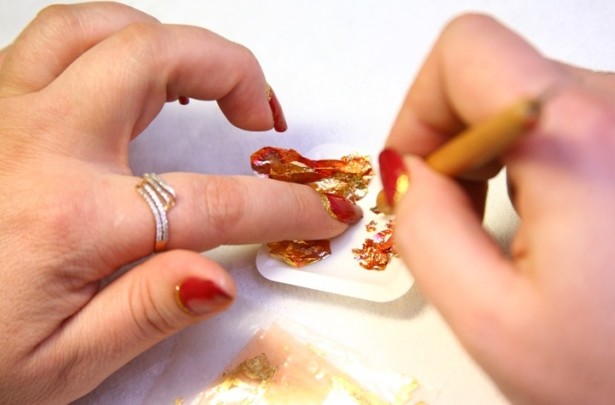
Potal is often considered to be a type of compressed foil. It is gold leaf (real precious metal), applied with a thin layer. The material is expensive and very fragile. It is used by experienced masters of nail service. It can be sold in the form of a booklet, where sheets are stilled by material like parchment.
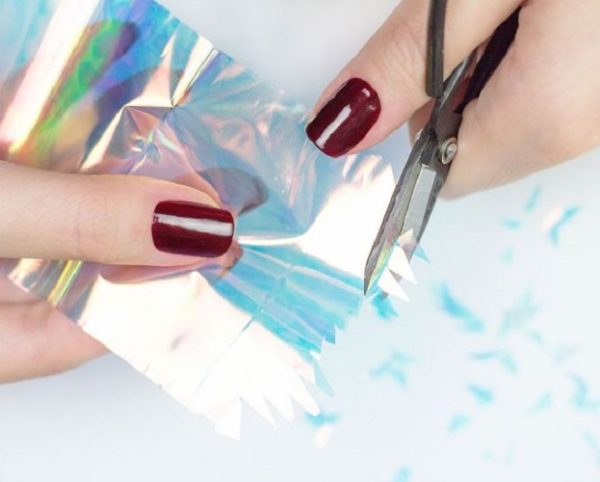
Tear-off
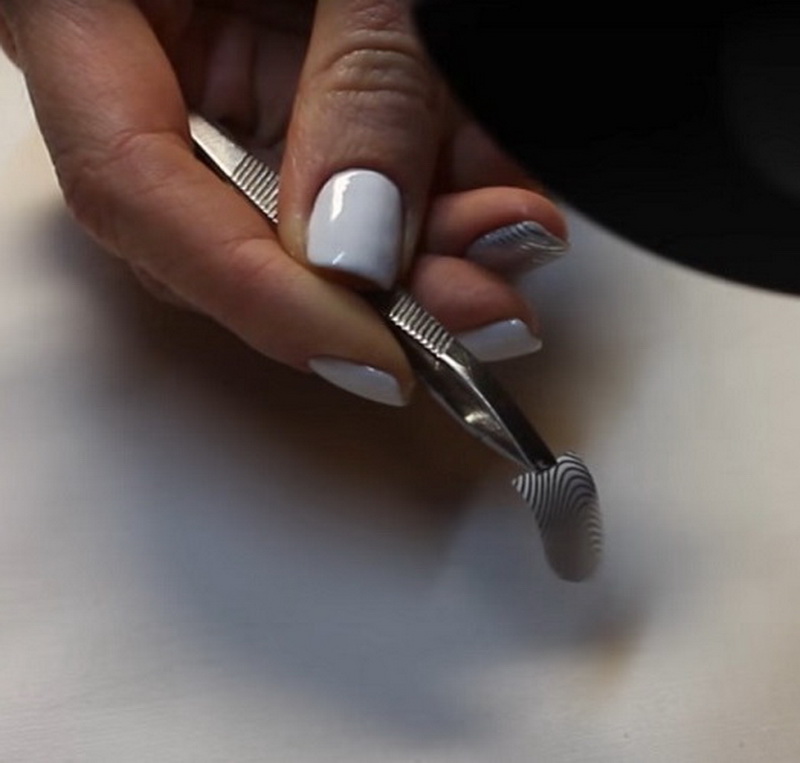
The most durable type of foil.It is made in the form of a set of individual stickers that are mounted on the nails with their sticky side or are planted on a special glue. This foil is glued mainly on the entire surface of the nail plate. Less often - cut out options for figure decor. When covering the entire nail after full adhesion, excess edges are carefully removed using nail scissors or a nail file.
Thermo
This type is attached to the surface of the nail with pre-heating. The material is quite thin and plastic. Manicure is done with tweezers, straightening the heated foil on the nail with an orange stick. Thermofilm is also loved by beginners of nail design for the simplicity of creating a spectacular manicure and ease of use.
Choose one or another type of foil in accordance with the skills to perform an independent manicure and the features of technology, design of the executed pattern. Often marigolds in foil complement the individual decorative elements or use them as an integral part of a more complex design, which combines various techniques. In this case, a manicure with metal foil effectively and extravagantly looks and in a solo performance.
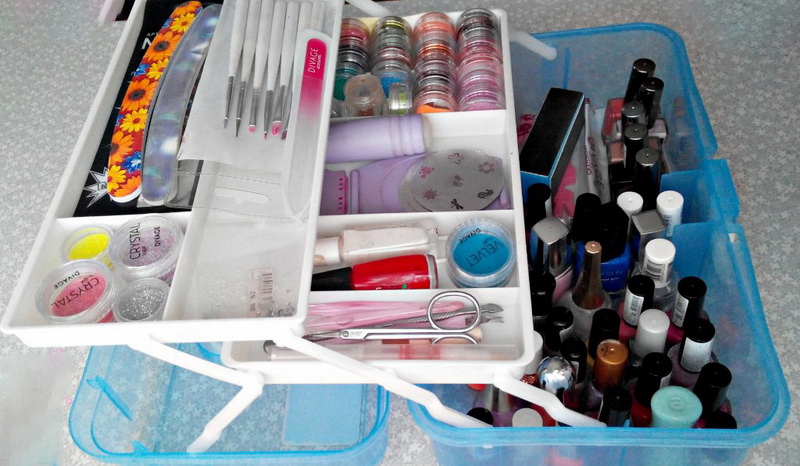
Necessary tools and materials
To create a manicure with foil does not need a large number of specialized professional materials and tools. Most of them are in every woman who at least once independently made the design of nail gel polish. However, some specific devices will be useful.
- A standard set of manicure tools is any girl. To create a design with foil, a set is needed when preparing the nail plates (scissors, forceps, nail file, buff).
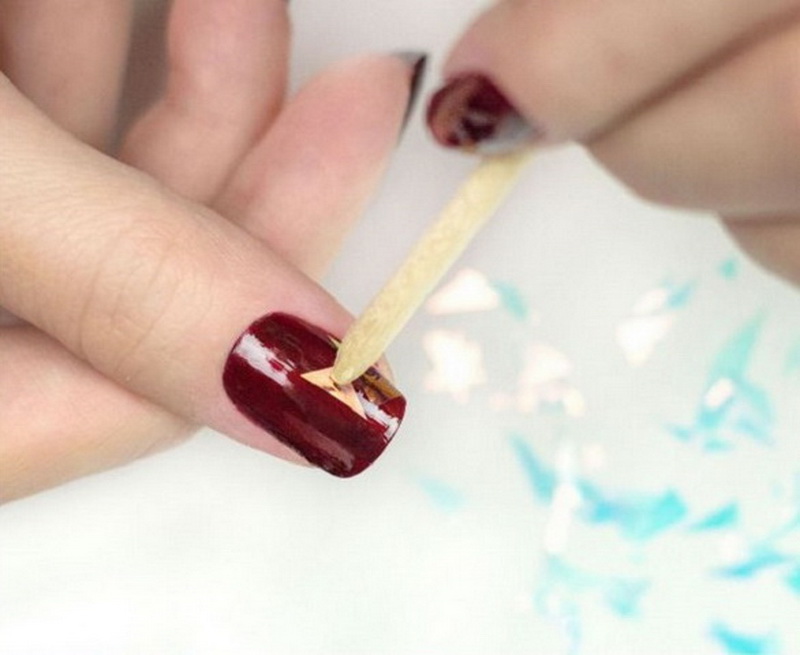
- A stick from an orange tree. If you do not use it for removing cuticle by the uncut method, then it can be useful for working with various types of foil. And you also need tweezers to remove the foil from the package and overlay it on the nail.
- Pusher with a rubber or silicone soft tip for leveling the foil on the surface of the nail.
- Cotton swabs, lint-free material, coating remover, cuticle softener, toothpicks, clean sheet of paper.
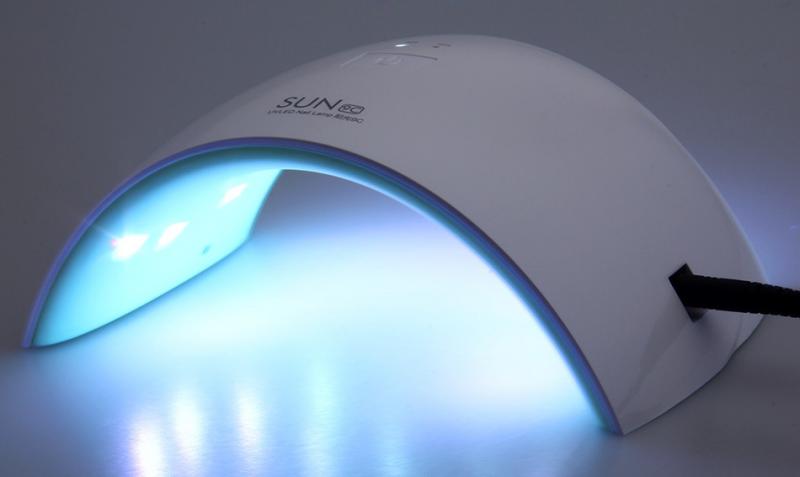
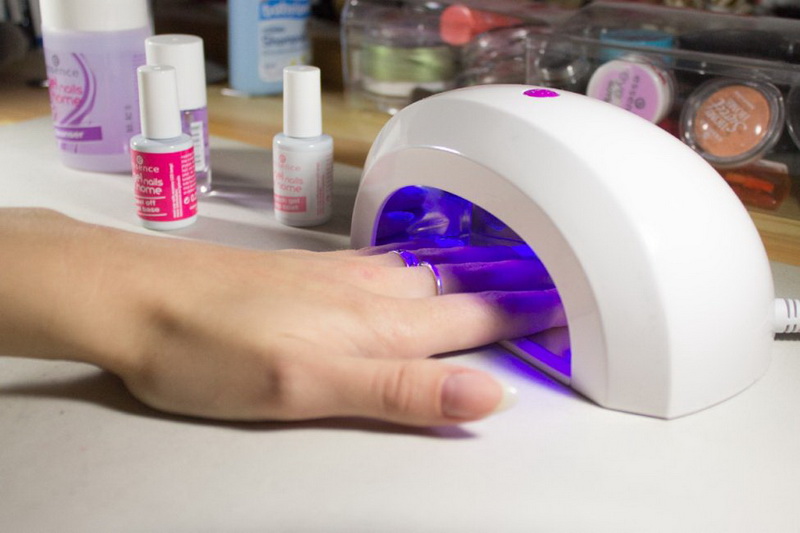
- UV lamp, if you are going to do a persistent manicure based on gel polish.
- Degreaser for processing the nail and removing the sticky layer from the gel polish (Cleaner).
- Base or colorless base to save the nail from damage and penetration into its structure of chemical harmful substances of the coating.
- Top to complete the manicure, giving it strength and sealing the tips of the nails.
- Gel polish of the desired shade and additional decor (if this is required by the idea of a design embodiment).
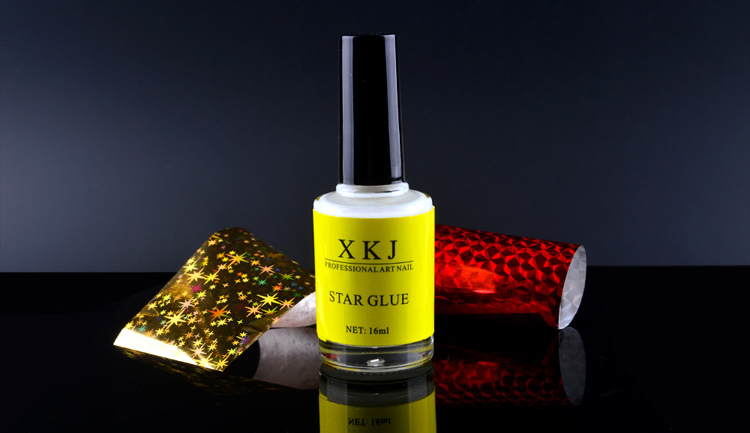
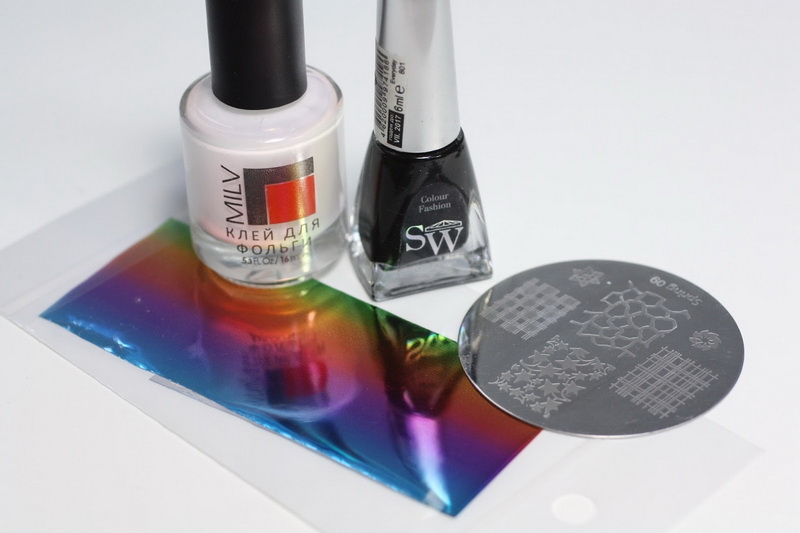
- Foil itself and glue for it, if its application involves technology.
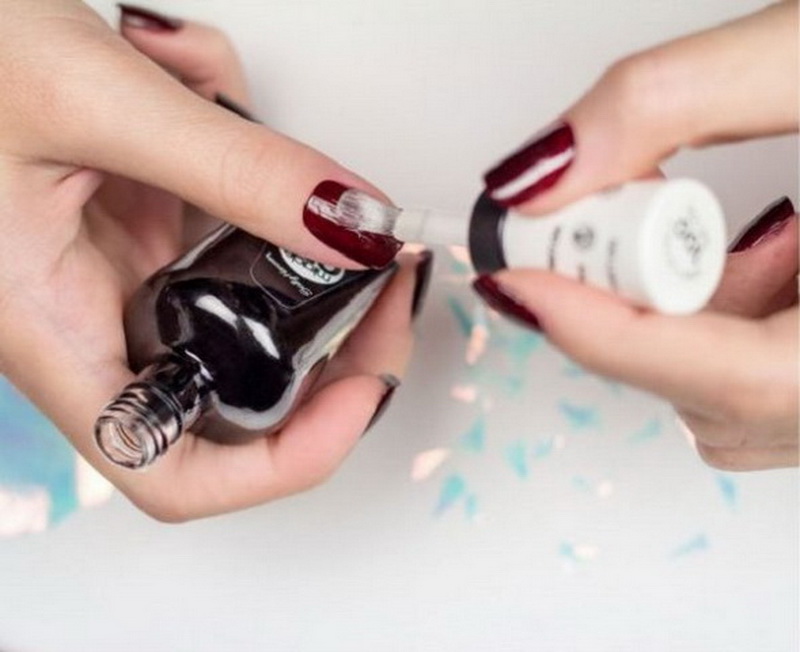
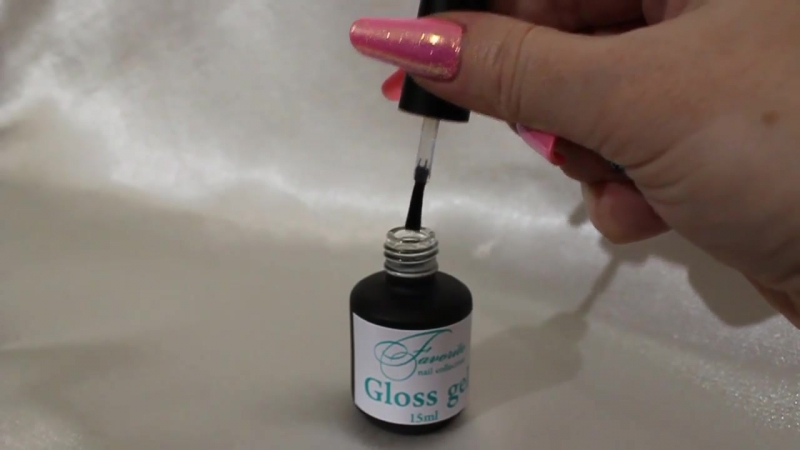
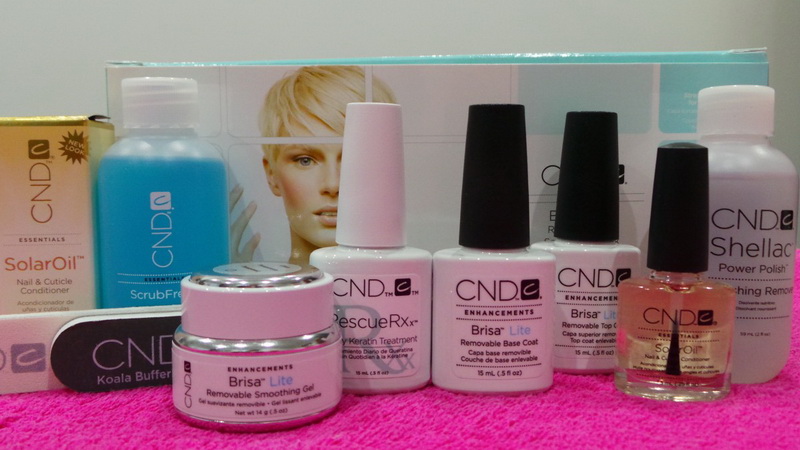
Quality bonding composition is sold freely in stores for the masters of nail art. It looks like a tube of ordinary white lacquer with a comfortable brush for solid or point application. Its price is quite acceptable, but its use is simple. It does not need special devices for drying and is sealed directly on the air. As it solidifies, the whitish composition is converted to transparent. This indicator suggests that it is time to glue the foil.
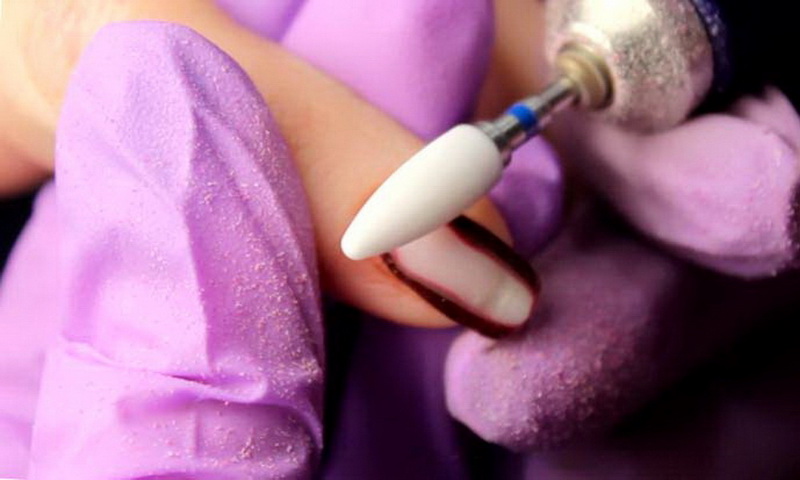
Nail preparation
For manicure with a foil, as well as for any other, careful preparation of nail plates is required. Do not ignore this stage or treat it carelessly. The further appearance of the entire manicure and the durability of the coating will depend on its quality and correctness of performance.
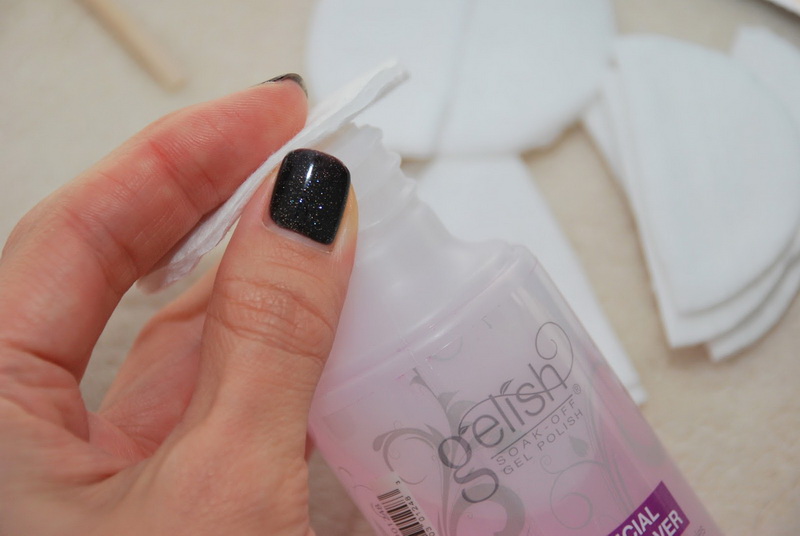
First of all, you should remove the old coating and do it as thoroughly as possible so that there are no traces left. If, however, something could not be removed with the help of chemical and physical effects, the next steps will help.
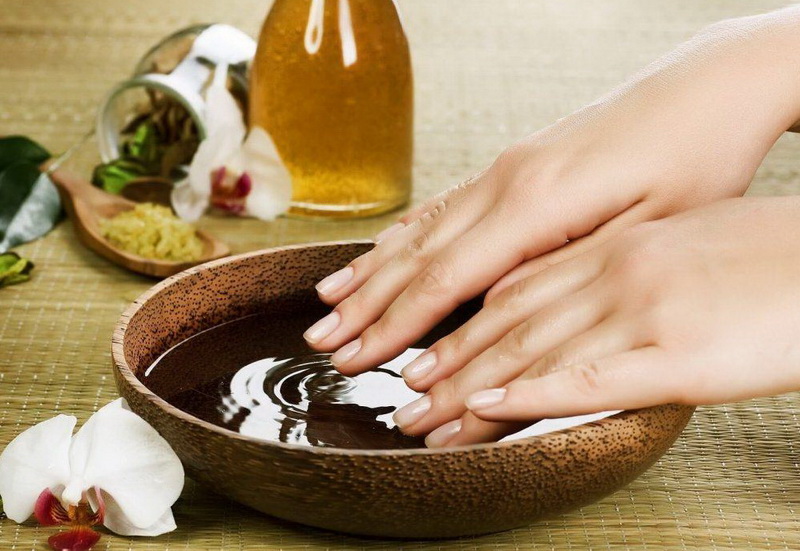
We make a hand bath with the addition of salt and any essential oils to your taste. We wipe hands and grease with nourishing cream.After that we give the chosen shape and the desired length to the nails. It is worth noting that the design with foil looks great on all types of nail plates.
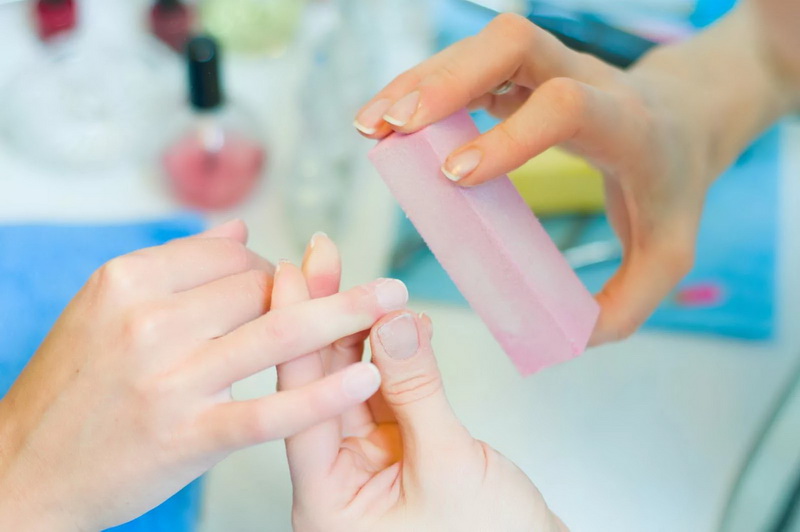
An important final stage of the preparation is nail treatment with a buff for leveling the surface and degreasing the nail plate with a klinder. And also we surely put the base and dry it well. Then you can proceed to staining with gel-lacquer and manipulations with various kinds of foil.
Step by step application technique
Foil design has its own creation technology. To correctly make such a manicure is easy if you follow the step-by-step instructions. You can make a metal design with any type of foil. Glue part of the piece in the form of a pattern or cover the entire area of the nail - choose you. After preparing the nail plate, choose one of the many fashionable manicure options and act according to the scheme.
Transfer foil - the best option for beginners, which is convenient to use with gel polish.
- After drying the base coat, apply gel polish in one or two thin layers. Each of them is dried separately under the lamp for at least three minutes.
- We cover the top of the gel top layer and dry using a UV lamp.
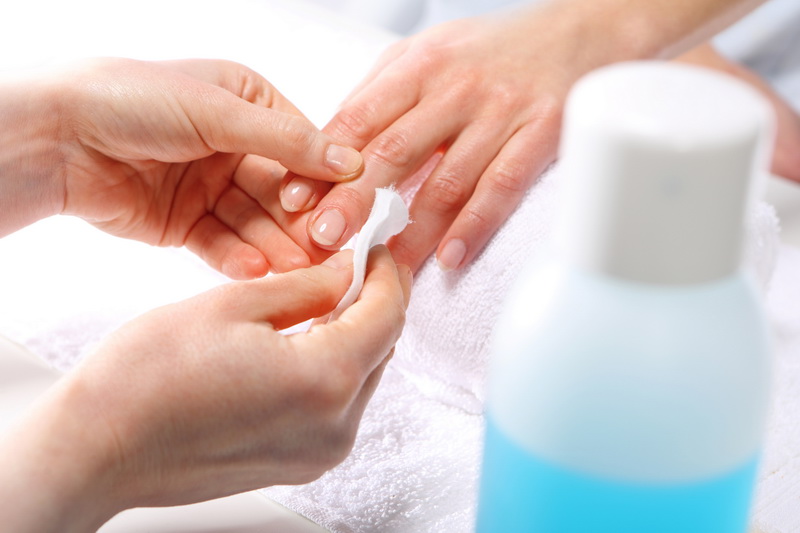
- The adhesive layer is removed using lint-free material and a cliner. We do it carefully, with one or two light movements on each finger.
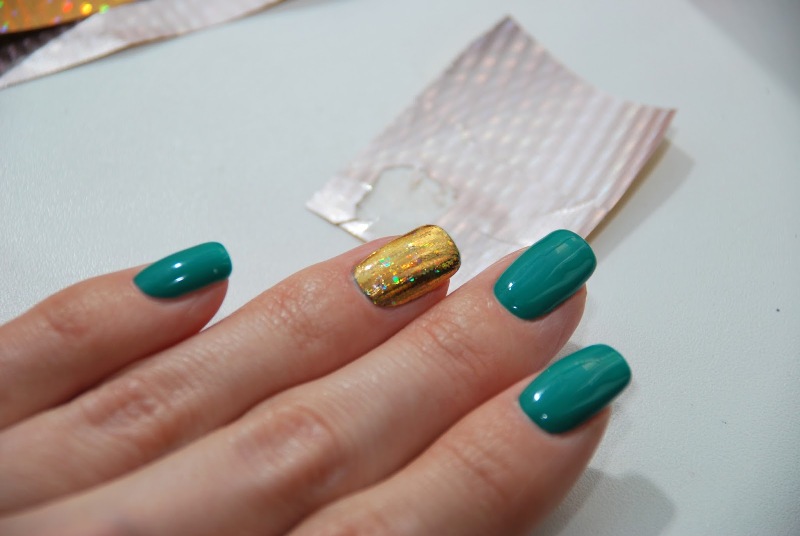
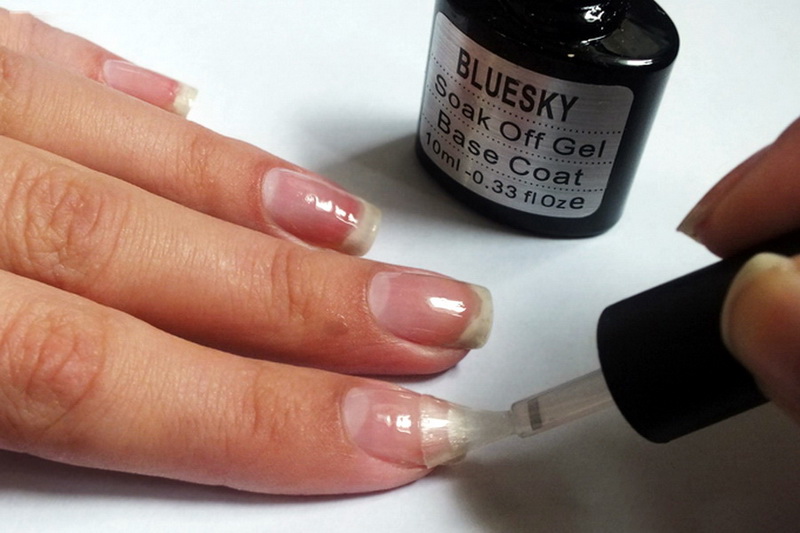
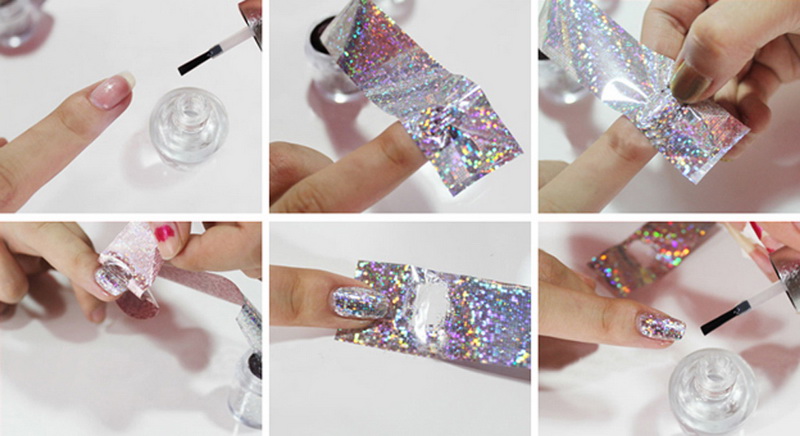
- We smear nails with special glue for transfer foil. It should wait until it dries. Its color will change from white to transparent. It is better to work with each nail separately, rather than using the application immediately to all fingers.
- Cut off a piece of transfer foil of a small size, about three by three or five by five centimeters. If there is a drawing on the foil, you should initially think about its direction. Foil printing will occur immediately, so the pattern will not be adjusted.
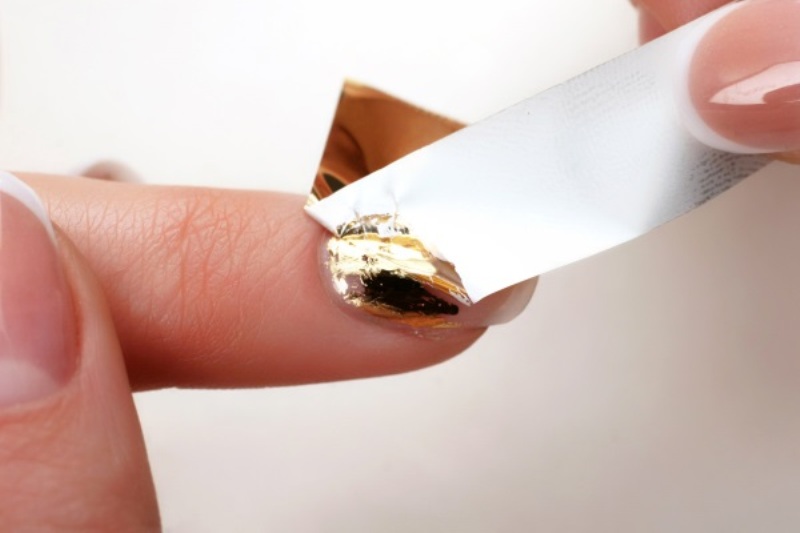
- You will need a pusher with a rubber end, with which the foil should be transferred to the nail with smoothing smooth movements. In this movement will go from the center to the edges to avoid wrinkles and creases.
- A sharp jerk separates the foil from the nail surface. With proper observance of the technique, the transfer foil should print the pattern evenly and accurately onto the gel-lacquer layer.
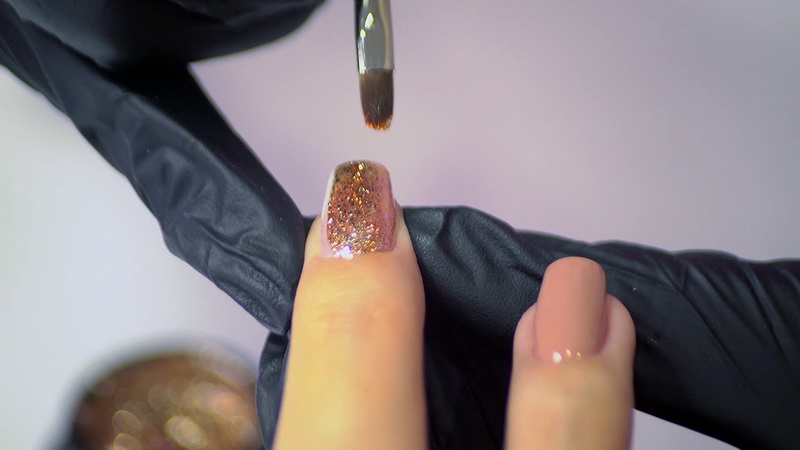
- Do the same with each nail. After we cover the manicure with foil top layer. Seal the nail so that the foil overlaps on the edges and always on the tip of the nail.
- After the drying procedure in the lamp we remove the sticky layer from the top coating. Fashionable manicure with foil ready. For everyday use, you can glue the foil on one or two accent nails.
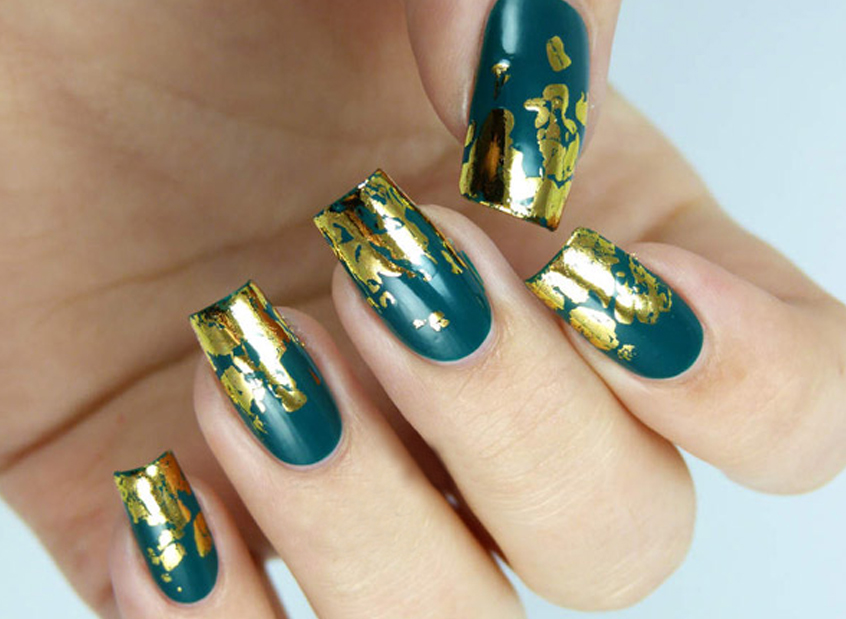
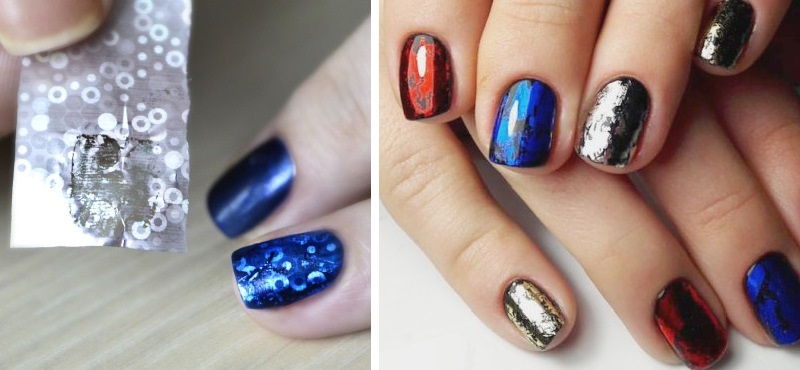
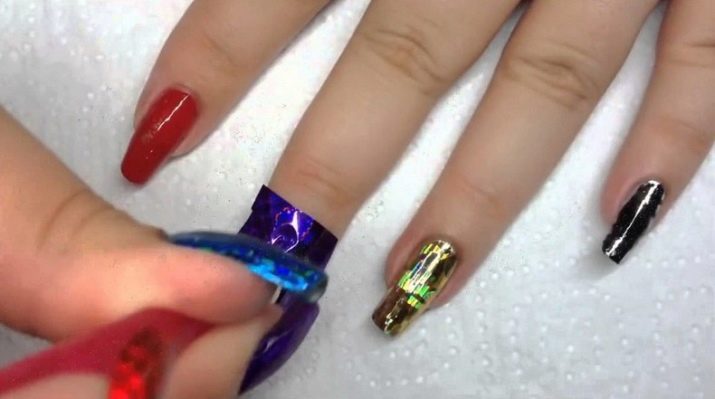
Nail design "broken glass" is done quite simply with minimal skills to create a manicure.
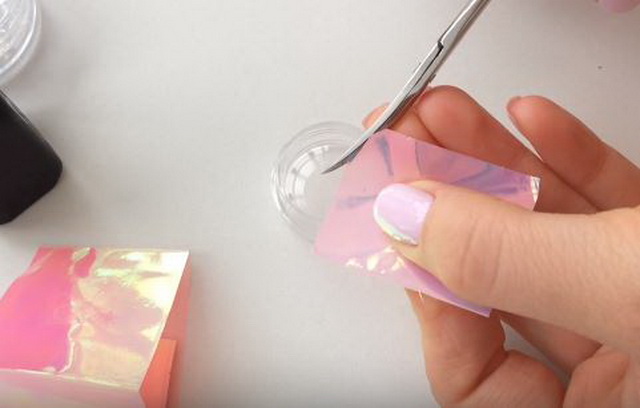
- Previously to create a pattern in the form of fragments of broken glass, we cut the inseparable foil into pieces. They must be of different shapes and sizes. Usually they make triangles and irregular rhombuses, quadrangles, trapeziums. The smaller the details, the better they will lie on the surface of the nail, and the manicure itself will look more neat.
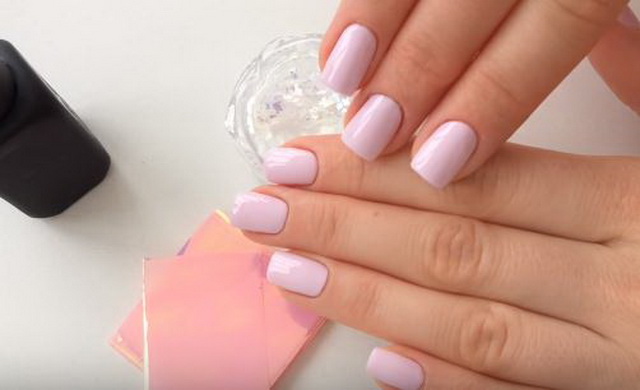
- After the traditional treatments, apply two layers of bright gel polish on the nail. Dry the first layer in the UV lamp for 150–180 seconds.
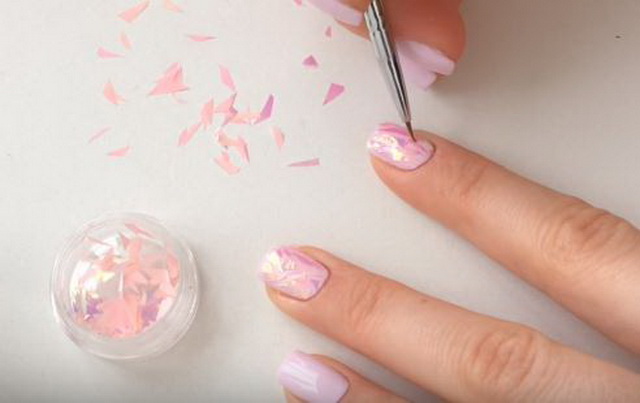
- The second layer is dried for 25-30 seconds. The wet gel forms a sticky coating that is used instead of glue. On it we glue the metal "mirror fragments". We press them with a soft pusher and dry it in the lamp.
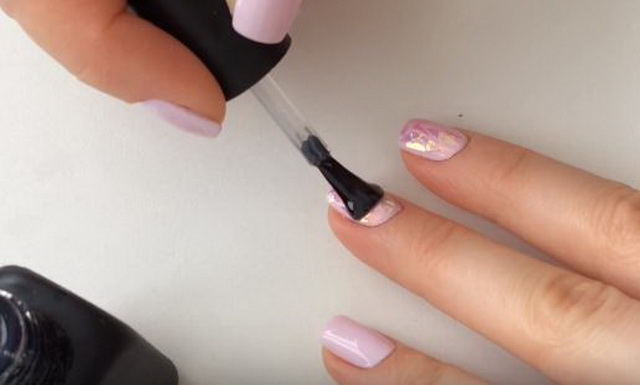
- The final stage is a thorough top coating of all manicure elements. It is necessary to block them so well with a gel so that not a single corner sticks out. Otherwise they will cling to clothes, hair, and the manicure will simply be spoiled.
Common mistakes
From beginners you can often hear the opinion of the difficulty of performing this type of manicure.In fact, most often they make common mistakes that lead to deterioration of coverage. Compliance with the implementation technology ensures the correct result. The choice of basic materials also means a lot. High-quality gel polish and suitable foil with optimally chosen method of application create a stunning decorative effect.

Often, girls apply too thick a layer of gel polish or insufficiently dried layers. When using glue to fix the foil, they rush and do not wait until the glue dries completely, changing its color to transparent.
High-quality smooth coating is ensured by careful application and accurate distribution of the foil over the surface. The formation of wrinkles or bubbles is possible by leveling the foil with great pressure or in one direction.
The instability of the manicure is most often associated with the fact that the topcoat was applied incorrectly. It must completely cover the foil over the entire area, and all tips must be reliably sealed with gel.
Tips masters
Create your own correct trend manicure using metal foil will help small tricks and expert advice. Constant practice and work with a large set of tools allows them to develop their own rules and basics of working with this or that material. Adopt the advice of the masters and develop your own life hacking to create the perfect nail design.
If at the end of the manicure the nails are placed in a special lamp, then the use of glue for the foil is not a mandatory procedure. Also, it is often not used when applying foil on a sticky layer of gel or on an undrained base.
In order for the coating to lay down better, you should choose to remove the old liquid without acetone and without additional oils. In addition, nails should be thoroughly degreased.
A simple measure will help to keep the drawing for a long time. It is necessary to put a finishing transparent gel on top of the coating every three or four days and dry it well in the lamp. Then fashionable marigold will be protected from a wide variety of types of exposure.
If there is no foil glue at home, you can use a sticky layer of gel polish for this purpose. To do this, put it necessarily in two thin layers. First dry in a UV lamp as usual. The second one is just starting to polarize, holding under the lamp for 25 seconds. Thus, we obtain a solid and sticky base for the further application of foil or decorative elements from it.
Do not use for gluing PVA foil or universal glue. Consequences for a manicure can be very unpredictable. High-quality glue is inexpensive and helps to understand and trace the moment when you need to glue the foil. Its white surface turns neat and colorless. It is not necessary to hurry, because the wet means together with the foil can form ugly lumps, and the shine will quickly disappear from the nail. A good tool will prolong the life of your manicure for several weeks.
Beginners when creating a manicure is recommended to use the technique of applying the pattern. This greatly simplifies the process of creating a manicure, reduces the time for its execution. In addition, you can get a neat, spectacular and symmetrical design on all legs.
If you are taking the first steps in the nail design, then using a transfer foil can result in a blurred pattern. It also happens that the foil is going to ugly folds or bubbles and slips. If all stages of work were done clearly and accurately, you should pay attention to the quality and compatibility of the gel and foil.
Failures in creating a metallic manicure can be associated with the peculiarities of gel polish. Not all formulations from different manufacturers have the required characteristics, density and stickiness for gluing the foil. Therefore, only experimentation with application to different bases will help.
Often the question arises about the durability of such a beautiful coating with a mirror effect. It directly depends on the materials and raw materials used, adherence to all the basic stages of work and on the skill of performing manicure. When working with the gel and using the base and top layers, thorough and gradual drying of them, the manicure can remain on the nails in its original form for up to two weeks. If the foil was glued to the usual varnish, then the design will last about three days.
Before you begin to do this or that design, get acquainted with the reviews of practitioners. Their advice will help at all stages of creating creative nail art on your hands. Do not be afraid to experiment with combinations, textures and colors. Choose quality basic materials from proven manufacturers. When buying multiple tools to create one type of manicure is better to use a professional line. Preparations and coatings of the same brand will give a guaranteed successful result. Create unusual manicure options, be unique. Compliments and a lot of attention will be guaranteed.
To learn how to make a manicure with foil on gel polish, see the following video.


