Well-groomed hands are the business card of any woman. Modern ladies prefer to use such a resistant coating as shellac. In this article we will describe how to make a manicure with shellac.
Features and benefits
Shellac has a combination of gel and lacquer properties. On the nails, it looks spectacular and attractive. Consider the main benefits of coverage.
- Persistence Such nails can delight you with their beauty for about three weeks. Of course, the durability will depend on the nail plate itself.
- Easy to use. It can be quite simple in the home to make trendy nail art using different shades of shellac. There are special techniques for this.
- Protection. It is believed that this coating protects the nail plate from delamination, cracks. At the same time shellac does not affect the natural growth of nails.
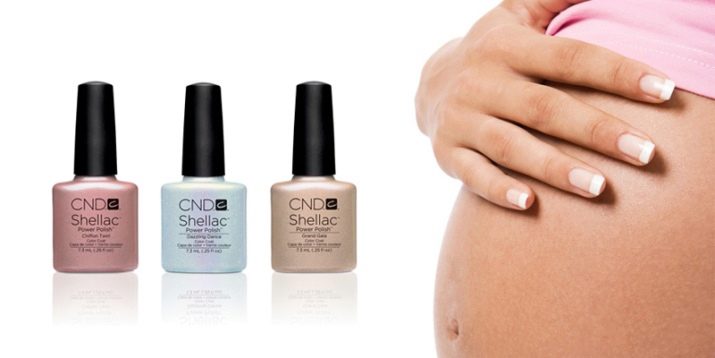
- Security. The natural composition of the tool allows you to use it even during pregnancy. Such a varnish will not cause allergies.
- Wide range of. In professional stores you can find a variety of shades. You can combine colors to create an attractive manicure.
As for some negative points, they can be attributed to the relatively high cost of the goods, as well as the difficulty in removing it - this will require a special tool.
It is also believed that shellac can create a beneficial environment for the development of bacteria.
How to erase the old shellac?
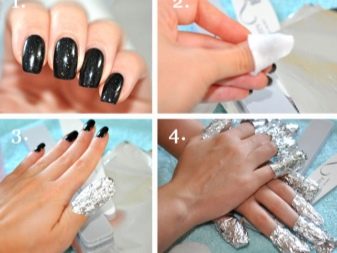
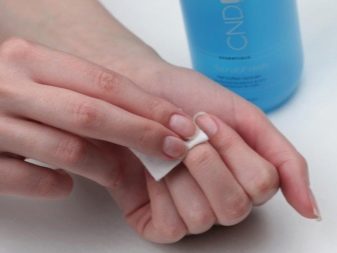
Before you start creating a beautiful and stylish manicure, you should remove the old coating. To remove the previous shellac, you should use a special tool. It can be purchased at a professional store. First you need to prepare cotton discs and squares of foil, the size of which should be optimal for each finger.
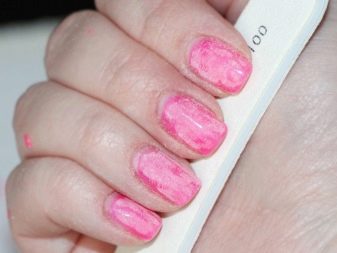
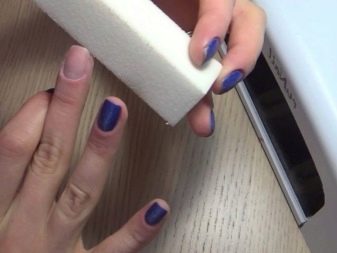
Now be sure to remove the glossy finish with a nail file. Take it and gently move the surface of the nail without pressing hard. After that, take the discs and wet them in a prepared tool, which is designed to remove varnish. Carefully apply the disks to the nail plate and wrap each finger with foil.
Leave for 10 minutes. After that, remove all items from the nails. Take an orange stick and gently remove the remaining varnish. If you could not remove the coating completely, and remained shellac, you should once again carry out the procedure and rub the nail plate soaked with cotton wool.
After that, we process the nails with a buff. At the end it is worth making a hand bath and apply a nourishing cream. Thus, in the conditions of the house you can cope with the old coating.
List of materials
Be sure to pay attention to the careful preparation of nails for a new manicure. It is necessary to purchase all the necessary tools and materials. Buy them only in professional stores. You should not buy expired products, they can hurt your hands.
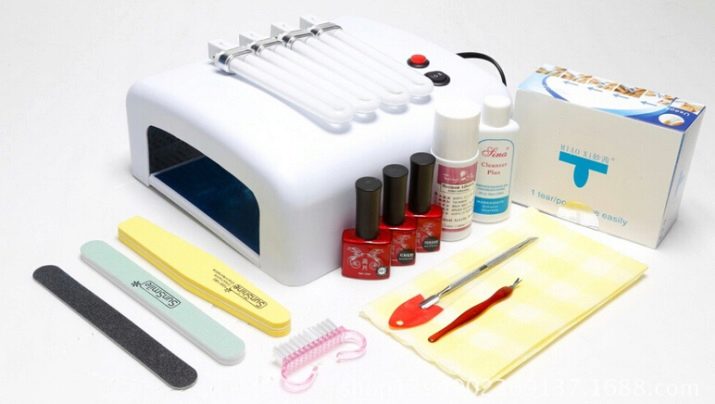
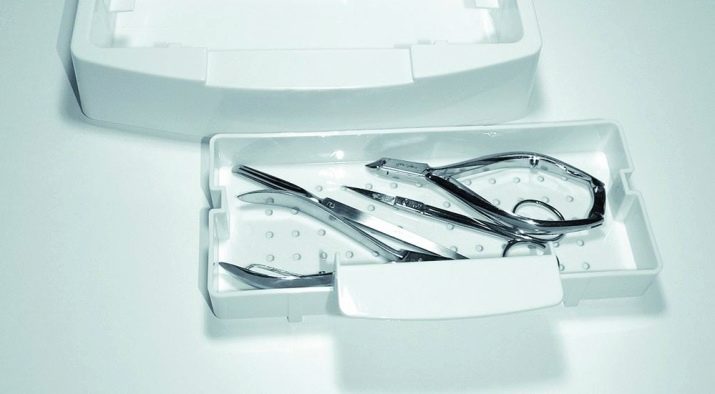
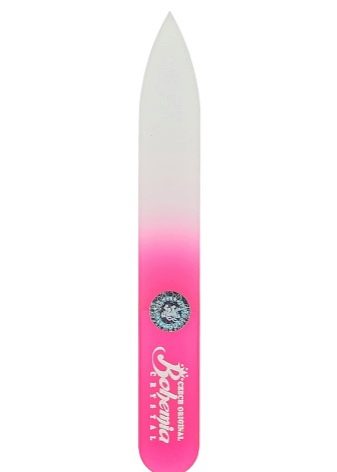
At home you will need a special hard file, sharp forceps, scissors, cuticle remover. You can purchase a special brush in order to brush the dust from the nails. You will need a degreaser to prepare the nail plate to work.In order to polymerize each layer, you should get an ultraviolet lamp. You will also need to buy shellac in different tones.
Do not forget the base. That it provides a strong and reliable adhesion of the surface with the nail. From its quality will depend on the durability of creative nail art. At the end of the procedure, the nails should be covered with top. This coating gives bles to the fingers, protects the nail plate from chipping and scratching.
All tools and materials must be prepared in advance. Organize free space where you can work.
It is better to place everything on a spacious table, so that each tool can be easily accessed.
How to paint?
After you have prepared all the tools and organized the workplace, you should start creating a stylish manicure. Consider a step-by-step step-by-step instruction.
- The first and most important stage is preparation. He should be given the lion's share of time, especially if you are creating a manicure for the first time. The first step is to make a steam bath for the fingers.
- After that, take an orange stick and gently push back the cuticle. If it has grown significantly, you should use forceps or special oil.
- Then shape your nails with scissors. A nail file should be carefully brought to perfection. File your nails in one direction so that the nail plate does not exfoliate.
- After that, the surface should be polished with a buff. This will allow shellac to better lie on the nail, make the manicure better.
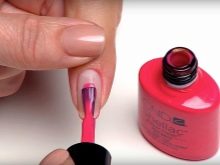
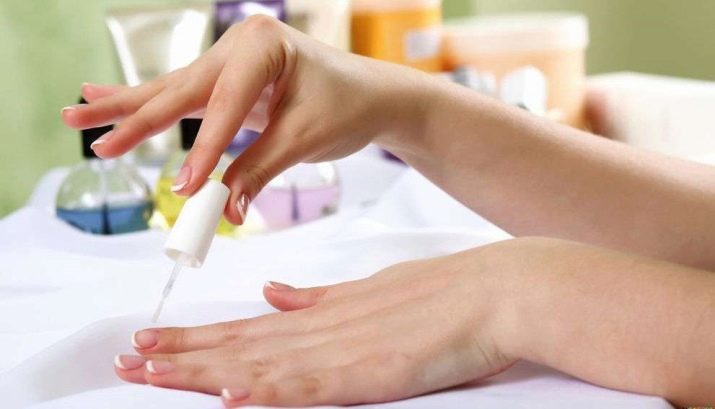
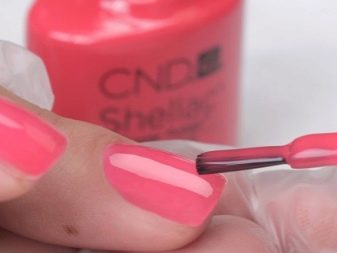
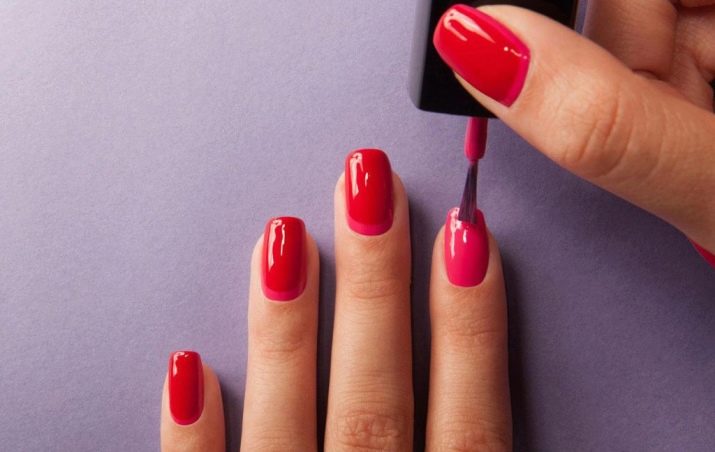
- Now you can apply the coating. Degree your nails with a special tool. After your fingers dry, you should cover them with a base. This is done from the middle of the nail plate confident movement. After that, the side parts are stained. Dry the layer thoroughly in the UV lamp.
- Now take the desired shade of shellac. In the same way, gently apply it to the nail plate. Dry the surface well. In order to get a richer color, repeat the procedure, drying each layer.
- After that, you can proceed to the surface decoration. On it you can pour glitter, form with the help of rhinestones pattern. Make the design according to your preferences and tastes.
- When you complete the design, you should paint the surface with a top. This final layer will help to consolidate the result, make nails stronger, and manicure - more durable.
- After polymerization, the adhesive layer should be removed with a lint-free cloth.
As you can see, the technology is quite simple. Even a novice master can easily carry out the procedure. It is important to do everything accurately and accurately in order to get a positive result.
If it did not work out the first time, then you should not be upset - you just need to practice a little.
Peculiarities of painting during pregnancy
Pregnant women should remember that it is necessary to do manicure with shellac with caution. Do not contact the professionals who do the procedure at home. It is important to monitor the sterility of the instruments, as well as to use only quality materials and instruments.
Formaldehydes, camphor, toluene should not be part of the funds that you will use. Before you put your hands in the UV lamp, do not forget to treat them with a special cream. This is especially important during pregnancy. It should be remembered that shellac has a peculiar smell. It can cause discomfort. In this case, it is important to have quick access to the air. Well, if there is a window or door next.
The very process of creating stylish nails takes a lot of time. Therefore, it is important to think over and provide a comfortable location for the woman who is expecting a child. It should sit only in a comfortable chair. Monitor the quality of coverage - do not use expired options.If you feel a sharp unpleasant smell, refuse such shellac. The safest product will be the one that contains resin.
How much is done in time?
To say the exact time of creating a fashionable manicure is impossible, since it will depend on the person’s experience and external circumstances. Should take into account the complexity of the coating. For example, creating monochromatic nails will turn out faster than using a brush to draw an exquisite design. In any case, it is better to do it more slowly, but better, than quickly and poorly. If you are just starting to learn the basics of nail art, then be patient and tune in to hard work.
Nail correction
Correction - partial or complete restoration of the nail plate cover. It is worth doing it as nails grow back. You can do the procedure in several variations:
- without removing shellac (when a free edge appears at the cuticle, you can fill the space with a different shade of shellac);
- complete change of coating (this option involves removing the old shellac and applying a new one).
Consider how to make a correction without removing the varnish. Initially removed cuticle. Hands should be disinfected with an antiseptic solution. Gently remove the cuticle with an orange stick, cut off the excess skin with nippers. The length of the nail plate should be the same.
With the help of a file, the top coating is removed, the surface is degreased.
Using the buff, remove the top coat of lacquer. Apply primer to the regrown part of the nail. After that, the base layer is applied to the entire surface and dried in the lamp. Next, we select the shellac shade (the tone is darker than the previous one), cover the nail plate with it and polymerize the result. Now you should put the top and fix everything properly. Correction of chipping on nails is performed in the same way.
If the nail is broken, then the surest way would be to remove the coating and adjust the nail plate. Then you can re-cover the surface with shellac of the desired shade. If you have exfoliated nail plates, then they should be strengthened with special means.
How often can you do?
Many women constantly use this coating and feel attractive and confident. If you have a nail plate began to exfoliate, you feel discomfort, you should refrain from using shellac. It all depends on the state of your nail plates. If there are no contraindications, you can cover your fingers as often as you want.
Creating a stylish manicure, it should be borne in mind that not everyone can achieve the perfect result after the first nail work. There may be some problems.
- Chips To nails were elegant and stylish, and the coating was kept for a long time, be sure to seal the ends of the nail with each layer. You can apply a structuring gel immediately after the base to correct the plate.
- Shellac lay unevenly. It is necessary to cover the nail plate with a thin layer. Only then the manicure will look elegant and create a smooth shiny coating.
- Loss of shine It so happens that after applying the top glossy surface gloss disappears. You can use the usual varnish to make your nails shining.
- Uneven surface of nails. If the nails have an uneven surface, then it should be leveled using a structuring gel.
Design ideas with shellac
Every woman wants to be fashionable and attractive. In the modern nail industry there are many options for creating a creative nail surface with shellac. Consider stylish options.
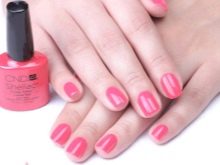
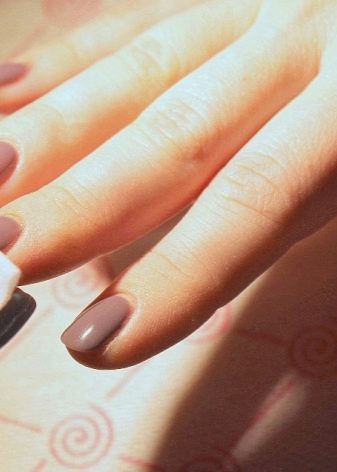
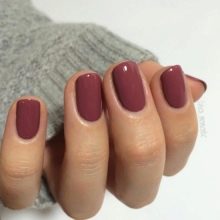
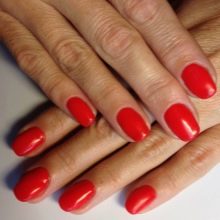
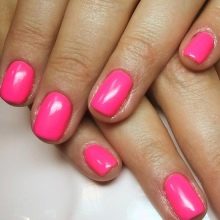
- Monophonic. Now at the peak of popularity monochrome coverage. The main thing is that they are made carefully and efficiently.
You can apply different shades of shellac, pick them up to your side.
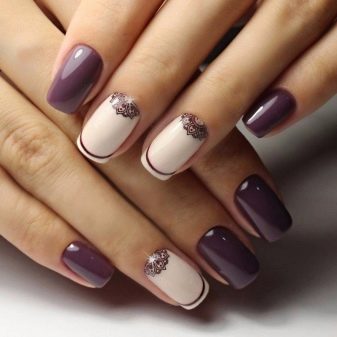
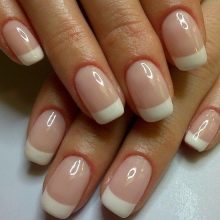
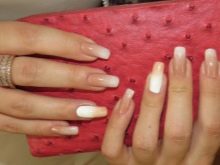
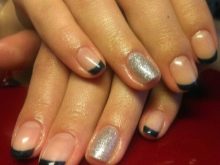
- French manicure. Relevant this season and french. You will need shellac nude shades and white. Initially, the nails are prepared according to the above scheme.After that the base is applied, the selected shade. Each layer is polymerized. Then follows with the help of white color to draw a smile line. You can use various other color options, embodying a fashionable manicure. Now it is important to make a smile line in geometric forms.
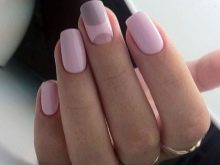
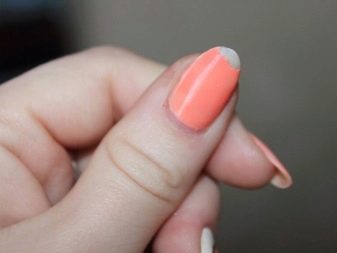
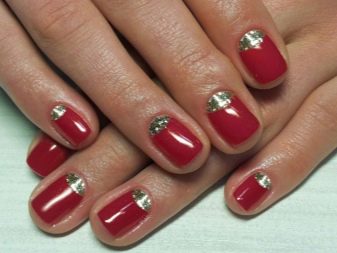
- Lunar. This option is like both young girls and ladies aged. You can mark the hole with a transparent color or lay it out with small rhinestones. Use different color combinations to express individuality.
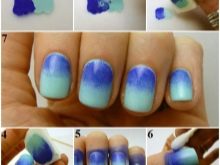
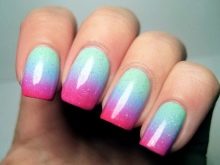
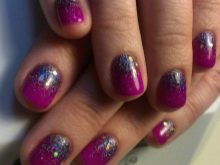
- Ombre. This manicure is a smooth transition from one shade to another. Making it pretty simple. It is enough to choose the color scale of shellac and apply it on the nail plate. Using a fan-shaped brush, gently blend the hues. You can also take a piece of foil and put two drops of shellac on it in different shades. Using a toothpick, mix the tones in the place of their contact. After that, take a sponge, dip it in shellac and transfer everything to the surface of the nail plate. Movement must be clear and confident. Repeat the process several times to get rich colors. After that, the layer is polymerized, and the top layer is applied on top.
- With sparkles. Successfully and quickly you can decorate your nails with sparkles. They will create a festive atmosphere, emphasize your stylish bow. You can decorate both the entire nail plate, and its part, putting the shining particles along the smile line.
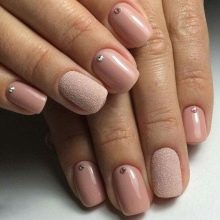
- Rhinestones. Rhinestones add grace and elegance. They have long been loved by all the girls. Here the main thing is not to overdo it. It is not necessary to decorate all the nails with numerous sparkling stones. It will look tasteless. It is better to focus on one finger, gently highlighting the image.
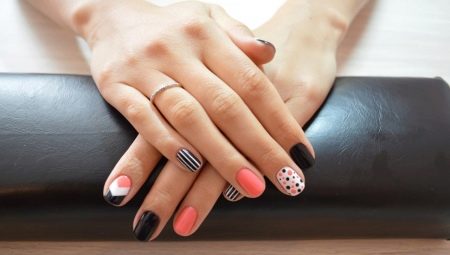
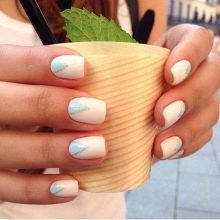
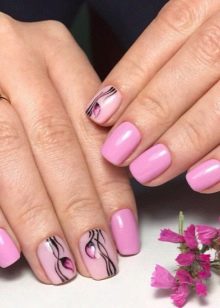
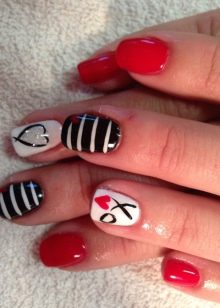
- Drawings. Express your style can be using different drawings. In a fashion abstraction, floral motifs, animals, geometry.
How to make a manicure with shellac at home, see the following video.
