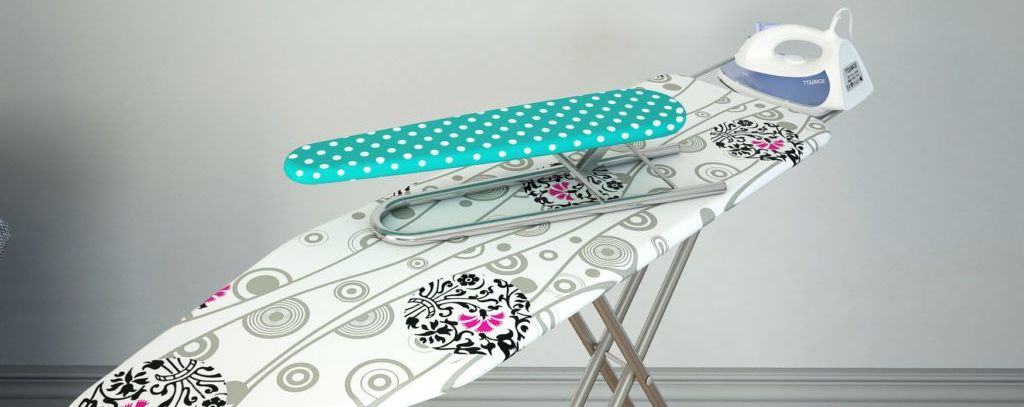
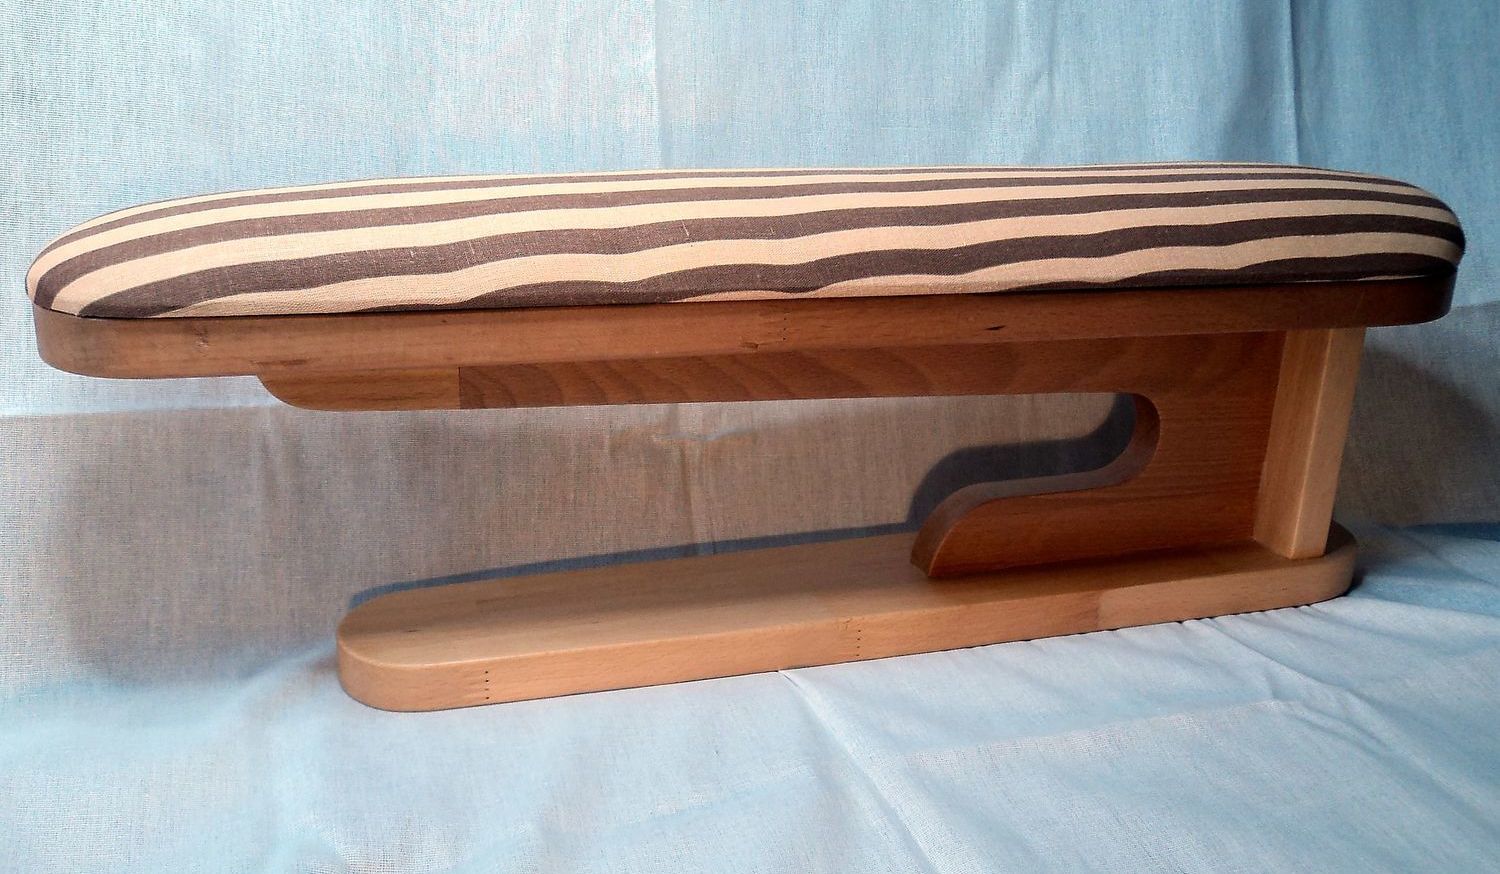
The ironing board for sleeves is a unique device that makes life much easier for housewives and not only. This original stand allows you to well iron the sleeves, without leaving folds, while taking quite a bit of time. Such inventory can be purchased in a set with a large format ironing board for ironing or you can make it yourself.
What it is?
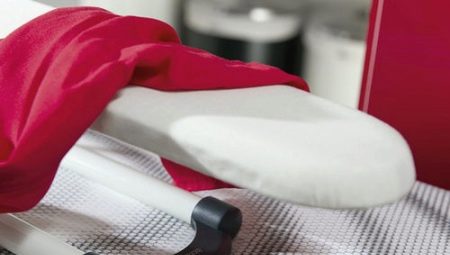
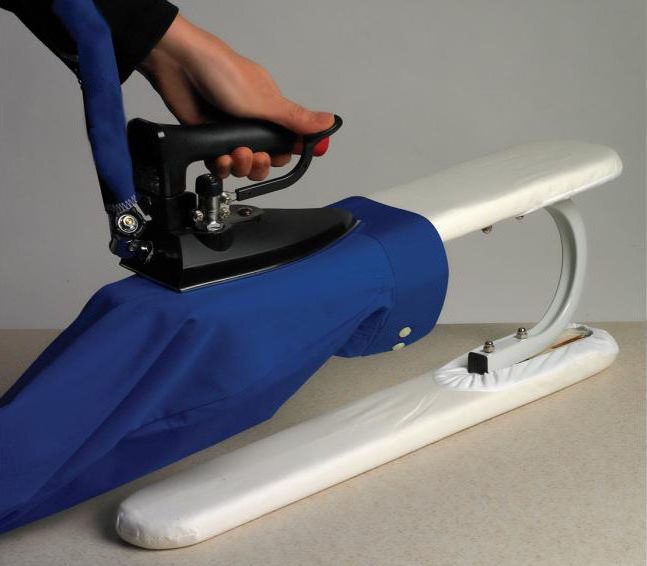
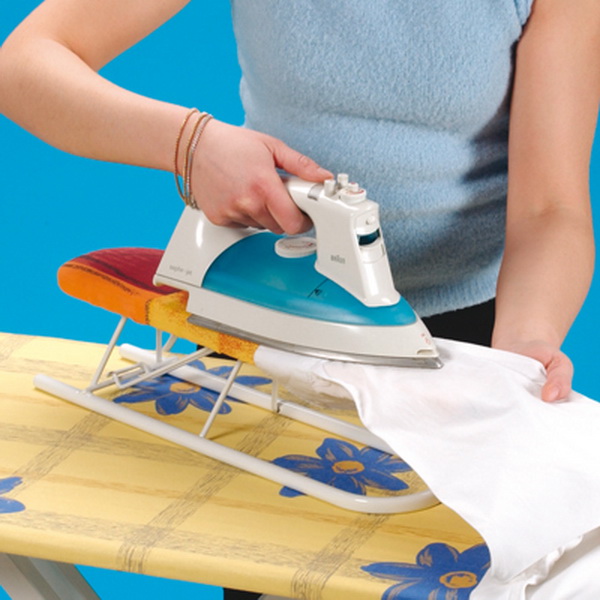
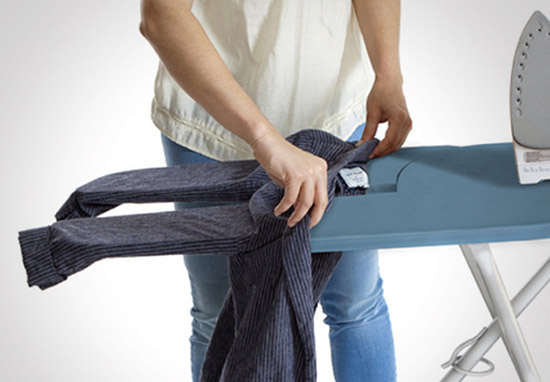
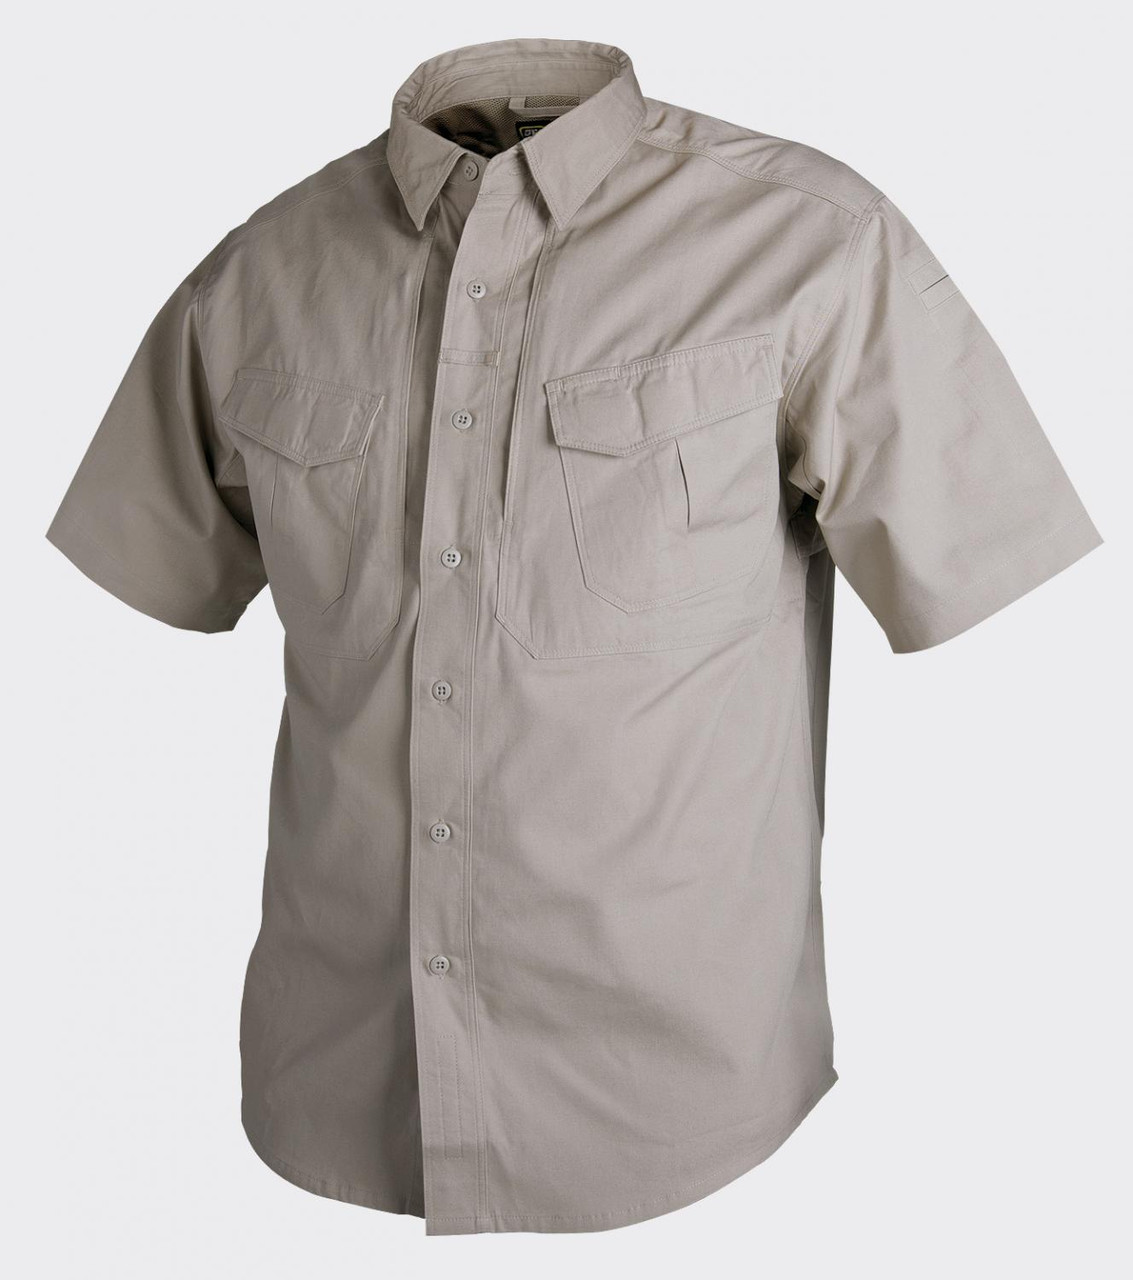
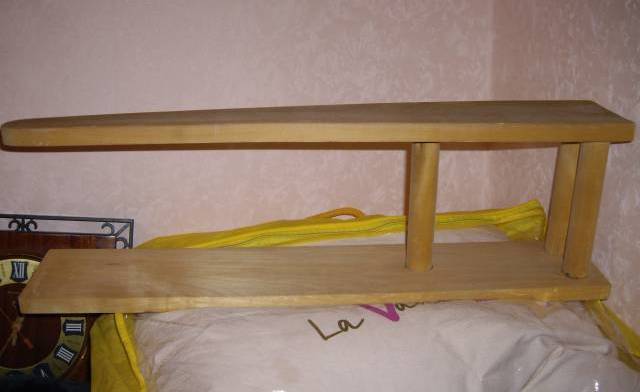
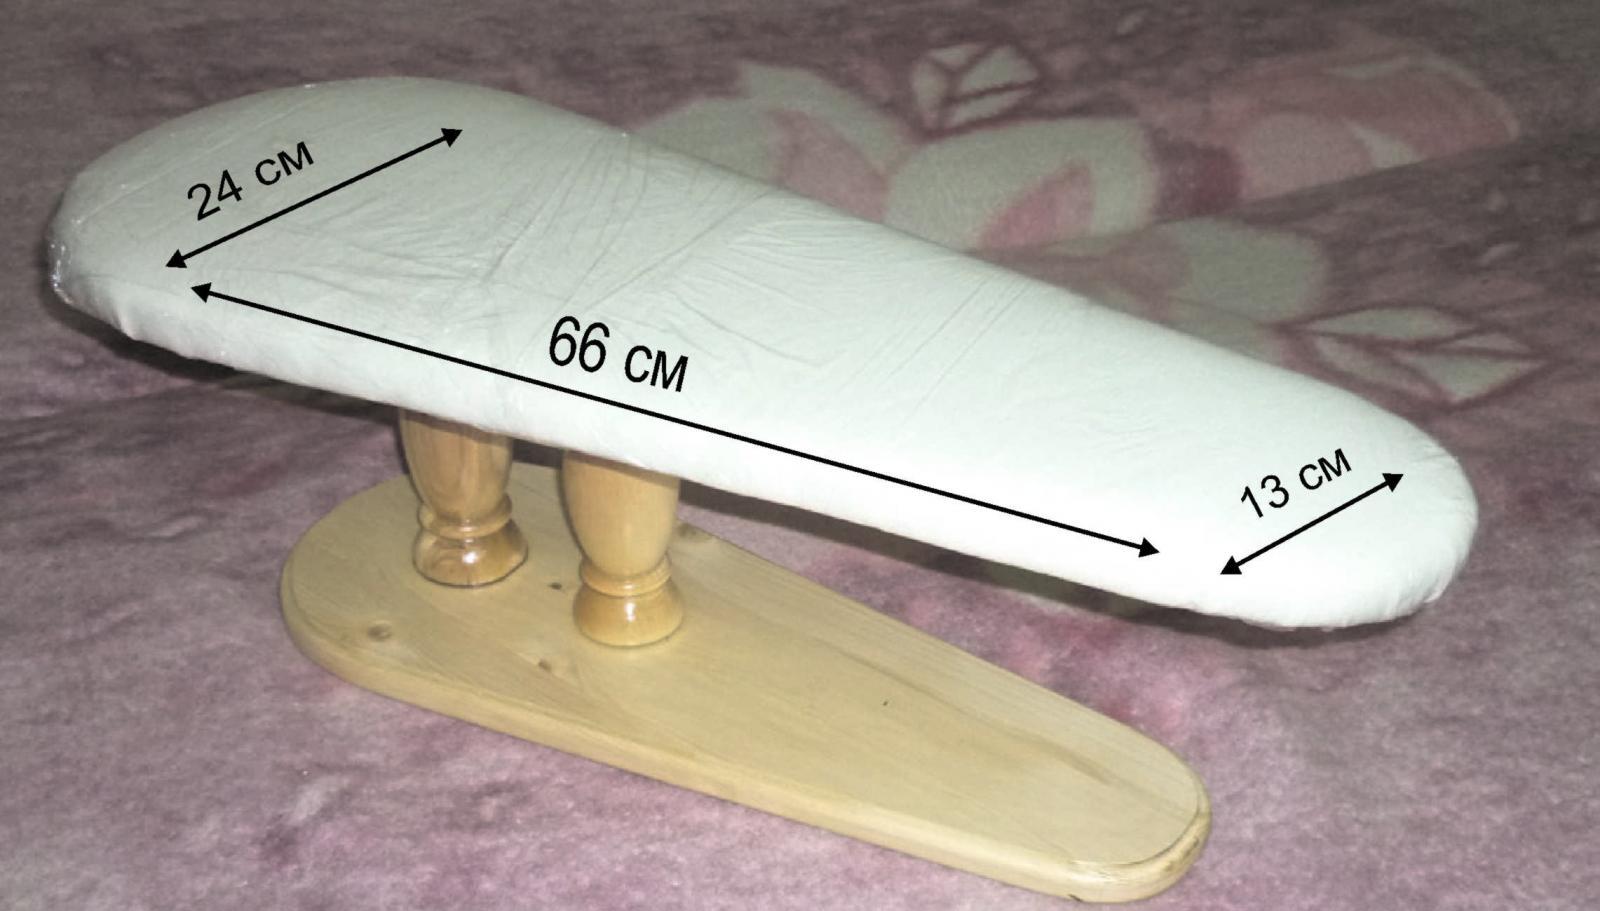
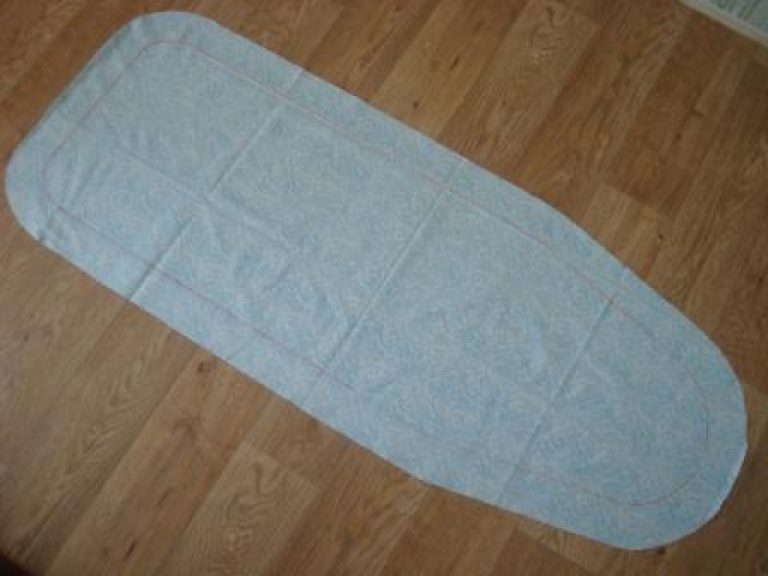
The ironing board for sleeves is a small platform that is characterized by the presence of a hard surface. This device is designed specifically for ironing both short and long sleeves of shirts and sweaters. The mandrel is presented in the form of a narrow rectangle, but its edges must be necessarily rounded. This well-thought-out shape makes it possible to iron the sleeves without arrows rather quickly and easily, since any sleeve can be worn on the sleeves, regardless of size.
A kind of mini-board is small in size, so it is very convenient to use. It is a table, because to use it, you need to put it on a large format ironing board or on a regular table.
The process of ironing does not take much time and effort, but it is worth adhering to the following algorithm:
- you must first put on a sleeve along the board and gently straighten to avoid the appearance of folds;
- Carefully walk the iron on the sleeve, while paying attention to the cuff;
- ironing the sleeve should be done exclusively in the longitudinal direction, performing actions from the inside (from the seam);
- drag the sleeve to the other side and iron again, it is not necessary to change direction.
How to iron?
So that the process of ironing does not take a lot of time and effort You should pay attention to the following advice experienced housewives who have learned to do household chores efficiently and easily:
- To ironing should be allowed to extremely clean thing, already washed;
- try not to overdry the fabric so that it does not lose its appearance and structure;
- if the clothes are wrinkled heavily, then the use of water will help ease the process of ironing - the crumpled thing should be sprinkled from a spray bottle or with a steamer;
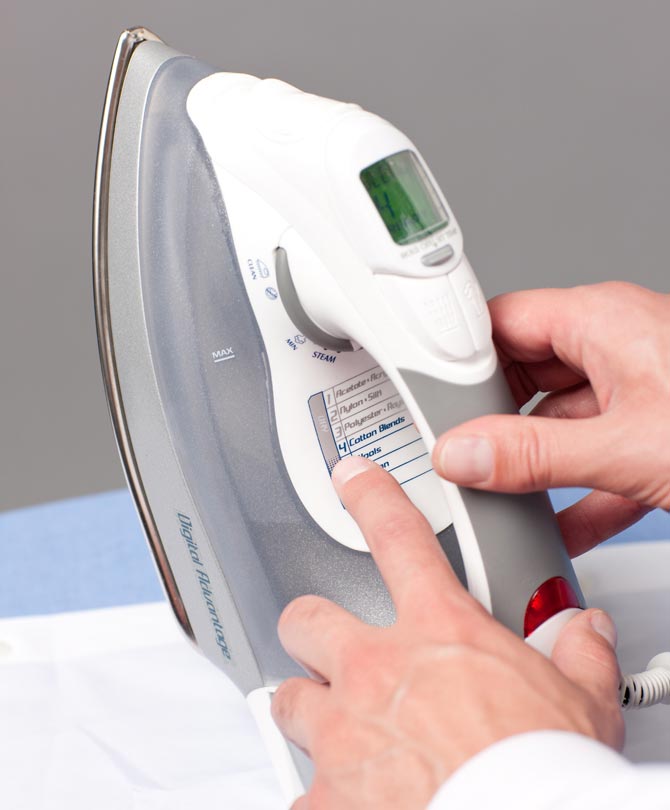
- it is very important to adhere to the temperature regime, which is indicated on the label from the manufacturer, otherwise the product may become unusable;
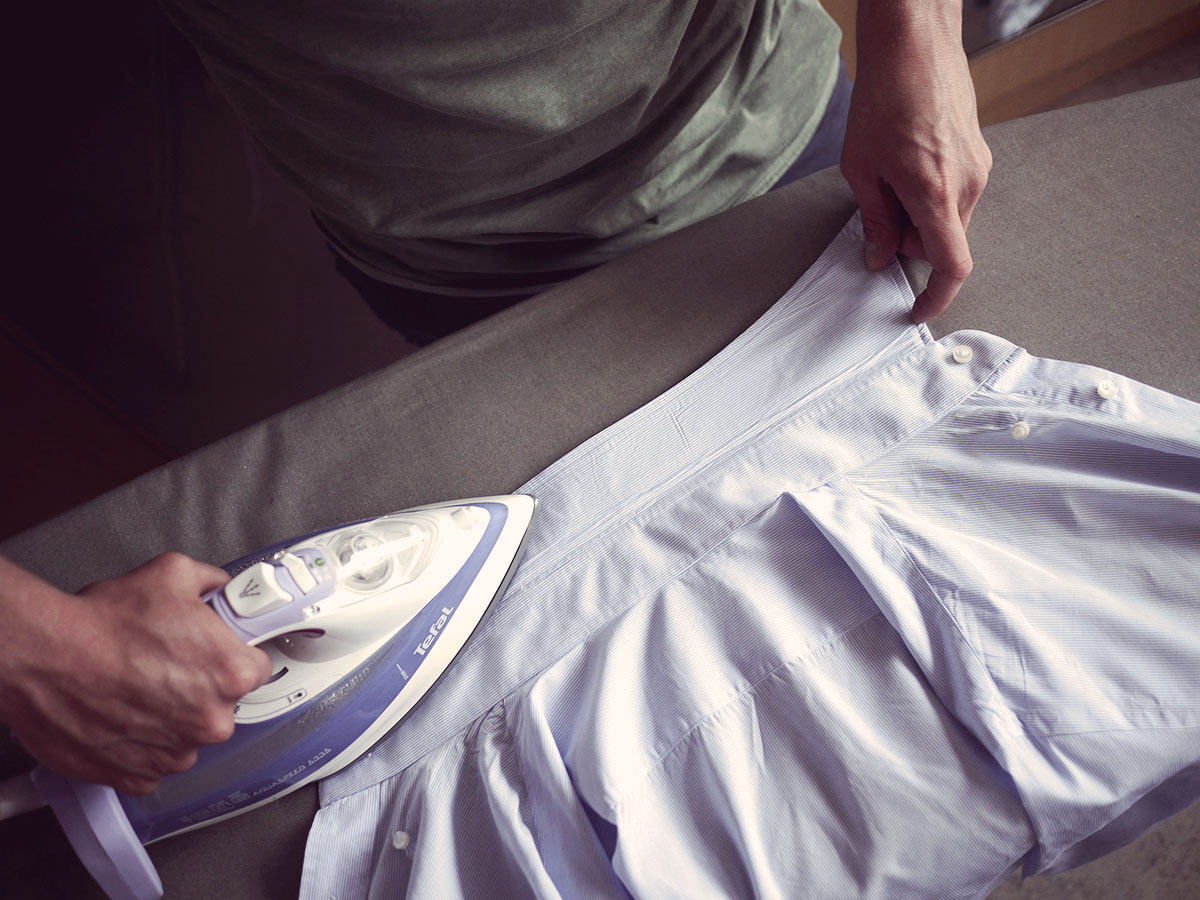
- to avoid the formation of shiny marks on the sleeves of the shirt, it is better to iron them exclusively from the inside.

To protect the fabric of the product from burnout or loss of color, use a small piece of thin fabric and iron the thing through it.
Long
Usually on the board for ironing represented the abutment or roller of compact size, made of a towel. That it should be used for ironing long sleeves. If such a unique device, unfortunately, is not at hand, then you can use another method as an alternative. This technology prevents the iron from touching the folds of the fabric, which prevents the arrows from appearing.
It is worth adhering to the following algorithm:
- unbutton the button on the cuffs of the sleeves and iron the inside out, then go to the front side;
- the sleeve should be placed on the board, with one edge hanging slightly;
- you should stroke the sleeve, but do not touch the fold itself to prevent the arrows from appearing;
- after that, the product must be turned to the second side, and once again perform this procedure;
- further, fold the sleeve so that the seam is located in the middle;
- again it is necessary to put the sleeve on the ironing board, with one edge hanging down, ironing without touching the bend of the material with an iron;
- Finally, you should put a sleeve on the board through the collar, which will allow you to carefully iron the shoulder part of the shirt.

Short
Usually shirts with short sleeves are ironed in the same way as with long ones. This technology is suitable for all materials. But it is easier to iron short sleeves, as time expenses are minimal here.
Therefore, in order to stroke short sleeves, it is necessary to carry out the procedure described above, and you can also use a roller from a towel or a special brace.
How to do it yourself?
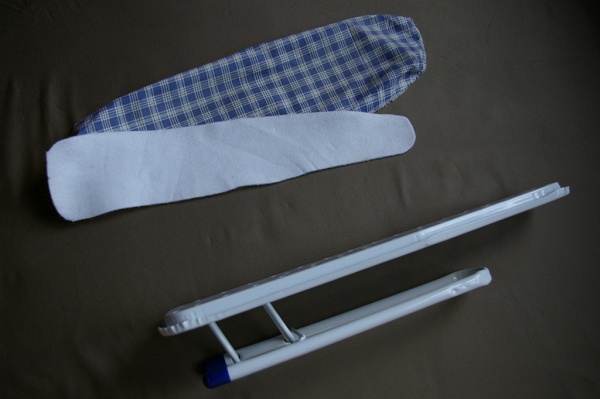
The ironing sleeve can be purchased at any store where goods for the household are sold. But if it is necessary to iron the sleeves right now, and there is no time and desire to run to the store for this device, then you can make it yourself.
The following materials and tools should be taken:
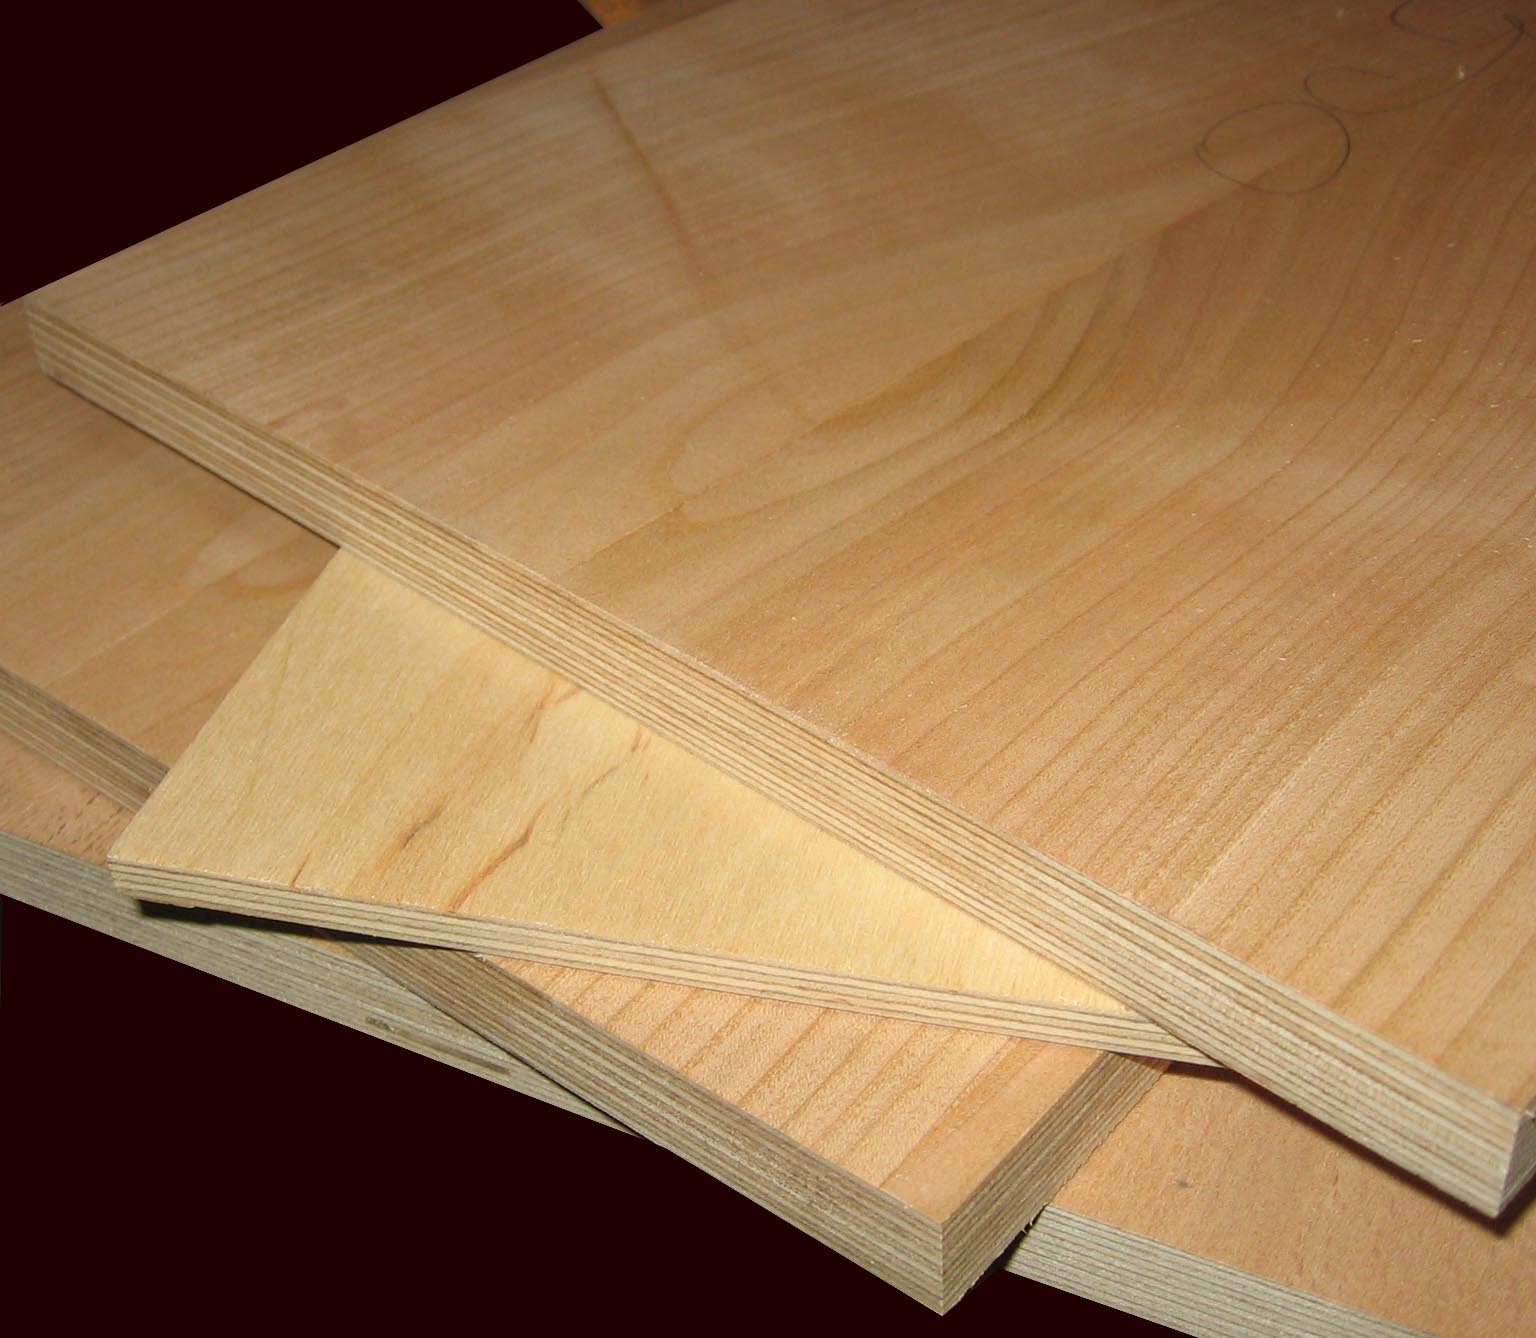
- board made of wood or chipboard;
- a sheet of metal;
- screws and hacksaw;
- drill.
The process of making the knapsack includes the following steps:
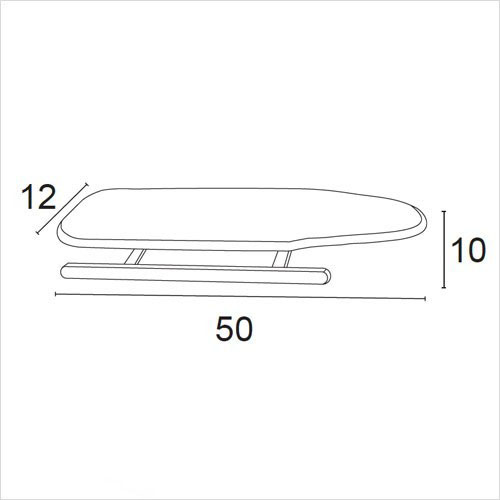
- you need to make a rectangle of the board, while its size should be 10x50 cm;
- using a compass, you should make a circle on one side of the board; after using a hacksaw to cut it along the formed line, you get the shape of a semicircle;
- it is necessary to make a sheet of 10x15 cm in size from the metal; it will be used to create the bracket;
- metal sheet must be bent in the middle, with the result should be the letter Z;
- it is necessary to make two holes in the upper and lower shelf of the bracket using a drill - they will be used to fix this element;
- using screws, you should fasten the top shelf to the bottom, and her, in turn, to the ironing board.
Important! A mini board should be attached to the sleeves on the opposite side of the iron holder.
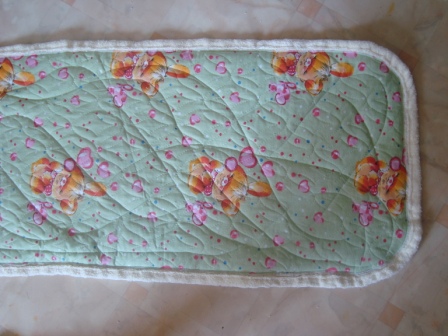
Sew case
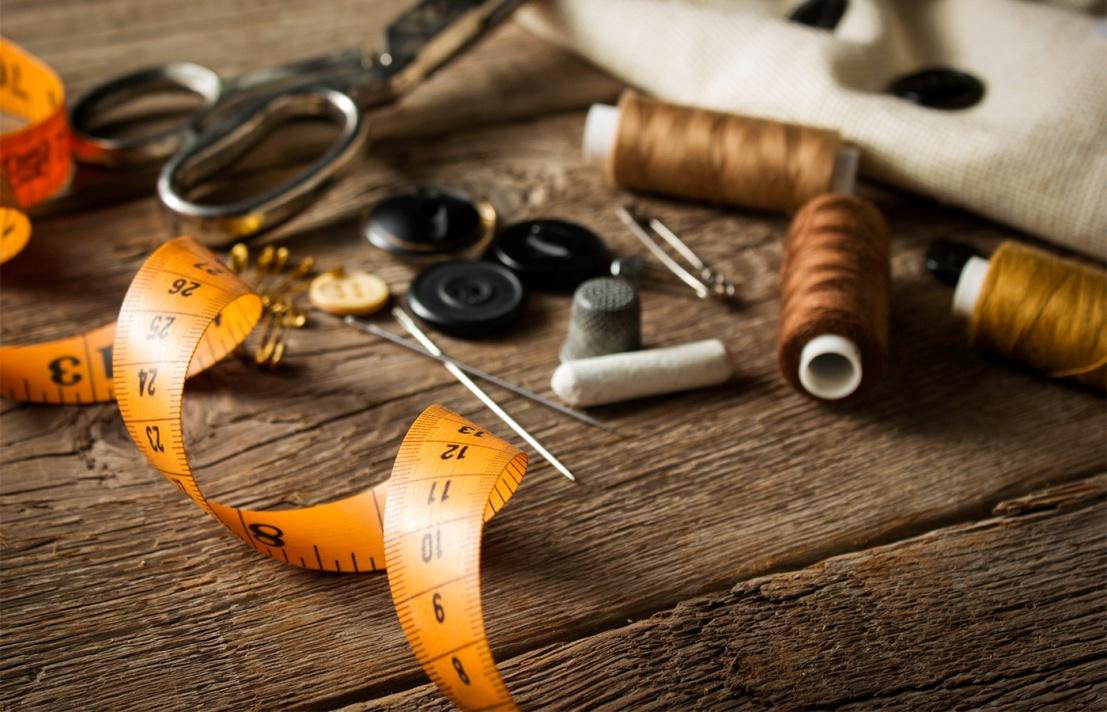
If you additionally use the case of a removable type, you can protect the product from damage and facilitate the process of ironing. To independently sew such a case, you should prepare the following materials and tools:
- linen or cotton fabric;
- scissors and thread;
- gum;
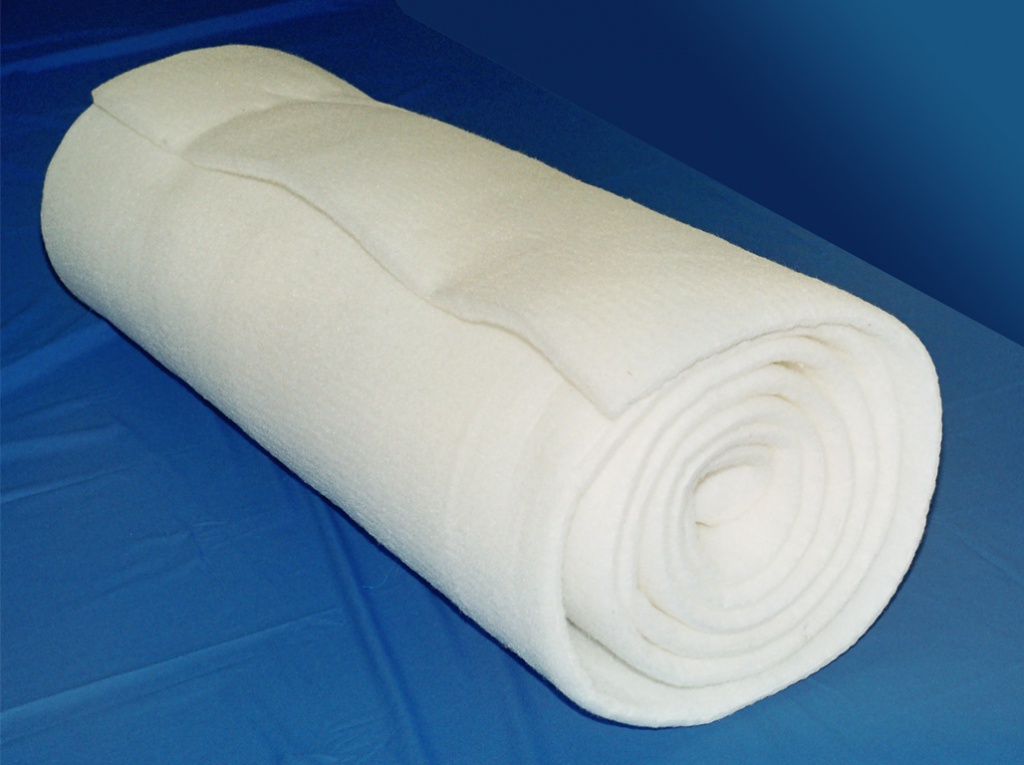
- synthetic winterizer or foam rubber, its thickness should be about 2 mm.
The process of creating a removable cover should be made according to the following algorithm:
- you need to start with a pattern - remove the dimensions from the board for ironing the sleeves or attach a cloth to it, and then add another 5-6 centimeters along the edges;
- prepare a synthetic winterizer or foam rubber of the same size, while the stock can be left only 2-3 centimeters;
- to make the case with smooth edges, you should use a sewing machine, for sewing, choose a seam overlock;
- stitching the case, you should leave a small hole, because through it will continue to pass a rubber band or string to tighten;
- Foam should be put on the board, a cover should be put on top, and then the material should be pulled out.
How to make an ironing board for the sleeves with your own hands, see the next video.


