
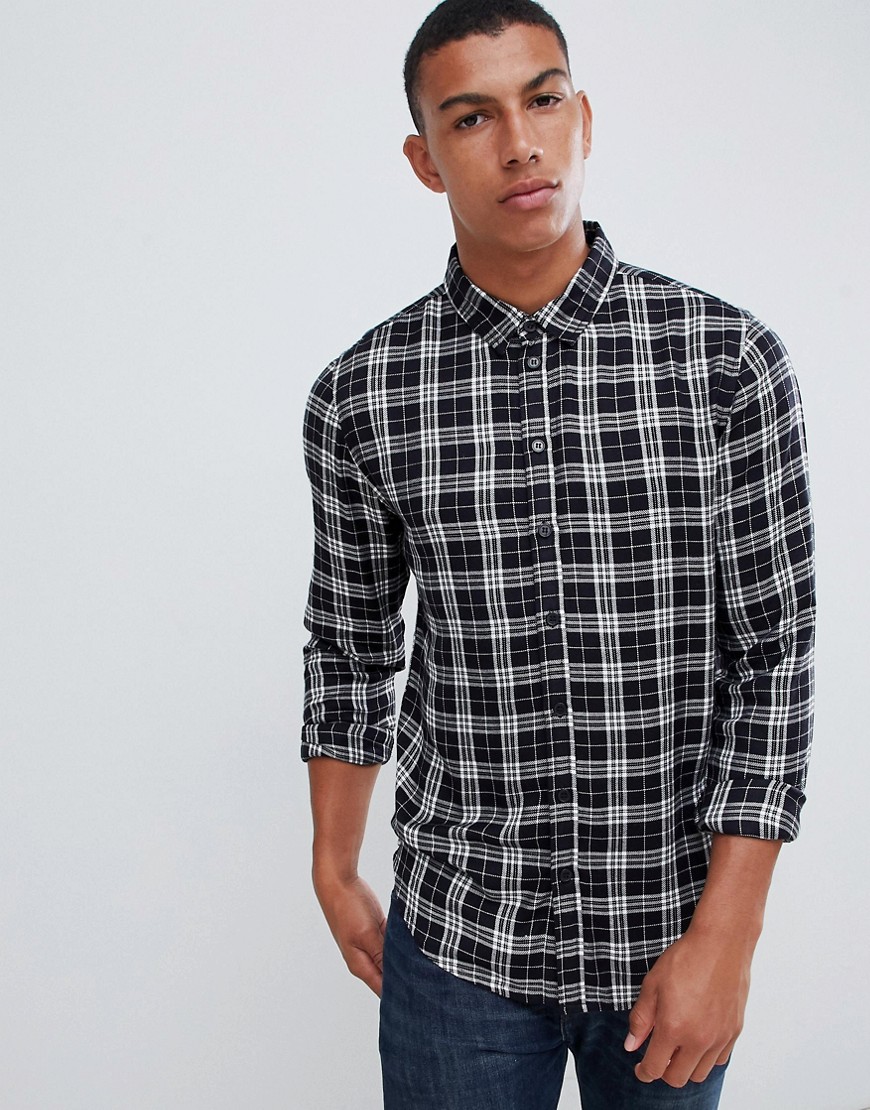
Neat appearance is considered the benchmark of beauty. In order for clothes to accentuate the image in an original way, it is necessary to be able not only to select its appropriate style, but also to give the desired shape with the help of ironing. This is especially true for shirts with long sleeves, because to bring them to perfect condition is not easy and you need to have certain skills.
Ironing devices
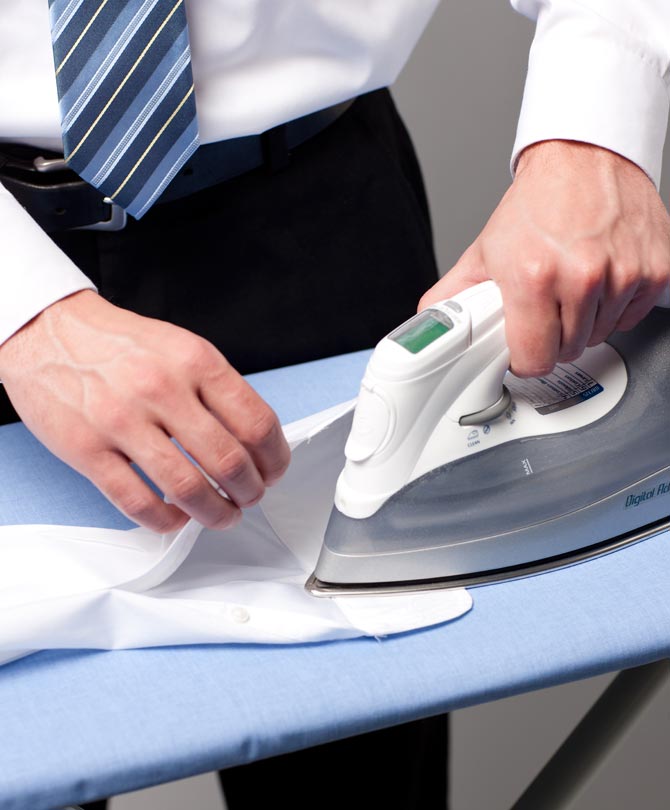
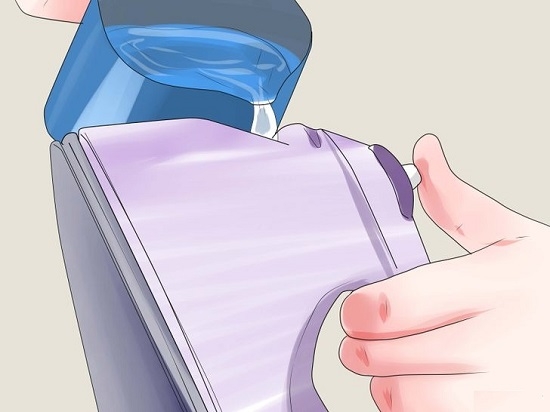
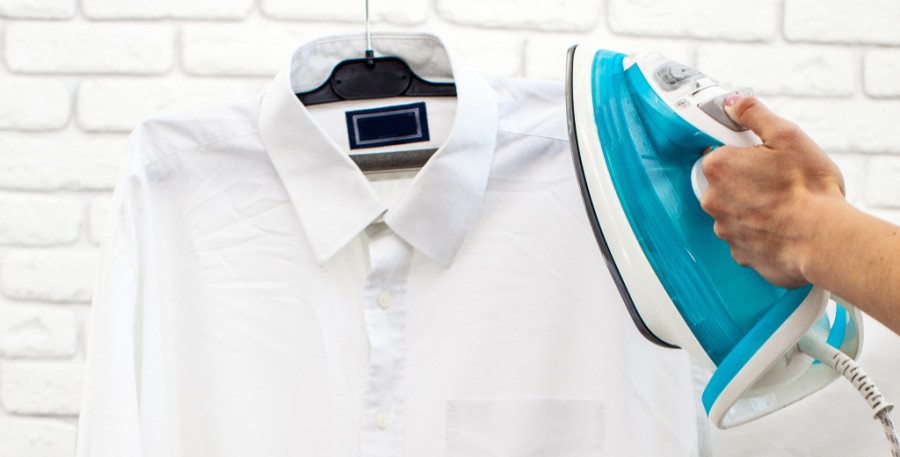
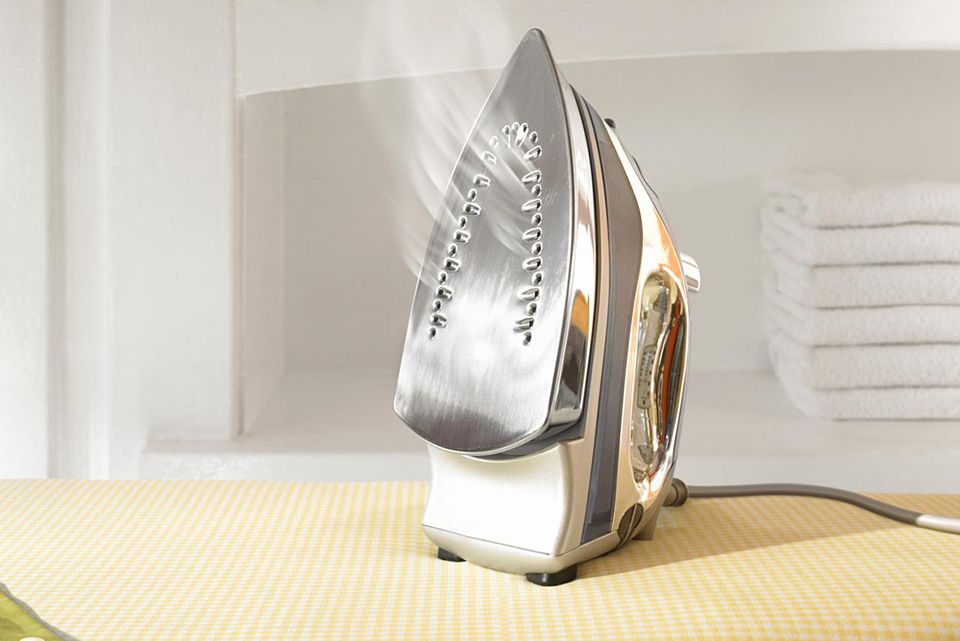
To date, there are many technical innovations that allow you to quickly and efficiently ironing men's or children's shirts with long sleeves. The simplest and most inexpensive device is an iron, it has a steam function and the choice of the desired temperature. In addition, for ironing it is also desirable to prepare a special ironing board and a spray bottle, which is useful for moistening too dry cloth. If the product is planned to be steamed, then it is important to ensure that the water is filtered and clear, in particular, this applies to light shirts.
In the case when there is no ironing board, it can be replaced on the table.
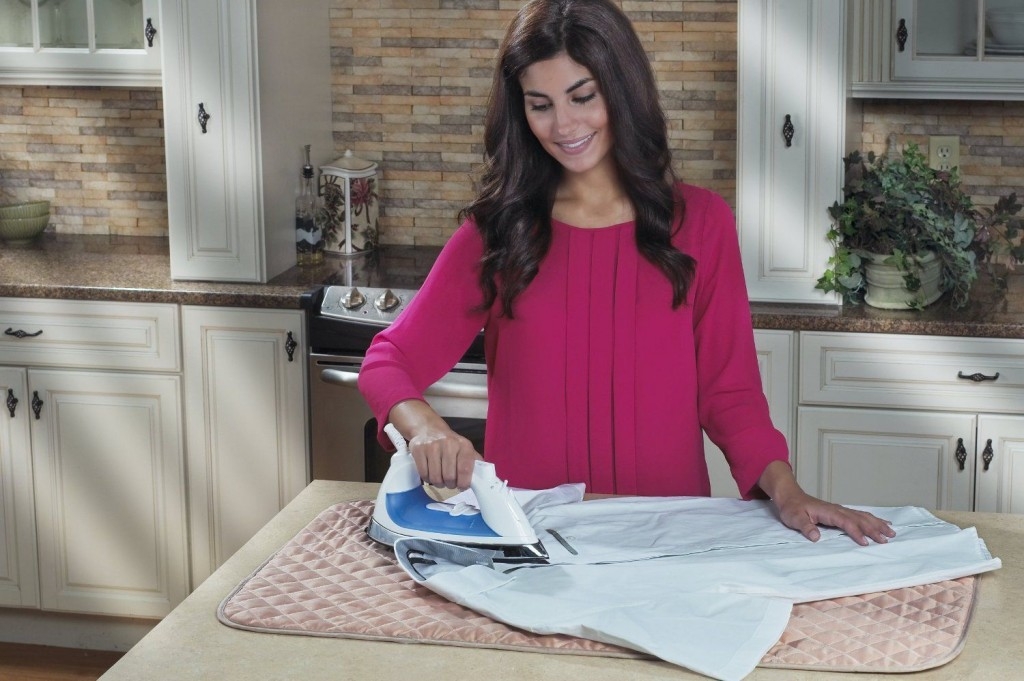
Before you start ironing clothes, it should be covered with a thick cloth. To facilitate the workflow will help and prefix for ironing sleeves. For some types of shirts, you will also need a white cotton towel. It will serve as a comfortable substrate and will allow to avoid the appearance of water stains. In addition to traditional irons, you can also use the following devices.
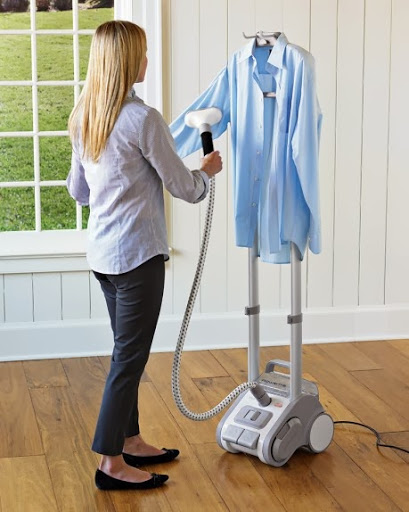
- Steamer. Its principle of operation is based on the creation of powerful steam streams, which not only make things look perfect, do an excellent job with all the folds and irregularities, but also eliminate odors from the fabric, disinfecting it. The main advantage of this technique is that it provides vertical ironing without a table and a board. As for the minuses, the steamer can not completely replace the iron, as it is not suitable for certain types of fabrics.
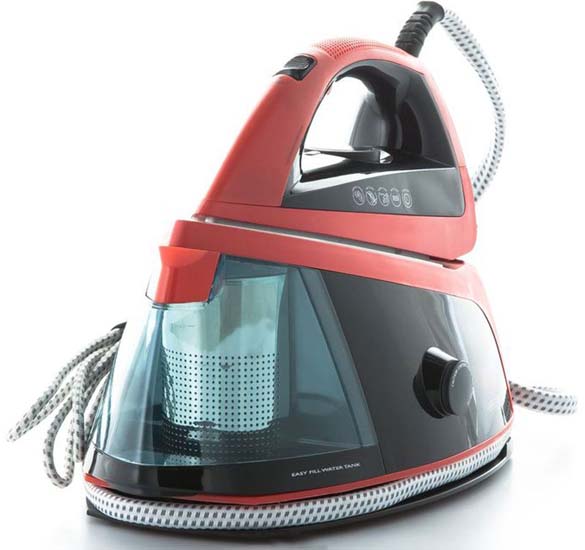
- Steam generator Externally and in functionality, it has much in common with the iron, but differs from it in that it produces a powerful and uniform steam jet. Thanks to this quality, with the help of a steam generator, it is possible to smooth out even heavily wrinkled shirts.
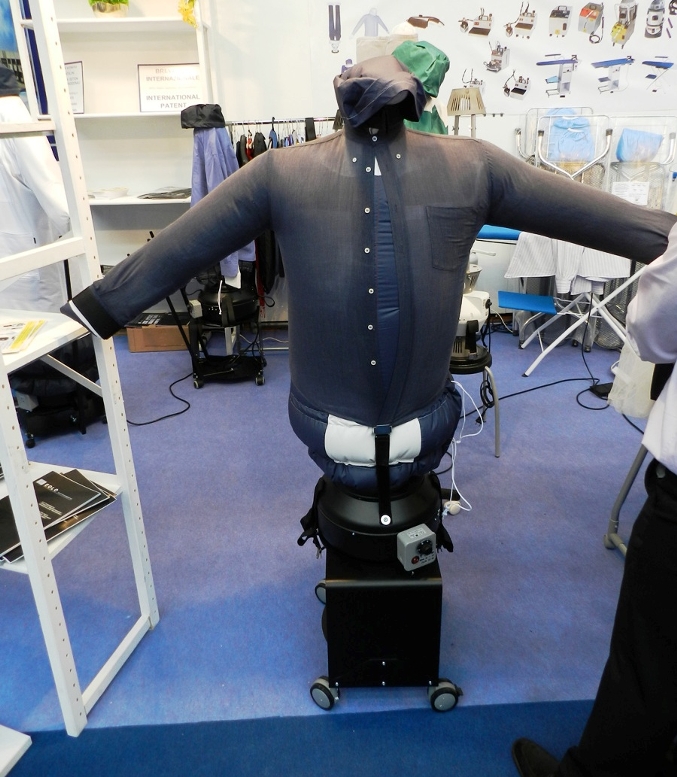
- Steam Mannequin This inflatable device, which has the shape of a human torso. It quickly smoothes and dries products. However, such equipment is professional, so it is rarely to be found in household items.
Iron Modes
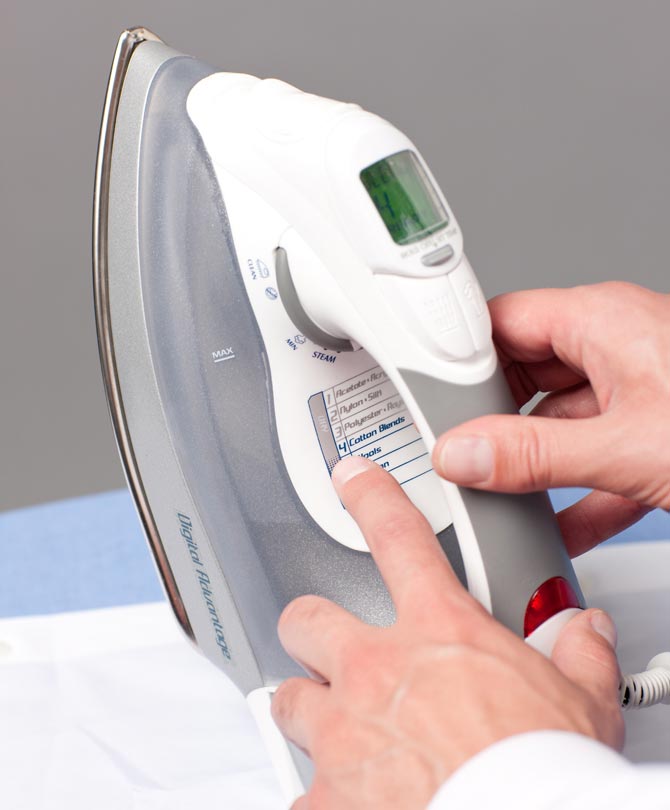
Each type of fabric is characterized by its temperature ironing mode. Therefore, this feature is important to consider before you start ironing shirts and carefully study the instructions on the label. If the composition of which the fabric is made is unknown, then the process of ironing should be performed with a minimum temperature. As a rule, irons are sold with a temperature mode from 1 to 3. This simplifies the choice of a particular temperature for a certain type of fabric.
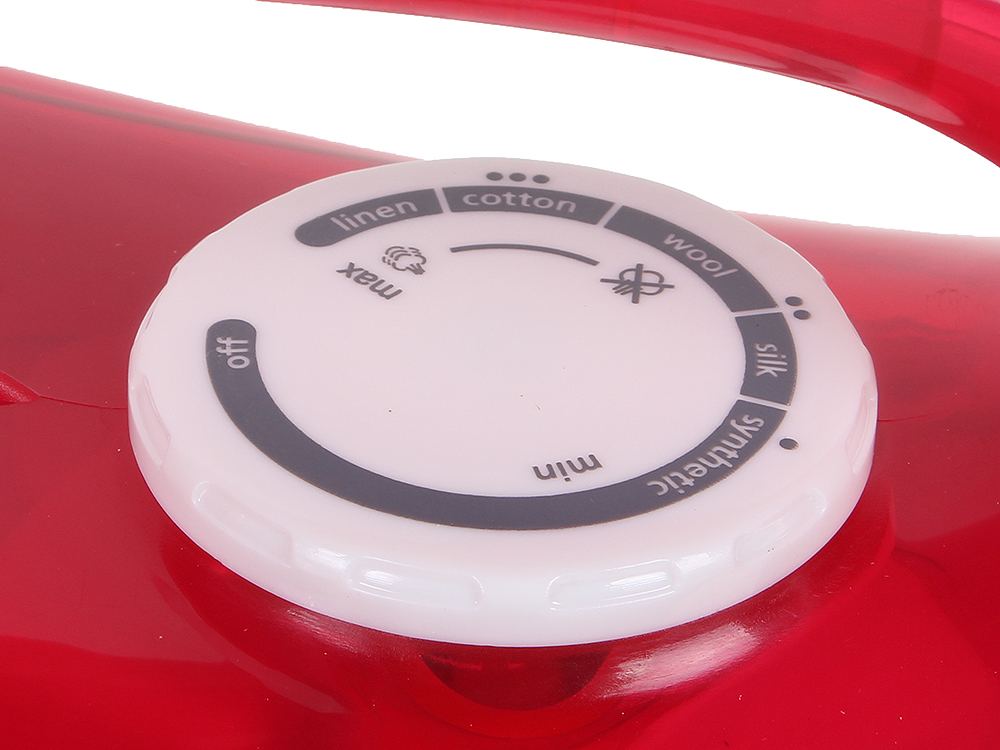
Often shirts are made of synthetic, with this material you have to be careful, otherwise they can be burned at high temperatures. To prevent this, it is recommended to start work with the minimum temperature. If the crumpled places are badly smoothed, the temperature should be added a little and as soon as the iron stops sliding smoothly, the mode is immediately reduced. In addition, for each type of fabric there is an established ironing mode, it looks like this.
- Polyester. This is an artificial material, so it can not be ironed at temperatures above 110.
- Reaper. Shirts from such fabrics look without steam at a mode to 110.
At higher temperatures, their material can completely flatten out and lose its attractive appearance.

- Viscose. Capable of withstanding ironing up to 120, it is also subject to steam treatment. At the same time, in the process of smoothing, it is impossible to wet the fabric with water from a spray bottle, otherwise stains will remain.
- Natural material (cotton and linen). Ironing requires a temperature of at least 150. Battered cotton shirts are best to steam off from 170 to 180. As for flax, this is the coarsest material, so it requires a lot of steam. The folds will be able to straighten out only at temperatures above 210. For ironing cotton and flax, you also need to perform strong pressure, the harvested cotton is leveled without moistening.
- Chiffon. It is ironed at 60-80, light pressure without steaming.
- Wool. This material expands only with a strong pair, so it uses a temperature regime of 120. It is advisable to iron wool products through a damp cloth (gauze).
- Knitwear Steaming is allowed at a low temperature from 60 to 80. The iron is pressed to the minimum and ironing is carried out from the wrong side.
- Silk however, it is advisable to iron the shirt in a dry mode, since water spots may remain on it. The mode for it is recommended to choose the minimum. Since silk products are well smoothed, it is not necessary to use steam treatment for them. In this case, the workflow is desirable to perform from the inside, otherwise the shirt will loosen up.
Given all the above features of ironing fabrics, you can quickly and beautifully put in order any shirt. If this is not an easy task to be done for the first time, then you need to do a little training, smoothing out individual sections of the product. Then you can start a full ironing.
Preparatory stage
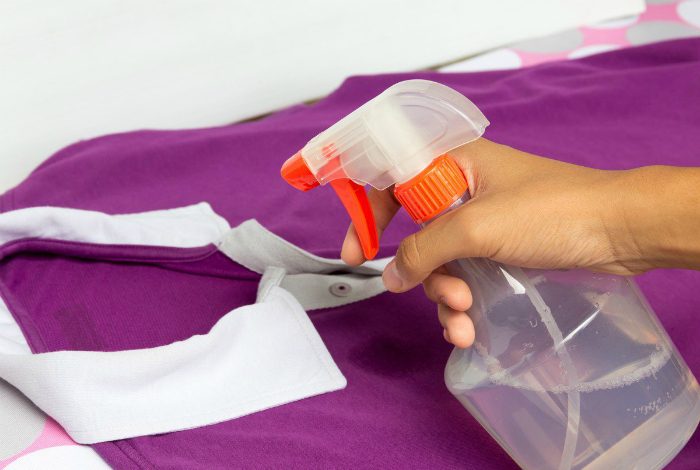
Despite the fact that working with an iron for many seems difficult, it is easy to cope with, if you have patience and properly prepare. A long-sleeved shirt is considered the most difficult product in ironing, which is characterized by certain rules. This item of clothing before ironing must be washed and dried on the hangers. At the same time, it is recommended to iron the shirt until it is completely dry. If it is "dry", then it should be sprinkled with water using a spray bottle, evenly distributing moisture over the entire surface of the fabric.
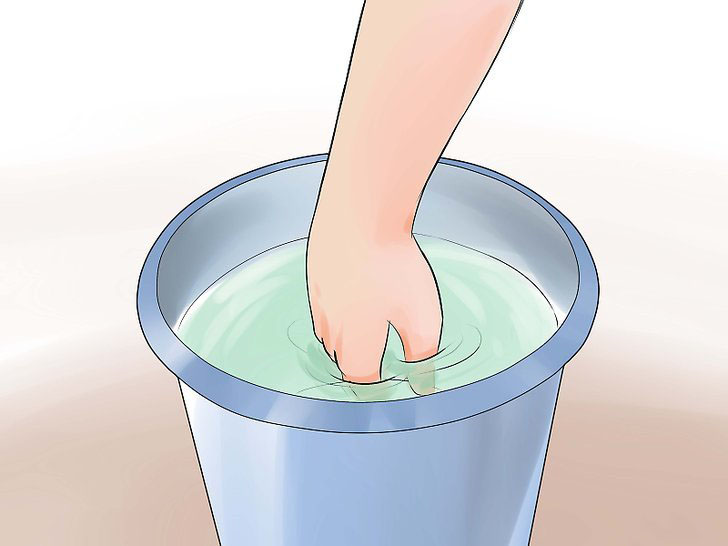
Dry shirts can also be placed on time in a wet bag, with the exception for this are only products made of viscose, they may remain water spots.
Then all the buttons are unbuttoned, the workplace is prepared and the temperature is selected according to the type of fabric. Additionally, you must also prepare a cotton towel and wet gauze. If you plan to steam the shirt, you should make sure that there is clean water in the iron.
Process description
Garments, in particular, this also applies to long-sleeved shirts, should have a flawless and smooth look without arrows. Therefore, this workflow should be treated responsibly and all done step by step. For a woman, ironing is considered a familiar affair and she copes with it quickly; it is difficult for a man to cope with this task, especially if he does it for the first time. In order for representatives of the stronger sex to properly iron a shirt, in which short or long sleeves, a series of actions should be consistently carried out.
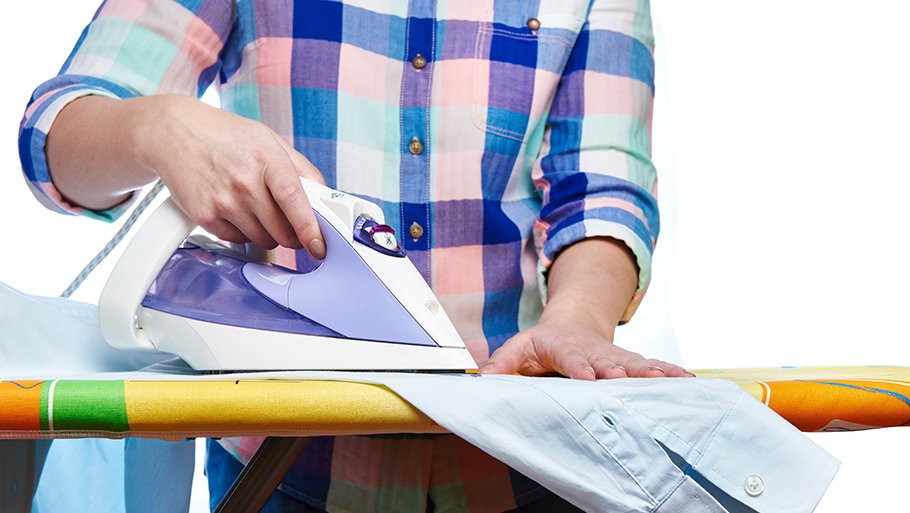
- Ironing begins with the smallest detail - the collar. Since it is always in sight, it needs to be well smoothed.First you need to iron the collar from the inside, to avoid the formation of folds in the corners will help the smooth movement of the iron from the edges to the center. After the collar is smoothed from the inside, the men's shirt is turned over and the procedure is repeated. It is impossible to iron the collar along the fold line, as it may acquire an irregular shape, and its appearance will deteriorate.
- Then you need to put in order cuffs. They are smoothed similarly to the collar, but before unbutton all the buttons and carefully level the fabric on the board, otherwise arrows may appear. If the sleeves of the shirt have double cuffs, then they must be deployed and then ironed.
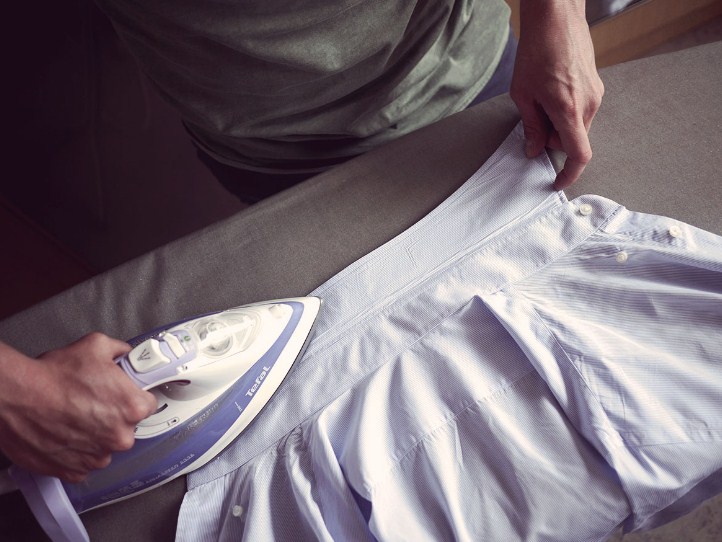
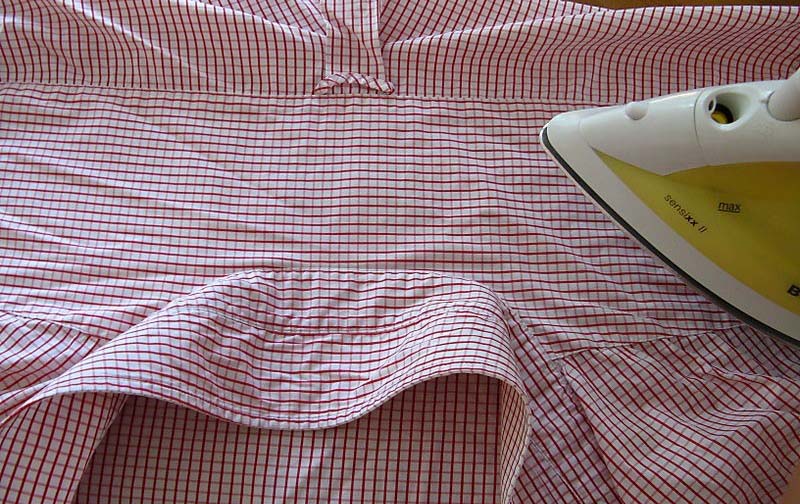
- The next step will be ironing the front and back of the shirt. It is best to start with the alignment of the area where the buttons are sewn. Children's or men's shirt exactly placed on the board and all proglazhivayut. In this case, special attention should be paid to the place that is near the collar. It is always noticeable from under the tie. After that, you can begin to iron the shirt area, where there are no buttons sewn on.
- Next, iron the shoulders of the product. To simplify this process, a shirt is recommended to wear on the narrow part of the board. This makes it possible to quickly and easily smooth out the right and left shoulder without creases.
At the same time you need to try to get to difficult areas with the help of a spout iron.
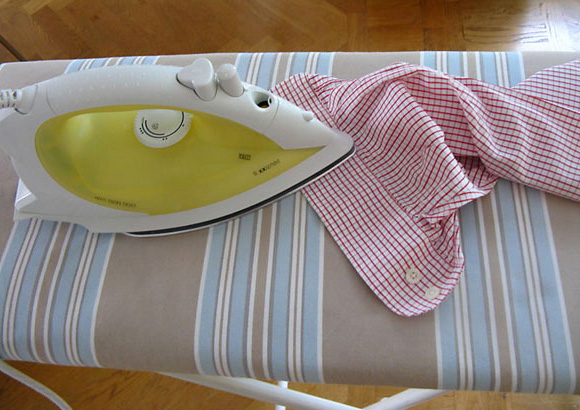
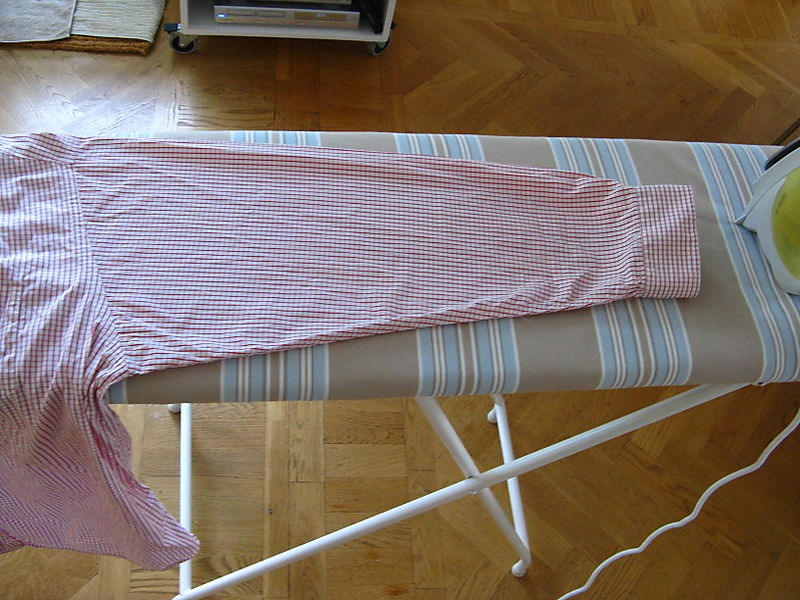
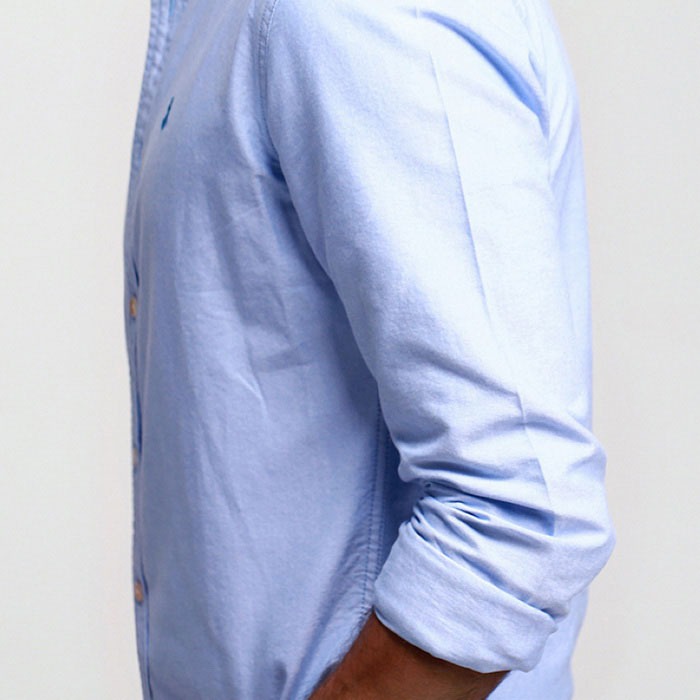
- After that, it will remain to iron the most problematic area - the sleeves. It is worth noting immediately that long sleeves on the “no-arrow” shirt are a sign of bad taste. The only exception may be special requirements for the dress code, in which there are even sleeves. The sleeves are carefully checked and steamed over the entire length, then the arrows themselves are formed, having previously determined the place of the fold, which must necessarily coincide with the horizontal seam on the shoulder. Ironing is performed on the front side, if necessary, wet gauze is used.
At the same time, you can use the “inside-face-face”, “sleeve-block” method to iron the sleeves, or simply use a towel — it is most often used when ironing a white shirt. In the first case, first looking sleeves from the inside, then from the front. Choosing the second method, you will have to prepare in advance a special device - a “block” - and carry out the work process from the inside out. As for the third method, it largely resembles the second method, but instead of a pad, a towel wound into a straw is used.
To make the shirt sleeves ideal, you need to smooth out only clean and dried products, choosing a temperature mode on the iron that corresponds to the characteristics of the fabric.
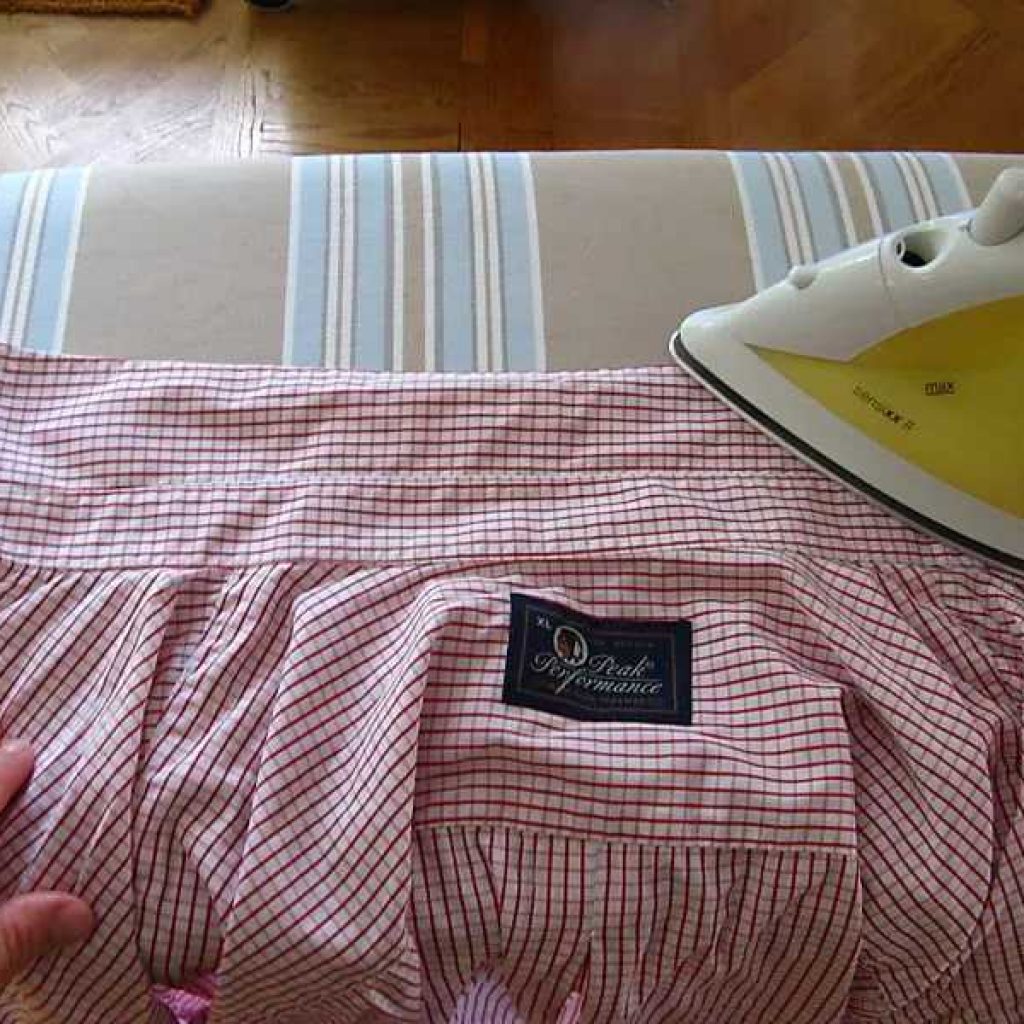
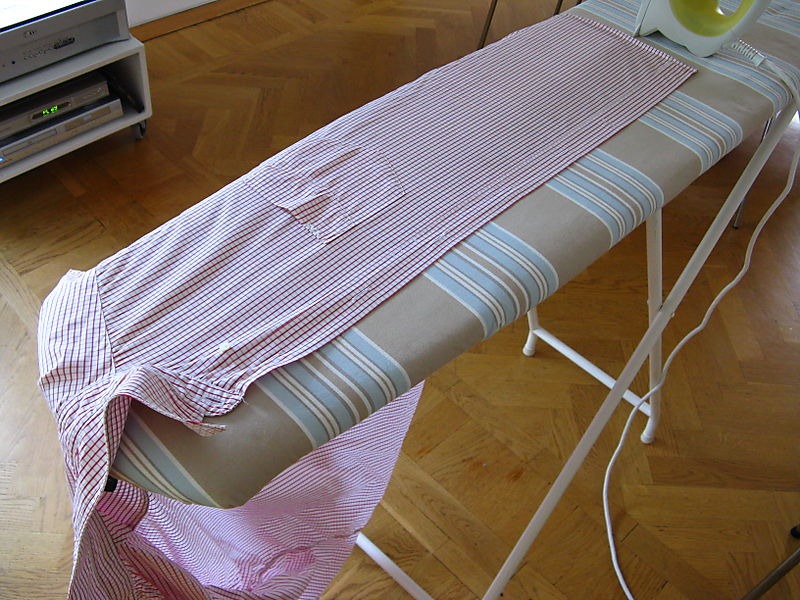
- Everything ends by stripping the neck of the shirt and ironing the back, which is the most voluminous detail. In order to smooth ironing back, the product should be placed on the board where the long edge. At the same time the iron will move from top to bottom. First, smooth the areas near the shoulders, then go to the edge. If the crumpled part remains in the middle, it will be ironed at the very end, since it is small.
In the event that the cut of the shirt is one-piece and there are no buttons in the cut, then the back of the shirt, then its front area and sleeves are smoothed first. In models with buttons you need to pay special attention to the areas around the clasps. You can not iron over the buttons, otherwise there will be "wrinkled" marks. This also applies to products with cufflinks. Pockets line bottom to top (in the opposite direction).
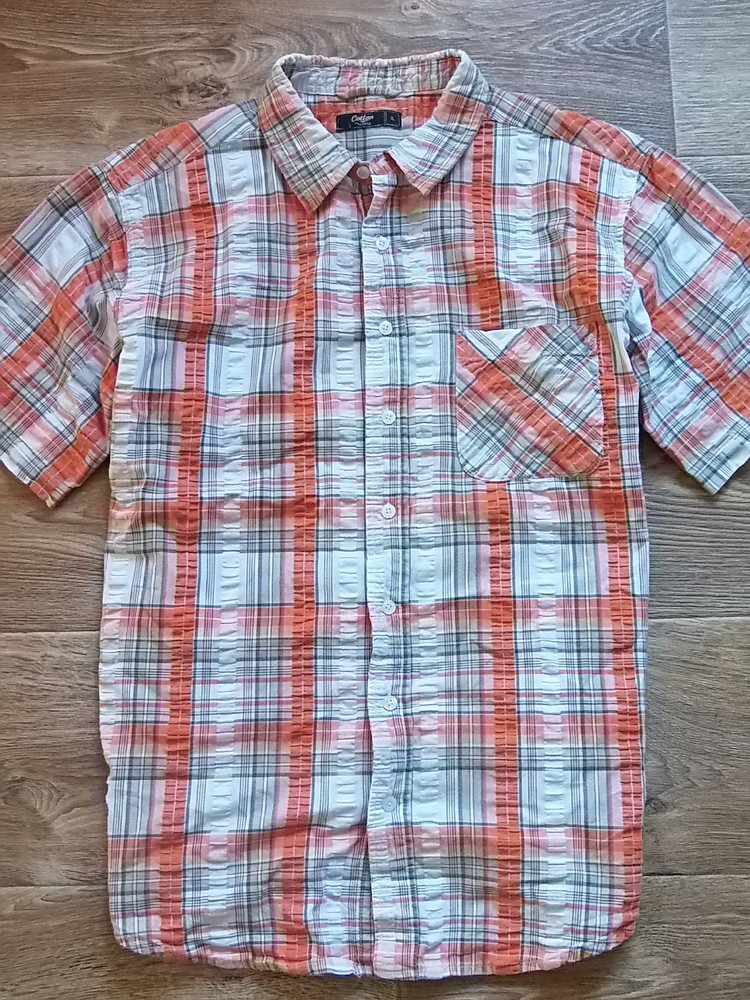
As for the ironing of shirts with short sleeves, they are put in order by the same principle as with long ones. The only relief in ironing is that there is no need to iron the sleeves and cuffs.
Short sleeves are easily smoothed with a rolling pin wrapped with a towel or a special roller.
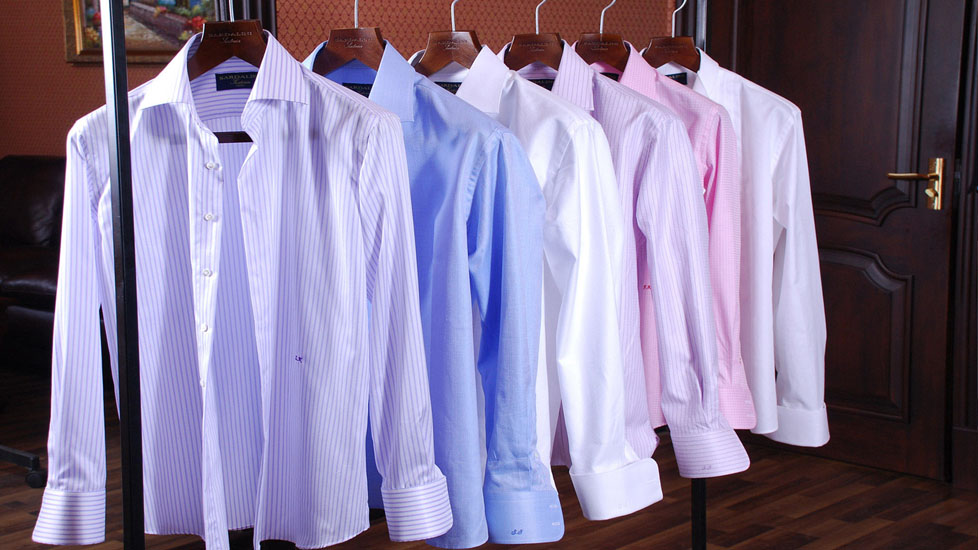
A ready-made shirt should be put on before hanging on the coat hanger, thus, it will be possible to make sure that all the seats are smoothed and the work is done qualitatively. In the presence of folds and irregularities, the procedure will have to be repeated. In this case, it should be noted that if all the ironing points are carried out slowly and correctly, then such problems can be avoided and you get a beautiful shirt immediately after ironing.
Useful recommendations
For many, ironing a long-sleeved shirt may seem like a whole science, because in order to iron the sleeves, cuffs, collar and steam all the seams without folds, it is important to have certain skills and take into account the rules. Simple advice of experts will help the beginning mistresses and bachelors with this.
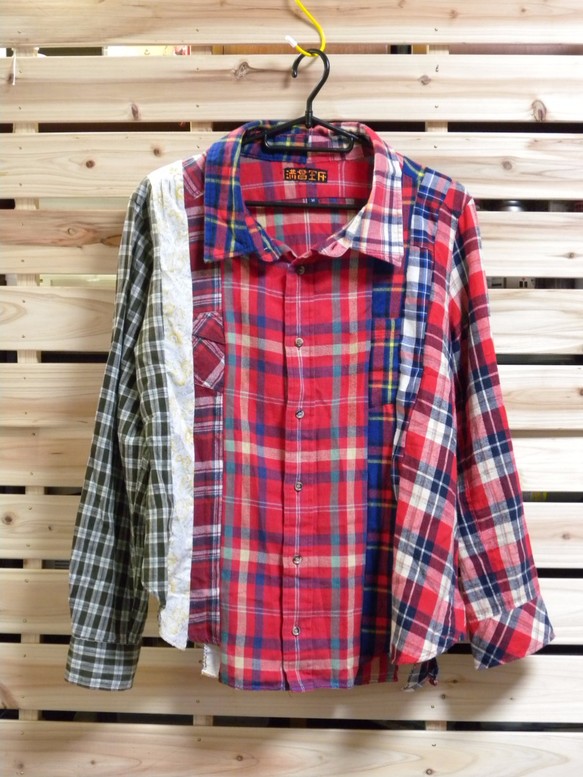
- After the usual washing, any products must be dried on the hangers, this way you can protect your clothes from the formation of unnecessary folds and irregularities.
- You can not immediately put on the ironed shirt, otherwise it will quickly be remembered.
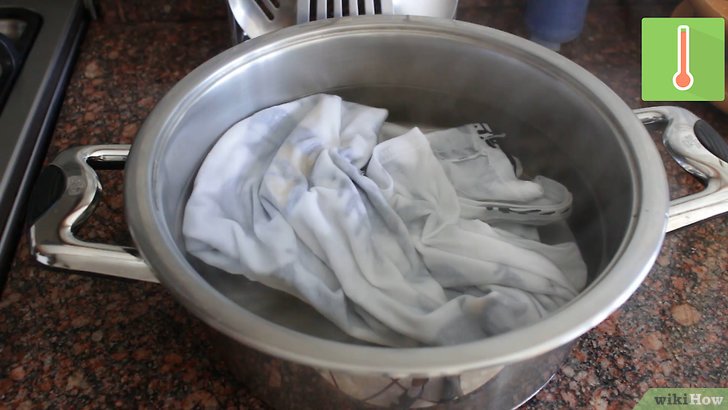
- Stripping and ironing should be damp cloth. Therefore, after a machine wash, hand wash, or digestion, the item is not completely dried. As soon as all moisture is removed from the glass, ironing can begin.
- Arrows on the sleeves are made depending on personal preference and whether it is planned to wear a shirt in a special setting or office. Usually, sports models and military uniforms do not include arrows. If this is an office shirt, then it must be present neat and smooth arrows.
- If the product is overdried, then it must be sprinkled with water using a spray gun, or the shirt should be placed in a plastic cellophane bag for 30 minutes. In addition, the item can be wrapped tightly in a moistened towel or gauze. For white fabrics it is necessary to apply a towel of light shades otherwise staining is possible.
- Prints and decorative stickers on products are stroked from the inside, it allows to avoid damage to the jewelry. So that the bright paint does not "change" on the protective cover of the ironing board, it is covered with sheets of paper.
- You can not iron dirty things, as the iron will slip badly on the surface of the fabric and possible formation of an unpleasant smell.
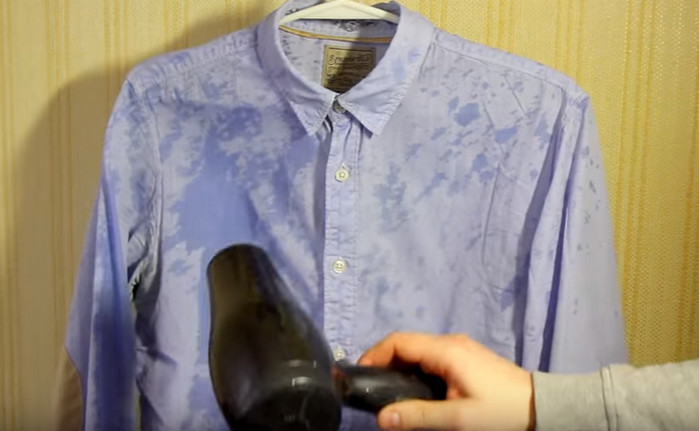
- If there is no ironing device in the house, or the electrical energy is suddenly turned off, and you need to go to work and look perfect, then ironing is possible without an iron. In extreme situations, the product is well smoothed with wet hands. To do this, it is laid out on the board, paying attention to the especially dented areas, wetting the hands with clean water and shaking the cloth with quick movements of the hands. Hands should be washed with soap and water, as ink, grease and dust can go onto the fabric.
After that, wet line should be hung on the hanger and dried using a hair dryer.
- Without an ironing device, shirts are perfectly smoothed on a steam bath. To do this, the product, previously raised to the hangers, is placed in the bathroom and the hot water tap is opened. The doors to the room are closed and the shirt starts to be smoothed under the influence of steam. This procedure usually takes no more than 20 minutes. In this case, you should pay attention to the fact that water droplets do not fall on the thing, since it is possible the emergence of new places with irregularities and stains.
- You can also smooth out a men's shirt on yourself: you first need to sprinkle it abundantly with water, then put it on and dry it. The warmth of the body will quickly dry the fabric and it will take the correct form. If this option is not suitable, then a special leveling solution will help straighten out the crumpled places. In a spray bottle poured in the same ratio conditioner for washing, vinegar and water, all thoroughly shaken and sprayed on the shirt. Drying is performed outdoors, but this option is not suitable for synthetic shirts, they may appear stains.
- If you need to iron several shirts at the same time, while some of them are dry, while others are still wet, then you need to stack them up, making layers of dry and wet products. After they lie down for 1 hour, you can start working.
- White shirts are ironed from any side, and dark ones - only from the wrong side, otherwise they will have shiny patches of iron.
- In the event that creases or folds have appeared on already-ironed areas, they should be moistened with water and carefully steamed.
- When using the steam mode, it is important to ensure that the water in the iron is clean.
- To simplify the process of ironing will help pre-soaking the product in starch solution (1 tablespoon of starch is required for 1 liter of water). This will not only give things a whiteness to things, will allow them to quickly level, but also increase the resistance of the fabric to pollution.
- Ironing can be started only when the iron is well warmed. At the same time, before ironing the shirt, it is necessary to turn it over and check whether the temperature mode is suitable.
For more on ironing a shirt, see the next video.


