
Lovers of the furnace always think about how to decorate your creation, to turn it into a masterpiece. For these purposes, powdered sugar, grated chocolate, various topping, fruit, dragee, etc., are usually used. But what to do if you want to decorate baking with roses, asterisks and other figures, and there are no suitable tools for this? Consider in the article how to make a bag for the cream at home.
How to use the package?
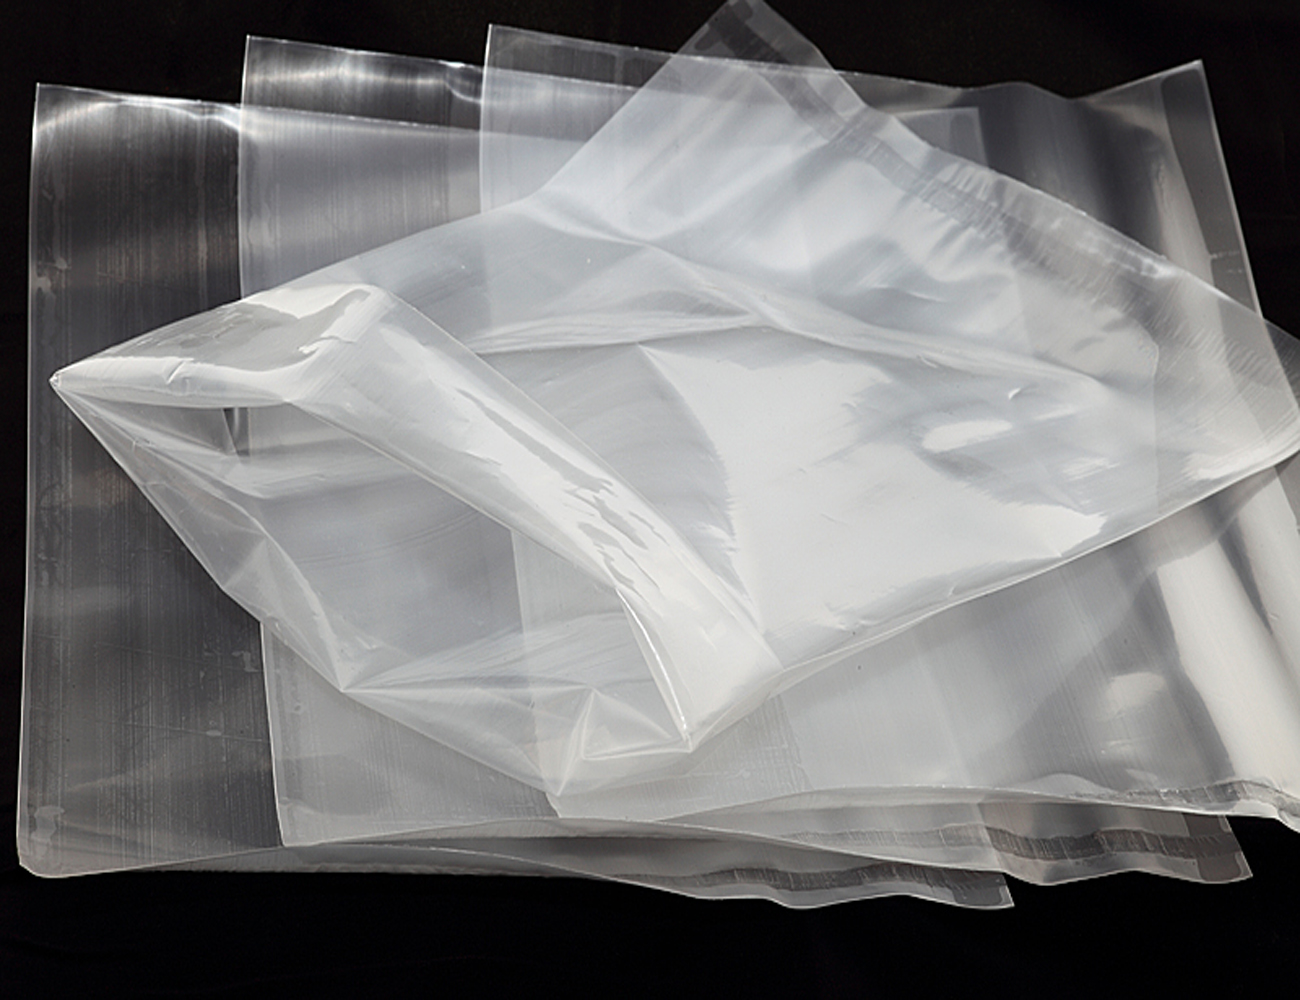
Of course, it is most convenient to decorate pastries with a special pastry syringe, but if there is none, you can take a bag of cellophane or a regular stationery file and make a bag for the cream with your own hands. In order to use it, you need two things:
- dense cellophane package;
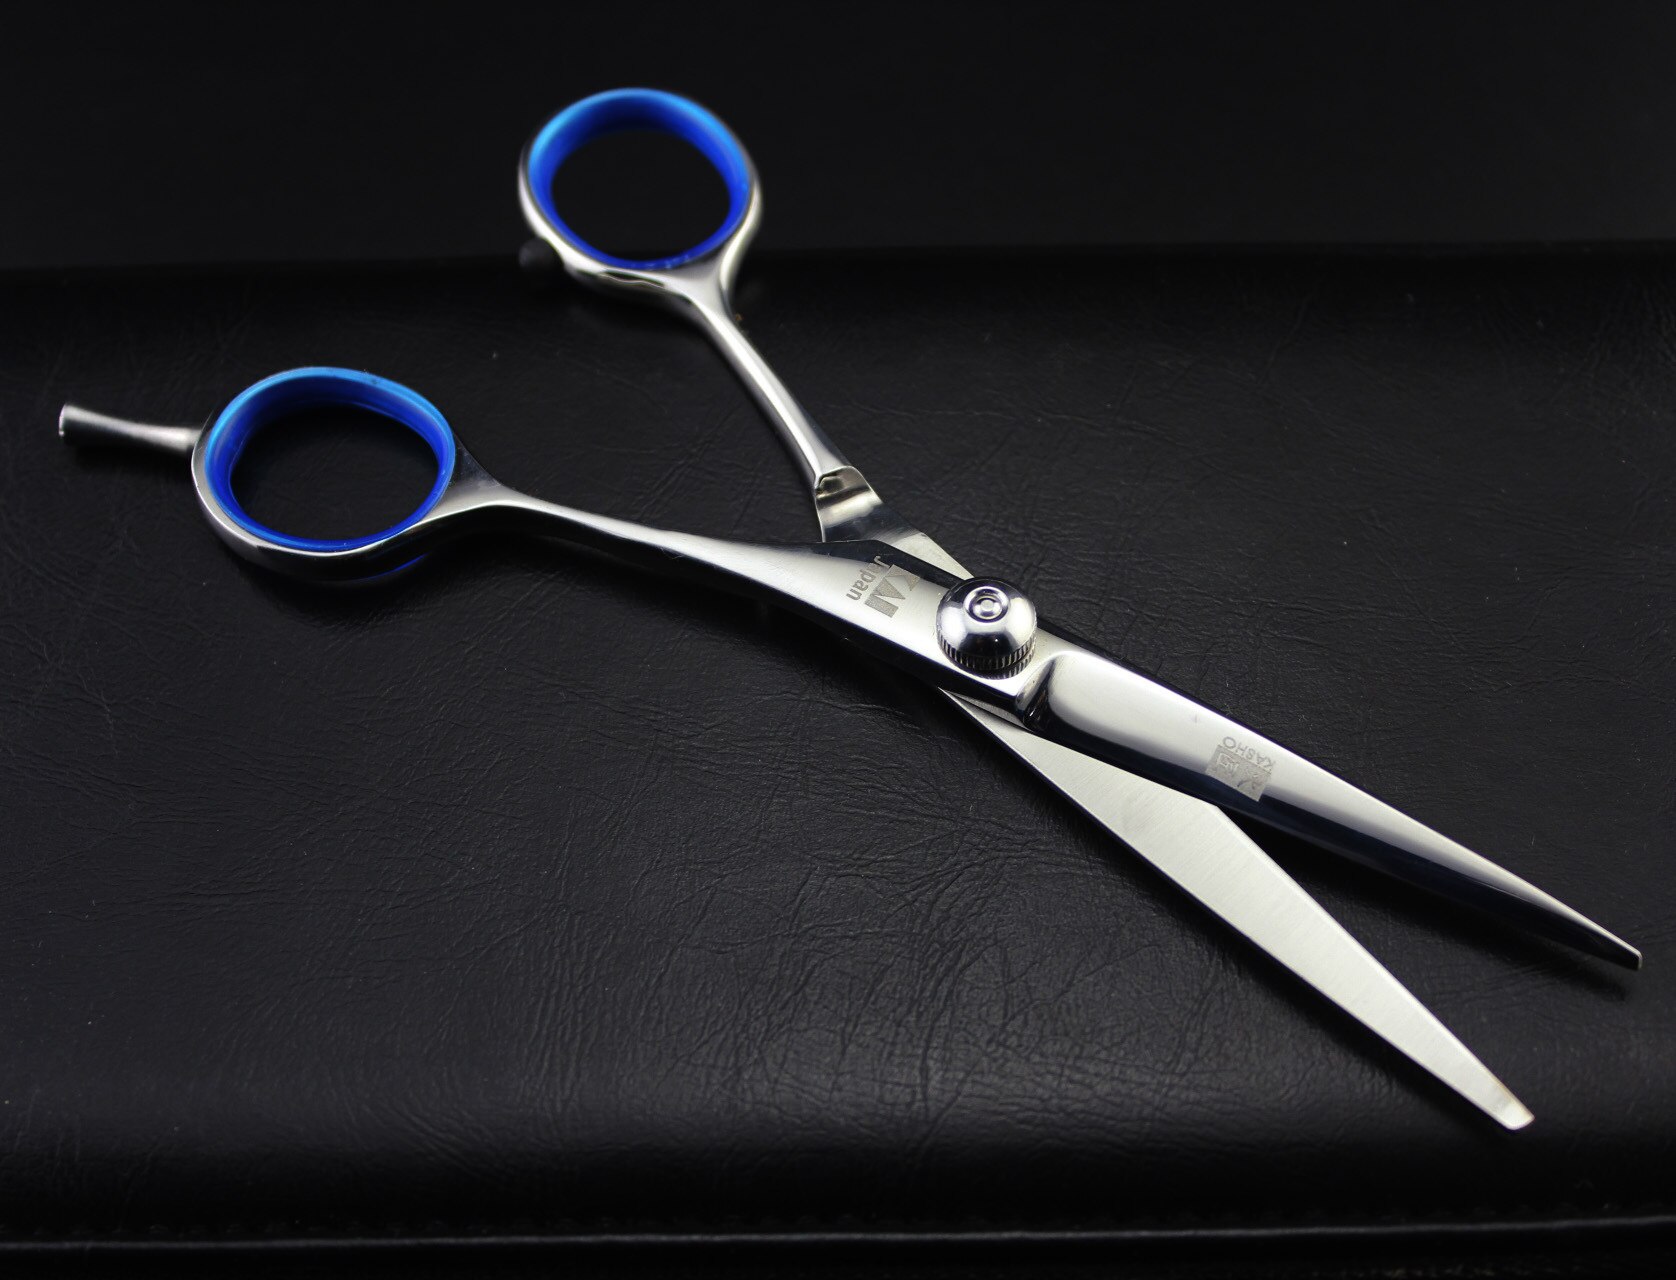
- scissors.
Best of all, if it is a zippered package, but you can use the simplest one. Fill cellophane with cream, tie it tightly and fix the neck with an elastic band for money, then cut the edge through which the cream will be squeezed with scissors. remember, that the more you cut the corner of the package, the thicker the extruded strip of cream will be.
And yet, do not push too hard - under pressure, the bag may break and the whole mass will spill onto the pastries.
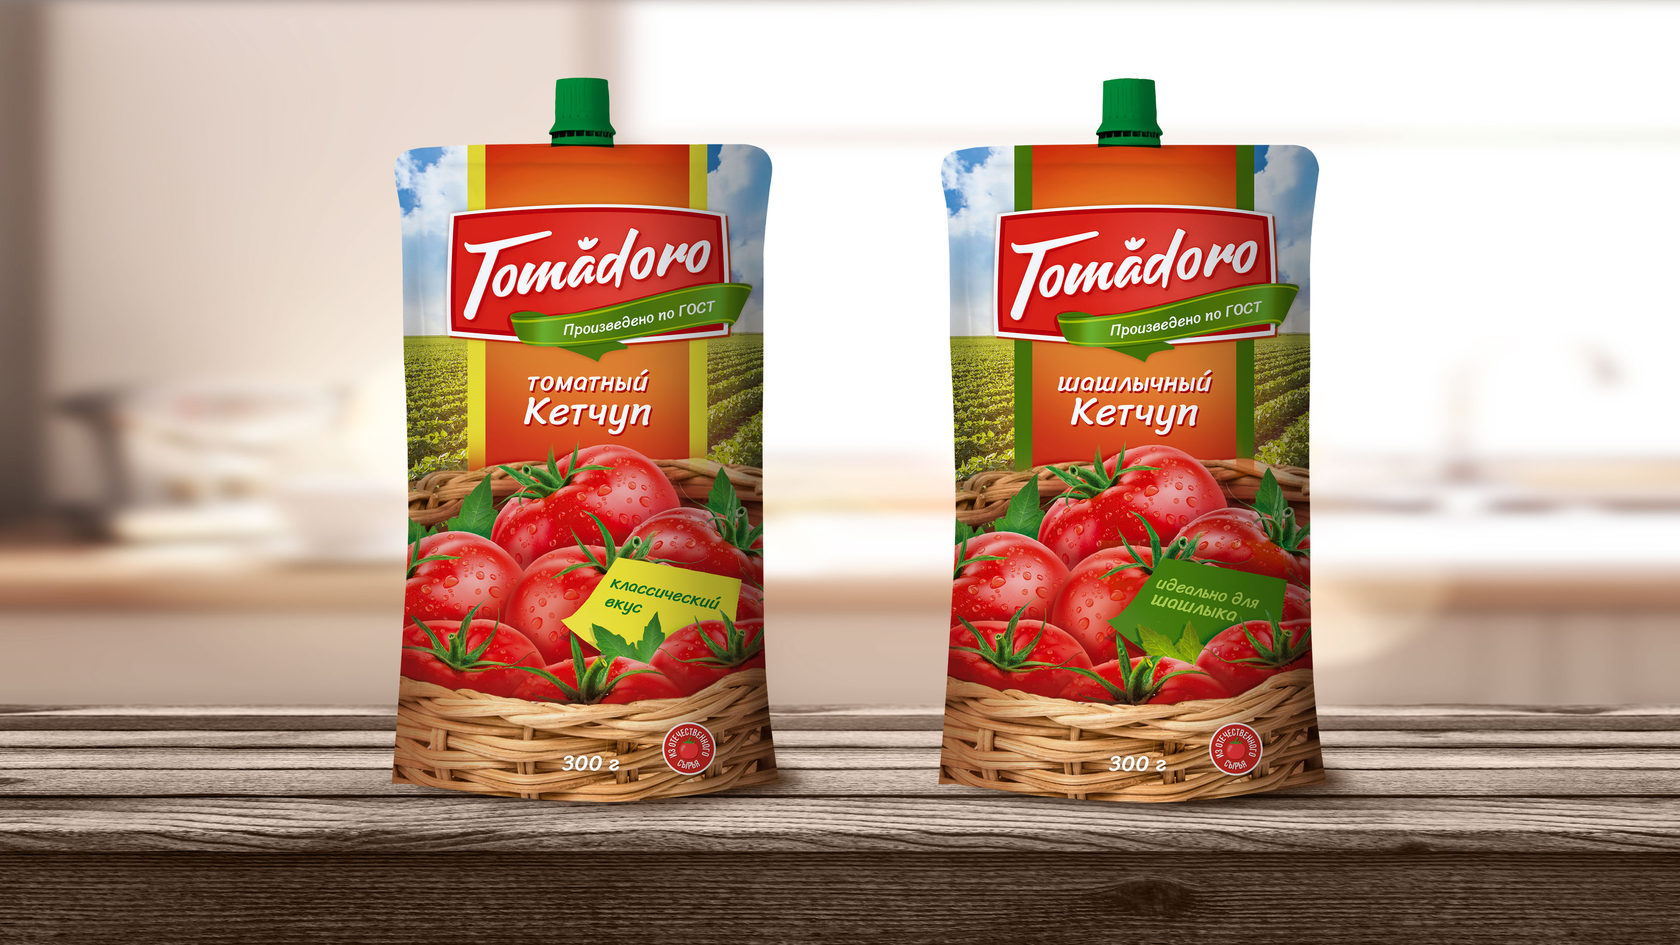
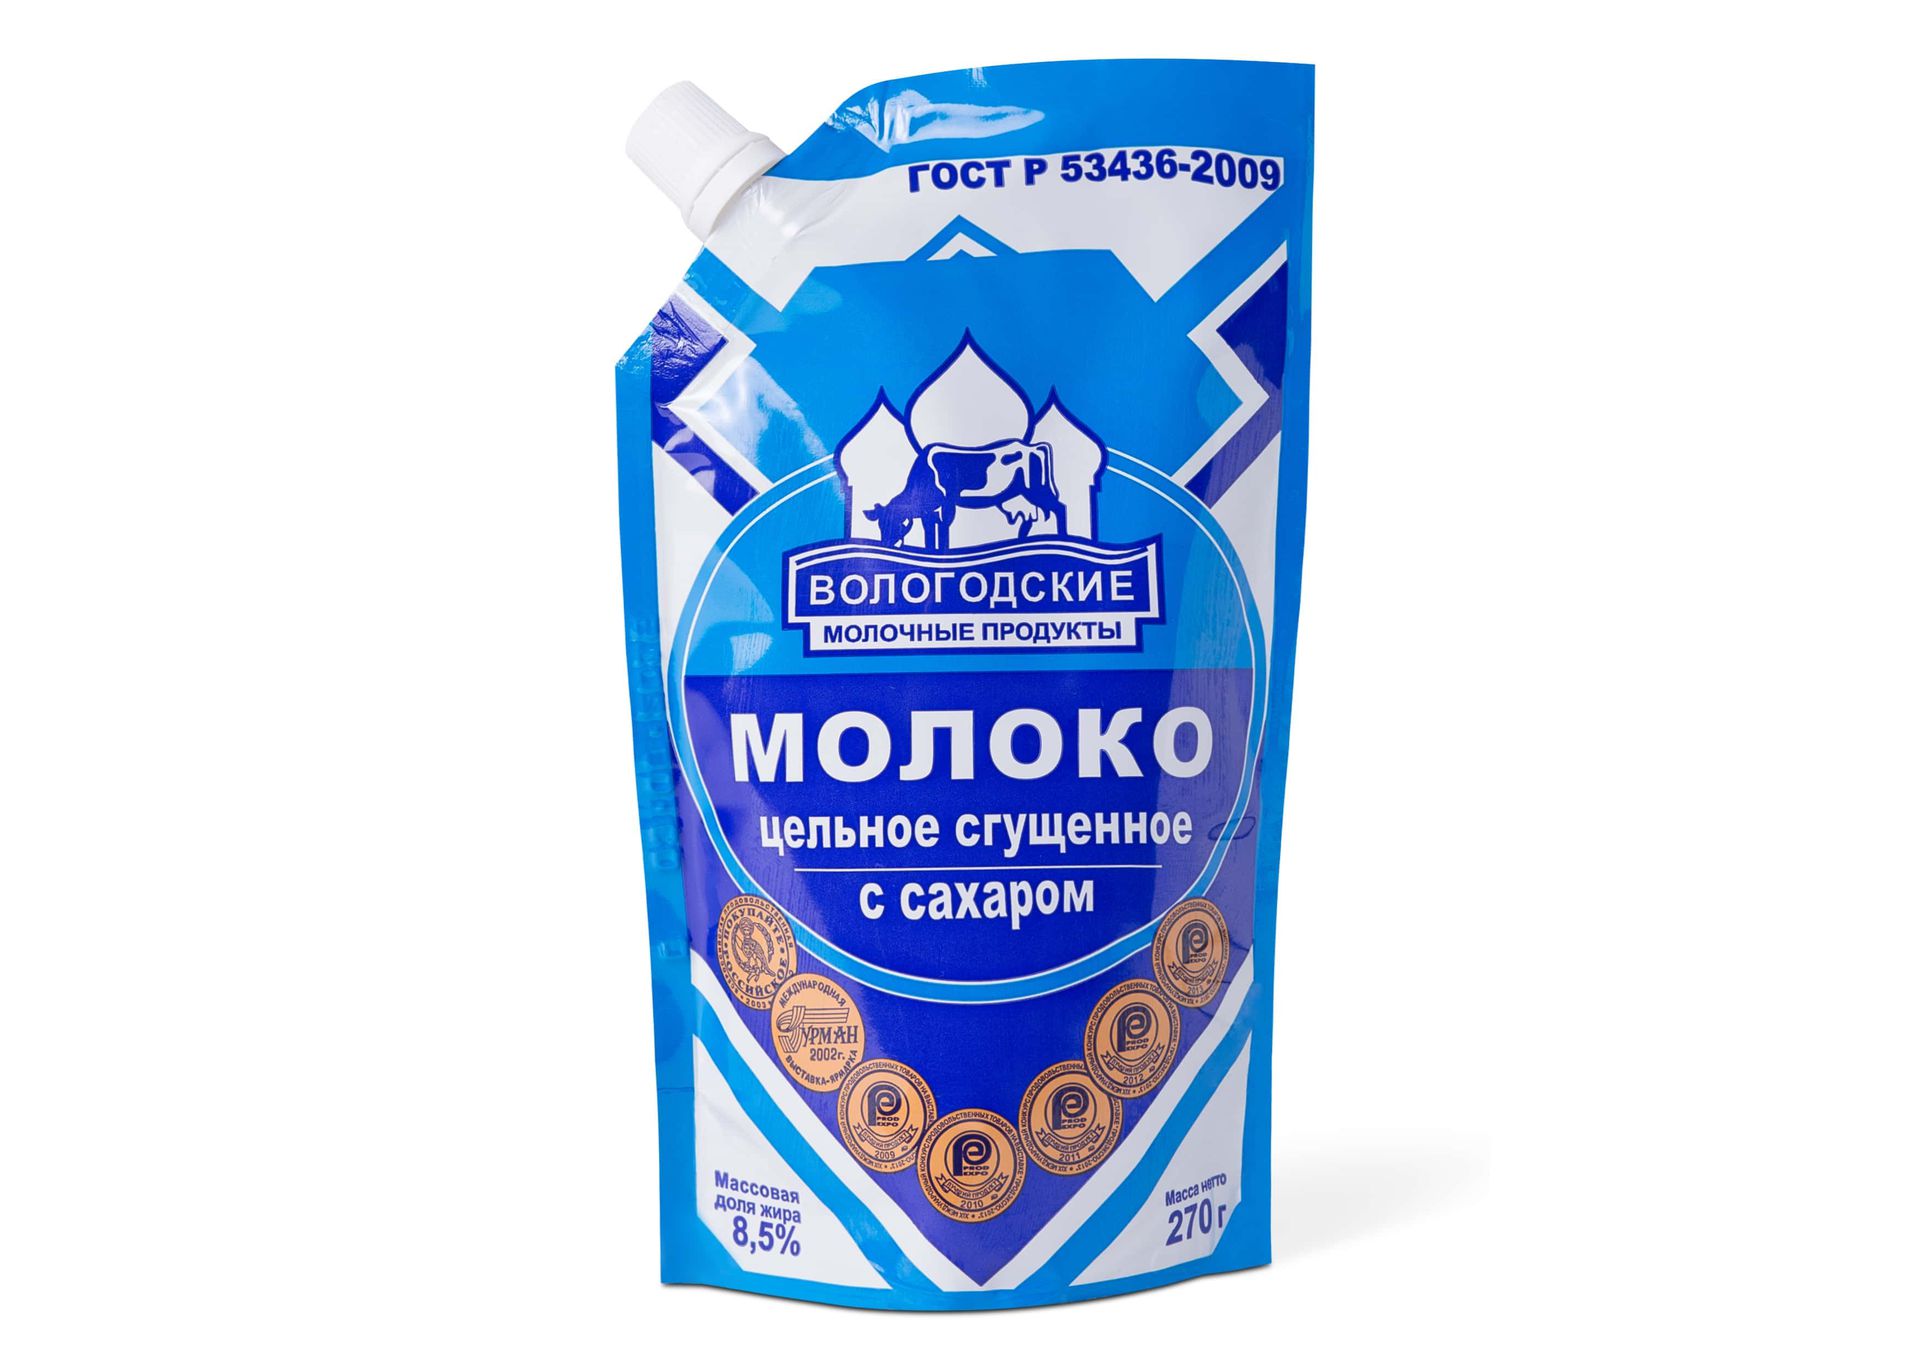
For the same purpose, bags of condensed milk, mayonnaise, ketchup, and baby purees are used. They already have a comfortable plastic spout, which is firmly fixed and will not fall out under pressure. Of course, it is necessary to rinse them very well with water and then pour boiling water on the inside so that no particles of the previous product are left. After washing, simply cut the bottom, fill with mass and sculpt.
How to replace the bag with paper?
The paper here is a good substitute for bags and is used on the same principle as cellophane. You can use waxed paper or special parchment. It is better to use thick paper, then it becomes possible to cut a shaped tip that will allow you to beautifully decorate your pastry creation.
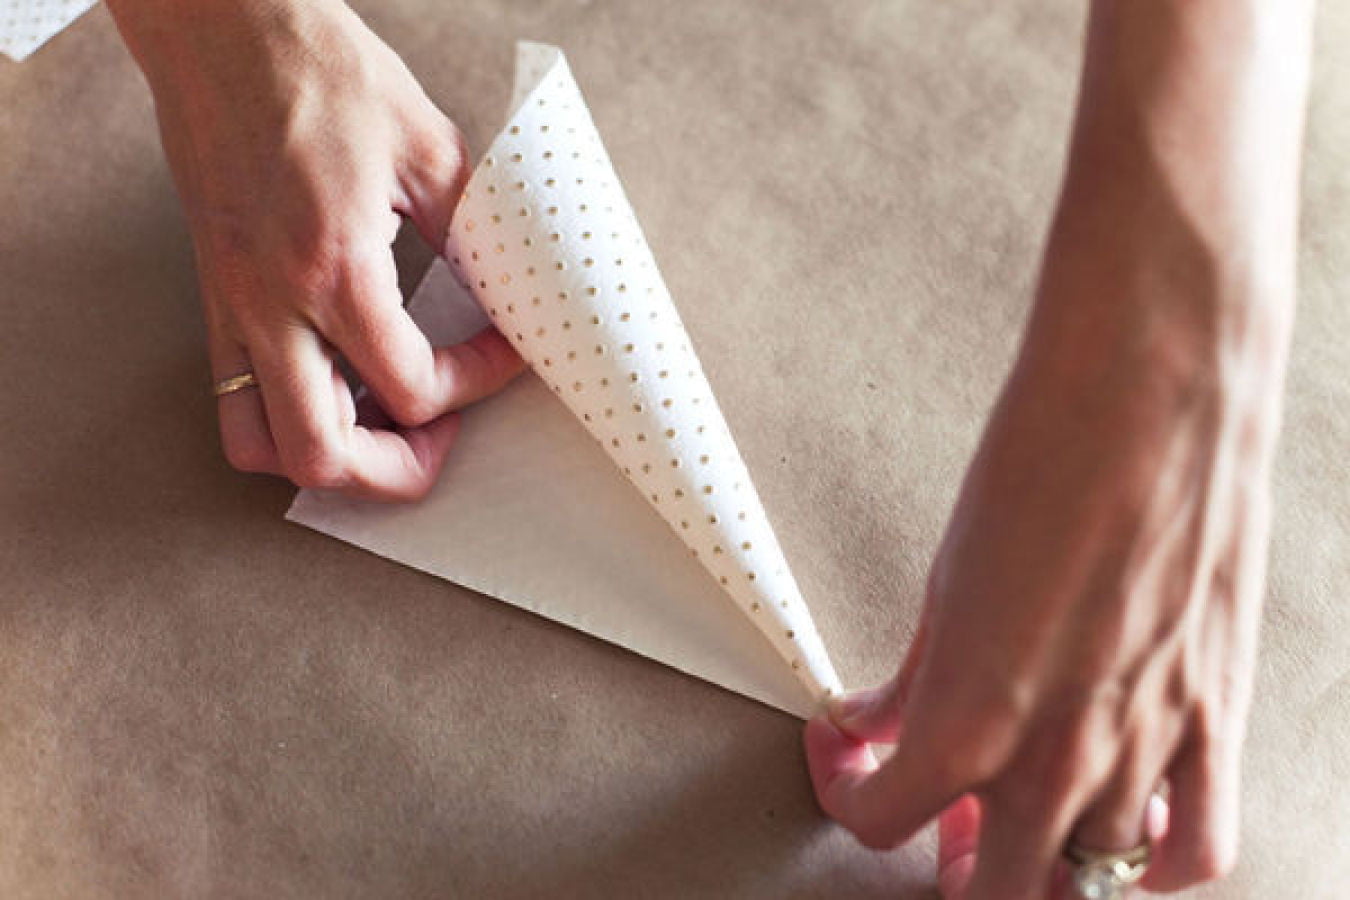
To make a paper bag, take the parchment, cut a triangular blank and wrap it in a tapered helix according to the principle of the seed cake. Carefully inspect your workpiece so that there are no holes or distances anywhere, otherwise the cream will begin to seep through them.


Fill the paper bag with cream, wrap the corners towards the center. Now cut the cone nose diagonally.
Bag is ready. remember, that the paper you use should be waterproof, and the paper bag cream will only be airy and light. If you are going to make cookies and you need to make it figured, then use a tighter material for the bag - it will be easier to squeeze out the dough.
Fabric manufacture
Sew a cloth bag is quite simple. When choosing fabric for this, it is recommended to use tick. This material is natural, dense, and also it is easy to wash it and it is not afraid of high temperature treatments. Of course, it is best to use white cloth, but if there is none, you can also use color - just make sure that it does not fade, otherwise it may stain the cream. The advantage of a fabric bag is that it is reusable, unlike previous versions.
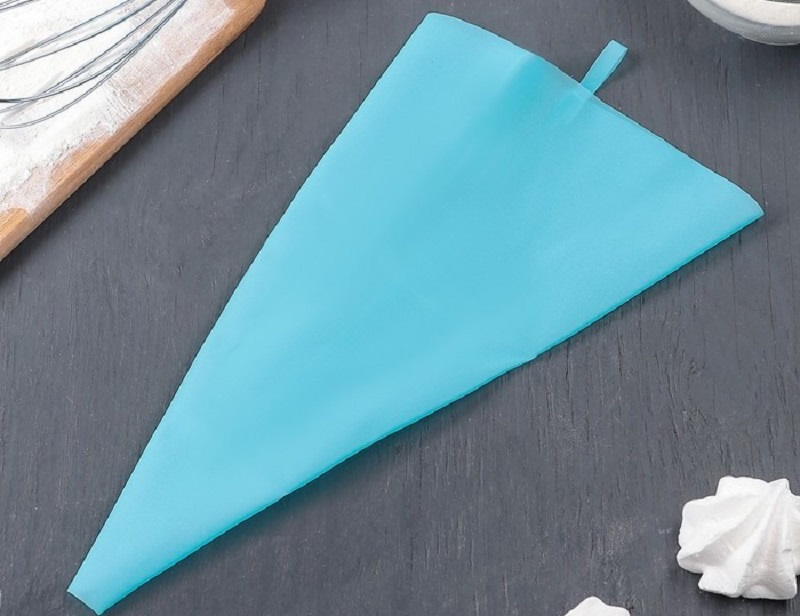
Instead of tic, you can use any other dense fabric. To create such a bag, cut out two triangles from the matter with equal sides.Sew the sidewalls so that the seams are on the outside. This will facilitate the subsequent washing, because you will not have to make an effort to remove all clogged cream from the stitched sides.
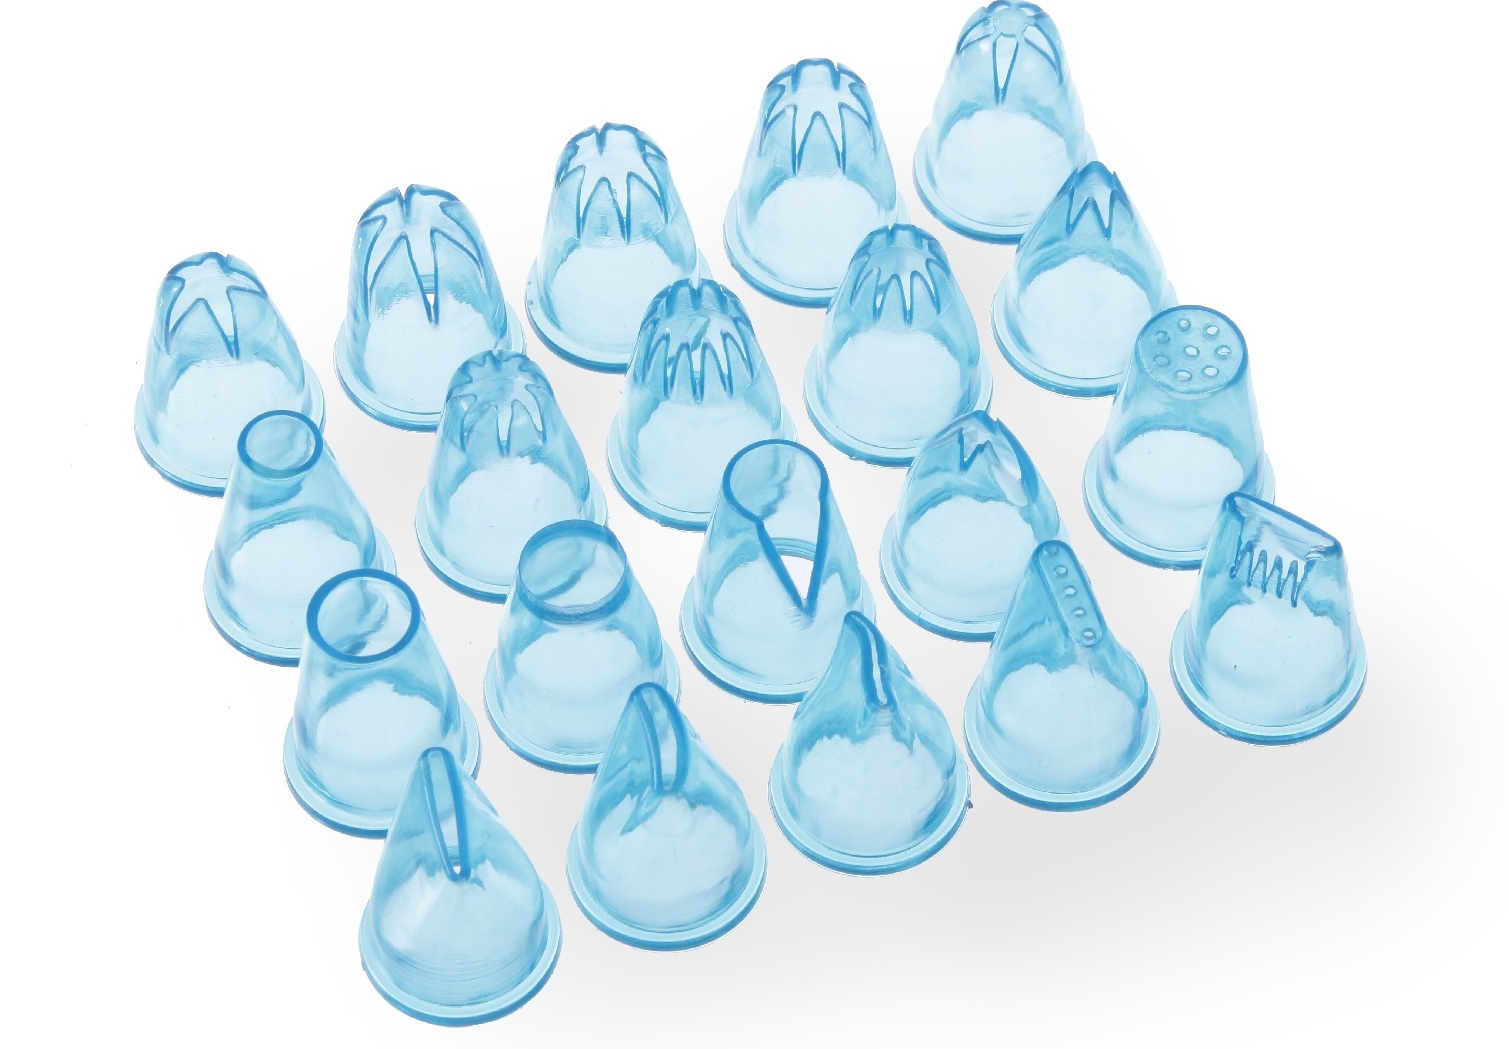
Cut the upper corner of the triangle under the nozzles you intend to use for decoration.
Or another option: cut one triangle, but more, roll the fabric into a cone, stitch only one seam, again from the outside, cut off the tip and sew inside the finished nozzle. You do not need to use any detergents for washing the bag, it is better to wash it in hot water, and for further disinfection use the high temperature of the iron while ironing the bag from the outside and the inside.
How to make nozzles?
They can be made with your own hands and used instead of purchased ones. Surely at home everyone will find a couple, or even more, ordinary plastic bottles that will save you time and money. Let us analyze in steps how to make the noses for the pastry bag yourself. You will need materials such as:
- plastic bottle;
- marker or marker;
- plastic bag;
- knife (better clerical);
- scissors.
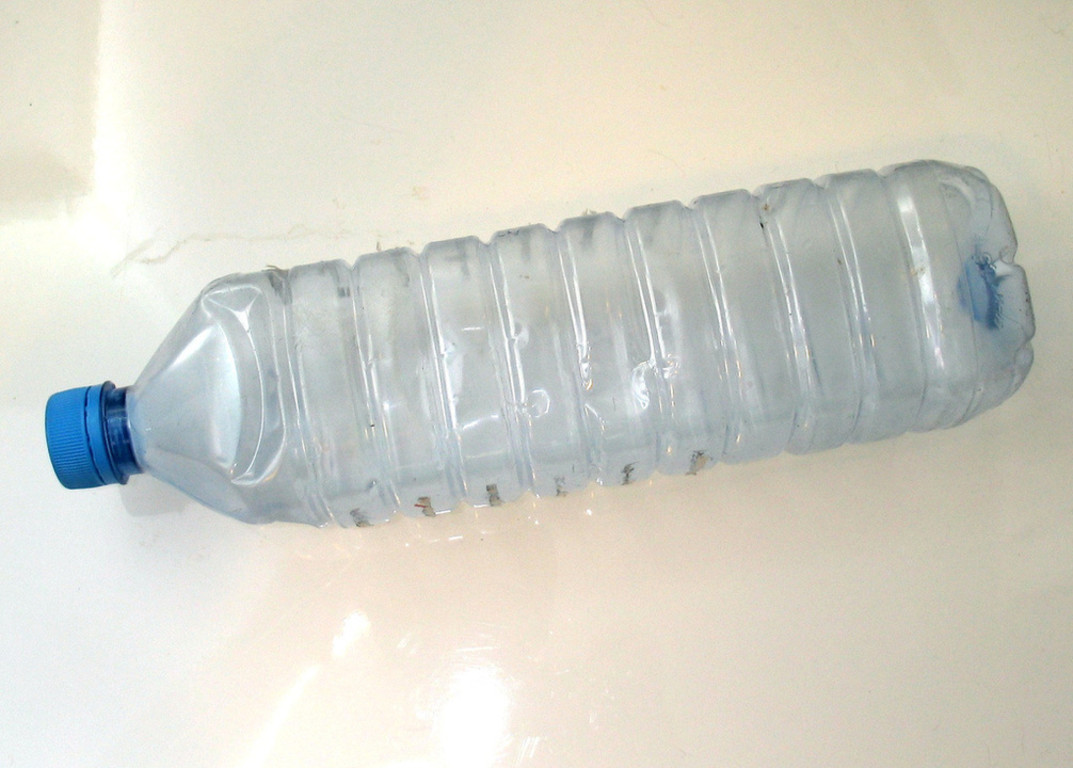

We should start with the fact that from the edge of the neck of a plastic bottle measure 5 centimeters down.
It is better to make several lines with a marker at once in order to cut exactly along the marks. You can cut the bottle with a stationery knife, and then cut along the contour with scissors. Now unscrew the cap from the bottle, remove the membrane from the inside of the cap and mark on it the pattern you want to use. In the lid itself it is necessary to make a round hole of such a diameter, how thick you want it to be a pattern.
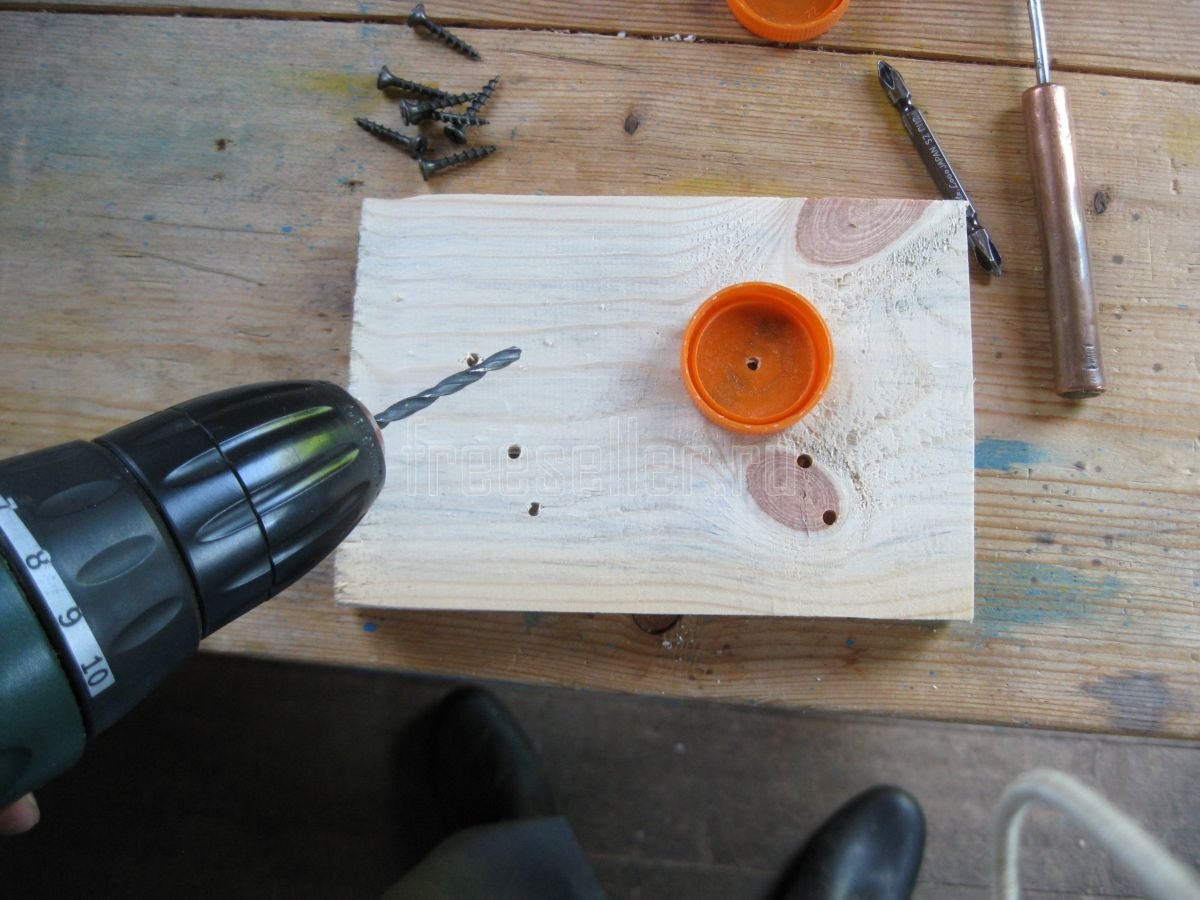
If it is problematic to cut a hole with a stationery knife, then the easiest way to do this is to drill.
Choose a drill of the desired diameter and drill a hole. Do not forget to thoroughly clean the cover from dust and plastic chips.
Next, cut a pattern with a stationery knife and insert the membrane back into the lid.
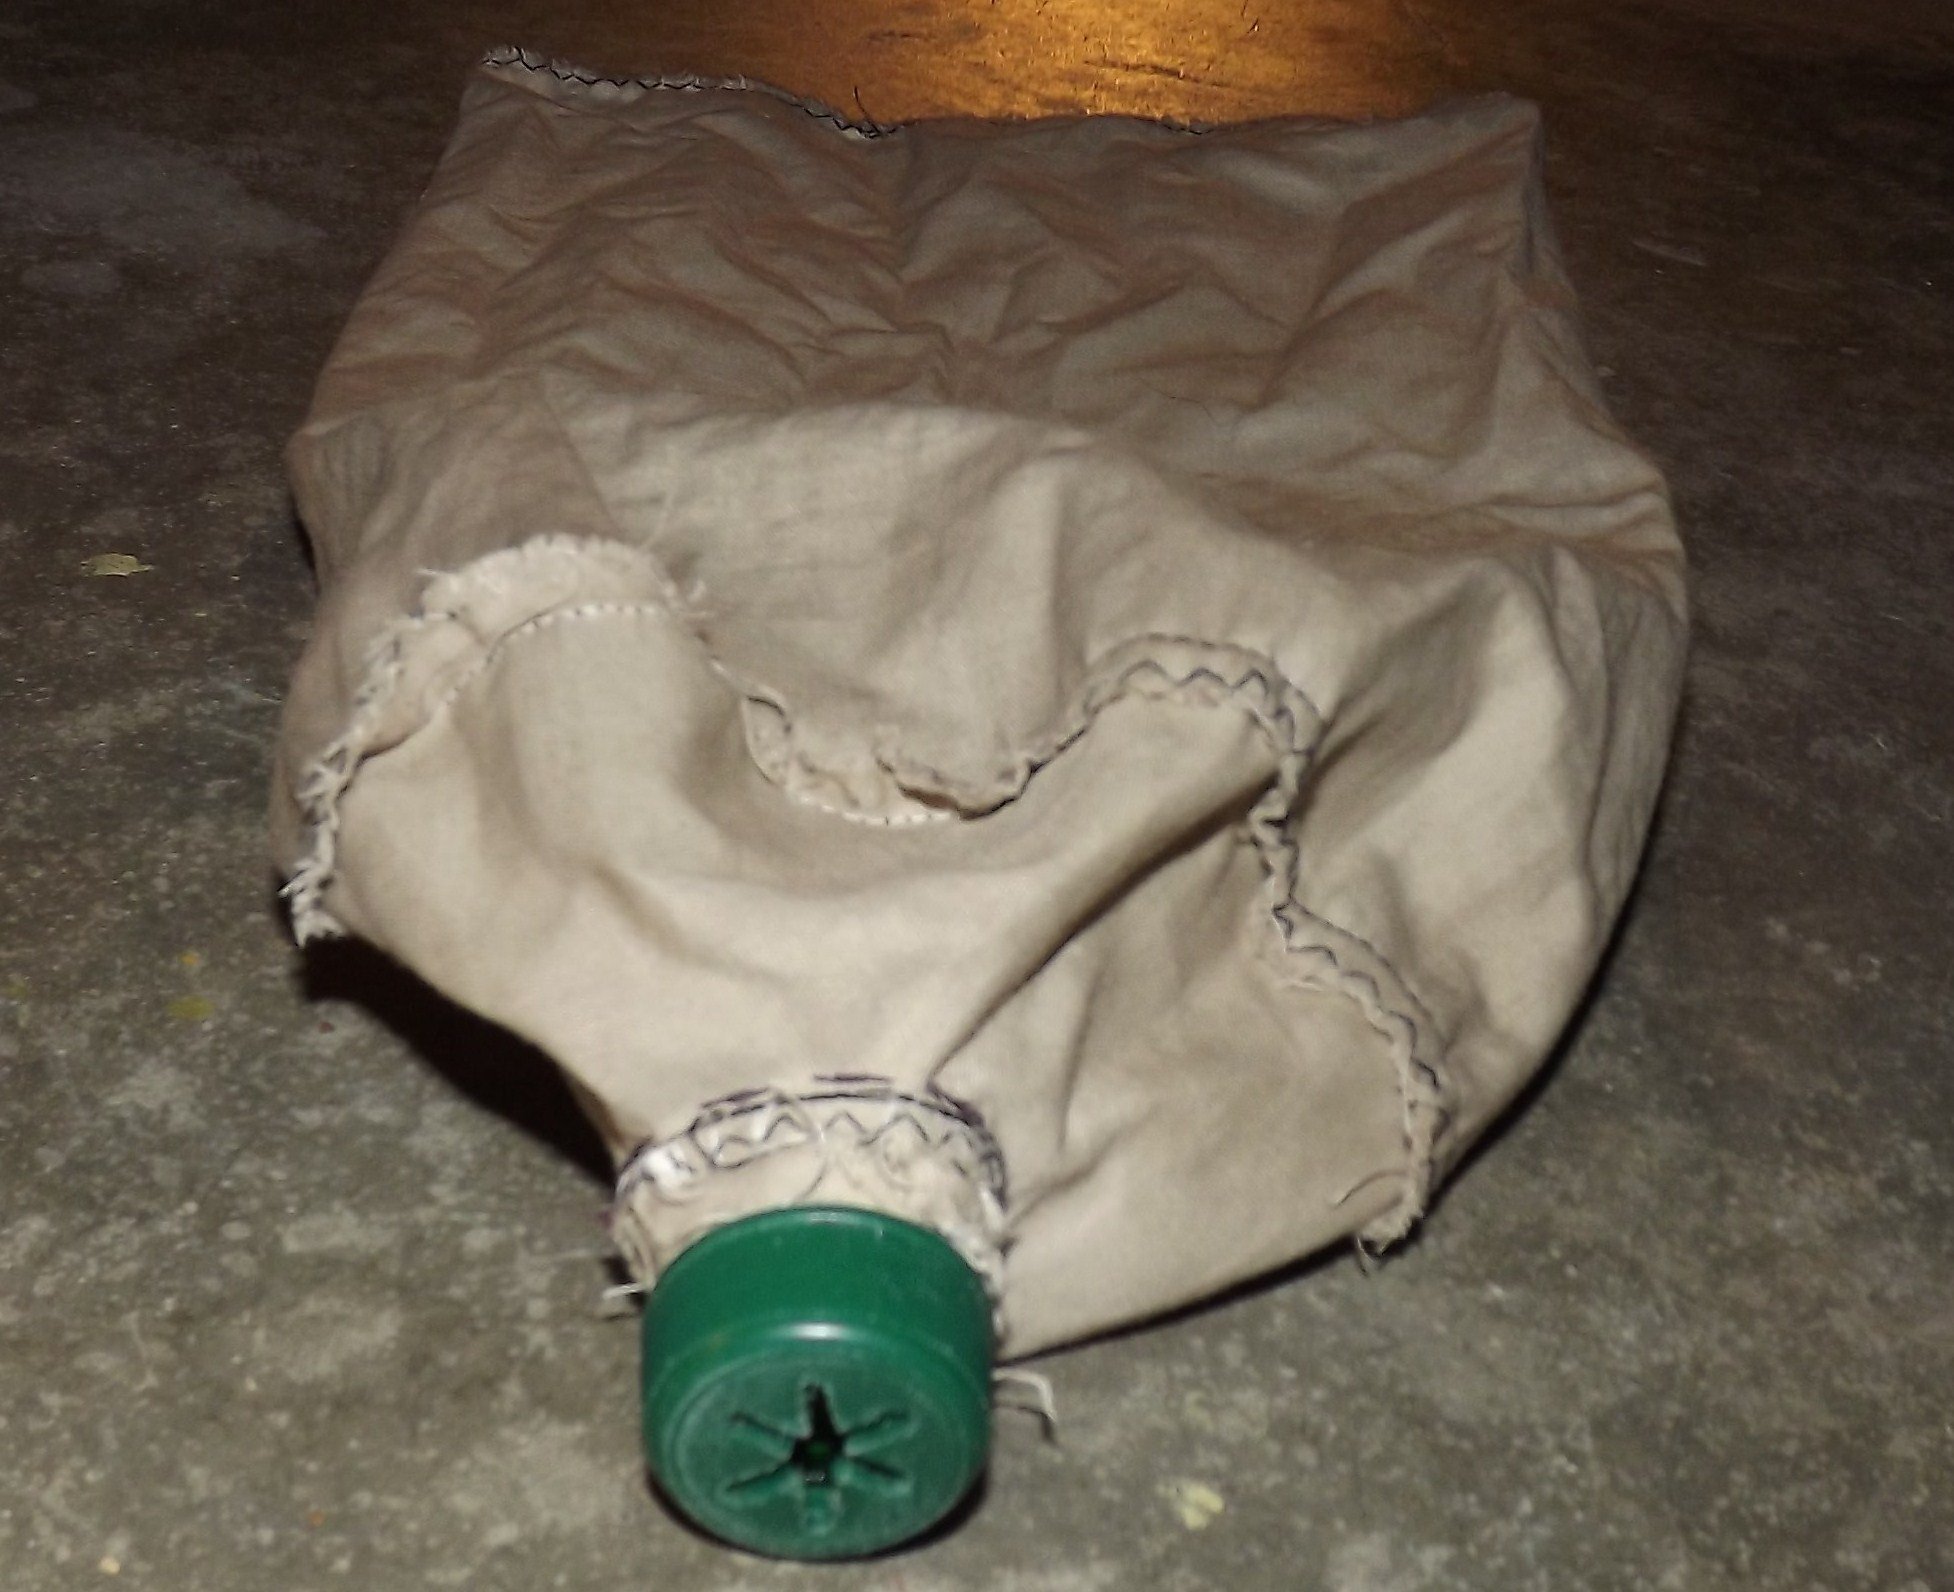
Now cut the corner of the package a couple of centimeters, pass through the cut neck of the bottle, wrap the edges so that they are on the thread, and tighten the cap on top. Thus, the package is securely fixed together with the nozzle. Fill the package with cream, tie it up and start the creation.
Such tips can be done a lot with different patterned membranes. Here only your imagination limits you. Keep in mind that the package can be used only once, so stock in advance. As an option, for a change, you can use the tip from the bottle with the nipple - the cream trickle will be even thinner. Of course, such a nozzle can be used in any of the above options, in the case of a paper bag, it is recommended to fix the nozzle with scotch tape.
For small openwork elements or inscriptions, you can also make a nozzle from an ordinary plastic cover.
To do this, you need to heat the plastic in the middle of the lid over a gas or a candle, holding it with tweezers, so as not to burn yourself. When the plastic becomes softer and more viscous, take a toothpick or a match and stick it in the middle of the lid. The plastic will reach for the wand, forming a peculiar spout. Now you need to wait until it cools down and cut off the very top of this spout with a knife. Mount such a nozzle in the same way as in the previous case.
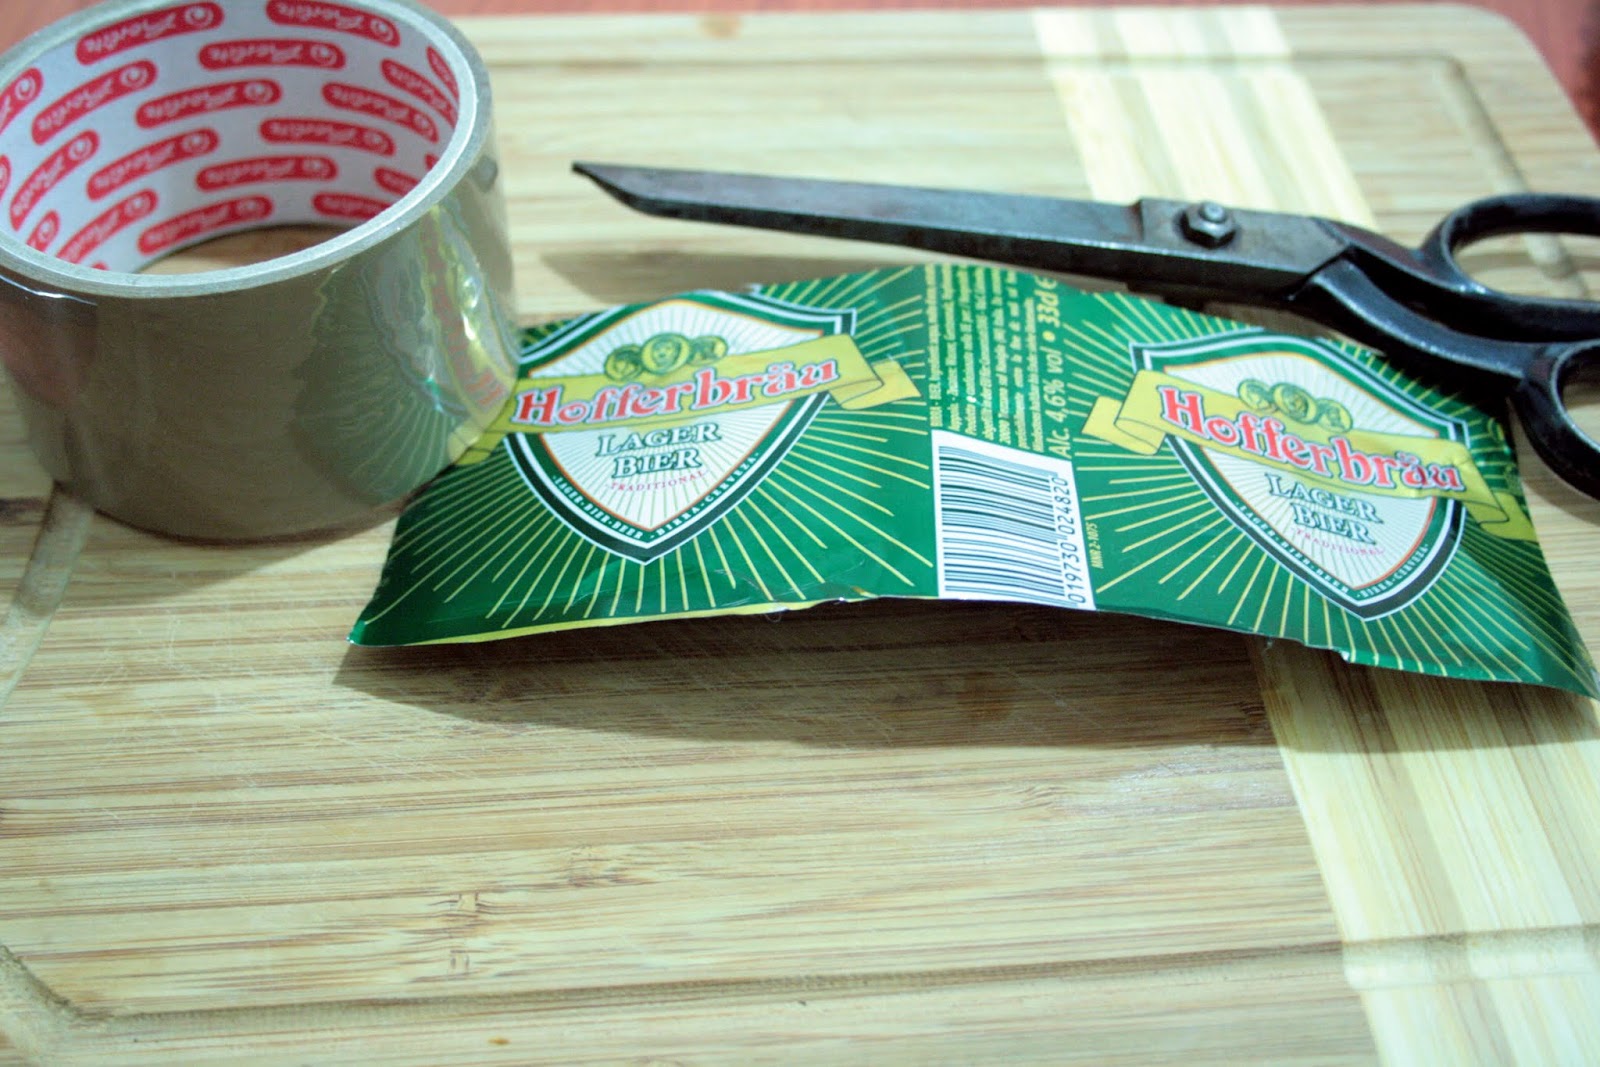
Another option for the manufacture of nozzles is a can of any soda. For crafts will need:
- can;
- scissors;
- Scotch.
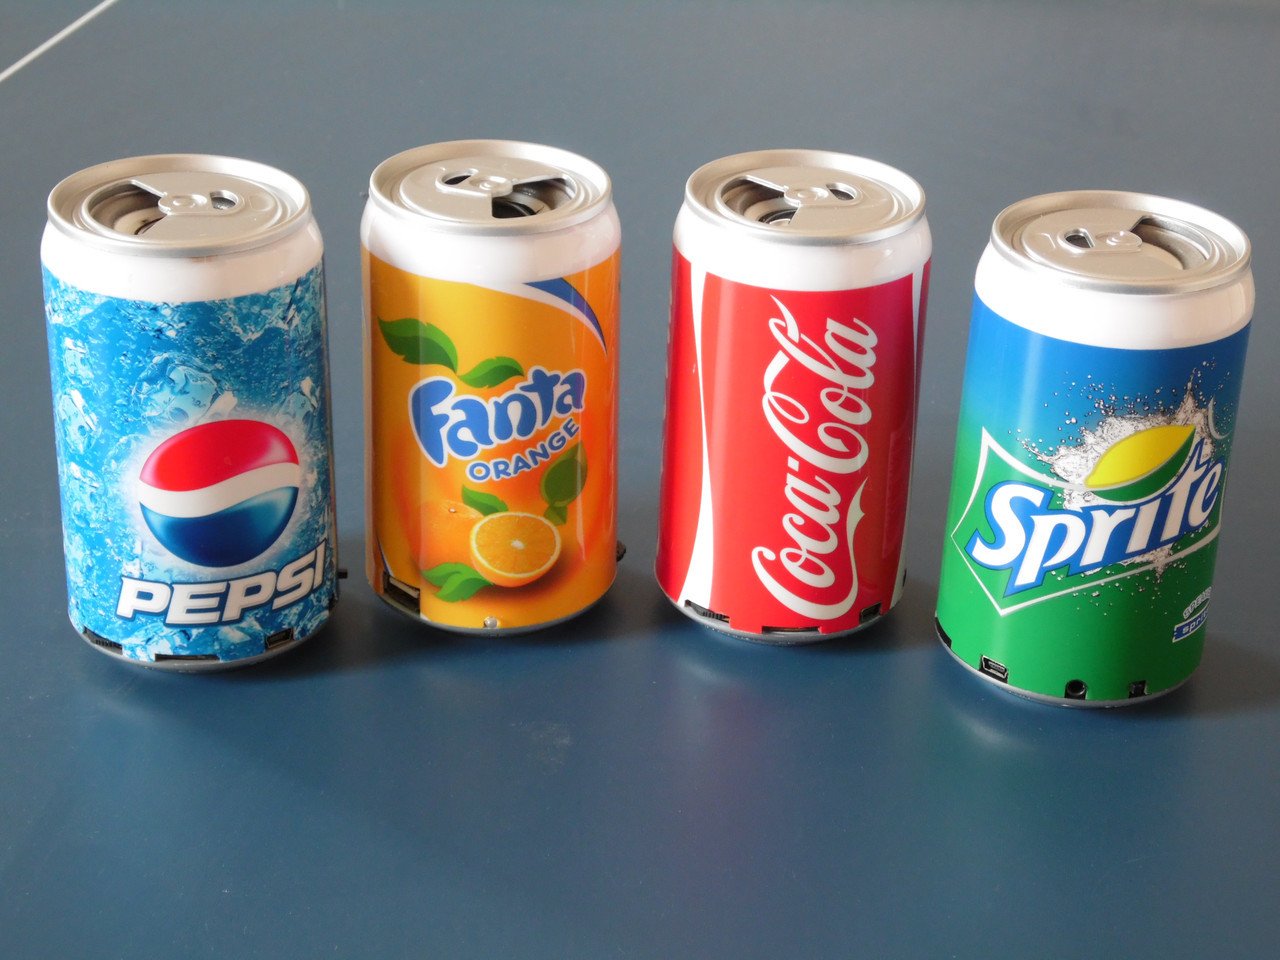
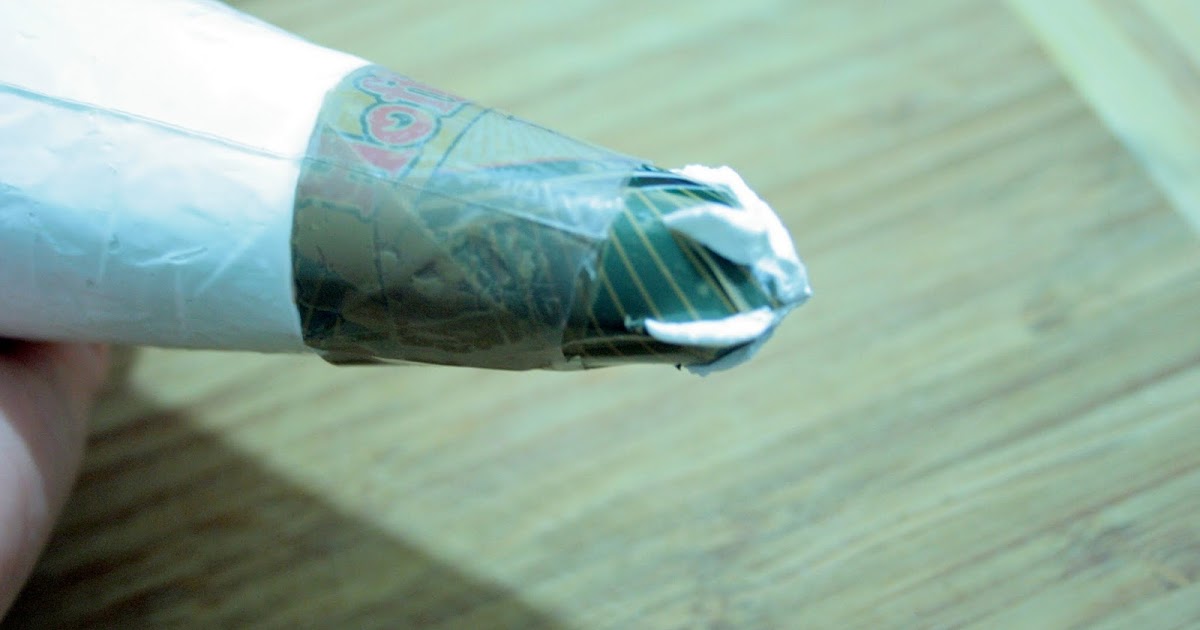
From the aluminum cans cut off the top and bottom. Then scissors cut the seam along. Wash the billet thoroughly. Then collapse the funnel, and to keep well, glue the joint with adhesive tape. It is best to wrap it around, then the cone will lock securely. Scissors to cut off a corner with a diameter of 1.5-2 centimeters, and then cut the petals around the circumference, which then collect in the center, which ultimately gives a certain pattern with holes through which the cream will pass.
The core, so as not to disperse to the sides under the pressure of the cream, can be rewound with a thread. This nozzle can be made with any pattern, if you fantasize. Next, secure in any of the bags and use as directed. Such nozzles can completely replace the syringe.
Useful recommendations
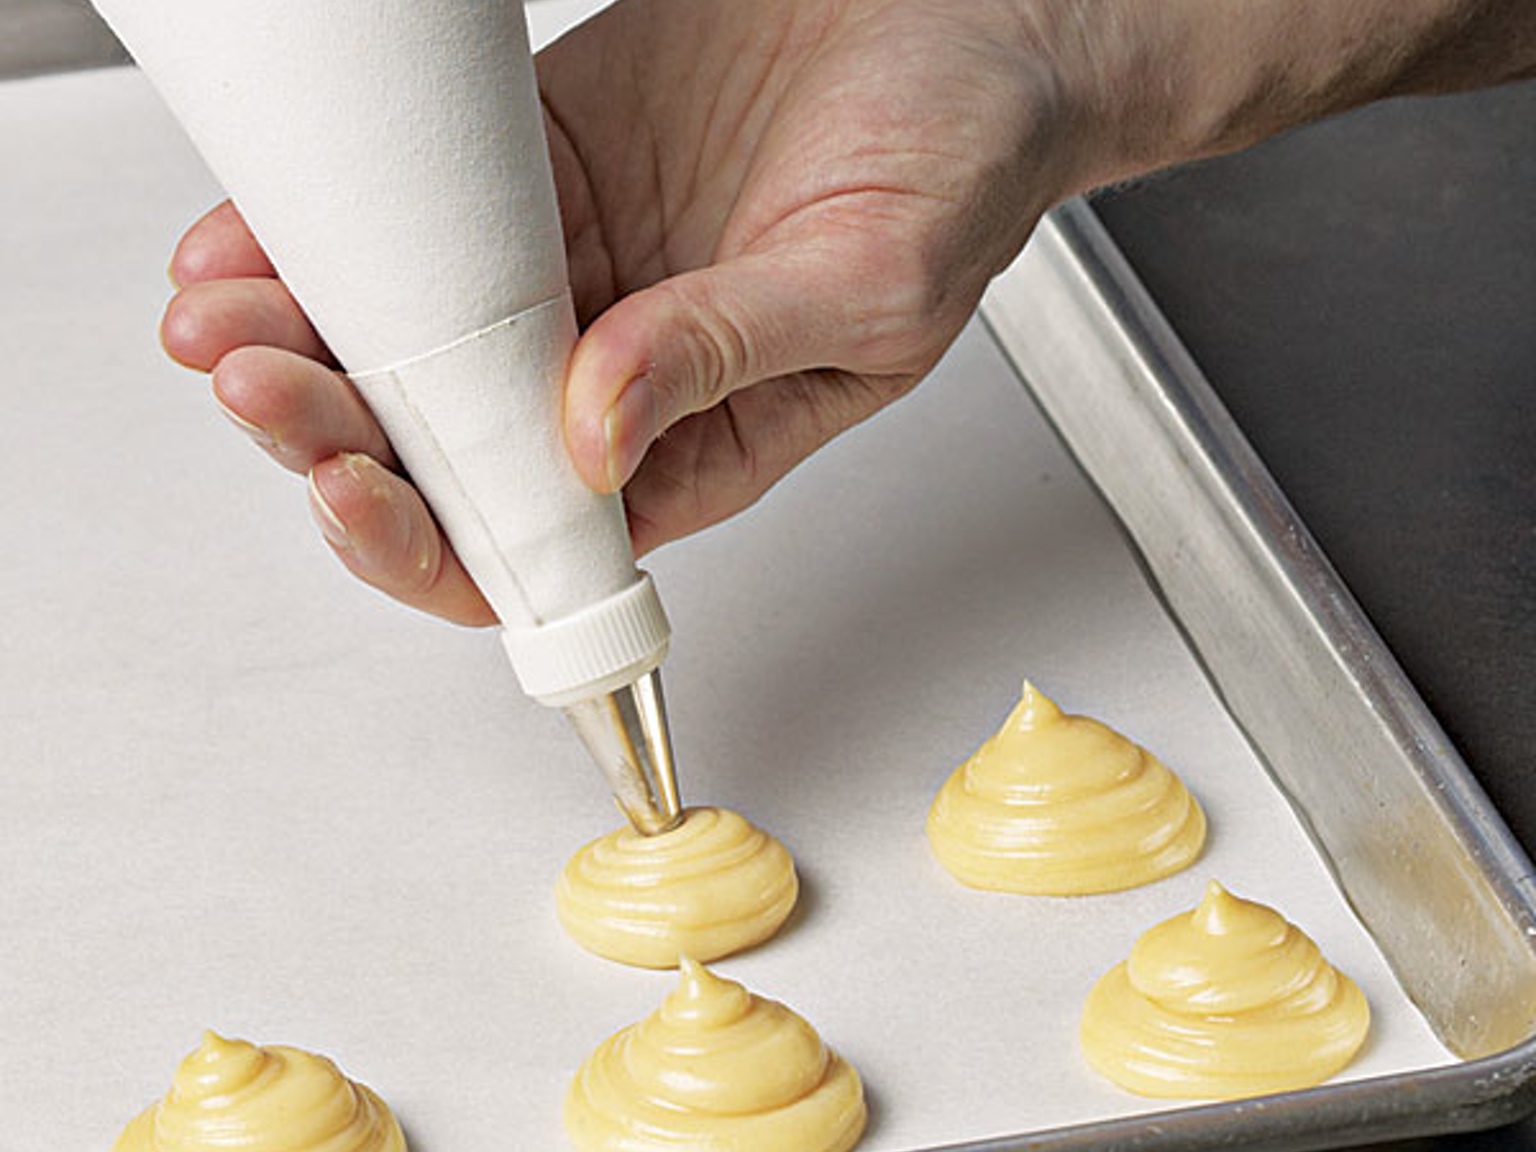
Before you start decorating a cake, eclairs, or other goodies, practice elsewhere. Even if you are expert in the use of professional attachments, then with self-made things may turn out wrong - better tamp your hand and then proceed to the decorations.
In order for the inscriptions and laces on the cake to be beautiful and neat, you need to keep a bag of cream at a minimum distance from the pastry.

If you use a pastry bag for the first time, then you need to hold it in your left hand, and squeeze the cream right.
To decorate the product with a light cream like meringue or another, a paper bag is enough, and if you squeeze the figured dough, you need a bag of more dense material, alternatively, from a file.
How to make a pastry bag with your own hands, see below.


