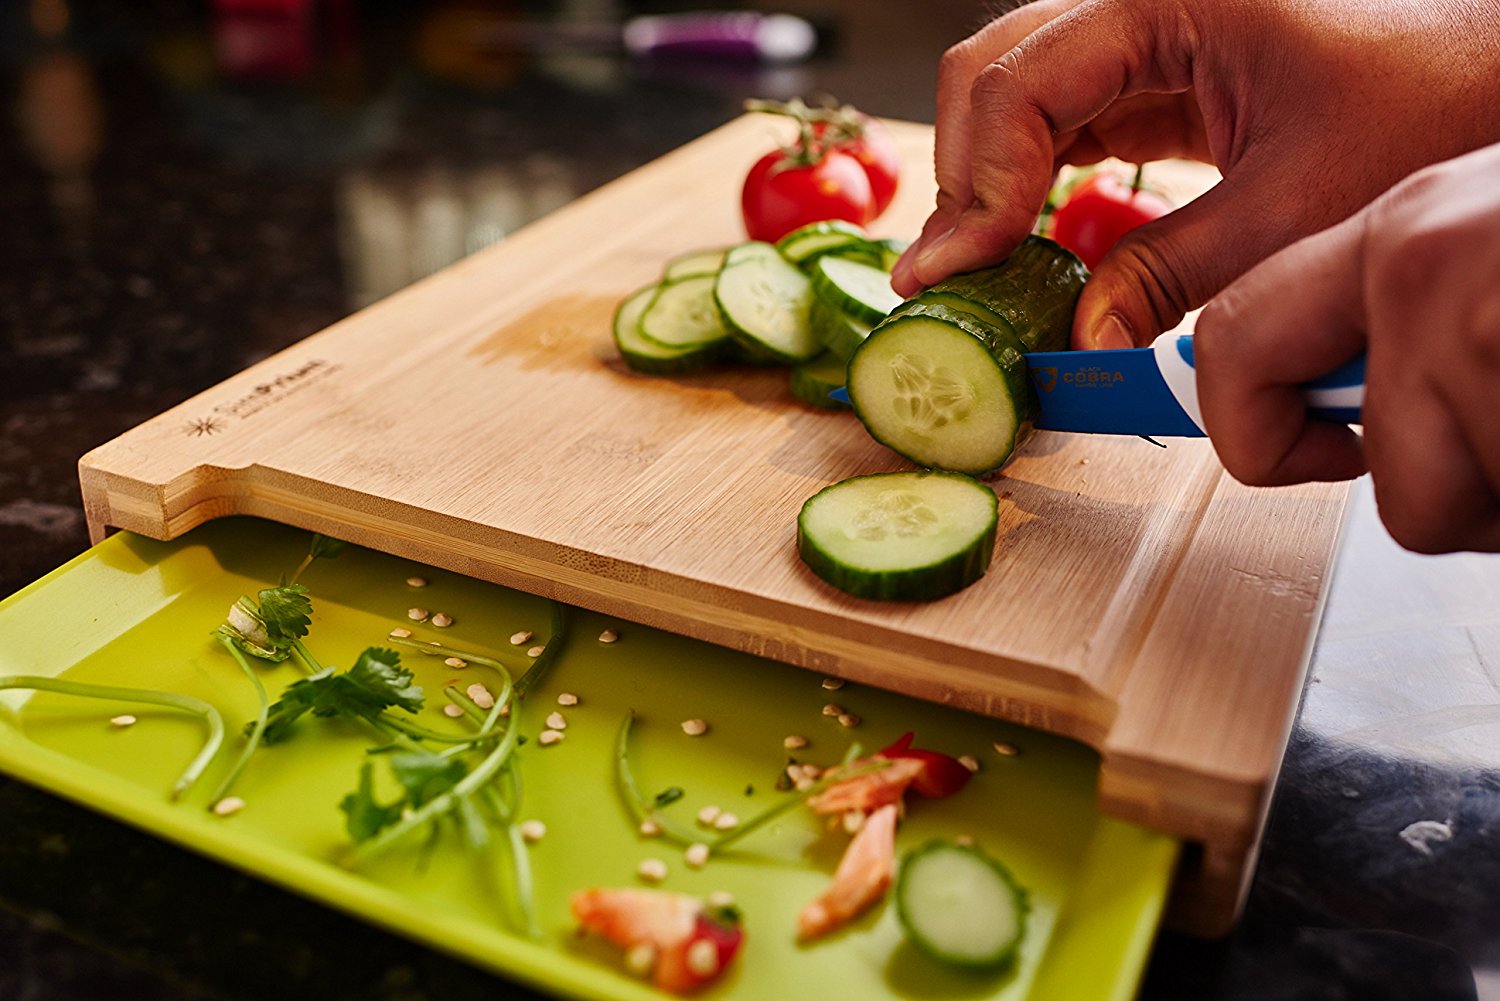
A cutting board is an important attribute in the kitchen of every housewife. It would seem that choosing a board is not difficult, but when it comes to acquiring, everything is not so simple: the models on the market may either not fit into the interior, then the dimensions are too large (small), then the material is not credible.
Plastic boards are very popular because of their various colors and attractive cost, but recently talk about the dangers of plastic when in contact with food, and many are confused. Of course, no one has any questions for natural materials, but it is not always possible to find just such a board that would meet all the requirements of the hostess. There is a way out - to make a cutting board with your own hands! Enough to stock up on a tree, the necessary drawings and some knowledge, and your kitchen will show off a magnificent dacha of their own making!

Step 1. Selection of materials
What is the board for?
If you have little or no experience with wood, the first thing that needs to be clarified right away is the choice of wood for the future cutting board.
First you need to figure out - how exactly will you use the board? For fruit? Fish? Meat? Salads? It is recommended to have separate boards for different products. Since both the length and thickness are completely different - both for practical reasons and for culinary ones.
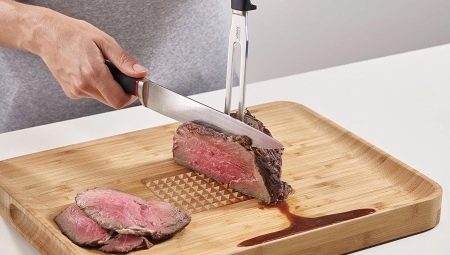
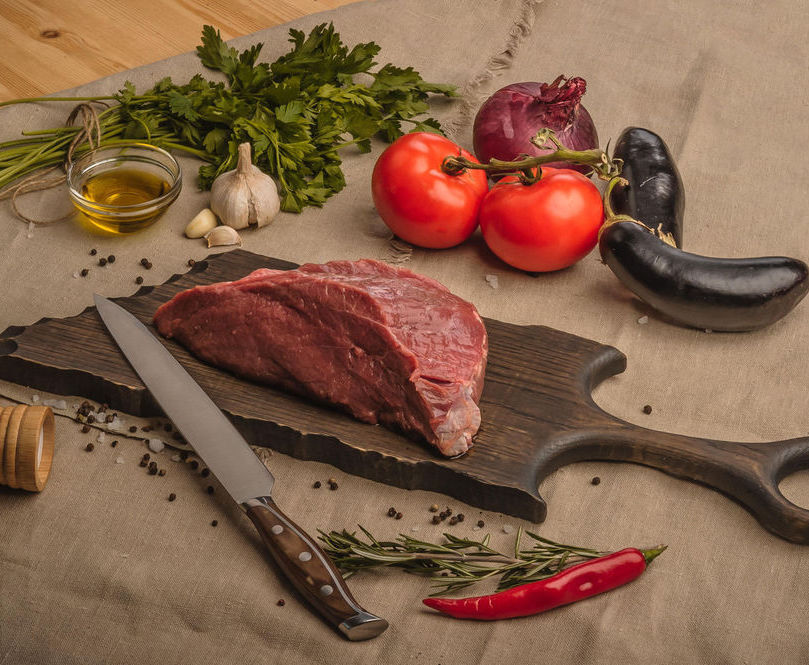
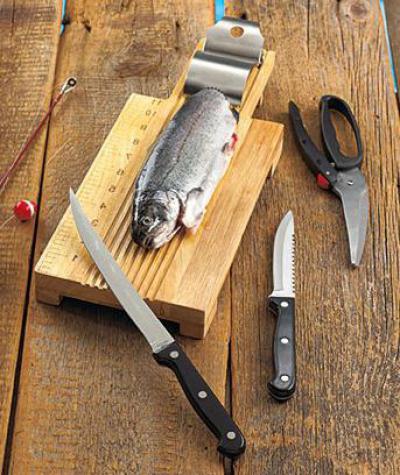
So, for meat you need to have a dense massive board, because, for example, you will have to use an ax if you plan to cook a steak, and the thin board will deteriorate in just a couple of uses. Thinner wood will be suitable for cutting fish, as only a knife will be used.
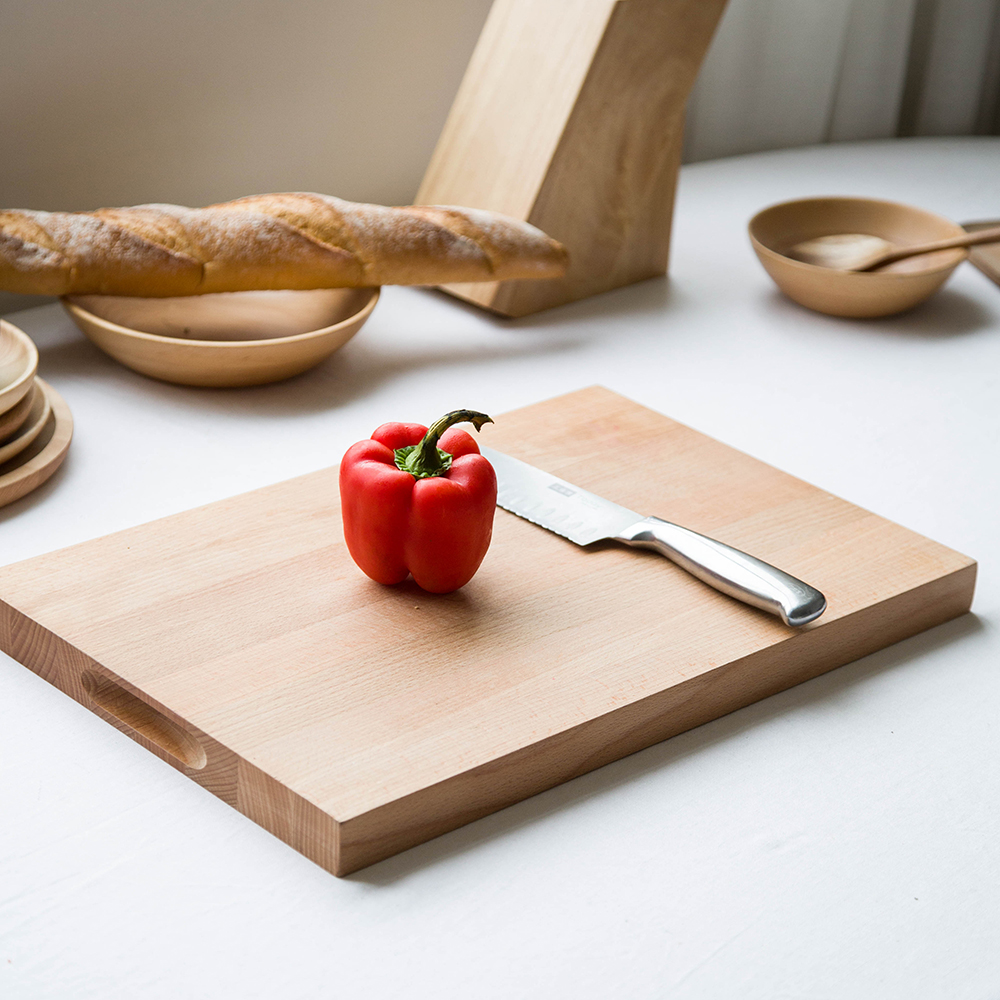
The board for cutting fruits and vegetables will be even thinner.
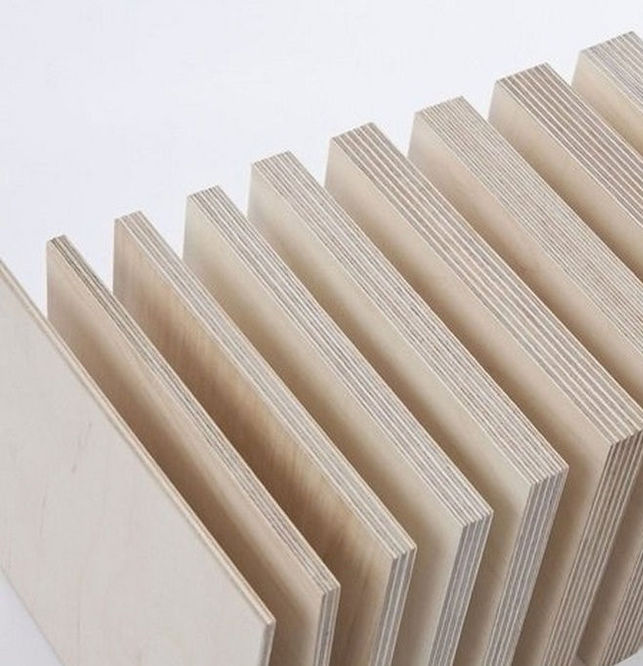
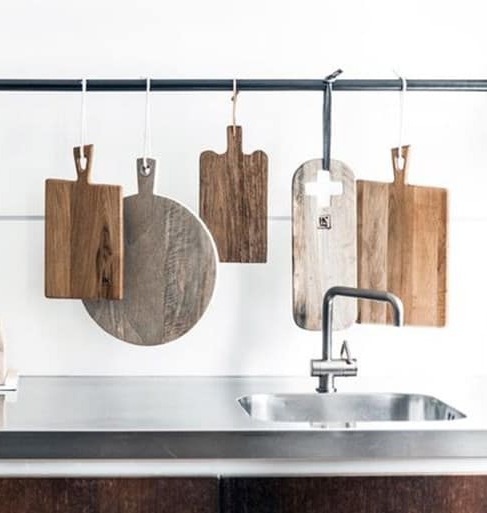
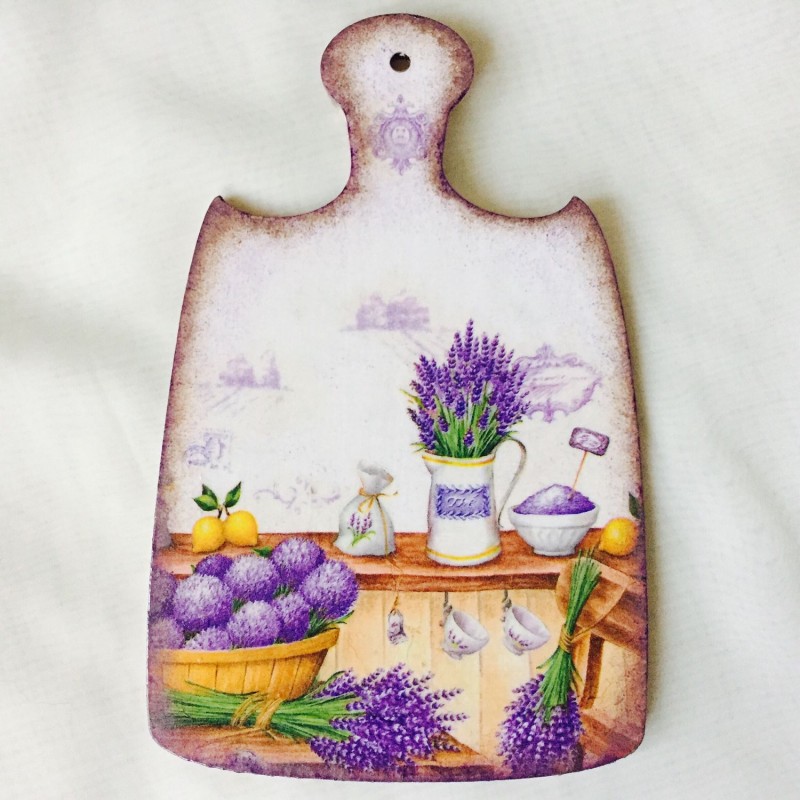
Or maybe you even want to make a board for home decoration? Not always boards are needed for use in cooking - very often they are handmade decorations to give the interior a more rustic style. If so, then you just need to focus on the appearance preferences as an art project plan, because then you will simply design the model according to the idea, and the model of multi-layer plywood FC or PSF is the most simple, affordable and durable material.

How often will we use?
If you know that the board will be in use every day several times, then you should think about the fact that the strength of materials is not the last criterion. The board must be able to withstand daily loads., and also influence of water when you will rinse it after the use.
Temperature and humidity are taken into account
Not everyone is especially important moments such as the effects of temperature changes in the kitchen or excessive humidity. But still, the cutting board is made of wood, and not every breed will suit the conditions of the kitchen - some may swell and crack, and it is impossible to work on a deformed surface. Attractive plywood, for example, is not suitable for cutting meat at all, as a constant point impact will cause dents and cracks. Even the most expensive plywood is often stratified. So which wood would be better?
Good and inexpensive options from the saw cut of these rocks:
- cherry;
- beech;
- Pine;
- oak;
- Birch tree;
- acacia.
They are great for processing and withstand constant exposure without difficulty.
What sizes are needed?
Be sure to set the parameters that need to be guided in the manufacture of the board. You need to take into account the size that will be most convenient for you to work. - only you know what shape the surface will be optimal for working with food.
It is clear that the usual logic - for meat and cleaning fish, larger ones, for vegetables and smaller fruits - also works.
It is also worth thinking about how many people have to cook at a time.
It also costs to take into account the specific dimensions of the kitchen or the place where you will use and store your board. Will the huge board fit in the kitchen? Is it convenient to use it on the desktop?
Step 2. We make ourselves. Operating procedure
The order of work is very simple, and will not cause problems even among the most novice masters. It is enough to perform several simple steps in order, and you will have a beautiful cutting board.
Before you is a ready-made drawing that takes into account the handle, by which you can hang the board, and take it to transfer chopped products to the pan or dish.
The handle of the board, in order not to shift the center of gravity, must be along the longitudinal axis of the board.
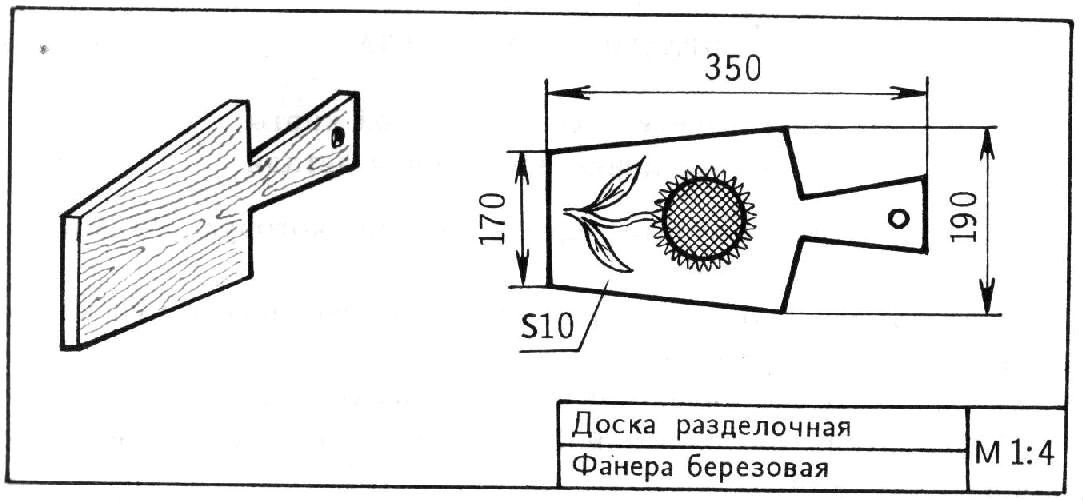
The drawing indicates birch as a material - it is durable, moisture resistant and pliable in processing.
- Cutting birch (or your tree of choice). To process a template, the usual handsaw with fine teeth will come in handy. So it will be easy to cut the necessary tree. Transfer the pattern to a wooden surface, and cut along the lines.
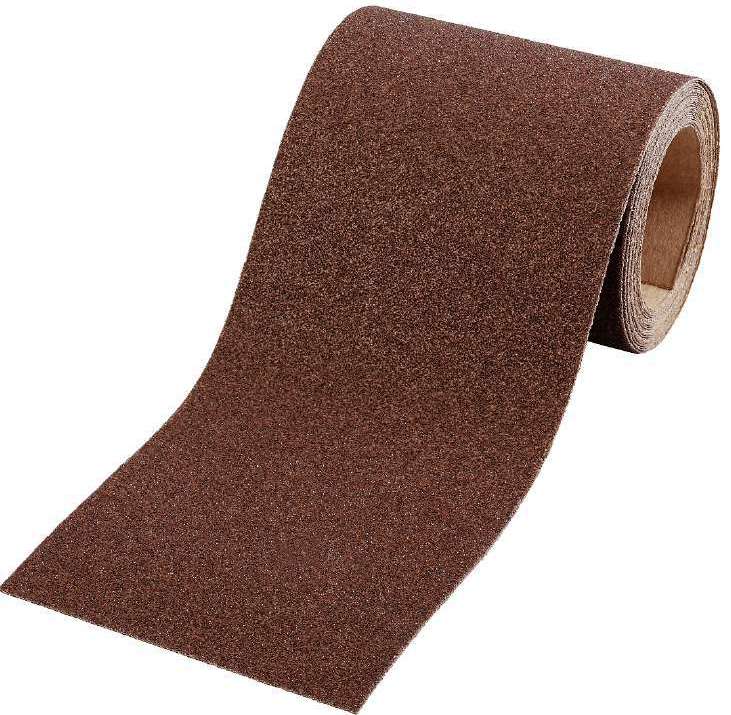
- Edge processing. Each master of the house must have stumbled on some kind of abrasive such as a grinding cut, skins, and maybe even have a special grinding machine that will process the edges of the board professionally. Remember that safety precautions must grind all the edges of your board so that all the burrs and roughness are gone. Nobody wants to have splinters in each finger after a culinary experiment, as well as small chips in chopped products. Yes, and visually raw edges look careless.
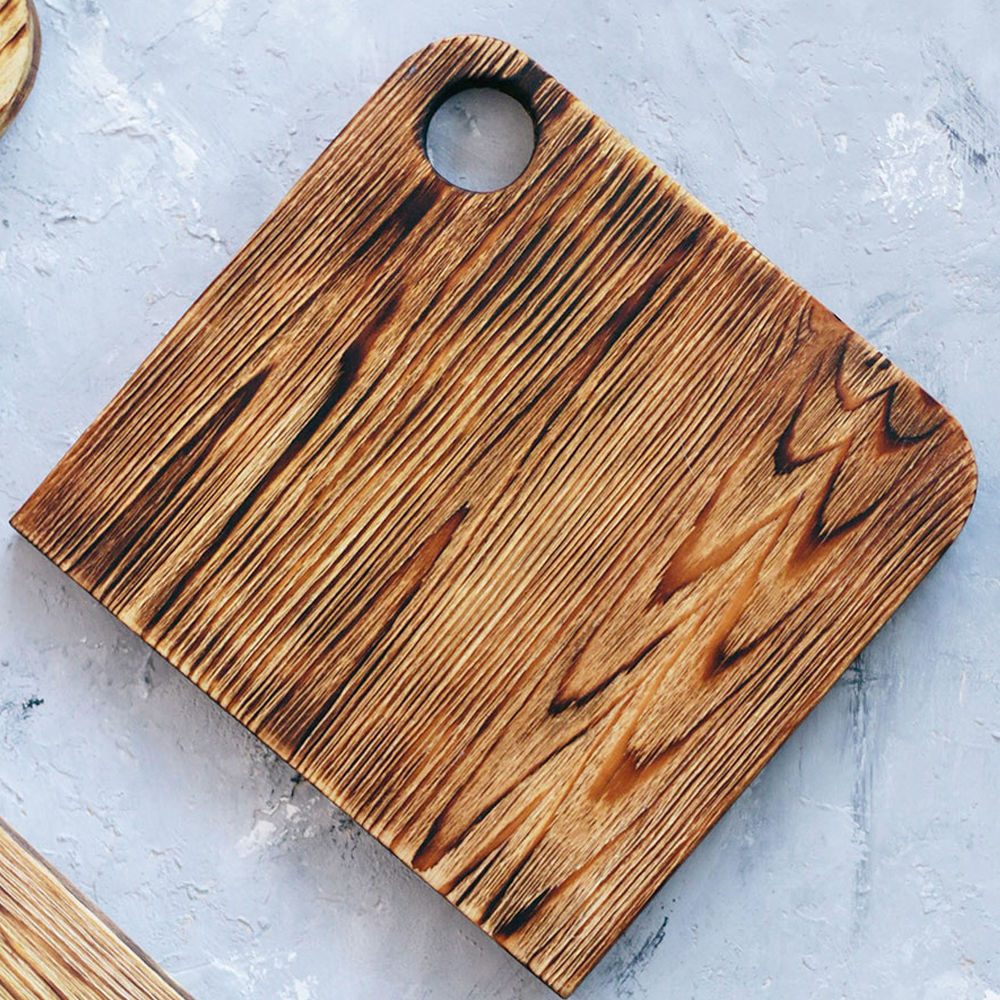
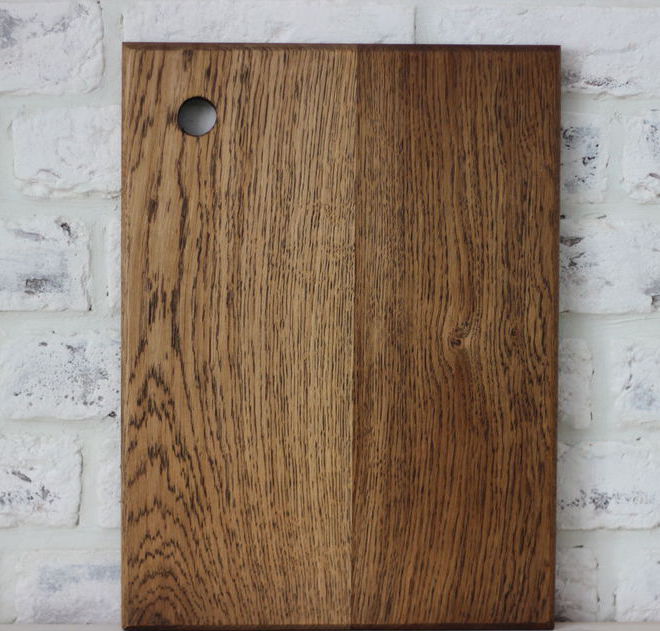
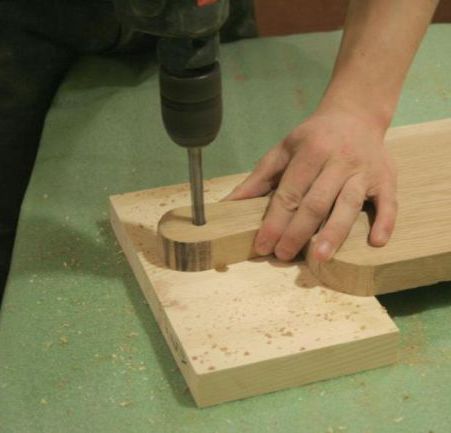
- Drilling a hole. Now you need to make a hole in the handle of the board to be able to hang it on a nail later. The only thing is - do not make the hole too small, otherwise it will be difficult to hang the product. You can be creative, and make a special clip or stick a hook - the main thing is that the board does not lie on the table, taking up space, but carefully hanging and adding charm to the interior. But how to hang it, you decide.


Step 3. Decoration of the product.
Now everything depends on your aesthetic taste. You can decorate the board with an intricate pattern, you can just draw lines or dots, but after that you should definitely cover the board with varnish, otherwise upon the first contact with water all the pictures will wash off. Do not limit yourself to fantasy, create unique inscriptions and drawings that will lift your spirits while cooking.
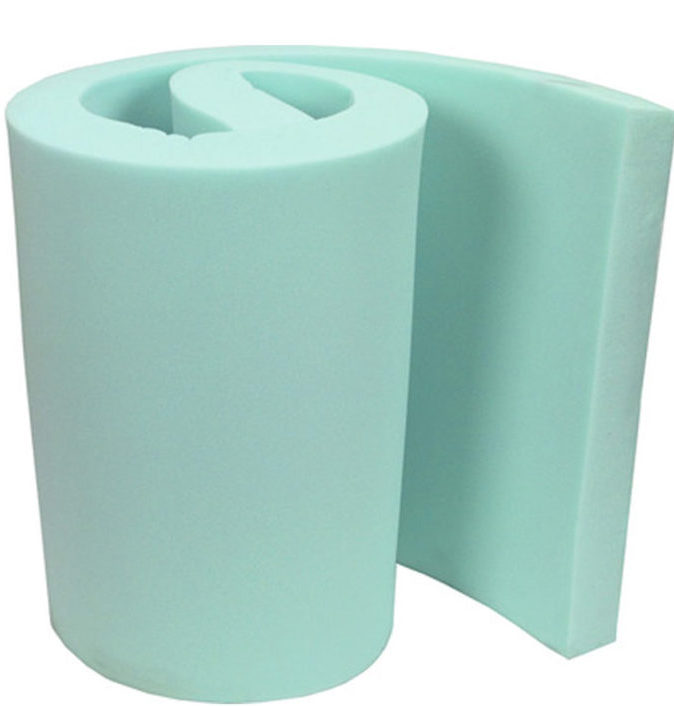
Pay attention to this technique, like decoupage. You will use one side of the cutting board for its intended purpose, and decorate the other side. For decoupage you need to purchase acrylic paints and gouache of any colors you like (or maybe you already have an idea for which specific colors are needed), paper napkins with a pattern, PVA glue, brushes, foam rubber, sandpaper and varnish to cover the surface after how everything is ready - to fix the result.

In the technique of decoupage is nothing complicated, and an intricate name should not be confused. Simple actions are as follows:
- sandpaper the entire surface of the board;
- exfoliate the patterned napkin into two parts, cut the ornament;
- apply acrylic paint on the part where you will have a napkin;
- press the drawing from the napkin to the surface, wetting it with water beforehand;
- then decorate the rest of the surface - paint something, paint foam in acrylic, for example, in gold, decorate the edges - this will add some antiquity;
- complete the decoration by covering the entire painted side of the board with varnish. Remember that the varnish should be applied only on the side that we decorated, and not on the whole board, because cutting on the varnished surface will be absurd - the varnish will crumble, and all efforts will be in vain.
That's all. Nothing complicated, but what a result! Beautiful kitchen board, made especially for you, by you and for your needs. What could be nicer?

How to make a cutting board with your own hands, see the next video.


