
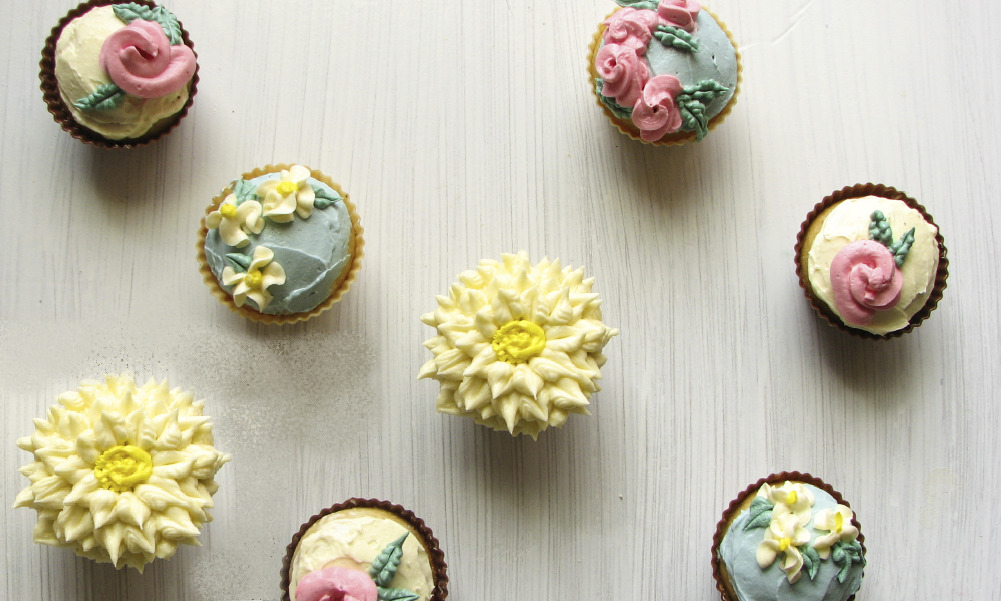
Confectionery preparation is impossible to imagine without the final stage: decorating the product with a cream. Otherwise, even the most delicious treat will lose to the delicacy, decorated more effectively, but, perhaps, much less tasty.
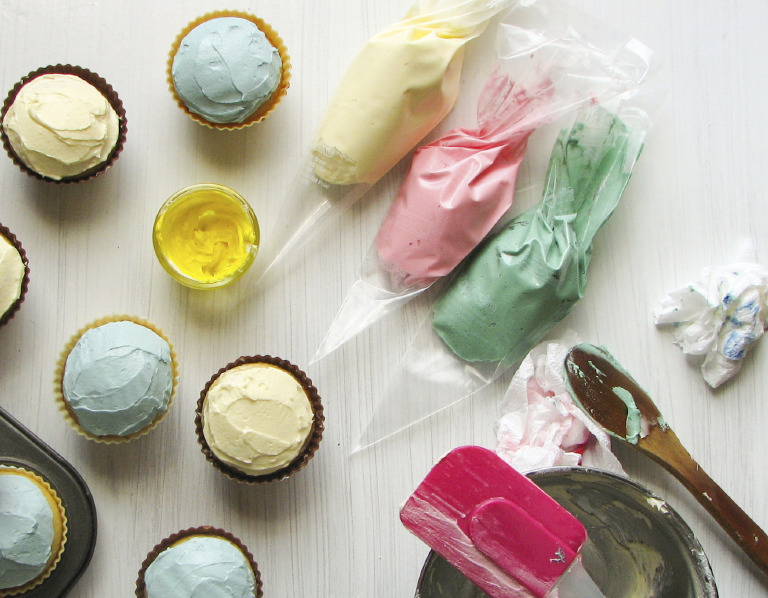
Decorating with pastry bag
A variety of patterns, drawings, compositions of the cream is limited only by imagination. For these purposes, there are special pastry accessories: a pastry bag and nozzles for it. You can buy them in a specialty store or online store.
There are situations when such a cream decoration kit is urgently needed, but there is no desire or opportunity to purchase it. In such cases, it can be done by hand. This kit will be disposable. Probably, for the first time when making it, the hostess may not have enough skill, and small details will not be cut out quite neatly, but such a structure will adequately replace the factory product.
For the application of a simple pattern can serve as a pastry bag. It is very easy to make it, especially since it takes only a few minutes to work. Pastry bag can be replaced by a simple package for products.
For these purposes, it is better to use stronger bags for freezing products.
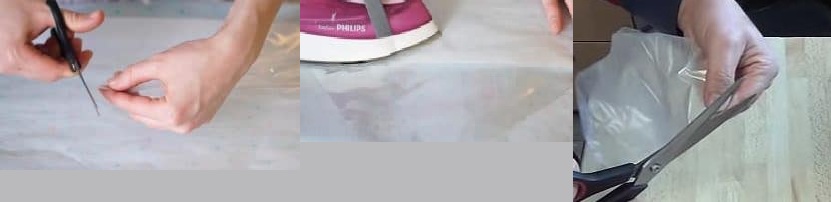
To decorate a delicacy, it is only necessary to cut off a corner from the package and fill the pastry bag with cream. The larger the corner is cut off, the thicker the pattern will be. To get a thin line you need to cut a very small hole. Very durable get pastry bag from the stationery file. Making it simple:
- cut the file diagonally;
- the resulting triangle should be put on any fabric;
- Cover it with a sheet of parchment paper and gently walk the iron on the edge of the triangle.
When gluing two parts of the file, you will get the necessary form of the bag, which must be filled with cream. Then a small corner should be cut off from the bag and, pressing on it, you can decorate sweets with cream.
Parchment
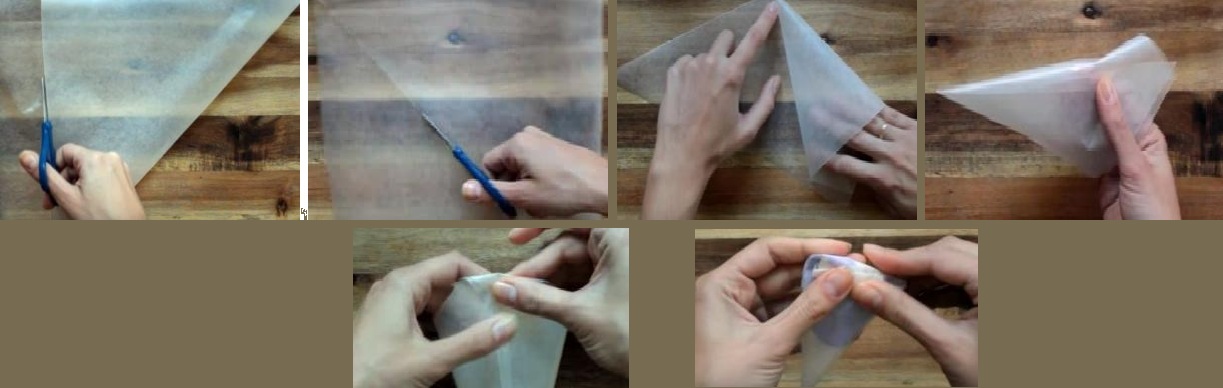
Using kornetik of parchment paper, you can not only make an inscription on the dessert, but also apply fine curls to the surface of the cake. To make a cornet, you need:
- take a small piece of parchment paper;
- cut a triangle out of it;
- roll paper with a cone;
- secure the edges by folding them inward.
After that, you should fill the cornet with cream, cream or icing. The tip of the cone needs to be cut. The product is ready to decorate your favorite dessert.
Nozzles manufacturing
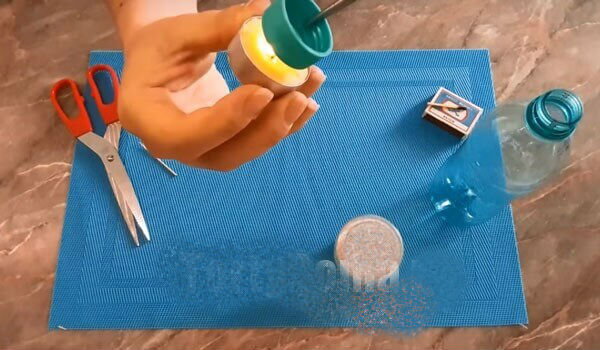
For more complex jewelry will need special homemade nozzles for pastry bag. Making them yourself is easy. As the material can serve various caps, caps from bottles for water or juice, stands for candles, caps for baby bottles. Even well-washed parts of vials from nasal drops are suitable for these purposes. Tin can nozzles are very popular.
The advantage of making nozzles for a pastry bag with your own hands is efficiency. Most of the materials needed for this are almost always at every hostess on hand. In addition, the products are usually disposable, which will save you from prolonged washing.
Making them with your own hands and spending a minimum of money at the same time, you will surprise the guests with your imagination and inventiveness.
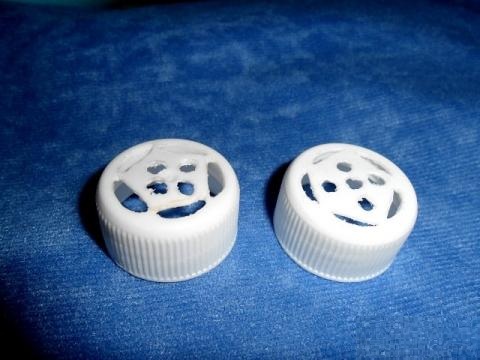
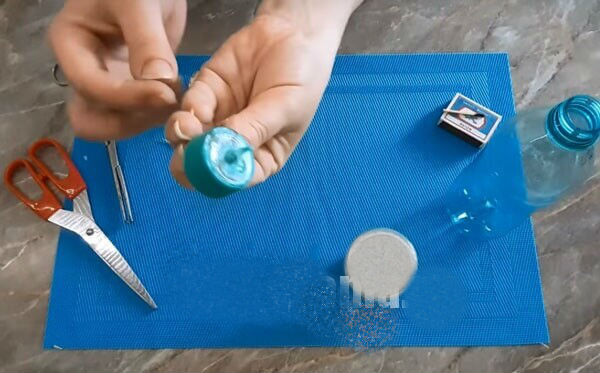
From plastic
Plastic caps are a convenient material for making nozzles for applying cream, but they lose to cans items, because there are fewer options for cream patterns derived from them than can be made from tin cans. In the plastic lid, pierce one or more holes with a well-heated needle. You can use any other clean piercing object. Thanks to a peculiar spout obtained after piercing, the cream is applied to the cake with a neat thin line. This option is more suitable for writing congratulatory words or for applying thin patterns on pastries.
From tin cans
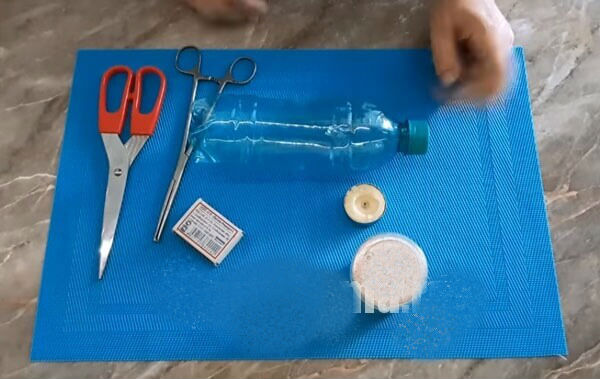
The most convenient material for making different types of attachments at home is a can. For work, take:
- tin can from under the soft drink;
- scissors;
- Scotch.
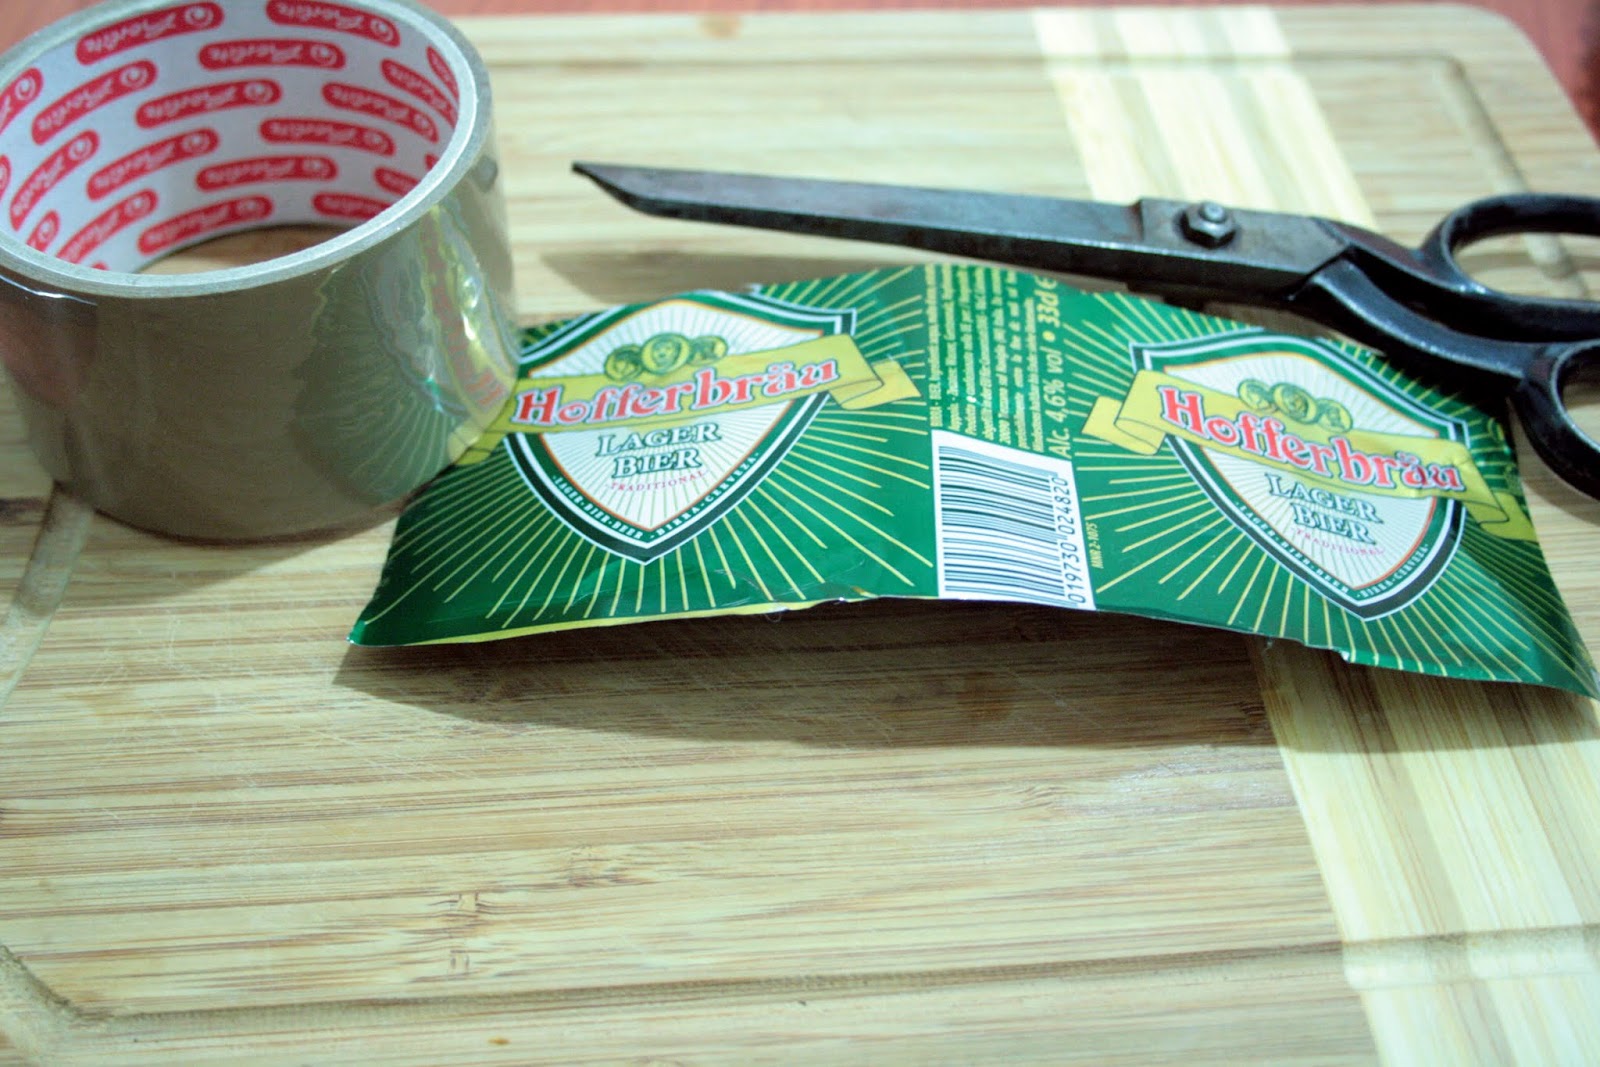
Phased implementation:
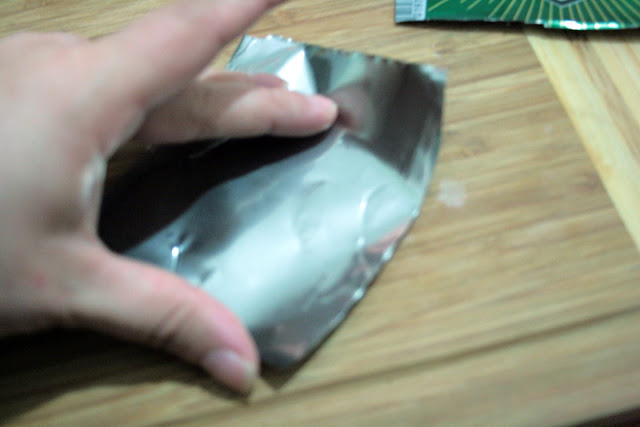
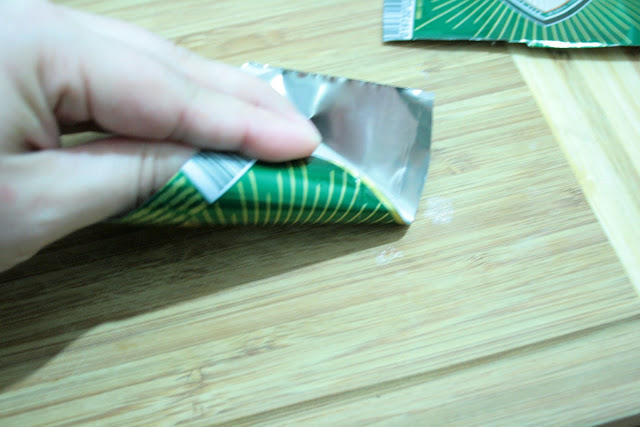
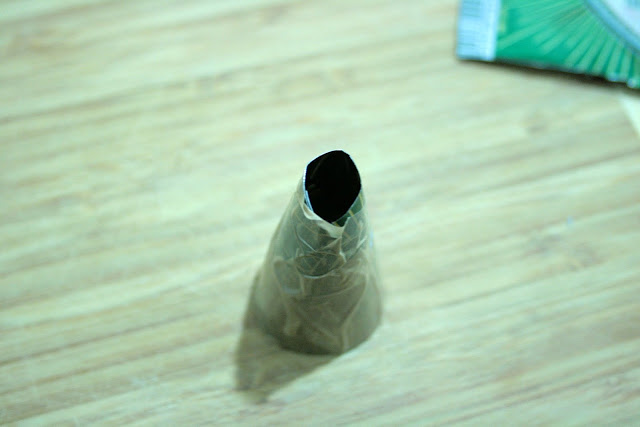
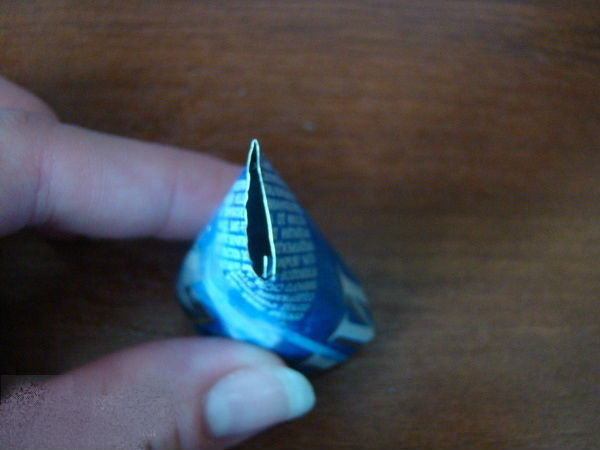
- take a tin and scissors cut a square measuring 7x7 cm;
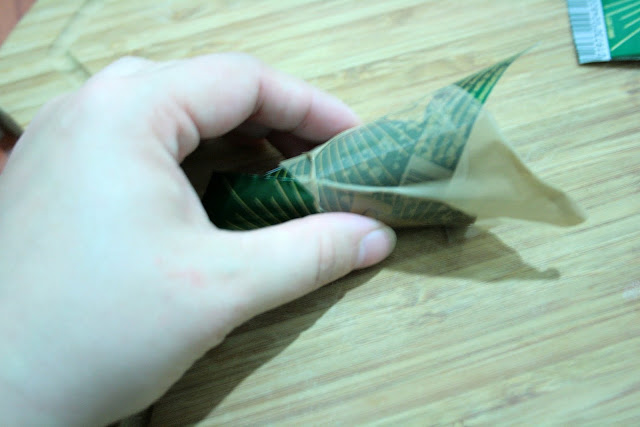
- get the resulting square in the form of a cone and fix with duct tape;
- cut the tip of the nozzle, given the size of the applied pattern;
- in a plastic bag for storing food, cut off a small corner and insert the finished nozzle;
- fix the product with adhesive tape.
Now you can do the design of the cake. This nozzle is better to use for writing congratulatory words on the cake. It is also suitable for simple patterns that do not require special skill.
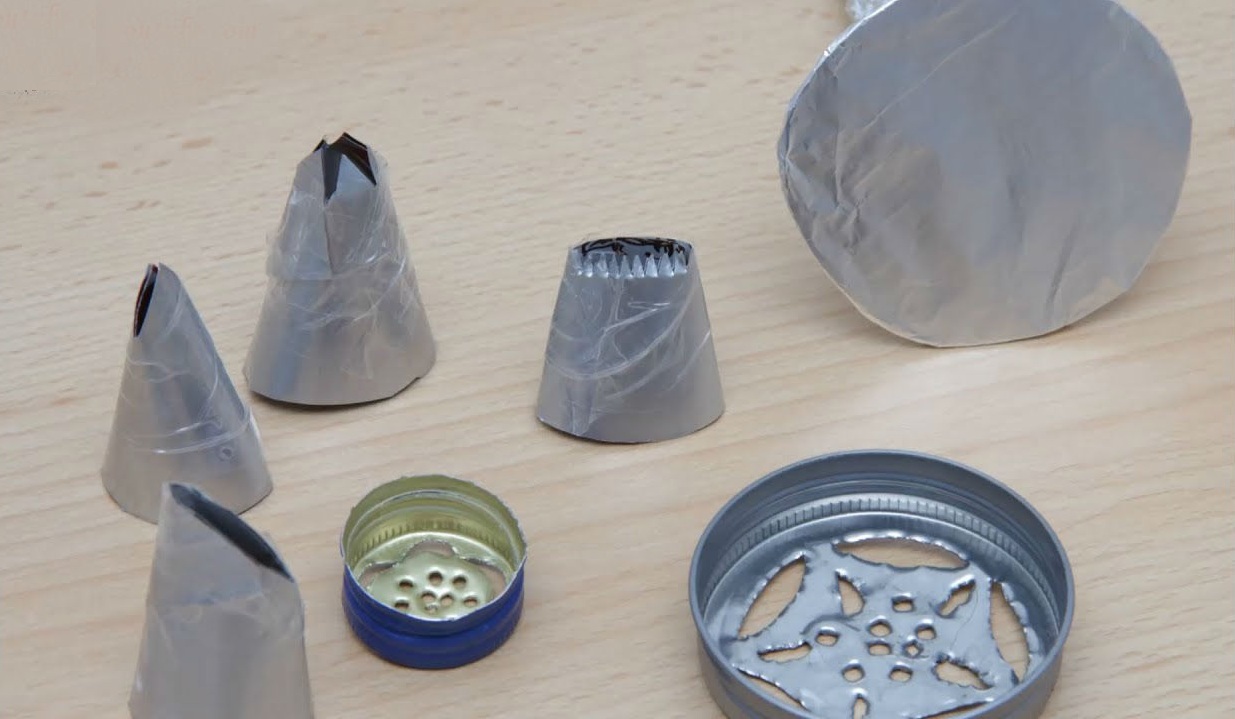
Tulip Head
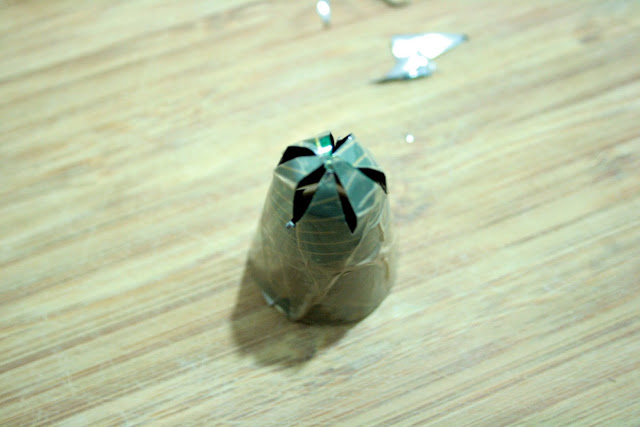
For such a product is more suitable wide tin lids or a metal stand for a candle. The action algorithm is as follows:
- make a thin hole with a diameter of 2-3 mm in the center of the cover;
- make small holes around the center circle;
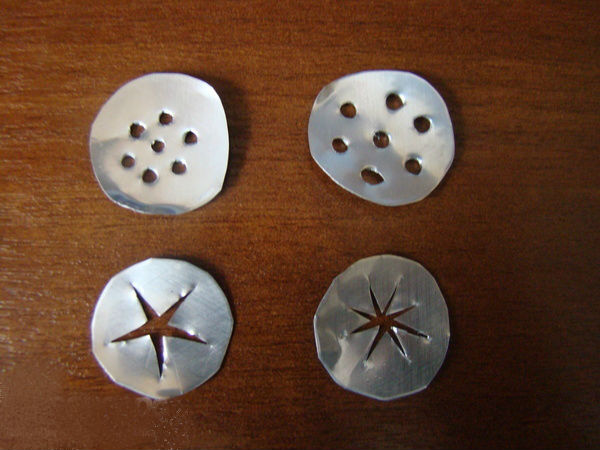
- to get the tulip petals you need to cut a few arcs with a linoleum knife, the arc should resemble a thin crescent, the sharp corners should be directed to the center.
There are even more complicated variations of the tulip model, but they require some skill and accuracy in cutting. In a sophisticated version of the tulip nozzle, the petals are cut out in small zigzags and are turned not to the center, but to the outside. This option is called velvet tulip. It is especially important that the cutting tool is very sharp: it will provide an even and neat contour of the necessary details. And also from the covers you can cut all sorts of shapes: stars, crescent, snowflake, heart, semicircle and other figures, for which there is enough imagination.
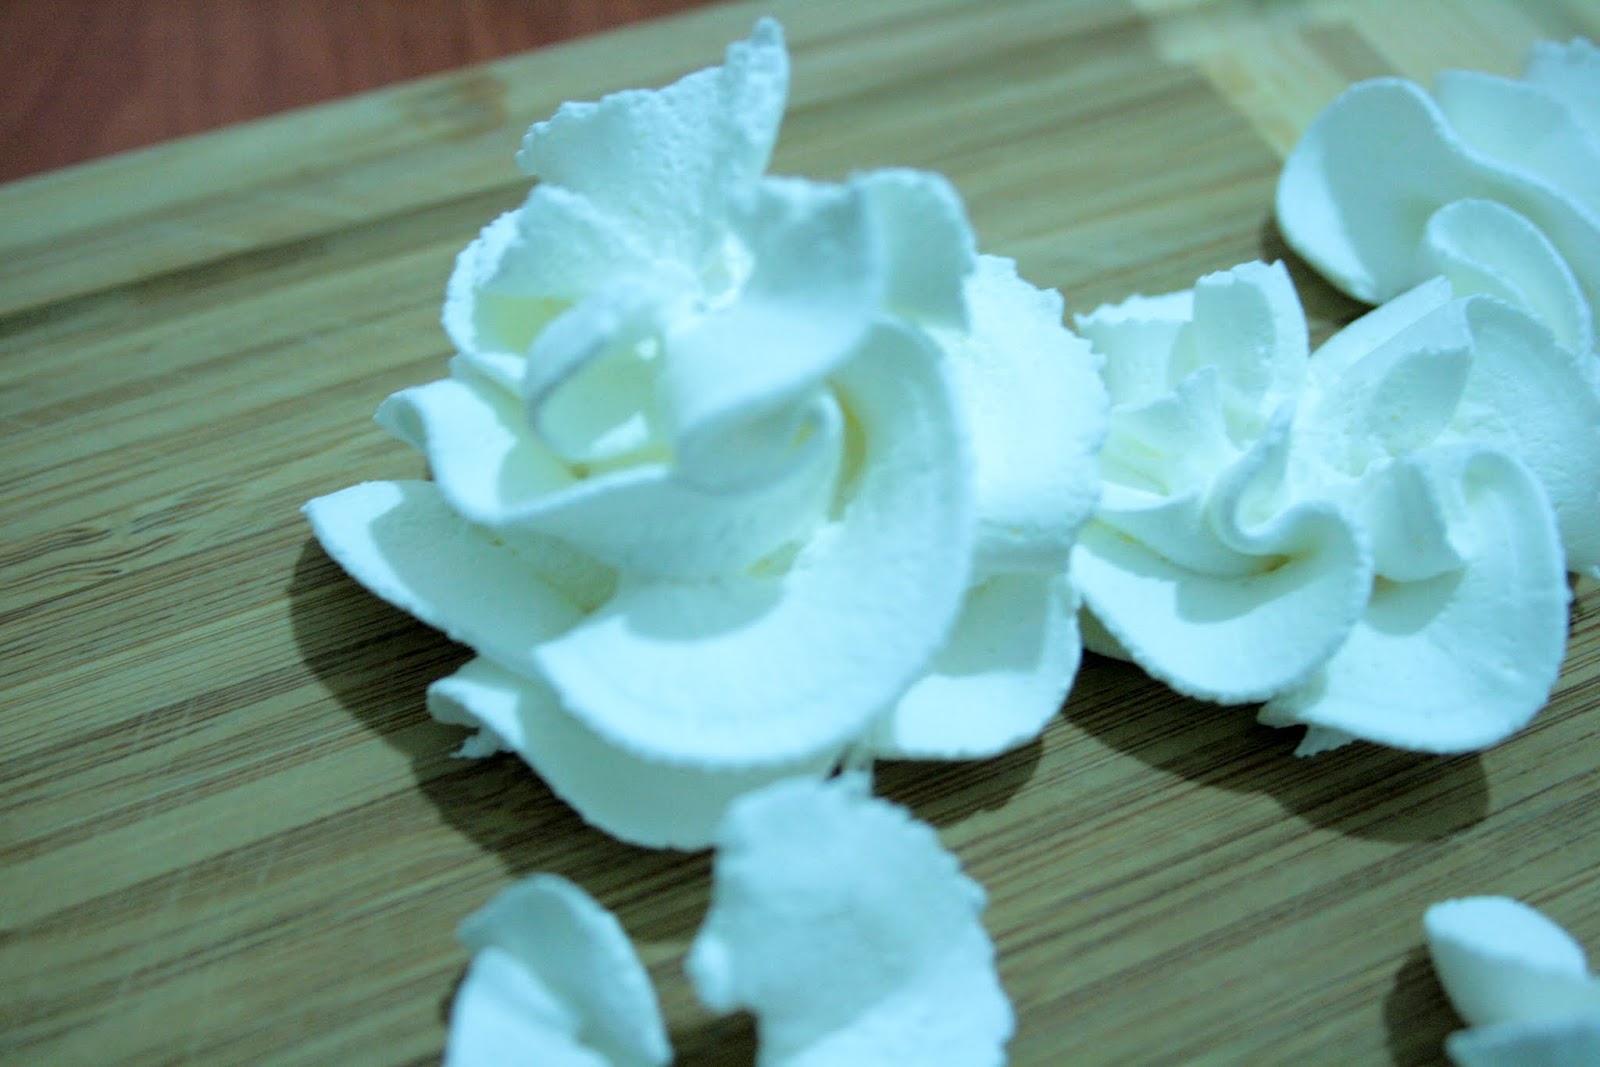
the Rose
For the construction of nozzles would need:
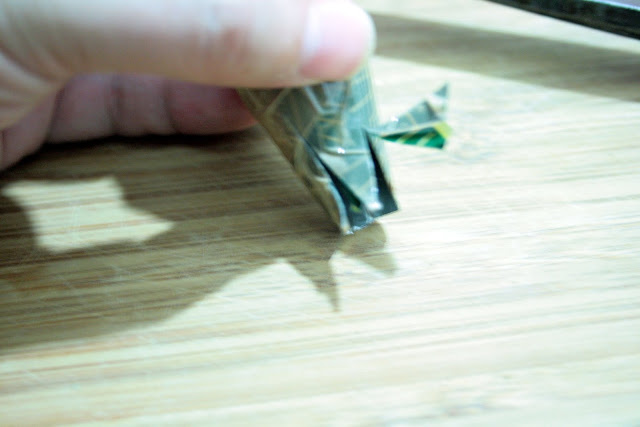
- take a cone made of tin and trim its end diagonally;
- then one side of the cut should be slightly straightened with your hands or with pliers, and the other left narrow;
- A cone is put on a pastry bag filled with cream and squeezed out the cream with smooth movements, forming rose petals.
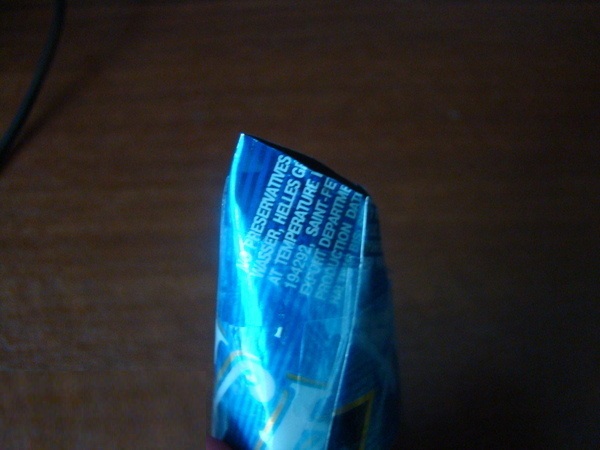
For the manufacture of more abstract drawings, you can trim the end of the cone diagonally with fine teeth. You will get a relief pattern, the depth of which depends on the size of the teeth.
Nozzles for the cream do it yourself in the video below.


