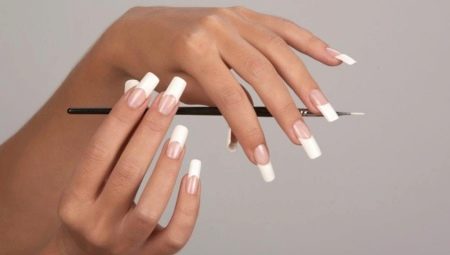
Nail extension is a demanded procedure that allows you to quickly get the desired length of nails and well-groomed hands. Special gels, camouflage bases or acryl are used for building.
Make nails can be in the cabin, but the technique of building acrylic is not difficult to master at home.
For self-building acrylic at home you need to purchase special materials and tools. Before buying it is necessary to decide in which technology it is supposed to build up - on forms or tips.

Pros and cons of home building
Home buildup for the first time can cause difficulties caused by flaking material from the nail. This is due to insufficient pretreatment of the nail plate, preservation of unpolished areas, or the presence of greasy stains due to poor degreasing of the plate.
The price of materials varies from 3 to 8 thousand rubles. But it should be borne in mind that the consumption of powder and other means is minimal, they are enough for about six months or a year. Convenient to purchase materials in a professional store or on a certain brand site.
Despite all the shortcomings, home building is an excellent alternative to the salon procedure. It allows for correction at any convenient time and as often as necessary. Personal product quality control, protection against cuts and the guarantee of sterilization of instruments are additional benefits of independent work. Properly applied acrylic powder protects against mechanical stress, ultraviolet radiation, and allows you to get the desired length on thin and brittle nails.

Required materials and tools
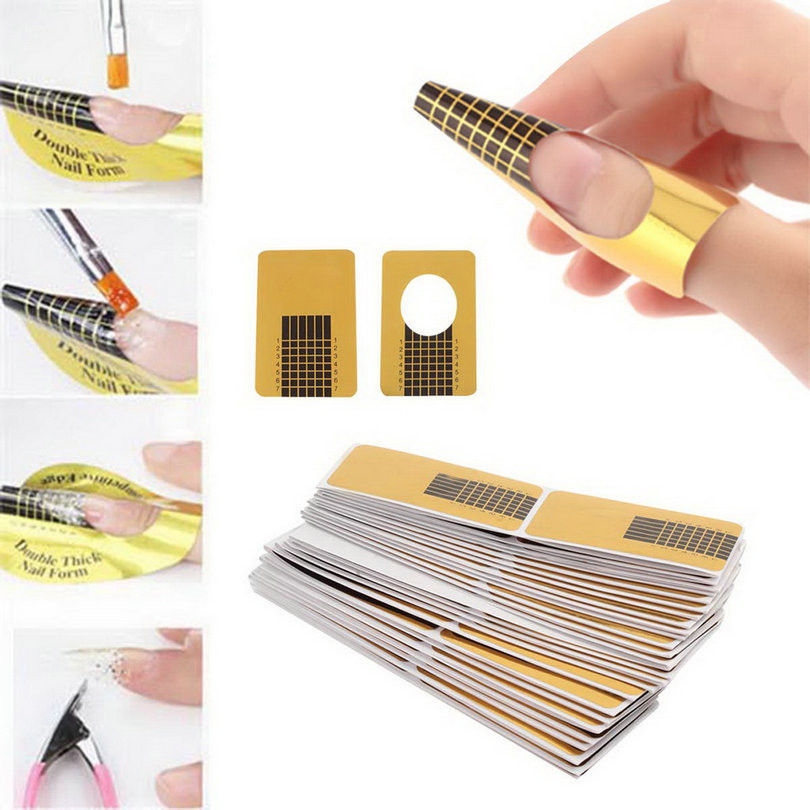
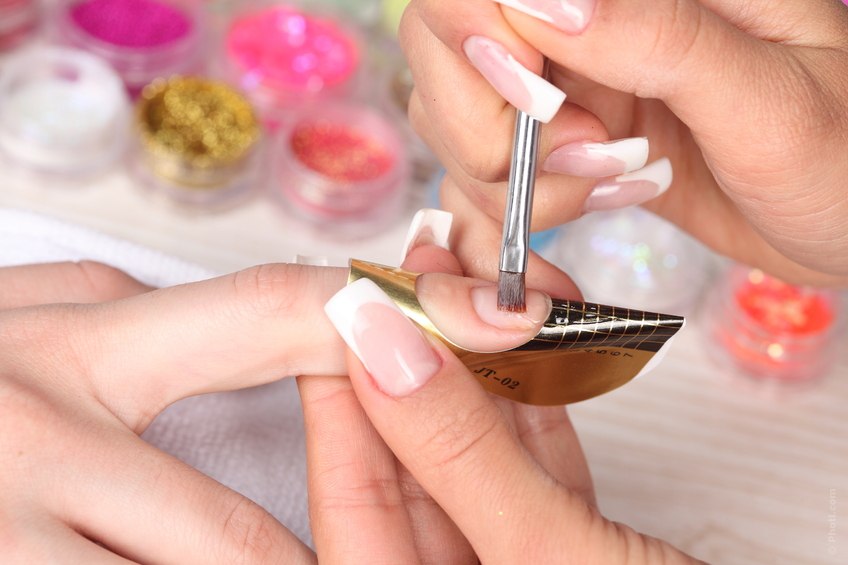
- Forms. To increase the nails in this technique, it is necessary to allow the nail to grow a couple of millimeters, then it will be possible to fix the form under the edge of the nail plate. For long nails is to create the desired shape or shorten them, if they are of different lengths or broken.
- Tips. In this technique, in addition to the false nails themselves, you will need special forceps, tip cutter, with the help of which the forms are shortened. Still need glue.

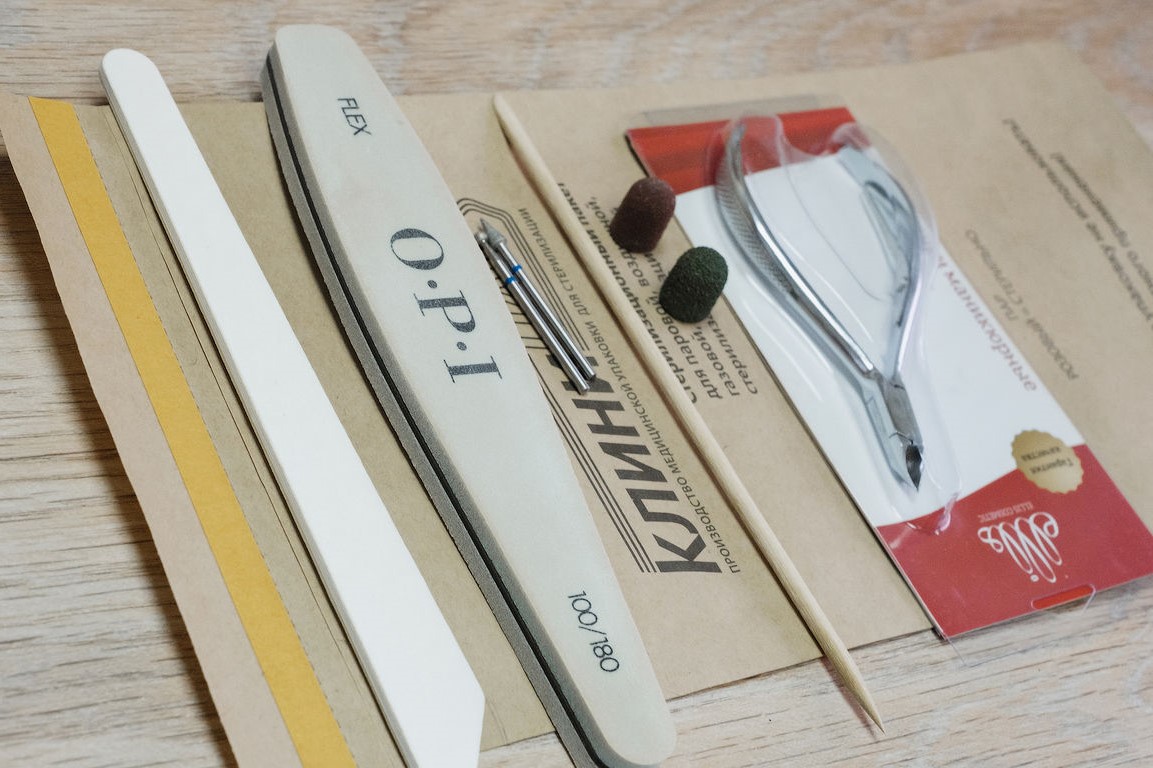
- Coarse file. Used for filing and grinding the nail before building. It is worth buying files of different sizes and with varying degrees of abrasiveness. Soft sawing, buff, after the grinding process dust is removed.
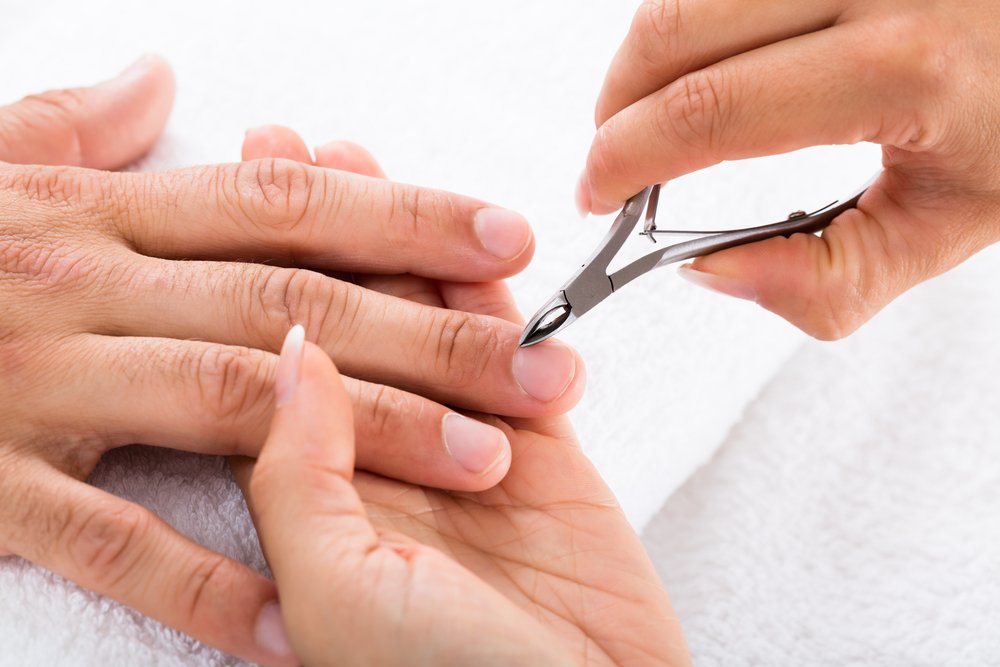
- Orange stick and nippers. These items are used to remove or move away the cuticle and pterygia. This is done for the best grip of the material, and also allows the hands to look more well-groomed.
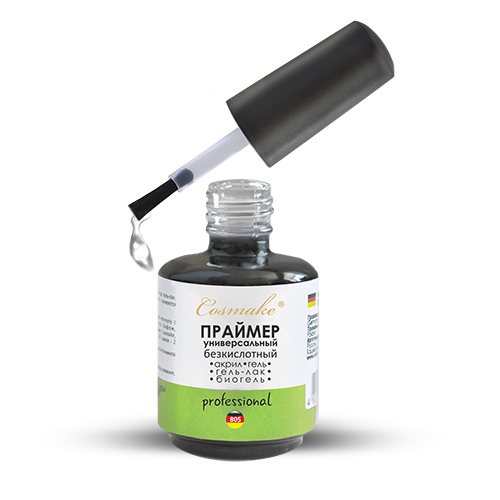
- Primer. This is an odorous substance that improves the contact of acrylic with the nail plate. The primer is applied after sawdust.
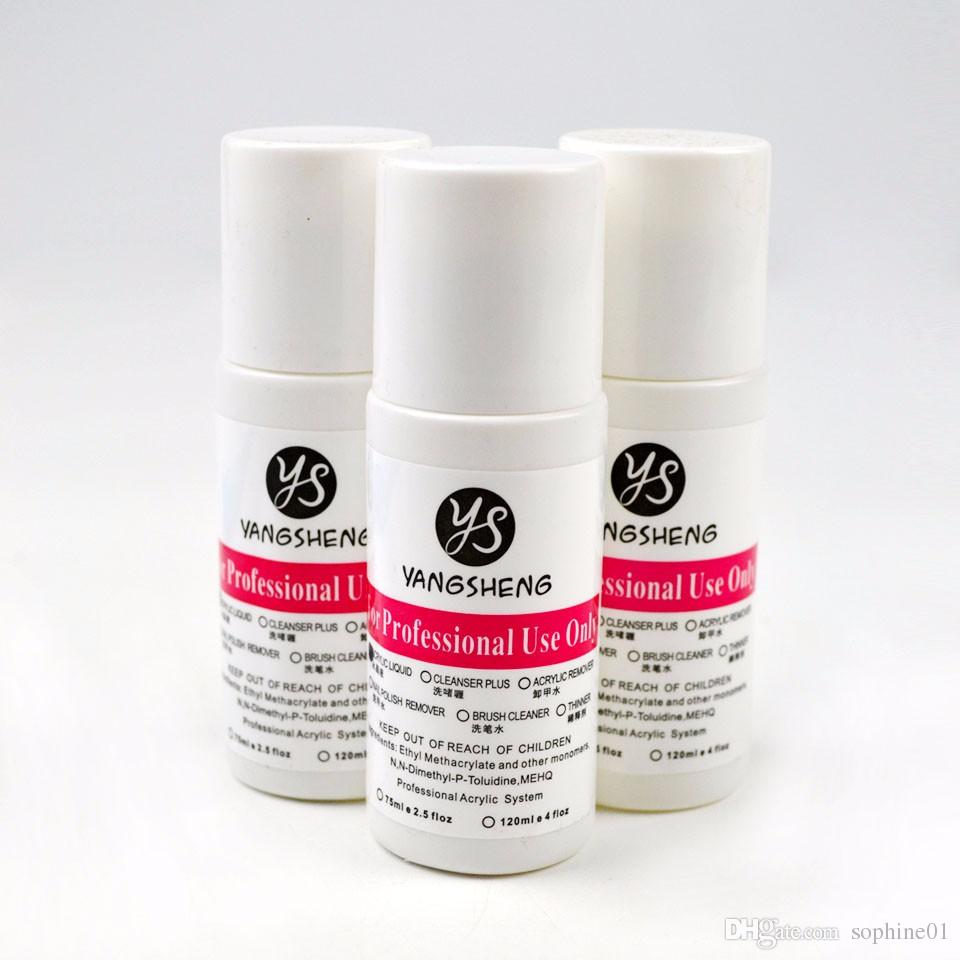
- Liquid monomer Necessary for the application of acrylic on the base, impregnated with primer, is involved in the polymerization process of acrylic.
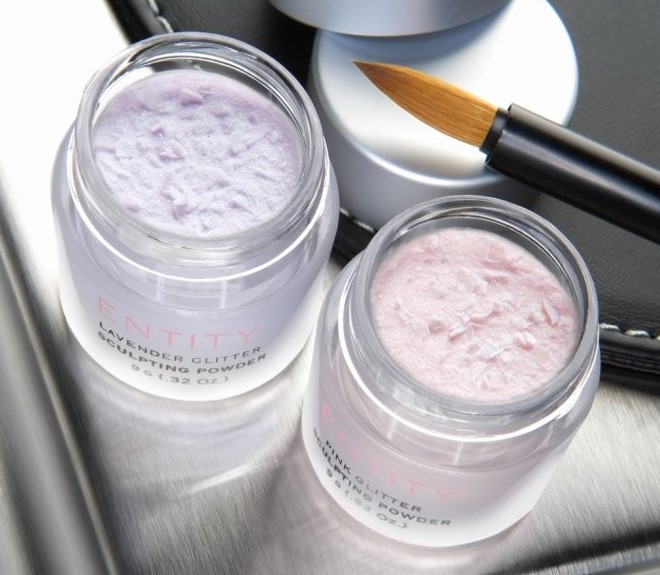
- Synthetic brush. With her and the process of distribution of acrylic powder.
- Acrylic Powder. It is a polymer powder of different colors, with a dense or translucent effect. Used for classic building and modeling of design elements.
It is advisable to purchase all the materials of one brand. This is more convenient, and there is no likelihood of conflict between different materials, expressed in the fragility of the coating.
How to make yourself?
Let us dwell on two technologies that allow to make the process at home.
Building on forms
Step-by-step instruction:
- Prepare your hands for building, wash and dry them.
- Using a large file, file the top layer of the plate.
- Perform a classic manicure: remove the cuticle or push it with an orange stick.
- Clean up pterigy.
- Remove excess dust and degrease the nails with primer.
- Put the form under the tip of the nail and secure the ends.
- Reapply primer.
- Dip a brush in liquid (liquid monomer), then take a small portion of acrylic and evenly distribute it over the surface of the nail and form.
- After forming the length and shape of the nail, wait until the material is completely dry, you can use a lamp to accelerate the polymerization of the material.
- Remove the form and remove unnecessary corners and roughness on the finished result. To process the sides, and to buff the surface of the nail with a soft buff.
- Finished nails can be varnished and oil or hand cream.
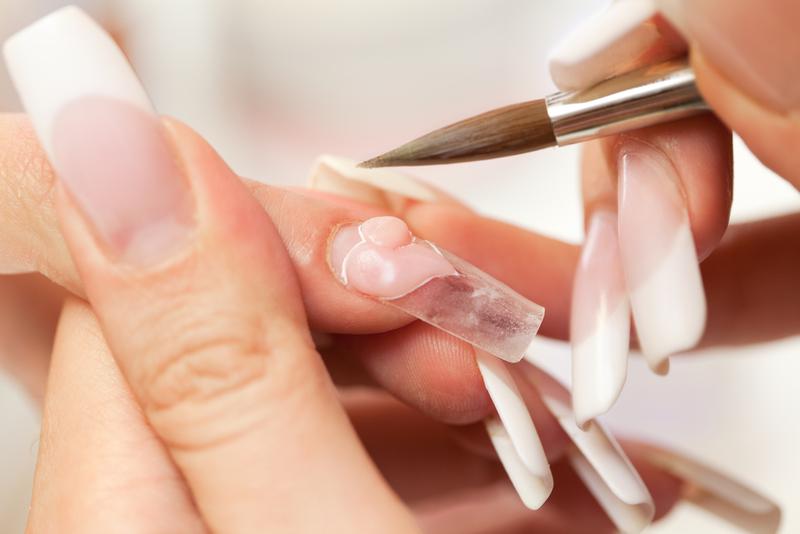
Building on tips
Phased process:
- prepare hands, polish the surface of the nail with a coarse-grained nail file, remove the cuticle;
- Tips should be glued with glue, trying to press the element as tightly as possible in order to avoid air bubbles;
- to give the desired length and shape of the tips, using tongs and a file;
- then align the artificial nail with the present in the place of gluing;
- cover the surface with a primer;
- dip the brush in liquid, then in acrylic, and distribute a small amount of powder on the nail, affecting the tips;
- most of the acrylic should be in the place of gluing, strengthening the "stress zone".
Master class on nail acrylic on forms, see the following video.


