The tendency to decorate nails with sliders today is one of the most popular in nail art. They are bright and beautiful, and sometimes even look like hand-painted. However, despite the fact that they have already appeared quite a long time ago, not everyone can use them correctly. Let us dwell in more detail on how to properly glue the sliders on the gel varnish.
Material Features
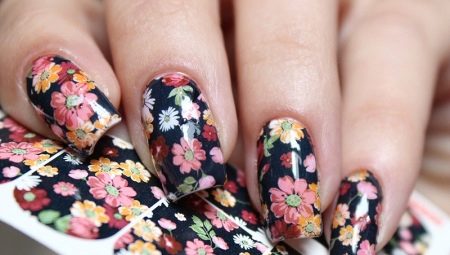
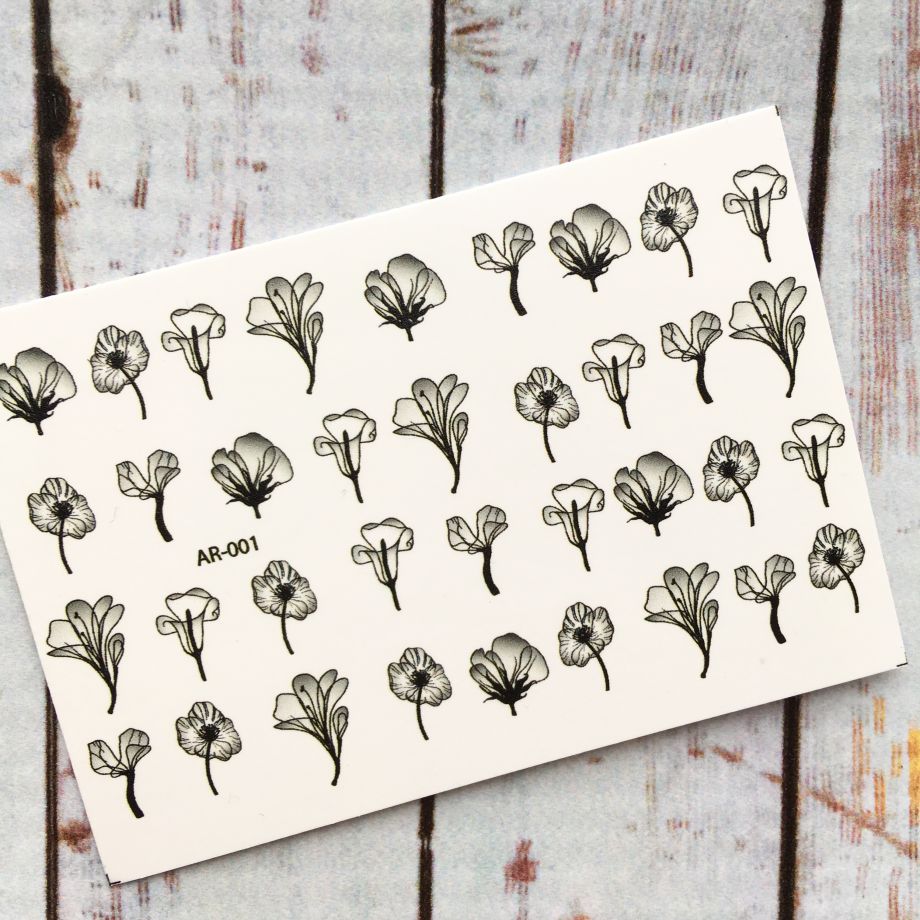
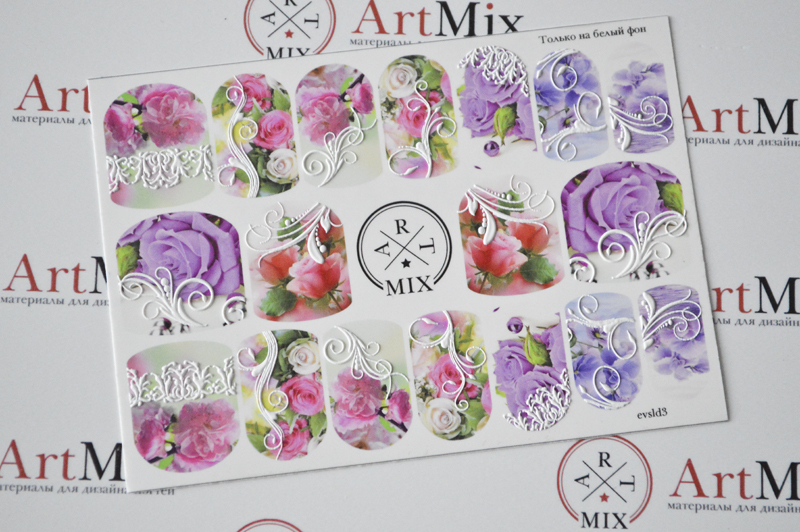
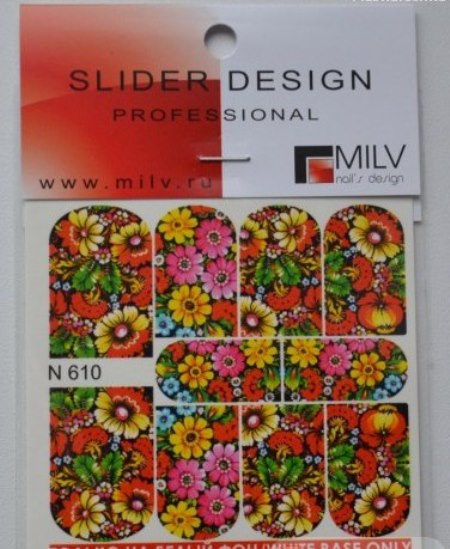
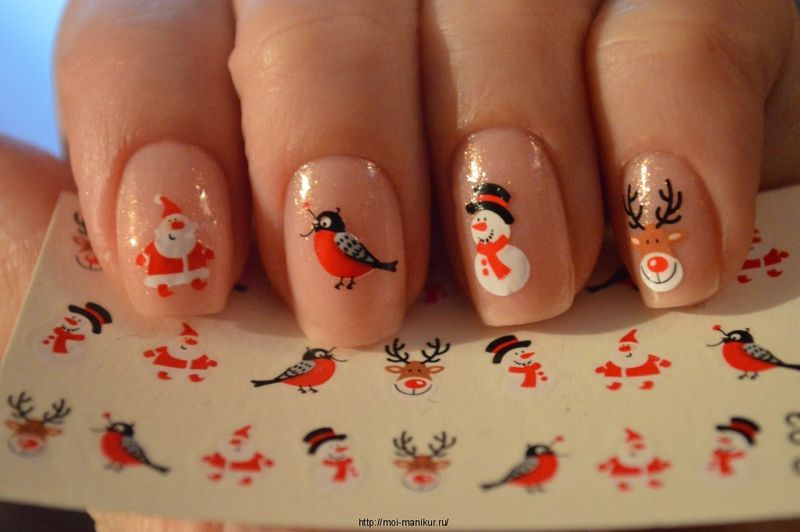
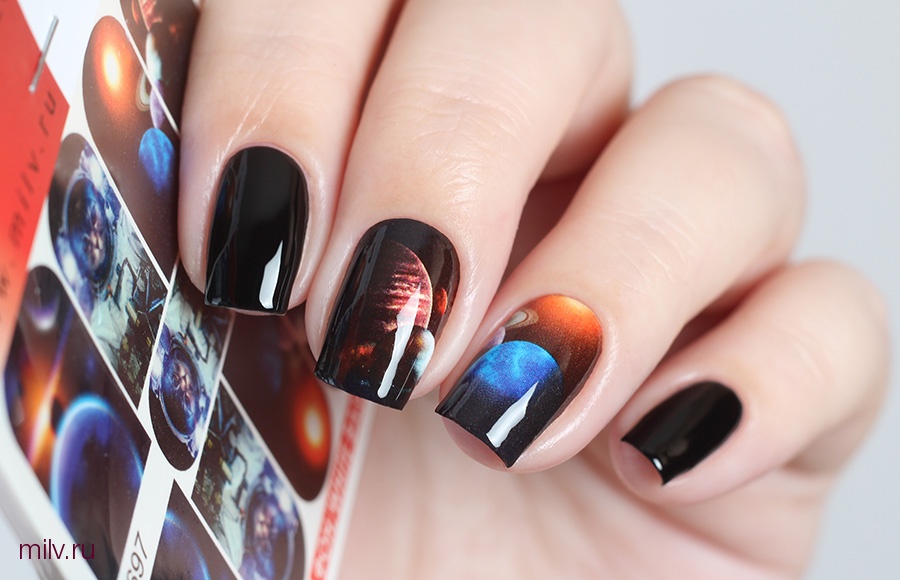
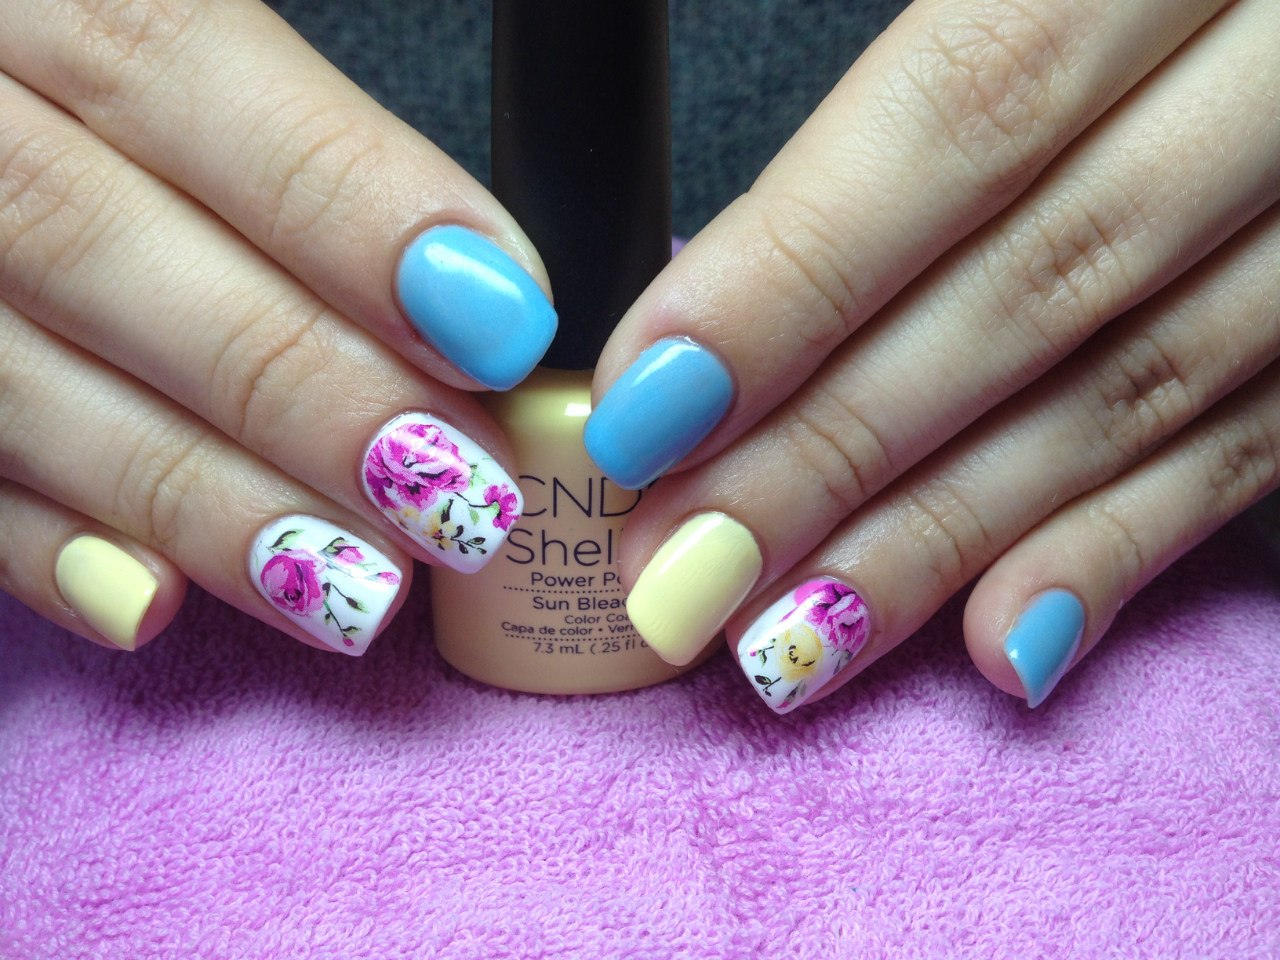
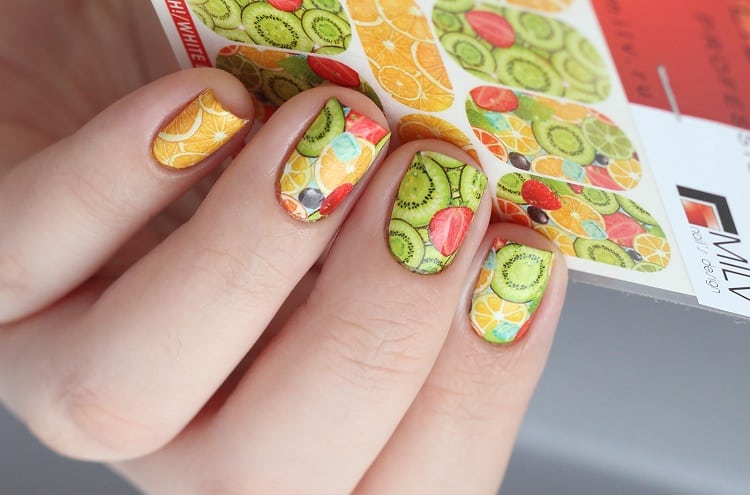
Often, sliders call all kinds of nail stickers that are on sale. However, these are water images with a protective top layer and paper backing. They are thin, except for the layer of protection, have a working film with printed pattern. Depending on the variety, the film may have a transparent or colored, as well as a monochrome background.
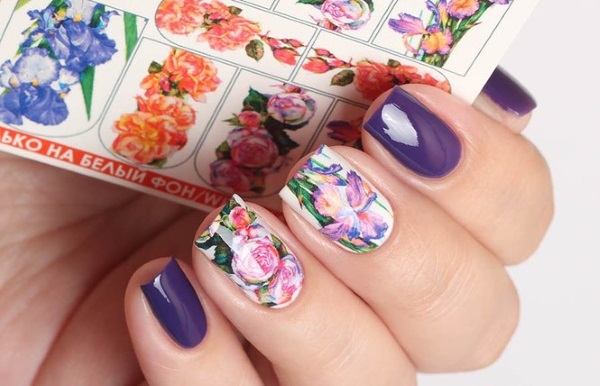
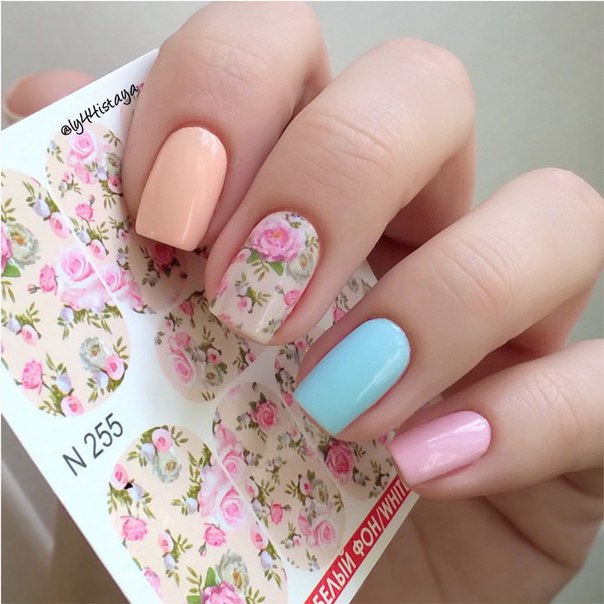
The sliders themselves can provide for the complete overlapping of the entire accent nail or the decoration of any part. That is why they are divided into two types: photodesign and applications on a transparent background. The process of transferring the image will consist in removing the film from the paper base and fixing it on the surface of the prepared nail design. It does not matter the color of the picture, nor its effect, nor size.
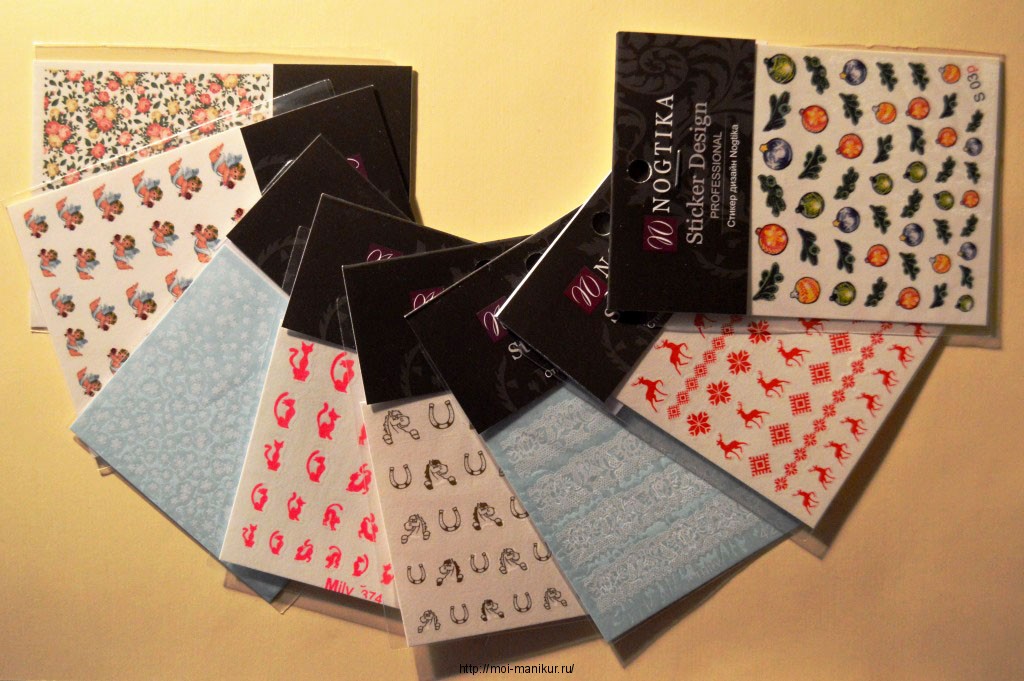
Sliders sell in sets, each of which differs in a certain color range and theme. At the same time, often paired pictures with a symmetrical pattern, which is convenient for choosing an option to emphasize a particular nail plate. Trademarks produce separate sets for arms and legs, which differ in the number of sliders and their size.
Necessary tools and materials
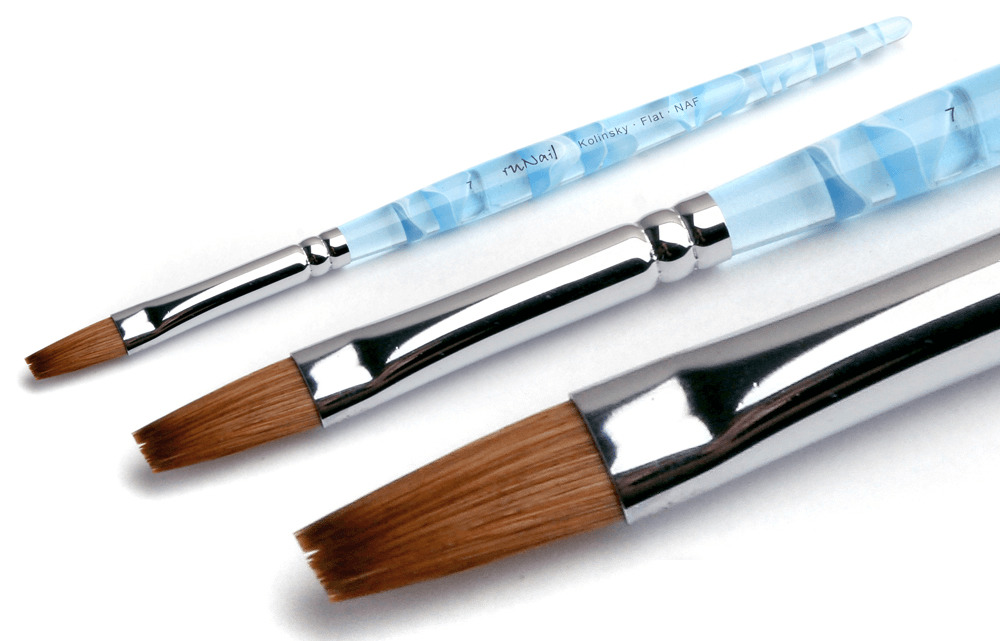
To work with the slider design will need a flat brush and tweezers. In addition, the master can prepare a special rubber hooves, which can wipe the leaked composition under the aqua-sticker. It should be understood that the workflow will include a stage of hygienic manicure. Therefore, the required materials and devices in the work will be:
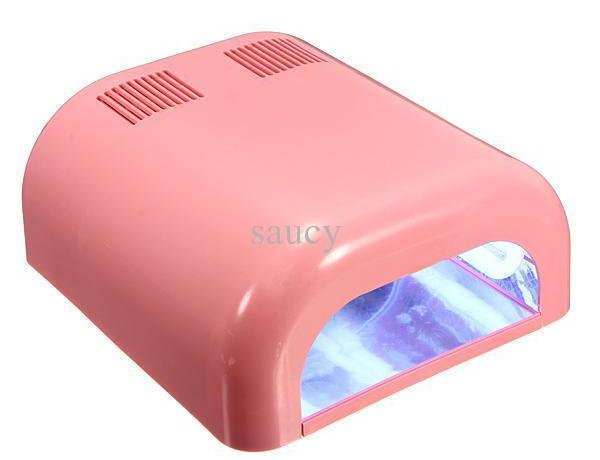
- drying lamp;
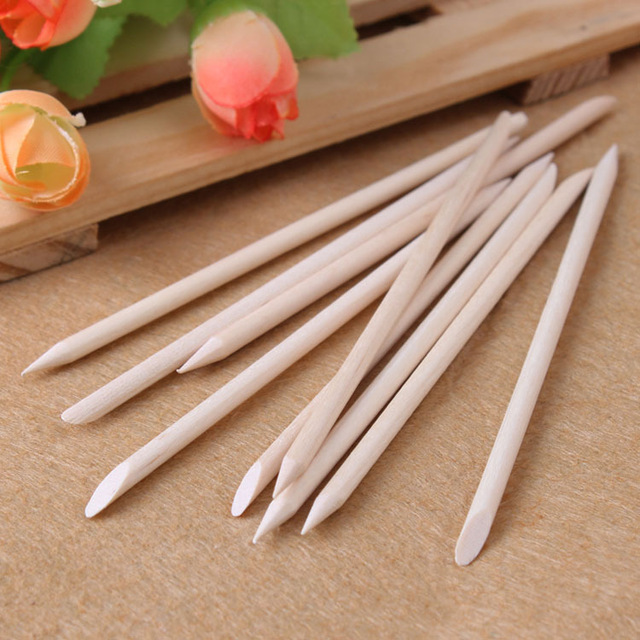
- orange stick or pusher;
- nail napkins;
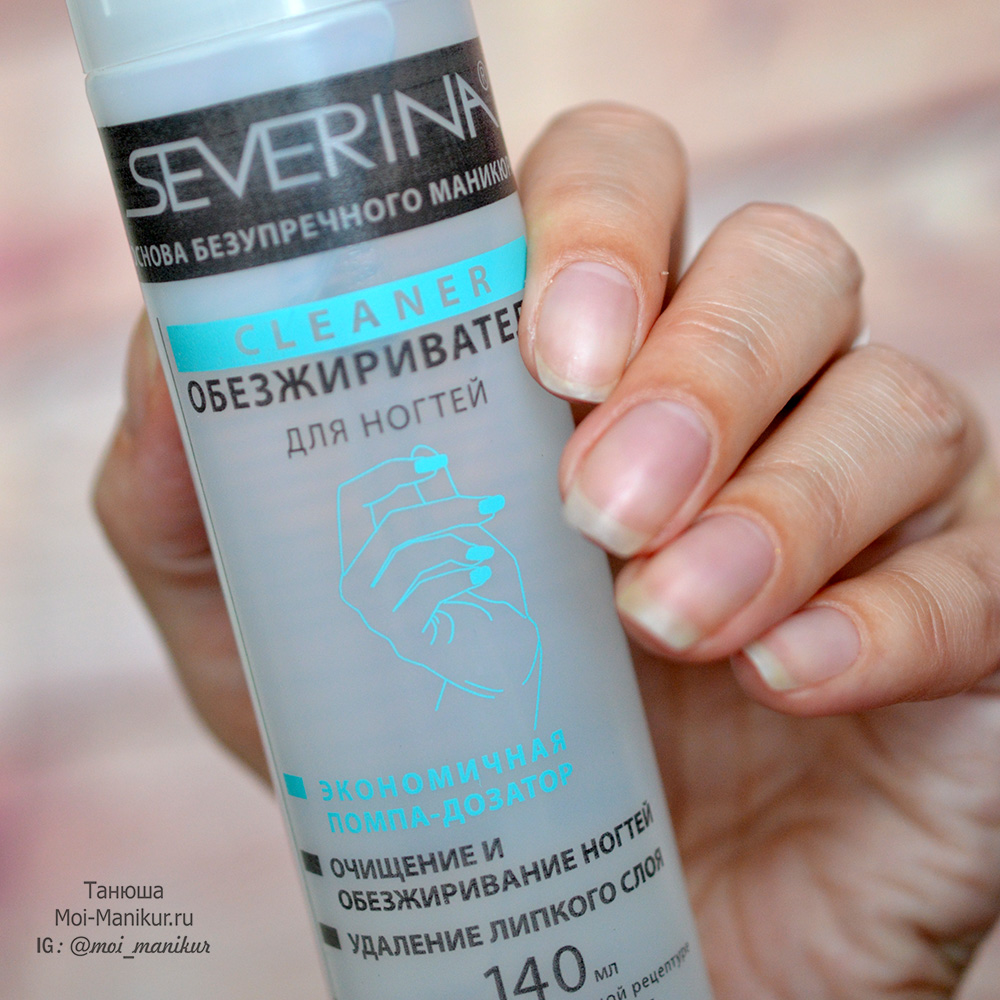
- degreaser;
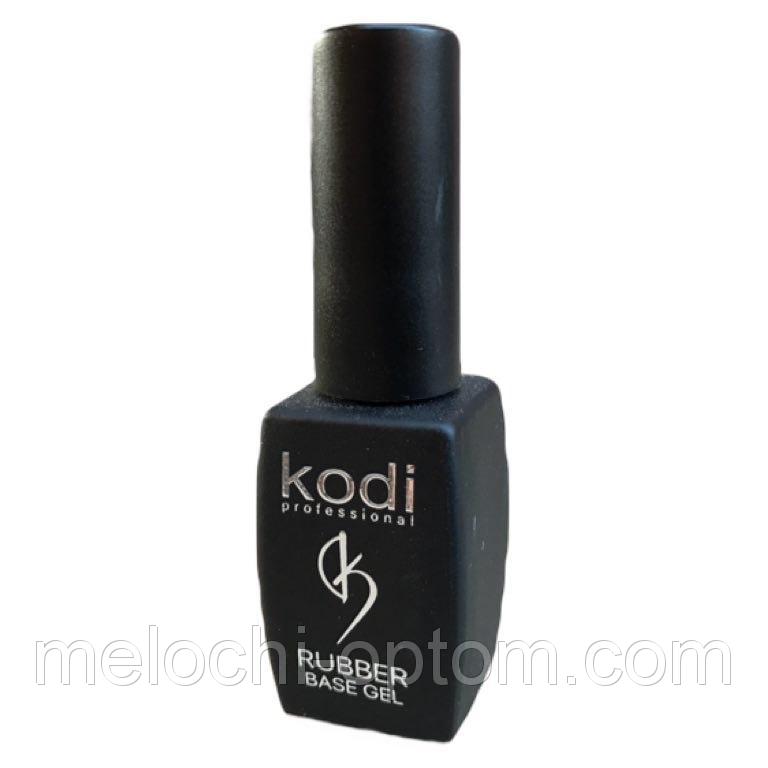
- base material;
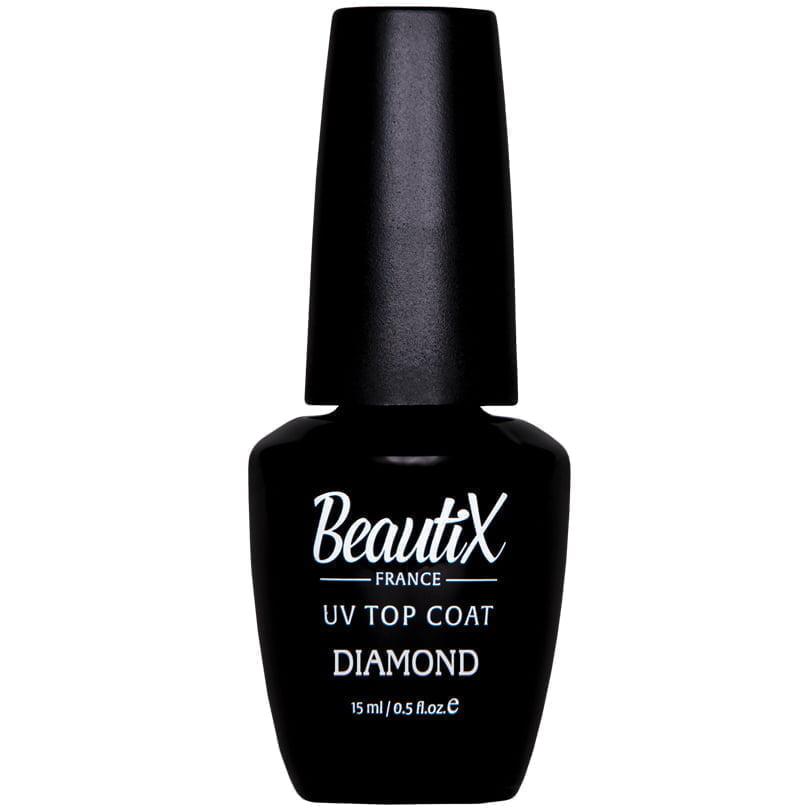
- topcoat;
- pigment layer for the substrate;
- decor (optional);
- percutaneous;
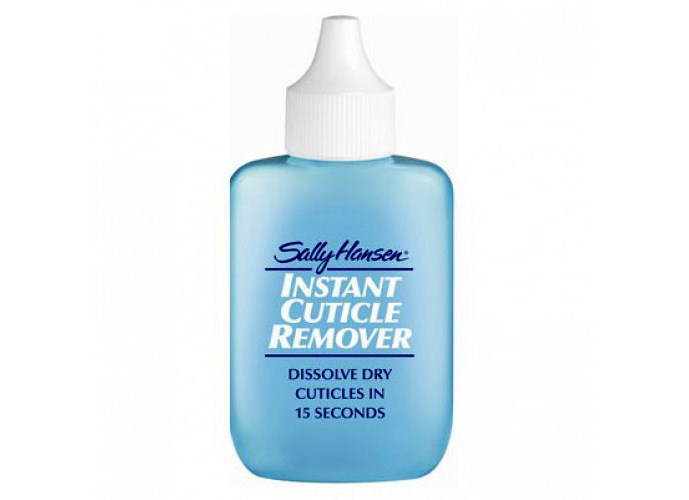
- cuticle remover;
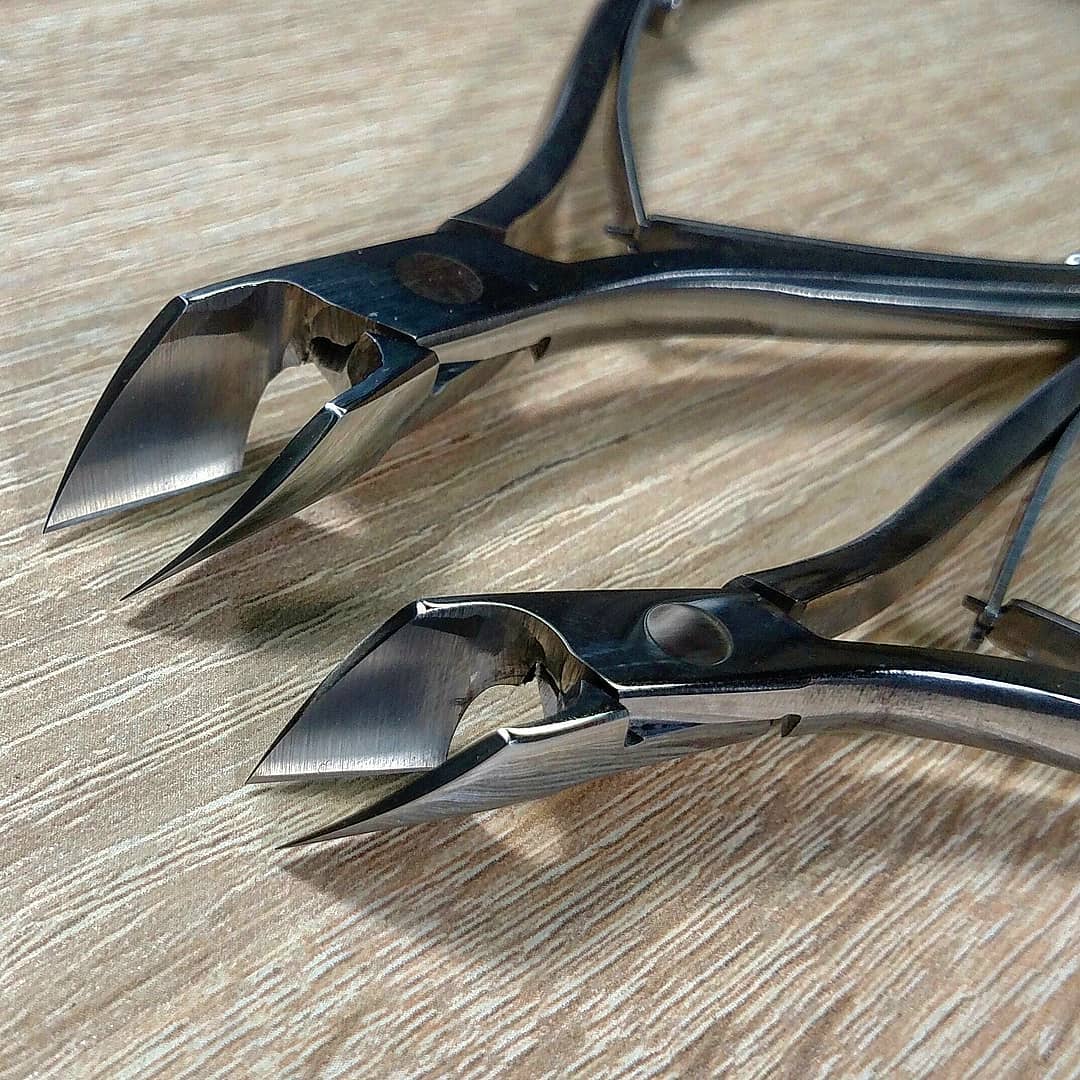
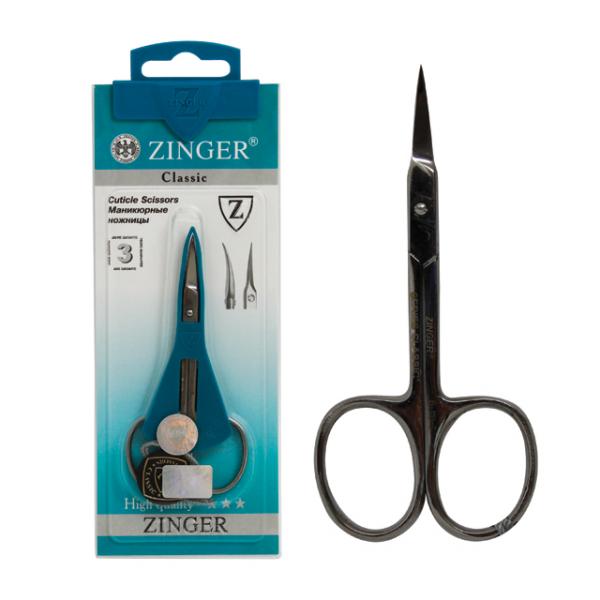
- nail scissors;
- soft grinder and file;
- bath with warm water.

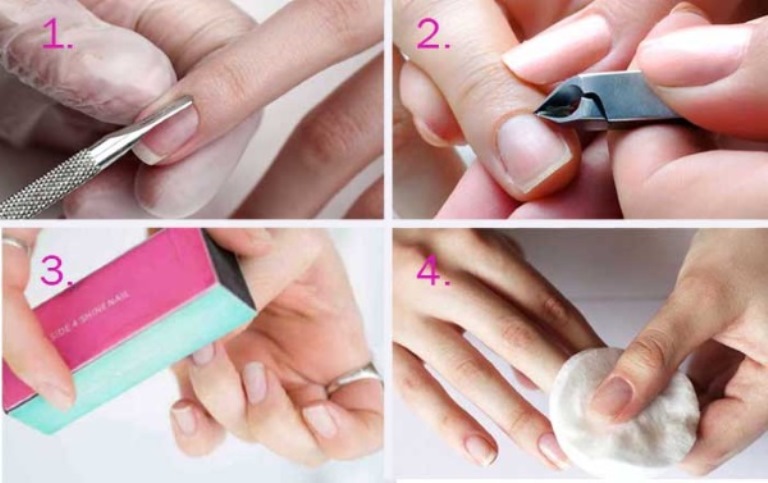
Cooking nails
It is useless to glue sliders on unprepared nails. Hygienic manicure should be a mandatory step to the design. First, the nails give the desired shape and length, they put a softening agent to remove the cuticle. After that, the fingers are lowered into the bath for a few minutes, then wipe dry and lift the cuticle, clean the pterygium.
The wand passes around the nail, checking the quality of the work, and, if necessary, again cuts off what was passed over for the first time. After this, the fingers are oiled. If the oil is not used, proceed immediately to the removal of gloss buff. Next, they clean the sawdust with a brush, after the brush they use a napkin and a dehydrator for the same purpose. In addition, the nails degrease to enhance the tenacity.
Create a substrate
Pictures do not glue on a non-painted nail. Immediately assess the condition of the plates and, if necessary, strengthen the special composition. It is dried in the lamp.After that, proceed to the application of the base layer. Most often it is a clear composition with characteristic stickiness. It is applied in a thin layer to prevent wicking over the side rollers and cuticle.
The base layer is dried in the lamp, and then the future substrate is applied to it. As a rule, this is a gel polish of white color, since other tones will distort the clarity and saturation of the original tones of the slider. However, if the background of the aqua sticker is transparent, it is also applied to the colored background, for which you choose a pigment of the desired color. The thickness of the slider also matters: if the film is thin, a white substrate is required for it. When the sticker is rather small, one base is enough for it.
You can glue the slider on 4 types of material: a transparent base, a white base, top and ultraband. At the same time, all of them will give a strong and reliable connection, which will allow you to hold the sticker on your nail all the time while the hostess will wear a manicure. However, if you want to use a white base, you do not need to apply two preliminary layers, it will replace them both.
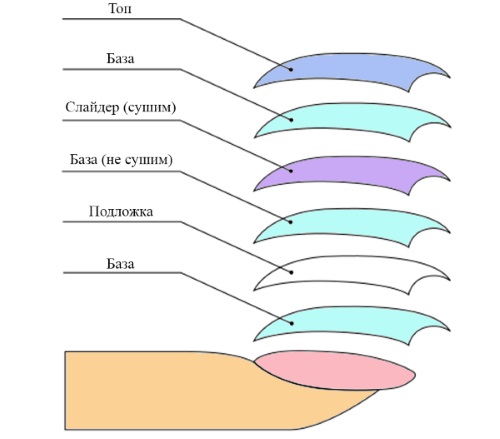
Returning to the step by step instructions, we note that the standard process of fixing the slider will include in addition to the base layer and the pigment another layer of base material. However, this time it is not necessary to dry it, because it is due to it that the aqua sticker will be held. Apply the material should be neat and thin, because with the further expansion of the image of its excess can flow outside the nail plate.
We work with a picture
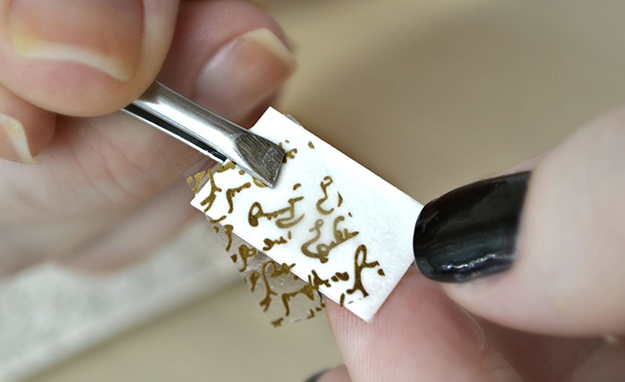
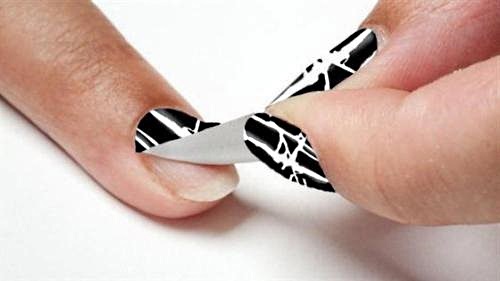
There are two options for preparing a slider for design. In the first case, it is cut out from one side according to the approximate shape of the base of the nail and the width, and then the protective film is removed and dipped into a container with water so that the working film can be easily separated from the paper backing. However, professionals in the field of nail art note that this technique is inconvenient because with it you can wet the front side of the label. This is undesirable because it may affect the durability of the mount.
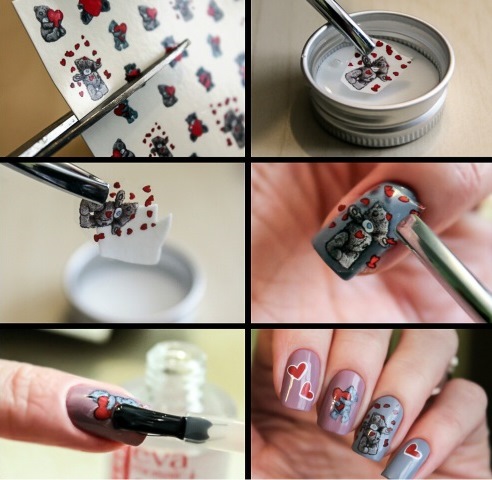
The best option, in their opinion, is to moisten the cut out image on a wet napkin for 30 seconds. This time is enough for the patterned film to move away from the substrate. In addition, its front side will remain dry, which is important for the durability of the design. It is tightened with tweezers and immediately transferred to the accent nail. You can not worry that the length of the slider is longer than that of the nail, because after drying you can remove it by filing the edge of the plate with the file. After that, the coating is dried in the lamp.
It is important to take into account the nuance that under the film the base, top or ultrabond will dry more slowly, and therefore the drying time can be doubled.
If you do not finish the decorative layer, the coating will begin to peel after a couple of days from the date of application.
To slider lay on the surface smoothly, you need to use a flat brush in the work, expelling with it the air pockets that can be formed during transfer. A layer of undried substrate will play a great role. It is necessary not to embed the picture, but to straighten it, achieving a uniform and even coating without folds.
All the excess is cleaned with a scraper (at the base) and a file (at the edge). In order not to cut the edge with a picture, you need to keep the file at an angle. If in the course of work small folds were formed, you can get rid of them with a primer. However, this composition is not so simple and is able to dissolve the sticker completely. To remove only the folds, you need to barely touch the brush with the composition of the working surface.
Decor and sealing design
Masters often prefer to give the sliders the appearance of hand-painted. To do this, they use special acrylic paints in the form of a gel, as well as pigmented gel polish, which is diluted with top for a more convenient consistency of the composition.Drawing is an underlining of some contours of a drawing, its spraying, for example, pearlescent lacquer, as well as painting individual fragments with colors.
After adjustments are made, the masters dry the design in the lamp and proceed to sealing. More often it consists of two layers: a base and a top. In this case, the base will glue all the previous layers with the top, and the top composition will be the final material in the work with the sliders. Both the base and the top need to be applied thinly, because the total number of layers is already sufficient. The thicker it is, the more likely it is to reduce the wearability of the manicure.
The base is applied to the slider and dried, after it the same is done with the top. However, those and other material need not forget to walk on the end of the nail. If you plan to place rhinestones in some places of the slider, they are placed on the nail before drying the top. After drying, you need to fix the rhinestones by applying another layer of top.
Conclusion
Working with sliders for nails is not difficult, but requires accuracy. It is important to choose a size so that the substrate does not show through on the sides. In addition, you need to correlate the picture with the available colors of gel polishes, seeking harmonious combinations. Even a beginner in nail art can apply it, but if you fix the design without following all the steps of the consistent technology, you can not count on a good result. In order not to suffer from the fit of the size, you can prepare the template in advance specifically for the size of your nail and cut the sticker on it, adding length.
Three ways to apply sliders are shown in the following video.


