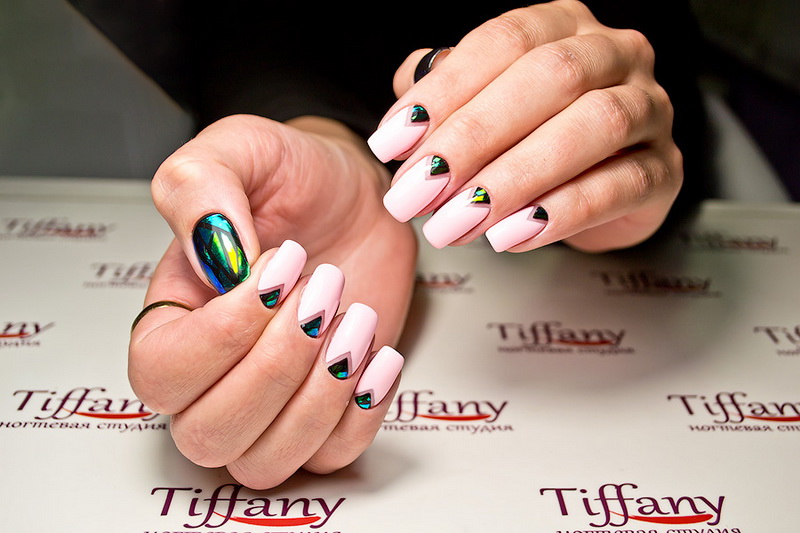
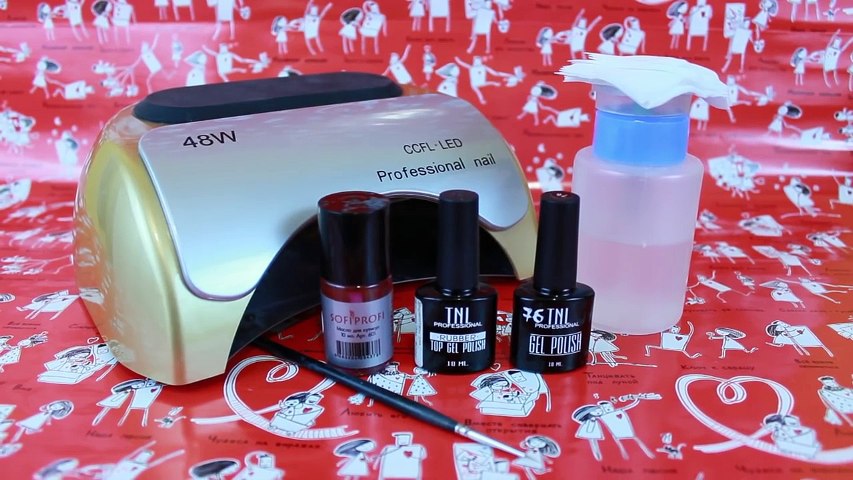
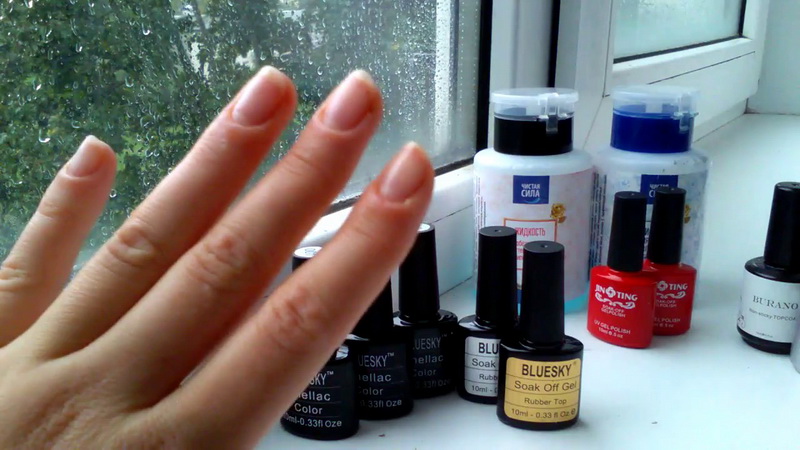
Any modern girl always strives to look great. And a significant role in creating a unique fashionable image is played by a manicure. One of its main criteria is the stability of the coating. This can be achieved only with the help of modern innovations of manicure in the form of gel polish. This material has recently gained great popularity, since its use allows up to a month not to worry about the beauty and well-groomed nails.
Coverage Features
This composition is a symbiosis of varnish and helium coating, which is characterized by increased strength and a large variety of colors and textures. The need to update it arises along with the growth of the nail. At the base of the nail appears uncovered space, which indicates the need to replace the manicure or its restoration. Nails painted with this composition are easily amenable to correction, which saves the situation for one more week. This procedure is quite popular and takes less time than a complete removal of manicure. For its successful application it is necessary to have certain skills and tools. If available, you can perform the correction of manicure gel varnish at home.
Advantages and disadvantages
The advantages of this type of coating are indisputable and widely known.
The main ones are:
- quick drying;
- ease of application;
- increase the strength of the nail plate;
- coating resistance;
- versatility.
We will understand in order. Although a special UV lamp is required for drying the gel polish, the process itself takes several minutes. When applying two or more layers of time is increased several times, but still - it's minutes. You can create any design you like at home at any convenient time. For modern busy girls, this is important, as well as the confidence that inadvertently clinging to a table or chair will not have to worry about chipping and cracks on your favorite nails.
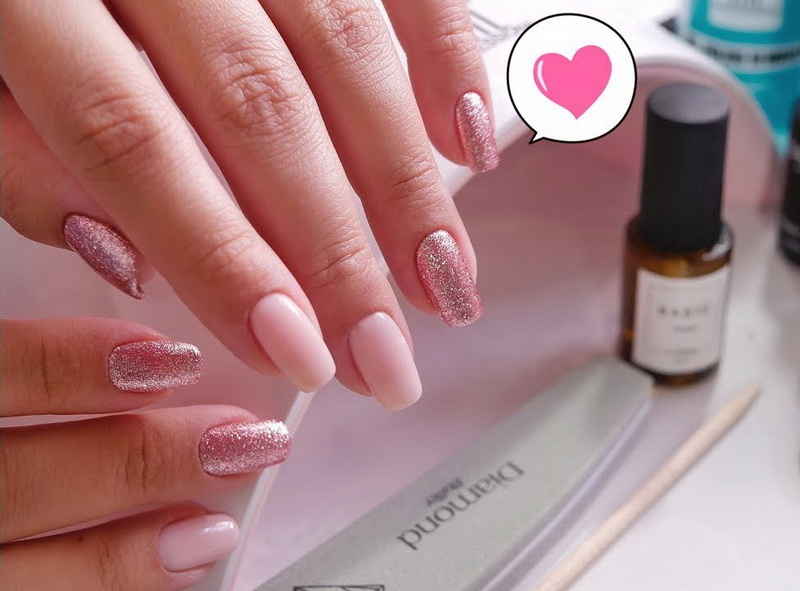
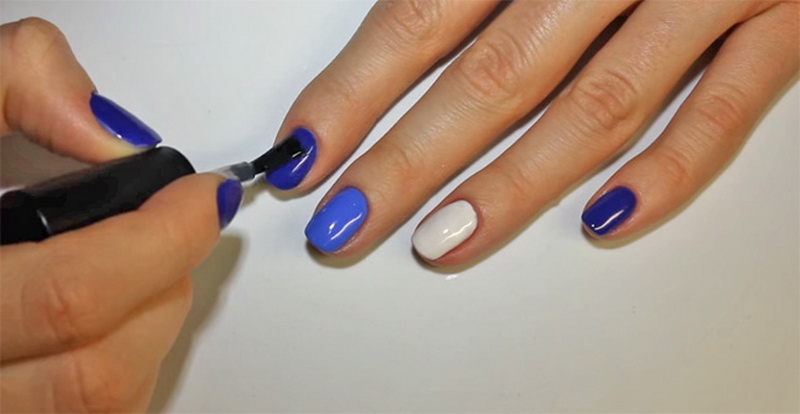
In addition, this material allows you to not worry about the length of the nails during staining, because it can be absolutely anyone. Nail art designers offer a wide variety of ready-made decor options and simply stylistic directions for both short nails and long ones. This criterion is especially important for the working female half, since a long length often makes it difficult to work fully, and you want to look good always and everywhere.
But there are negative points here:
- removal of gel polish by special means only;
- possible allergic reaction to the components;
- continuous toe coating spoils the nail plate.
Means for removing this composition is, of course, more expensive than ordinary nail polish remover, but they will also have to be used much less often. As for allergy to the composition, in some cases nothing can be done with the genetic characteristics of the organism, but more often it is a consequence of economy. Girls often get cheap low-quality counterparts or expired discounted compositions, which causes all sorts of rash and itching. When working with branded gel polishes the possibility of an allergic reaction is minimal.
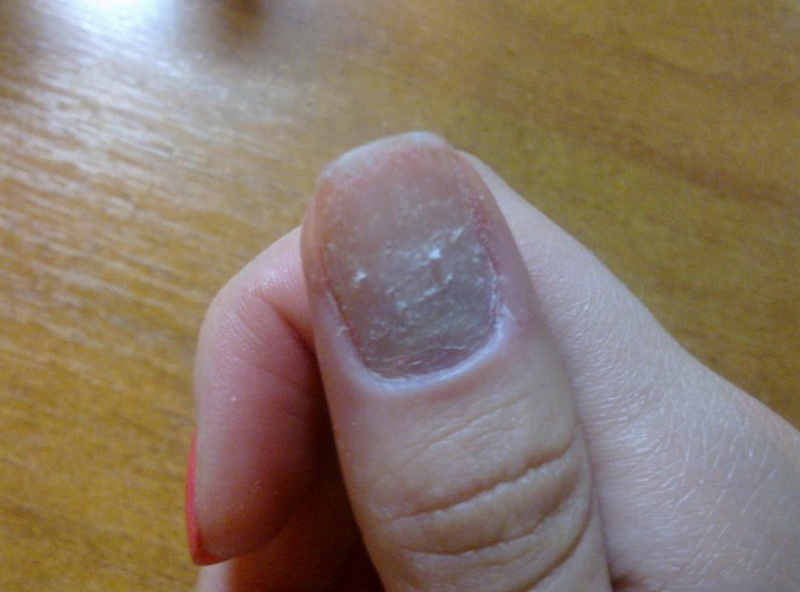
But from the draining of your own nail with a long and constant use of this compound there is no panacea.The only possible option is to periodically (once every 3 months) remove the coating for rest and nourishment of nails. This treatment involves the use of various baths and nourishing creams.
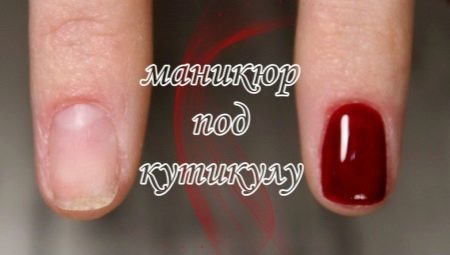
Cuticle Coating
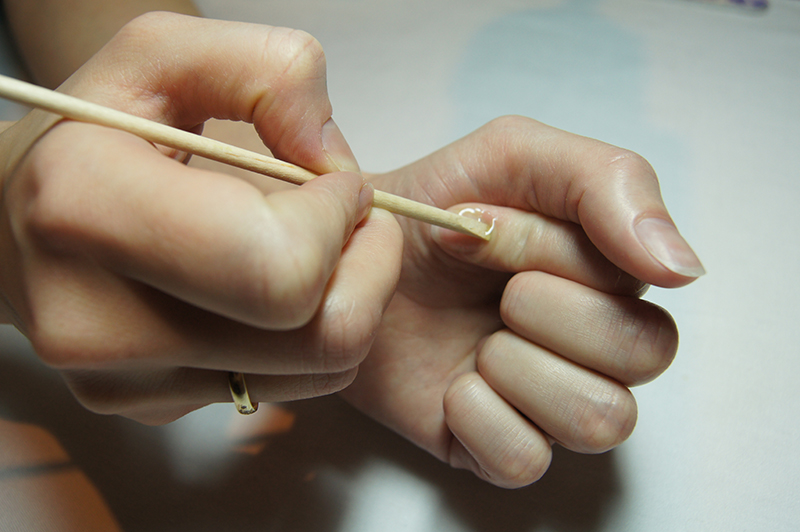
A manicure made with gel polish can last much longer with the right approach. The main importance here is the quality of the product and the technique of execution. The latter is worth staying in more detail. There is such a thing as a gel-coat under the cuticle. This method maintains a neat appearance of nails for a long time, and also simplifies the correction of manicure. This type of coating can be applied in several ways: simply by removing or completely cutting the cuticle.
In the first case, it is enough just to gently move the skin to the base of the nail with a special orange tree stick that does not injure the plate. In the second - it is necessary to remove the cuticle completely, but with maximum accuracy. As it grows quickly enough, the gel varnish covering the plate will be under it quickly. Such a manicure will look natural and neat. Most experienced craftsmen prefer the second option, since this procedure is easier to perform from a technical point of view.
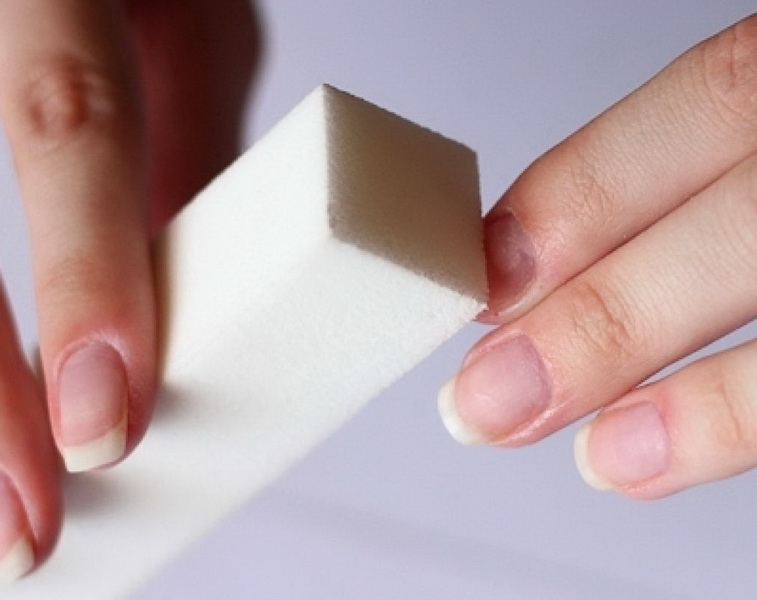
To create a manicure under the cuticle, you need to remember a few more important details. When processing nails, an important part is sanding the plate with a buff. Irregularities and rough areas should be excluded. To create a beautiful coating with gel polish the work surface should be perfect. Particular attention should be paid to the base of the nail, you can even step a little under the cuticle during processing.
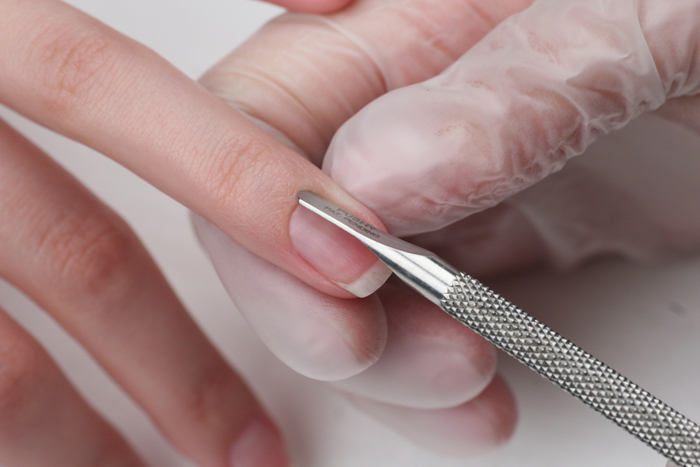
Removal of the skin is done only in a dry way. This will reduce the likelihood of cuts and uneven processing. In addition, the surface when applying the base under the gel varnish should be dry. As an option, after removing all layers of grown skin using softening agents, the working surface can be dried with a hair dryer.
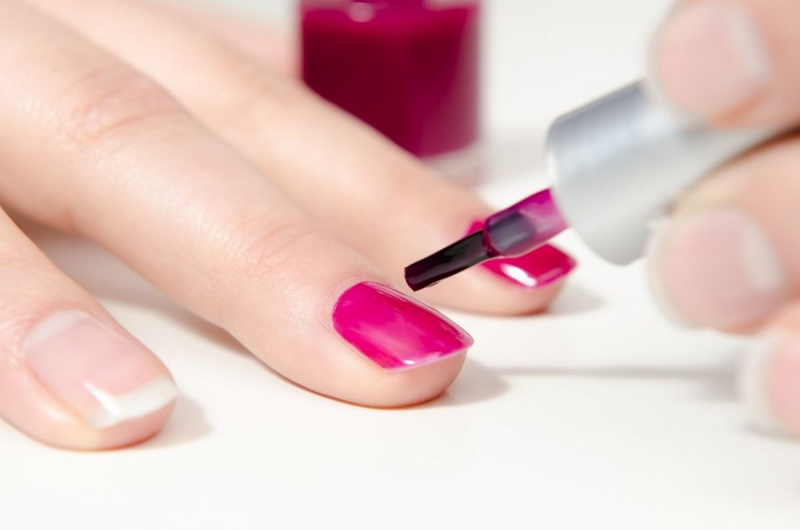
Application technique
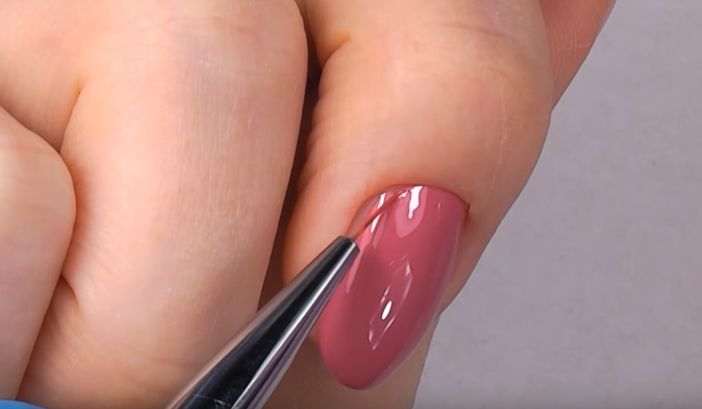
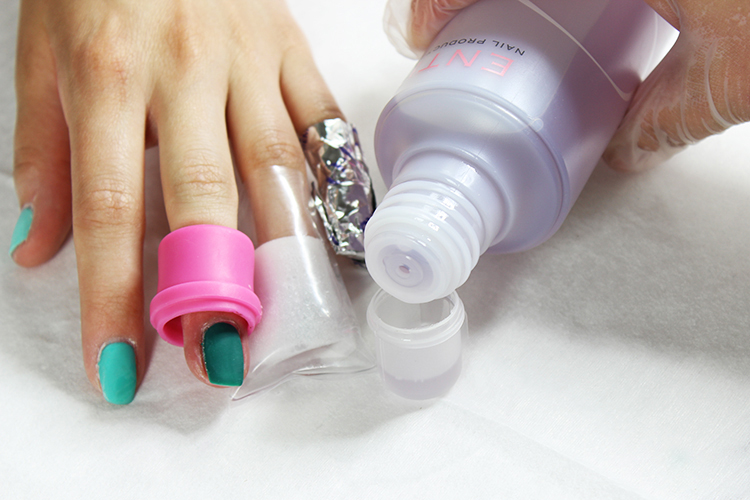
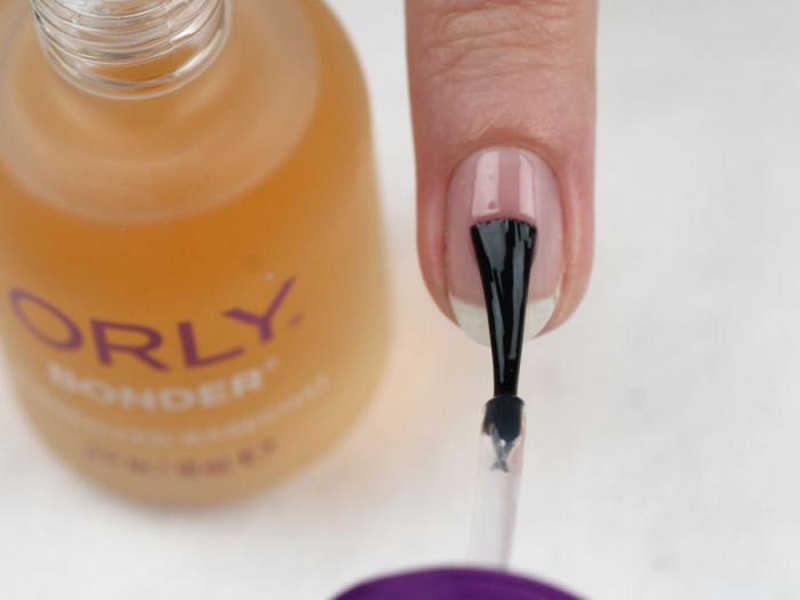
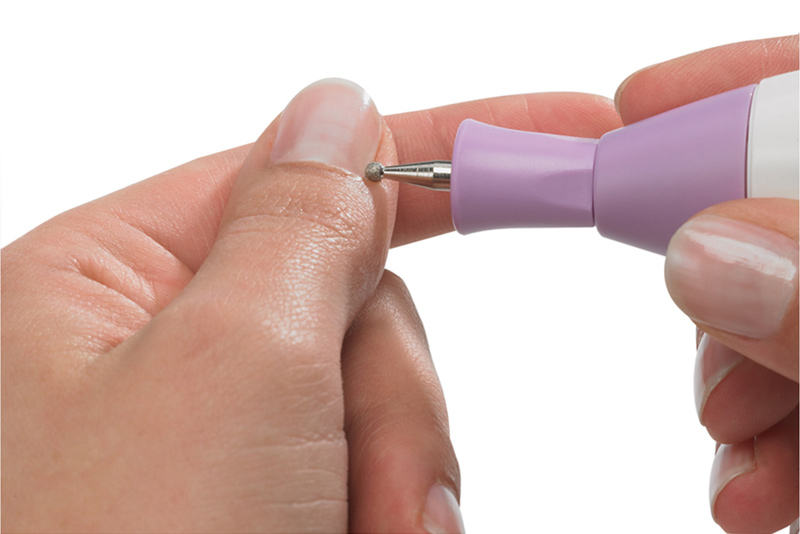
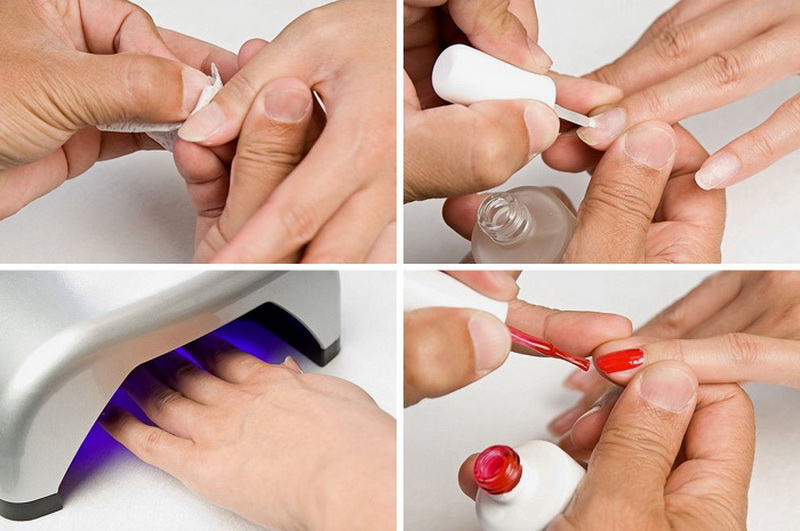
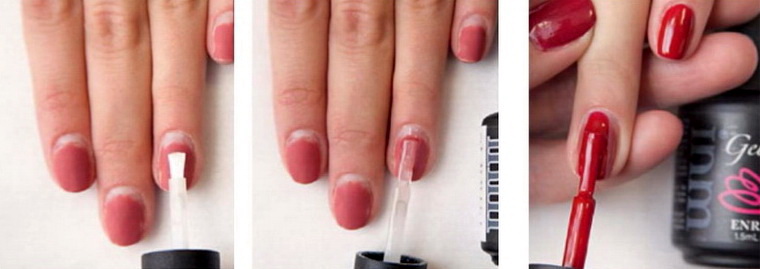
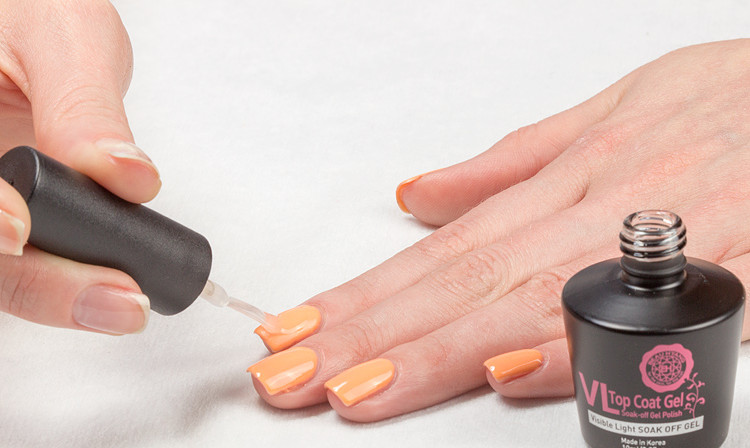
Before starting work, it is necessary to move all the layers of overgrown pusher skin away. Further, the rear roller nail with the fingers of the free hand as much as possible. A manicure brush is stained with a helium base on the nail at the base, slightly stepping under the skin. After a small workout, it will not seem so difficult. After finishing the application of this layer, it is necessary to seal it (like all subsequent ones) and dry it thoroughly under the lamp.
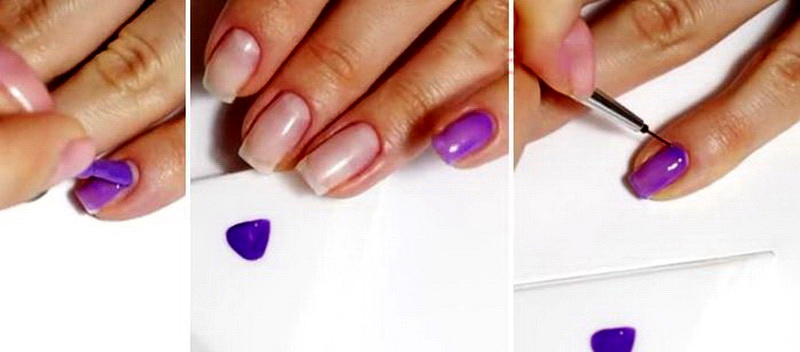
Next, the nail should be covered with color and also dried. Then you can proceed to the decor, if any. The third layer is also placed in ultraviolet, after which the top coat is applied. And here you need extreme attention, as the finish should be applied over the entire area of colored lacquer and decor. The further wear resistance of the manicure depends on the quality of this rule.
The last layer must be dried one minute longer than the previous ones. And the final touch is to remove the sticky layer from the coating. To do this, wipe the disc with a special liquid to wipe the entire surface. Movement should be unidirectional - from the base of the nail to the tip.
Butt staining
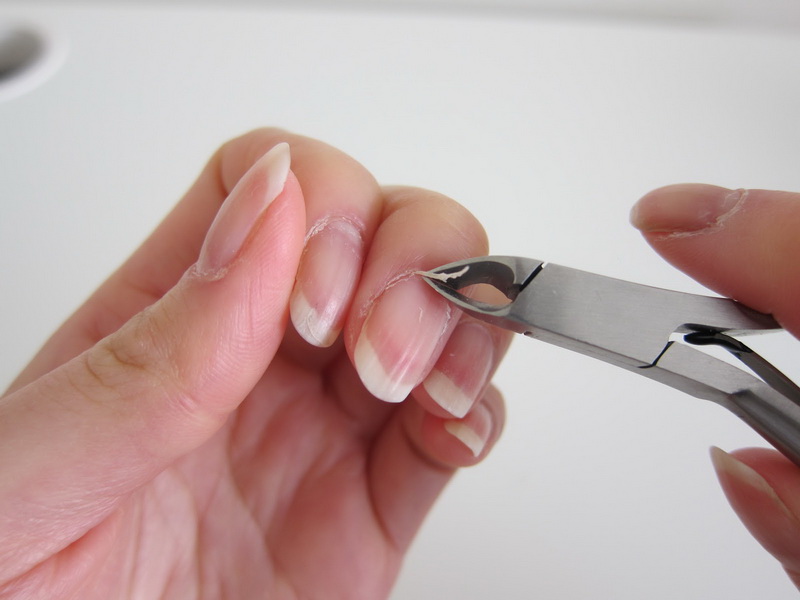
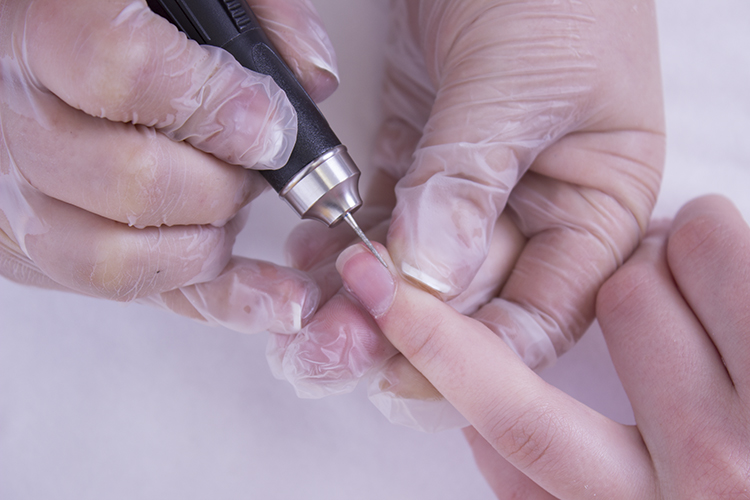
This method involves the complete removal of both layers of the cuticle. The procedure is best done with a cutter. To do this, the skin at the base must be treated with biogel, and then removed with a machine. It is good if the tool has the necessary attachments for complete treatment of the skin around the nail plate, namely:
- cylindrical milling cutter;
- nozzles are needle-shaped;
- spherical boron.
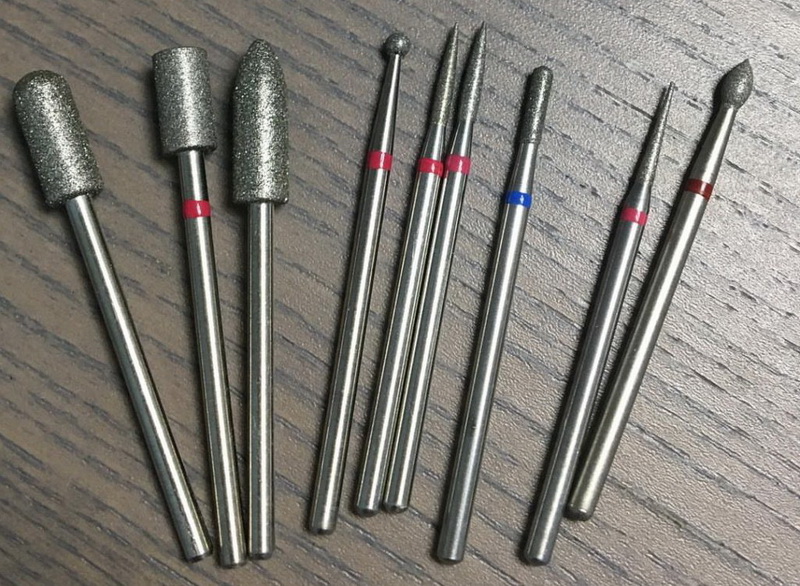
With the help of the first nozzle, you can both remove the cuticle and move the skin roller away, so it is considered universal. The spherical replaceable head of the device will help to remove overgrown skin from all sides of the working surface.And with the help of needle-shaped tips, the smallest remnants of the lower part of the cuticle are removed and the side rollers are processed directly, which makes their outer corners soft. Further, for better adhesion of the nail with the base, the surface is polished with a buff and erase dust with a polyester fiber-free napkin.
On the finished surface begin to apply the foundation. This is done as much as possible with the back roller. When performing this procedure, you can paint over only the base of the nail, but full coverage is allowed. It all depends on experience and skill level. In any case, the base is dried, as in the previous case. Then a colored layer is applied, which should also almost abut the nail base. Do not forget about the drying of each subsequent layer. The subsequent procedure is no different from the previous method.
Correction
This manicure perfectly amenable to correction. For partial staining of the grown nail under the cuticle, it is necessary to carry out a preliminary surface preparation. It is necessary to begin with repeated processing of the cuticle. It is pushed aside, freeing the regrown area of the plate as much as possible. Then carefully cut down the step formed by the end of the old coating. The transition should not be visible. Side rollers also need to be cleaned up to the base layer. Next is the grinding of the entire surface. Dust residues are removed with a degreaser.
Then put a layer of base coating, designed to completely level the working surface. The finished base is placed under ultraviolet. Next, the nail cover color, which should correspond to the original tone. The color is precisely selected to create a uniform background. Do not forget about staining close to the cuticle or, when completely removed, to the roller at the base of the nail. All subsequent layers are applied and methodically dried. Last impose a fixing gel finish.
Secrets
I would like to add that to increase the strength of the coating, the finishing layer can be applied twice. It is first applied after the colored layers. Then they draw patterns on it, which, after drying, are once again covered with a fixing layer. There is a way to facilitate the staining of the area under the cuticle. For this you need a set of brushes for painting.
It must necessarily contain a thin brush with oblique bristles. A tool of this type makes it possible to paint the subcutaneous pocket quickly and accurately, not allowing the gel polish to flow on the skin. Applying such a coating under the cuticle helps to create a manicure without flaws. However, for his self-fulfillment it is better to get a few master classes from a good specialist.
How to apply gel varnish under a cuticle, look in the following video.


