
Straight cut dresses are comfortable to wear, easy to sew and easy to combine with various accessories. What you see for yourself.

No patterns with bare shoulders
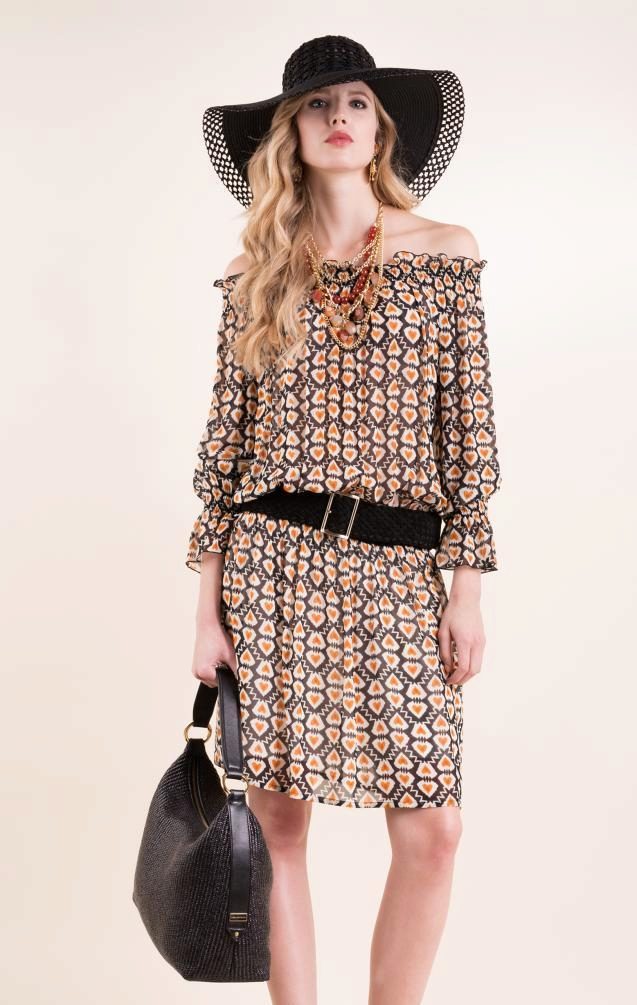
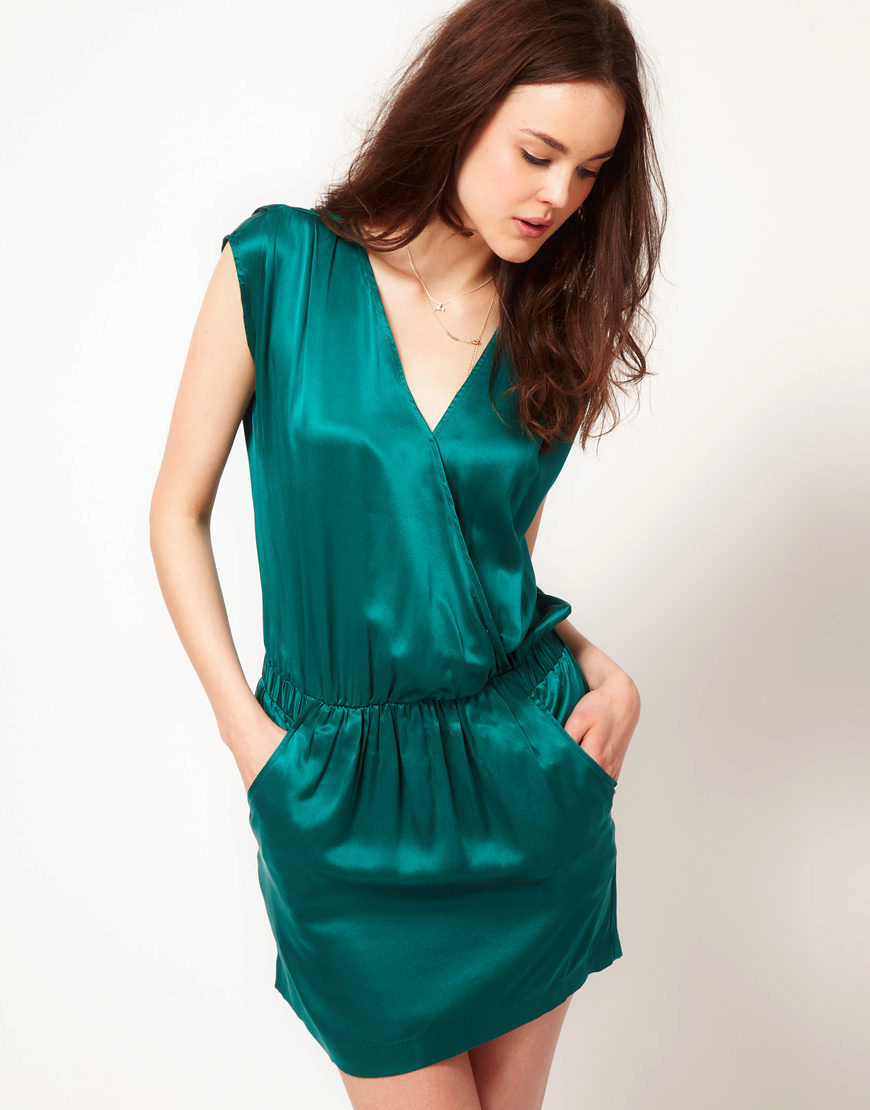
The dress on the elastic with open shoulders is called "young lady-peasant". It is feminine, with a twist and is perfect for lovers of country style or boho. The model will look good on the beach and at the party. The main thing is to choose the length, fabric and jewelry, which can serve as a belt, flower or beads.
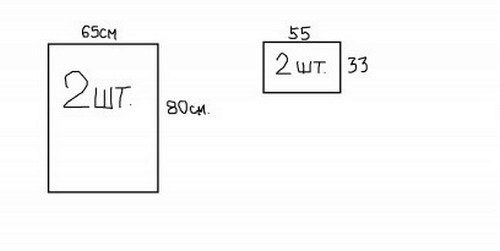
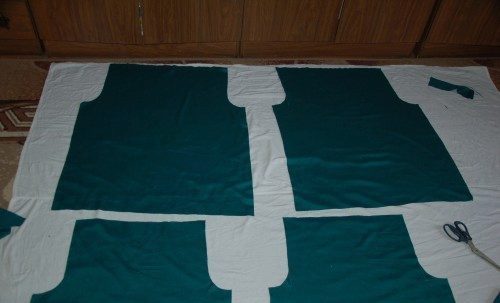
Dig out 2 large rectangles for the dress and 2 small rectangles for the sleeves.
We start to sew:
- On paper, draw a rectangle measuring 7x25 cm, round the edge and cut out. Curve for armhole ready.
- Circle the template on all the details and cut.
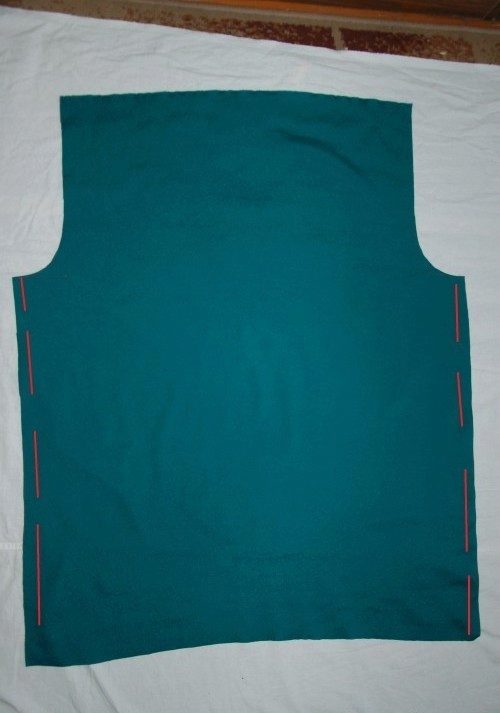
- Sew front and back. Stitch the sleeves along the armhole line.
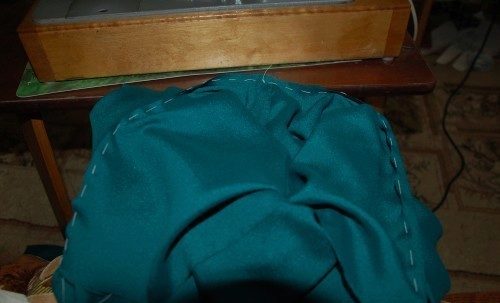
- In the upper section, make a hem in the form of a drawstring, where you pass the elastic band. Elastic band can be sewn on the sleeves as well.
- Edge bottom dress and sleeves handle.
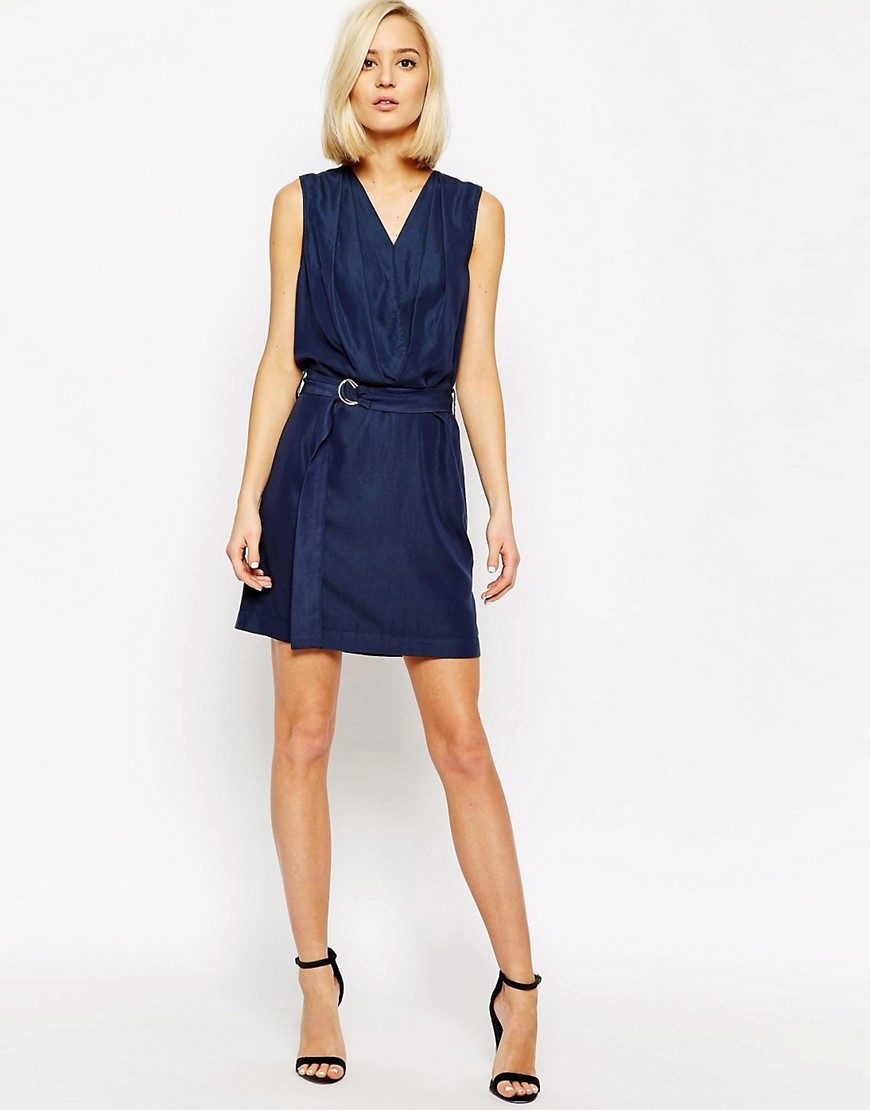
With drapery
A straight knit dress will not look boring, if you make the neckline wavy, add a small drape, and emphasize the waist with a narrow belt. Walking through the city, you will definitely attract attention to yourself.

Cutting
- Retake the pattern details. Make the length of your choice.
- Lower cuts of parts are not processed, therefore no allowances are needed.
- Cut one-piece front with facing and back with a bend, as well as 2 sleeves, facing for the neck and a belt 7 cm wide and 173-189 cm long.
- Before you fold along the middle line inside out and align the marked labels to create a fold. Build a 1 cm stitch.
- Stitch the neck strap to the back and follow the shoulder seams.
- Stitch the sleeves in the armholes, and after a single line, sew side seams and seams on the sleeves.
- Sew the belt.

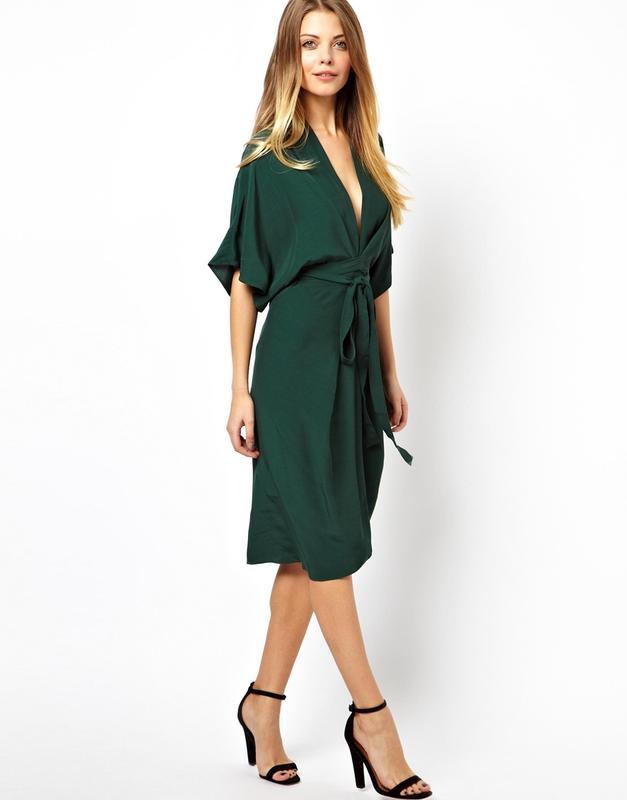
Bat sleeved
This model is universal and dimensionless. It is sewn from a thin, easily draped knitted fabric with elastane, 2.30 cm long and 150 cm wide.

- Re-shoot the details of the pattern, just do not forget about the increase of 1.5 cm for bending the bottom and on the seams.
- On the fabric, open the detail of the front and back with a bend, 2 facing for the backstage width of 5 cm and a length of 55-63 cm and facing of the neck of the front and back of 4 cm wide.
- Pull up the collar holes in half along the inside out and iron up, then pin with pins to the cuts of the front and backs of the neck, aligning the open sections of the trimming with the edges of the allowances and stitch.
- Make the bottom hem and side cuts.
- Press down longitudinal sections for the backslash for 1 cm and stitch on the belt.
- Longitudinal lines of stitches on the front and back translate with sweeping stitches on the front side, pin them off and stitch.
- In the drawstring vdte elastic tape.

With smell
There is one more example of tailoring a straight whole-dress dress - this is a model with a smell.
We need a rectangle equal to two lengths of the future dress, that is, the left half will have a back and the right half will be in front. Width depends on the length of the sleeves and semi-neck.
In the center of the rectangle, draw a conditional line, where measure at the edges, for example, 35 cm for shoulders and 20 cm for the neck. In the right side, draw a triangular cut and cut the fabric, cut it.
Try on the dress, forming the smell. Lay two stitches and sew the belt.

If the fabric is light and well draped, shoulders can be squatted or folded if the fabric is thick.
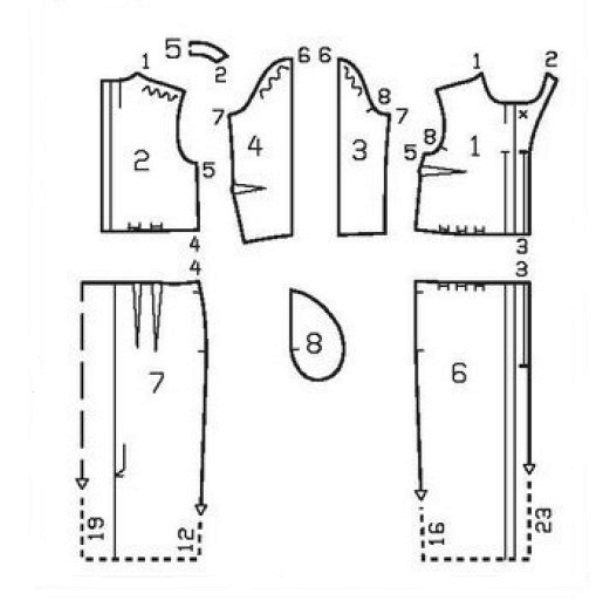
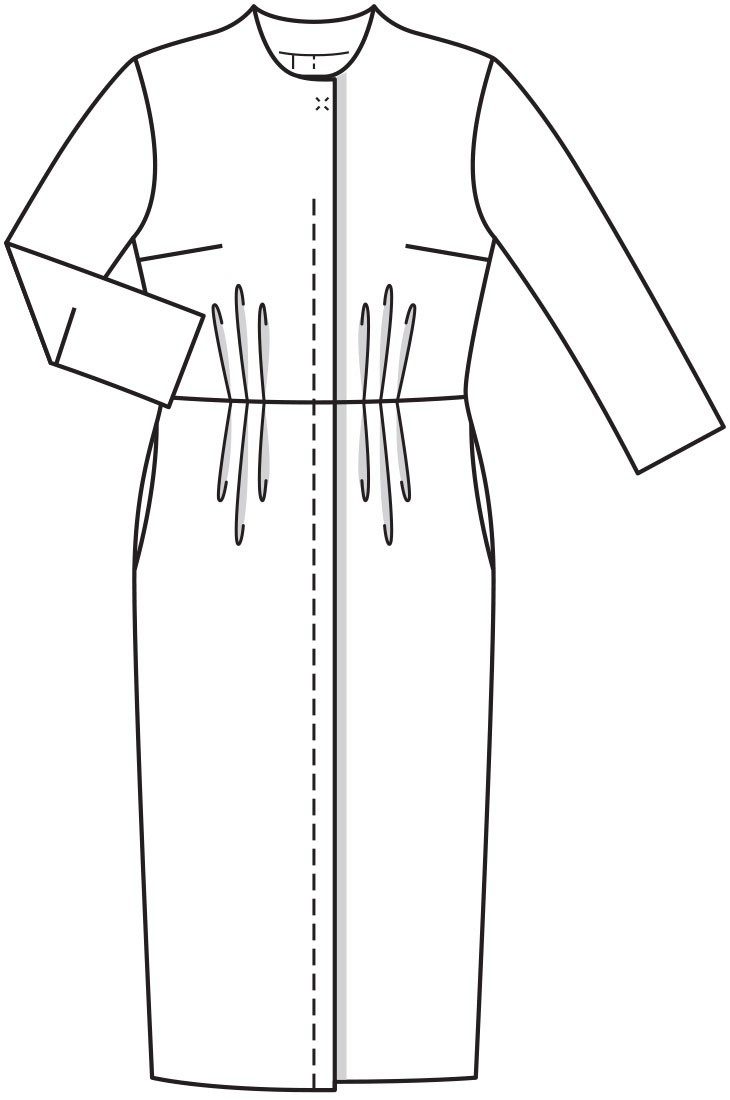
Vintage
The adjacent straight silhouette with soft folds at the waist and pockets was to our grandmothers' taste, but it is also relevant in our time.

From woolen velor, cut the bodice shelves and backs, details of the sleeves, backing the neck of the neck, details of the skirt and 2 hessian pockets.
Lining burlap pockets out of lining fabric. You will also need shoulder pads, a zipper with a length of 45 cm and a large button.
- Details of the back stitch.
- On the rear panel of the skirt, make the middle seam above the transverse mark, and below the mark, sweep up the fold.
- Stitch the chest tuck on the details in front. Also lay the folds on the skirt and bodice front and back.
- Stitch the top of the back to the back of the skirt, and the top of the front - to the front.
- Perform shoulder and side seams, leaving room for pockets. Sew on pockets.
- Attach the zipper braid to the right-side trim. The teeth should be directed to the fold of the pick.
- Stitch backing around the neck of the back.
- Perform hem.
- Edge the right pick otstrochite length zippers. Right and left shelves cleave the place and scribe to the bottom edge. Stitch a second fastener tape to the left shelf.
- Stitch the elbow tucks on the sleeves and seam. Make the bottom hem and stitch in the sleeves, planting them over the neck. Sew on shoulder pads.
- Cover the button with a cloth and sew.
As you can see, you can update your wardrobe without much financial expense and loss of time for complex patterns.