
It is not the first season that all the most fashionable outfits are built around this model. Do you want to get this thing too, but do not know how to sew a pencil skirt and what patterns to use?
We will tell about all the intricacies of self-production of this stylish piece of clothing.
Here you will learn all the most important things - from the choice of fabric to variations of patterns and even how to sew a pencil skirt without using patterns!
What fabric is suitable?
The classic pencil skirt looks great in almost any fabric design. The same style, made from one or another material, will sit a little differently. Therefore, there are several categories for different life situations:
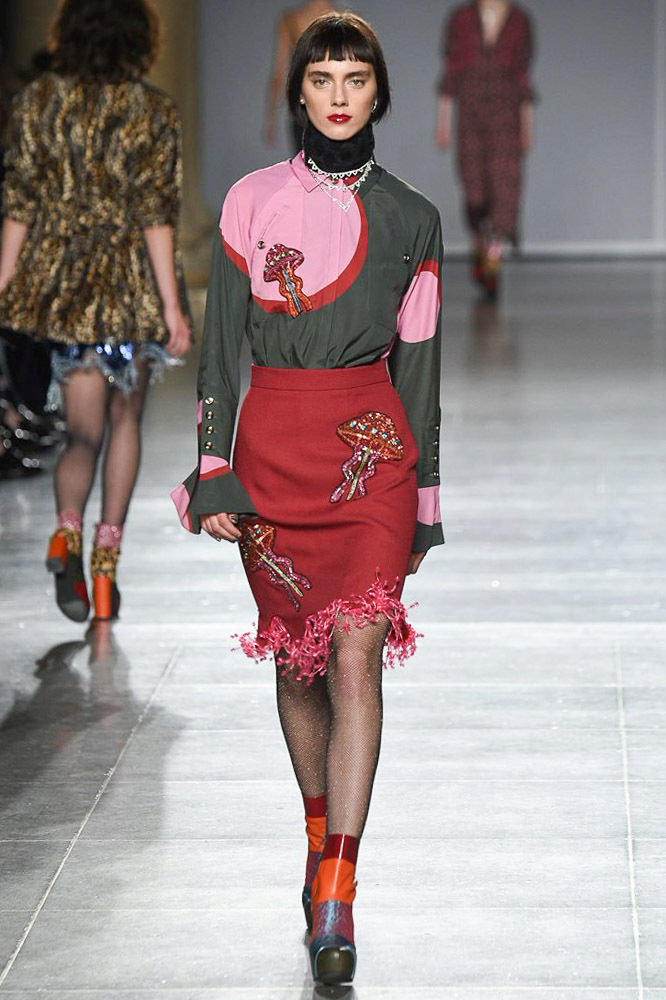
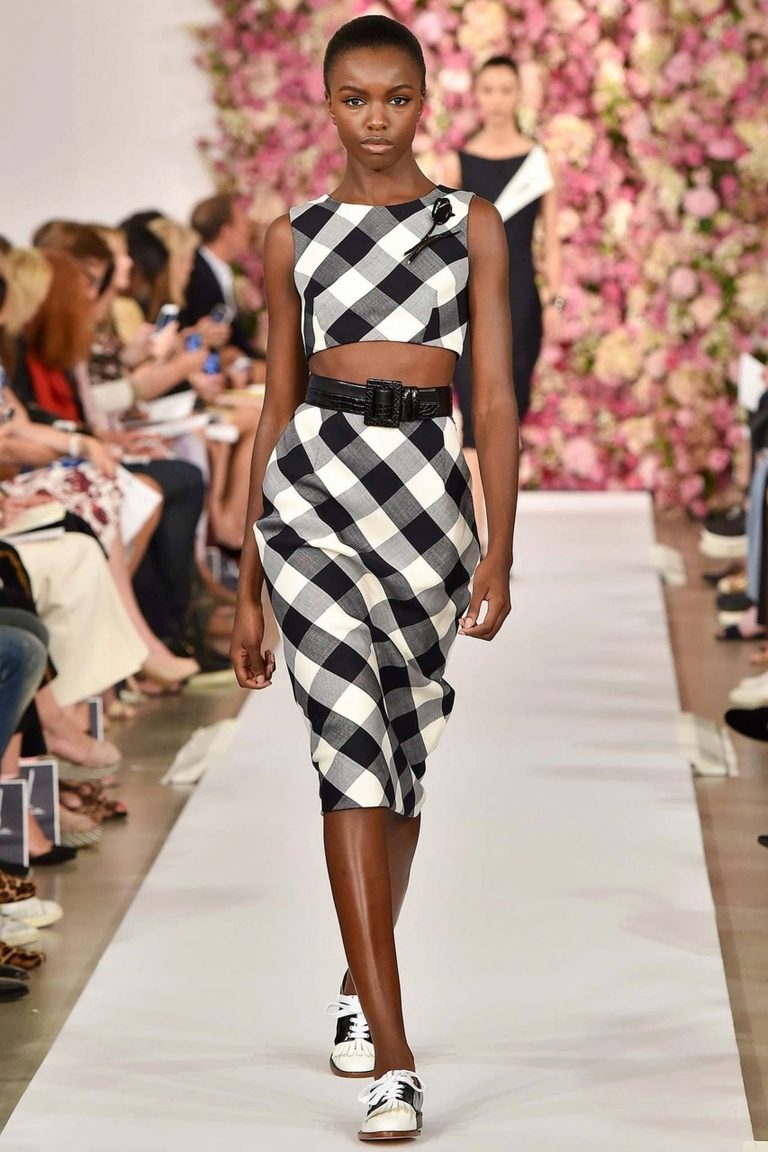
- Business style: gabardine, crepe, loden, flannel, tweed, tartan, jacquard, boucle (any costume fabrics).
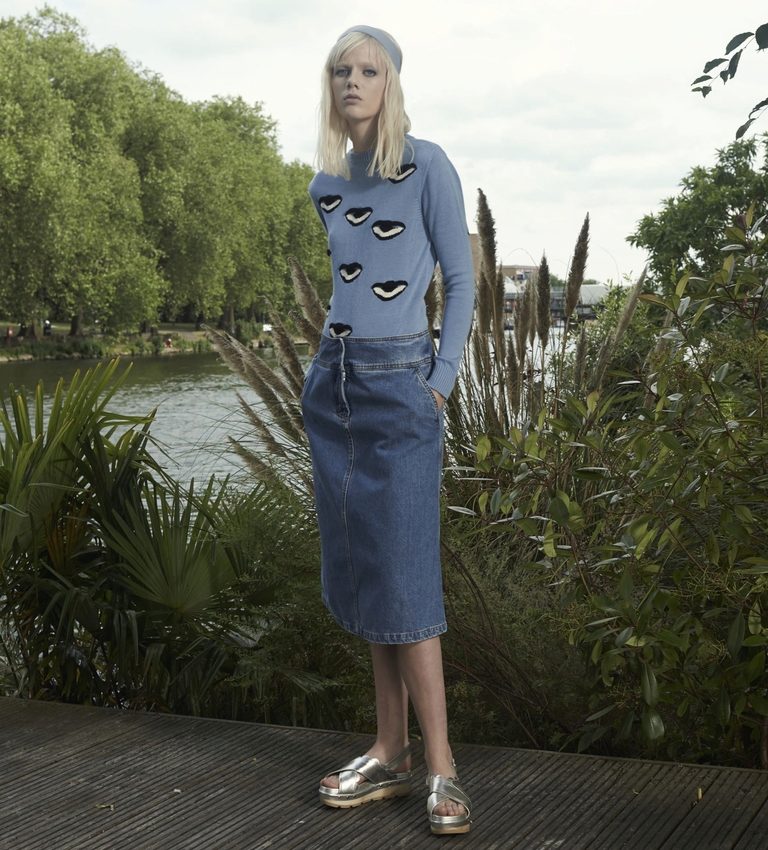
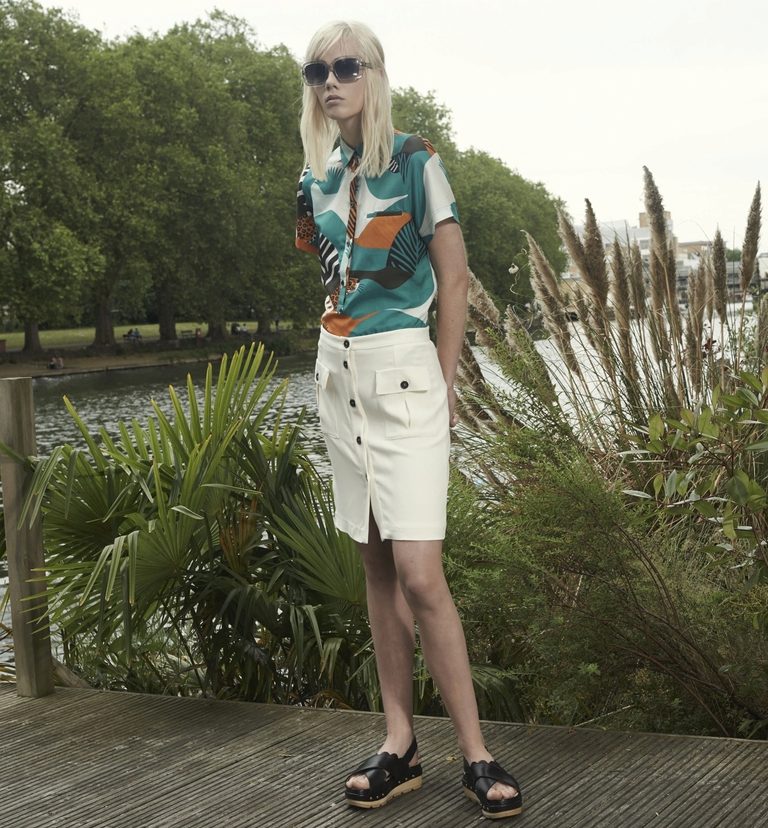
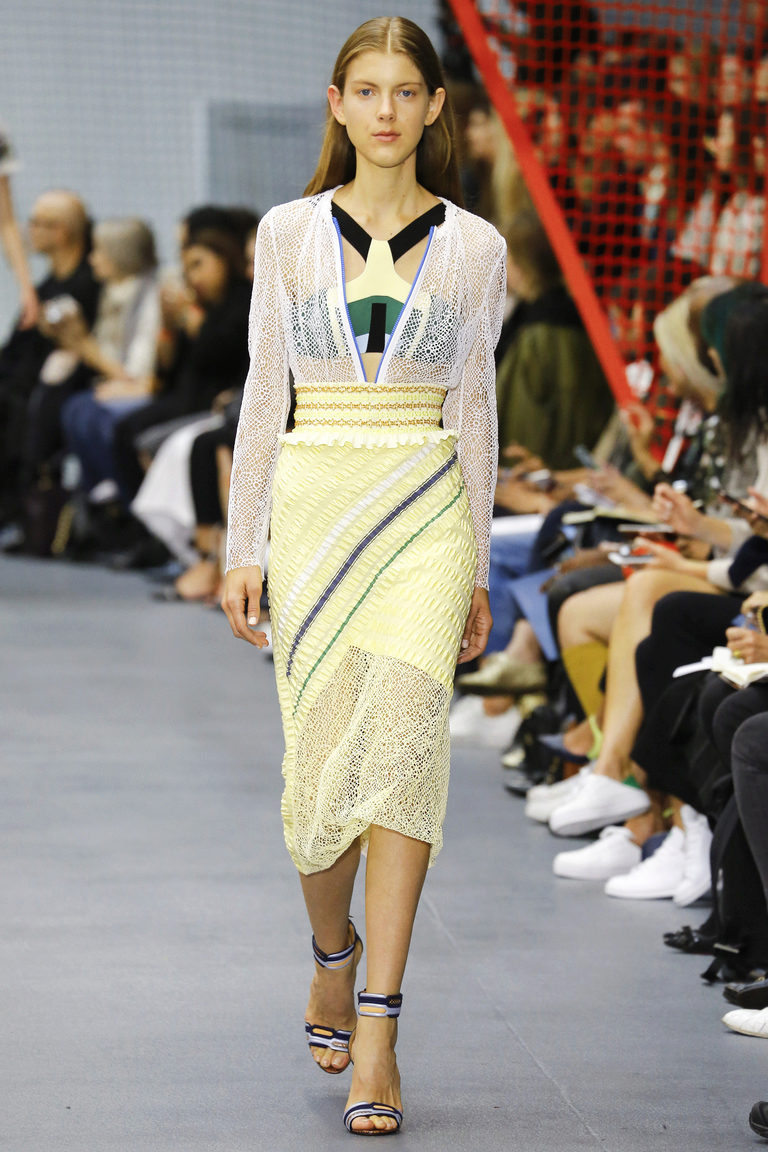
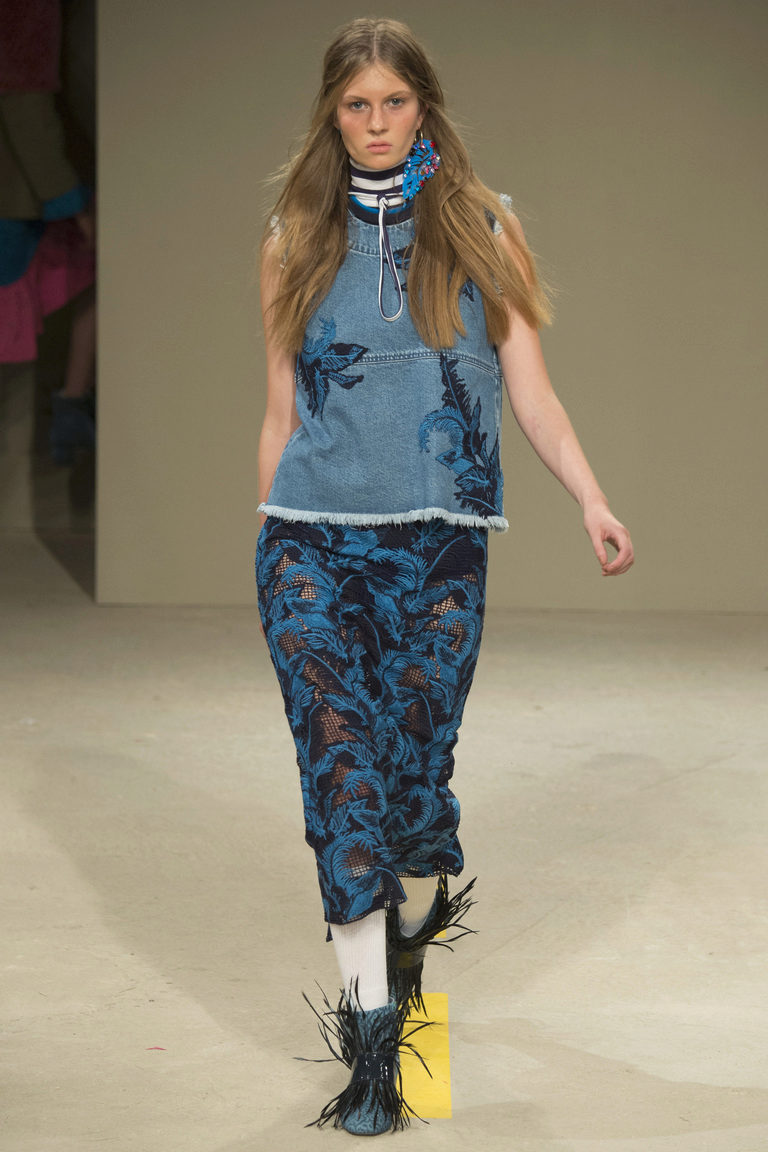
- Casual style: jeans, corduroy, knitwear, cotton, flax, crepe de chine, georgette.
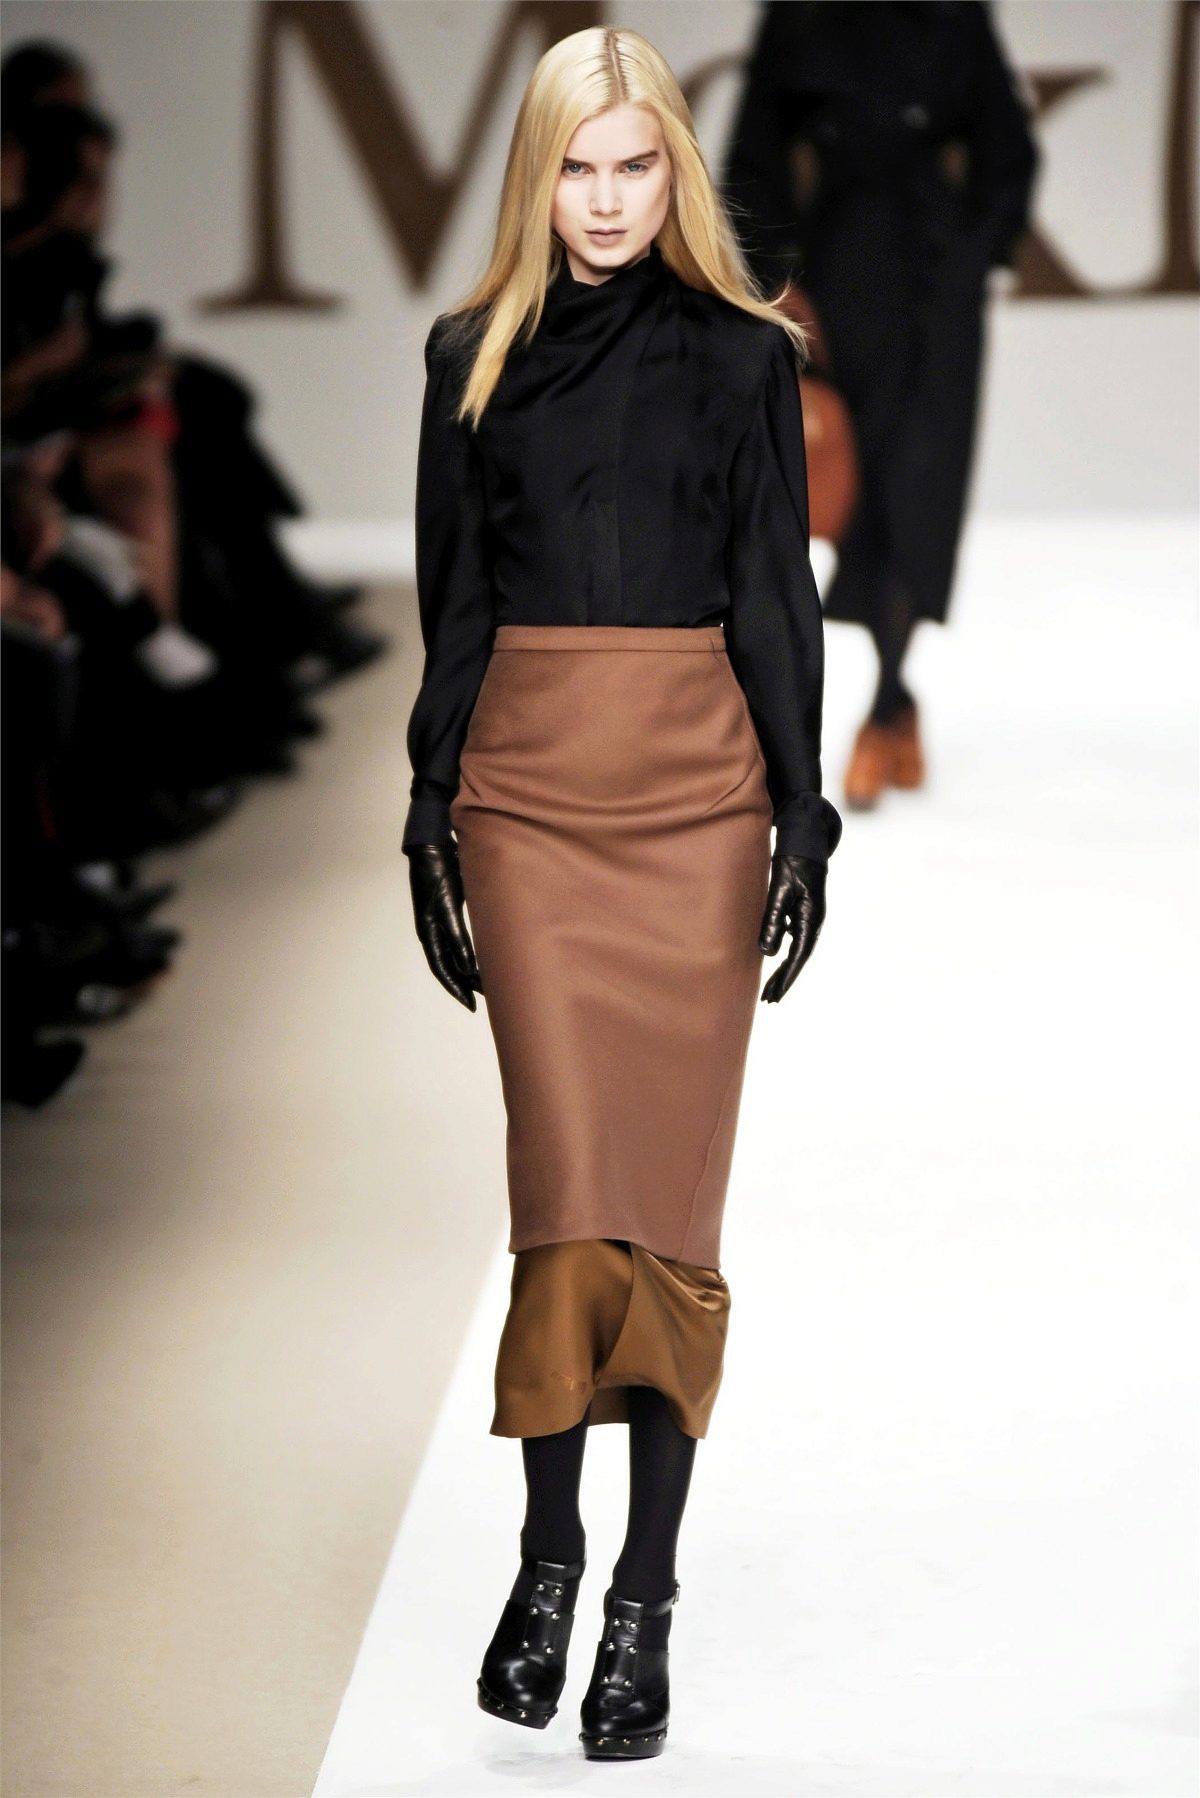
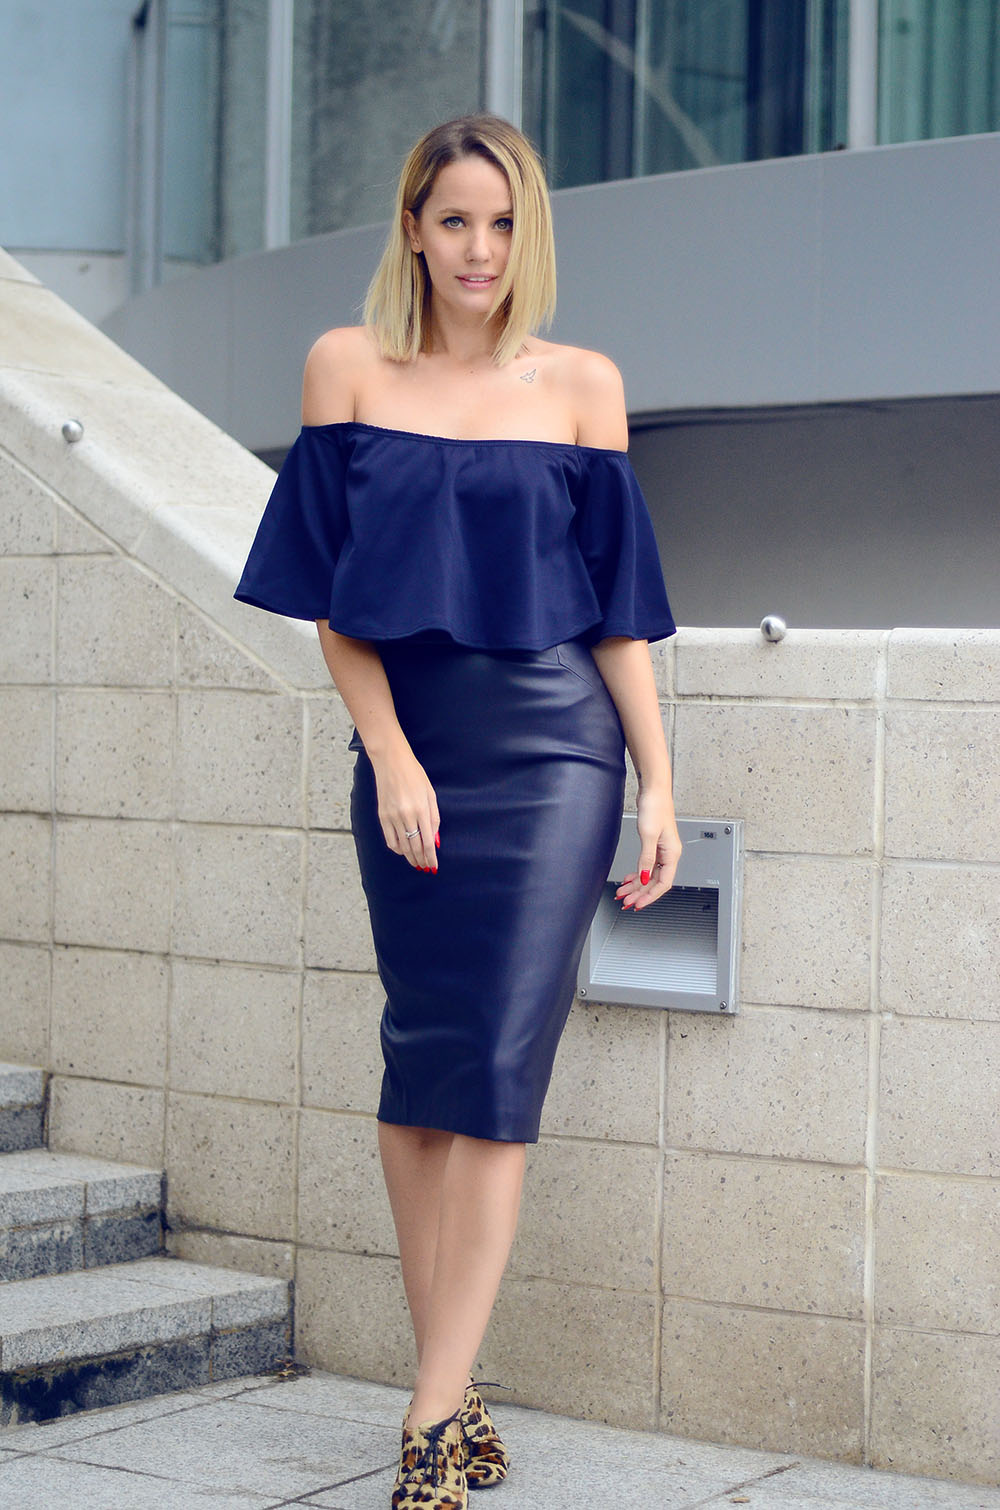
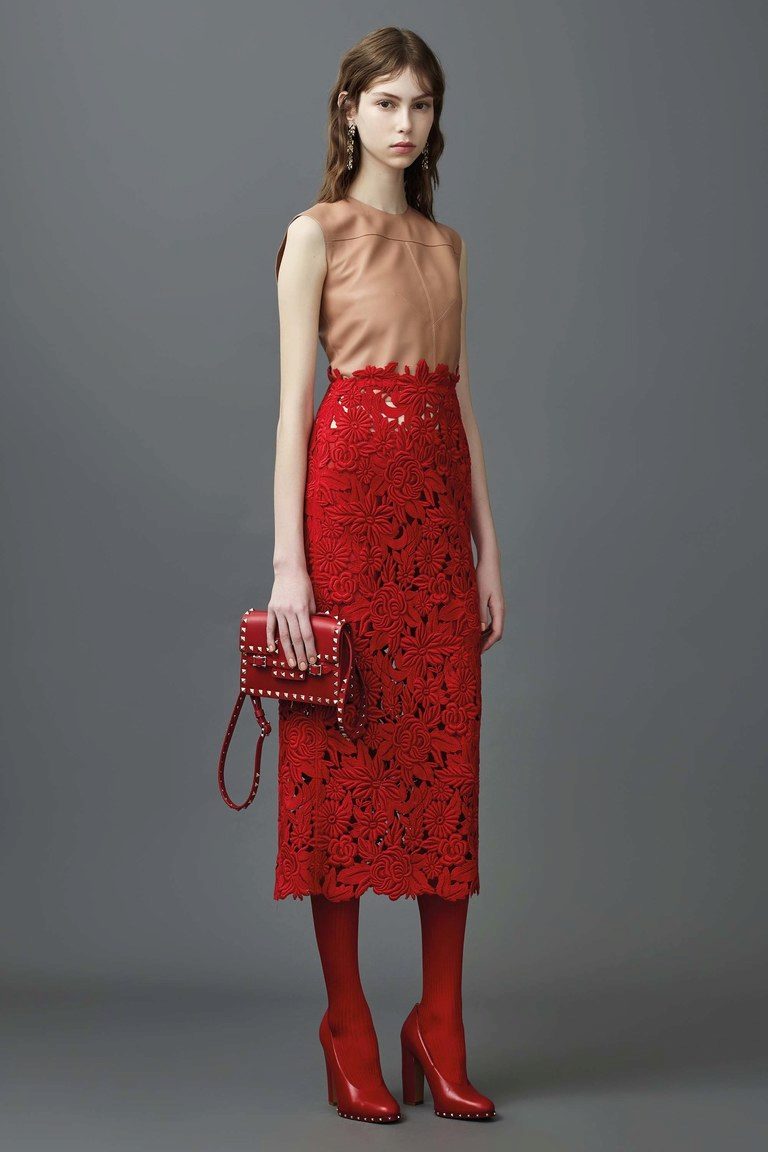
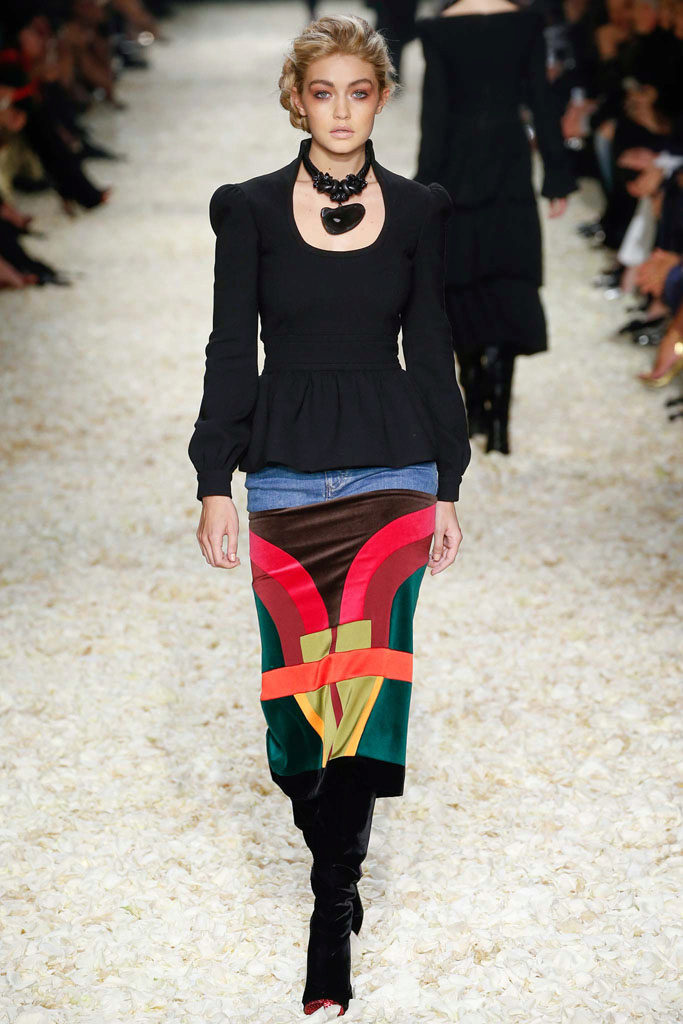
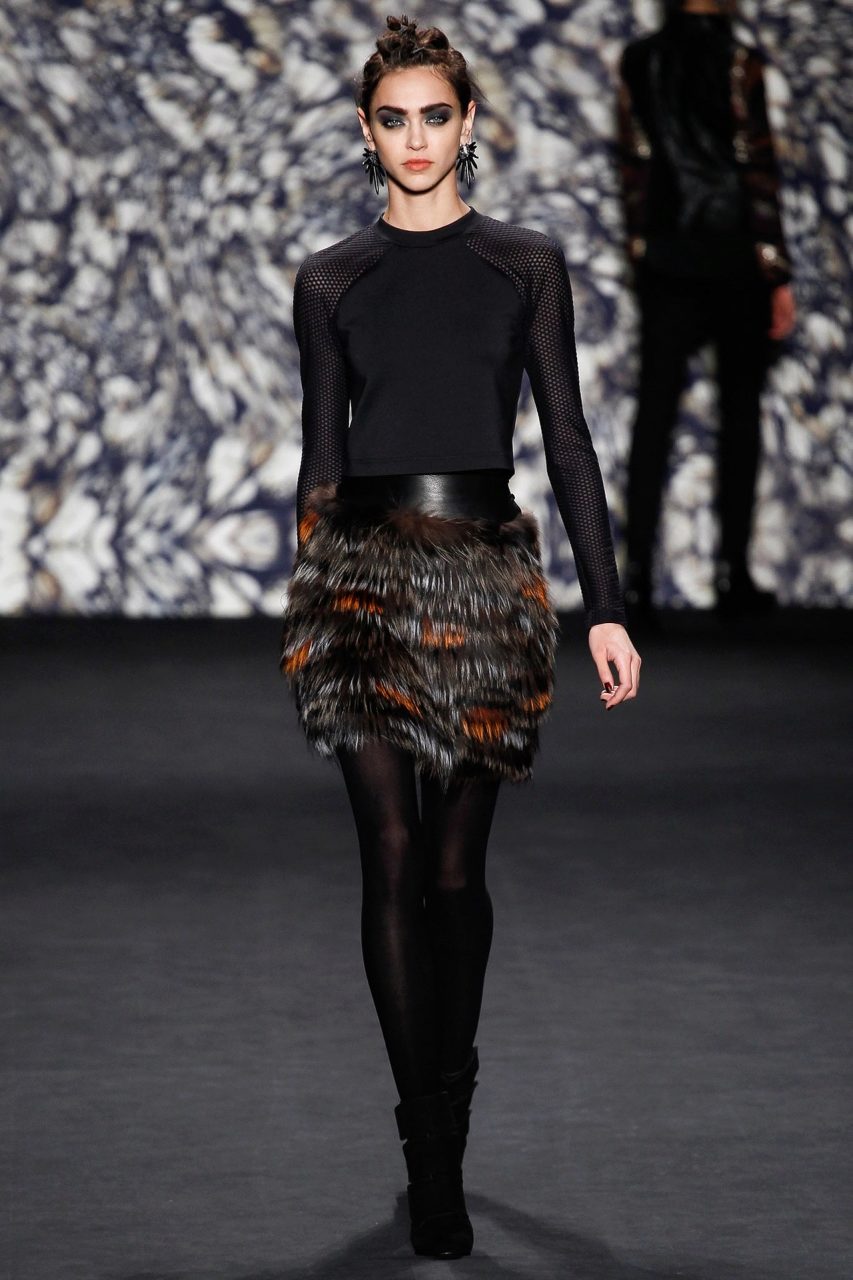
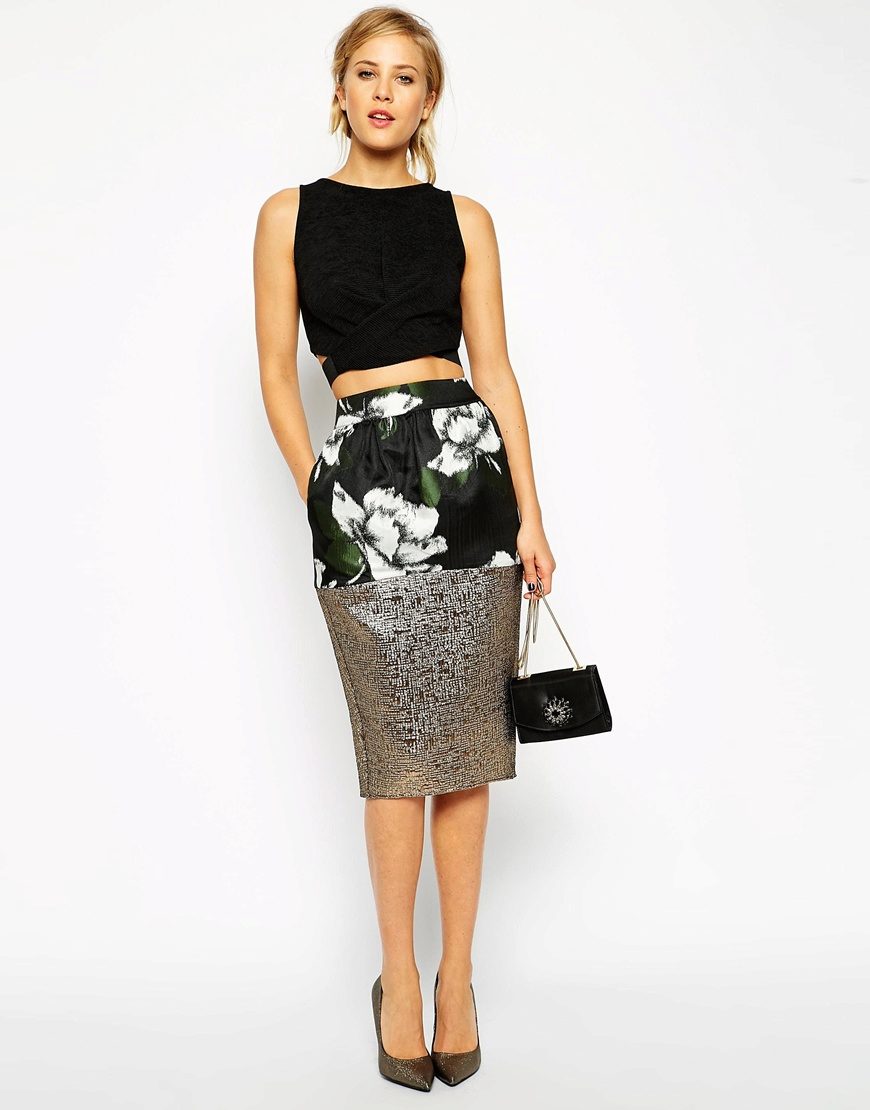
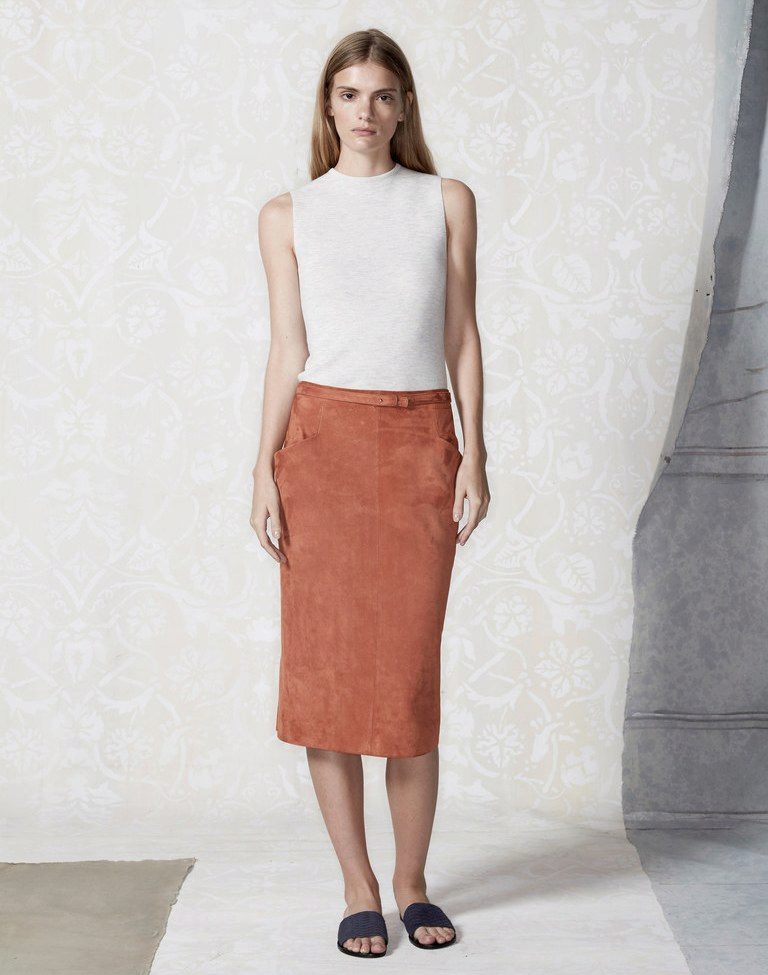
- Evening style: lace fabrics, velvet, velor, natural or artificial suede, leather, fur, satin, satin, silk, shanzhan taffeta.
Experienced seamstress work with any fabric. But if you are just learning and planning to create your first pencil skirt, you should choose the material for it, based on the following criteria:
- ease of fabric itself and ease of processing;
- lack of stretch (the fabric should not be twisted or dragged while working with it);
- no flowability (or at least minimal);
- the absence of a pattern requiring adjustment;
- low cost
The following fabrics fully meet all these requirements:
- crepe;
- gabardine;
- linen;
- thick cotton;
- jeans (thin or medium density);
- costume fabrics.

The last option is most preferable for those who will sew a pencil skirt for the first time. Such fabrics usually have a mixed composition (80-95% of natural fibers and 5-20% of synthetic additives - viscose, polyester, polyester, etc.), which increases their durability and strength. Such fabrics are easy to use and inexpensive. Therefore, we advise you to choose the material for creating a pencil skirt from this category.

The decision to buy velvet, velor, velvet, silk, satin, chiffon and other complex fabrics for this case will be fundamentally wrong.
It is not just difficult to start with them, to achieve the desired result at the exit without a certain experience in cutting and sewing with such materials is almost impossible.
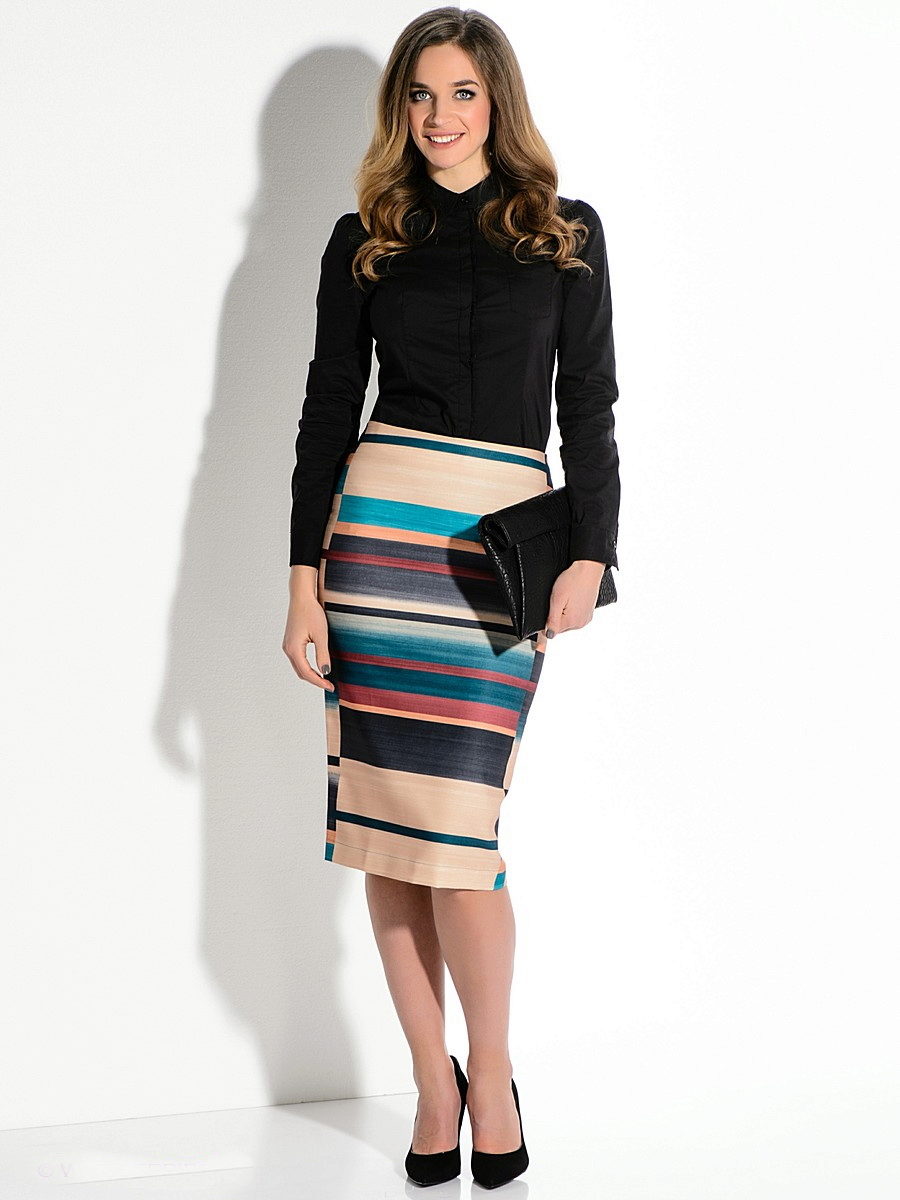
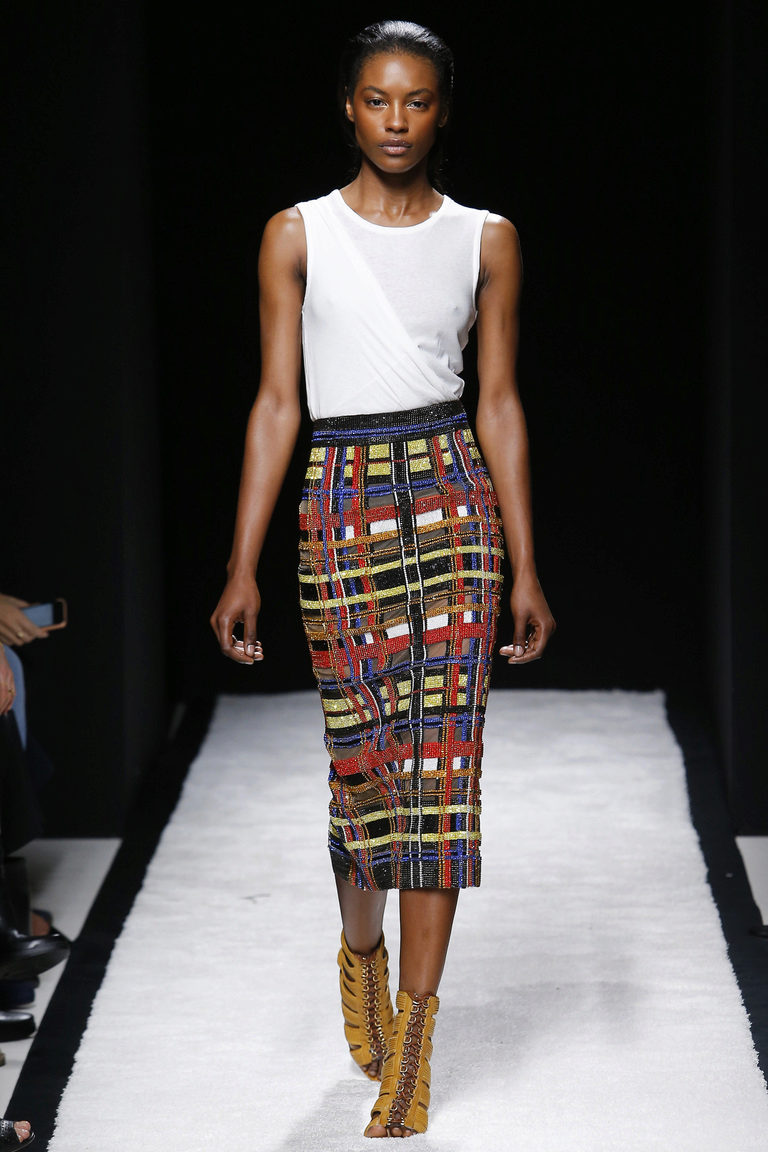
Take a single-colored fabric, any pattern, whether it be a cage, a strip or other frequently repeating ornaments, will also make the work on sewing much more difficult. With such fabrics you can begin to work only when you have mastered the basics of sewing.


Tailoring of a two-sewed pencil skirt for beginners
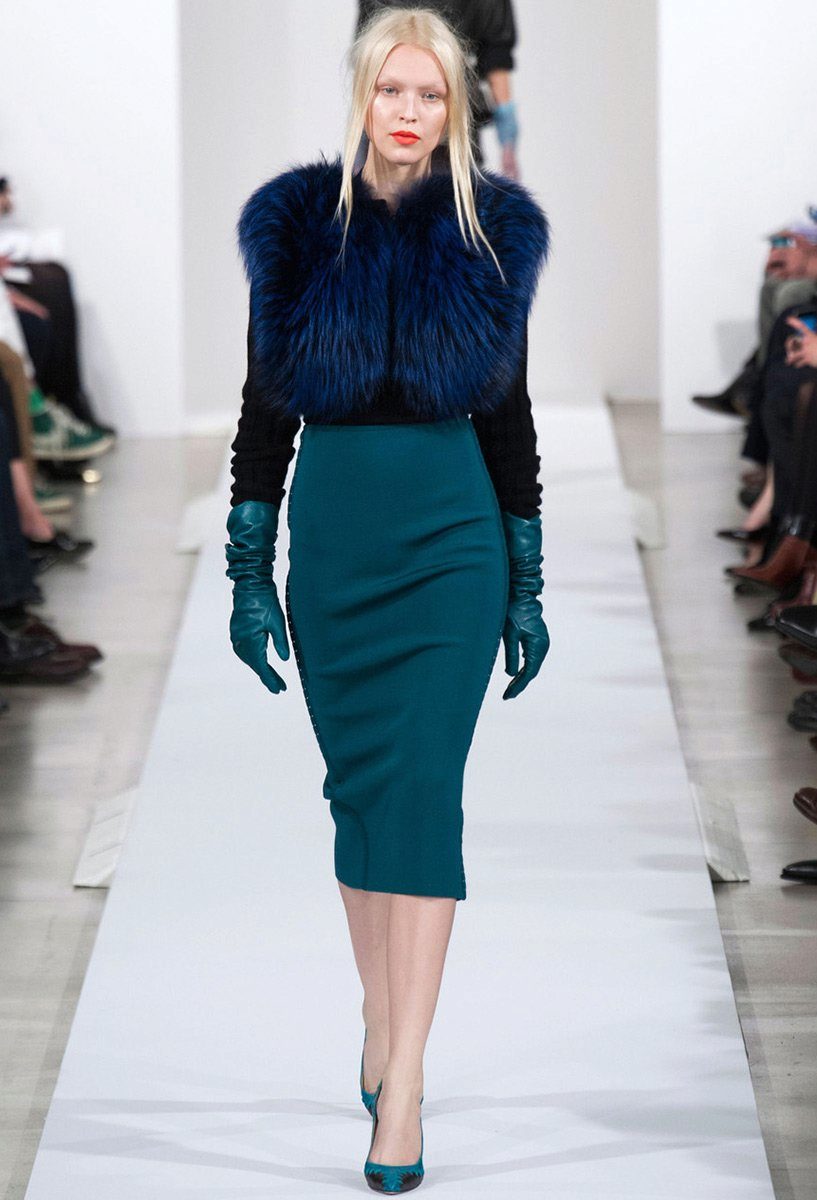
The straight two-seam model is the standard of the classic pencil skirt. We will consider the process of building a simple pattern of this elegant thing and analyze in detail the sewing process.
You are convinced that each needlewoman is able to create this graceful thing with her own hands, which for more than a hundred years has symbolized femininity and grace.
Required calculations
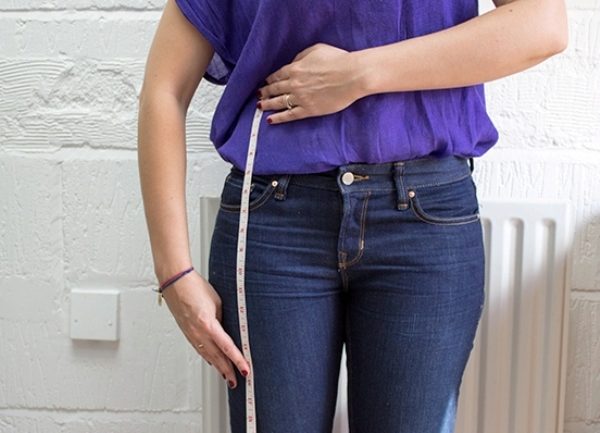
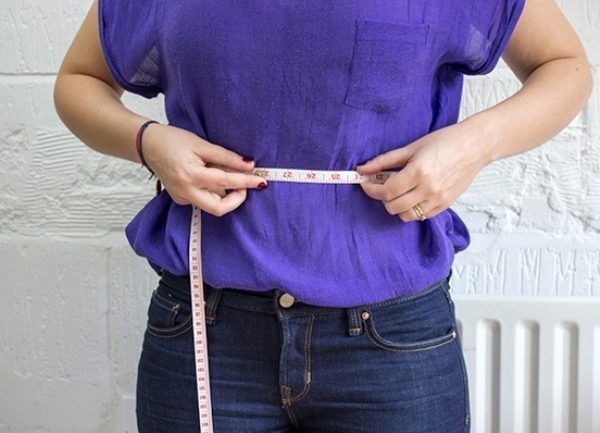
Prepare a measuring tape, pen and notebook (to record the measurement results). To build a piece you will need the following measurements:
- POT - low-waist girth;
- Pb - half hip;
- Ds - the length of the skirt behind;
- Dp - the length of the skirt on the front in the middle line;
- Du - the length of the skirt from the waist line on the side;
- Dst - the length of the back to the waistline.
You will also need two more values - free-fit supplements that are universal:
- PB (increase on the line of the hips) - 2 cm;
- Fri (increase on the waist line) - 1 cm.
When all the necessary measurements have been made, you can begin to build a pattern.
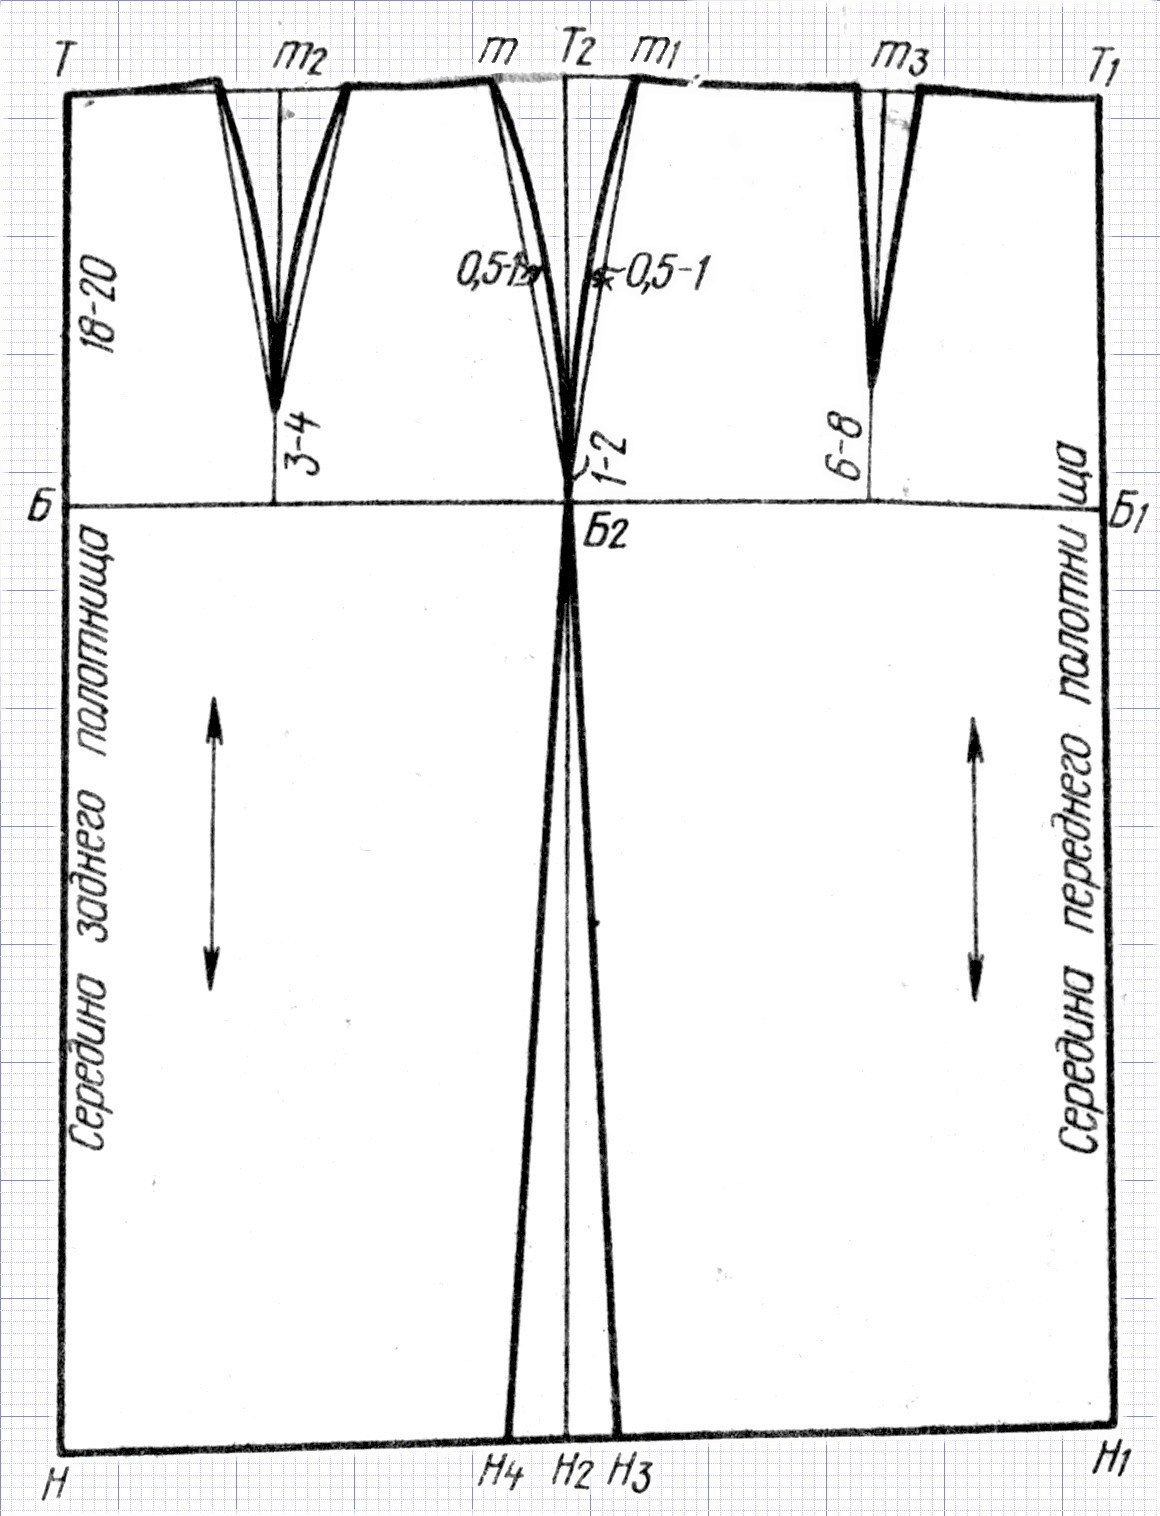
Simple pattern
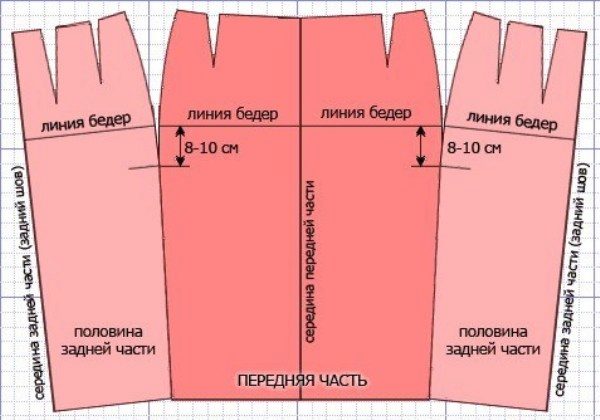
Look closely at the pattern patterns.
Build a pattern in the same way. This is a classic straight pencil skirt. But so that it does not hinder your movements, it must have a slot. Therefore, the rear panel should undergo a slight modernization, as indicated in the figure.
The back panel should be cut out of the two halves, which will then be connected by a seam. Now you can cut the pattern and cut out of fabric.
Step by step instructions for sewing
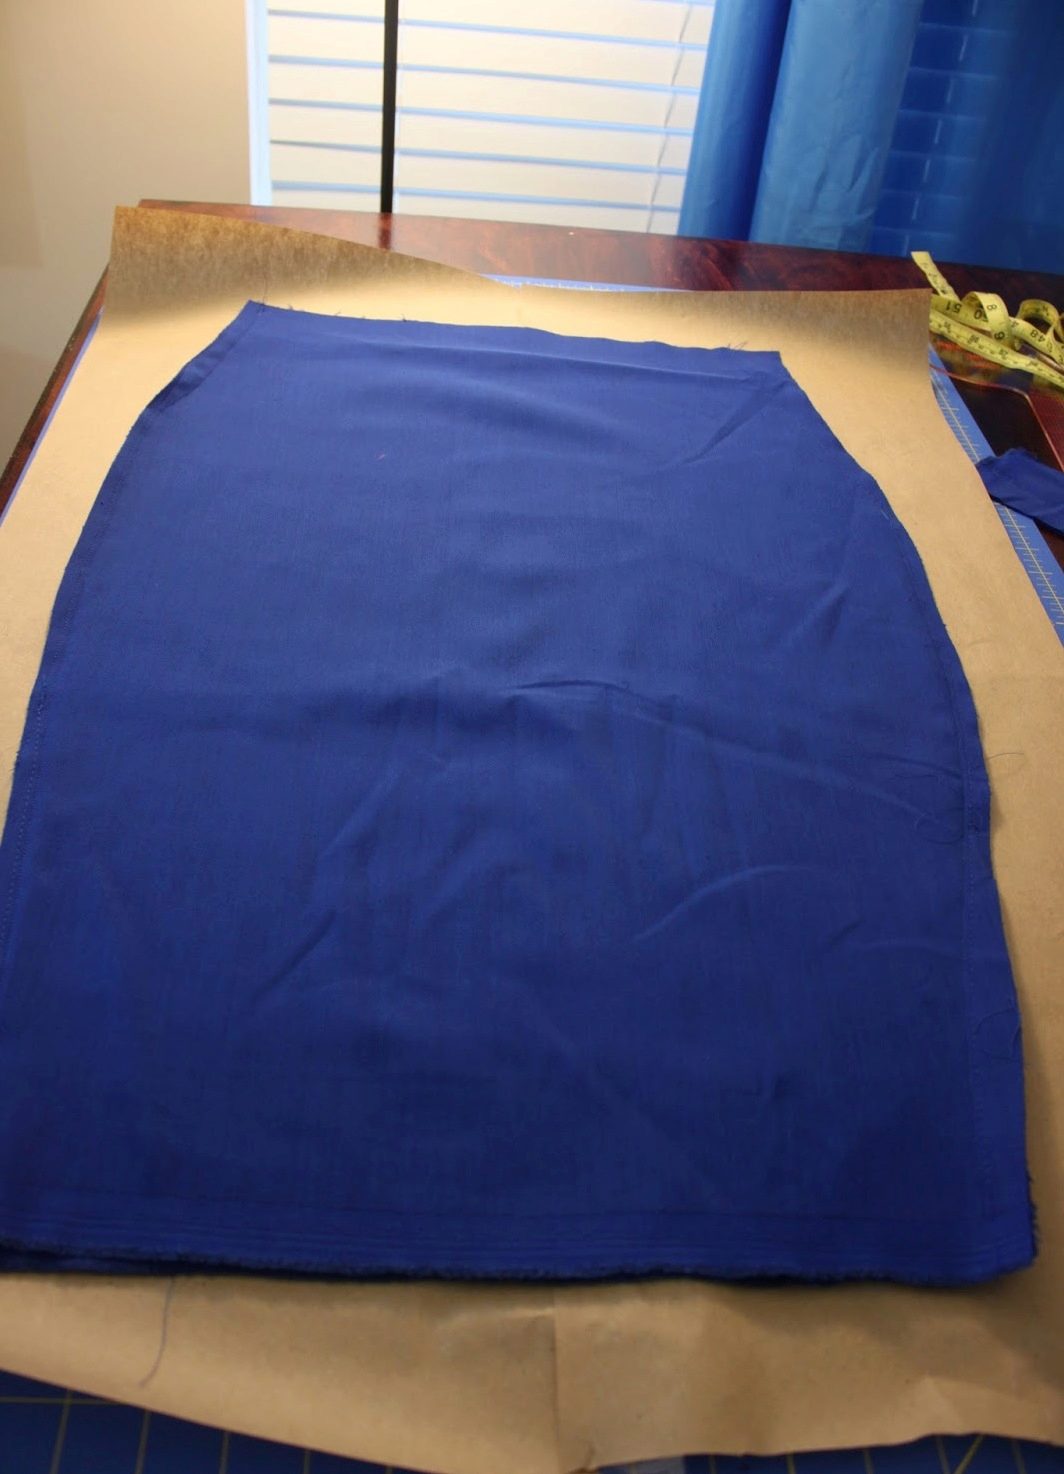
- We cut out all the details of the fabric, having previously outlined seam allowances on it: 3 cm - on the side and back, 6 cm - on the bottom, 6 cm on the left - for a hidden zipper.
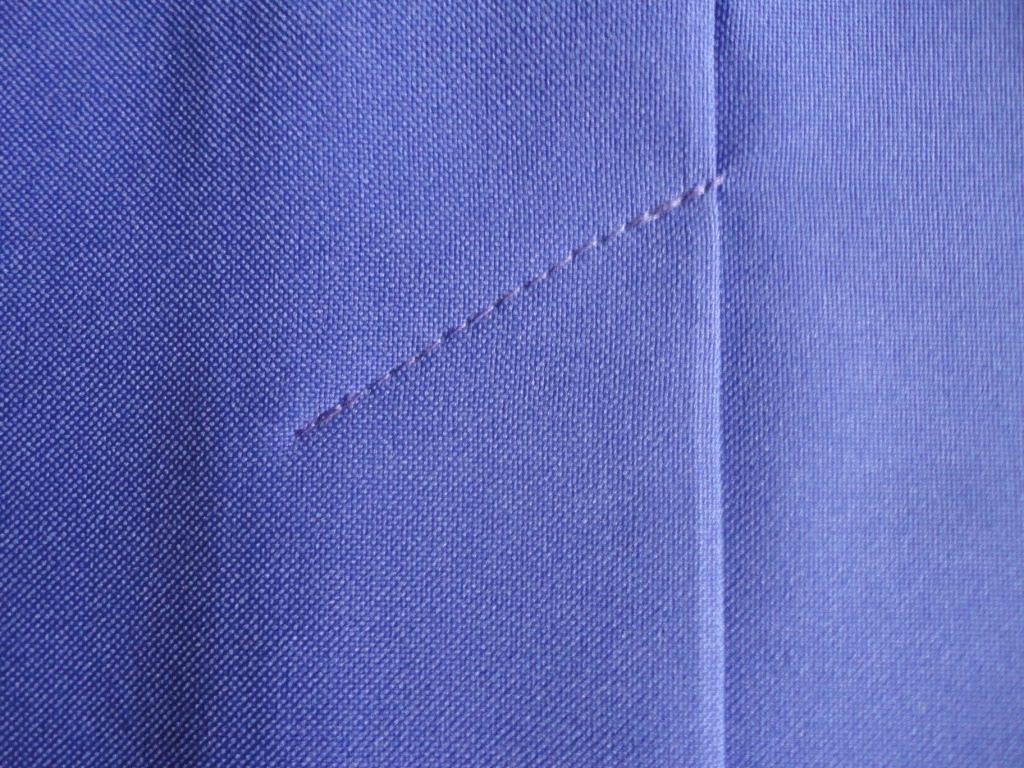
- All parts should be processed from top to bottom. The first sweep darts.
- Next to the upper section, a girdle or belt is attached.
- Fitting. At this point, you can finally decide how large the side constrictions will be.
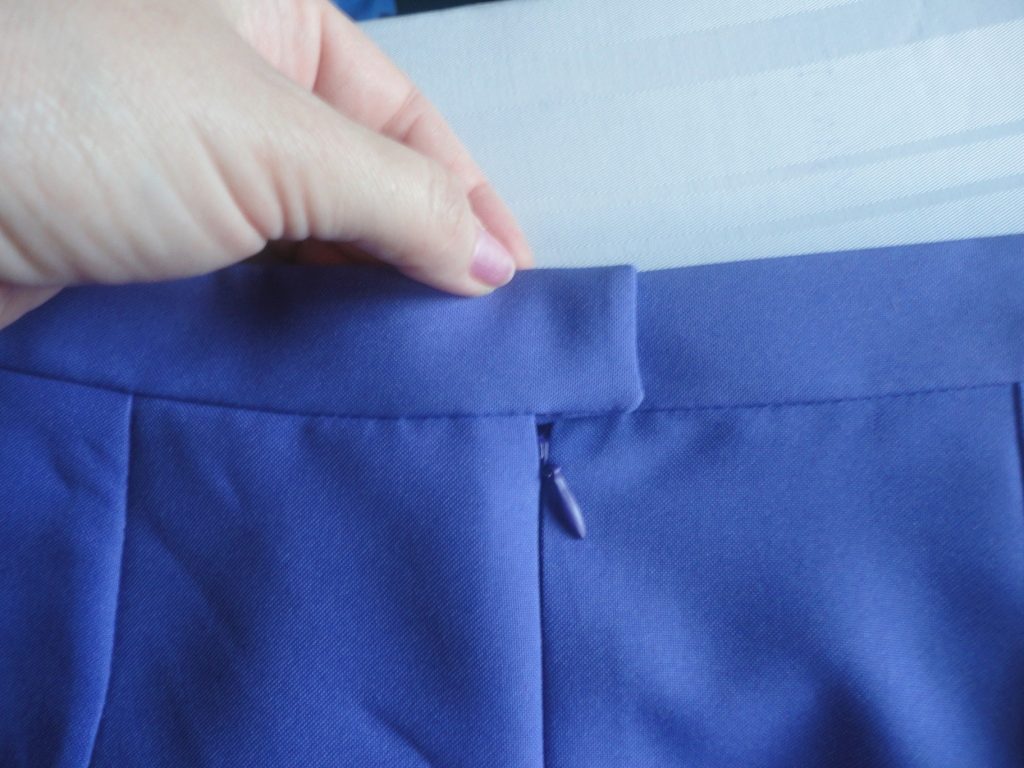
- If the skirt is sitting as it should, we connect the side sections, sew the fastener.
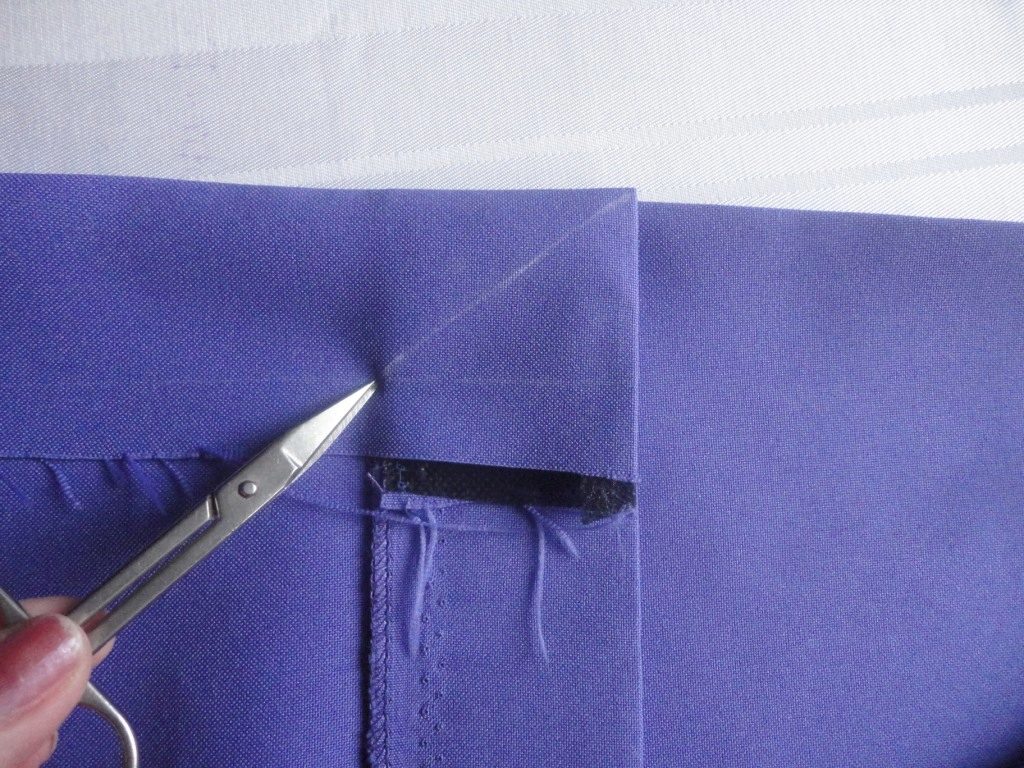
- We process the upper cut and slot.
- The last stage - hem down.
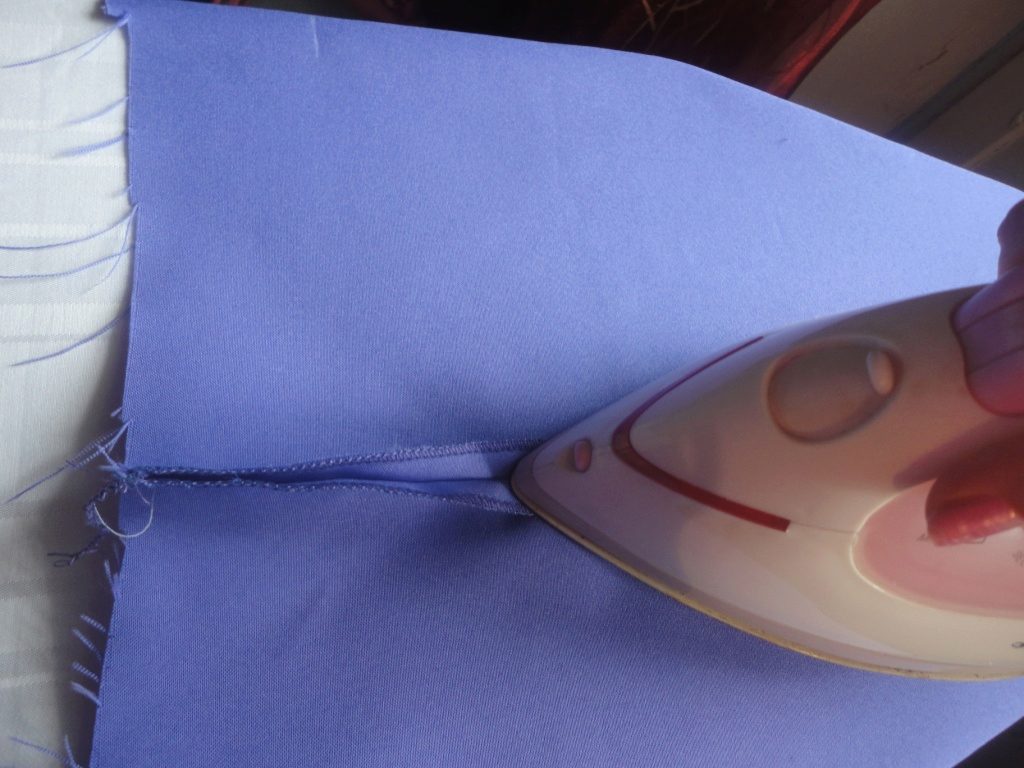
- Iron off, try on again.
- On the seamy side, you can sew loops for easy storage of the skirt on a hanger.

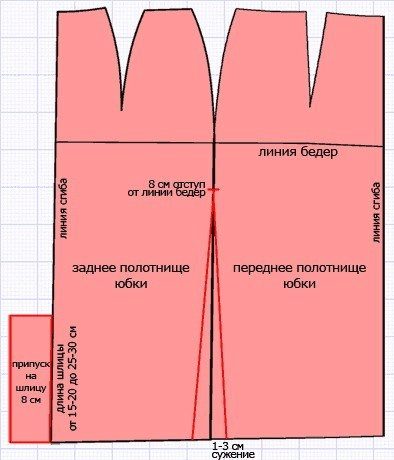
How to sew a skirt without side seams?
You can use the calculations above to sew a pencil skirt with one seam - vertical back. This will simplify the sewing process.
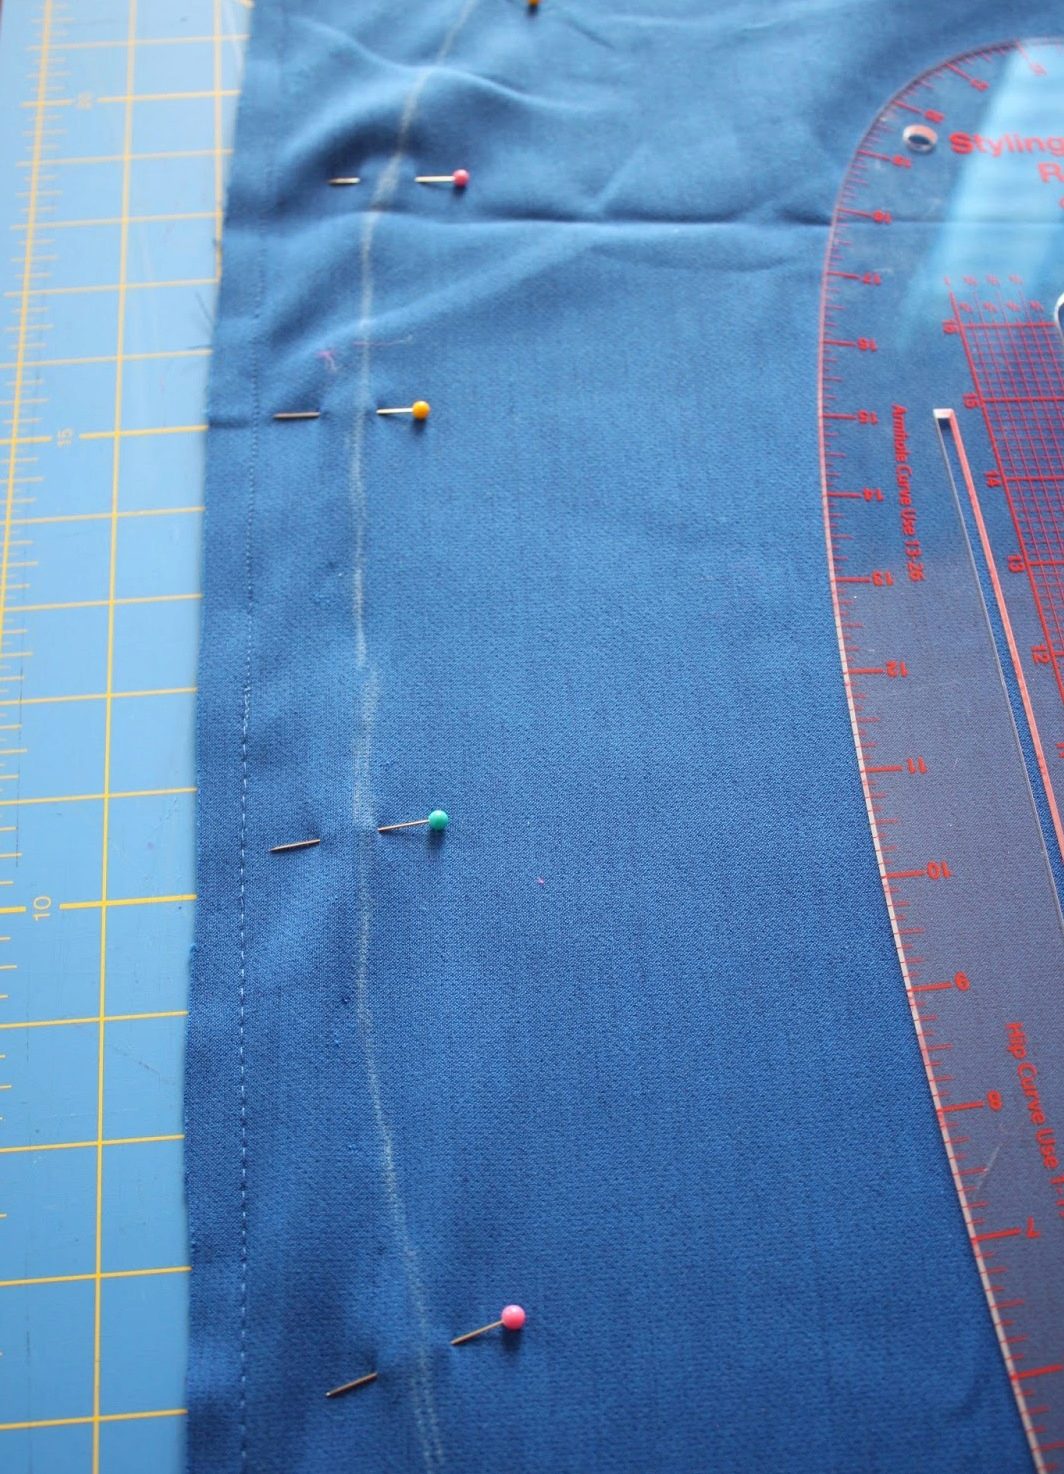
At the heart will be all the same classic straight skirt. Strictly speaking, the seams on the sides here will be, but small - 8-10 centimeters below the hips. Build paper patterns front and back of the skirt, as described above, but in duplicate. Cut them out and lay them on the fabric as shown in the picture.
Sewing a skirt without using a pattern
There is such a way to create a stylish pencil skirt. To sew it without a pattern, you need to measure the volume of the hips and decide on the desired length of the future skirt.

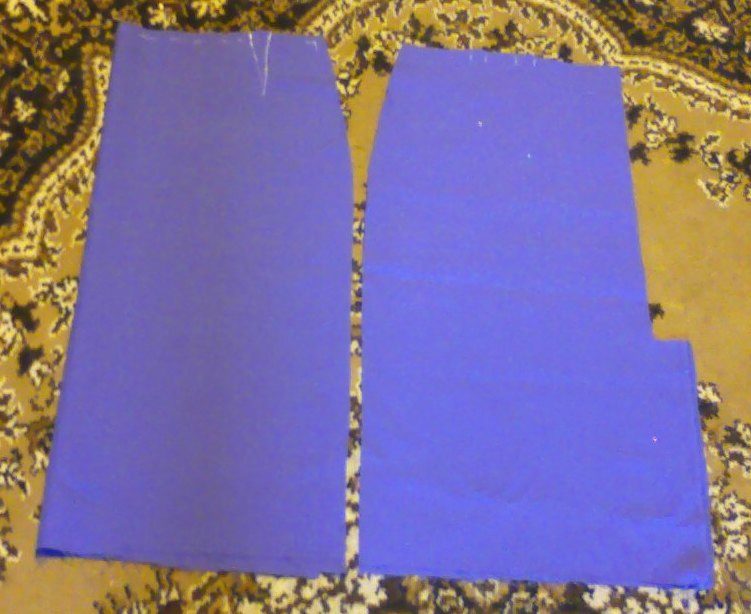
- Next, cut two rectangles of fabric with the desired length and width equal to the girth of the hips / 2 + 2 cm.
- Fold the resulting rectangles face each other and sew them together along side sections.
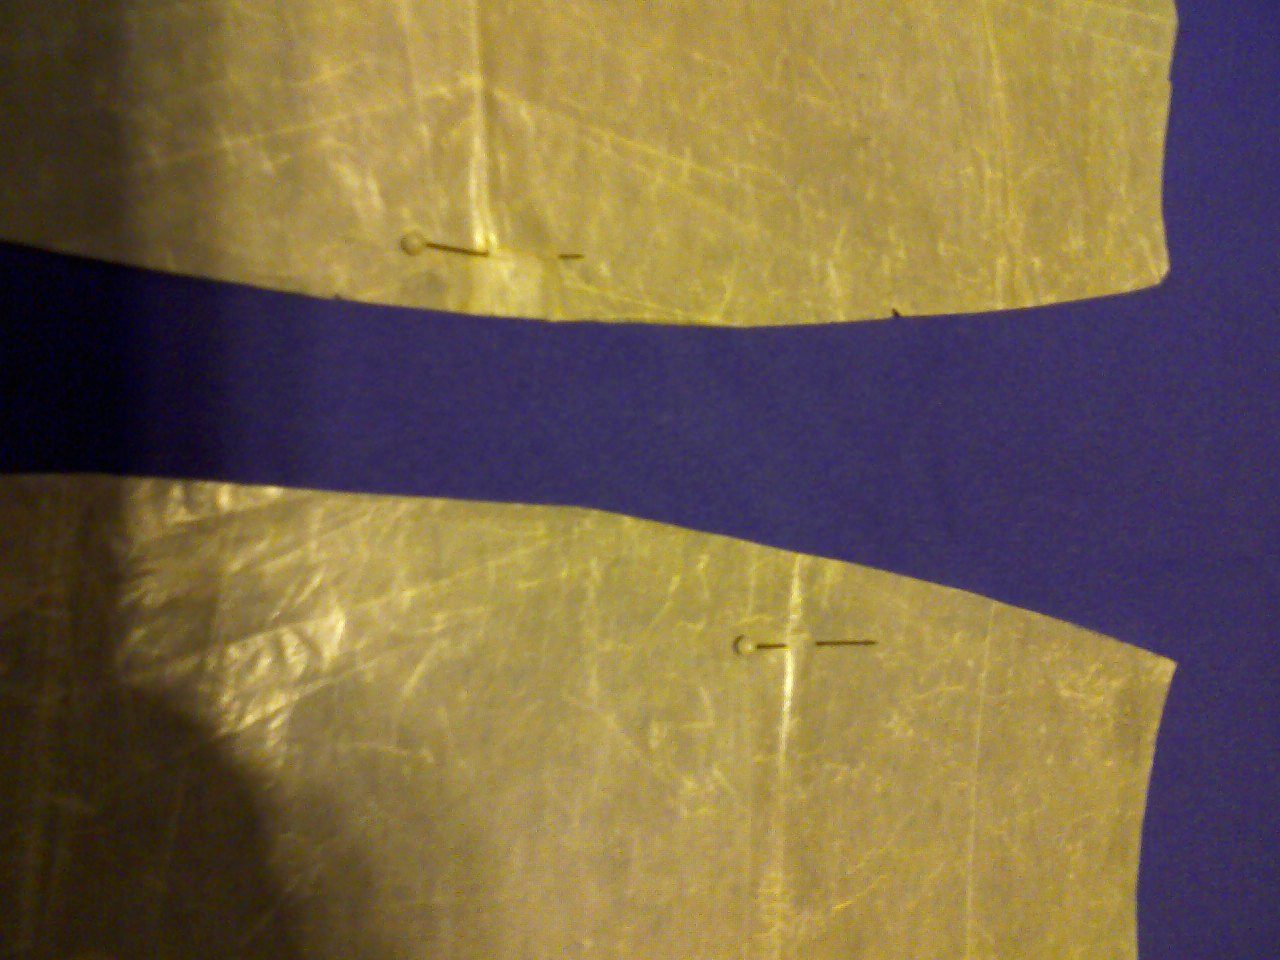
- Then put this blank on yourself and fix the desired silhouette with pins so that the fabric fits your shape tightly. Remove, on the landmarks marked with pins, draw lines and, adding seam allowances of 2 cm, cut out.
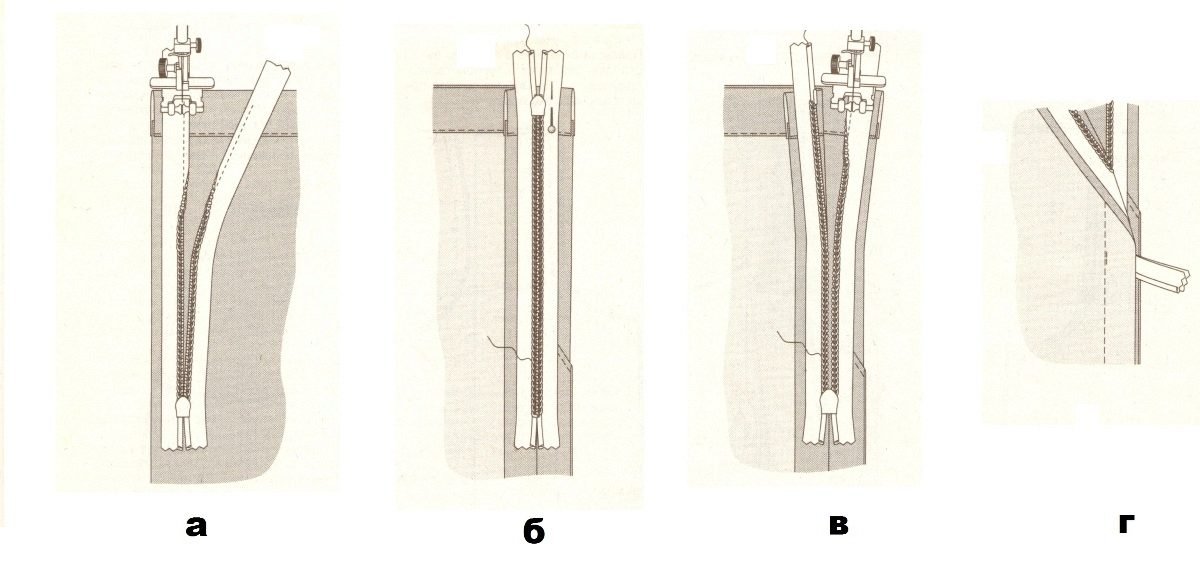
- Cut the parts along the intended line, while on the one hand you need to leave room for the zipper.
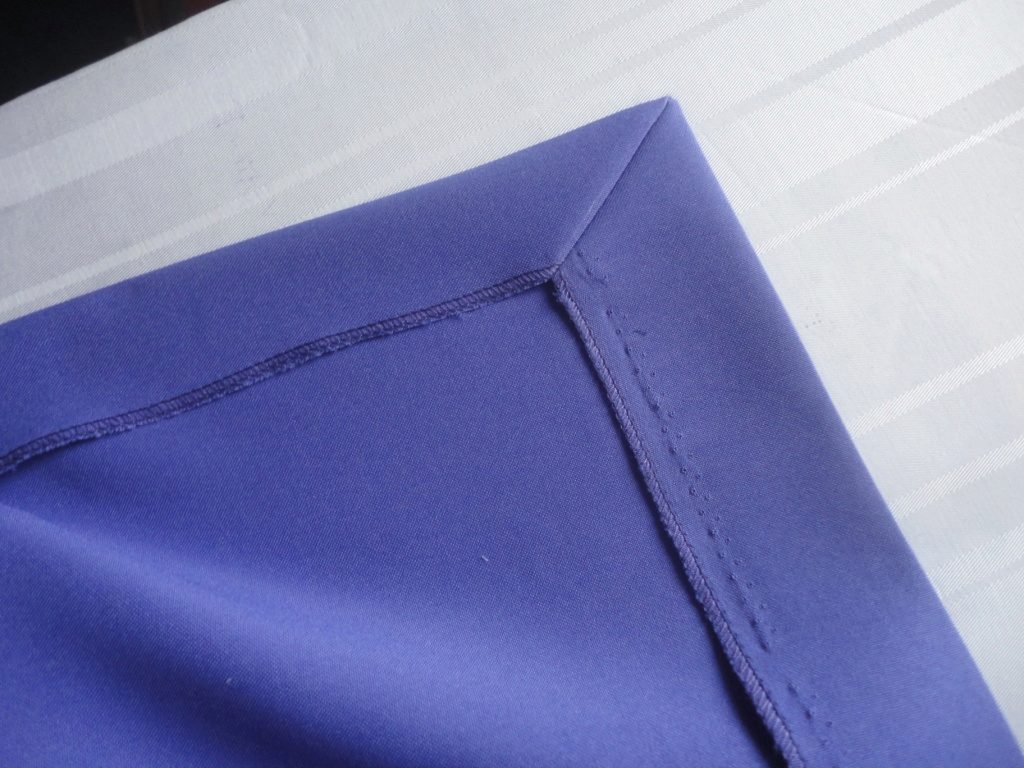
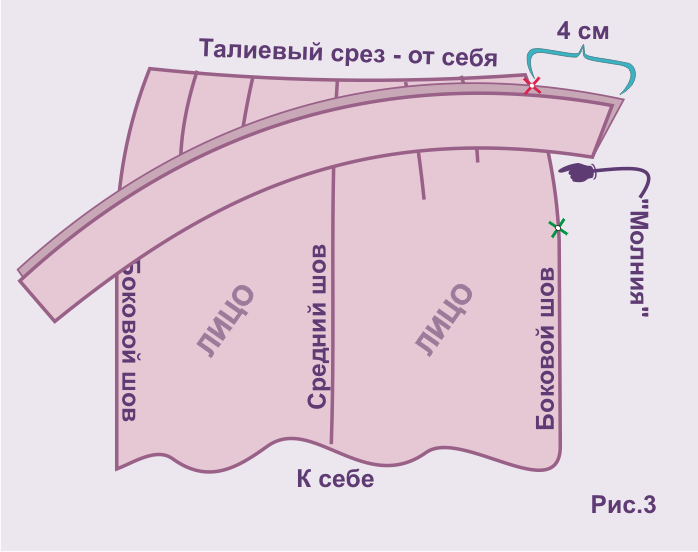
Clasp sew, as shown in the picture.
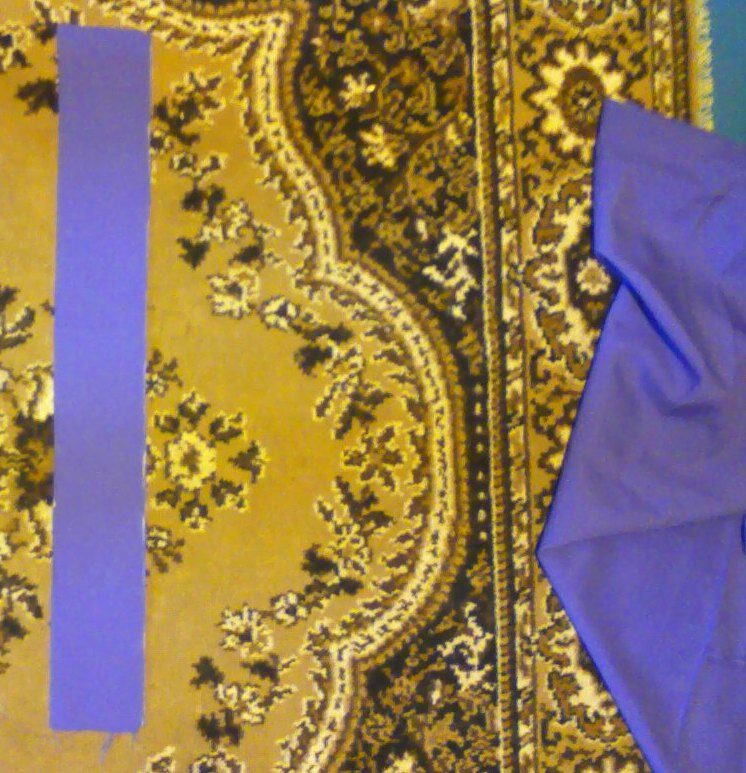
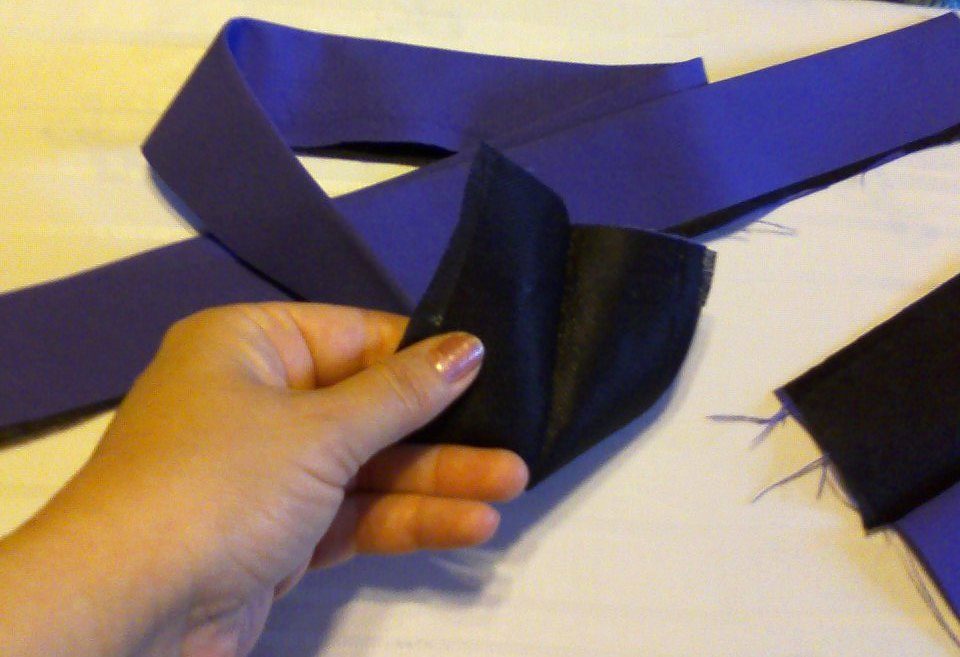
Next, we make a belt. To do this, cut a rectangle that is equal in length to the waist circumference, and twice as wide as the desired width of the belt of the future skirt. We process as shown in the picture. We sew to the upper edge of the skirt from the seamy side.
The bottom edge does not require complex processing. You just need to tuck and stitch it.
That's it, the skirt is ready! A great alternative to complex models, stitched on patterns. If you wish, you can add pockets, basques, play with the color of the lines or the belt.